Articles
How To Fix Water Stain On Ceiling
Modified: October 19, 2024
Learn effective techniques to remove water stains on your ceiling in this comprehensive article. Discover practical tips and step-by-step instructions to fix the problem easily.
(Many of the links in this article redirect to a specific reviewed product. Your purchase of these products through affiliate links helps to generate commission for Storables.com, at no extra cost. Learn more)
Introduction
Having a water stain on your ceiling can be a frustrating and unsightly problem. Whether it’s caused by a leaky roof, a burst pipe, or excessive condensation, dealing with water stains requires a thorough assessment and proper repair. Not only can water stains ruin the appearance of your ceiling, but they can also lead to more significant issues like mold growth and structural damage if left untreated.
Fortunately, fixing water stains on your ceiling is not as daunting as it may seem. With the right knowledge and a few simple steps, you can restore your ceiling’s pristine look and prevent further damage. This article will guide you through the process of fixing water stains on your ceiling, from assessing the damage to applying primer and paint.
Before we dive into the steps, it’s essential to understand that water stains on the ceiling are typically a sign of an underlying issue. Therefore, it’s crucial to identify the source of the leak and repair it before addressing the stain itself. Failure to fix the source of the leak will only lead to recurring water stains, making your efforts to remove them futile.
In this comprehensive guide, we’ll discuss how to assess the damage, identify the source of the leak, repair the leak, prepare the ceiling for painting, remove water stains, and apply primer and paint. We’ll also provide some final thoughts and maintenance tips to help you maintain a clean and water-stain-free ceiling in the future.
So, without further ado, let’s get started on fixing that water stain on your ceiling and restoring the beauty and integrity of your home.
Key Takeaways:
- Properly identifying and repairing the source of the leak is crucial in effectively removing water stains from your ceiling. Neglecting the source will lead to recurring stains, so address the underlying issue first.
- Regular maintenance, including inspections, addressing leaks promptly, and ensuring proper ventilation, can help prevent water stains on your ceiling and maintain a pristine home environment.
Read more: How To Fix Water Damaged Ceiling
Assessing the Damage
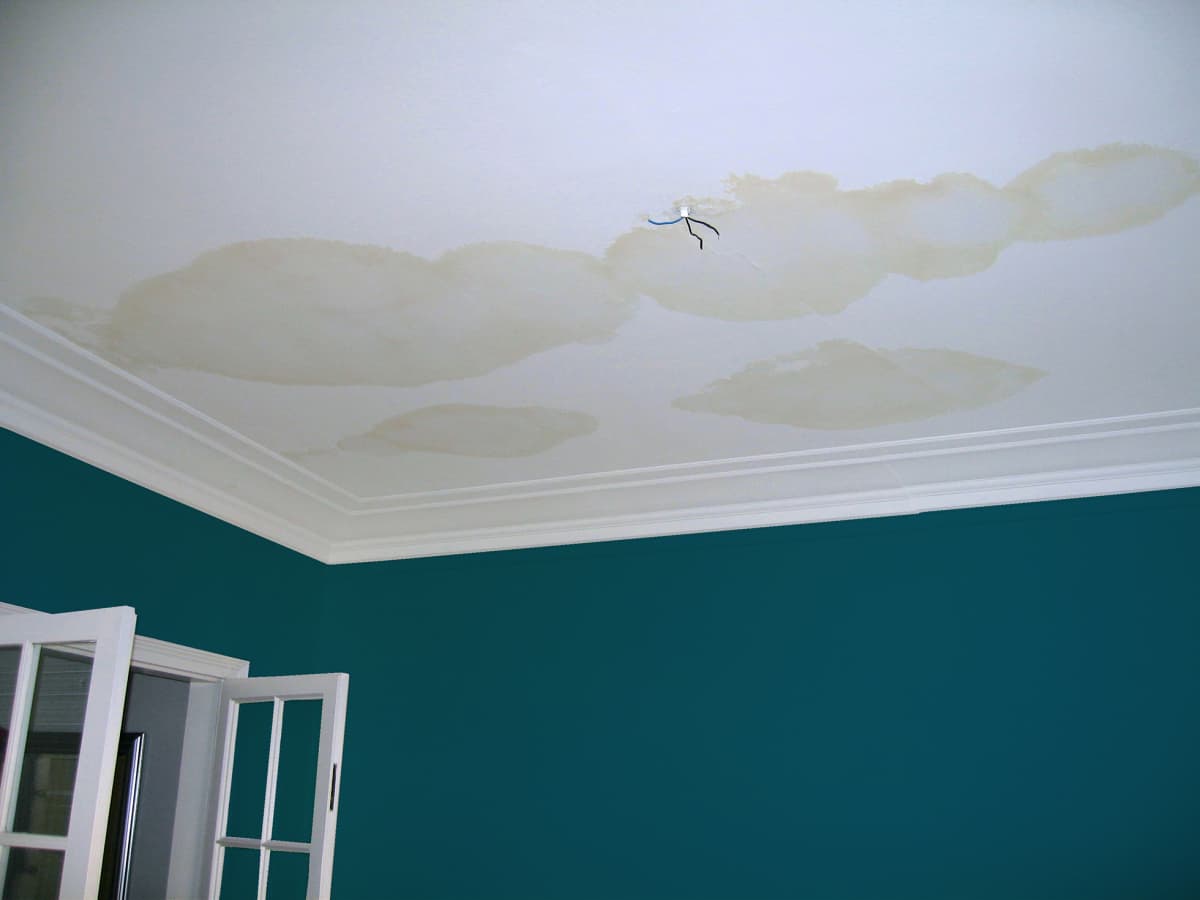
The first step in fixing a water stain on your ceiling is to assess the extent of the damage. This will help you determine the necessary repairs and materials needed.
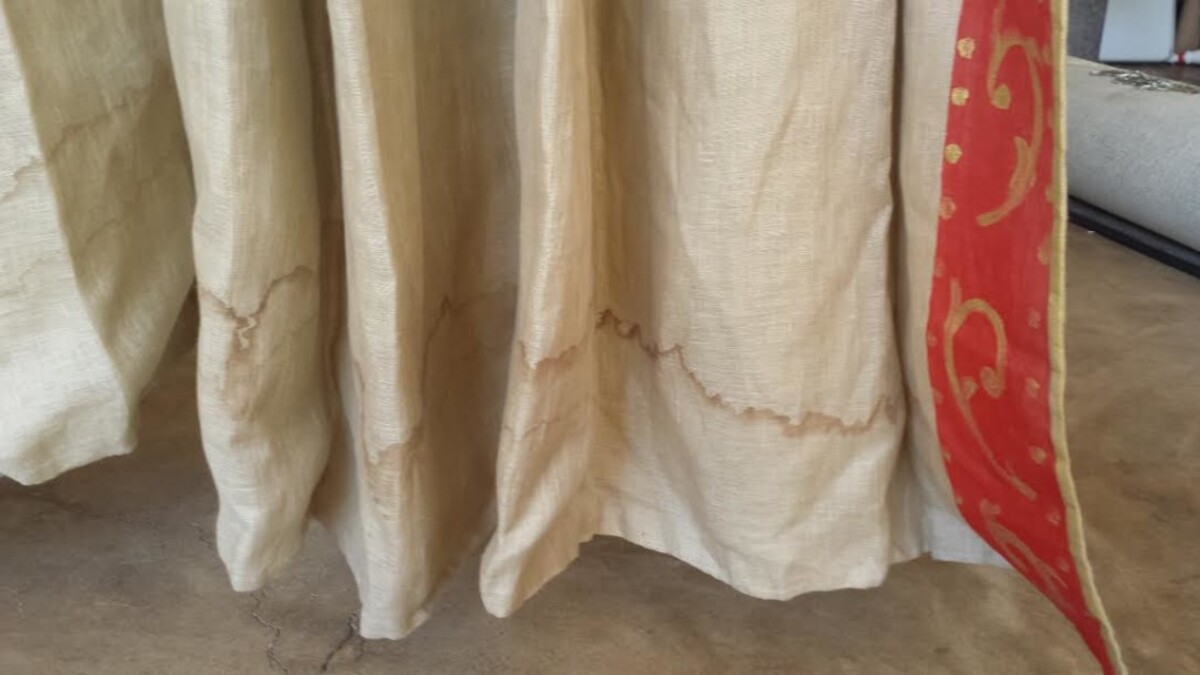
Start by examining the size and shape of the water stain. Is it a small, circular stain or a larger, spreading stain? This will give you an idea of how much water has infiltrated the ceiling and the potential damage it may have caused.
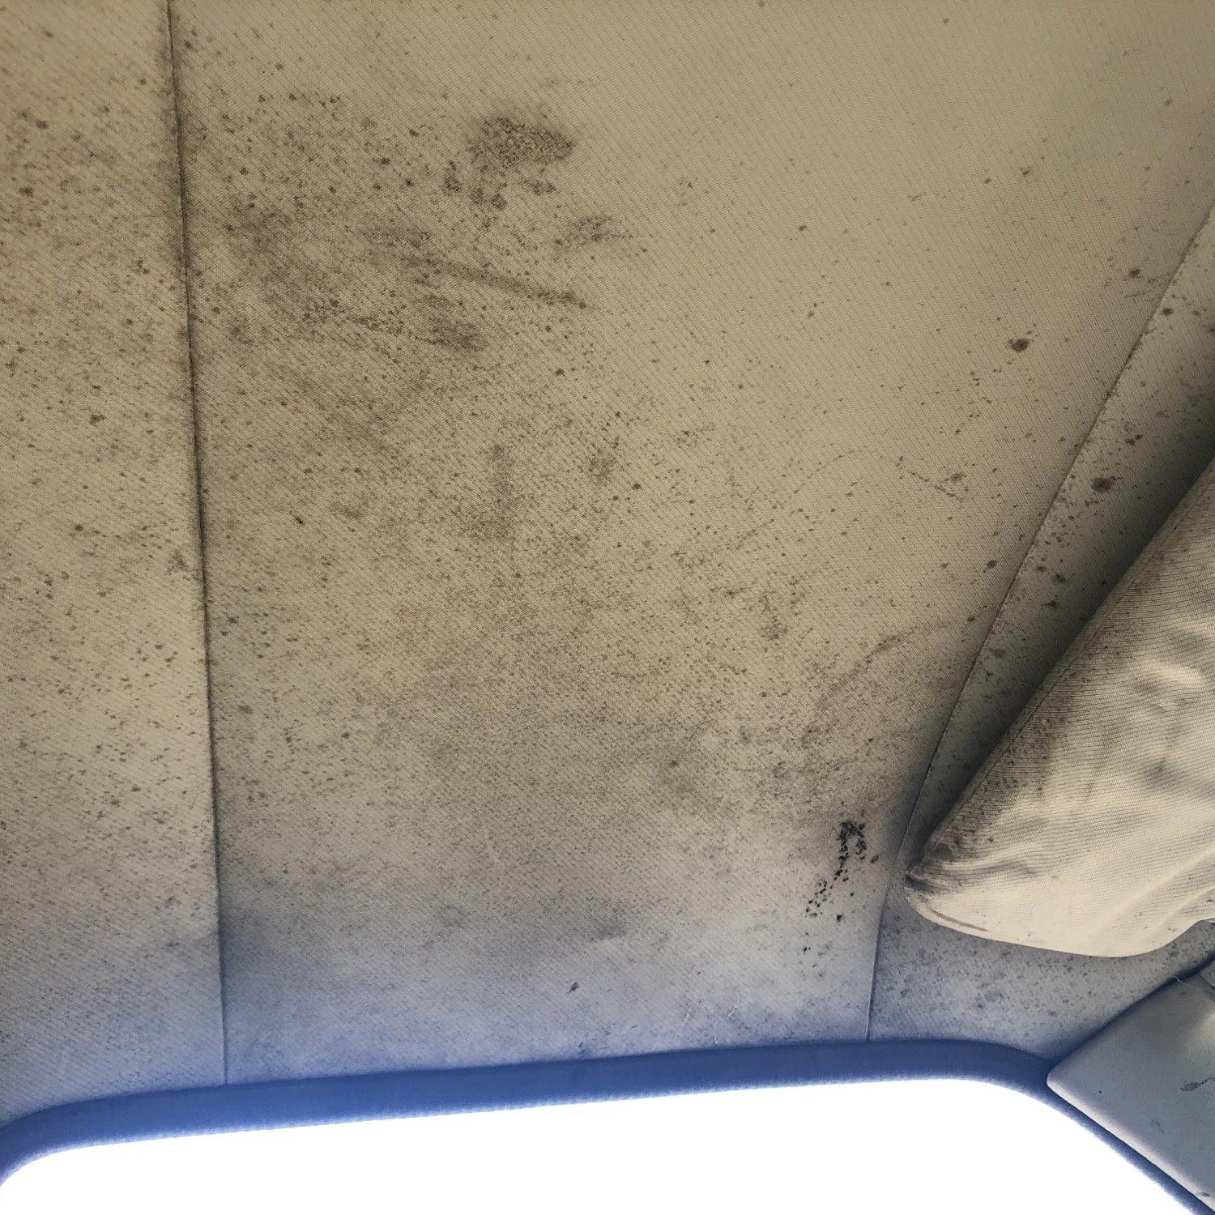
Next, check the surrounding area for any signs of mold or mildew growth. Water stains provide a favorable environment for mold to thrive, so it’s crucial to address any growth promptly to prevent health issues and further damage.
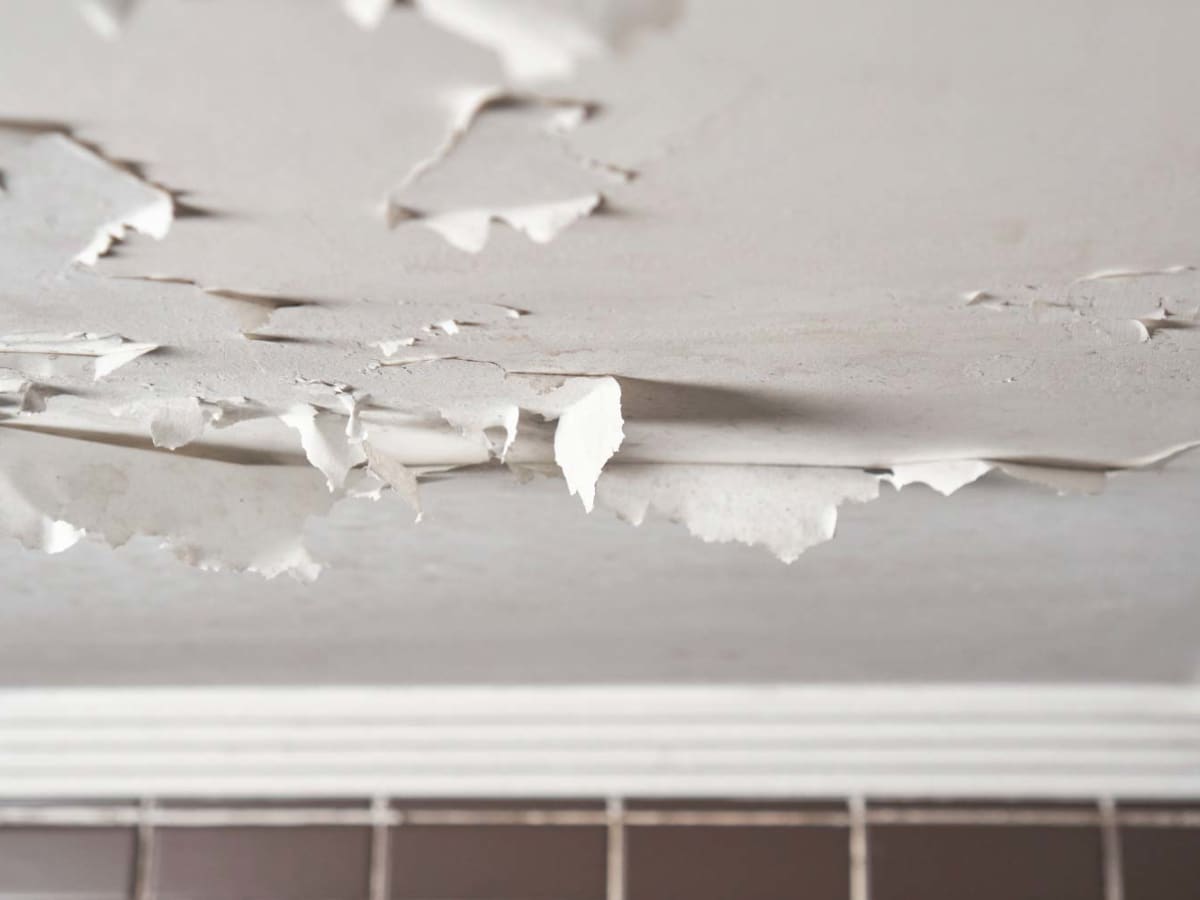
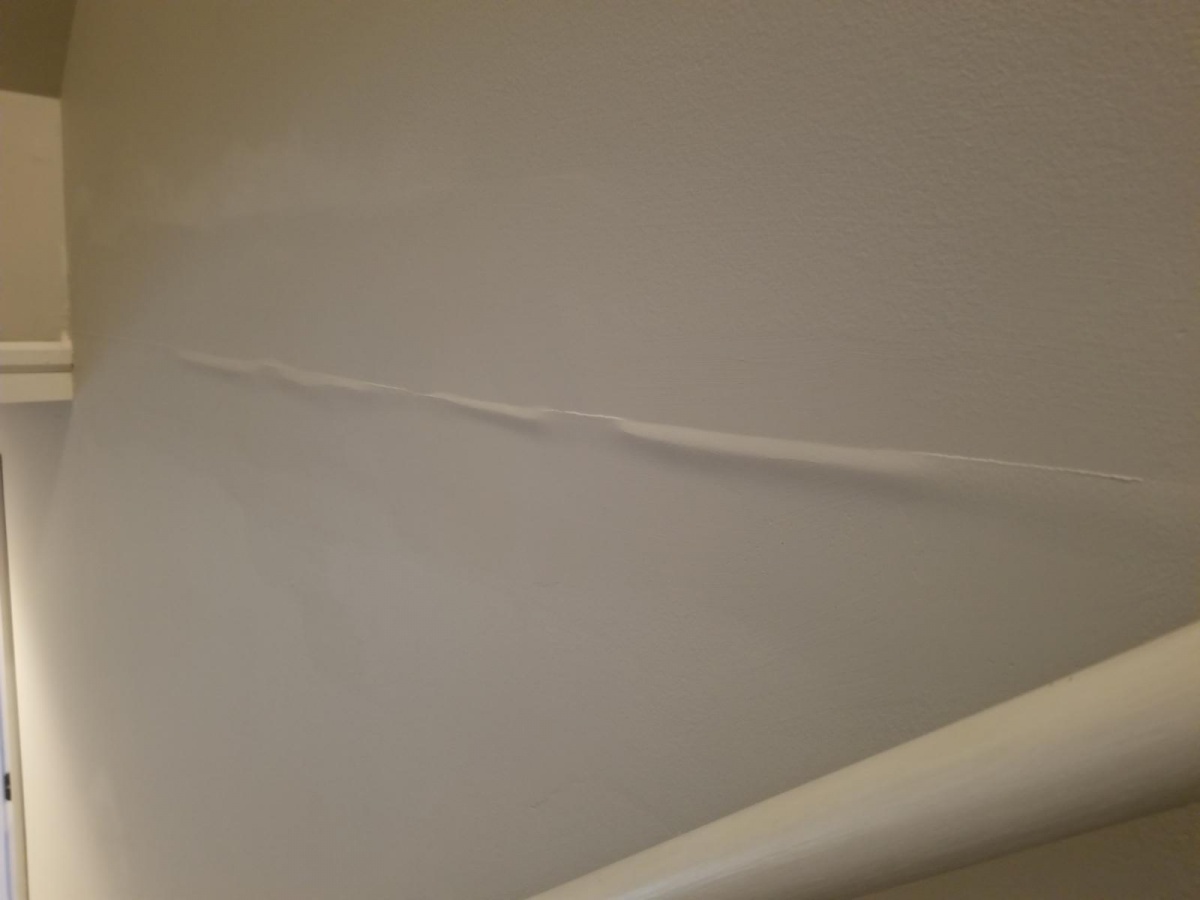
Inspect the texture of the ceiling as well. Is it still intact, or does it appear saggy or swollen? If the water damage is severe, the ceiling may require additional repairs beyond just the stain removal.
It’s also important to consider the location of the water stain. Is it directly under a bathroom or kitchen? If so, there’s a high chance the stain is caused by a plumbing issue. On the other hand, a stain near a window might indicate a leaky roof or faulty sealant.
Once you have assessed the damage and gathered all the necessary information, you’re ready to move on to the next step: identifying the source of the leak. This step is crucial as fixing the source is vital in preventing future water stains and damage to your ceiling.
Identifying the Source of the Leak
To effectively fix a water stain on your ceiling, it’s essential to identify and address the source of the leak. Here are some steps to help you in the process:
1. Observe the location of the stain: Carefully examine the area of the ceiling where the water stain is prominent. Look for any signs of water dripping or dampness that could indicate the source of the leak.
2. Check above the stain: If the stain is on the ground floor, look for possible sources of water above in the upper levels of your home. This could be a leaking pipe, overflowing bathtub or toilet, or a faulty appliance. If the stain is on the top floor, inspect the roof, gutters, or any nearby plumbing lines.
3. Assess plumbing fixtures: Inspect all plumbing fixtures located above or near the stain. This includes sinks, toilets, showers, and bathtubs. Look for any noticeable leaks, loose connections, or signs of water damage around these fixtures.
4. Check the roof: If the stain is close to an exterior wall, it could be an indication of a roof leak. Inspect your roof for missing or damaged shingles, cracked flashing, or clogged gutters. Check for any water stains or signs of water penetration in the attic or crawl space as well.
5. Examine windows and doors: Improperly sealed windows or doors can allow water to seep through, causing stains on the ceiling below. Check for any gaps, cracks, or damaged weatherstripping around windows and doors that could be the source of the leak.
6. Hire a professional if needed: If you’re having trouble identifying the source of the leak or if it’s not feasible for you to access certain areas of your home, consider hiring a professional plumber or roofer. They have the expertise and tools to locate and fix the leak effectively.
Once you have identified the source of the leak, it’s crucial to repair it before proceeding with the stain removal process. Neglecting to fix the source will only lead to recurring water stains, rendering your efforts to remove the stain ineffective.
In the next section, we will discuss the steps to repair the leak and ensure a dry and water-stain-free ceiling.
Repairing the Leak
Now that you have identified the source of the leak, it’s time to repair it to prevent any further water damage to your ceiling. The specific repair process will vary depending on the nature of the leak, but here are some general steps to follow:
1. Plumbing repairs: If the leak is originating from a pipe or plumbing fixture, you may need to shut off the water supply to that specific area before proceeding. Replace any damaged or leaking pipes, fittings, or valves. Use plumber’s tape or joint compound to ensure secure connections and prevent future leaks.
2. Roof repairs: In the case of a roof leak, you may need to replace damaged or missing shingles. Seal any cracks or gaps in the flashing around chimneys, vents, or skylights. Clean out clogged gutters and downspouts to ensure proper water flow. If the roof damage is extensive, consider hiring a professional roofer for repairs.
3. Window and door repairs: To fix a leak from improperly sealed windows or doors, apply weatherstripping or caulking to fill any gaps or cracks. Replace damaged or worn-out seals or gaskets. If the issue persists, consult a professional for further solutions.
4. Allow time for repairs to dry: After completing the necessary repairs, it’s crucial to allow sufficient time for the repaired area to dry. This will help prevent any residual moisture from seeping into the ceiling and causing additional damage or mold growth.
Remember, if you’re not confident in your repair skills or if the damage is extensive, it is wise to consult a professional plumber, roofer, or contractor. They have the expertise and knowledge to handle complex repairs and ensure a successful resolution to the leak.
Once you have successfully repaired the source of the leak and allowed the area to dry completely, you can proceed to prepare the ceiling for the stain removal process. This will ensure a smooth and seamless restoration of your ceiling’s appearance.
Identify and fix the source of the water leak before repairing the ceiling stain. Use a stain-blocking primer before repainting to prevent the stain from bleeding through.
Preparing the Ceiling for Painting
Before you can remove the water stain from your ceiling, it’s essential to prepare the surface properly. Here are the steps to follow in order to get your ceiling ready for painting:
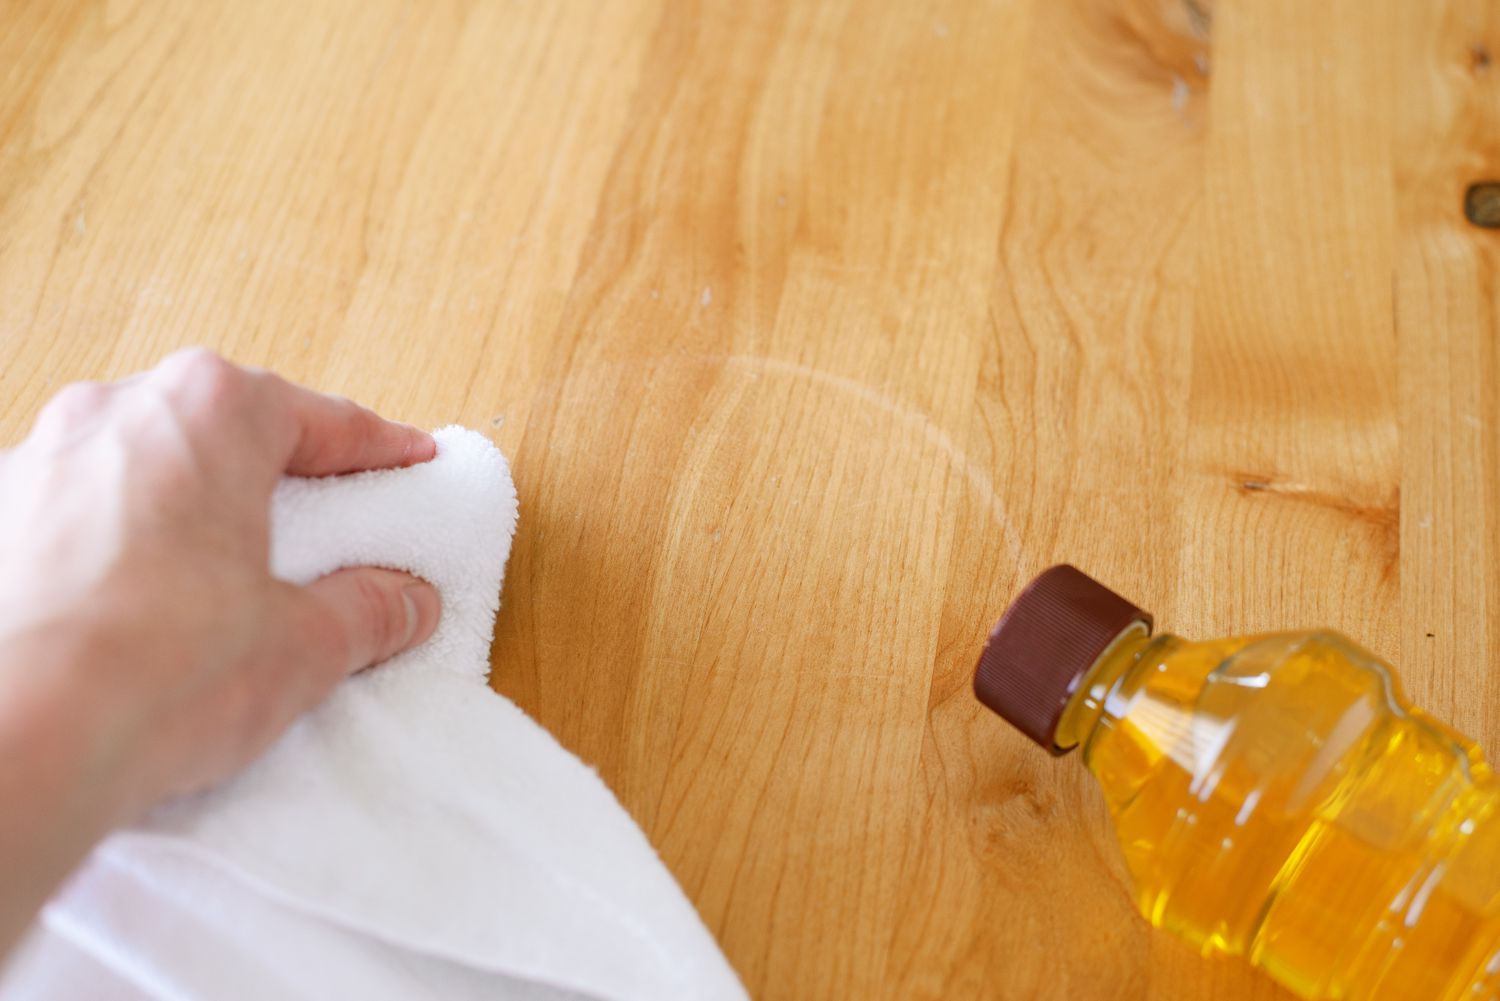
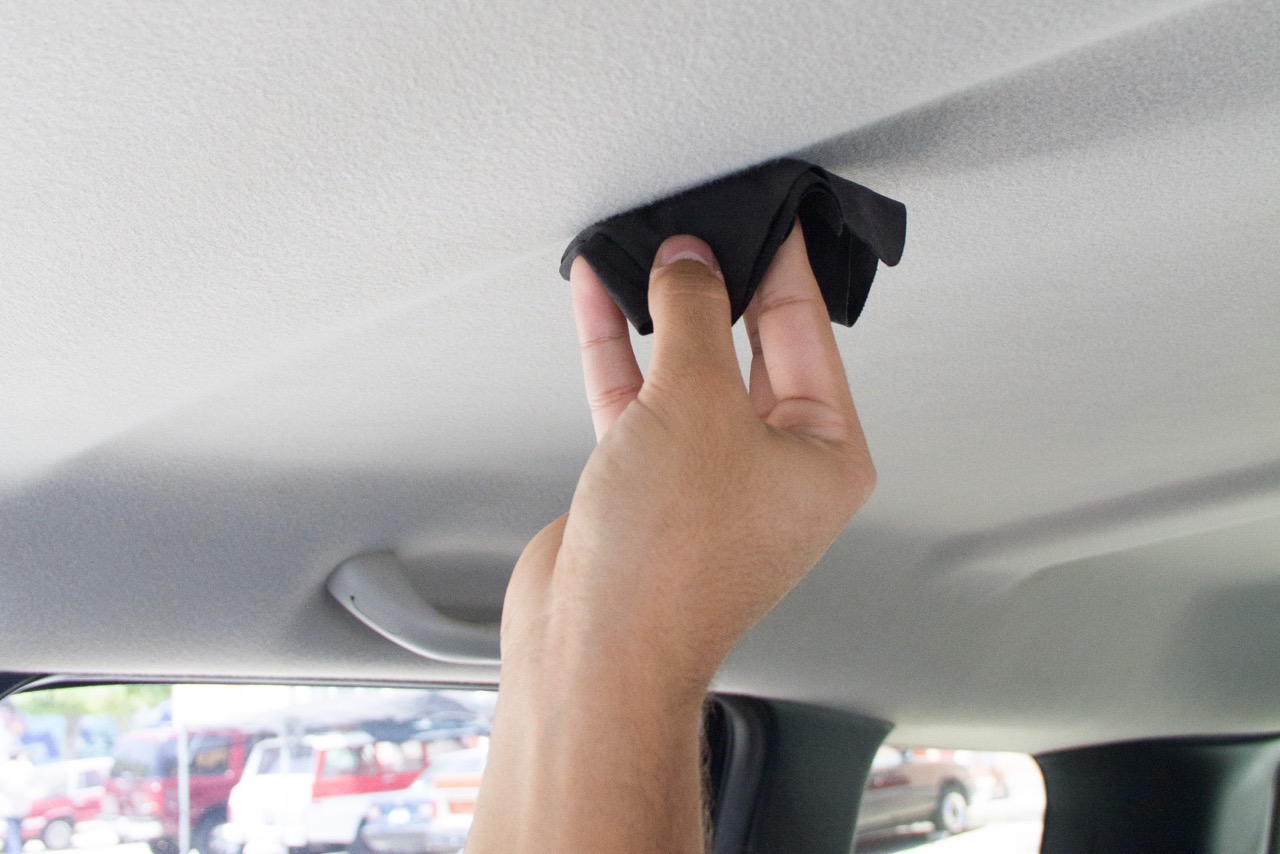
1. Clean the area: Start by gently wiping the stained area with a clean cloth or sponge to remove any loose dirt or debris. Be careful not to scrub too hard, as this may damage the surface.
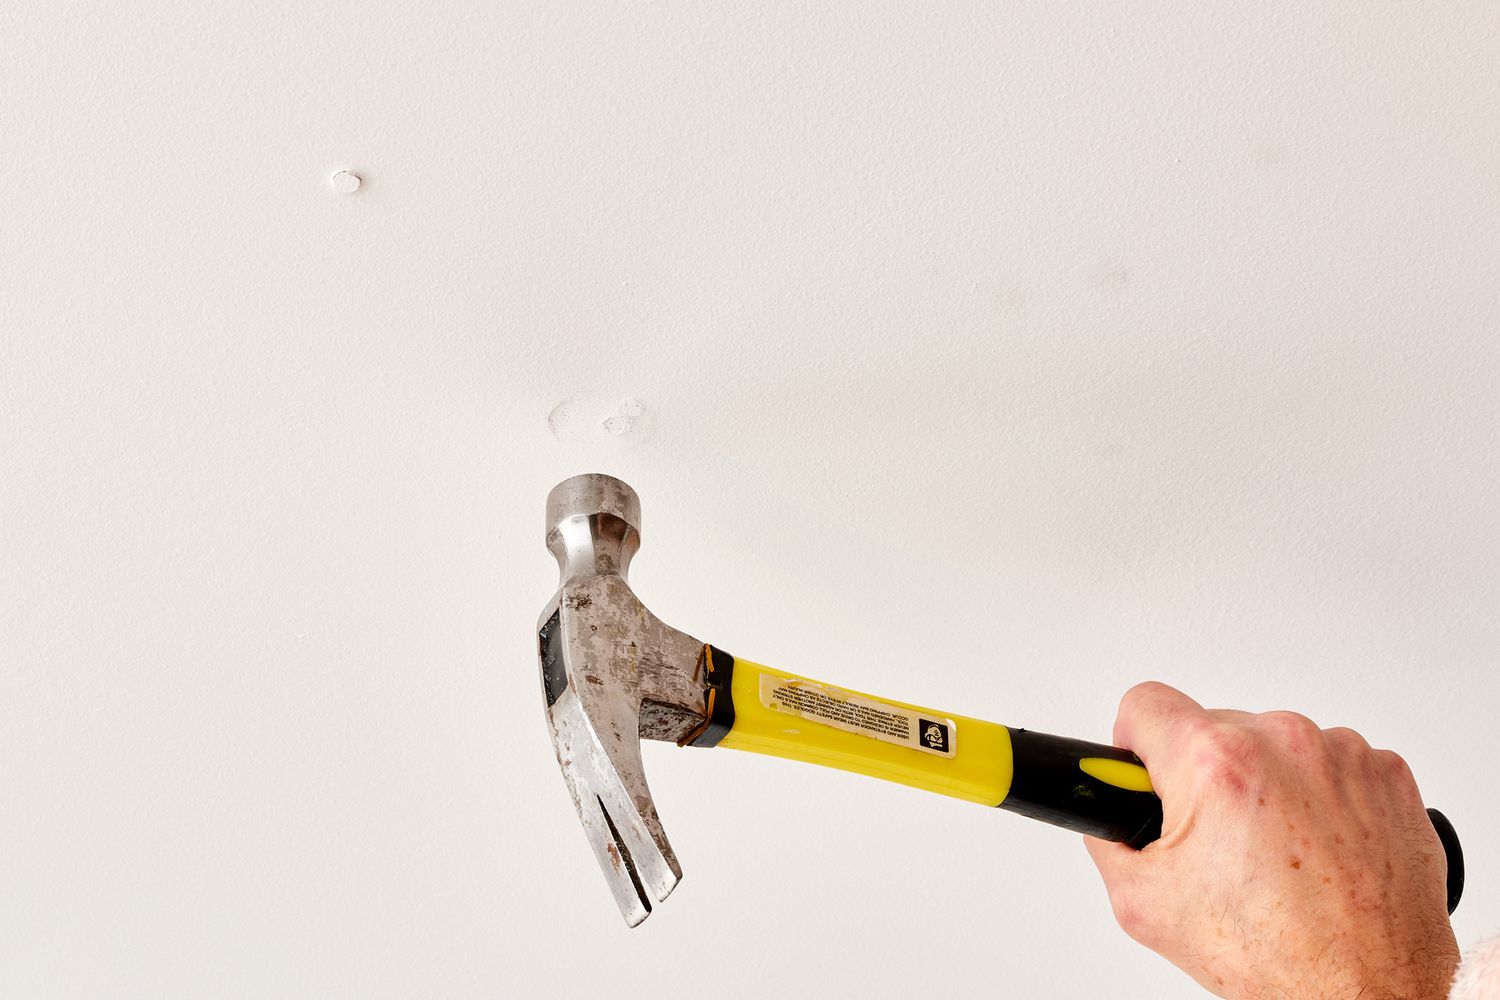
2. Remove peeling paint: If there are any areas of peeling or flaking paint around the water stain, use a putty knife or scraper to gently remove it. Be thorough but cautious to avoid causing further damage to the ceiling.
3. Smooth rough surfaces: If the water damage has left the ceiling surface rough or uneven, you may need to sand it lightly with fine-grit sandpaper. This will help create a smooth and even base for the paint.
4. Apply primer: To ensure proper adhesion and coverage of the paint, it’s recommended to apply a coat of primer to the stained area. Choose a primer that is specifically designed to block water stains or use a stain-blocking primer. Follow the manufacturer’s instructions for application and drying time.
5. Allow the primer to dry: Give the primer ample time to dry completely before proceeding with the painting process. This will ensure that the stain is adequately sealed and will not bleed through the paint.
By properly preparing the ceiling, you create a clean and smooth surface for the next steps, which involve removing the water stain and applying paint. Taking the time to adequately prepare the ceiling will result in a professional-looking finish for your repaired area.
In the next section, we will discuss how to remove the water stain from the ceiling and restore its appearance.
Read more: How To Stain A Wood Ceiling
Removing Water Stains on the Ceiling
Water stains on the ceiling can be stubborn and unsightly, but they can be removed with the right techniques. Here’s how to effectively remove water stains from your ceiling:
1. Safety precautions: Before you begin, make sure to wear protective goggles, gloves, and a dust mask to protect yourself from any dust or debris that may be released during the cleaning process.
2. Test the stain: Before applying any cleaning solution to the stain, it’s important to test it on a small, inconspicuous area of the ceiling to ensure it doesn’t cause any discoloration or damage. Use a mild detergent or a commercially available stain remover and follow the instructions on the product.
3. Clean the stain: If the test area doesn’t show any adverse reactions, you can proceed to clean the water stain. Mix a solution of warm water and a mild detergent, then gently apply it to the stain using a sponge or cloth. Blot the stain rather than rubbing it, as rubbing can spread the stain further or damage the ceiling.
4. Rinse and dry: After cleaning the stain, rinse the area with clean water to remove any residue from the cleaning solution. Use a clean cloth or sponge to blot up excess moisture, and allow the ceiling to dry completely before proceeding to the next step.
5. Repeat if necessary: In some cases, a single cleaning may not completely remove the water stain. If this is the case, you may need to repeat the cleaning process or try a different cleaning solution. Be patient and persistent, as it may take a few attempts to fully remove the stain.
It’s important to note that removing the water stain is not a guarantee that the damage is completely resolved. If the stain is caused by an ongoing leak, it will likely reappear unless the source of the leak is fixed. Make sure to address the underlying issue to prevent future stains and damage to your ceiling.
Once you have successfully removed the water stain, it’s time to move on to the final steps of restoring your ceiling’s appearance.
Applying Primer and Paint
After removing the water stain from your ceiling, it’s important to apply primer and paint to ensure a seamless and aesthetically pleasing finish. Here’s how to go about it:
1. Choose the right primer: Select a stain-blocking primer that is specifically designed to prevent water stains from bleeding through the paint. This type of primer will provide a solid base and ensure better coverage over the previously stained area.
2. Prep the area: Before applying the primer, make sure the ceiling is clean and dry. Remove any dust or debris using a soft cloth or a vacuum cleaner with a brush attachment. Protect the surrounding areas by covering them with plastic sheets or painter’s tape.
3. Apply the primer: Use a brush or roller to apply a thin, even coat of primer over the stained area. Work from the outside of the stain towards the center, feathering the edges to blend it with the surrounding ceiling. Follow the manufacturer’s instructions for drying time, and apply additional coats if necessary.
4. Sand and smooth: Once the primer is dry, lightly sand the area with fine-grit sandpaper. This will help create a smooth surface for painting and ensure better adhesion of the paint.
5. Choose the paint: Select a high-quality interior paint that matches the color of the surrounding ceiling. Consider using a paint with a satin or semi-gloss finish, as it will provide better durability and washability.
6. Apply the paint: Using a brush or roller, apply a thin coat of paint over the primed area. Work in smooth, even strokes, blending the paint with the surrounding ceiling. Allow the first coat to dry completely before applying a second coat if necessary. Follow the manufacturer’s instructions for drying time between coats.
7. Check for uniformity: Once the paint has dried, examine the area to ensure it has a uniform appearance. If there are any visible differences in texture or color, touch up as needed with additional coats of paint.
By following these steps and using high-quality materials, you can achieve a professional and seamless finish that will blend in with the rest of your ceiling. Remember to allow adequate drying time between coats and handle the painted area with care to avoid any damage.
In the final section, we will share some maintenance tips to help you keep your ceiling in excellent condition and prevent future water stains.
Final Thoughts and Maintenance Tips
Congratulations! You have successfully fixed the water stain on your ceiling and restored its appearance. Here are some final thoughts and maintenance tips to keep in mind:
1. Regular inspection: Make it a habit to inspect your ceiling periodically for any signs of water stains or leaks. Catching and addressing them early will prevent further damage and save you from more extensive repairs.
2. Address leaks promptly: If you notice any signs of a leak, such as water stains or dripping water, it’s essential to fix the source as soon as possible. Ignoring a leak can lead to more significant issues, including mold growth and structural damage.
3. Maintain proper ventilation: Ensure that your home is properly ventilated, especially in areas prone to high moisture levels such as bathrooms, kitchens, and laundry rooms. Use exhaust fans and open windows when necessary to reduce condensation and prevent water damage.
4. Clean gutters and downspouts: Regularly clean and maintain your gutters and downspouts to prevent clogs and water buildup. Proper water drainage will help prevent roof leaks and potential ceiling stains.
5. Monitor your roof’s condition: Inspect your roof regularly for any signs of damage, such as missing or damaged shingles, cracked flashing, or sagging areas. Promptly repair any issues to prevent water infiltration and subsequent ceiling stains.
6. Act on mold growth immediately: If you notice any mold or mildew growth on your ceiling or in your home, address it promptly. Contact a professional if necessary to safely remove the mold and address the underlying cause to prevent future growth.
By following these maintenance tips, you can maintain a clean and water-stain-free ceiling, keeping your home in excellent condition and preventing costly repairs in the future.
Remember, while fixing a water stain on your ceiling may seem like a DIY task, it’s important to know your limits. If the damage is extensive or if you’re unsure about the repairs, consult a professional contractor or specialist to ensure proper and long-lasting solutions.
Thank you for taking the time to read this article. We hope it has provided you with the knowledge and guidance you need to fix water stains on your ceiling successfully. Wishing you a beautiful and water-stain-free ceiling for years to come!
Frequently Asked Questions about How To Fix Water Stain On Ceiling
Was this page helpful?
At Storables.com, we guarantee accurate and reliable information. Our content, validated by Expert Board Contributors, is crafted following stringent Editorial Policies. We're committed to providing you with well-researched, expert-backed insights for all your informational needs.


0 thoughts on “How To Fix Water Stain On Ceiling”