Home>Home Appliances>Lighting Appliances>How To Fix A Ceiling Light Hole
Lighting Appliances
How To Fix A Ceiling Light Hole
Modified: February 18, 2024
Learn how to easily fix a ceiling light hole with our step-by-step guide. Get expert tips for repairing lighting appliances and restoring your ceiling to its original condition.
(Many of the links in this article redirect to a specific reviewed product. Your purchase of these products through affiliate links helps to generate commission for Storables.com, at no extra cost. Learn more)
Introduction
Fixing a hole in the ceiling left by a previous light fixture can seem like a daunting task, but with the right guidance and tools, it's a manageable project that can restore the aesthetics of your living space. Whether you're preparing to install a new ceiling light or simply seeking to repair an existing hole, this comprehensive guide will walk you through the step-by-step process, empowering you to tackle the task with confidence.
Ceiling light holes can result from a variety of scenarios, such as the removal of an outdated fixture, the relocation of a light source, or accidental damage. Regardless of the cause, addressing the hole promptly is essential for maintaining the integrity and visual appeal of your ceiling. By following the instructions outlined in this article, you'll be equipped to seamlessly mend the hole and prepare the surface for the installation of a new ceiling light.
Throughout this guide, you'll learn how to assess the extent of the damage, gather the necessary materials and tools, patch the hole effectively, and finish the repair with sanding and painting. Additionally, you'll gain insights into the proper techniques for installing a ceiling light, ensuring that the final result is not only structurally sound but also visually pleasing.
As you embark on this repair journey, keep in mind that attention to detail and patience are key virtues. While the process may require some time and effort, the satisfaction of restoring your ceiling to its former glory will undoubtedly make the endeavor worthwhile. So, roll up your sleeves, gather your supplies, and let's dive into the rewarding task of fixing a ceiling light hole.
Key Takeaways:
- Repairing a ceiling light hole involves assessing the damage, gathering materials and tools, patching the hole, and sanding and painting for a seamless finish. Attention to detail and patience are key for a successful restoration.
- Installing a new ceiling light fixture is the final step in the repair process. It involves preparing the electrical wiring, mounting the fixture securely, connecting the wiring, installing light bulbs, testing the fixture, and securing the cover for a visually appealing and functional result.
Read more: How To Cover A Ceiling Light Hole
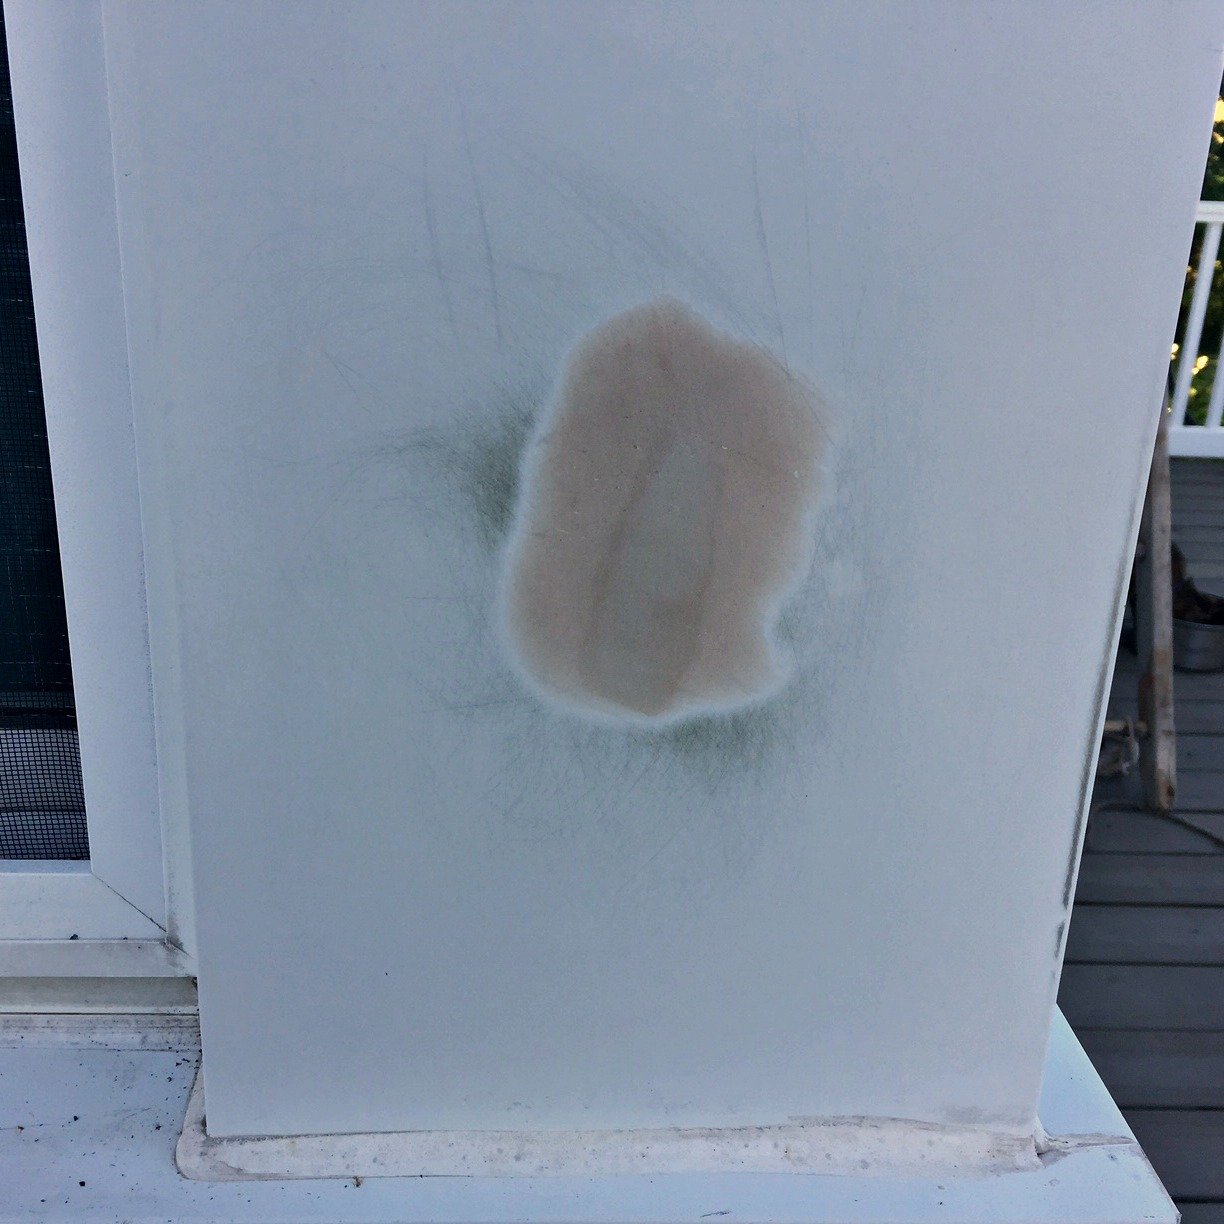
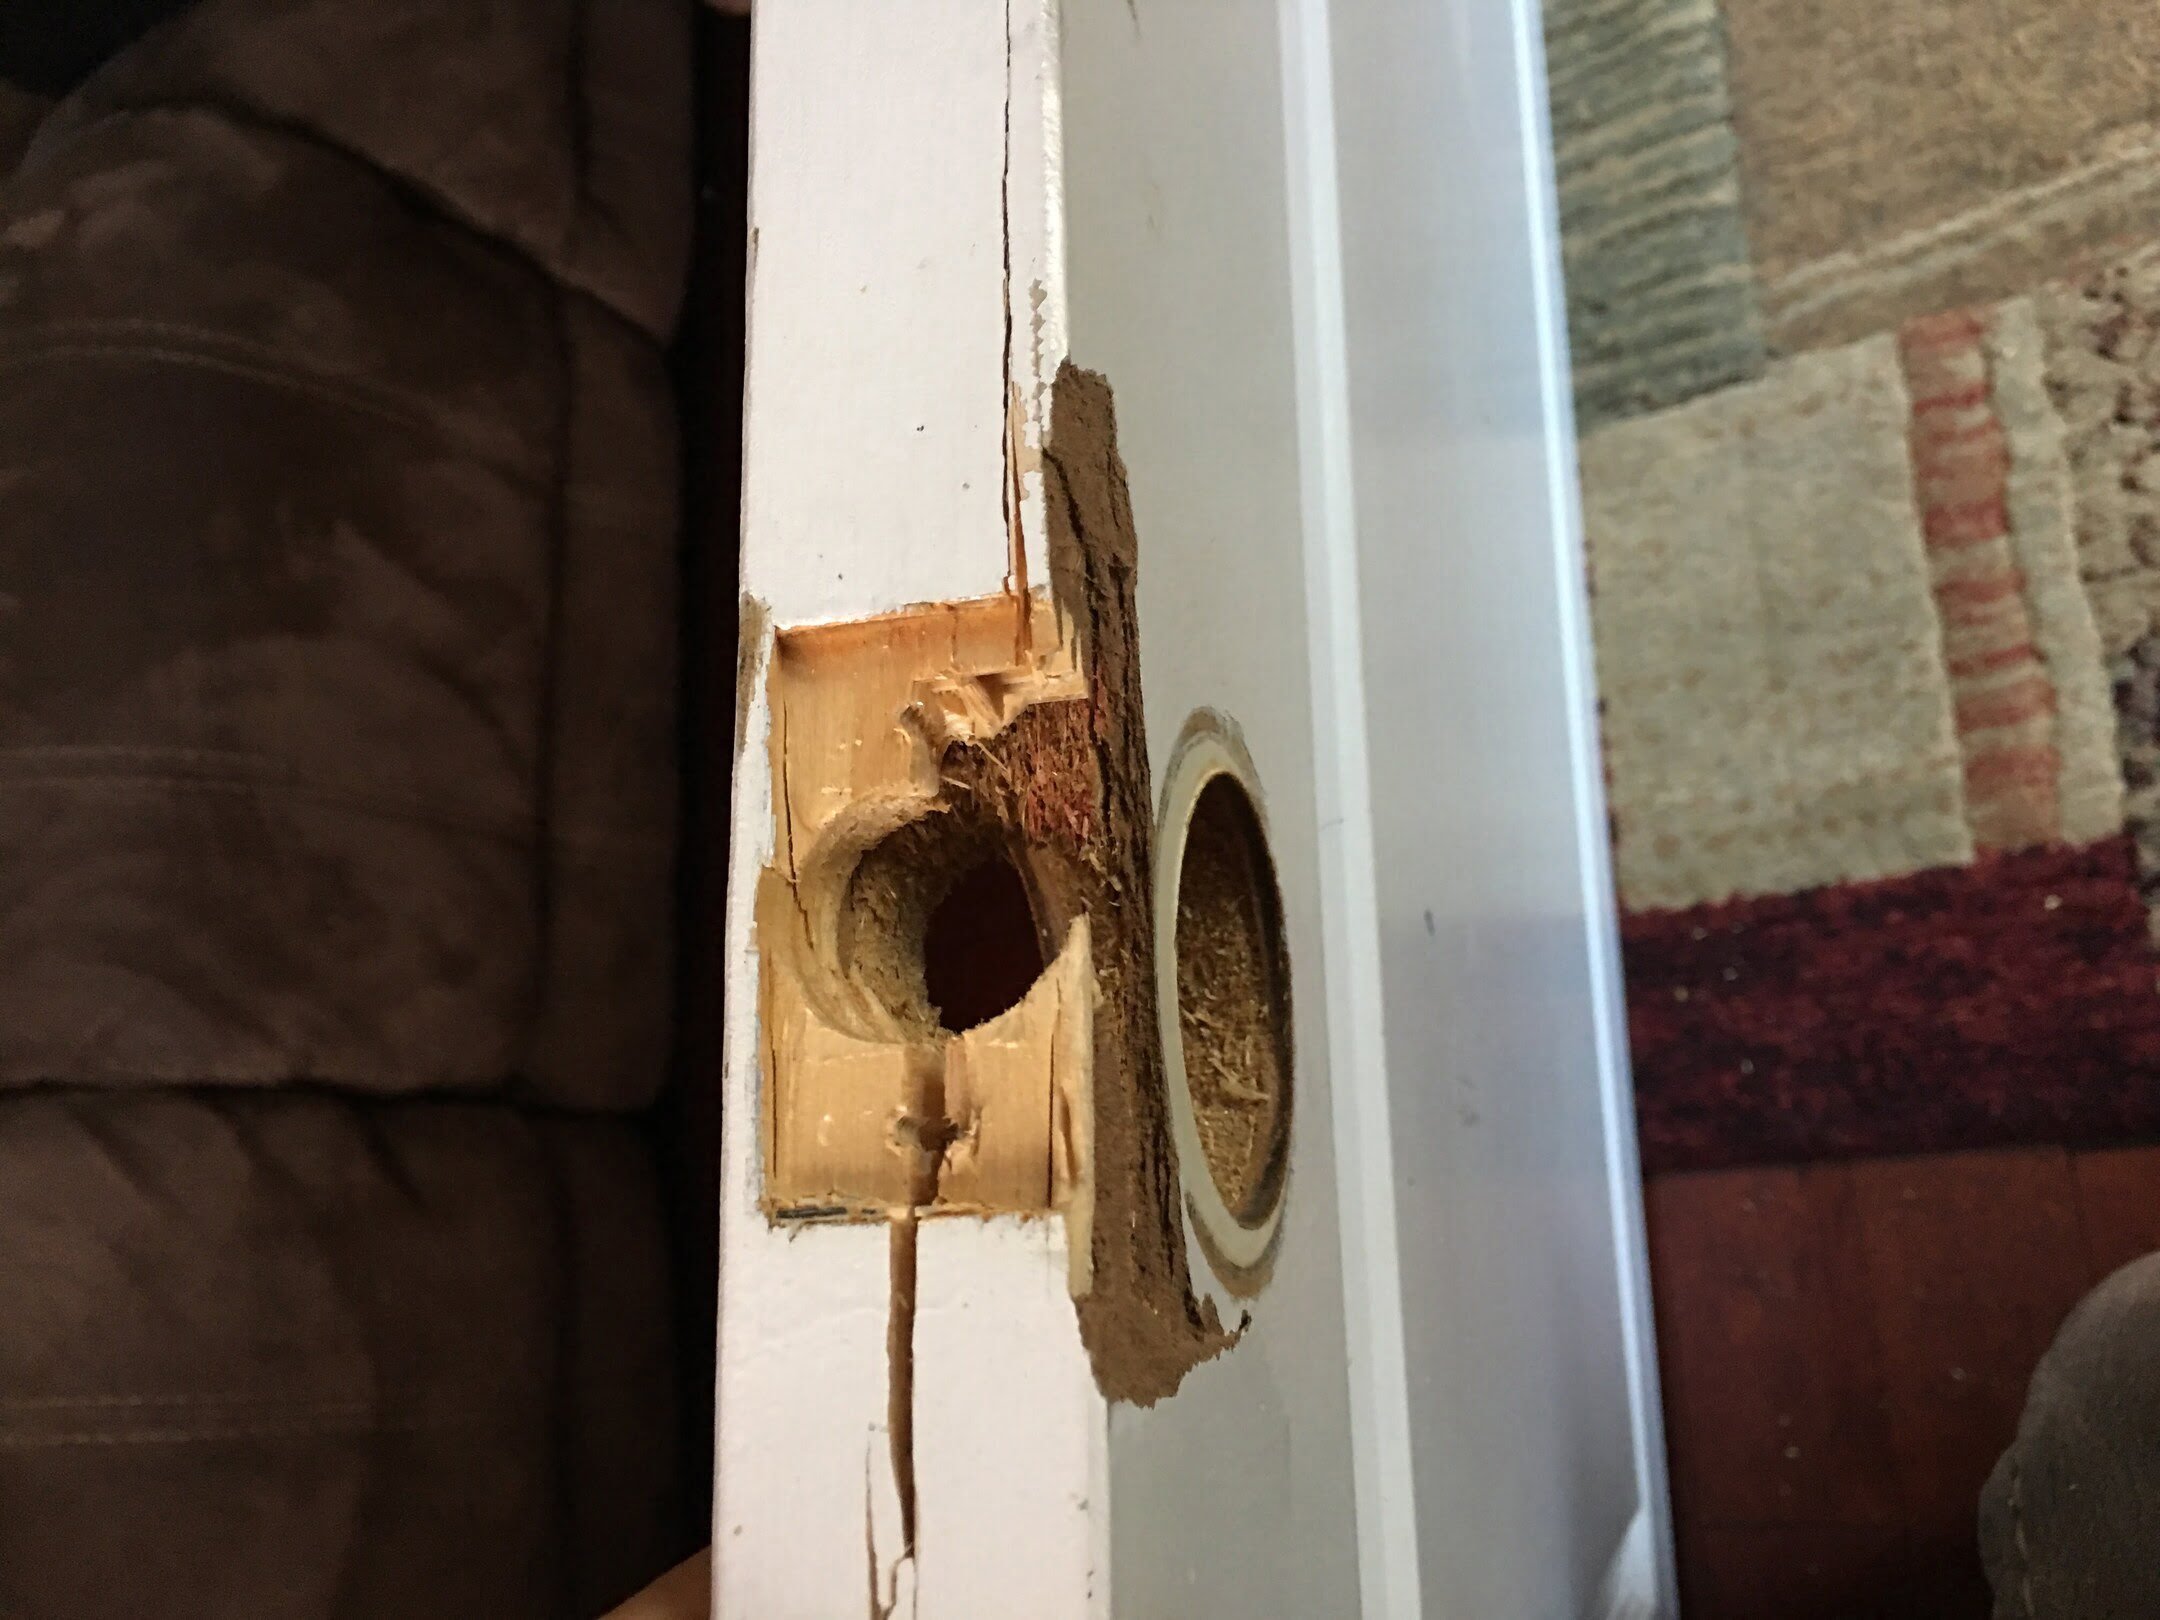
Assessing the Damage
Before diving into the repair process, it's crucial to thoroughly assess the extent of the damage caused by the ceiling light hole. This initial step sets the stage for a successful repair, ensuring that you have a clear understanding of the scope of the project.
Begin by carefully examining the size and shape of the hole. Is it a small puncture or a larger gap? Assess whether the surrounding ceiling area has been affected, such as by cracks or water damage. By taking note of these details, you can determine the appropriate approach for the repair.
Next, consider the material of the ceiling. Is it made of drywall, plaster, or another type of material? The composition of the ceiling will influence the techniques and materials needed to effectively patch the hole.
Inspect the electrical wiring around the hole, especially if it was previously connected to a light fixture. Safety is paramount, so ensure that the wiring is intact and free from any damage. If you have any doubts about the electrical components, it's advisable to seek professional assistance to address these concerns before proceeding with the repair.
Furthermore, evaluate the condition of the ceiling's surface. Are there any irregularities or protrusions around the hole? Smoothness and evenness are essential for achieving a seamless repair, so identifying any surface imperfections is crucial.
Consider the location of the hole in relation to the ceiling's structural elements, such as joists or beams. Understanding the positioning of these elements will guide you in selecting the appropriate method for securing the patch and installing the new ceiling light.
Lastly, assess the overall aesthetic impact of the hole. Visualize how the repaired area should blend with the surrounding ceiling, ensuring a cohesive and polished appearance once the repair is complete.
By meticulously assessing these aspects, you'll gain a comprehensive understanding of the damage and be better equipped to proceed with the subsequent steps of gathering materials and tools, patching the hole, and ultimately restoring the ceiling to its former pristine condition.
Gathering Materials and Tools
Gathering the necessary materials and tools is a pivotal step in preparing for the repair of a ceiling light hole. By ensuring that you have the right supplies at your disposal, you can streamline the repair process and achieve a professional-quality result. Here's a comprehensive list of essential items to procure before commencing the repair:
Materials:
-
Patch Material: Depending on the type of ceiling, you'll need an appropriate patching material such as drywall compound, plaster, or a patching kit. Ensure that the material matches the composition of your ceiling for optimal adhesion and durability.
-
Backing Material: For larger holes, backing material such as a mesh patch or drywall scraps will provide structural support for the patching compound.
-
Primer: Acquire a high-quality primer suitable for the ceiling material. The primer will promote adhesion and create a uniform surface for painting.
-
Paint: Select a paint color that matches the existing ceiling finish. If you don't have leftover paint from the ceiling, consider obtaining a color-matching service to ensure a seamless blend.
-
Painter's Tape: This will be used to protect surrounding areas from accidental paint splatter and ensure clean, defined edges.
-
Sandpaper: Have a variety of grits on hand, including fine-grit sandpaper for smoothing the patched area and achieving a seamless finish.
-
Cleaning Supplies: Prepare a damp cloth or sponge for cleaning the repair area and removing any debris or dust.
Tools:
-
Putty Knife: A putty knife in various sizes will be indispensable for applying patching compound and smoothing the surface.
-
Utility Knife: Use a sharp utility knife to cut and shape patching materials with precision.
-
Sanding Block: A sanding block or sanding sponge will aid in achieving a smooth and even surface during the sanding process.
-
Paintbrushes and Rollers: Depending on the size of the repair area, have an assortment of paintbrushes and rollers for applying primer and paint.
-
Ladder or Step Stool: Ensure safe and convenient access to the ceiling by having a stable ladder or step stool at hand.
-
Drop Cloth or Plastic Sheeting: Protect the surrounding area from dust and debris by laying down a drop cloth or plastic sheeting.
By assembling these materials and tools, you'll be well-prepared to execute each phase of the repair process efficiently and effectively. With careful preparation and attention to detail, you'll be on your way to seamlessly mending the ceiling light hole and restoring the visual appeal of your living space.
Read more: How To Fix A Pull Chain On A Ceiling Light
Patching the Hole
Patching the hole in the ceiling is a critical phase of the repair process, as it sets the foundation for achieving a seamless and durable restoration. Follow these detailed steps to effectively patch the hole and prepare the surface for the subsequent sanding and painting:
-
Prepare the Patch Material: Begin by preparing the patch material, whether it's drywall compound, plaster, or a patching kit. Ensure that the consistency of the material is smooth and free from lumps, as this will facilitate easier application and blending with the surrounding ceiling.
-
Apply the Patch Material: Using a putty knife, carefully apply the patch material to fill the hole. For larger holes, consider using backing material such as a mesh patch or drywall scraps to provide structural support. Apply the patch material in thin layers, gradually building up the surface to achieve a level finish.
-
Smooth and Blend: After the initial application, use the putty knife to smooth the patch material, ensuring that it is flush with the surrounding ceiling. Pay attention to achieving a seamless blend, minimizing any visible transition between the patch and the existing ceiling surface.
-
Allow for Drying Time: Once the patch material is applied, allow it to dry completely according to the manufacturer's instructions. This is crucial for ensuring the stability and integrity of the patch before proceeding to the next phase of the repair.
-
Inspect and Refine: After the patch material has dried, inspect the patched area for any imperfections or unevenness. Use fine-grit sandpaper to gently smooth the surface, refining the patch to achieve a uniform and flawless finish.
By meticulously following these steps, you'll effectively patch the hole in the ceiling, laying the groundwork for the subsequent stages of sanding and painting. This meticulous approach ensures that the repaired area seamlessly integrates with the surrounding ceiling, resulting in a visually cohesive and structurally sound restoration.
Sanding and Painting
Sanding and painting are pivotal stages in the process of repairing a ceiling light hole, as they contribute to the seamless integration of the patched area with the surrounding ceiling. These steps are essential for achieving a visually cohesive and polished finish. Here's a detailed guide on how to effectively sand and paint the repaired area:
Sanding
-
Prepare the Surface: Before commencing the sanding process, ensure that the patched area is thoroughly dry. Use a clean, dry cloth to remove any residual dust or debris from the surface.
-
Select the Right Grit: Begin with a medium-grit sandpaper to gently smooth the patched area. Gradually transition to finer-grit sandpaper to achieve a uniformly smooth surface. The goal is to blend the patched area seamlessly with the surrounding ceiling, creating an even texture.
-
Use a Sanding Block: Employ a sanding block or sanding sponge to maintain a consistent level surface. This tool aids in achieving a uniform finish while minimizing the risk of over-sanding in specific areas.
-
Inspect for Smoothness: Periodically pause to assess the smoothness of the sanded area. Run your hand over the surface to detect any remaining imperfections or rough patches. Address any irregularities by continuing to sand until the entire area feels uniformly smooth to the touch.
Painting
-
Apply Primer: Once the sanded area is smooth and free from imperfections, apply a high-quality primer to the entire repaired section. The primer promotes adhesion and creates a uniform base for the paint, ensuring a consistent finish.
-
Select the Right Paint: Choose a paint color that matches the existing ceiling finish. If you don't have leftover paint from the ceiling, consider obtaining a color-matching service to ensure a seamless blend.
-
Use Painter's Tape: To protect the surrounding areas from accidental paint splatter, carefully apply painter's tape along the edges of the repaired section. This step ensures clean, defined lines and prevents paint from spreading beyond the intended area.
-
Apply the Paint: Utilize high-quality paint and a suitable brush or roller to apply an even coat over the primed area. Apply multiple thin coats as needed, allowing each layer to dry completely before applying the next. This approach ensures a consistent and professional-looking finish.
-
Remove the Painter's Tape: Once the paint has dried, gently remove the painter's tape to reveal clean, defined edges. This step adds a final touch to the repair, creating a seamless transition between the repaired area and the surrounding ceiling.
By meticulously following these steps, you'll effectively sand and paint the repaired area, achieving a visually cohesive and polished finish that seamlessly integrates with the surrounding ceiling. These meticulous techniques ensure that the repaired section not only blends seamlessly but also maintains the structural integrity of the ceiling, resulting in a professional-quality restoration.
Read more: How To Fix A Ceiling Fan Light Socket
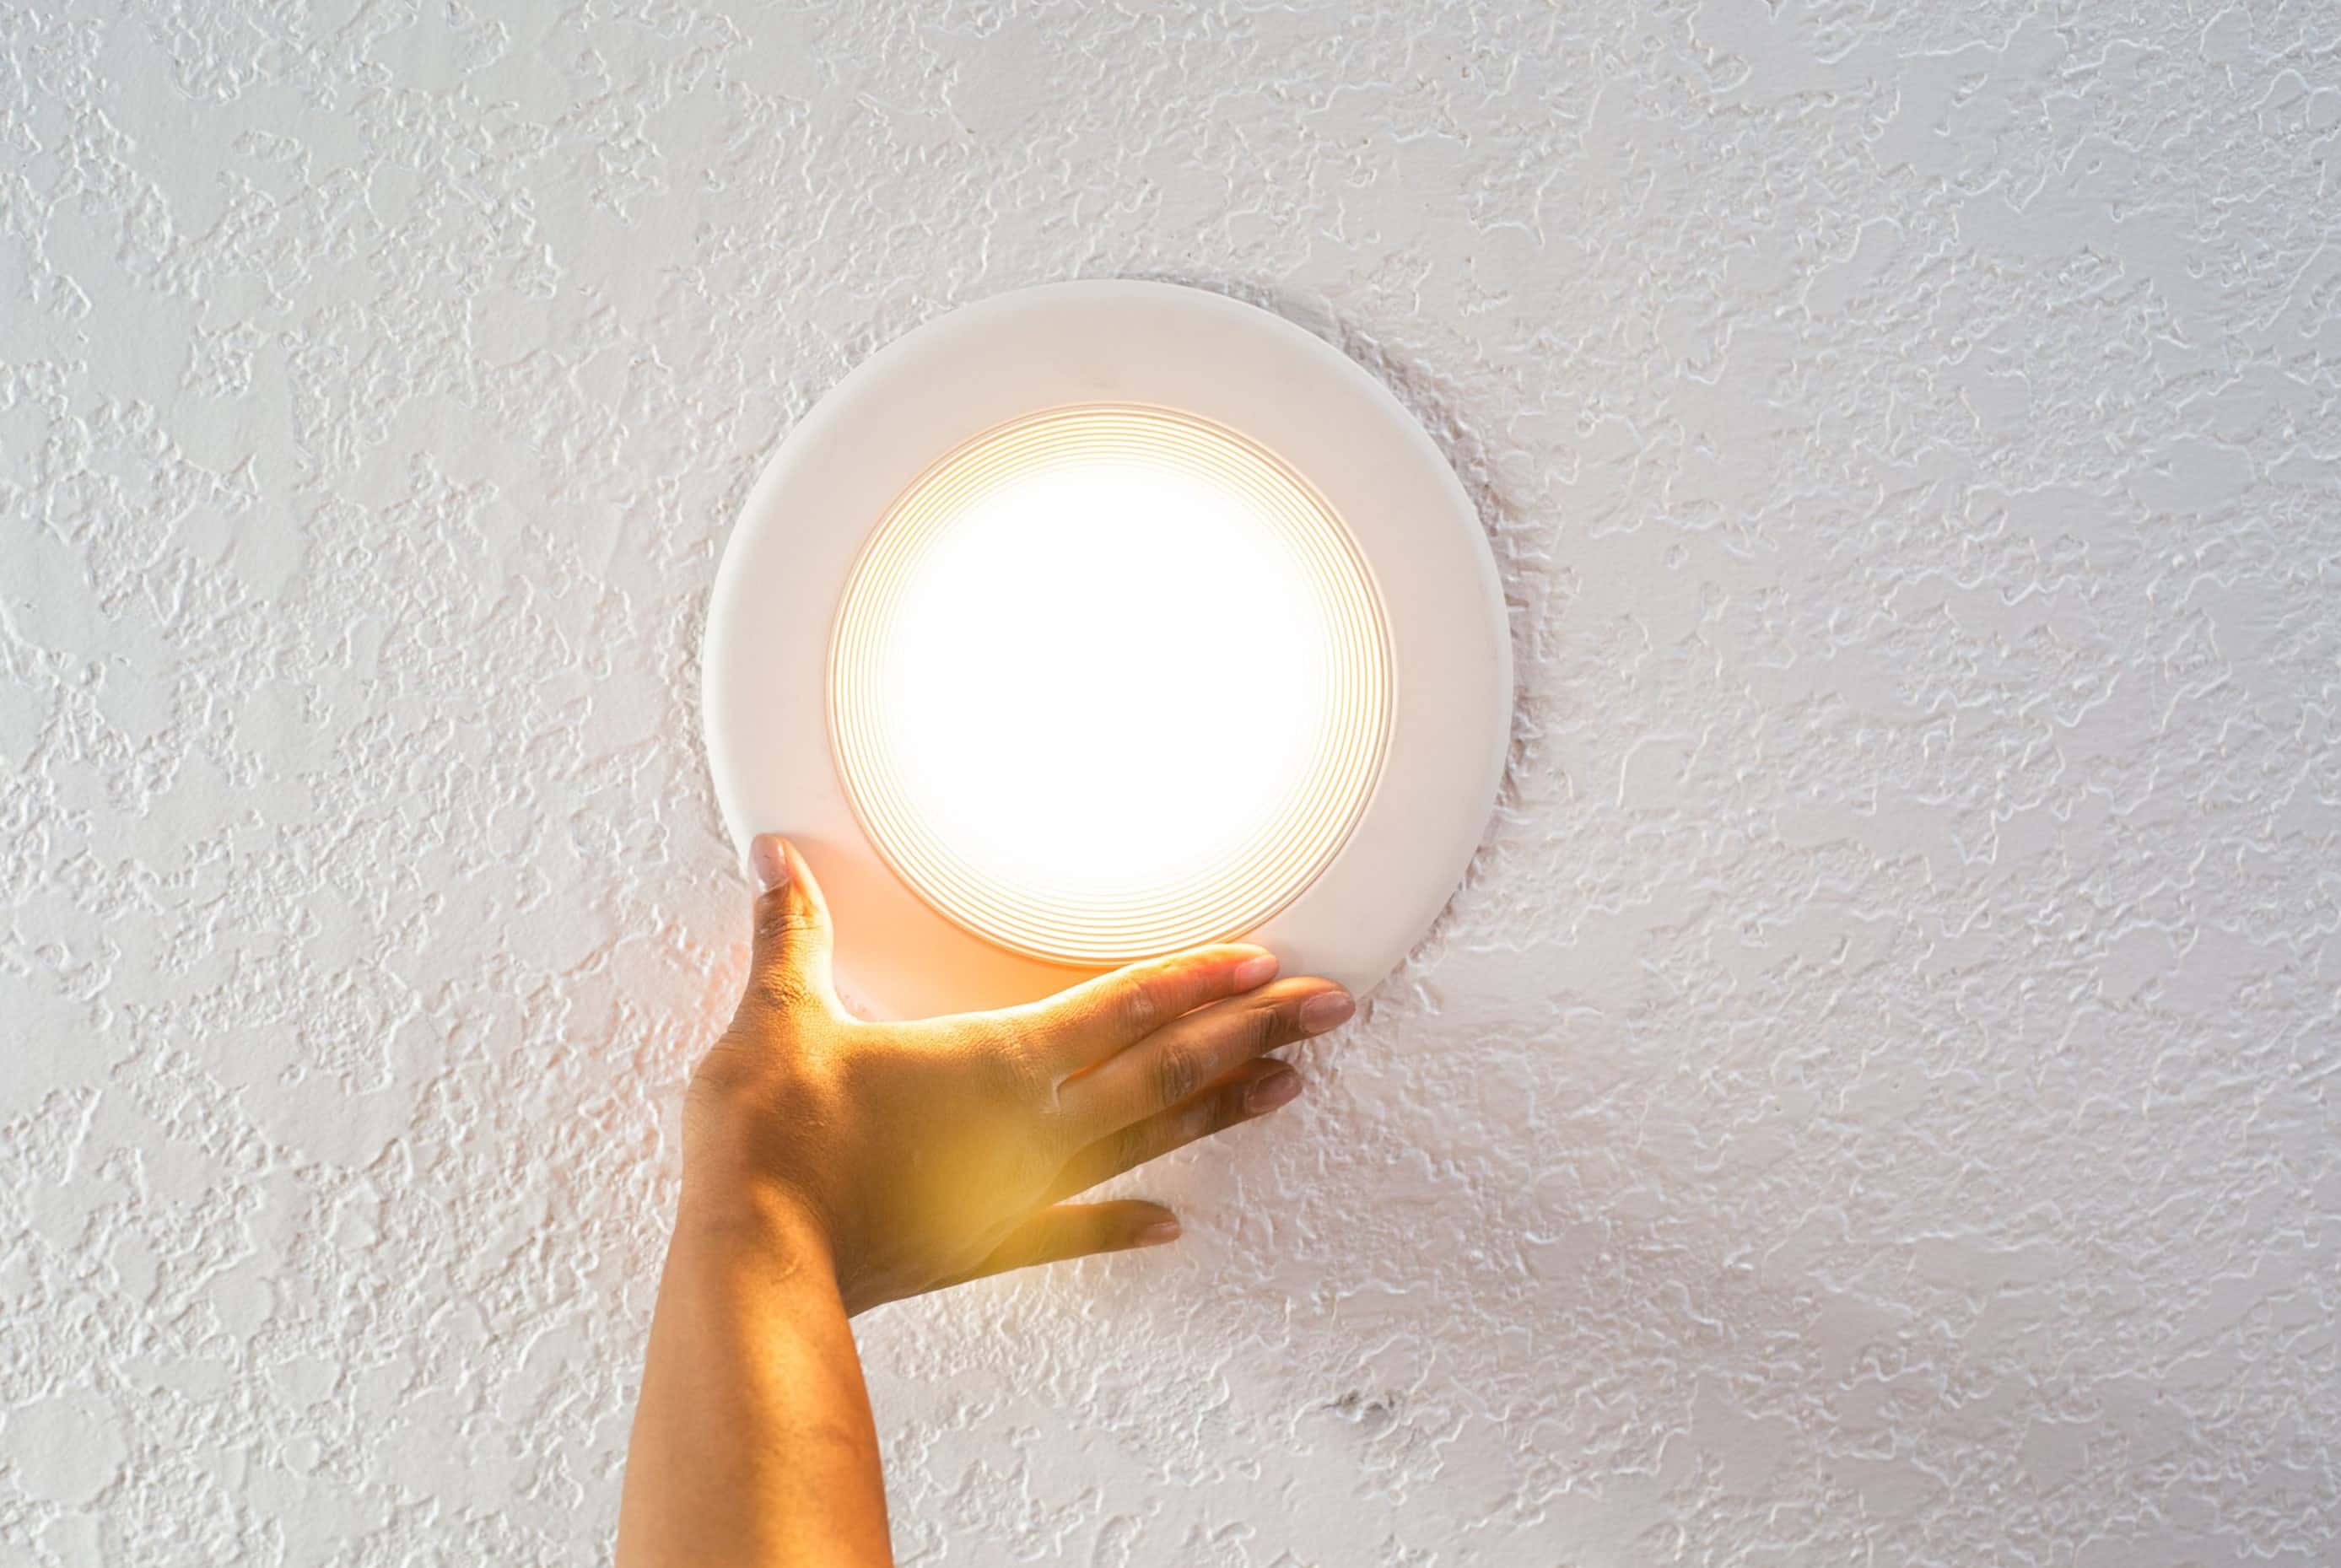
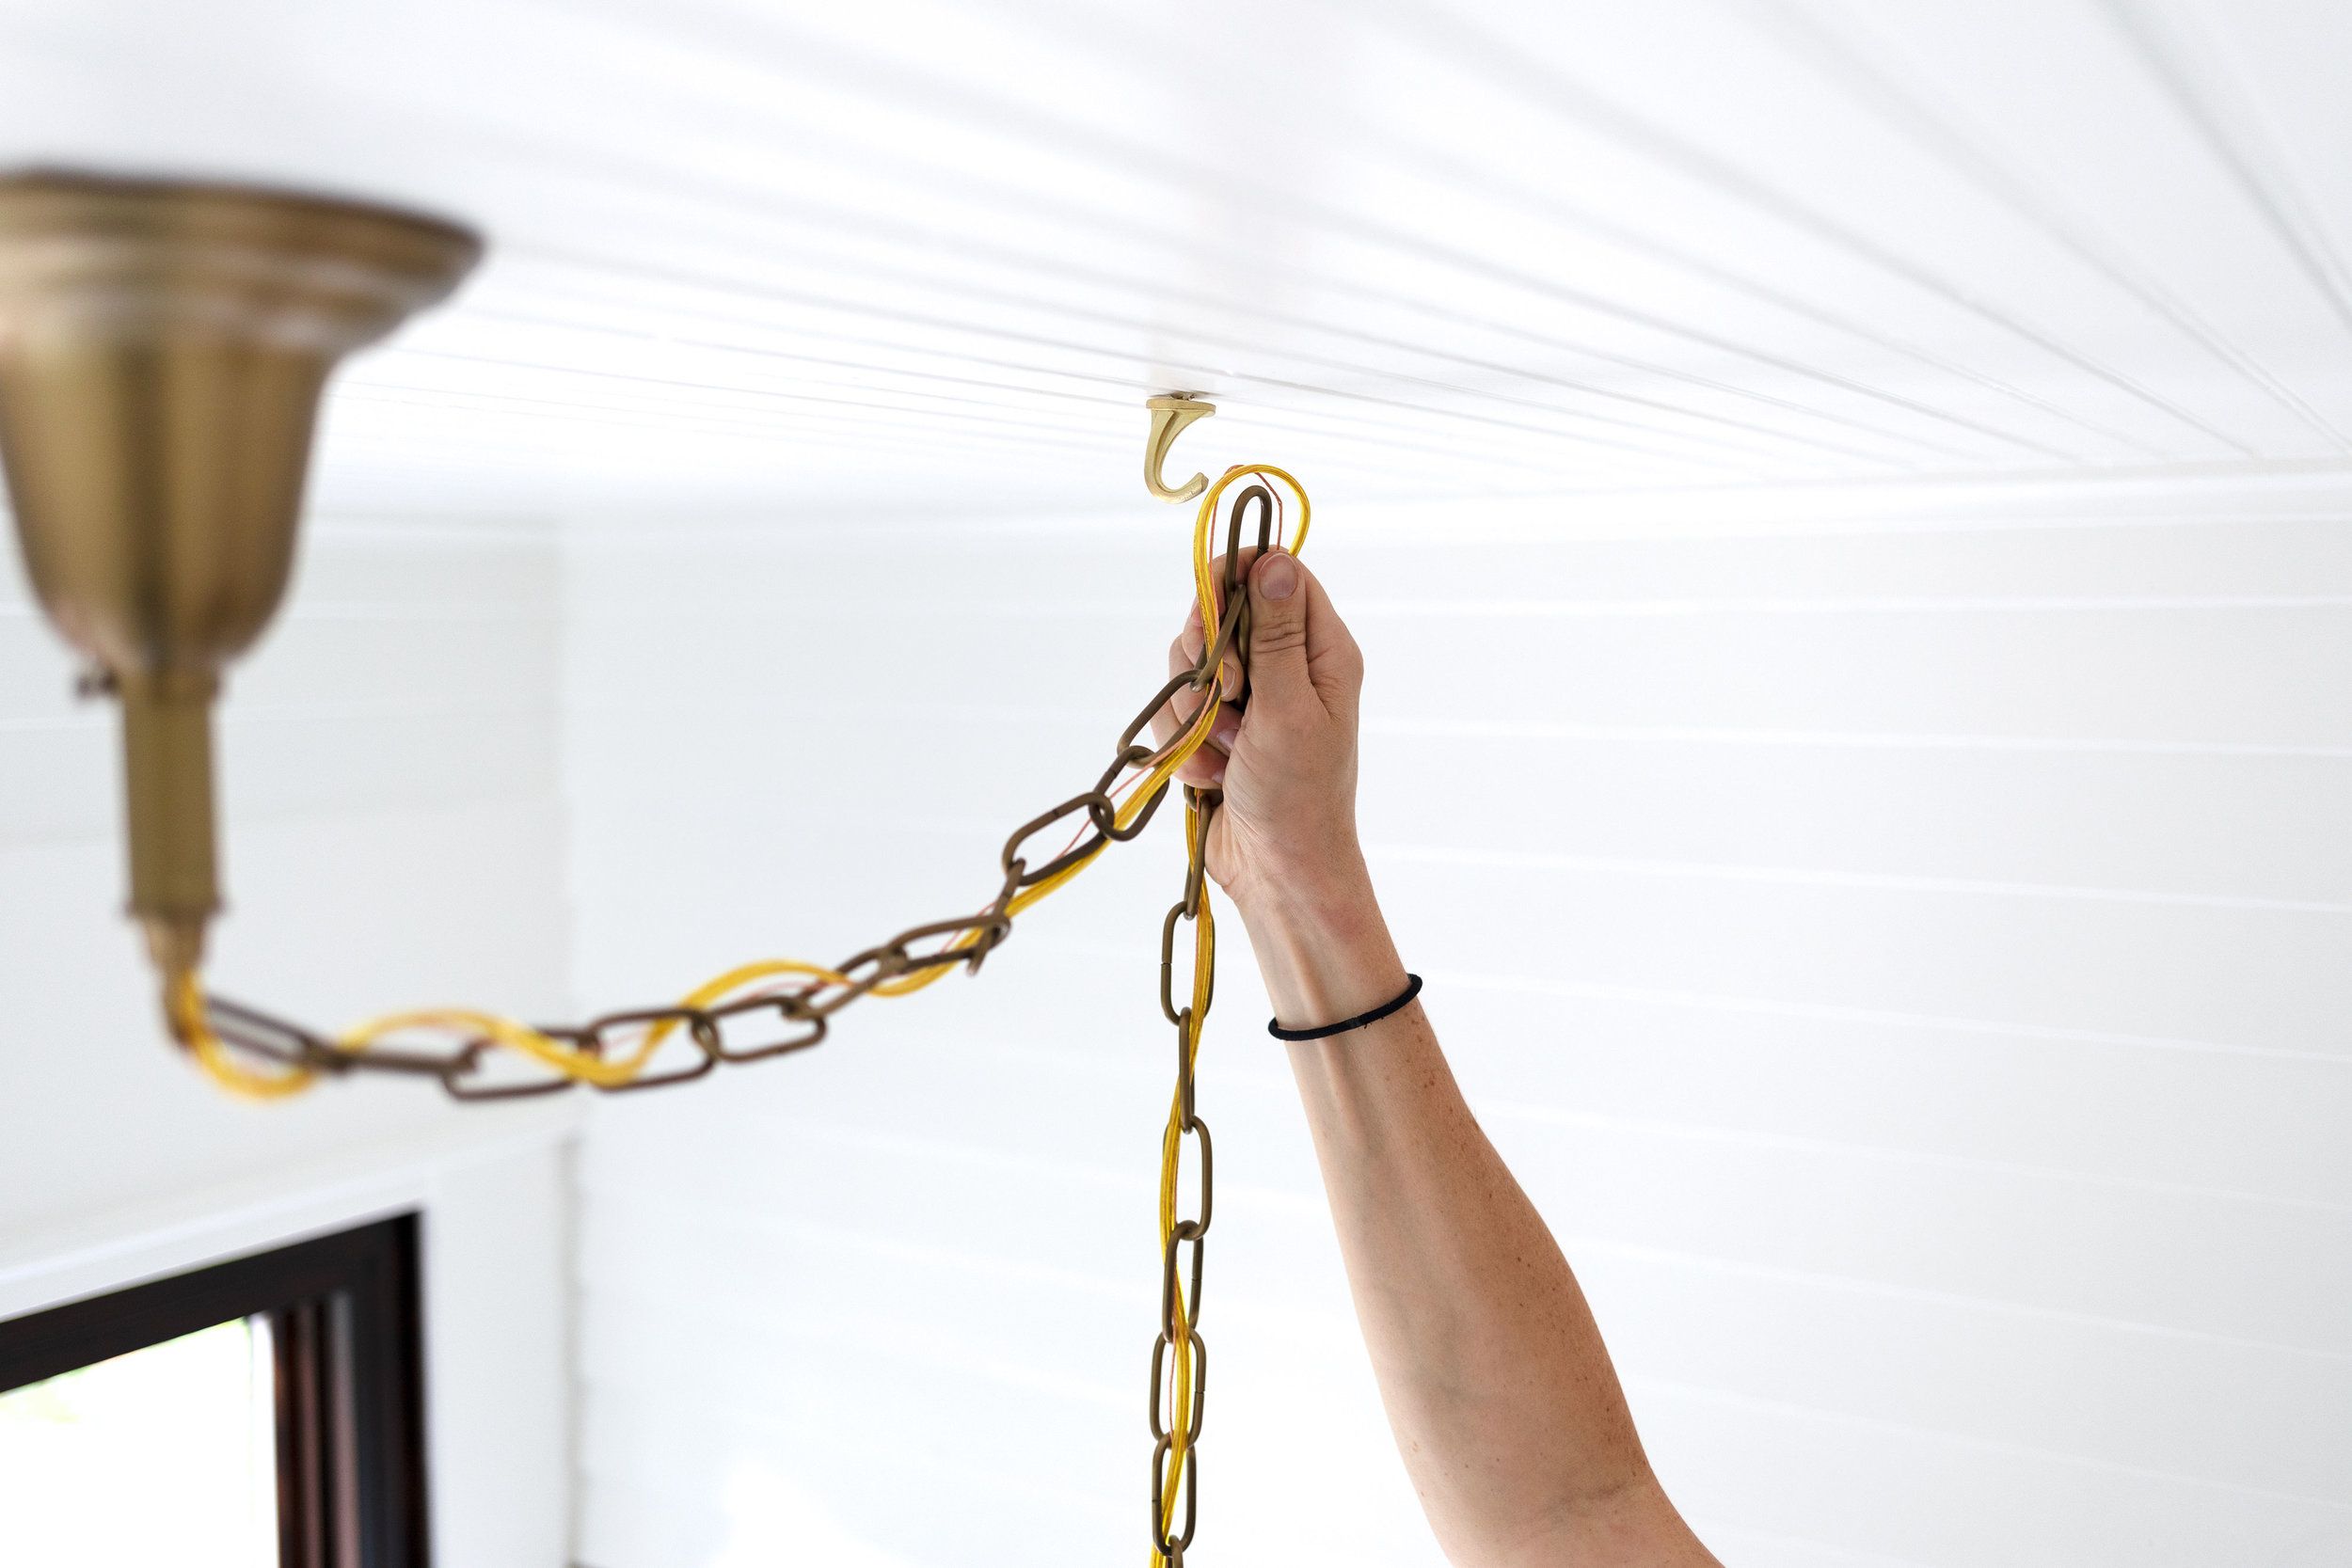
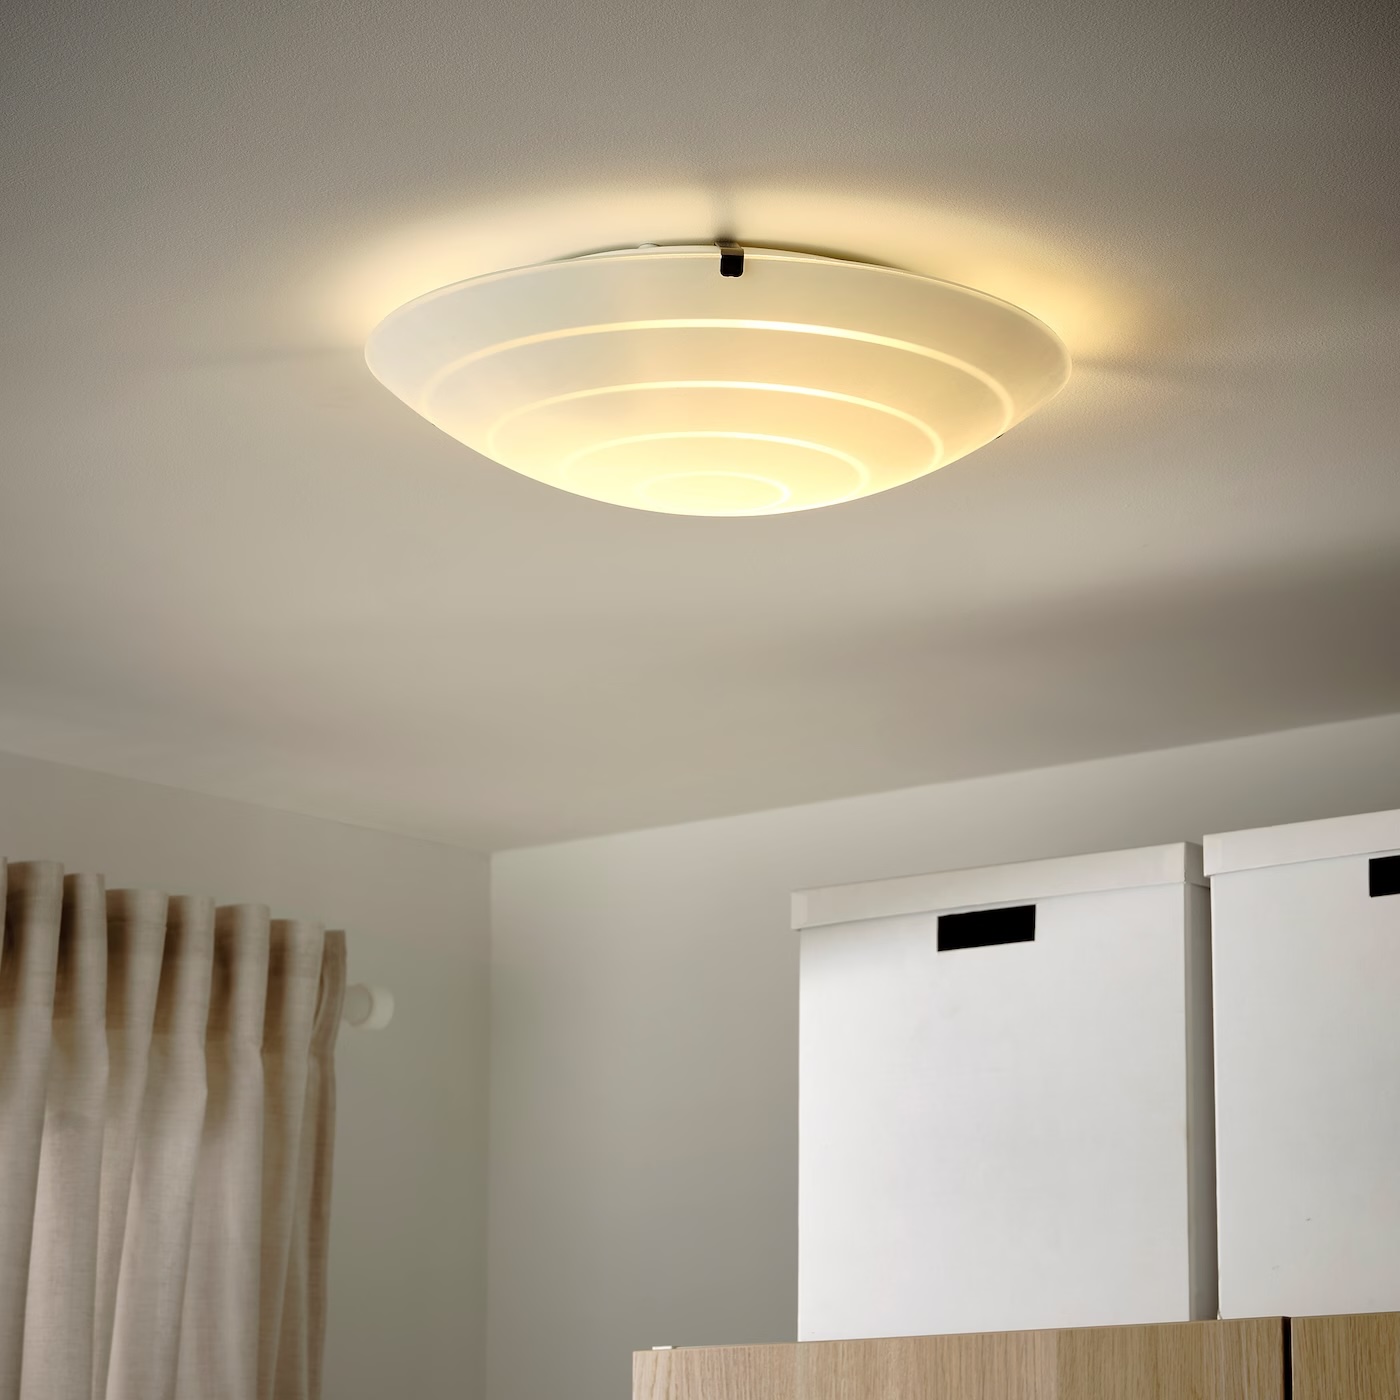
Installing the Ceiling Light
Installing the ceiling light is the final step in the comprehensive process of repairing a ceiling light hole. This phase marks the culmination of the meticulous repair efforts, as it involves integrating the new light fixture with the seamlessly restored ceiling surface. Here's a detailed guide on how to effectively install the ceiling light, ensuring a safe and visually appealing final result.
1. Prepare the Electrical Wiring
Before proceeding with the installation, it's crucial to ensure that the electrical wiring is safely and securely positioned for the new light fixture. If the wiring was previously connected to the old light fixture, carefully inspect and reposition it as needed. Ensure that the wiring is free from damage and properly insulated to prevent any electrical hazards.
2. Mount the Light Fixture
Position the new ceiling light fixture over the designated installation area. Depending on the type of fixture, follow the manufacturer's instructions for mounting it securely to the ceiling. Use the appropriate screws or mounting hardware to affix the fixture in place, ensuring that it is stable and flush with the ceiling surface.
3. Connect the Wiring
Carefully connect the electrical wiring of the new light fixture to the corresponding wires in the ceiling. Follow the standard color-coding for electrical wiring, typically connecting black to black (hot), white to white (neutral), and green or bare copper to the grounding wire. Secure the connections with wire nuts and ensure that they are tightly fastened to prevent any loose or exposed wiring.
Read more: How To Fix A Hole In A Trampoline
4. Install the Light Bulbs
Once the wiring is securely connected, insert the appropriate light bulbs into the fixture. Ensure that the bulbs are compatible with the fixture and adhere to the recommended wattage. Carefully position and secure the bulbs to guarantee proper illumination without any risk of overheating or electrical issues.
5. Test the Light Fixture
Before completing the installation, switch on the power to test the newly installed light fixture. Verify that the fixture functions as intended, providing adequate illumination without flickering or other electrical issues. This step is essential for confirming the successful installation and addressing any potential issues before finalizing the process.
6. Secure the Cover or Canopy
If the light fixture includes a cover or canopy, securely attach it to the ceiling to conceal the wiring and mounting hardware. Follow the manufacturer's instructions for securing the cover in place, ensuring a clean and polished appearance for the installed fixture.
By meticulously following these steps, you'll effectively install the ceiling light, completing the comprehensive repair process with a visually appealing and fully functional lighting solution. This final phase not only enhances the aesthetic appeal of the restored ceiling but also ensures the safe and reliable operation of the newly installed light fixture.
Frequently Asked Questions about How To Fix A Ceiling Light Hole
Was this page helpful?
At Storables.com, we guarantee accurate and reliable information. Our content, validated by Expert Board Contributors, is crafted following stringent Editorial Policies. We're committed to providing you with well-researched, expert-backed insights for all your informational needs.


0 thoughts on “How To Fix A Ceiling Light Hole”