Home>Interior Design>How To Fix Ceiling Cracks: 5 Steps To A Smoother Ceiling
Interior Design
How To Fix Ceiling Cracks: 5 Steps To A Smoother Ceiling
Modified: August 16, 2024
Learn how to fix ceiling cracks and achieve a smoother interior design with our 5-step guide. Transform your space with these easy-to-follow steps!
(Many of the links in this article redirect to a specific reviewed product. Your purchase of these products through affiliate links helps to generate commission for Storables.com, at no extra cost. Learn more)
Introduction
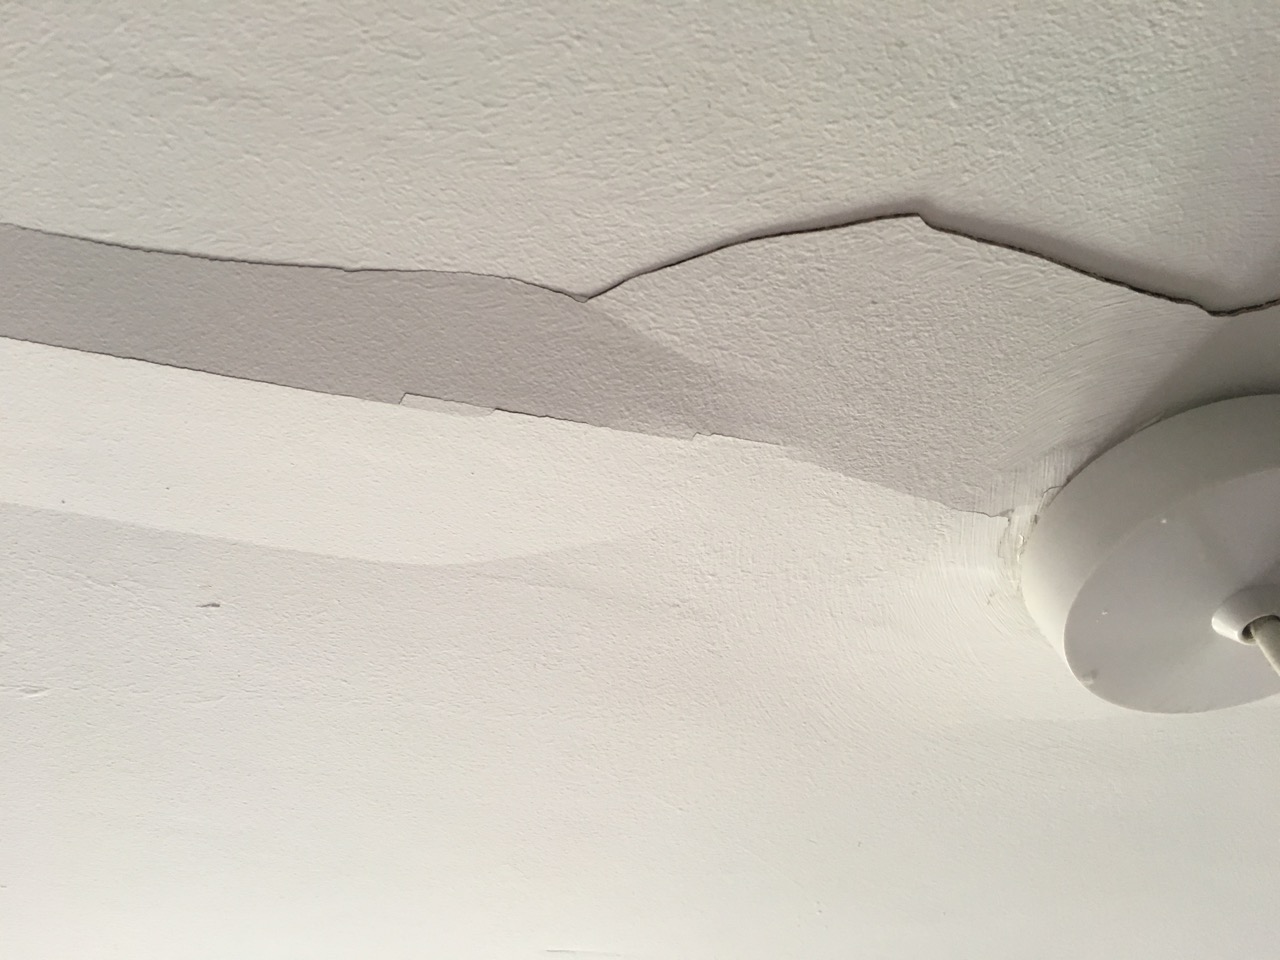
When it comes to interior design, a smooth and flawless ceiling is essential for creating a polished and cohesive look in any space. Unfortunately, over time, ceilings can develop cracks that not only detract from the overall aesthetic but also indicate potential structural issues. However, fear not! Fixing ceiling cracks is a common home improvement task that can be easily tackled with the right tools and techniques.
In this article, we will walk you through five simple steps to repair and restore your ceiling to its former glory. Whether you’re a seasoned DIY enthusiast or a novice looking to take on your first home improvement project, these steps will guide you in achieving a smoother and more visually appealing ceiling.
But before we dive into the specifics, it’s important to understand the severity of the cracks in your ceiling. Some cracks may be superficial and purely cosmetic, while others could be a sign of more significant underlying issues. Assessing the severity of the cracks will help you determine the best approach for repairing them.
Now that you’re aware of the importance of fixing ceiling cracks, let’s move on to step one: assessing the severity of the cracks.
Key Takeaways:
- Easily repair ceiling cracks with 5 simple steps, from assessing severity to sanding and painting. Achieve a smooth and flawless ceiling with the right tools and techniques.
- Proper maintenance and prompt repair of ceiling cracks are essential for preserving the beauty and integrity of your space. Stay vigilant and address any issues promptly for a visually appealing interior.
Read more: How To Fix Cracked Ceiling Paint
Step 1: Assess the severity of the ceiling cracks
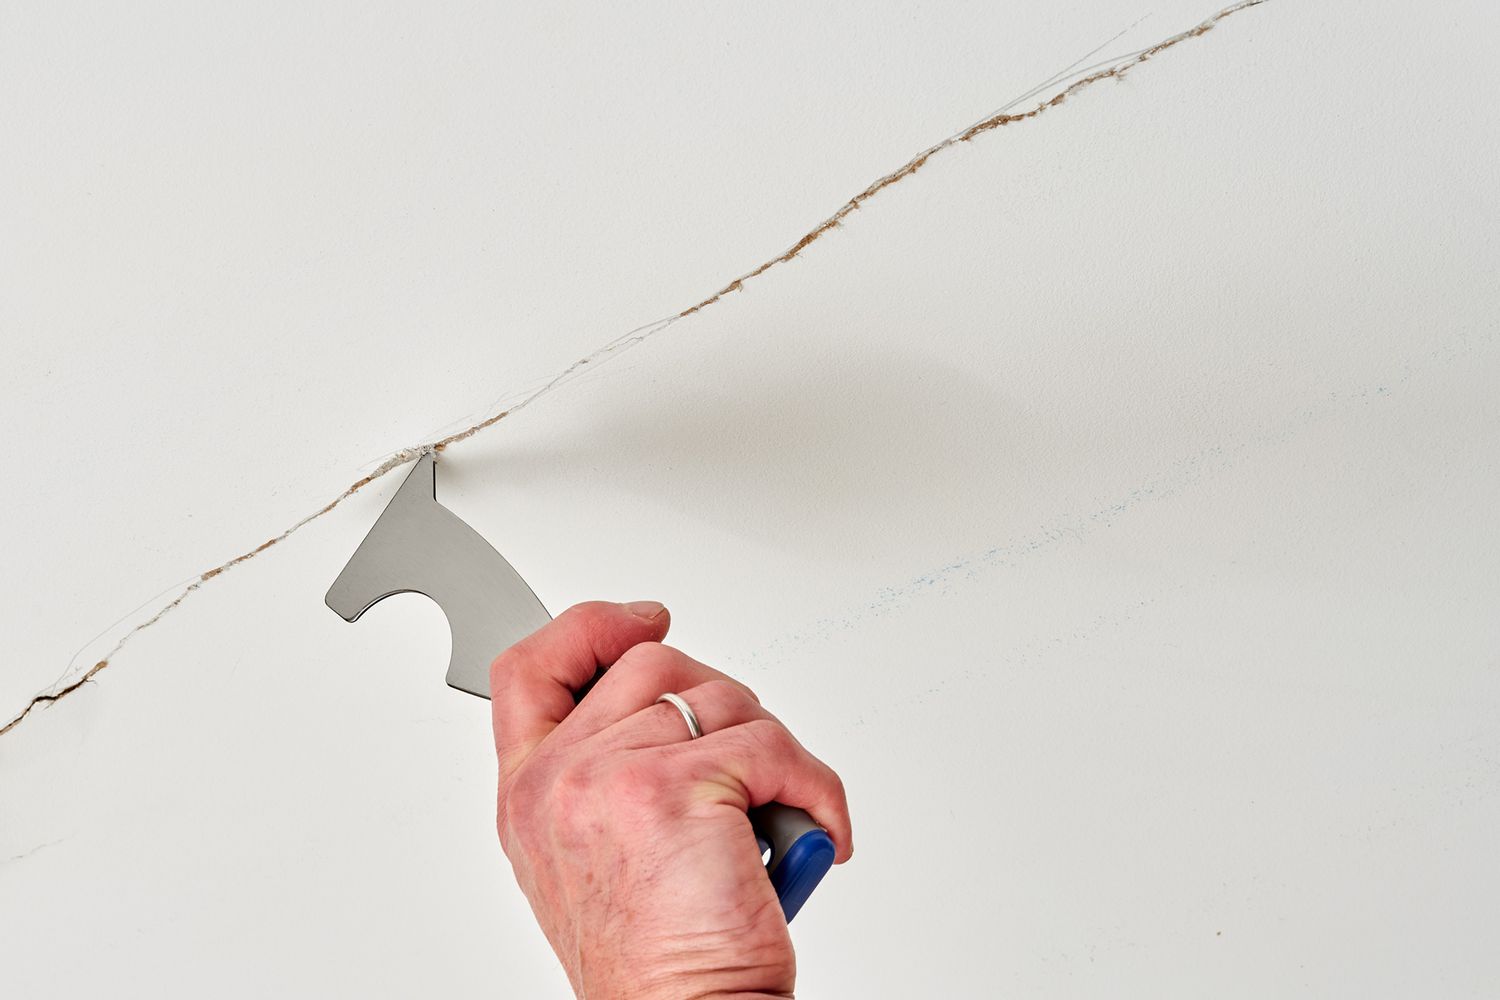
Before you begin any repair work, take the time to assess the severity of the ceiling cracks. This will help you determine if you can fix them yourself or if you need to consult a professional.
Here are a few things to consider when examining the cracks:
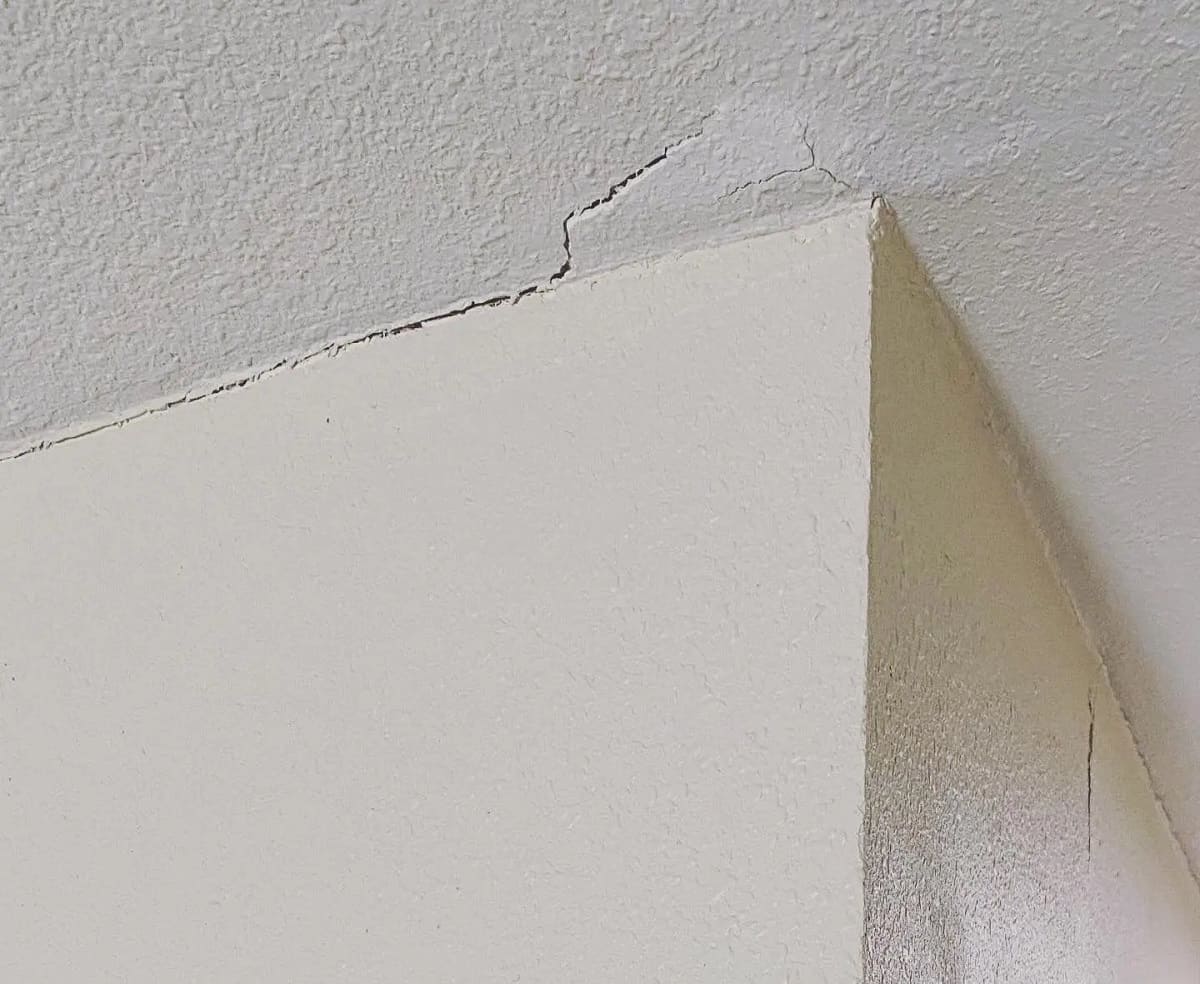
- Size: Measure the length and width of the cracks. Small, hairline cracks are generally less concerning and can be easily repaired. However, if you notice large or widening cracks, it may indicate a more serious structural problem.
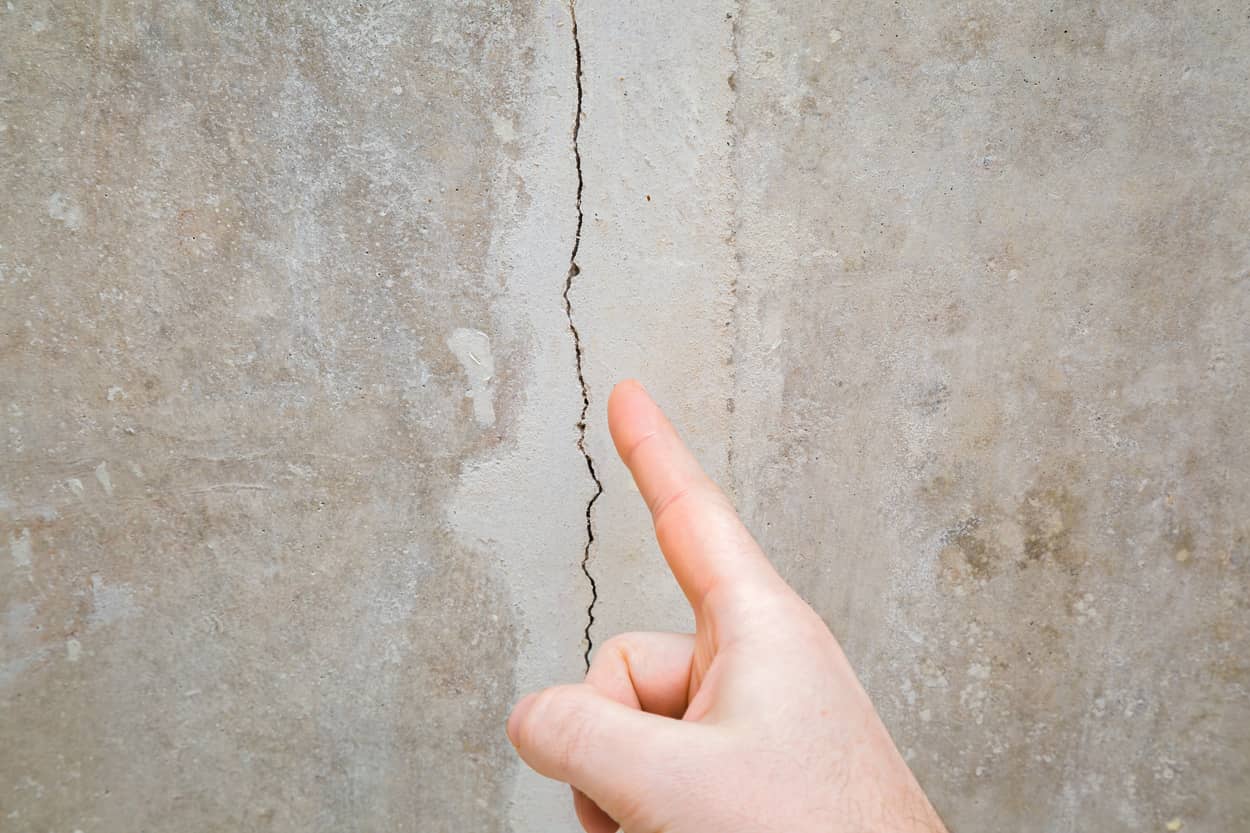
- Location: Take note of where the cracks are located. Cracks near windows, doors, or corners of the room may be due to settling or shifting of the building. On the other hand, cracks along the ceiling’s center could be a sign of water damage or a sagging ceiling.
- Pattern: Observe the pattern of the cracks. Vertical cracks are typically caused by normal settling, while diagonal or horizontal cracks can indicate more severe issues, such as foundation problems or structural stress.
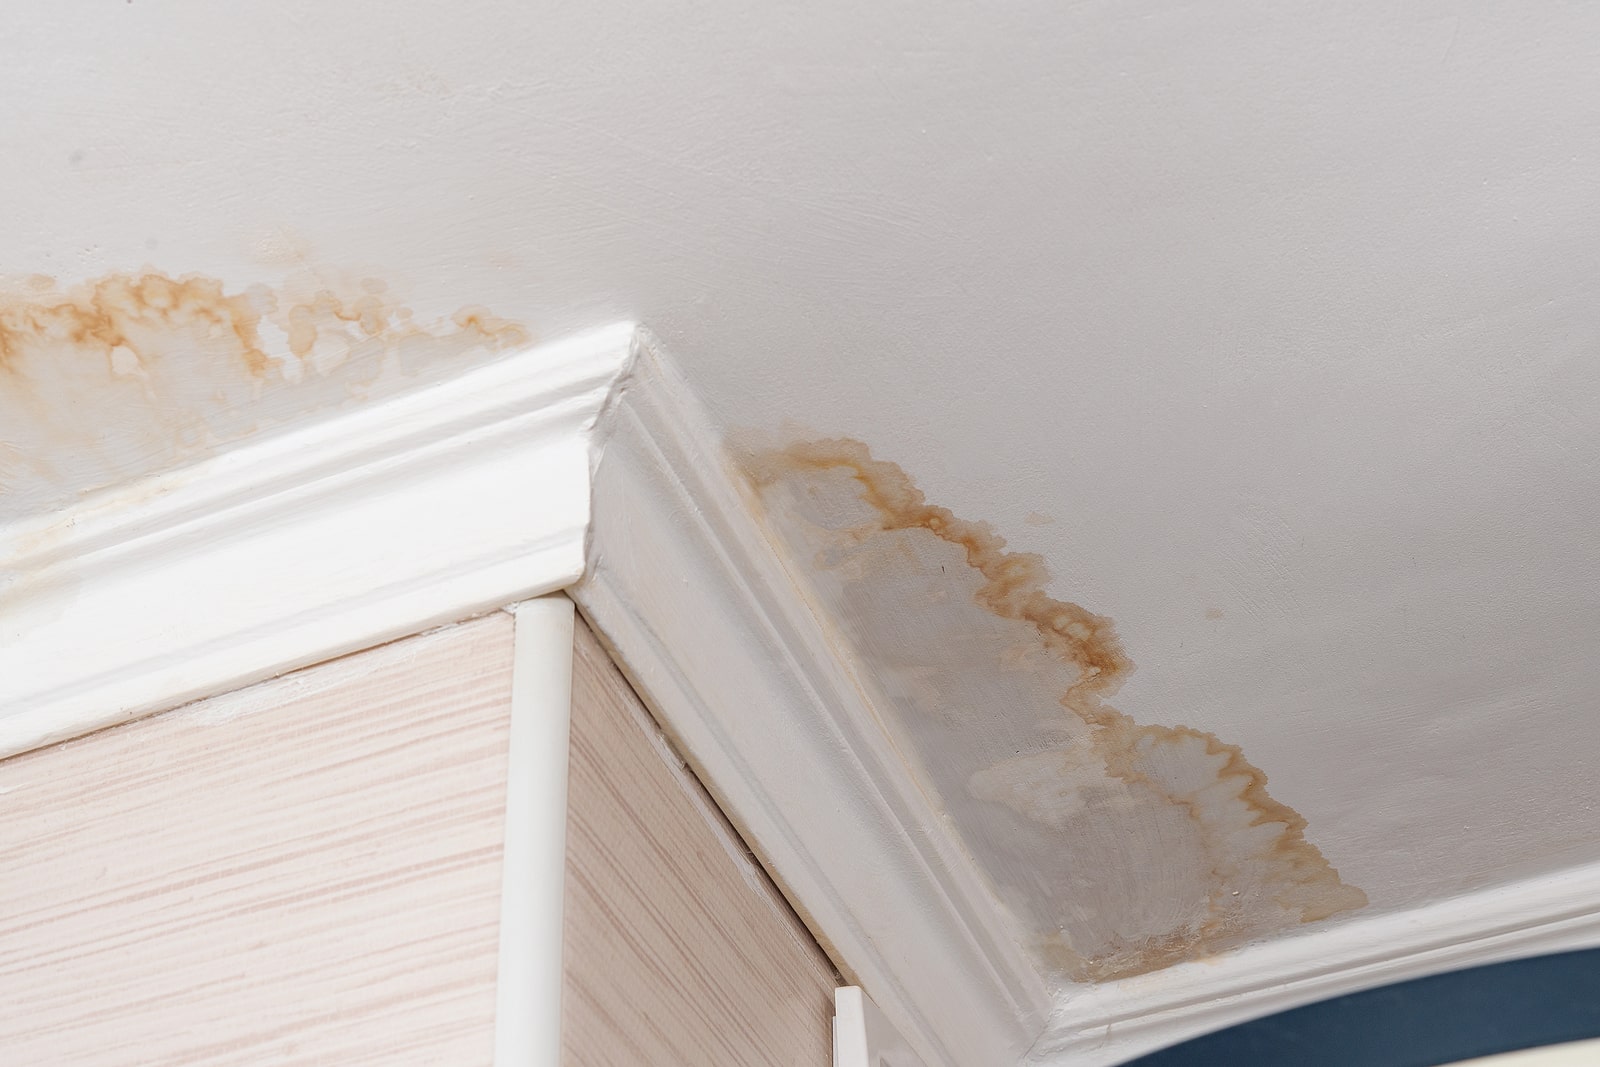
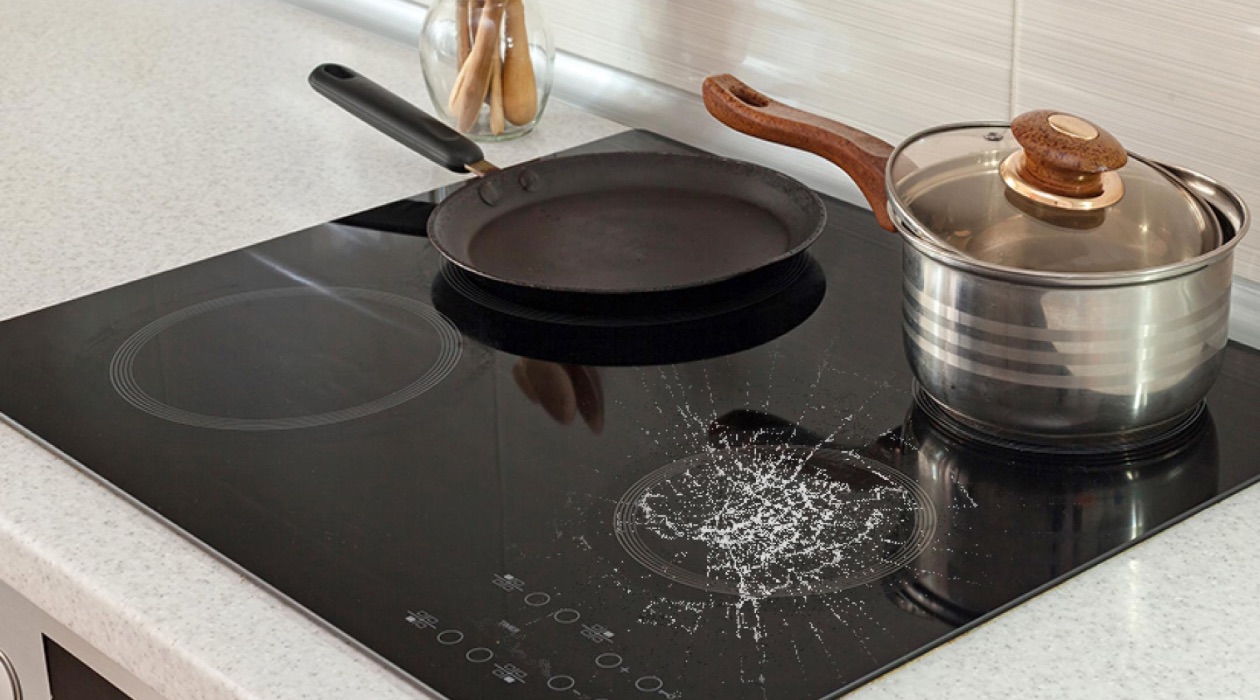
- Additional signs: Look out for any other signs of damage, such as sagging, bulging, or discoloration. These signs may suggest water leakage, humidity issues, or even a potential ceiling collapse.
It’s important to note that if you are unsure about the severity of the cracks or if they appear to be a result of structural issues, it is best to consult a professional contractor or a structural engineer who can provide a thorough assessment and recommend the appropriate course of action.
However, if the cracks are small, hairline, and purely cosmetic, you can proceed with the repair process outlined in the following steps.
Now that you’ve assessed the severity of the ceiling cracks, you’re ready to move on to step two: gathering the necessary tools and materials.
Step 2: Gather the necessary tools and materials
Before you begin repairing the ceiling cracks, it’s essential to gather all the necessary tools and materials. Being prepared with the right supplies will ensure a smooth and efficient repair process.
Here are the tools and materials you’ll need:
- Protective gear: Safety should always be a top priority. Make sure to wear safety goggles, a dust mask, and gloves to protect yourself from dust and debris.
- Ladder or step stool: Depending on the height of your ceiling, you may need a ladder or a step stool to reach the cracked area.
- Putty knife: A putty knife will be used to apply and spread the joint compound.
- Joint compound: This is the primary material used for repairing and filling in the cracks. Choose a high-quality joint compound that is specifically designed for ceiling repairs.
- Sanding block: You’ll need a sanding block or sandpaper to smooth out the repaired area once the joint compound has dried.
- Paint and paintbrush: After the repairs are complete, you’ll need paint that matches the existing ceiling color to touch up and blend in the repaired area.
- Drywall tape (optional): If the cracks are wider or more significant, you may need drywall tape to reinforce the repair. This tape helps create a stronger bond and prevents future cracks.
- Drop cloth: To protect your floors and furniture from any dust or debris that may fall during the repair process, lay down a drop cloth or old sheets.
- Caulk or sealant (if necessary): If the cracks are due to moisture or water damage, you may need caulking or a sealant specifically designed to waterproof the area.
Ensure that you have all these tools and materials ready before you proceed to the next step. This will save you time and make the repair process much more efficient.
Now that you’ve gathered all the necessary tools and materials, you’re ready to move on to step three: preparing the cracked area for repair.
Step 3: Prepare the cracked area
Before you can begin repairing the ceiling cracks, it’s crucial to prepare the area properly. This will ensure that the repair work is effective and long-lasting.
Follow these steps to prepare the cracked area:
- Clean the area: Use a damp cloth or sponge to clean the cracked area and remove any loose debris, dust, or cobwebs. This will allow the joint compound to adhere better to the surface.
- Fill in larger gaps: If the cracks are wider or deeper, you may need to use a putty knife to fill them in with joint compound. Apply the compound generously, pressing it into the cracks and smoothing it out with the putty knife.
- Apply drywall tape (if necessary): If the cracks are significant, it may be advisable to apply drywall tape over them for added reinforcement. Cut the tape to size, place it over the crack, and press it firmly into the joint compound.
- Smooth out the surface: Use the putty knife to smooth out the joint compound and create a seamless transition from the repaired area to the surrounding ceiling. Feather the edges of the compound to blend it in with the rest of the ceiling.
- Allow the compound to dry: Follow the manufacturer’s instructions for the drying time of the joint compound. Depending on the product, it may take a few hours or overnight to fully dry and harden.
During the drying process, it’s important to keep the area well-ventilated by opening windows or using fans. This will help speed up the drying time and prevent any moisture buildup.
Once the joint compound is completely dry, you’re ready to move on to the next step: applying the joint compound to the cracks.
Use a flexible joint compound to fill in the cracks, then sand the area smooth. Apply a primer before painting to ensure a seamless finish.
Step 4: Apply the joint compound
Now that you’ve prepared the cracked area, it’s time to apply the joint compound. This step is crucial for filling in the cracks and creating a smooth surface.
Follow these steps to apply the joint compound:
- Prepare the joint compound: Open the container of joint compound and give it a good stir with a putty knife to ensure it’s well-mixed and smooth.
- Load the putty knife: Using a putty knife, scoop up a small amount of joint compound. Start with a conservative amount and gradually increase as needed.
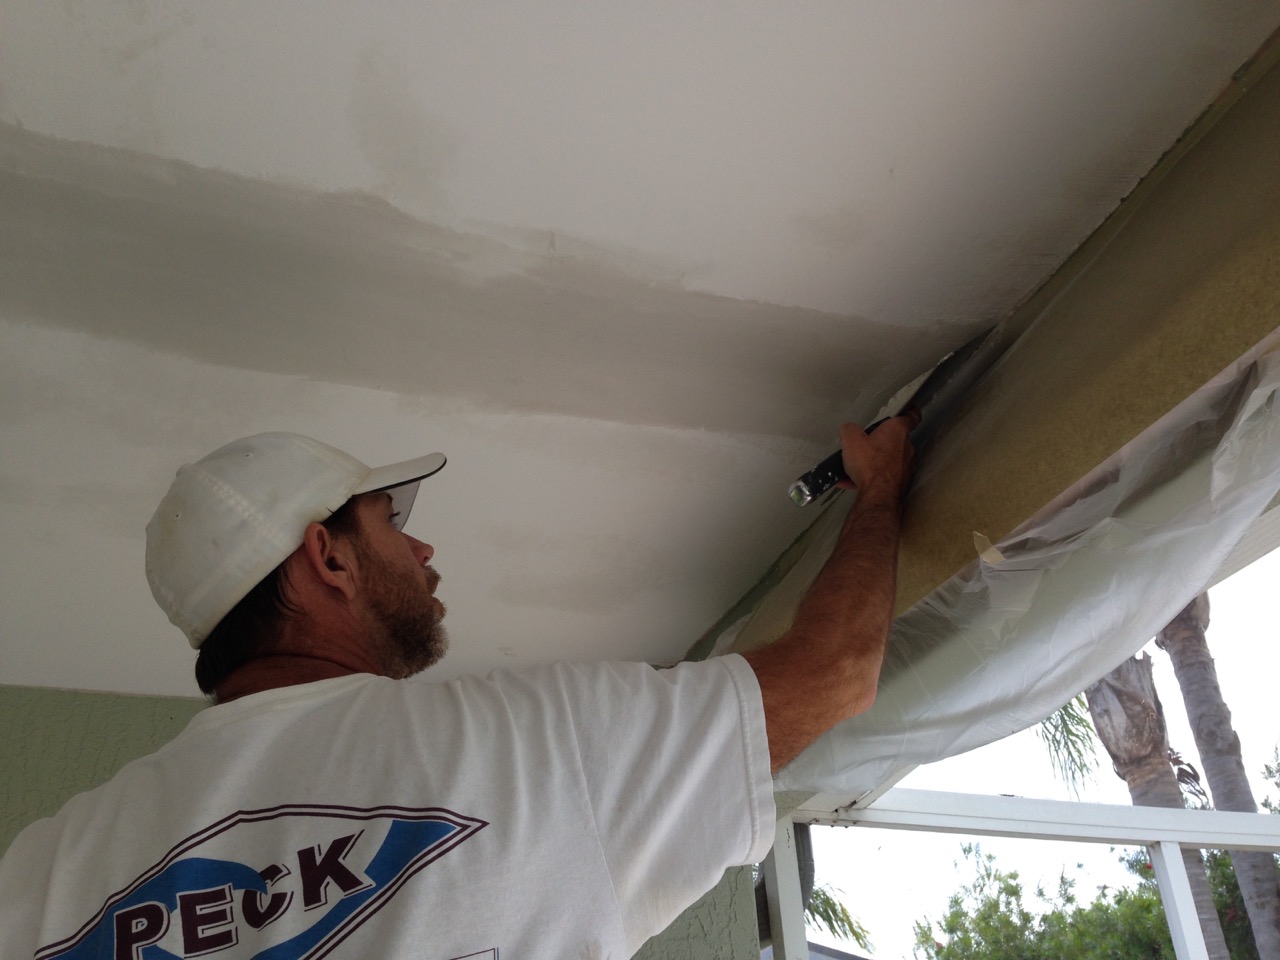
- Apply the joint compound: Holding the putty knife at a slight angle, press the joint compound into the cracks. Use smooth, even strokes to ensure the compound fills the cracks completely. Feather the edges of the compound to blend it in with the surrounding area.
- Continue filling the cracks: Work your way along the cracks, applying the joint compound until each crack is filled and the surface is level. If needed, go back and apply a second or third layer of joint compound for a smoother finish.
- Smooth out the surface: Once the cracks are filled, use the putty knife to smooth out the applied joint compound. This will create a seamless and professional-looking finish. Remove any excess compound or smudges with the putty knife.
Remember to take your time during this step and ensure that the joint compound is applied evenly and smoothly. Uneven or clumpy application can result in an unprofessional finish.
Once you’ve applied the joint compound, allow it to dry completely according to the manufacturer’s instructions. The drying time will vary depending on the product and the conditions in your space. A good rule of thumb is to let it dry for at least 24 hours to ensure it has fully hardened.
With the joint compound properly applied and dried, you’re now ready for the final step in the process: sanding and painting the repaired area.
Read more: How To Fix Stair Step Cracks In Brick
Step 5: Sand and paint the repaired area
After the joint compound has fully dried, it’s time to sand and paint the repaired area. This final step will ensure a seamless integration of the repaired section with the rest of the ceiling.
Follow these steps to sand and paint the repaired area:
- Sand the repaired area: Use a sanding block or sandpaper to smooth out the joint compound and create a level surface. Start with a coarse-grit sandpaper to remove any unevenness and gradually switch to a finer-grit sandpaper for a smoother finish. Be careful not to oversand and create a depression in the ceiling.
- Wipe away dust: After sanding, use a damp cloth or sponge to gently wipe away any dust or debris from the repaired area. This will ensure a clean surface for painting.
- Prime the area (if necessary): Depending on the existing paint on your ceiling and the type of joint compound used, you may need to prime the repaired area before painting. Check the instructions on the paint or primer label to determine if it is recommended.
- Paint the repaired area: Using a paintbrush or roller, apply paint that matches the existing ceiling color to the repaired area. Blend the paint into the surrounding ceiling to achieve a seamless look. Apply multiple coats if necessary, allowing each coat to dry completely before adding the next.
- Let the paint dry: Allow the paint to dry fully according to the manufacturer’s instructions. This may take a couple of hours or longer, depending on the type of paint and the environment.
Once the paint has dried, step back and admire your beautifully repaired and freshly painted ceiling. The cracks should now be virtually invisible, leaving you with a smooth, flawless surface.
Remember, proper maintenance and regular inspection of your ceiling can help prevent future cracks. Keep an eye out for any signs of new cracks or other issues and address them promptly to maintain the integrity and aesthetic appeal of your ceiling.
Congratulations on successfully repairing your ceiling cracks and enhancing the overall look of your space!
Now that you’ve completed all five steps, it’s time to sit back, relax, and enjoy your newly restored ceiling.
For more interior design tips and inspiration, be sure to explore our website and stay tuned for more informative articles.
Conclusion
Repairing ceiling cracks doesn’t have to be a daunting task. With the right knowledge, tools, and a little bit of effort, you can restore your ceiling to its former glory and create a visually appealing space.
In this article, we’ve provided you with a step-by-step guide on how to fix ceiling cracks. From assessing the severity of the cracks to applying the joint compound and painting the repaired area, each step is crucial in achieving a smooth and seamless look.
Remember, it’s essential to assess the severity of the cracks before proceeding with any repairs. If you suspect structural issues or are unsure about the extent of the damage, consult a professional for a thorough evaluation.
By gathering the necessary tools and materials, preparing the cracked area, and properly applying the joint compound, you can effectively fill in the cracks and create a level surface. Finally, sanding and painting the repaired area will blend it seamlessly with the rest of the ceiling.
Regular maintenance and prompt repair of any new cracks will help prevent further damage and preserve the beauty of your ceiling. Stay vigilant and address any issues as soon as they arise.
We hope this article has provided you with the guidance you need to successfully repair ceiling cracks. Now, go ahead and tackle that project with confidence, knowing that you have the knowledge to achieve a smoother and more visually appealing ceiling.
Remember, interior design is all about creating a space that reflects your style and personality. A well-maintained ceiling is just one piece of the puzzle for achieving a cohesive and beautiful interior.
Thank you for reading, and we wish you the best of luck with your ceiling repair project. Here’s to a smooth and flawless ceiling!
Frequently Asked Questions about How To Fix Ceiling Cracks: 5 Steps To A Smoother Ceiling
Was this page helpful?
At Storables.com, we guarantee accurate and reliable information. Our content, validated by Expert Board Contributors, is crafted following stringent Editorial Policies. We're committed to providing you with well-researched, expert-backed insights for all your informational needs.


0 thoughts on “How To Fix Ceiling Cracks: 5 Steps To A Smoother Ceiling”