Articles
How To Fix Water Damaged Ceiling
Modified: September 1, 2024
Learn how to fix a water damaged ceiling with our informative articles.
(Many of the links in this article redirect to a specific reviewed product. Your purchase of these products through affiliate links helps to generate commission for Storables.com, at no extra cost. Learn more)
Introduction
Water damage in your home can be a frustrating and disheartening experience, especially when it affects your ceiling. Whether it’s due to a burst pipe, roof leak, or a faulty plumbing system, water damage can lead to unsightly stains, structural issues, and even mold growth if not addressed promptly. Knowing how to fix a water-damaged ceiling is crucial in preventing further damage and restoring the beauty of your home.
In this article, we will provide a step-by-step guide to help you navigate through the process of fixing a water-damaged ceiling. From assessing the damage to preventing future water damage, we’ll cover everything you need to know to successfully restore your ceiling.
Before we dive into the steps, it’s important to note that repairing a water-damaged ceiling requires careful attention to safety precautions. Water-damaged ceilings can weaken the structural integrity, and there may be hidden electrical hazards. If you’re unsure about your ability to handle the repairs, it’s best to consult a professional to ensure your safety and the proper restoration of your ceiling.
Now, let’s get started with the first step: assessing the damage.
Key Takeaways:
- Safeguard your home by promptly addressing water-damaged ceilings, prioritizing safety, and implementing preventive measures such as regular inspections and proper ventilation to prevent future water damage.
- Restore your ceiling to its former glory by following a step-by-step guide, from assessing the damage to repairing and painting the ceiling, ensuring a safe and effective restoration process.
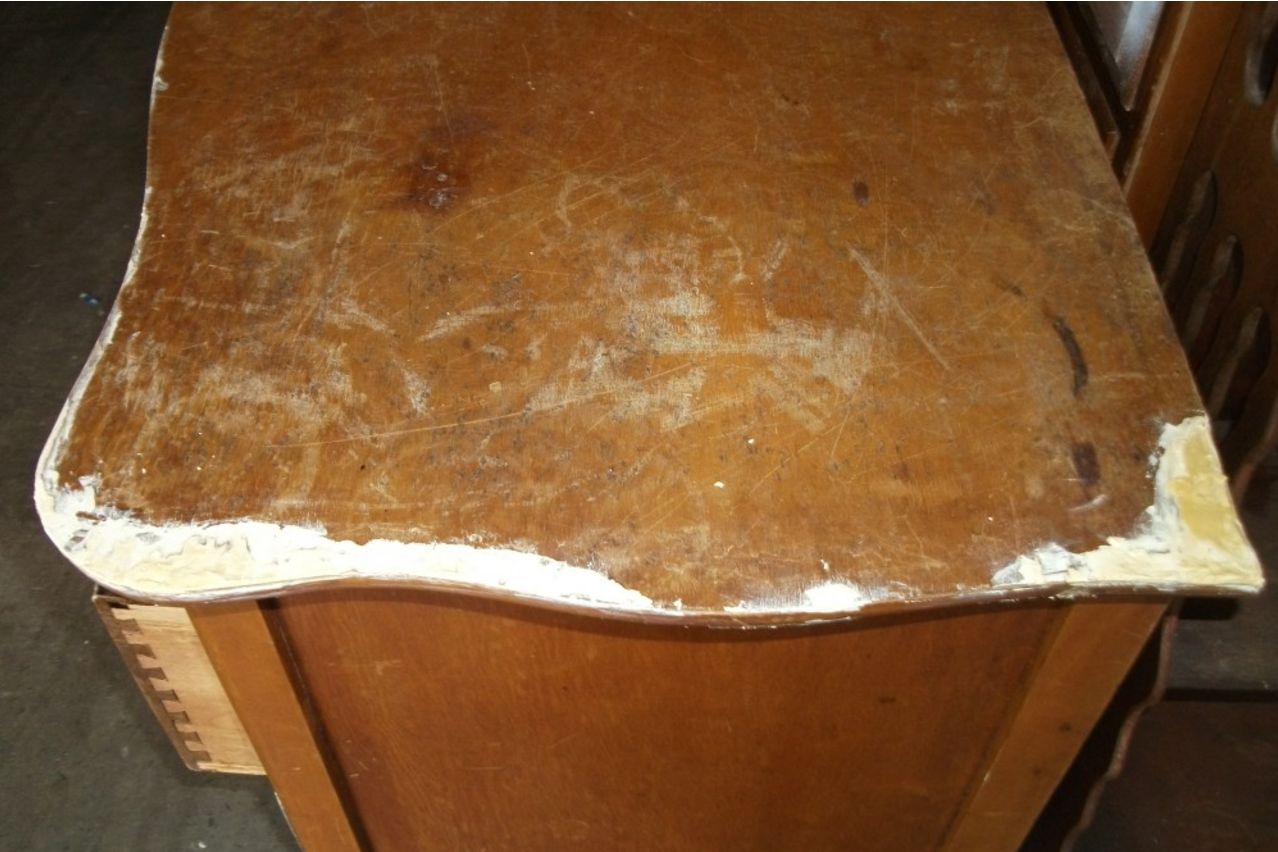
Read more: How To Fix Water-Damaged Wood Dresser
Step 1: Assessing the Damage
The first step in fixing a water-damaged ceiling is to assess the extent of the damage. This will help you determine the appropriate course of action and the level of repairs needed. Here’s what you need to do:
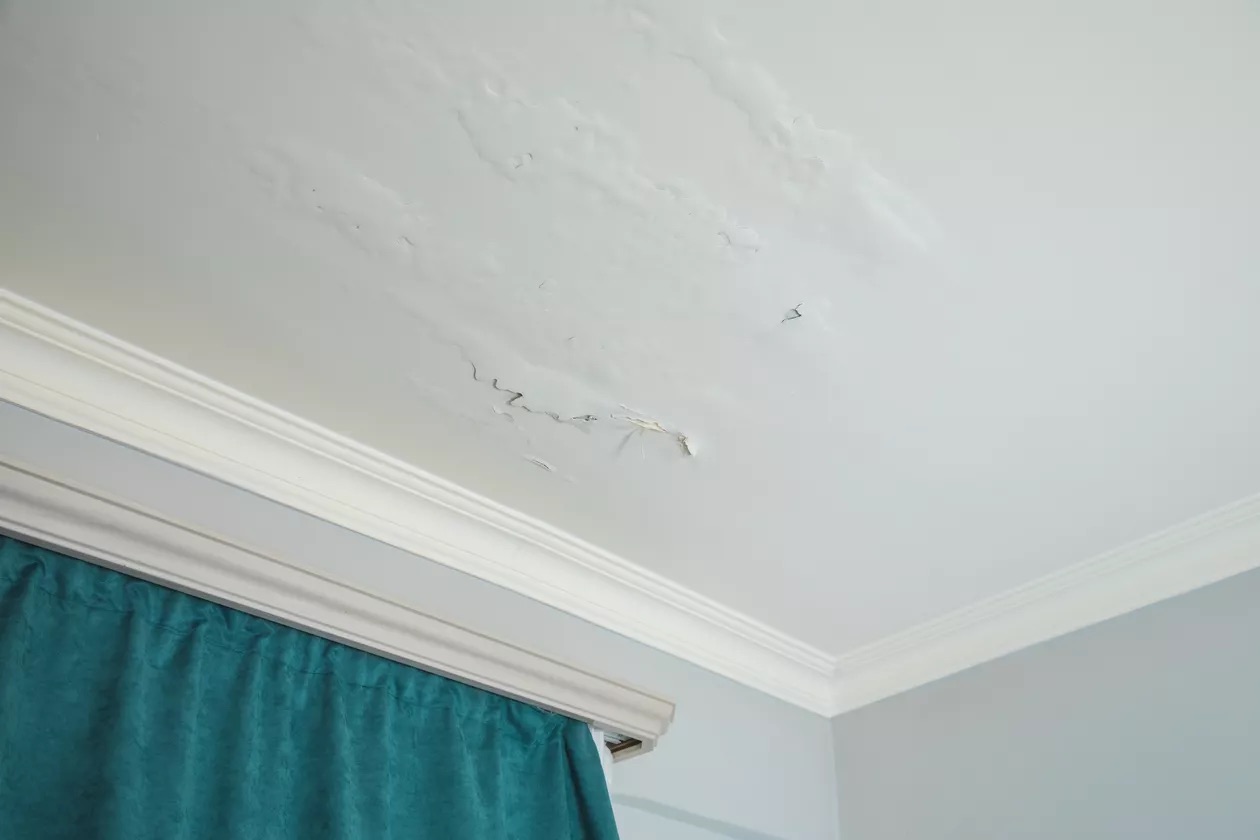
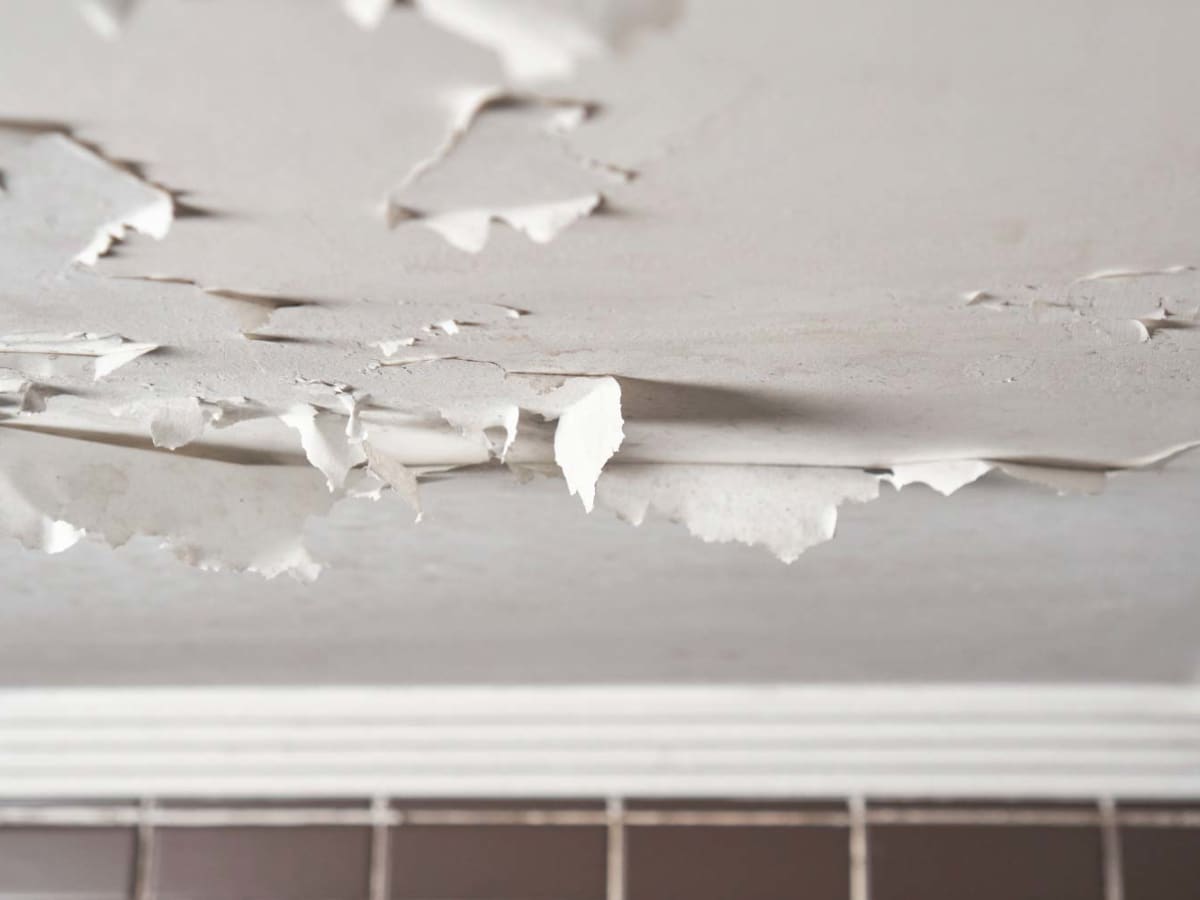
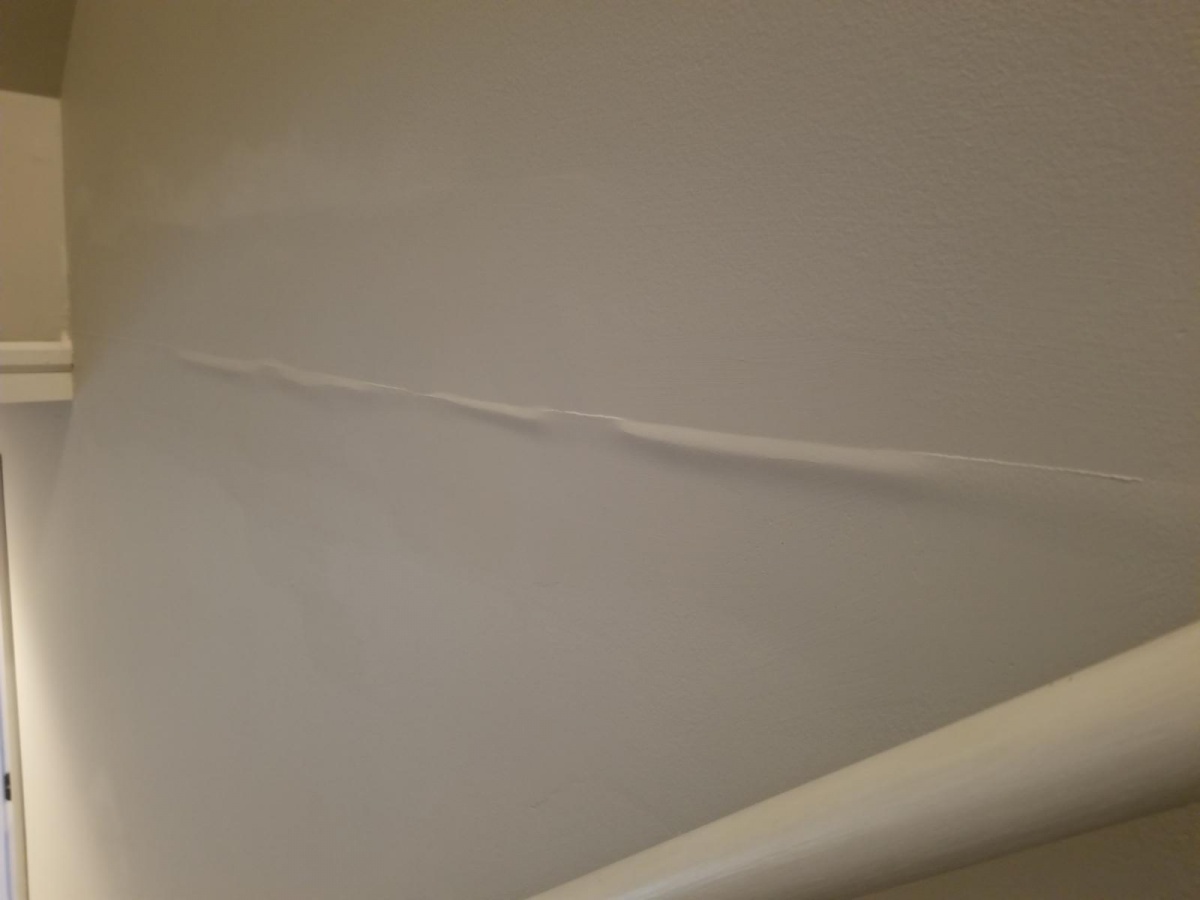
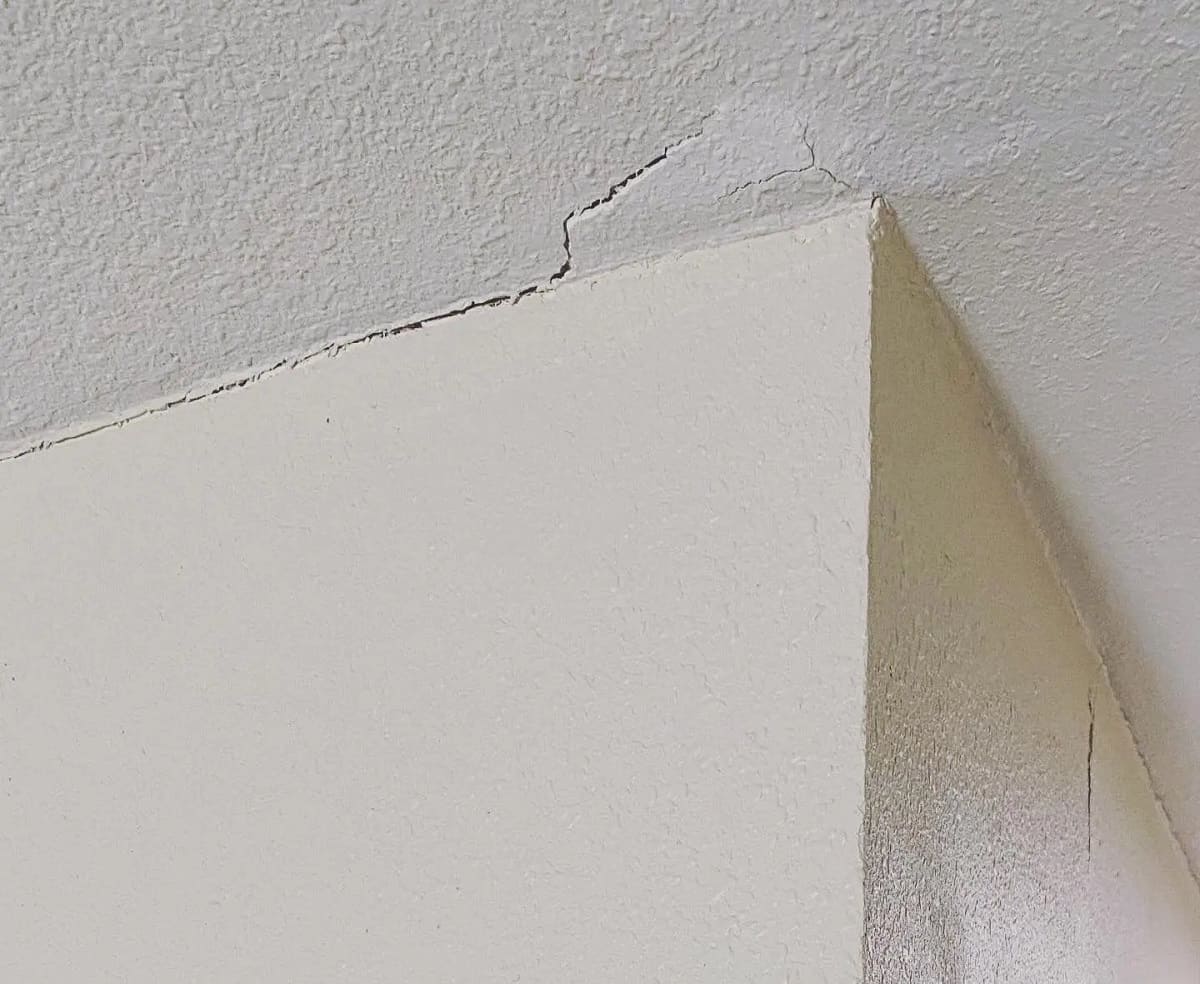
- Start by inspecting the affected area of the ceiling. Look for signs of water stains, discoloration, sagging, or bulging. These are indicators of water damage. Take note of the size and location of the damaged area.
- If the water damage is limited to a small area and the ceiling is still structurally intact, you may be able to handle the repairs on your own. However, if the damage is extensive, the ceiling is sagging, or there are signs of mold growth, it’s advisable to seek professional help.
- Next, identify the source of the water. This is crucial in preventing further damage and ensuring a long-term fix. Common sources of water damage include roof leaks, plumbing issues, and condensation. Addressing the source of the water is essential to prevent recurring problems.
- Check the insulation and wiring in the ceiling. If they are wet or damaged, it’s important to turn off the electricity to the affected area and consult an electrician before proceeding with any repairs.
Once you have assessed the damage and determined the severity of the issue, you’ll have a better understanding of the next steps to take. It’s important to remember that water damage can lead to structural issues and mold growth if not addressed properly. So, if you’re unsure about the extent of the damage or how to proceed, it’s best to consult a professional to ensure a safe and effective restoration process.
Step 2: Safety Precautions
Before you begin any repairs on a water-damaged ceiling, it’s crucial to prioritize safety. Water damage can compromise the structural integrity of the ceiling, and there may be hidden electrical hazards. Here are some important safety precautions to follow:
- Turn off the electricity: If the water damage has affected the electrical components in the ceiling, such as wiring or light fixtures, it’s essential to turn off the electricity to the affected area. This will reduce the risk of electrical shocks or fires. If you’re unsure how to do this, consult a licensed electrician.
- Wear protective gear: When dealing with water damage, it’s important to wear protective gear to minimize exposure to potential hazards. This includes gloves, safety goggles, and a mask or respirator to protect against mold spores or other airborne contaminants.
- Use a sturdy ladder: If you need to access the ceiling for repairs, make sure to use a sturdy ladder and position it on a stable surface. Avoid leaning on the damaged part of the ceiling, as it may further weaken the structure.
- Ensure proper ventilation: During the restoration process, ensure proper ventilation in the affected area. Open windows, use fans, or run dehumidifiers to promote air circulation and aid in the drying process. This will help prevent the growth of mold and mildew.
If at any point during the repair process you feel uncertain or uncomfortable, it’s best to seek professional assistance. Water damage restoration specialists have the expertise and equipment necessary to handle the repairs safely and effectively.
By taking the necessary safety precautions, you can mitigate the risks associated with water damage repairs and ensure the well-being of yourself and your family.
Step 3: Identifying the Source of Water
Identifying the source of water that caused the damage to your ceiling is crucial in preventing further issues and ensuring a long-term fix. Here’s what you need to do to identify the source:
- Inspect the area above the water-damaged ceiling: Start by examining the area directly above the damaged portion of the ceiling. Look for any signs of leaks, such as water stains, discoloration, or dampness on the walls, ceiling, or floor.
- Check the roof: If the damaged ceiling is on the top floor of your home, the source of water could be a roof leak. Inspect the roof for missing or damaged shingles, cracked flashing, or any other signs of damage that could allow water to seep into your home.
- Examine the plumbing system: If the damaged ceiling is located below a bathroom or kitchen, the source of water could be a plumbing issue. Check for leaks in pipes, faucets, toilets, or sinks. Look for water stains or puddles around these areas.
- Consider condensation: In some cases, condensation can cause water damage to ceilings, especially in areas with high humidity. Check for signs of excess moisture or condensation buildup on windows, walls, or pipes.
- Consult a professional: If you’re unable to identify the source of water damage or if the damage is extensive, it’s advisable to seek the expertise of a professional plumber or roofing contractor. They can help pinpoint the source of the water and provide a solution.
Once you have identified the source of the water, take the necessary steps to address the issue. Repair any leaks, replace damaged roofing materials, or fix plumbing problems to prevent further damage to your ceiling.
Remember, addressing the source of the water is essential in ensuring a successful restoration and preventing future water damage to your ceiling.
Step 4: Removing Excess Water
Once you have identified and addressed the source of the water damage, the next step is to remove any excess water from the affected area. Here’s how to do it:
- Safety first: Before you begin, make sure to follow the safety precautions discussed earlier, such as turning off the electricity and wearing protective gear.
- Use a bucket or container: If the water damage is minimal and localized, you can use a bucket or container to collect and remove the excess water. Place it directly under the affected area to catch any dripping water.
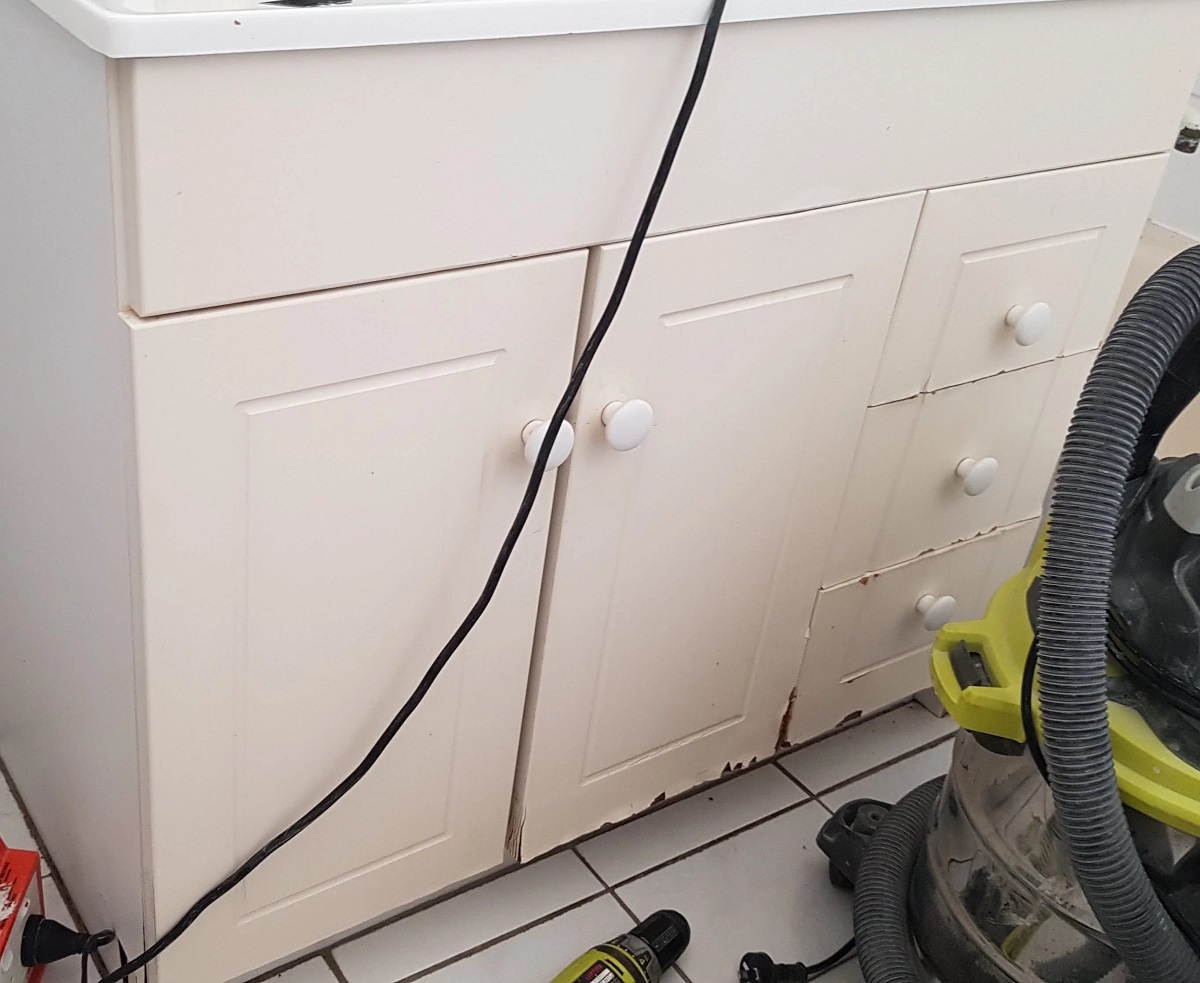
- Utilize a wet/dry vacuum: If there is a significant amount of water or the area is larger, you may need to use a wet/dry vacuum. These powerful machines are designed to extract water effectively. Start by vacuuming up as much water as possible from the surface of the ceiling and surrounding areas.
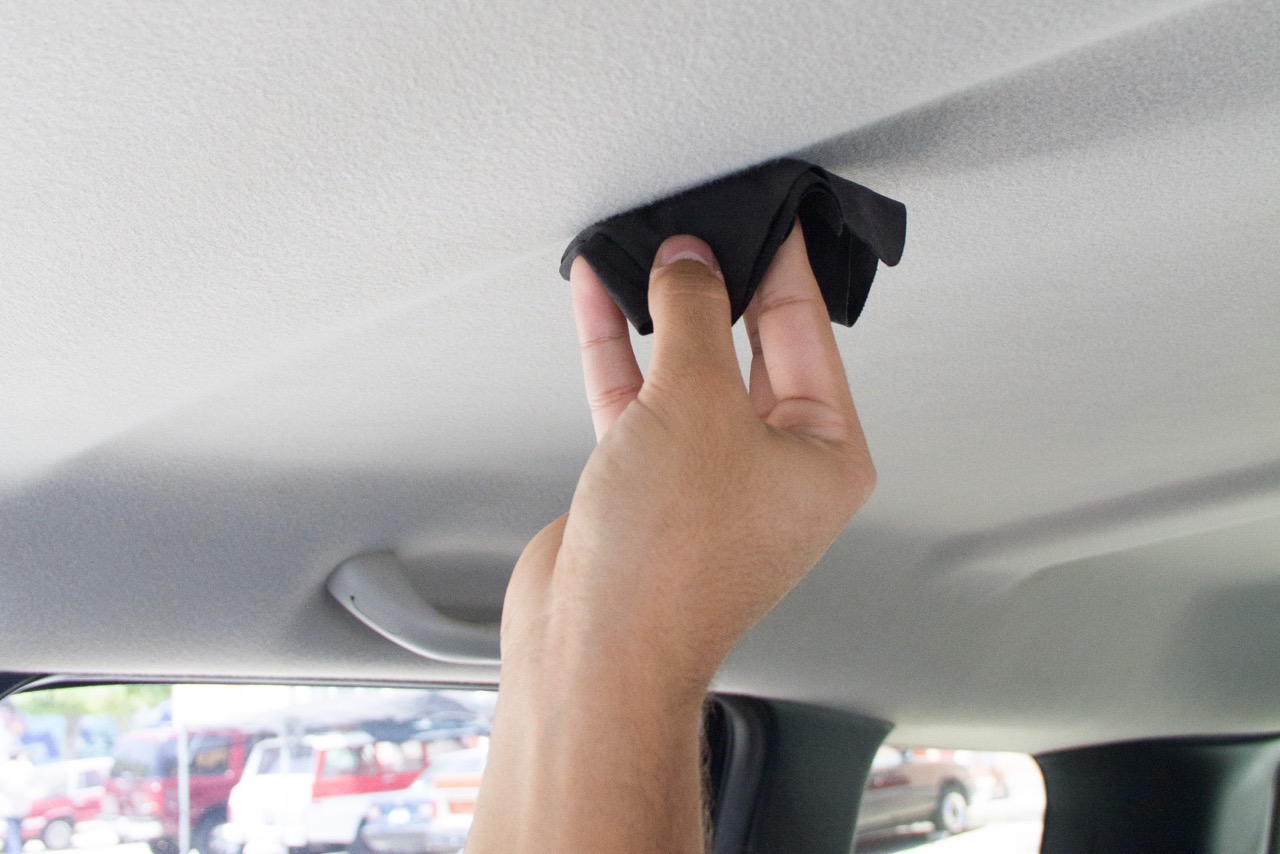
- Dry with towels or rags: Once you have removed the majority of the water, use towels or rags to blot and absorb any remaining moisture. Press the towels firmly against the ceiling to draw out the water.
- Consider using fans or dehumidifiers: To aid in the drying process, place fans or dehumidifiers in the affected area. The circulation of air and reduction of humidity will help accelerate the drying time. Position the fans to blow air directly onto the water-damaged ceiling.
- Monitor the drying progress: It’s important to monitor the drying progress closely. Keep an eye out for any recurring signs of moisture or dampness. If you notice any, it may indicate that there is still water trapped within the ceiling or in hidden areas, which may require professional assistance.
Removing excess water is a critical step in preventing further damage and minimizing the chances of mold growth. By following these steps, you can effectively remove the water and lay the foundation for successful ceiling restoration.
To fix a water-damaged ceiling, first identify and repair the source of the leak. Then, remove any damaged materials, dry the area thoroughly, and replace with new materials to prevent mold growth.
Read more: How To Fix Water Damaged Wood Floor
Step 5: Drying the Ceiling
After removing excess water from the ceiling, the next step is to thoroughly dry the affected area. Proper drying is essential to prevent the growth of mold and further damage. Here’s how to dry the ceiling effectively:
- Continue using fans or dehumidifiers: Keep the fans and dehumidifiers running to promote air circulation and reduce moisture in the environment. Point the fans directly at the ceiling to direct airflow towards the wet area.
- Open windows and doors: If weather conditions permit, open windows and doors to allow fresh air to circulate. This can aid in the drying process by removing excess humidity.
- Use a dehumidifier: If the humidity levels are high or if the affected area is larger, consider using a dehumidifier specifically designed for water damage restoration. These machines can effectively extract moisture from the air, speeding up the drying process.
- Inspect and address hidden moisture: Carefully inspect the surrounding areas for signs of hidden moisture, such as wet insulation or damp walls. If you encounter any, it’s important to remove or replace the affected materials to prevent further water damage and mold growth.
- Monitor the drying progress: Regularly check the moisture levels using a moisture meter or by simply touching the ceiling. The drying process may take several days, depending on the severity of the water damage. Ensure that the ceiling is completely dry before proceeding with repairs or painting.
- Consider professional drying services: If the water damage was extensive or if you’re dealing with a large area, it may be beneficial to enlist the help of professional drying services. These professionals have specialized equipment and expertise to ensure thorough drying and prevent any residual moisture that could lead to further issues down the line.
Remember that thorough drying is crucial before moving on to the next step of repairing the water-damaged ceiling. Taking the time to properly dry the area will help prevent future problems and ensure a successful restoration process.
Step 6: Repairing the Ceiling
Once the water-damaged ceiling is completely dry, it’s time to start the repair process. Repairing the ceiling will involve fixing any structural damage, replacing damaged materials, and ensuring a smooth and seamless finish. Here’s how to repair a water-damaged ceiling:
- Prepare the work area: Clear the area around the damaged ceiling and cover the floor and furniture with plastic sheets or drop cloths to protect them from dust and debris during the repair process.
- Inspect for structural damage: Carefully examine the ceiling for any structural damage, such as sagging or weakened areas. If you notice any significant damage, it’s best to consult a professional contractor or engineer before proceeding with repairs.
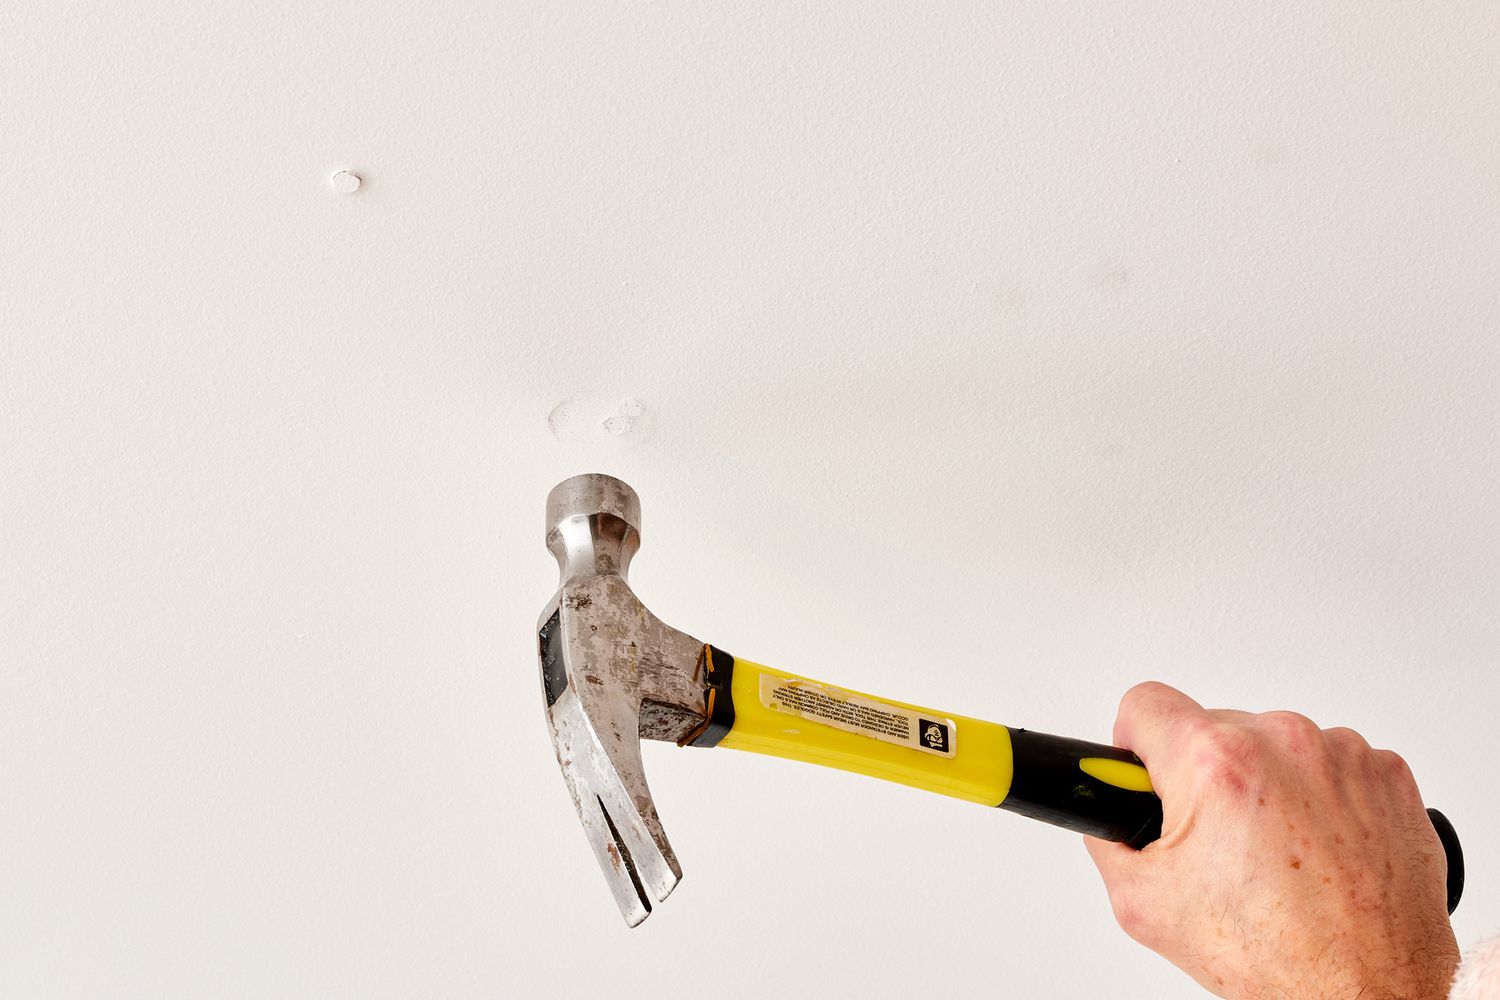
- Remove damaged materials: If there are any water-damaged or mold-infested materials, such as drywall or ceiling tiles, they will need to be removed and replaced. Use a utility knife or a drywall saw to carefully cut out the damaged section. Make sure to cut beyond the visibly damaged area to ensure the removal of any hidden moisture or mold.
- Install new materials: Measure and cut a replacement piece of drywall or ceiling tile to fit the removed section. Attach it securely to the ceiling using drywall screws or adhesive, following the manufacturer’s instructions. For larger repairs, consider hiring a professional to ensure a seamless installation.
- Seal and tape the joints: Apply joint compound to the seams and use drywall joint tape to cover the joints between the new and existing ceiling materials. Smooth out the compound and let it dry according to the manufacturer’s instructions. Sand the area lightly to achieve a smooth surface.
- Apply a primer and paint: Once the repaired area is dry, apply a primer to ensure proper adhesion of the paint. Then, paint the ceiling using the appropriate paint for your ceiling type. Ensure that the color and finish match the rest of the ceiling for a seamless appearance.
- Clean up the work area: Remove all the plastic sheets or drop cloths and clean up any dust or debris left behind from the repair process. Dispose of any damaged materials properly.
Remember to take your time and follow the proper techniques during the repair process to achieve a professional-looking result. If you’re unsure about any step or if the damage is extensive, it’s advisable to seek the assistance of a professional contractor or handyman.
With the ceiling repaired, you’re one step closer to restoring the beauty of your home and putting the water damage behind you.
Step 7: Painting or Finishing Touches
Once the repaired area of the ceiling is dry and ready, it’s time to add the final touches to restore its appearance. This step involves painting the ceiling or applying any necessary finishing touches. Here’s how to complete this step:
- Clean the repaired area: Before applying any paint or finishing touches, make sure the repaired area is clean and free of dust or debris. Use a soft cloth or a mild cleanser to gently wipe the surface.
- Prime the repaired area: Apply a coat of primer to the repaired section of the ceiling. This will ensure that the paint adheres properly and provides a smooth and even finish. Allow the primer to dry according to the manufacturer’s instructions.
- Select the appropriate paint: Choose a paint color and finish that matches the rest of the ceiling. Consider factors such as the sheen level, texture, and compatibility with the existing paint. It’s recommended to use a paint specifically formulated for ceilings for the best results.
- Paint the repaired area: Using a brush or roller, carefully paint the repaired area. Start from the outer edges and work your way towards the center. Apply multiple thin coats, allowing each coat to dry before applying the next. This will help achieve an even and seamless finish.
- Blend the paint with the surrounding ceiling: Feather the paint edges to blend the repaired area with the surrounding ceiling. This can be done by lightly brushing or rolling over the transition areas to create a gradual fade. Take your time and apply light pressure to avoid creating visible lines or uneven textures.
- Allow the paint to dry and inspect: Once the paint is applied, give it sufficient drying time. Check the painted area for any imperfections or inconsistencies. If needed, apply additional coats or touch-ups to achieve the desired finish.
- Clean up and enjoy the restored ceiling: After completing the painting or finishing touches, clean up any paint drips or spills and remove any protective coverings. Step back and admire your restored ceiling that is once again beautiful and free from water damage.
Remember to follow proper painting techniques, use high-quality tools and materials, and take your time to ensure a professional and seamless finish. With the final touches completed, your ceiling will regain its original appearance and contribute to the overall aesthetics of your home.
Step 8: Preventing Future Water Damage
After going through the process of repairing a water-damaged ceiling, it’s essential to take preventive measures to avoid future occurrences. By implementing these measures, you can safeguard your home and minimize the risk of water damage. Here are some steps to prevent future water damage:
- Regularly inspect your roof: Schedule regular roof inspections to check for leaks, missing shingles, or damaged flashing. Address any issues promptly to prevent water from seeping into your home.
- Maintain your gutters and downspouts: Keep your gutters clean and free from debris to ensure proper water drainage. Install gutter guards to prevent clogs and redirect rainwater away from your home’s foundation.
- Check for plumbing leaks: Routinely inspect your pipes, faucets, and water supply lines for any signs of leaks. Fix any leaks immediately to prevent water damage to your ceilings and walls.
- Install and maintain proper ventilation: Ensure that your home is adequately ventilated, especially in areas prone to high humidity, such as bathrooms and kitchens. Proper ventilation helps prevent condensation and the growth of mold and mildew.
- Inspect and maintain your plumbing system: Regularly check your plumbing system for any signs of wear or damage. Insulate pipes in colder areas to prevent freezing and potential bursts during winter months.
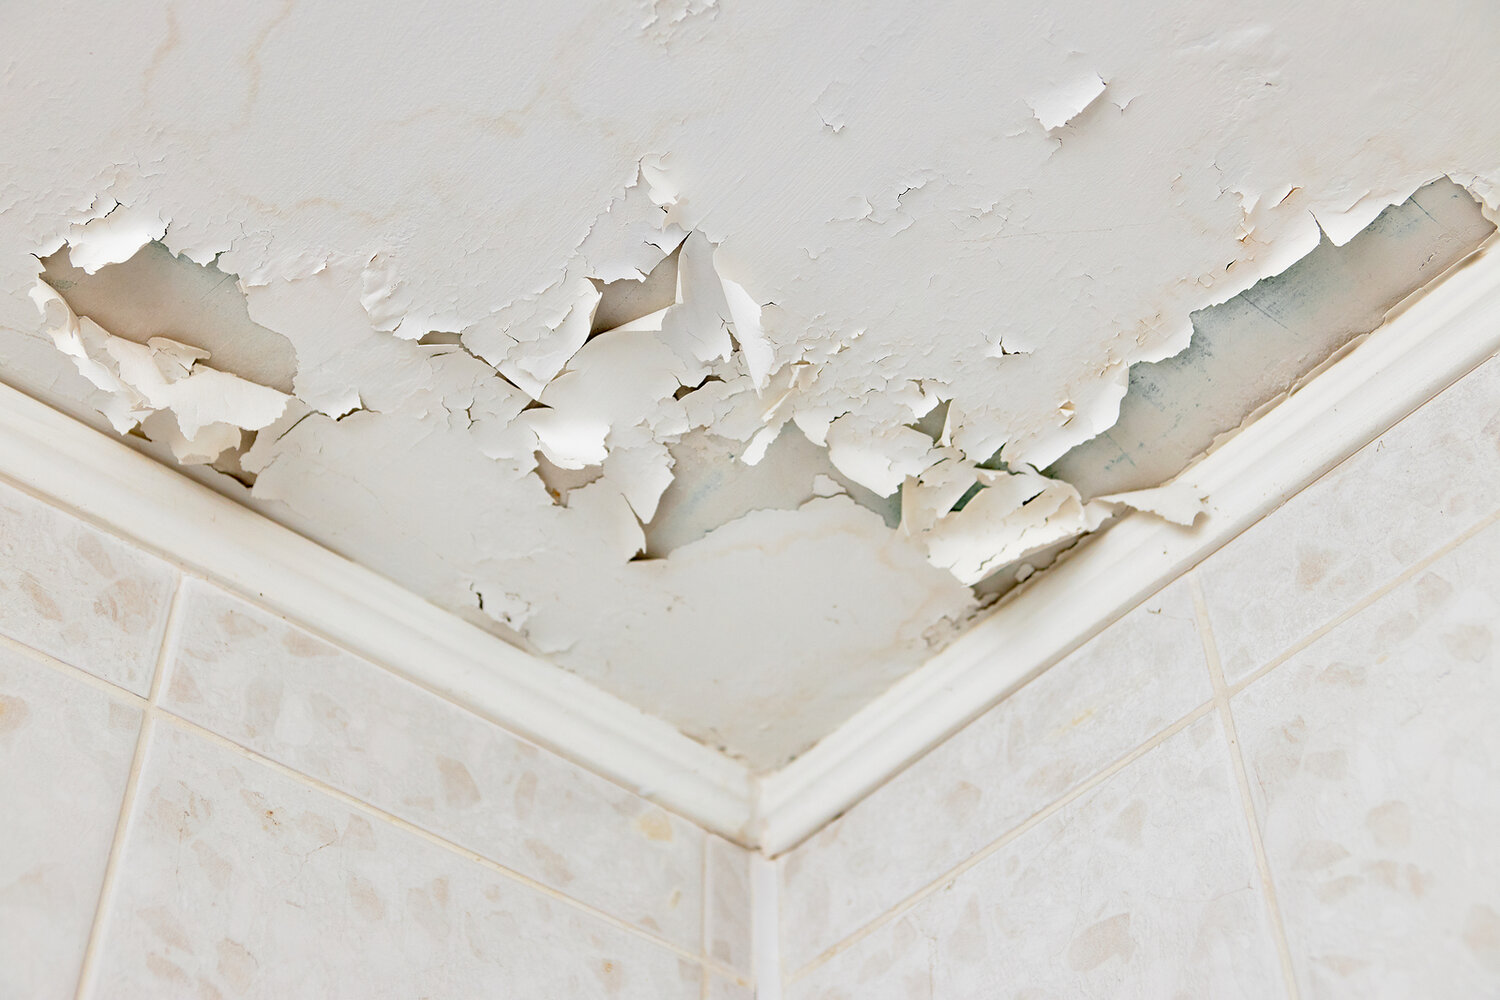
- Monitor and address signs of moisture: Be vigilant and proactive in identifying any signs of moisture, such as water stains, musty odors, or peeling paint. Investigate and address the source of moisture immediately to prevent water damage from occurring or worsening.
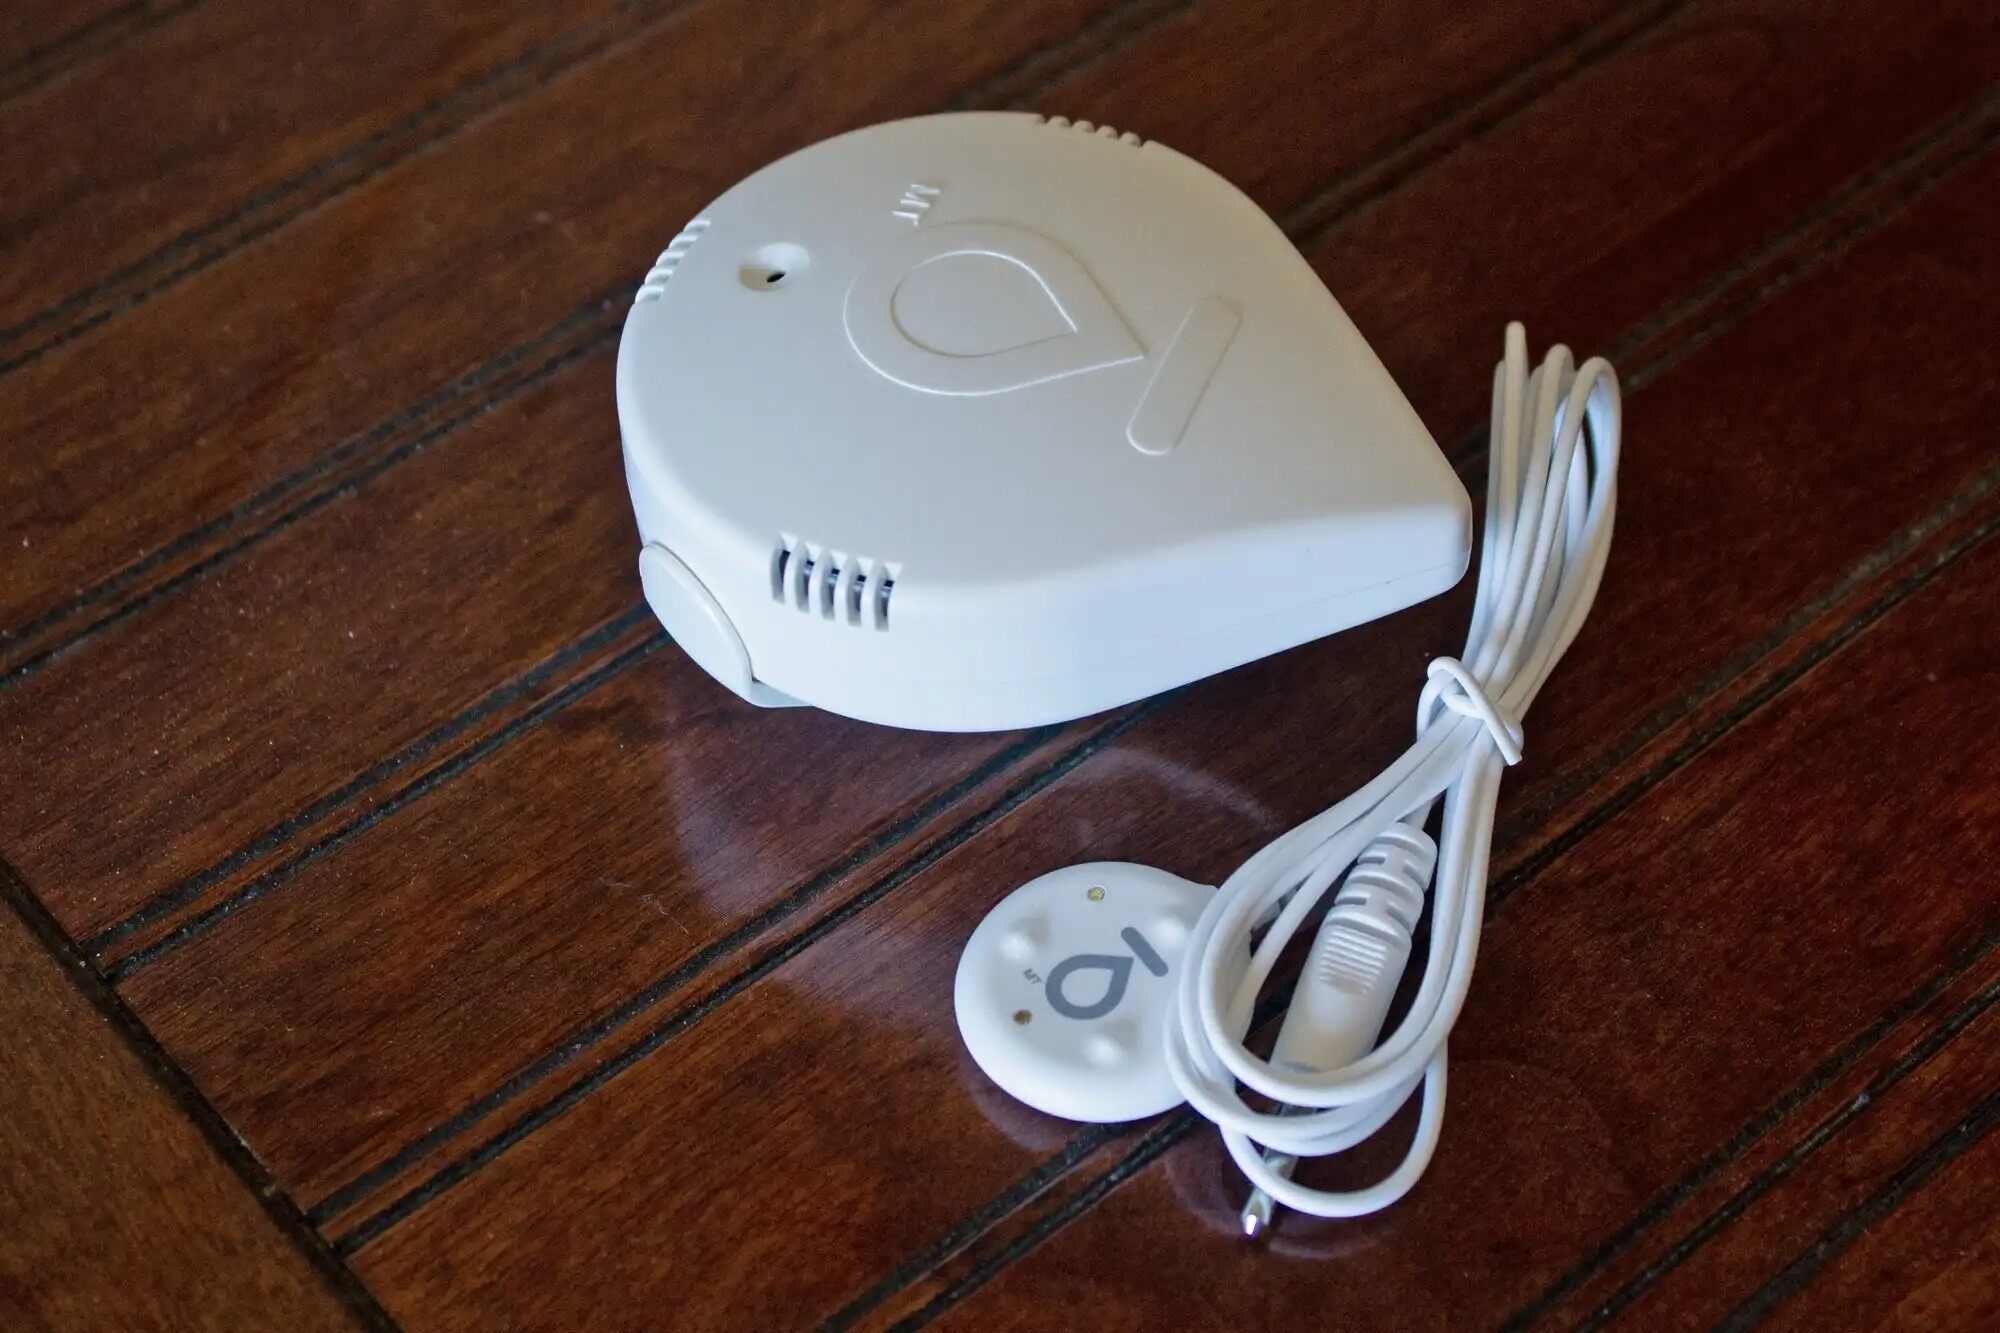
- Consider installing water leak detection systems: Invest in water leak detection systems that can alert you to any leaks or abnormal water usage. These systems can help detect and mitigate water damage before it becomes a major issue.
- Be mindful of your landscaping: Ensure that the landscaping around your home’s foundation promotes proper drainage away from your property. Slope the ground away from the foundation to prevent water from pooling near the walls.
By implementing these measures, you can significantly reduce the risk of future water damage and protect the integrity of your ceiling and home. Regular maintenance, inspections, and proactive actions are key to keeping your home safe and free from water-related issues.
Read more: How To Fix Water Stain On Ceiling
Conclusion
Dealing with a water-damaged ceiling can be a challenging and frustrating experience. However, by following the step-by-step guide outlined in this article, you can effectively address the water damage and restore your ceiling to its original condition.
Assessing the damage, prioritizing safety precautions, identifying the source of water, removing excess water, and drying the ceiling are essential initial steps in the restoration process. Once these steps are completed, repairing the ceiling and applying finishing touches such as painting will bring your ceiling back to its former glory.
Preventing future water damage is equally important to safeguard your home. Regular inspections, maintenance of your roof and plumbing system, and proper ventilation will go a long way in preventing future water-related issues.
It’s crucial to prioritize safety throughout the entire process. If you’re unsure about your ability to handle the repairs or if the damage is extensive, it’s always best to consult a professional. They have the expertise and equipment to ensure a safe and effective restoration.
Remember, addressing water damage promptly and taking preventive measures is key to preserving the structural integrity of your home and maintaining a healthy living environment. By being proactive and implementing the necessary steps, you can protect your ceiling and enjoy a water-damage-free home for years to come.
Now that you have a comprehensive understanding of how to fix a water-damaged ceiling, it’s time to put your newfound knowledge into action and restore your home!
Frequently Asked Questions about How To Fix Water Damaged Ceiling
Was this page helpful?
At Storables.com, we guarantee accurate and reliable information. Our content, validated by Expert Board Contributors, is crafted following stringent Editorial Policies. We're committed to providing you with well-researched, expert-backed insights for all your informational needs.

0 thoughts on “How To Fix Water Damaged Ceiling”