Articles
How To Fix A Wobbly Ceiling Fan
Modified: October 18, 2024
Learn how to fix a wobbly ceiling fan with these expert articles. Improve the stability and performance of your fan with easy-to-follow tips and tricks.
(Many of the links in this article redirect to a specific reviewed product. Your purchase of these products through affiliate links helps to generate commission for Storables.com, at no extra cost. Learn more)
Introduction
A wobbly ceiling fan can not only be annoying, but it can also be a safety hazard. The constant rattling and shaking can cause the fan to become unstable and potentially fall from the ceiling. Fortunately, fixing a wobbly ceiling fan is a relatively simple and straightforward process that can be done with just a few tools and some basic knowledge. In this article, we will guide you through the step-by-step process of fixing a wobbly ceiling fan, ensuring that it operates smoothly and safely.
Before we begin, it is important to note that working with electrical fixtures can be dangerous, so always make sure to turn off the power to the fan at the main circuit breaker before starting any repair or maintenance work. Additionally, if you are unsure about any step or if you are uncomfortable working with electrical components, it is recommended to seek the assistance of a professional electrician.
Now that we have taken the necessary safety precautions, let’s dive into the process of fixing a wobbly ceiling fan.
Key Takeaways:
- Don’t let a wobbly ceiling fan ruin your comfort and safety. Follow these simple steps to fix the issue and enjoy a stable, efficient cooling system in your home.
- Regular maintenance and safety precautions are essential for keeping your ceiling fan stable and efficient. Take the time to address any wobbling issues and enjoy a comfortable living space for years to come.
Step 1: Turn off the power
Before starting any work on your ceiling fan, it is crucial to turn off the power to ensure your safety. Locate the main circuit breaker panel in your home and switch off the circuit that supplies electricity to the fan. If you are unsure which circuit the fan is connected to, you can turn off the power to the entire house to be extra cautious.
Once the power is turned off, use a non-contact voltage tester to verify that there is no electrical current running to the fan. This handheld device will emit an audible or visual signal if it detects any live wires. Carefully hold the tester near the fan and make sure there is no indication of live voltage. This step is essential to prevent any electrical shocks while working on the fan.
Take note that turning off the power will also disable any lighting fixtures that are connected to the fan. Keep this in mind while you are working, and consider using another source of light, such as a flashlight or work lamp, to illuminate your work area.
Once you have confirmed that the power is off, you can proceed with the following steps to fix your wobbly ceiling fan.
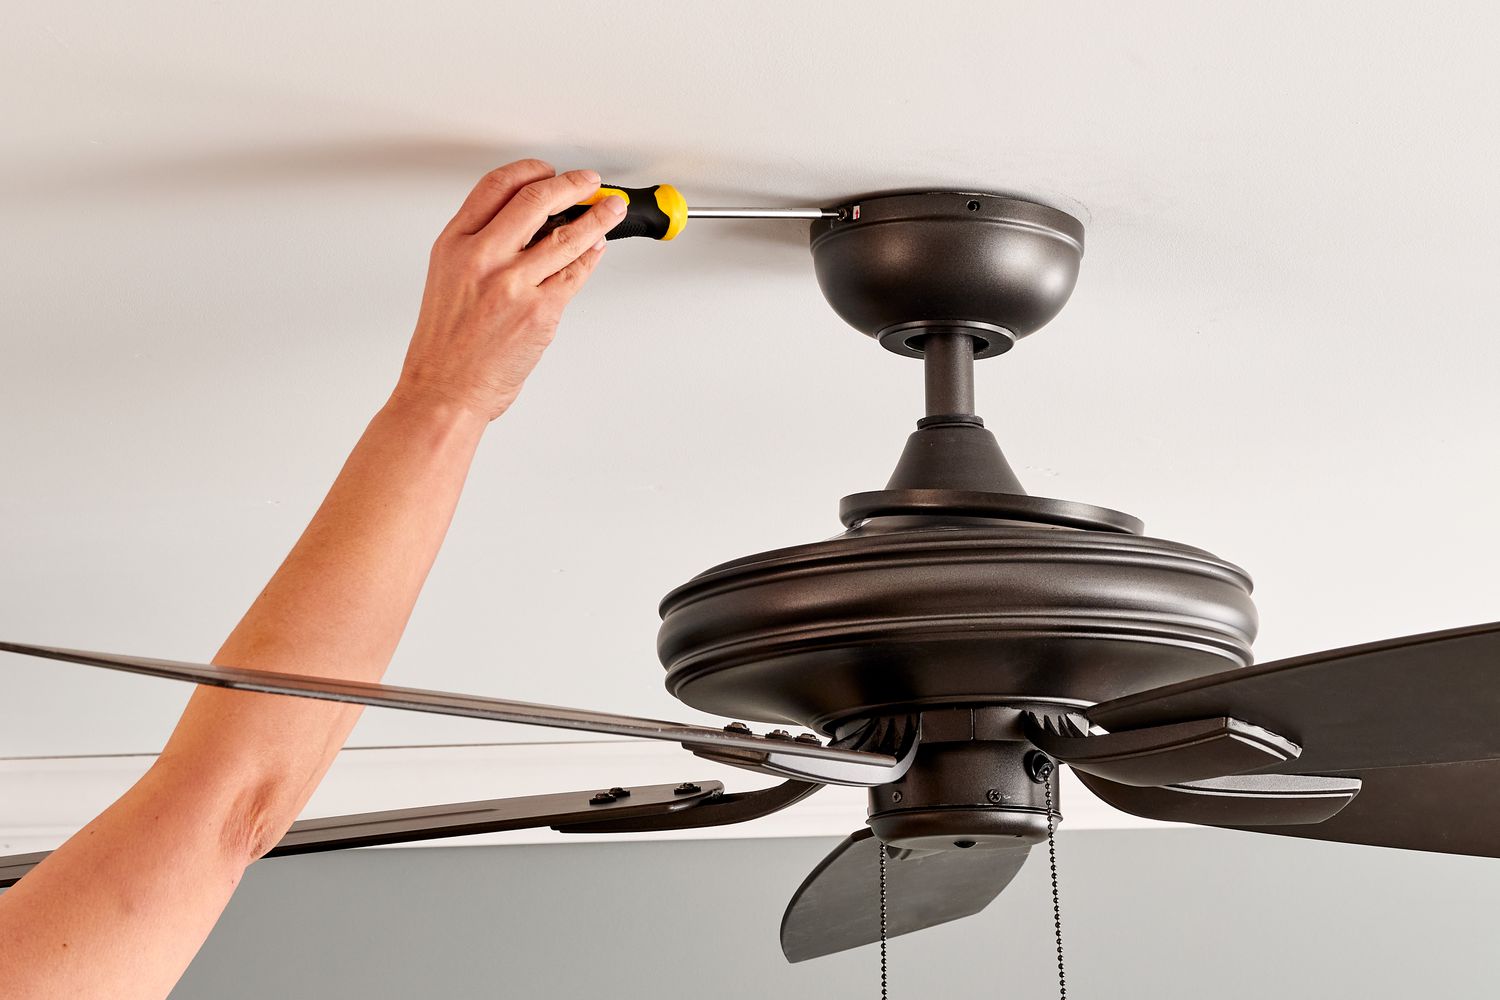
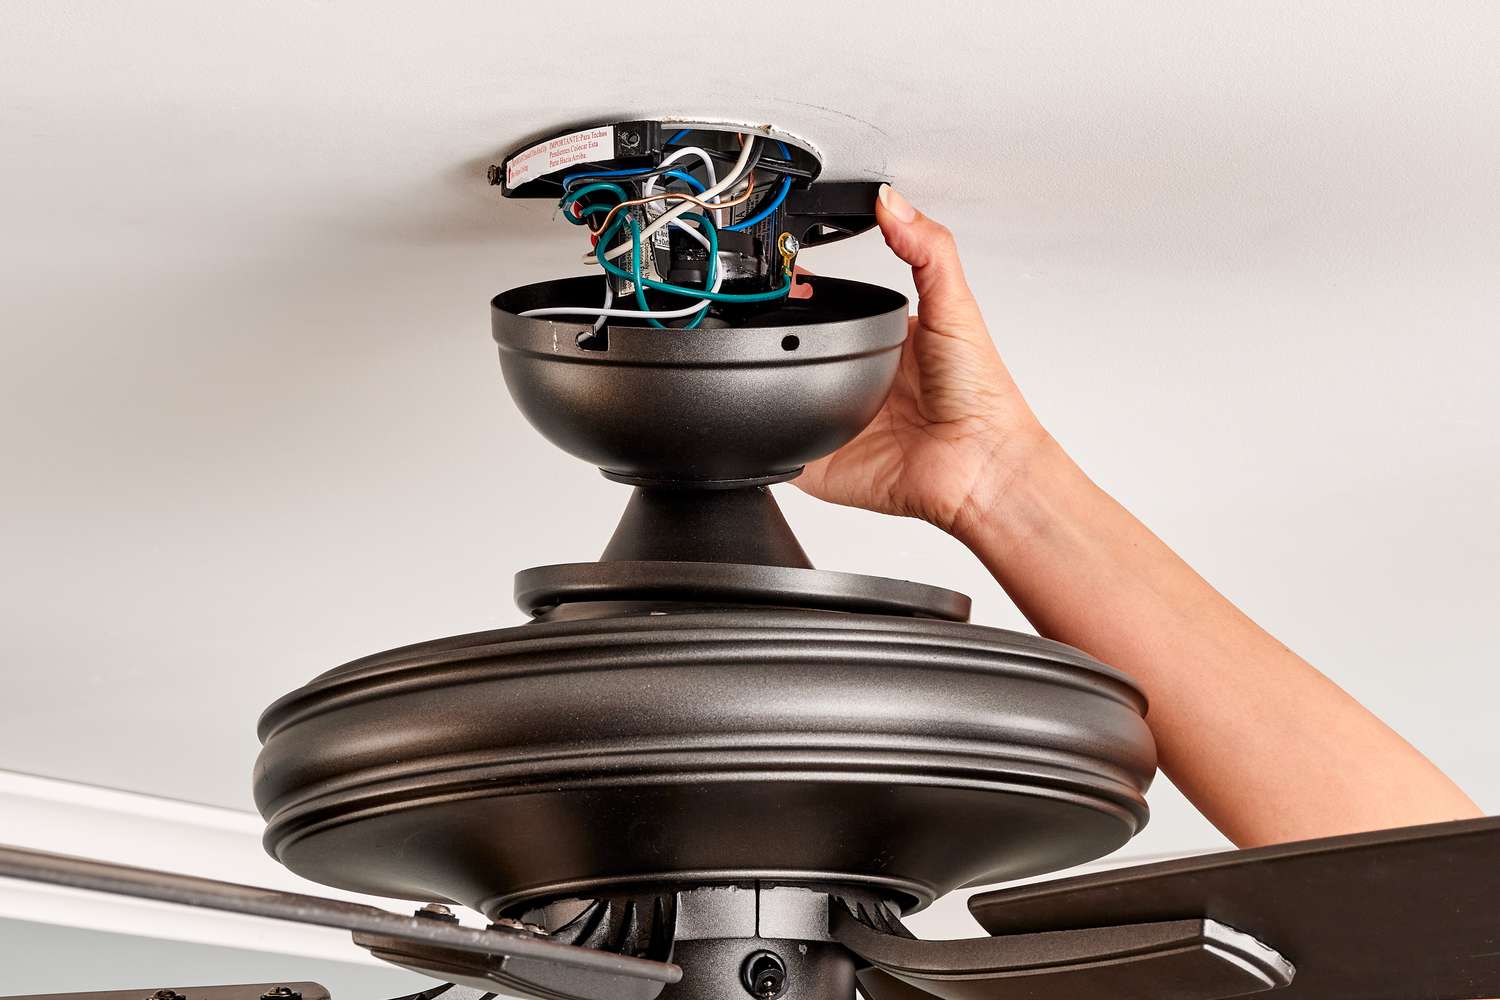
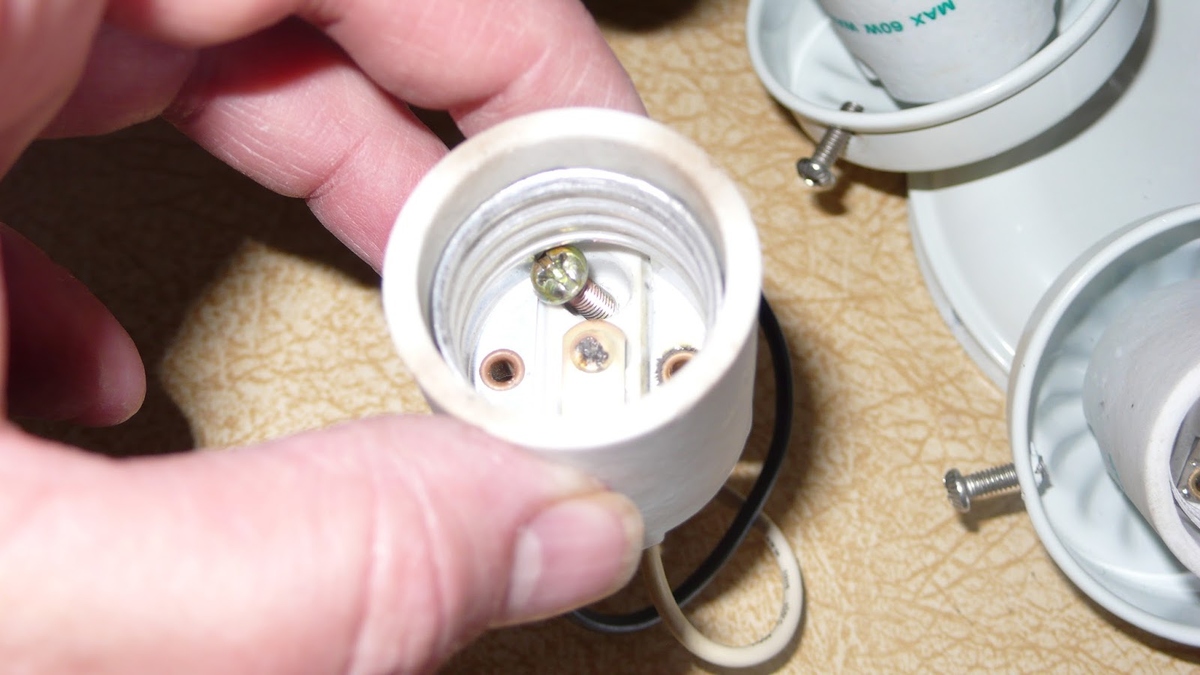
Step 2: Inspect the mounting bracket
After ensuring the power is turned off, the next step in fixing a wobbly ceiling fan is to inspect the mounting bracket. The mounting bracket is the component that attaches the fan to the ceiling and provides stability.
Start by removing the fan’s canopy cover. This is usually located at the top of the fan, near the ceiling. Use a screwdriver to loosen and remove the screws that hold the canopy cover in place. Once the canopy cover is removed, you will have access to the mounting bracket.
Inspect the mounting bracket for any signs of damage or looseness. Look for cracks, bent metal, or loose screws. If you notice any issues with the mounting bracket, it may need to be replaced. Consult your fan’s manufacturer for a replacement bracket or seek professional assistance.
If the mounting bracket appears to be in good condition, proceed to tighten the screws that hold it in place. Use a screwdriver or a socket wrench to ensure that all screws are tight and secure. Be careful not to overtighten, as this may cause damage to the bracket or the ceiling.
Once you have inspected and tightened the mounting bracket, replace the canopy cover by aligning it with the screw holes and tightening the screws. Ensure that the canopy cover is securely in place before moving on to the next step.
The mounting bracket plays a crucial role in keeping the ceiling fan stable. By inspecting and repairing any issues with the bracket, you are taking an important step towards fixing the wobble and ensuring the fan’s stability.
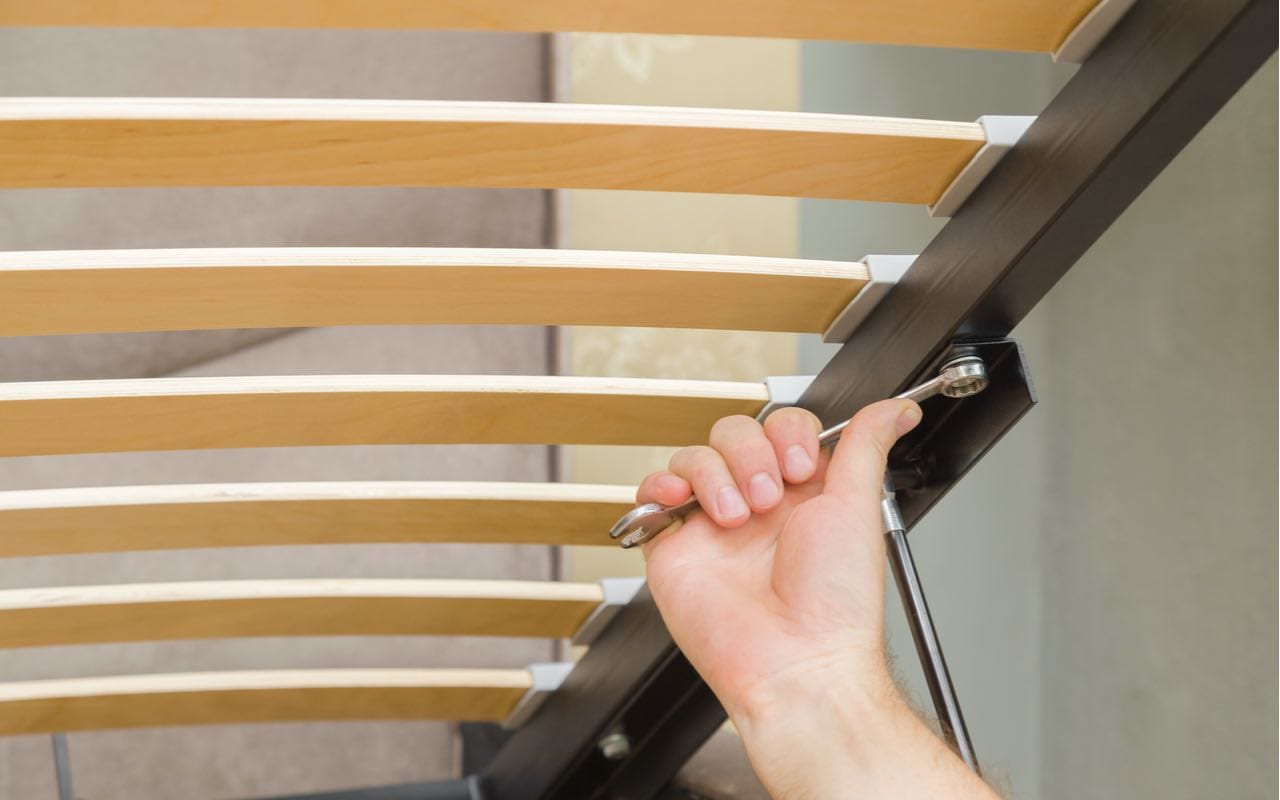
Step 3: Tighten the mounting screws
Once you have inspected the mounting bracket and ensured its stability, the next step in fixing a wobbly ceiling fan is to tighten the mounting screws. Over time, these screws may become loose due to the fan’s constant motion, causing the fan to wobble.
Locate the mounting screws that connect the fan’s motor housing to the mounting bracket. These screws are typically found on the side of the motor housing and may be covered by decorative caps or trim pieces. Use a screwdriver or a socket wrench to tighten the screws, making sure they are snug but not overly tight.
As you tighten each screw, gently wiggle the fan to check for any remaining wobble. If the fan still wobbles after tightening the screws, try using a different sequence to tighten the screws. Start with one screw, then move on to the next, alternating between them until all screws are securely tightened. This can help distribute the tension evenly and reduce any remaining wobble.
If the screws are stripped or damaged, they may need to be replaced. Refer to the fan’s manual or contact the manufacturer for the specific type and size of screws required.
After tightening the mounting screws, recheck the stability of the fan by gently shaking it. If it no longer wobbles and feels secure, you can proceed to the next step. If the wobble persists, continue troubleshooting using the following steps.
Tightening the mounting screws is an essential step in fixing a wobbly ceiling fan. By ensuring that the screws are properly tightened, you can minimize any movement or vibration that may contribute to the wobble.
Check the fan blades for any loose screws and tighten them. Use a balancing kit to adjust the weight distribution of the blades. Ensure the mounting bracket is securely attached to the ceiling.
Step 4: Check the fan blades
After addressing the mounting bracket and tightening the mounting screws, the next step in fixing a wobbly ceiling fan is to check the fan blades. Imbalances or misaligned blades can cause an uneven distribution of airflow, leading to wobbling.
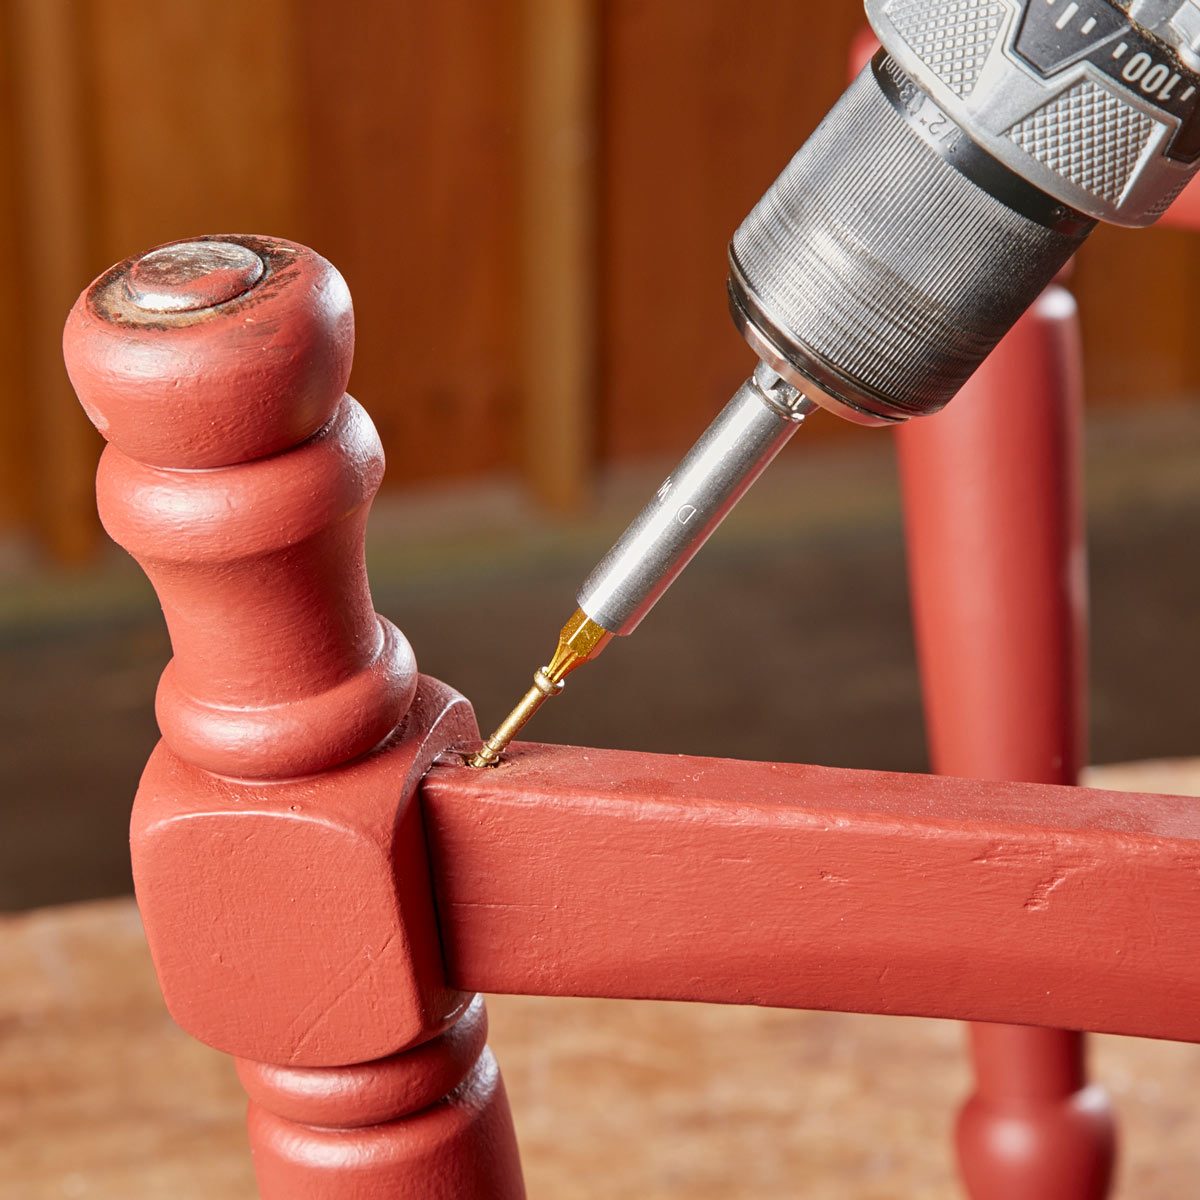
Start by visually inspecting the blades for any signs of damage, such as cracks, warping, or chips. If you notice any damaged blades, it is recommended to replace them with new ones to ensure optimal performance and safety.
Next, make sure that all the blades are securely attached to the fan’s motor housing. Gently tug on each blade to check for any looseness. If you find any loose blades, tighten their screws or fasteners to secure them in place.
Once you have ensured that the blades are in good condition and properly attached, it’s time to check their alignment. One way to do this is by using a blade balancing kit, which typically consists of small adhesive weights. Attach the balancing weights to the tops of the blades, making sure to distribute them evenly among all the blades.
After attaching the balancing weights, turn on the fan and observe if it still wobbles. If the wobble continues, try rearranging the weights on different blades until you find the configuration that minimizes the wobbling.
If you don’t have a blade balancing kit, an alternative method is to use a yardstick or ruler. Extend the yardstick from the ceiling to the tip of each blade, measuring the distance. If any blade extends further or sits lower than the rest, adjust it until all blades are aligned at the same height.
Checking and adjusting the fan blades plays a crucial role in fixing a wobbly ceiling fan. By ensuring that the blades are in good condition, securely attached, and properly aligned, you can achieve better balance and reduce wobbling.
Read more: How To Fix A Wobbly Dresser
Step 5: Balance the fan blades
If your ceiling fan is still wobbling after checking the mounting bracket and tightening the screws, the next step is to balance the fan blades. Imbalances in the blades can cause uneven airflow and contribute to the wobbling motion.
Start by turning off the fan and allowing it to come to a complete stop. This will ensure your safety during the balancing process.
There are several methods you can use to balance the fan blades. One of the most common methods involves using a blade balancing kit, which typically includes adhesive weights.
Begin by attaching one balancing weight to the center of the first blade. Be sure to follow the instructions provided with the balancing kit to ensure proper attachment. Repeat this process for each blade, placing the weights at the same distance from the center to maintain symmetry.
Another method involves using a clothespin to identify the problem blade. Start by attaching a clothespin to the outer edge of one blade. Turn on the fan and observe if the wobbling improves or worsens. If the wobbling decreases, you have identified the problematic blade.
Once you have identified the problem blade, try using a combination of trial and error to find the best placement for the clothespin. Move the clothespin along the blade’s length to different positions and observe the fan’s behavior. Continue this process until you find the position that minimizes the wobbling.
If none of these methods work, you may need to consider using a balancing kit or seek professional assistance. Professional electricians or fan technicians have the tools and expertise to accurately balance the fan blades.
Remember to remove any clothespins or adhesive weights after the balancing process is complete.
By carefully balancing the fan blades, you can minimize wobbling and ensure a smoother operation. Balanced blades will help distribute airflow evenly, enhancing both the performance and energy efficiency of your ceiling fan.
Step 6: Test the fan
Once you have addressed the mounting bracket, tightened the mounting screws, checked the fan blades, and balanced them, it’s time to test the fan to see if the wobbling has been resolved.
Turn on the power to the fan at the circuit breaker panel, ensuring that the main power switch is in the “ON” position. Use the fan’s remote control or wall switch to activate the fan.
Observe the fan’s motion to see if it wobbles. Pay close attention to any irregular movements or vibrations. If the fan continues to wobble, it may be necessary to repeat the steps or seek professional assistance.
If the fan operates smoothly without any visible wobbling, congratulations! You have successfully fixed the wobbling issue.
It is important to periodically check the fan’s stability and perform regular maintenance to ensure its continued smooth operation. Check the mounting screws, blades, and balancing periodically and make any necessary adjustments or repairs.
Remember to keep the fan clean by dusting the blades regularly and lubricating any moving parts as recommended by the manufacturer.
By testing the fan after the repair process, you can ensure that the wobbling has been effectively resolved, providing you with a safe and enjoyable cooling airflow in your living space.
Conclusion
Fixing a wobbly ceiling fan is a task that can be easily accomplished with a little know-how and some basic tools. By following the steps outlined in this article, you can address the most common causes of fan wobbling and restore your ceiling fan to smooth and stable operation.
Remember to start by turning off the power to the fan and taking the necessary safety precautions. Inspect the mounting bracket, tighten the mounting screws, and check the fan blades for damage or misalignment. Use a blade balancing kit or other methods to balance the fan blades and ensure even airflow.
Once you have completed the repair process, test the fan to make sure the wobbling has been resolved. If the wobbling persists or if you are unsure about any step, it is recommended to seek the assistance of a professional electrician or fan technician.
Maintaining a well-functioning and balanced ceiling fan not only improves the overall aesthetic of the room but also promotes better air circulation and energy efficiency. A stable fan ensures that you can enjoy a cool and comfortable environment without any annoying vibrations or safety risks.
Lastly, regular maintenance is key to keep your ceiling fan in optimal condition. Clean the fan regularly, inspect all components, and address any issues promptly to prevent further damage or wobbling in the future.
By taking the time to fix a wobbly ceiling fan, you can enjoy the benefits of a stable and efficient cooling system that enhances the comfort and ambiance of your living space for years to come.
Frequently Asked Questions about How To Fix A Wobbly Ceiling Fan
Was this page helpful?
At Storables.com, we guarantee accurate and reliable information. Our content, validated by Expert Board Contributors, is crafted following stringent Editorial Policies. We're committed to providing you with well-researched, expert-backed insights for all your informational needs.


0 thoughts on “How To Fix A Wobbly Ceiling Fan”