Articles
How To Install Wall Frame Molding
Modified: December 7, 2023
Learn how to install wall frame molding with our informative articles. Step-by-step instructions and expert tips for a professional result.
(Many of the links in this article redirect to a specific reviewed product. Your purchase of these products through affiliate links helps to generate commission for Storables.com, at no extra cost. Learn more)
Introduction
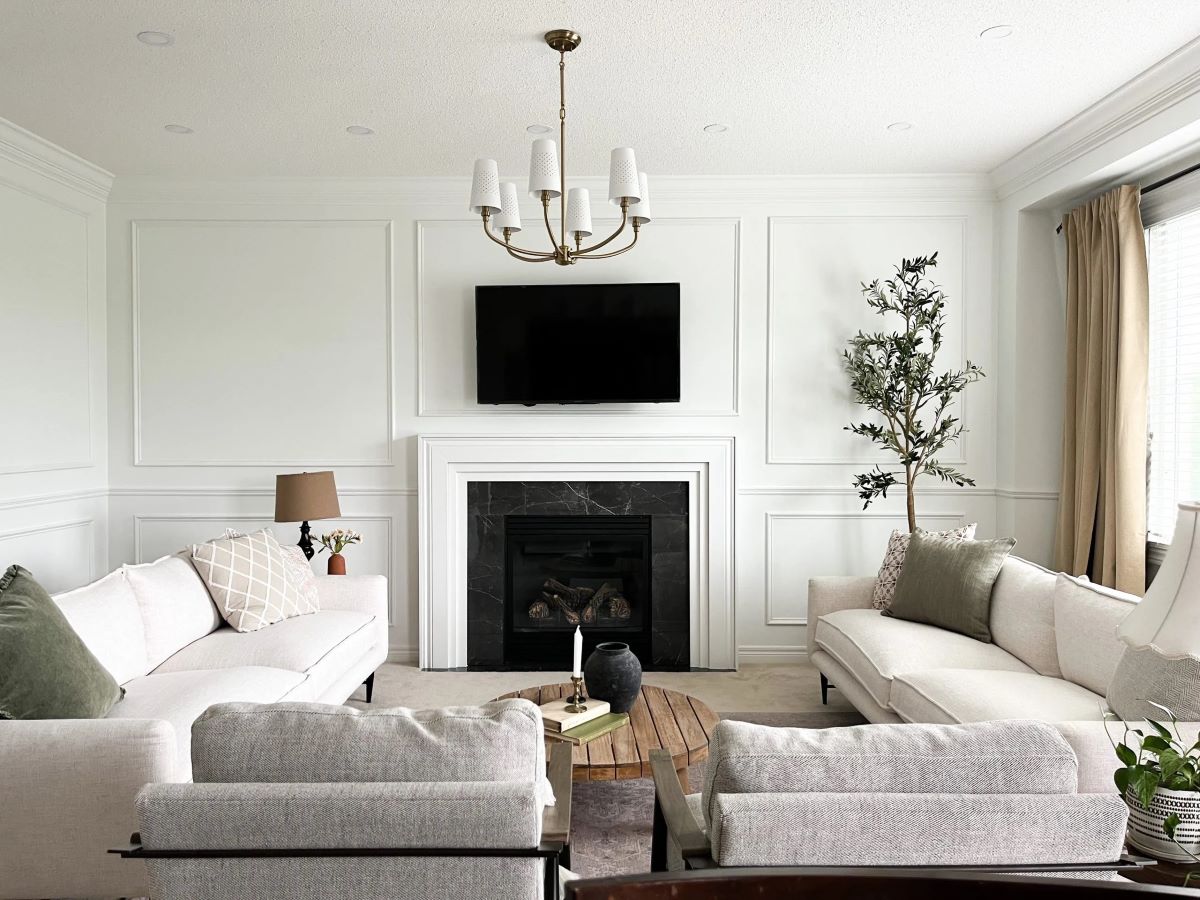
Wall frame molding is a beautiful and timeless addition to any interior space. It adds depth, character, and architectural interest to plain walls, transforming them into elegant and sophisticated focal points. Whether you’re looking to enhance the style of your living room, bedroom, or hallway, installing wall frame molding can instantly elevate the look and feel of your home.
In this step-by-step guide, we will walk you through the process of installing wall frame molding. From gathering the necessary materials to adding the final touches, we’ve got you covered. By following these instructions, you can achieve professional-looking results and create a stunning visual impact in your space.
Before we dive into the installation process, it’s important to note that wall frame molding can be customized in various styles and designs. From simple rectangular frames to intricate panel designs, you have the freedom to choose a style that suits your personal taste and complements your existing decor. Additionally, you can select from a range of molding materials including wood, MDF, or even synthetic alternatives. Each material offers its own unique advantages and aesthetics, so make sure to select the one that best fits your needs and budget.
Now, let’s get started on this exciting home improvement project and learn how to install wall frame molding like a pro!
Key Takeaways:
- Elevate your home’s style with wall frame molding, adding depth and sophistication to plain walls. Follow our step-by-step guide for professional-looking results and a stunning visual impact.
- Attention to detail is key in wall frame molding installation. From precise measurements to final touches, achieve a polished and refined look that enhances your interior’s beauty and sophistication.
Step 1: Gather the necessary materials
Before you begin the installation process, it’s important to gather all the necessary materials. This will ensure that you have everything you need on hand, saving you time and the hassle of running to the store mid-way through the project. Here’s a list of the essential materials you’ll need:
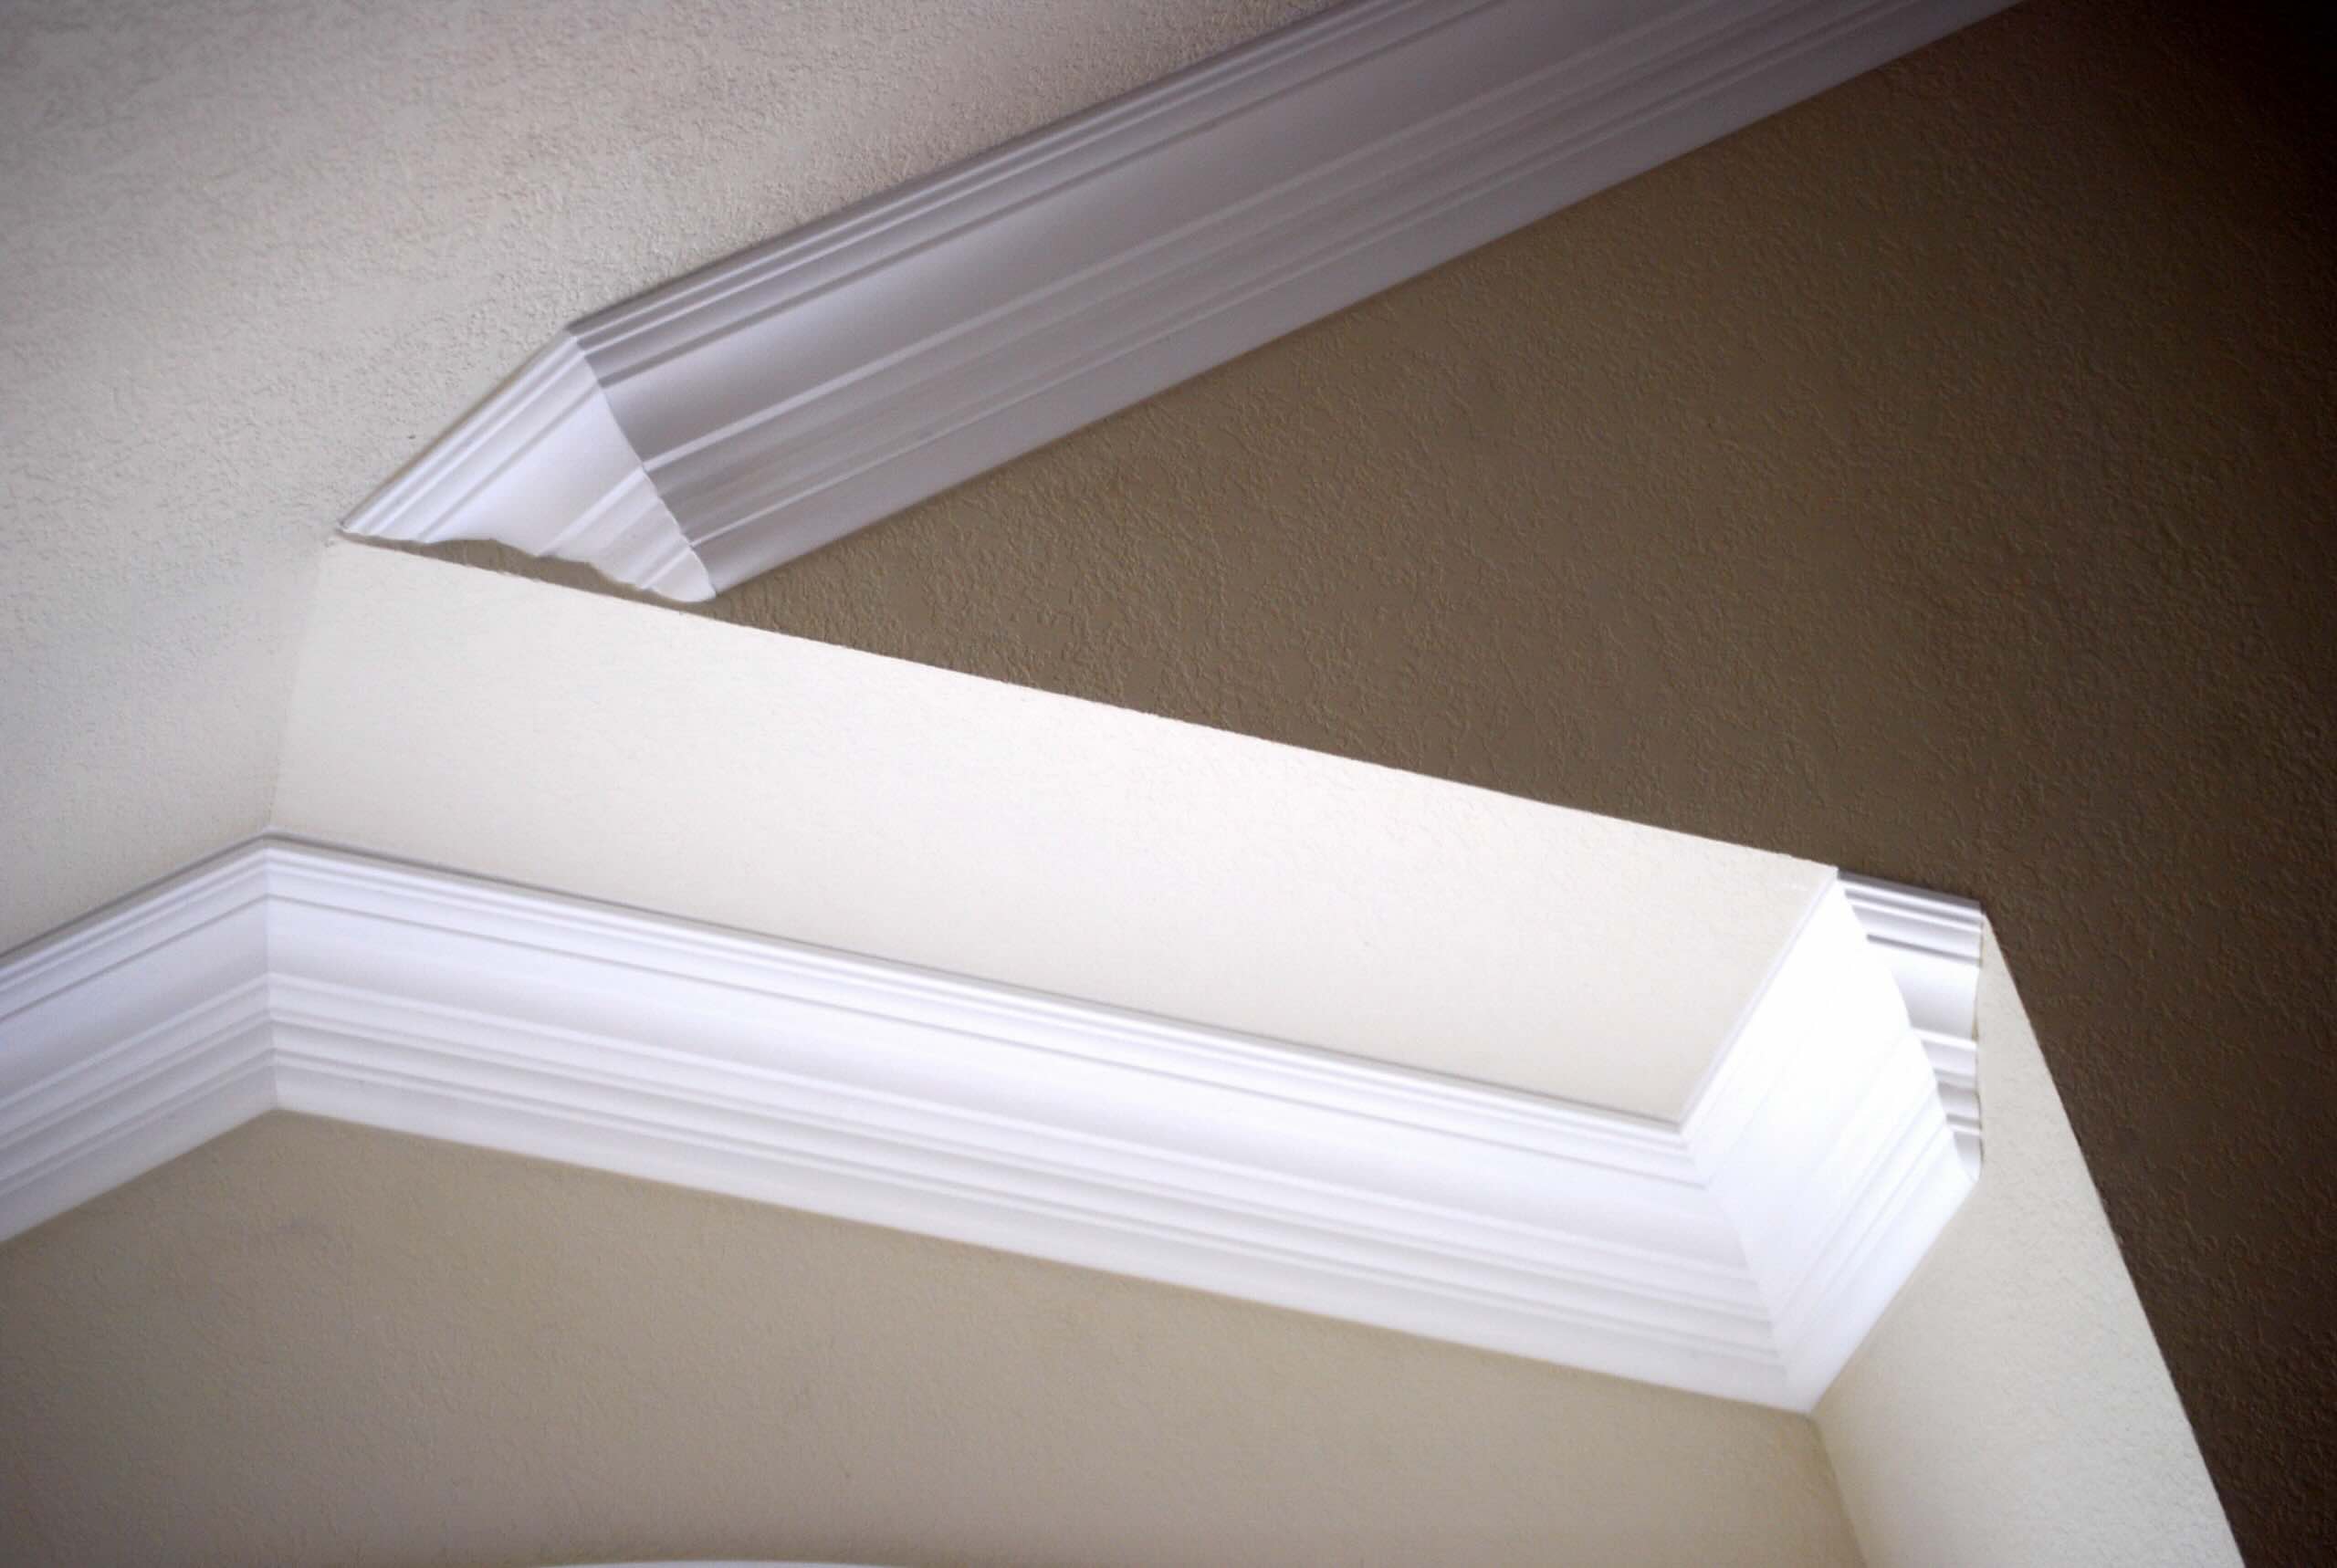
- Molding: Choose the type of molding that suits your style and budget. This can include crown molding, chair rail molding, baseboard molding, or any other decorative molding of your preference.
- Tape measure: Accurate measurements are crucial for a successful installation, so having a reliable tape measure is essential.
- Miter saw: A miter saw will allow you to make precise angled cuts on the molding pieces.
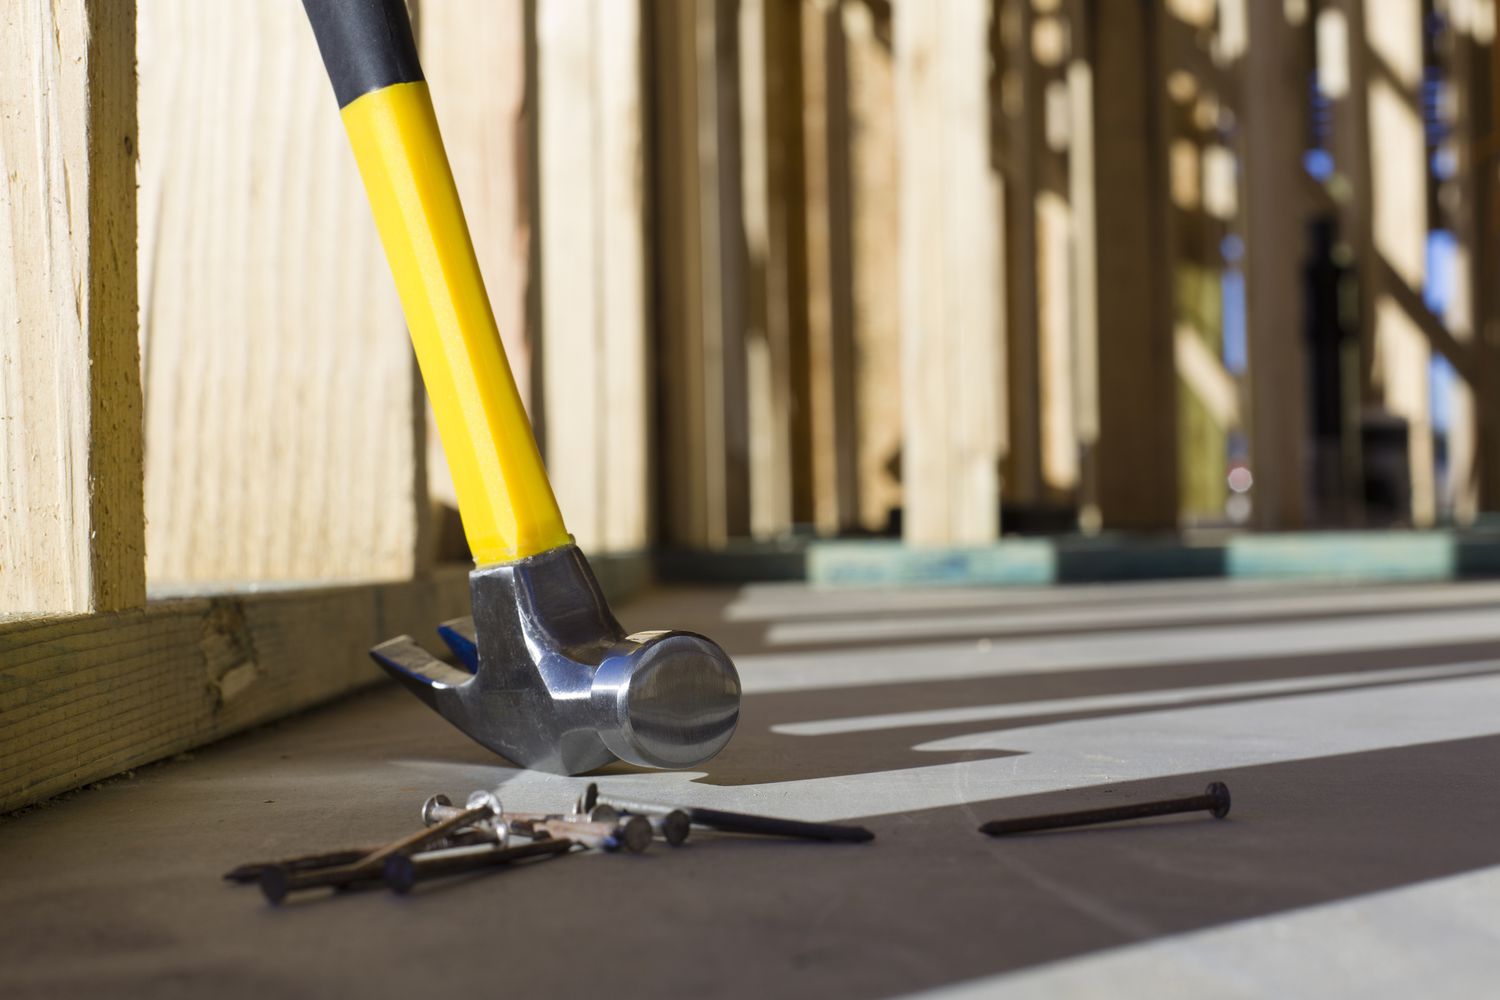
- Brad nailer: A brad nailer is a handy tool for attaching the molding to the walls. Make sure you have appropriate nail sizes for your specific molding and wall type.
- Sandpaper: You’ll need sandpaper to smooth out any rough edges or imperfections on the molding.
- Wood putty: Wood putty or filler is used to fill in any gaps or holes in the molding.
- Primer and paint: Depending on your preference, you may need primer and paint to finish the molding. Choose a color that complements your room’s decor.
- Drop cloth: Protect your floors and furniture by laying down a drop cloth to catch any sawdust or paint drips.
- Level and pencil: These tools are essential for ensuring that your frames are level and accurately marked on the walls.
- Safety gear: Don’t forget to wear safety glasses and gloves to protect yourself during the installation process.
By gathering all the necessary materials beforehand, you’ll have a smooth and efficient installation process. Take the time to double-check your list and ensure that you have everything you need before moving on to the next step.
Step 2: Measure and plan the layout
Once you have gathered all the necessary materials, it’s time to measure and plan the layout for your wall frame molding. This step is crucial to ensure that your frames are evenly spaced and symmetrical on the walls. Follow these steps to achieve accurate measurements and a well-planned layout:
- Start by deciding on the height and width of your frames. Measure the height from the floor to the desired top of the frame and the width from one side of the wall to the other. Keep in mind that the frames should be proportionate to the size of your wall and the surrounding furniture.
- Use a pencil and a level to mark the top and bottom lines of your frames on the wall. For horizontal frames, make sure the lines are level, and for vertical frames, ensure they are straight.
- Determine the spacing between your frames. This will vary depending on your personal preference and the style you’re going for. A common rule of thumb is to have equal spacing between each frame, typically around 12 to 18 inches.
- Using a measuring tape, mark the starting point and the spacing for each frame along the top and bottom lines. This will help you visualize the layout and ensure that the frames are evenly spaced.
- Double-check your measurements and layout before proceeding to the next step. This will help you avoid any errors that could affect the overall appearance of the wall frame molding.
By taking the time to measure and plan the layout accurately, you’ll create a cohesive and visually appealing arrangement of frames on your walls. The precision in this step will ensure that your wall frame molding looks professional and enhances the overall aesthetics of your space.
Step 3: Prepare the walls for installation
Before you start installing the wall frame molding, it’s important to prepare the walls to ensure a smooth and secure installation. Proper wall preparation will help the molding adhere well and provide a clean and polished finished look. Follow these steps to prepare the walls:
- Clean the walls: Begin by cleaning the walls with a mild cleaning solution to remove any dirt, grease, or dust. This will allow the molding to adhere properly and prevent any imperfections on the surface.
- Repair any damages: Inspect the walls for any cracks, holes, or other damages. Use spackling compound or filler to repair these imperfections. Smooth out the repaired areas using sandpaper to achieve a flat surface.
- Sand the walls: Use sandpaper to lightly sand the walls. This will help create a slightly rough surface, allowing the adhesive or primer to adhere better to the walls.
- Prime the walls (optional): If desired, apply a coat of primer to the walls. This step is especially beneficial if you’re working with porous materials such as drywall. The primer will help seal the surface, provide a better adhesive bond, and enhance the overall finish of the walls.
- Locate studs (if necessary): If you’re planning to attach the molding directly to the wall studs for added support, use a stud finder to locate and mark the stud positions on the walls. This will help you know where to nail the molding securely.
Properly preparing the walls will create a clean and stable surface for the wall frame molding. Taking the time to clean, repair, and prime the walls will ensure a successful installation and longevity of your molding.
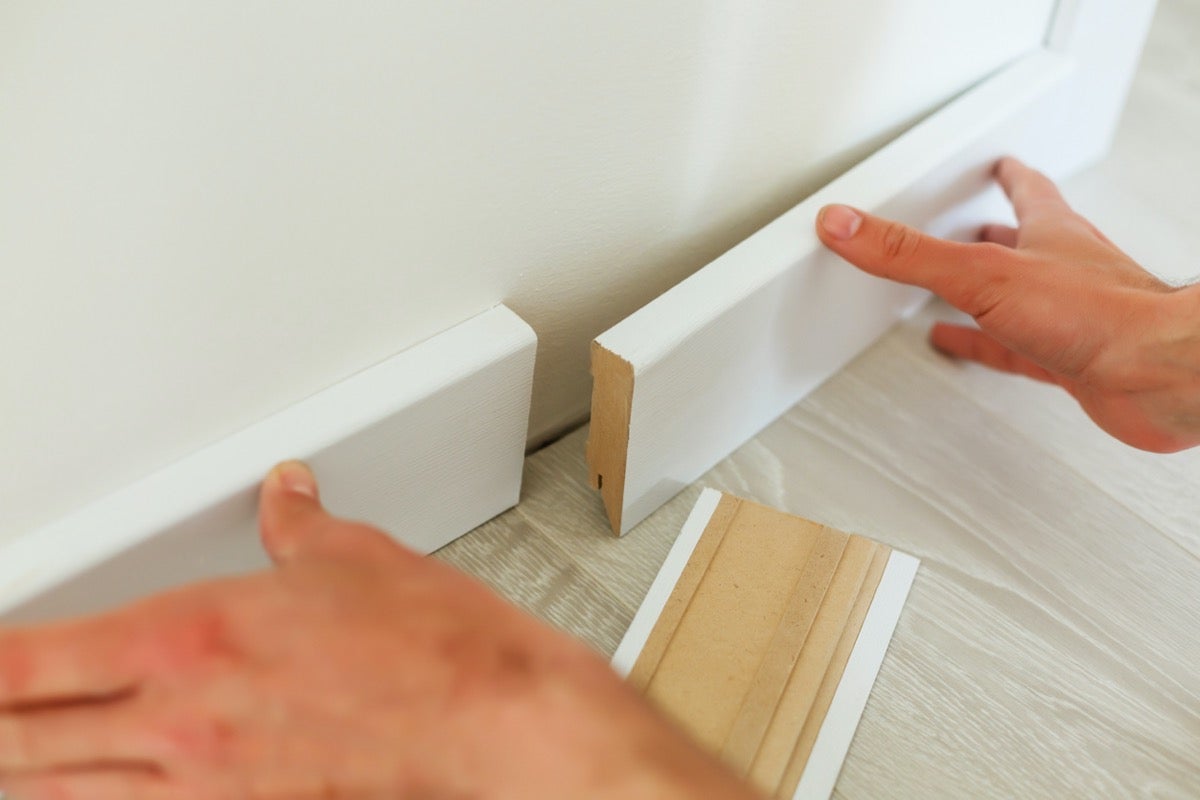
Step 4: Cut and miter the molding pieces
Now that you have prepared the walls, it’s time to cut and miter the molding pieces. This step involves precise measurements and angled cuts to create seamless and professionally fitted frames. Follow these steps to cut and miter the molding:
- Measure and mark the lengths: Measure the lengths of each side of the frame using a tape measure. Ensure that the measurements are accurate and align with your desired frame dimensions.
- Set up the miter saw: Set up your miter saw according to the required angle for your specific molding design. This angle will vary depending on the type of joints you want to create, such as 45-degree or 90-degree corners.
- Cut the molding pieces: Carefully place the molding on the miter saw, aligning the marked measurements with the saw blade. Hold the molding firmly and make precise cuts according to your measurements, following the angle set on the miter saw.
- Check the fit: Place the cut molding pieces on the wall to check the fit and ensure they align properly. Make any necessary adjustments by trimming the edges or recutting the pieces until they fit perfectly.
- Miter the corners: If you’re creating frames with angled corners, miter the ends of the molding pieces to achieve a clean and seamless joint. Use a miter box or the miter saw to cut the necessary angles on the ends of the molding pieces for a precise fit.
- Test the corners: Before proceeding with installation, test-fit the mitered corners to ensure they align correctly and create a tight joint. Make any adjustments if needed to achieve a seamless and professional-looking finish.
Cutting and mitering the molding pieces correctly is essential to achieve a polished and cohesive look for your wall frame molding. Take your time with this step and double-check your measurements and angles to ensure precise cuts and perfectly fitted frames.
Step 5: Install the bottom rail
With the molding pieces cut and mitered, it’s time to start the installation process. In this step, we will focus on installing the bottom rail, which serves as the foundation for the frames. Follow these steps to correctly install the bottom rail:
- Begin by measuring and marking the location of the bottom rail on the wall. Use a pencil and a level to ensure that the markings are straight and level.
- Apply construction adhesive to the back of the bottom rail. This will provide extra stability and help the rail adhere to the wall.
- Align the bottom rail with the markings on the wall and press it firmly against the surface. Make sure it is level and securely attached.
- Secure the bottom rail in place using a brad nailer or finishing nails. Space the nails evenly along the length of the rail, making sure they penetrate the molding and anchor it securely to the wall.
- Continue installing the bottom rail across the desired area, following the measurements and marking for each frame. Repeat the adhesive and nailing process for each section.
- Double-check the alignment and levelness of the installed bottom rail. Make any necessary adjustments or repositioning before moving on to the next step.
Installing the bottom rail is an important step as it sets the foundation for the frames and provides stability and support to the entire wall frame molding. Take your time to ensure that the bottom rail is securely attached and level before proceeding to the next installation steps.
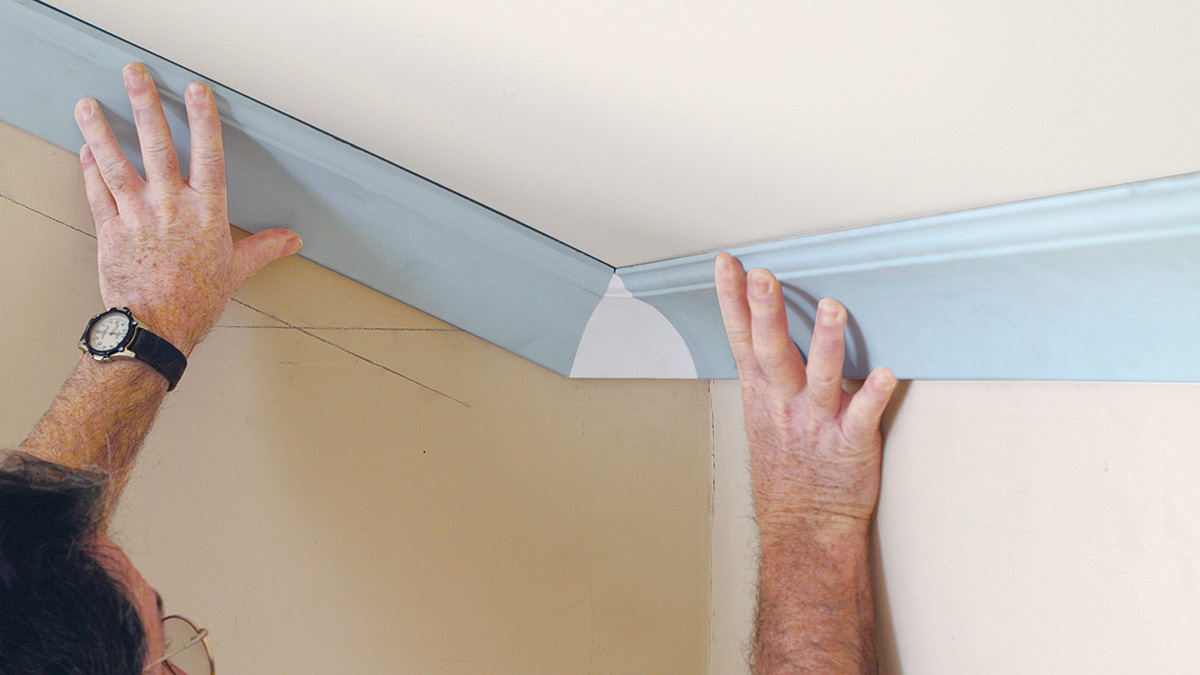
When installing wall frame molding, make sure to measure and mark the placement of the molding before cutting. Use a miter saw for precise angled cuts and a level to ensure straight installation.
Step 6: Install the frames
With the bottom rail securely in place, it’s time to install the frames that will make up the wall frame molding. This step requires precision and attention to detail to ensure that the frames are aligned, evenly spaced, and securely attached. Follow these steps to install the frames:
- Measure and cut the vertical and horizontal molding pieces for each frame. Remember to account for any mitered corners if applicable.
- Apply a small amount of construction adhesive to the back of each molding piece.
- Align the molding pieces along the marked lines on the wall, making sure they are level and straight. Press firmly to adhere the molding to the wall.
- Secure the molding pieces in place using a brad nailer or finishing nails. Drive the nails at an angle through the molding and into the wall or into the studs if applicable.
- Continue installing the molding pieces for each frame, following the measurements and marked lines. Ensure that the frames are evenly spaced and aligned.
- Check the alignment and levelness of each frame as you install them. Make any necessary adjustments or repositioning to achieve a visually appealing and cohesive look.
When installing the frames, it’s important to work methodically and take your time to ensure accuracy. Double-check the alignment and levelness of each frame as you go along to avoid any crooked or uneven results. When attaching the molding pieces, be careful not to overdrive the nails and cause damage to the molding or the wall.
By following these steps, you’ll be able to install the frames for your wall frame molding and create a visually striking and professional-looking finish.
Step 7: Attach the top rail
After installing the frames, the next step is to attach the top rail. The top rail adds stability and a finished look to the wall frame molding. It also helps to secure the frames in place. Follow these steps to correctly attach the top rail:
- Measure and cut the top rail to the desired length, ensuring that it aligns with the outer edges of the installed frames.
- Apply construction adhesive to the back of the top rail.
- Place the top rail on top of the frames, aligning it with the outer edges of the molding pieces.
- Using a brad nailer or finishing nails, secure the top rail to the wall and to the frames. Drive the nails at an angle through the top rail and into the wall or into the studs, if possible. Ensure that the top rail is securely attached and level.
- Continue attaching the top rail to each section of molding, ensuring a seamless and even connection.
- Double-check the alignment, levelness, and overall stability of the top rail. Make any necessary adjustments or repositioning before moving on to the next step.
Attaching the top rail not only enhances the overall stability of the wall frame molding but also adds a visually pleasing finishing touch. Taking care to ensure that the top rail is securely attached and level will ensure a polished and professional-looking result.
Step 8: Fill in any gaps and sand the molding
Once the wall frame molding is installed and secured, it’s time to attend to any gaps or imperfections that may be present. This step involves filling in gaps, cracks, or nail holes and sanding the molding to achieve a smooth and flawless finish. Follow these steps to complete this important step:
- Inspect the molding closely and identify any gaps or cracks between the frames or at the joints.
- Use a wood filler or putty that matches the color of the molding to fill in the gaps and cracks. Apply the filler using a putty knife, ensuring that it fills the space evenly and is flush with the surface of the molding.
- Allow the filler to dry completely according to the manufacturer’s instructions.
- Once the filler is dry, use fine-grit sandpaper to smooth out the filled areas. Sand in a gentle circular motion, applying light pressure to avoid damaging the molding.
- Continue sanding the entire length of the molding, paying attention to any rough edges or imperfections. The goal is to create a smooth and seamless surface.
- After sanding, use a damp cloth or sponge to wipe away any dust or residue from the molding. This will help prepare the surface for priming and painting in the next steps.
Filling in gaps and sanding the molding is crucial to achieve a flawless and professional look for your wall frame molding. By taking the time to smooth out any imperfections, you’ll ensure a polished and refined appearance that enhances the overall aesthetics of your space.
Step 9: Prime and paint the molding
Once the wall frame molding is properly sanded and cleaned, the next step is to prime and paint it. Priming and painting the molding will not only protect the material but also provide a finished and cohesive look to your installation. Follow these steps to achieve a professional finish:
- Begin by applying a coat of primer to the molding. Using a paintbrush or a roller, ensure that the primer covers the entire surface of the molding evenly. Allow the primer to dry completely according to the manufacturer’s instructions.
- Once the primer is dry, it’s time to apply the paint color of your choice. Use a high-quality, water-based paint that is suitable for the material of your molding.
- Apply the paint in smooth, even strokes, going with the grain of the wood or evenly covering the surface. Ensure complete coverage and pay special attention to any detailed or intricate areas.
- If necessary, apply a second coat of paint to achieve the desired color and finish. Allow the paint to dry thoroughly between coats.
- After the final coat of paint is applied, carefully inspect the molding for any drips, streaks, or imperfections. Use a small brush or a sponge to touch up any areas as needed.
- Allow the paint to dry completely before moving on to the final step.
Priming and painting the molding not only enhances its appearance but also protects it from wear and tear. It allows you to customize the color to match your room’s decor and create a cohesive look. Take your time during this step to achieve a smooth and flawless finish that complements your space.
Step 10: Final touches and cleanup
As you near the completion of your wall frame molding installation, it’s important to pay attention to the final touches and ensure a clean and polished result. Follow these steps to add the finishing touches and complete the project:
- Inspect the entire wall frame molding installation closely. Look for any areas that may need touch-ups, such as paint drips, smudges, or uneven edges.
- Use a small brush or a sponge to touch up any imperfections with paint. Blend the touch-up paint seamlessly with the rest of the molding.
- Clean up any debris or dust that may have accumulated during the installation process. Use a vacuum cleaner or a damp cloth to wipe down the molding and surrounding area.
- Remove any protective covering or tape that was used to protect adjacent surfaces during the installation. Ensure that the paint is fully dry before removing any tape to avoid smudging or peeling.
- Inspect the overall appearance of the wall frame molding and make any final adjustments as needed. Check for even spacing, levelness, and alignment of the frames.
- Once you are satisfied with the final result, step back and admire your newly installed wall frame molding.
Cleaning up the workspace and attending to any final touches will ensure that your wall frame molding installation is not only visually appealing but also well-executed. Taking the time to address any imperfections and thoroughly clean the area will give your project a professional and finished look.
Congratulations on completing your wall frame molding installation! Your space will now have added beauty, character, and architectural interest.
Conclusion
Installing wall frame molding can transform your plain walls into elegant and sophisticated focal points. By following the step-by-step guide outlined in this article, you can achieve professional-looking results and create a stunning visual impact in your home.
We started by gathering the necessary materials and measuring the layout to ensure accurate installation. Preparing the walls by cleaning, repairing, and priming created a smooth surface for the molding. Cutting and mitering the molding pieces allowed for precise fitting, while installing the bottom rail provided stability and a foundation for the frames.
Once the frames were installed, the top rail added the finishing touch to the molding. The gaps were filled, and sanding created a seamless and smooth surface. Priming and painting the molding allowed for customization, protecting the material and enhancing the overall appearance.
Lastly, the final touches and cleanup ensured a polished result, leaving your space looking refined and aesthetically pleasing. By approaching the installation process with attention to detail and taking the time to follow each step, you can achieve a professional look that elevates the style of your interior.
Now that you have completed the installation of your wall frame molding, take a step back and admire the transformation. The added depth, character, and architectural interest will undoubtedly enhance the overall beauty and sophistication of your home.
Remember, feel free to repeat this process in other rooms or experiment with different molding styles and designs to further customize your space. Enjoy the beauty and impact of your newly installed wall frame molding for years to come!
Frequently Asked Questions about How To Install Wall Frame Molding
Was this page helpful?
At Storables.com, we guarantee accurate and reliable information. Our content, validated by Expert Board Contributors, is crafted following stringent Editorial Policies. We're committed to providing you with well-researched, expert-backed insights for all your informational needs.


0 thoughts on “How To Install Wall Frame Molding”