Home>Articles>How To Build A Mortarless Stone Wall In 5 Simple Steps
Articles
How To Build A Mortarless Stone Wall In 5 Simple Steps
Modified: December 7, 2023
Learn how to build a stunning mortarless stone wall in just 5 easy steps with our informative articles. Master the art of stone construction and enhance your outdoor space effortlessly.
(Many of the links in this article redirect to a specific reviewed product. Your purchase of these products through affiliate links helps to generate commission for Storables.com, at no extra cost. Learn more)
Introduction
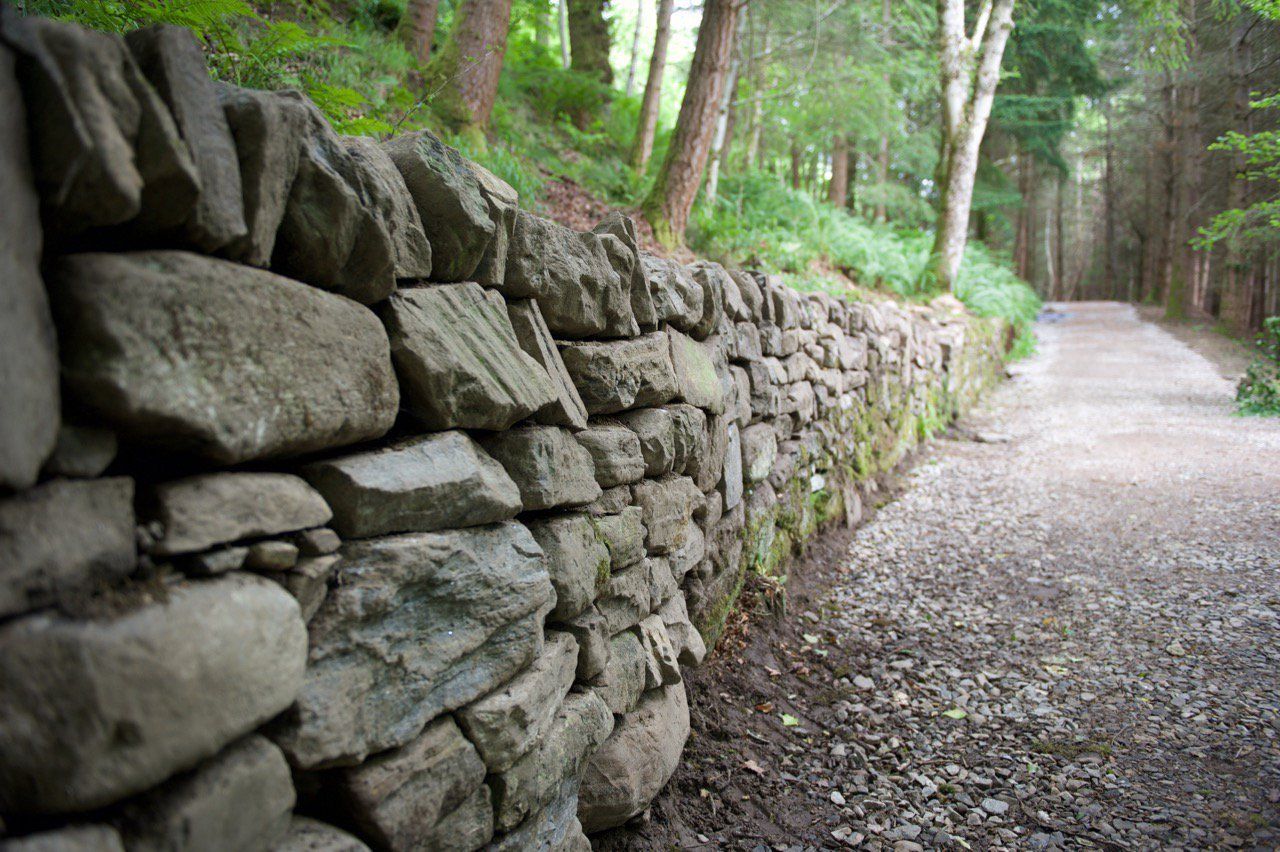
Building a mortarless stone wall is a wonderful DIY project that can add charm and character to your outdoor space. Whether you want to create a decorative border or a sturdy retaining wall, this guide will provide you with the necessary steps to achieve a professional-looking result. The beauty of a mortarless stone wall lies in its simplicity and versatility, as it can be easily customized to fit any design aesthetic.
Not only does a mortarless stone wall offer a timeless and rustic look, but it also provides durability and strength. By eliminating the need for mortar, you avoid the hassle of mixing and applying it between the stones, making the construction process much easier and time-efficient. With just a few tools and materials, you can transform your backyard into a stunning oasis.
In this article, we will walk you through the five simple steps to build a mortarless stone wall. From site preparation to finishing touches, we will cover all the essential aspects of this project. So, roll up your sleeves, gather your tools, and let’s get started on creating a beautiful stone wall that will enhance the aesthetics and functionality of your outdoor space.
Key Takeaways:
- Create a visually stunning and durable mortarless stone wall by following 5 simple steps, from site preparation to finishing touches. Unleash your creativity and enhance your outdoor space with this satisfying DIY project.
- Enjoy the timeless beauty and strength of a mortarless stone wall, adding charm and character to your outdoor space. With proper site preparation, stone selection, and maintenance, you can create a stunning focal point that will stand the test of time.
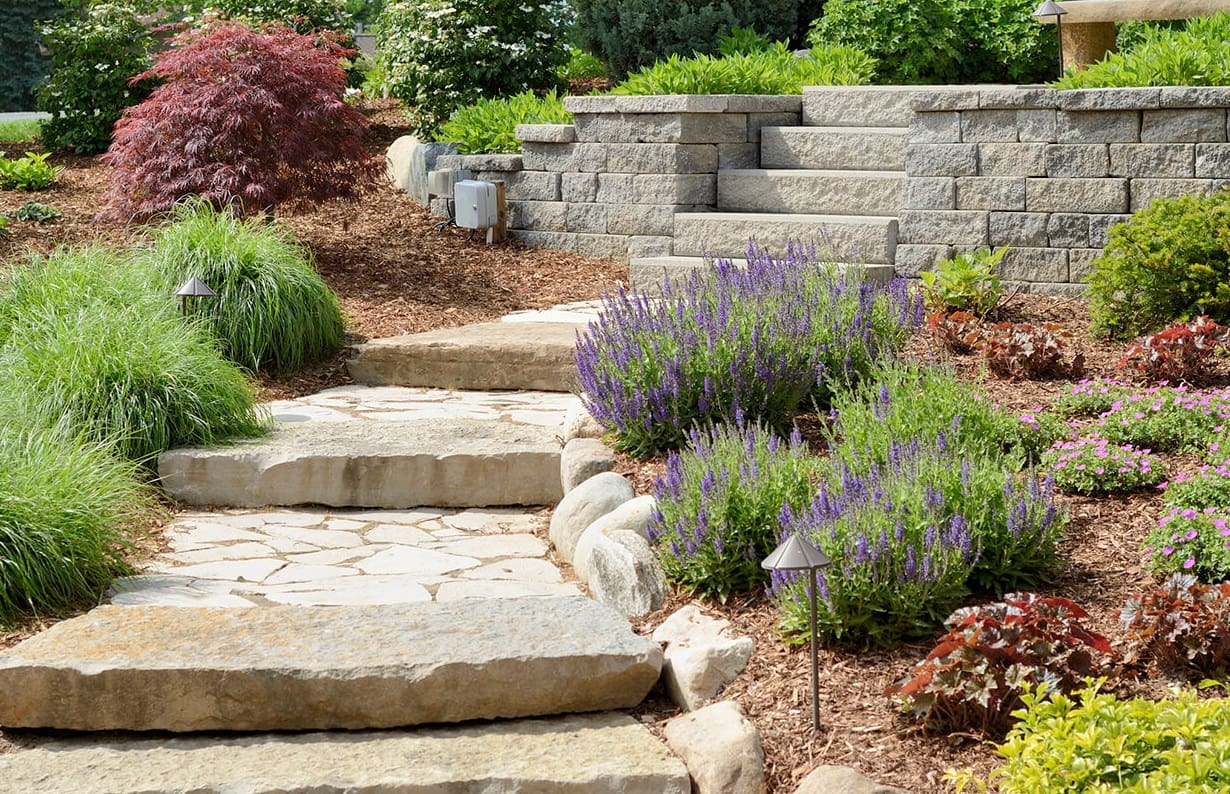
Read more: How To Build Stone Porch Steps
Step 1: Site Preparation
Before you begin building your mortarless stone wall, it’s crucial to properly prepare the site. This will ensure a stable foundation and prevent any future issues with the integrity of the wall. Here are the key steps to follow:
- Clear the area: Start by removing any vegetation, debris, or obstacles from the area where the wall will be constructed. This includes rocks, roots, and any other obstructions that could interfere with the wall’s stability. Use a shovel, rake, or brush to clear the area thoroughly.
- Level the ground: The ground where the wall will be built should be as level as possible. Use a shovel or a rake to remove any high spots or fill in any depressions. Take your time to ensure the ground is even to prevent uneven settling of the stones later on.
- Mark the outline: Use stakes and string to mark the outline of the wall. This will help you visualize the exact location and dimensions of the wall. Make sure the shape, size, and alignment of the wall fit your desired design and meet any local building codes or regulations.
- Dig a trench: Excavate a trench along the marked outline of the wall. The depth and width of the trench will depend on the size and intended purpose of the wall. As a general rule, the trench should be at least 6 inches deep and wide enough to accommodate the stones and additional base material.
- Add a base material: To ensure proper drainage and stability, add a layer of crushed gravel or stone dust to the bottom of the trench. This will act as a solid and level base for your stone wall. Distribute the base material evenly and compact it using a tamper or hand compactor.
By following these site preparation steps, you will create a solid foundation for your mortarless stone wall. This will ensure that the wall remains stable and stands the test of time. Once the site is prepared, you can move on to the next step of the construction process.
Step 2: Foundation Preparation
After completing the site preparation, the next crucial step is to prepare the foundation for your mortarless stone wall. The foundation provides a stable base for the wall and helps distribute the weight evenly. Here’s what you need to do:
- Compact the base material: Use a tamper or hand compactor to compact the base material in the trench. This will ensure that it is solid and stable. Repeat this process until the base material is tightly packed and level.
- Add a layer of leveling sand: Spread a layer of leveling sand over the compacted base material. The sand will provide a smooth surface for placing the stones and help with adjusting their level. Use a rake or straight board to distribute the sand evenly.
- Level the sand: Use a straight board or a long level to ensure that the sand is level. This will help create a uniform surface for the stones and ensure the wall remains straight. Adjust the sand as needed by adding or removing it until it is level across the entire trench.
- Compact the sand: Similar to the base material, use a tamper or hand compactor to compact the sand layer. This will ensure that it is firmly packed and provides stable support for the stones. Continue compacting until the sand is dense and even.
- Install edge restraints: To prevent the stones from shifting, install edge restraints along the sides of the trench. These can be metal or plastic strips that are secured into the ground. The edge restraints will hold the stones in place and maintain the structural integrity of the wall.
- Double-check the level: Before proceeding to the next step, double-check the level of the sand and the alignment of the edge restraints. This step is crucial to ensure that your wall will be straight and properly aligned.
By properly preparing the foundation, you are setting the stage for a sturdy and visually appealing mortarless stone wall. The level and compacted base will provide stability, while the edge restraints will keep the stones in place. With the foundation prepared, you are now ready to move on to the exciting part: selecting and arranging the stones.
Step 3: Selecting and Arranging Stones
One of the most enjoyable aspects of building a mortarless stone wall is selecting and arranging the stones. This step allows you to unleash your creativity and create a unique and visually stunning wall. Here’s what you need to do:
- Choose your stones: Look for stones that are suitable for your desired wall design. Consider the size, shape, color, and texture of the stones. You can use natural stones or opt for pre-cut stones for a more uniform look. Collect a variety of stones with different shapes and sizes to add visual interest to your wall.
- Layout the stones: Start by laying out a few stones along the edge of the trench to get a sense of the spacing and arrangement. Experiment with different orientations and positions until you find a layout that suits your taste. This step will help you visualize the final look of the wall.
- Sort the stones: Once you have a layout you are satisfied with, start sorting the stones based on their size and shape. Group them into piles to make it easier to find the right stone for each section of the wall. This will save you time and effort during the construction process.
- Begin laying the stones: Start from one end of the trench and carefully place the stones into the sand bed. Ensure that each stone is firmly pressed into the sand and sits flush with the adjacent stones. Use a rubber mallet or a wooden block to tap the stones gently into place if needed.
- Fit the stones tightly: As you progress along the trench, make sure to fit the stones tightly together. This will help minimize gaps and create a more cohesive and stable wall. If necessary, you can use a chisel or a stone-cutting saw to trim or shape the stones to fit perfectly.
- Vary the stone sizes and shapes: To create an appealing aesthetic, alternate between different stone sizes and shapes. Mix larger stones with smaller ones and experiment with different patterns. This will add visual interest and create a more natural and organic look.
Remember to step back and assess the overall appearance of the wall as you lay the stones. Make adjustments as needed to ensure a balanced and visually pleasing result. With careful selection and arrangement of the stones, your mortarless stone wall will become a stunning focal point in your outdoor space.
When building a mortarless stone wall, make sure to use a level and string line to ensure the stones are properly aligned and the wall is straight.
Step 4: Building the Wall
With the stones selected and arranged, it’s time to start building your mortarless stone wall. This step involves meticulously placing each stone and ensuring the wall is structurally sound. Follow these guidelines to build a sturdy and visually appealing wall:
- Add additional layers: Begin by adding additional layers of stones onto the initial layer. Place each stone carefully, ensuring that they fit tightly together and are level with the previous layer. As you build upwards, stagger the joints between stones to enhance the stability of the wall.
- Check for level and plumb: Regularly use a spirit level to check the levelness and plumbness of the wall. Adjust the stones as necessary to maintain a straight and even structure. This step is crucial to ensure that your wall will not lean or become unstable over time.
- Interlock the stones: To increase the strength and stability of the wall, interlock the stones by overlapping their edges. This will help distribute the weight evenly and prevent shifting or sliding of the stones. Maintain a consistent pattern of interlocking throughout the entire wall.
- Backfill and compact: As you progress with building the wall, backfill the space behind it with soil or gravel. This will provide additional support and help secure the stones in place. Use a hand compactor to gently tamp down the backfill material to ensure it is tightly packed.
- Build in small sections: To make the construction process more manageable, build the wall in small sections at a time. By focusing on one section at a time, you can ensure precision and attention to detail. Take breaks as needed to rest and evaluate your progress.
- Continue layering: Repeat the process of adding layers, checking for levelness, interlocking the stones, and backfilling until you reach the desired height for your stone wall. Be patient and take your time to ensure each stone is properly placed.
By following these steps and taking your time to carefully build the wall, you will create a durable and visually stunning mortarless stone wall. Each stone will contribute to the overall strength and aesthetic appeal of the wall, resulting in a beautiful addition to your outdoor space.
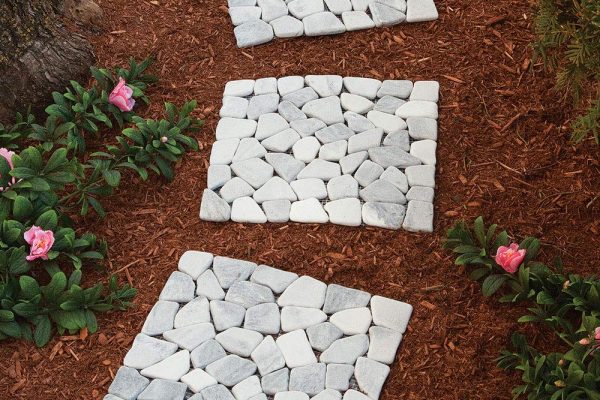
Read more: How To Build A Walkway With Stepping Stones
Step 5: Finishing Touches and Maintenance
Once you have completed the construction of your mortarless stone wall, there are a few final steps to take to give it a polished look and ensure its longevity. Follow these guidelines for the finishing touches and ongoing maintenance:
- Clean the wall: Remove any dirt, debris, or construction residue from the surface of the wall. Use a brush or a broom to gently scrub the stones and keep them looking clean and vibrant.
- Seal the stones (optional): Consider applying a stone sealer to protect the stones from weathering and staining. This will help maintain their color and extend the lifespan of your mortarless stone wall. Follow the manufacturer’s instructions for proper application.
- Regularly inspect for damage: Periodically inspect your stone wall for any signs of damage or movement. Look for cracks, loose stones, or any shifts in the structure. Promptly address any issues to prevent further damage and maintain the integrity of the wall.
- Trim vegetation: Keep any vegetation around the stone wall trimmed to prevent roots from causing damage or pushing against the stones. Remove any weeds or grass that may grow in between the stones to maintain a clean and neat appearance.
- Repair as needed: If you notice any damaged or loose stones, make the necessary repairs promptly. Remove the damaged stone and replace it with a new one that matches the rest of the wall. Ensure it is securely in place and blends seamlessly with the surrounding stones.
- Enjoy and showcase: Finally, step back and admire your gorgeous mortarless stone wall. Showcase it by adding landscape lighting, decorative elements, or plants around it. Take pride in your creation and enjoy the beauty and functionality it adds to your outdoor space.
By following these finishing touches and ongoing maintenance tips, your mortarless stone wall will continue to enhance your outdoor living area for years to come. Regular care and upkeep will ensure its durability and keep it looking its best.
Conclusion
Building a mortarless stone wall may seem like a daunting task, but with the right guidance and a little bit of effort, it can become a satisfying DIY project that adds beauty and character to your outdoor space. By following the five simple steps outlined in this guide, you can create a visually stunning and sturdy stone wall that will stand the test of time.
From the initial site preparation to the final finishing touches and maintenance, each step plays a crucial role in the construction process. Clearing the area, leveling the ground, and preparing a solid foundation provide a stable base for your wall. Selecting the right stones and arranging them in an appealing pattern allows you to unleash your creativity and create a unique design.
As you build the wall, taking care to ensure each stone is properly placed, interlocked, and backfilled, will result in a structurally sound and visually pleasing wall. Regular maintenance, such as cleaning, sealing (if desired), and inspecting for damage, will help maintain the integrity and longevity of your stone wall.
Ultimately, building a mortarless stone wall is a fulfilling project that allows you to tap into your creativity and enhance the aesthetics of your outdoor space. Whether you’re creating a decorative border or a functional retaining wall, the natural beauty and durability of a mortarless stone wall will surely impress your family and friends.
So, roll up your sleeves, gather your tools, and let your imagination soar as you embark on this enjoyable journey of building a mortarless stone wall. The end result will be a stunning addition to your landscape that will bring you joy and admiration for years to come.
Frequently Asked Questions about How To Build A Mortarless Stone Wall In 5 Simple Steps
Was this page helpful?
At Storables.com, we guarantee accurate and reliable information. Our content, validated by Expert Board Contributors, is crafted following stringent Editorial Policies. We're committed to providing you with well-researched, expert-backed insights for all your informational needs.


0 thoughts on “How To Build A Mortarless Stone Wall In 5 Simple Steps”