Articles
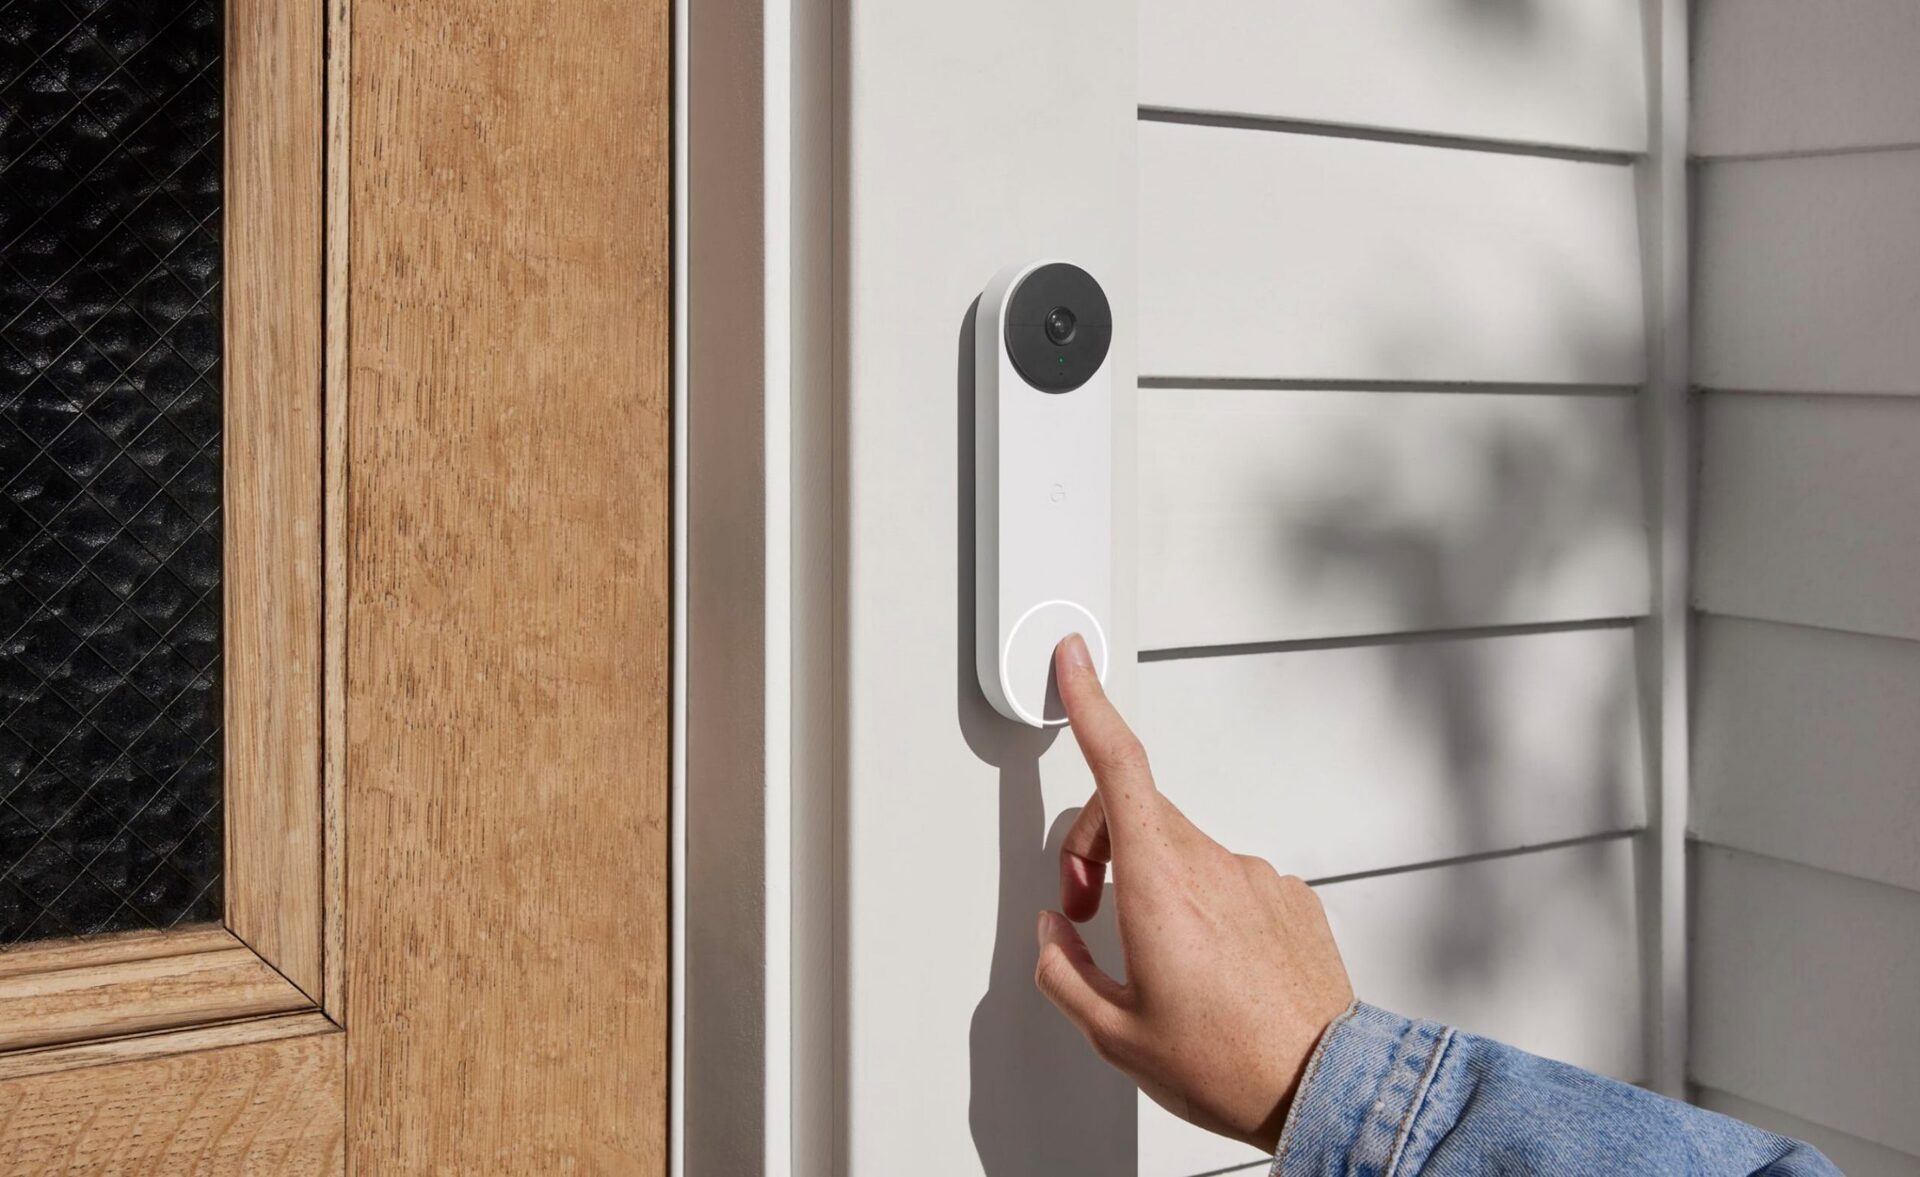
How To Take Off A Nest Doorbell
Modified: October 18, 2024
Learn how to remove a Nest Doorbell with our informative articles. Get step-by-step instructions and expert tips to safely uninstall your device.
(Many of the links in this article redirect to a specific reviewed product. Your purchase of these products through affiliate links helps to generate commission for Storables.com, at no extra cost. Learn more)
Introduction
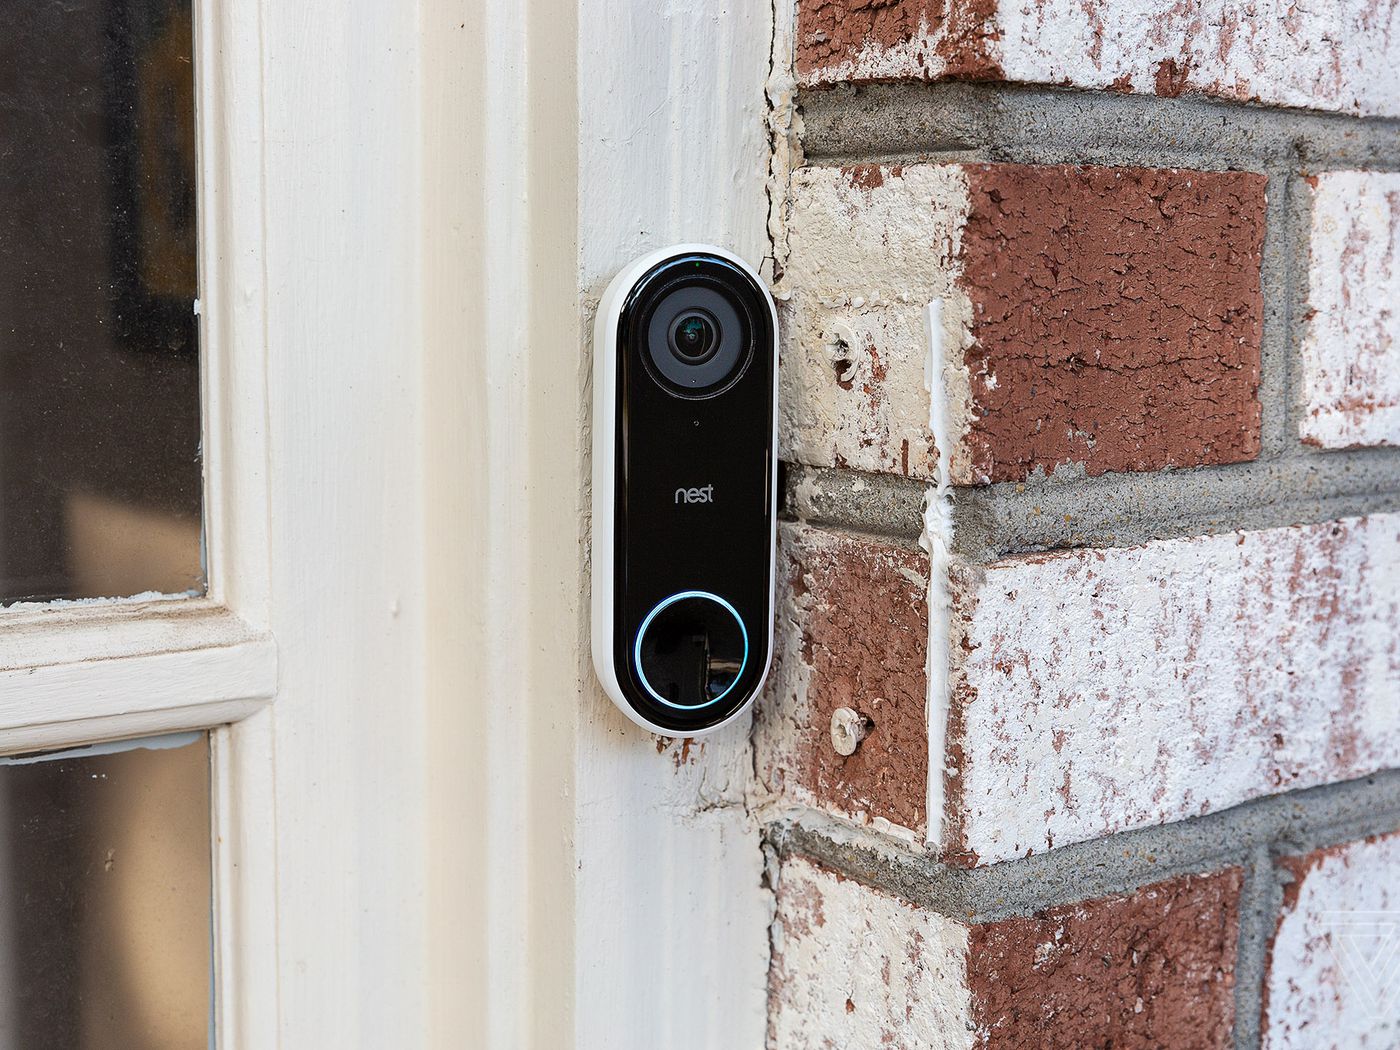
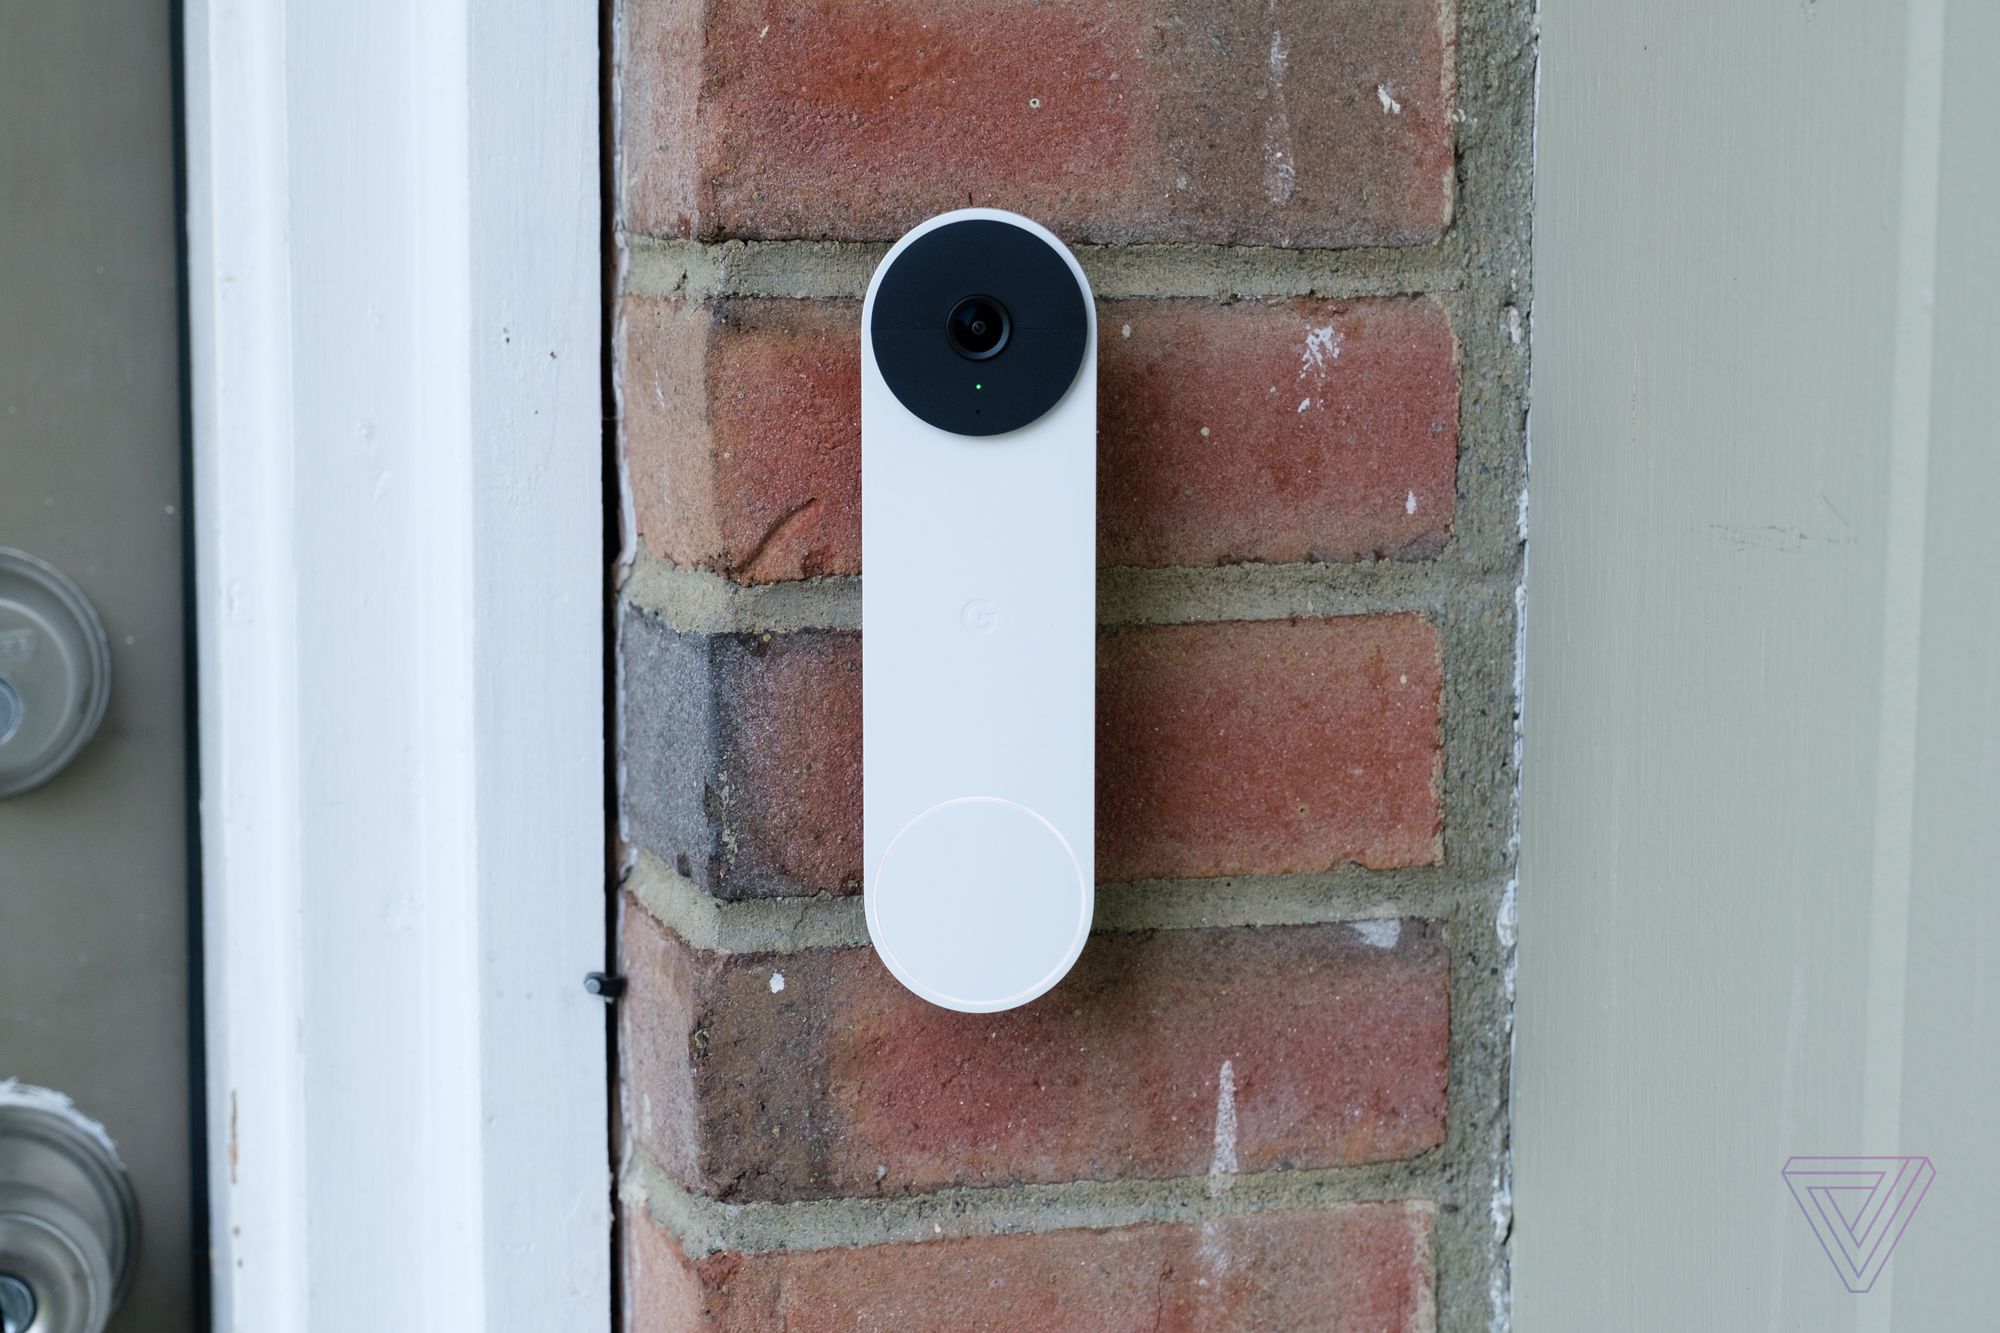
Installing a smart doorbell like the Nest Doorbell can add an extra layer of security and convenience to your home. However, there may come a time when you need to take off your Nest Doorbell for various reasons, such as upgrading to a new model or relocating it to a different location. While the process may seem daunting at first, with the right tools and a little know-how, removing your Nest Doorbell can be a relatively straightforward task.
In this article, we will guide you through the step-by-step process of how to take off a Nest Doorbell. We’ll provide you with the necessary tools and walk you through each stage, ensuring a smooth and hassle-free removal process.
Key Takeaways:
- Safely remove your Nest Doorbell by following step-by-step instructions, ensuring power supply disconnection, wire handling, and proper reinstallation if necessary.
- Gather necessary tools, turn off power supply, disconnect wires, and remove the old Nest Doorbell with care. Follow manufacturer’s instructions for a successful removal process.
Read more: How To Take A Ring Doorbell Off
Step 1: Gather the necessary tools and equipment
Before you begin the process of removing your Nest Doorbell, it’s important to gather all the necessary tools and equipment. This will ensure that you have everything you need at hand and save you the hassle of searching for tools mid-process.
Here are the tools and equipment you will need:
- A screwdriver (size may vary depending on the model of your Nest Doorbell)
- Long-nose pliers (optional, but helpful for disconnecting wires)
- A ladder or step stool (if needed to reach the doorbell)
- Electrical tape (for securing loose wires)
Once you have gathered all the necessary tools and equipment, you are ready to move on to the next step.
Step 2: Turn off the power supply
Before you start working on removing your Nest Doorbell, it’s crucial to ensure your safety by turning off the power supply. This will prevent any electrical accidents and ensure that you can work on the doorbell safely.
To turn off the power supply:
- Locate your home’s electrical panel or circuit breaker.
- Identify the breaker that controls the power supply to your doorbell.
- Flip the switch to the “Off” position to cut off the power.
It’s essential to double-check that the power is indeed turned off. You can do this by attempting to ring the doorbell and ensuring that it doesn’t make any sounds or light up. If the doorbell still operates, you may need to turn off additional breakers until the power is completely disconnected.
Once you are confident that the power supply is turned off, you can proceed to the next step.
Step 3: Remove the faceplate of the Nest doorbell
Now that you have ensured the power supply is turned off, you can safely remove the faceplate of your Nest doorbell. The faceplate is the portion of the doorbell that covers the internal components and provides a sleek, finished look to the device.
- Locate the small screw located on the bottom or side of the faceplate.
- Use the appropriate screwdriver to remove the screw by turning it counterclockwise.
- Once the screw is removed, gently pull the faceplate away from the wall or mounting bracket.
Be cautious while removing the faceplate to avoid damaging any of the delicate internal components. If the faceplate is tightly attached, you may need to use a small amount of gentle force to detach it, but be careful not to use excessive force.
With the faceplate successfully removed, place it in a safe location to avoid misplacing or damaging it.
You have now completed the third step of removing your Nest doorbell.
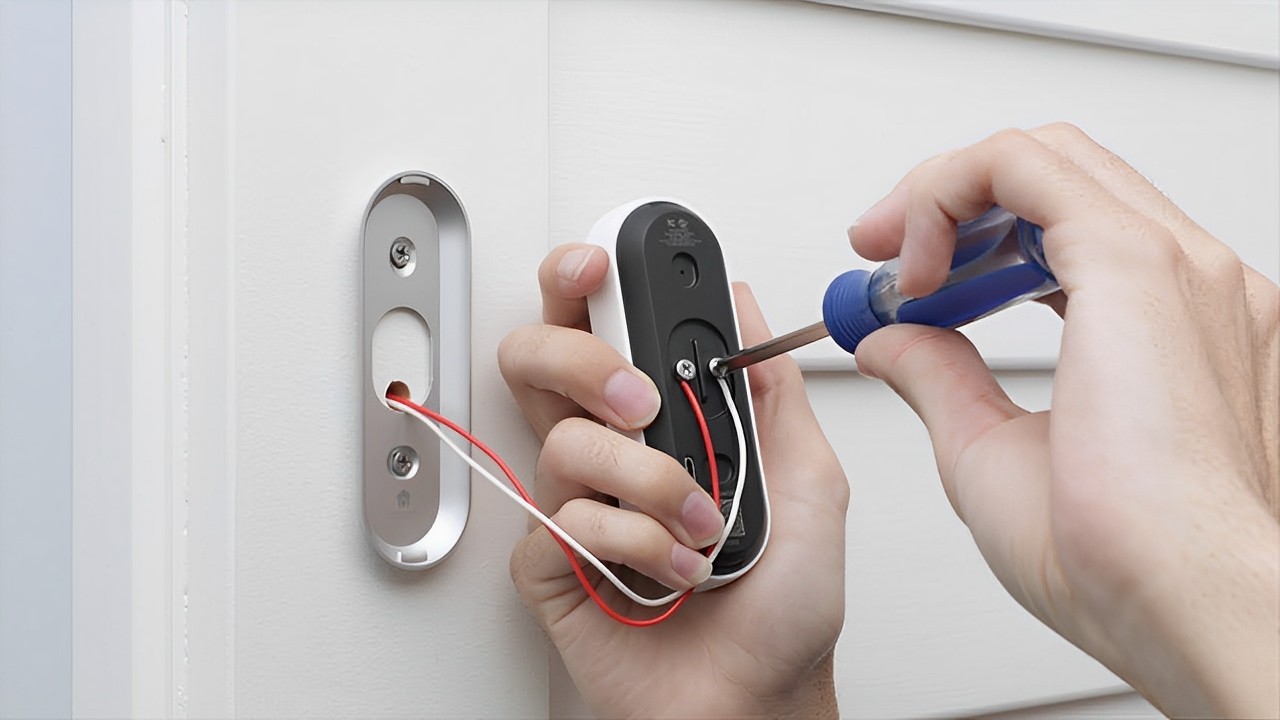
Step 4: Disconnect the wires
With the faceplate removed, you can now proceed to disconnect the wires of your Nest doorbell. It’s important to handle the wires with care and ensure they are properly disconnected to avoid any electrical mishaps during the removal process.
To disconnect the wires:
- Identify the wires connected to the back of the Nest doorbell. Typically, there will be two wires: one red and one white.
- Using long-nose pliers or your fingers, gently pull apart the wire connectors that are attaching the wires to the Nest doorbell.
- Once the connectors are detached, carefully untwist the wires, separating them completely.
- For added safety, use electrical tape to secure the ends of the wires and prevent any accidental contact with the electrical system.
It’s crucial to be cautious when disconnecting the wires to avoid damaging them or causing a short circuit. Take your time and ensure that the wires are fully separated and properly secured with electrical tape.
By following these steps, you have successfully disconnected the wires of your Nest doorbell.
Read more: How To Take Off Ring Doorbell Without Tool
Step 5: Unscrew and detach the mounting bracket
Now that the wires are safely disconnected, it’s time to remove the mounting bracket that holds the Nest doorbell in place. The mounting bracket is typically attached to the wall or door frame and secures the doorbell firmly.
To unscrew and detach the mounting bracket:
- Locate the screws that are securing the mounting bracket to the wall or door frame.
- Using the appropriate screwdriver, turn the screws counterclockwise to loosen them.
- Once the screws are loosened, carefully lift the mounting bracket away from the wall or door frame.
Be sure to hold onto the mounting bracket firmly to avoid dropping it or damaging it in the process. Take your time to ensure that all the screws are fully loosened before attempting to remove the bracket.
With the mounting bracket successfully unscrewed and detached, set it aside in a safe place, as you may need it if you plan on installing a new Nest doorbell or mounting the existing one elsewhere.
Congratulations! You have completed the fifth step of removing your Nest doorbell.
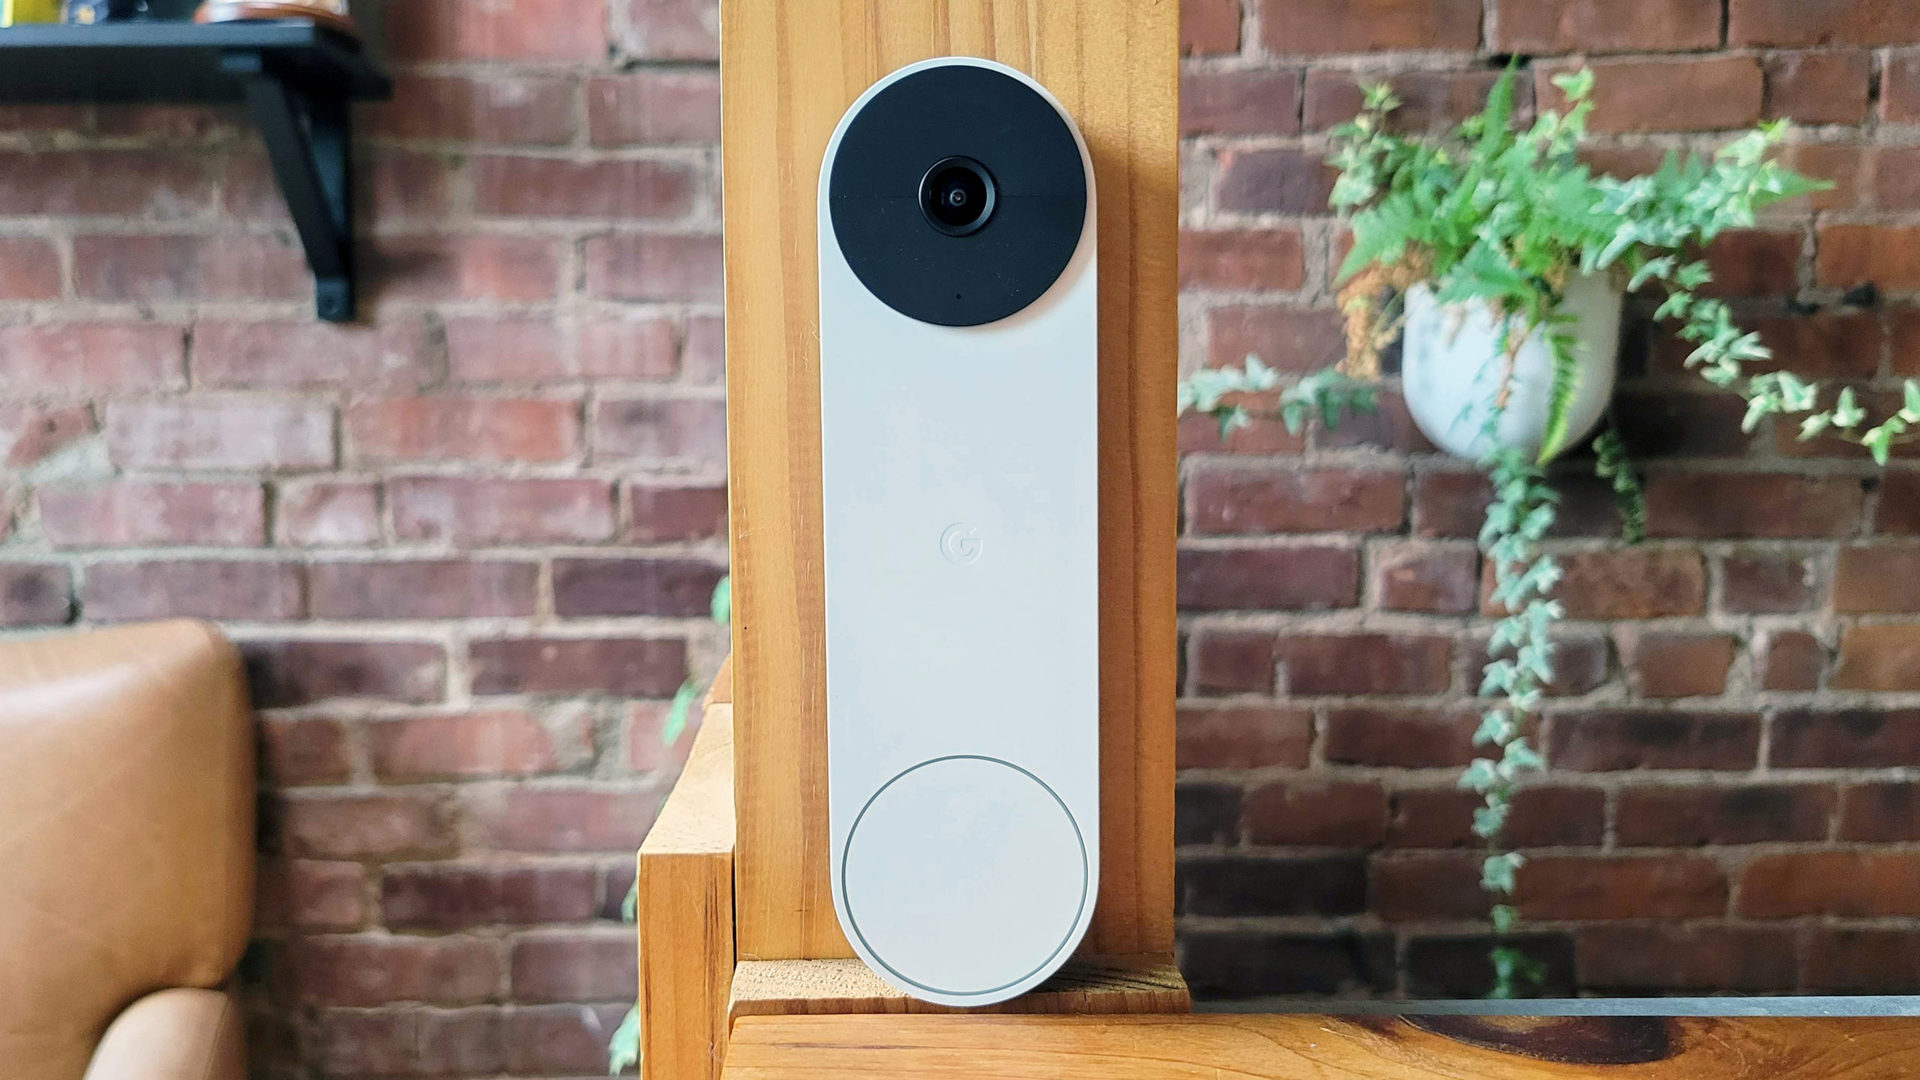
Step 6: Remove the old Nest doorbell
Now that the mounting bracket is detached, it’s time to remove the old Nest doorbell itself. This step involves carefully separating the doorbell from the mounting bracket to completely remove it from the wall or door frame.
To remove the old Nest doorbell:
- Gently pull the doorbell away from the mounting bracket. It should easily slide out or detach with minimal force.
- If the doorbell feels stuck or difficult to remove, double-check for any additional screws or clips holding it in place. In some models, there may be additional screws or clips to secure the doorbell to the mounting bracket.
- Once the doorbell is detached from the mounting bracket, set it aside in a safe location.
Handle the old Nest doorbell with care to avoid any accidental damage or dropping. It’s a good practice to store it in a protected location in case you need it as a backup or for troubleshooting purposes in the future.
With the old Nest doorbell successfully removed from the mounting bracket, you have completed the sixth step of the removal process.
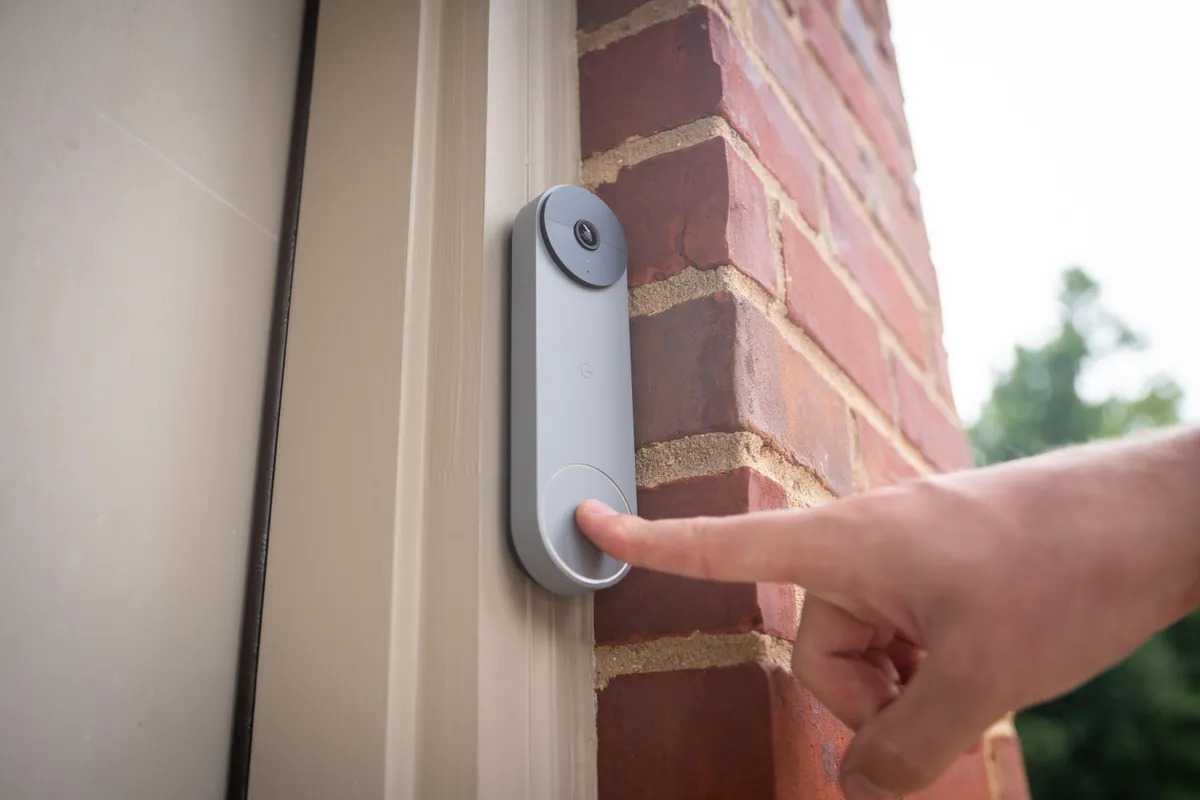
When removing a Nest doorbell, start by turning off the power to the device. Then, use a screwdriver to loosen the mounting screws and gently lift the doorbell off its mount. Be sure to follow the manufacturer’s instructions for safe removal.
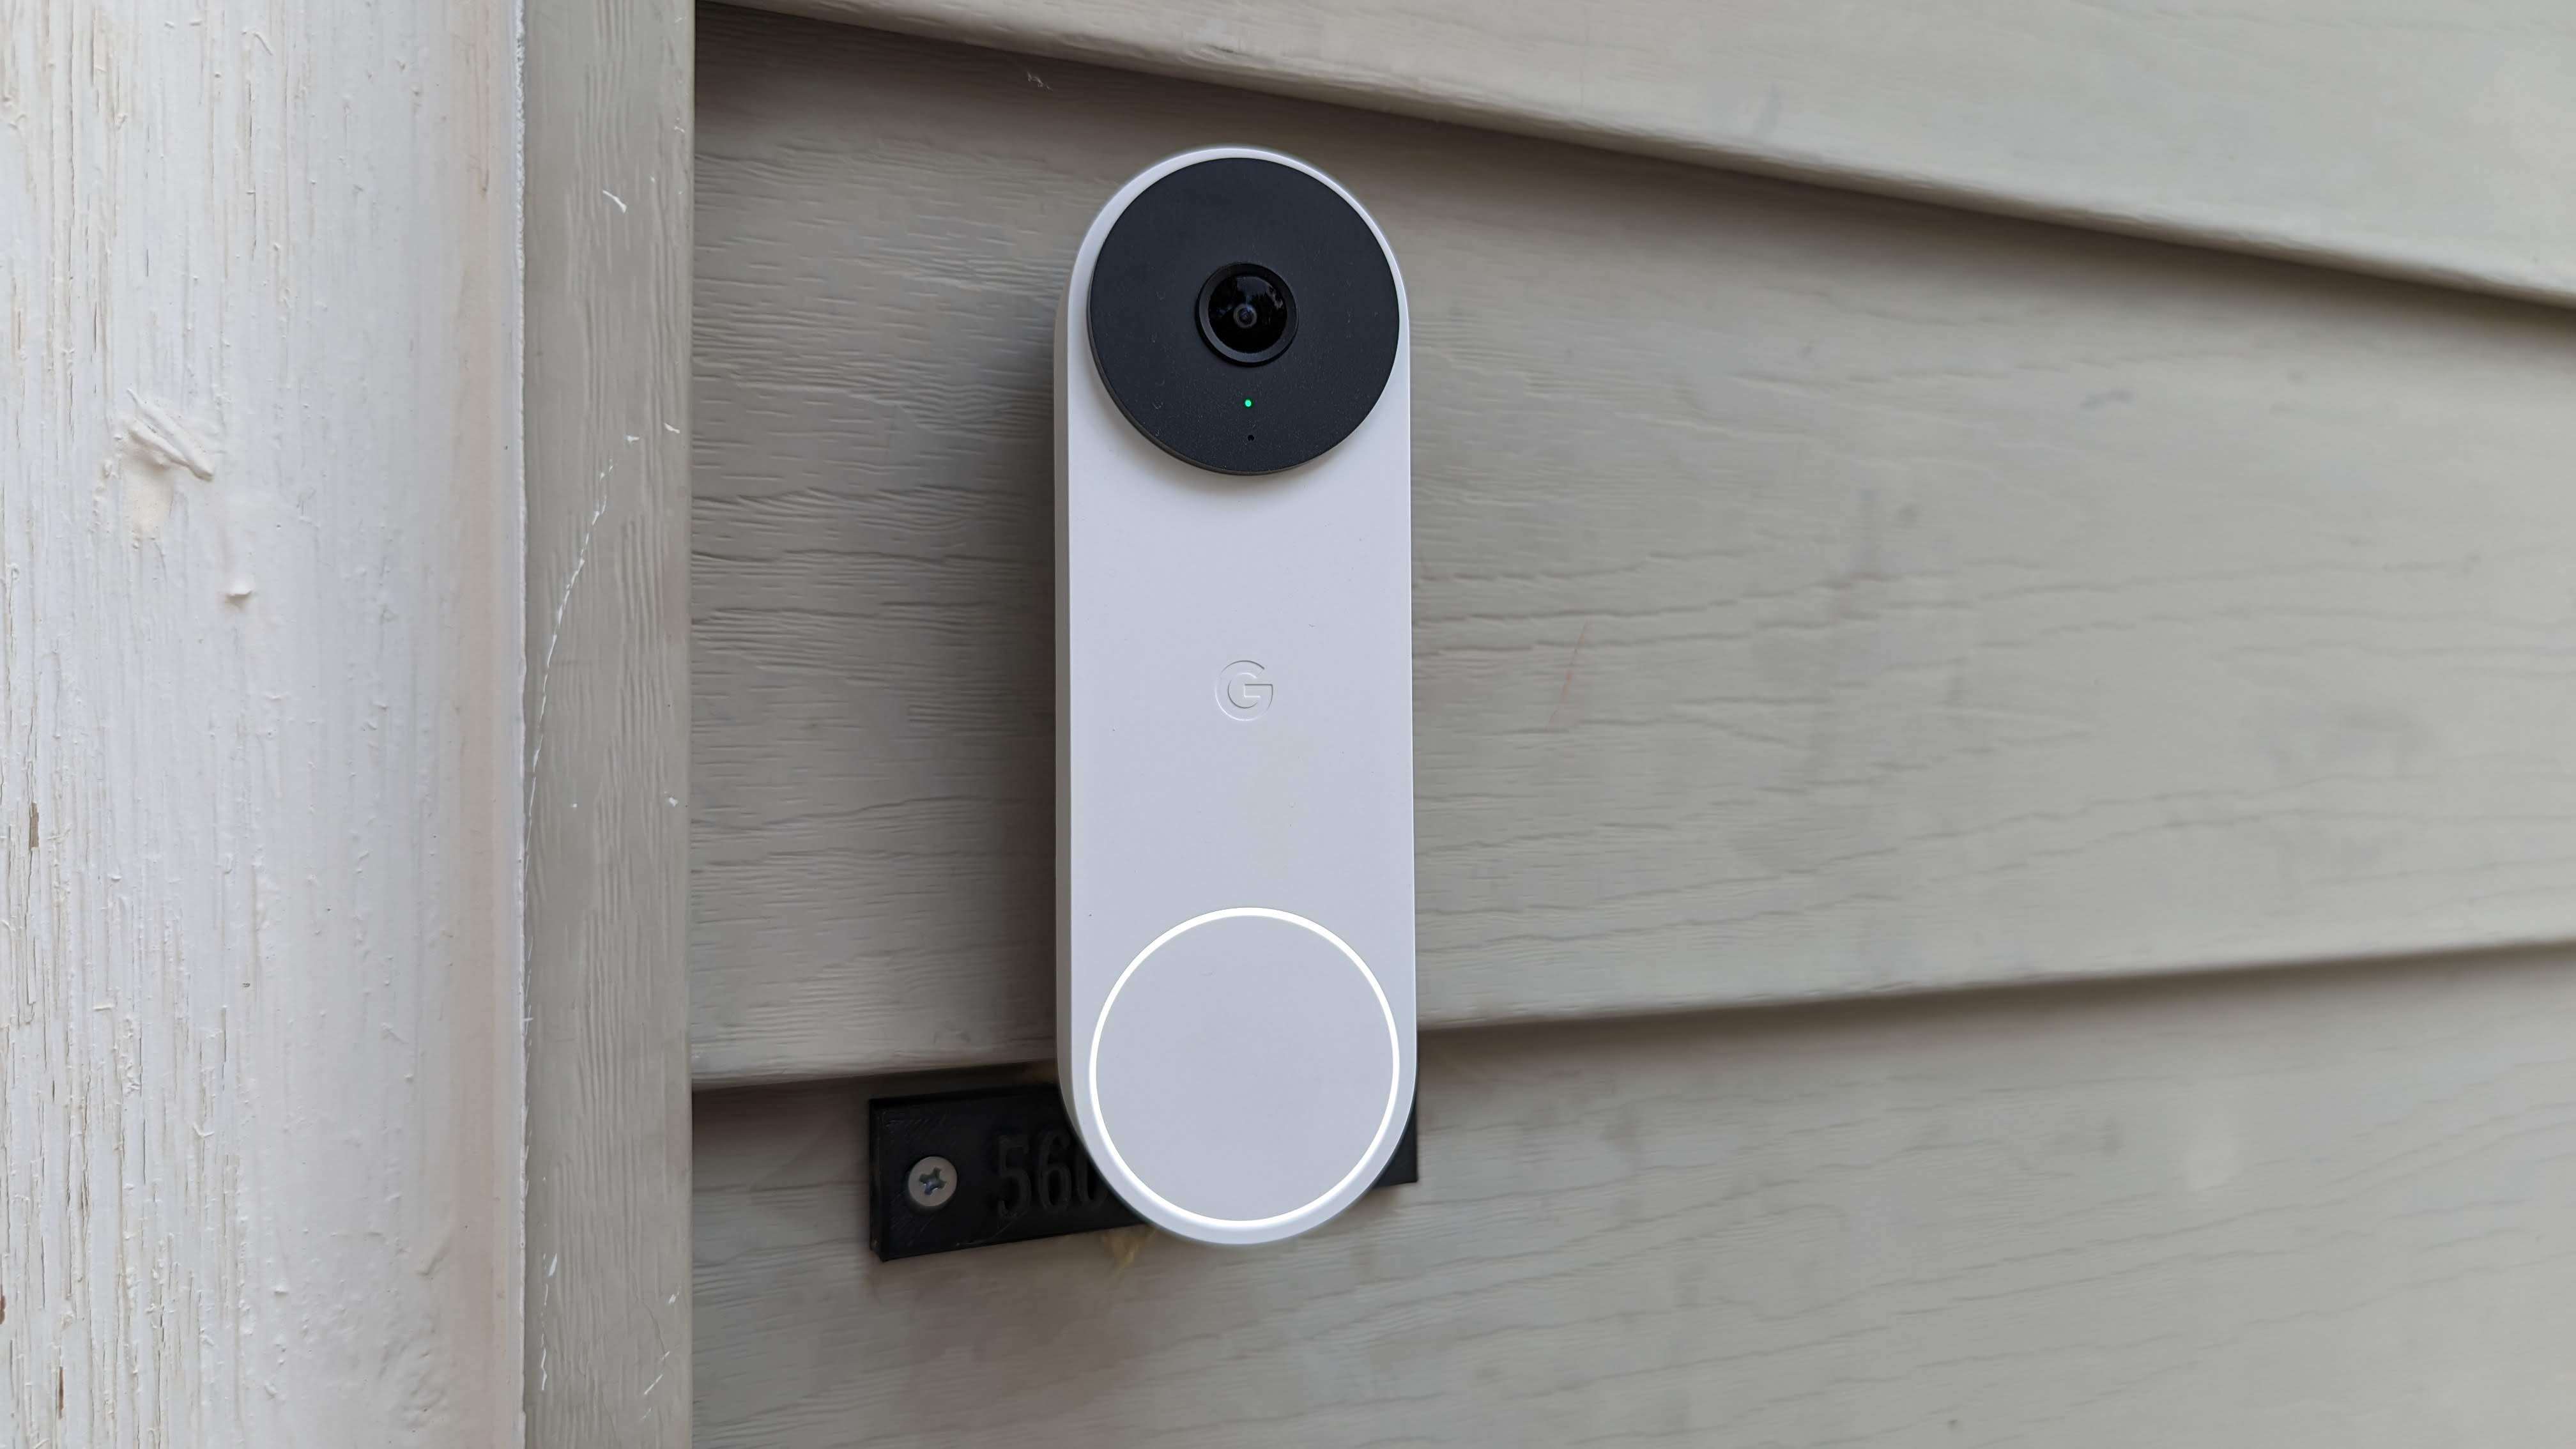
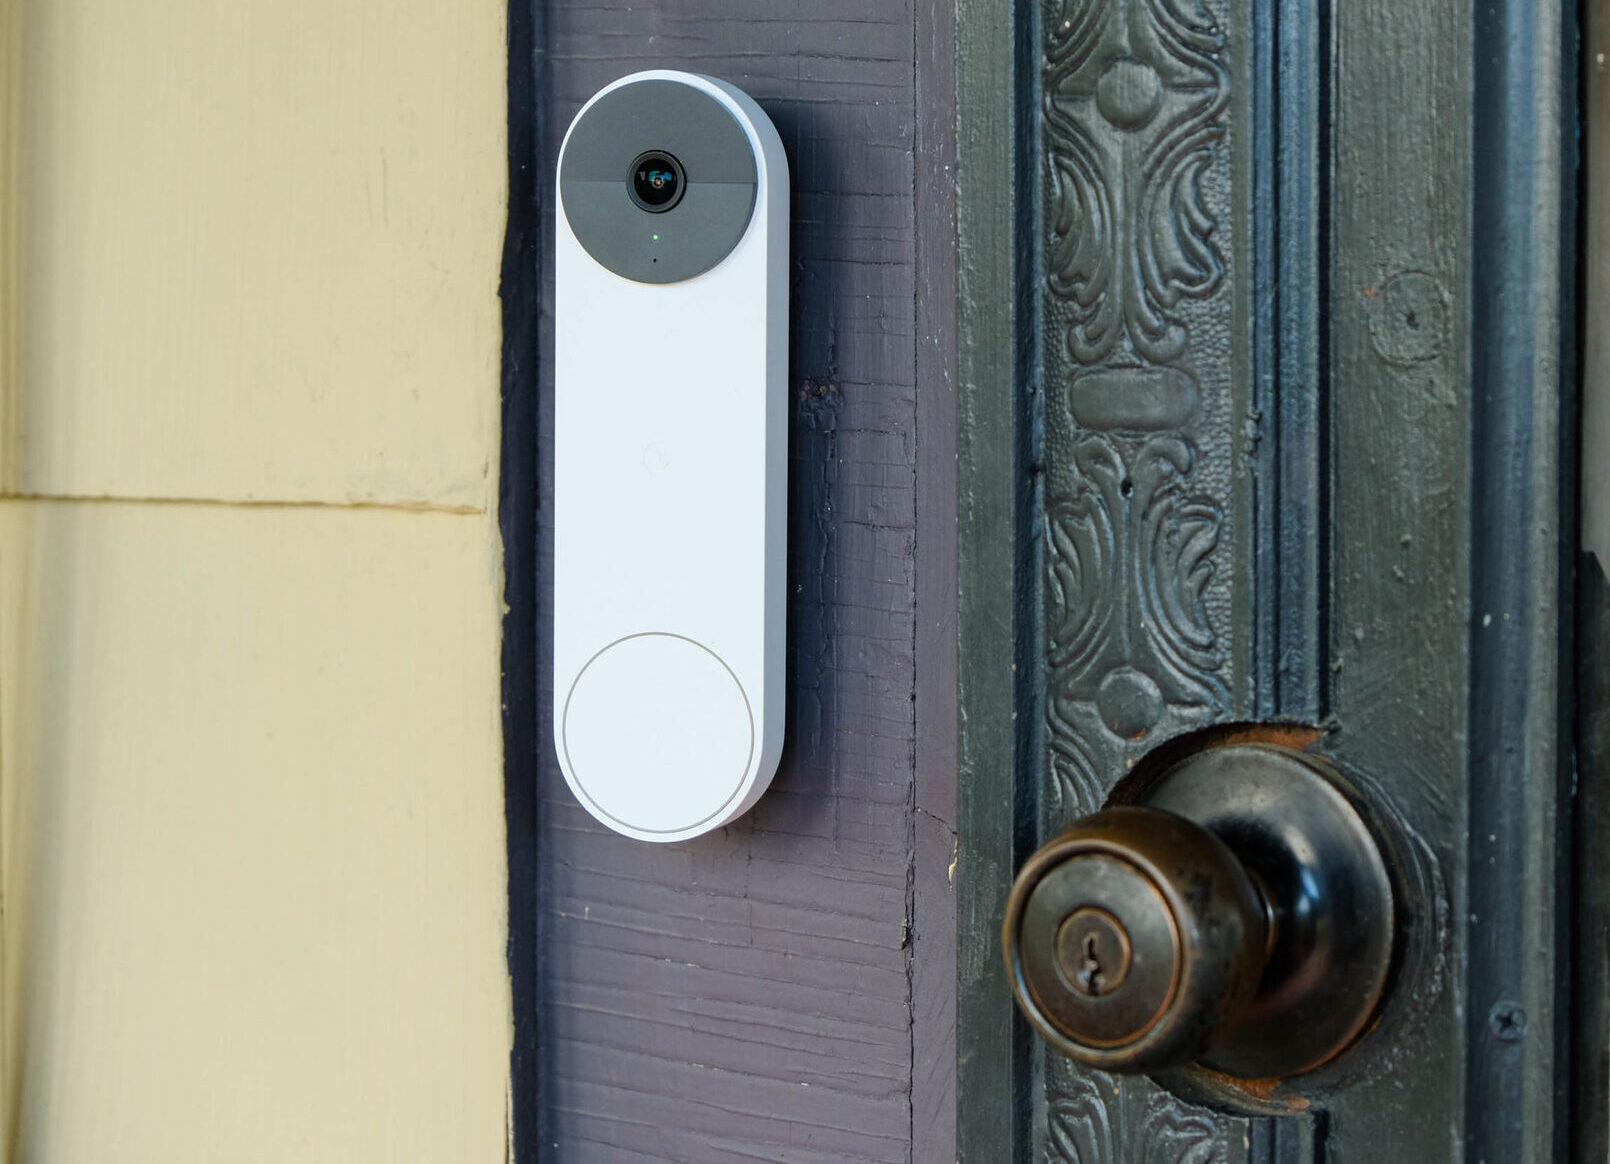
Step 7: Install the new Nest doorbell (optional)
If you have purchased a new Nest doorbell or plan to replace the old one with a new model, this step will guide you through the installation process. If you do not plan on installing a new Nest doorbell, you can skip to the next step.
To install the new Nest doorbell:
- Align the new doorbell with the mounting bracket, ensuring that it fits securely.
- Slide or attach the new doorbell onto the mounting bracket, following the manufacturer’s instructions.
- Secure the new doorbell to the mounting bracket using any screws or clips provided with the device.
It’s important to follow the manufacturer’s instructions carefully to ensure a proper and secure installation. Different models of Nest doorbells may have specific installation steps, so refer to the user manual or online resources provided by Nest for detailed instructions.
If you encounter any difficulties during the installation process, refer to the troubleshooting section of the user manual or seek assistance from Nest’s customer support.
With the new Nest doorbell installed (if applicable), you are now ready to move to the next step.
Step 8: Reconnect the wires
Now that the new Nest doorbell is in place (if applicable), it’s time to reconnect the wires to restore the electrical connection. This step ensures that the doorbell receives power and functions properly.
To reconnect the wires:
- Take the red and white wires that you previously disconnected and carefully align them with the corresponding connectors on the new Nest doorbell.
- Push the wire connectors onto their respective terminals firmly until they are securely attached.
- Double-check that the wires are properly connected and there are no loose or exposed areas.
It’s important to ensure a secure connection between the wires and the doorbell to avoid any electrical issues or malfunctioning of the Nest doorbell.
Once you are confident that the wires are properly reconnected, proceed to the next step.
Read more: How To Reboot Nest Doorbell
Step 9: Attach the mounting bracket
With the wires reconnected, it’s time to attach the mounting bracket back onto the wall or door frame. The mounting bracket provides a stable base for the Nest doorbell and ensures it is securely in place.
To attach the mounting bracket:
- Hold the mounting bracket against the wall or door frame, aligning it with the desired location for your Nest doorbell.
- Using the screws provided, secure the mounting bracket by driving the screws through the holes in the bracket and into the wall or door frame.
- Tighten the screws firmly but avoid over-tightening, as it may damage the bracket or the surface it is attached to.
Make sure the mounting bracket is level and properly aligned to ensure the doorbell sits straight and looks aesthetically pleasing. If necessary, use a level tool to ensure accurate alignment.
Once the mounting bracket is securely attached, you can proceed to the next step.
Step 10: Replace the faceplate
Now that the mounting bracket is in place, it’s time to replace the faceplate of your Nest doorbell. The faceplate not only provides a finished look to the doorbell but also helps protect the internal components from dust and debris.
To replace the faceplate:
- Align the faceplate with the mounting bracket, ensuring it sits flush against the wall or door frame.
- Carefully slide the faceplate onto the mounting bracket, applying gentle pressure until it is securely in place.
- If your doorbell model has a screw to secure the faceplate, use the appropriate screwdriver to secure the screw back in place.
Ensure that the faceplate is properly aligned and there are no gaps or loose areas. It should fit snugly against the wall or door frame.
Once the faceplate is secured, give it a gentle tug to ensure it is firmly attached to the mounting bracket.
Congratulations! You have successfully replaced the faceplate of your Nest doorbell.
Step 11: Turn on the power supply
In the final step of the process, it’s time to turn on the power supply to your newly installed or reinstalled Nest doorbell. This will restore the electrical connection and allow the doorbell to function as intended.
To turn on the power supply:
- Locate the breaker in your home’s electrical panel or circuit breaker that controls the power supply to your doorbell.
- Flip the switch to the “On” position to restore the power.
Wait for a few moments to allow the Nest doorbell to power up and initialize. You may see lights or hear sounds indicating that the doorbell is ready for use.
Test the functionality of your Nest doorbell by pressing the doorbell button or using the associated mobile app. Listen for the chime or check for any notifications or alerts on your connected devices.
If your Nest doorbell does not seem to be functioning properly, ensure that the power supply is fully restored and all connections are secure. Refer to the manufacturer’s instructions or contact customer support for troubleshooting assistance if needed.
Congratulations! You have successfully completed the process of turning on the power supply to your Nest doorbell.
Conclusion
Removing a Nest doorbell may seem like a daunting task, but with the right tools and guidance, it can be easily accomplished. By following the step-by-step instructions outlined in this article, you can safely and effectively remove your Nest doorbell.
Remember to gather all the necessary tools and equipment before starting the removal process. Take the time to turn off the power supply and detach the faceplate, wires, mounting bracket, and old doorbell with care.
If you plan to install a new Nest doorbell, follow the additional steps provided to ensure a successful installation. And don’t forget to reconnect the wires, attach the mounting bracket, replace the faceplate, and turn on the power supply to complete the process.
Always refer to the manufacturer’s instructions and guidelines specific to your Nest doorbell model to ensure accuracy and safety throughout the removal process.
By successfully removing your Nest doorbell, you can now proceed with any necessary upgrades, relocations, or maintenance. Whether you’re replacing the doorbell with a new model or simply removing it for temporary purposes, you now have the knowledge and confidence to complete the task.
Remember, if you have any concerns or encounter any difficulties during the process, it’s always best to seek assistance from a professional or the manufacturer’s customer support. Maintaining safety and ensuring proper installation are essential for the optimal performance of your Nest doorbell in the long run.
With the completion of these steps, you can now take pride in your accomplishment of removing your Nest doorbell and proceed with any further plans or improvements for your home security and automation system.
Now that you've mastered removing your old Nest doorbell, you might be thinking about what's next for your smart home. Our upcoming guide on the best options for home automation in 2024 covers all you need to know to make your living space smarter and more efficient. From simple upgrades to comprehensive systems, this guide has something for everyone looking to enhance their home tech.
Frequently Asked Questions about How To Take Off A Nest Doorbell
Was this page helpful?
At Storables.com, we guarantee accurate and reliable information. Our content, validated by Expert Board Contributors, is crafted following stringent Editorial Policies. We're committed to providing you with well-researched, expert-backed insights for all your informational needs.


0 thoughts on “How To Take Off A Nest Doorbell”