Articles
How To Take A Ring Doorbell Off
Modified: October 18, 2024
Learn how to remove a Ring doorbell with this informative article. Step-by-step instructions and tips to safely take off your doorbell.
(Many of the links in this article redirect to a specific reviewed product. Your purchase of these products through affiliate links helps to generate commission for Storables.com, at no extra cost. Learn more)
Introduction
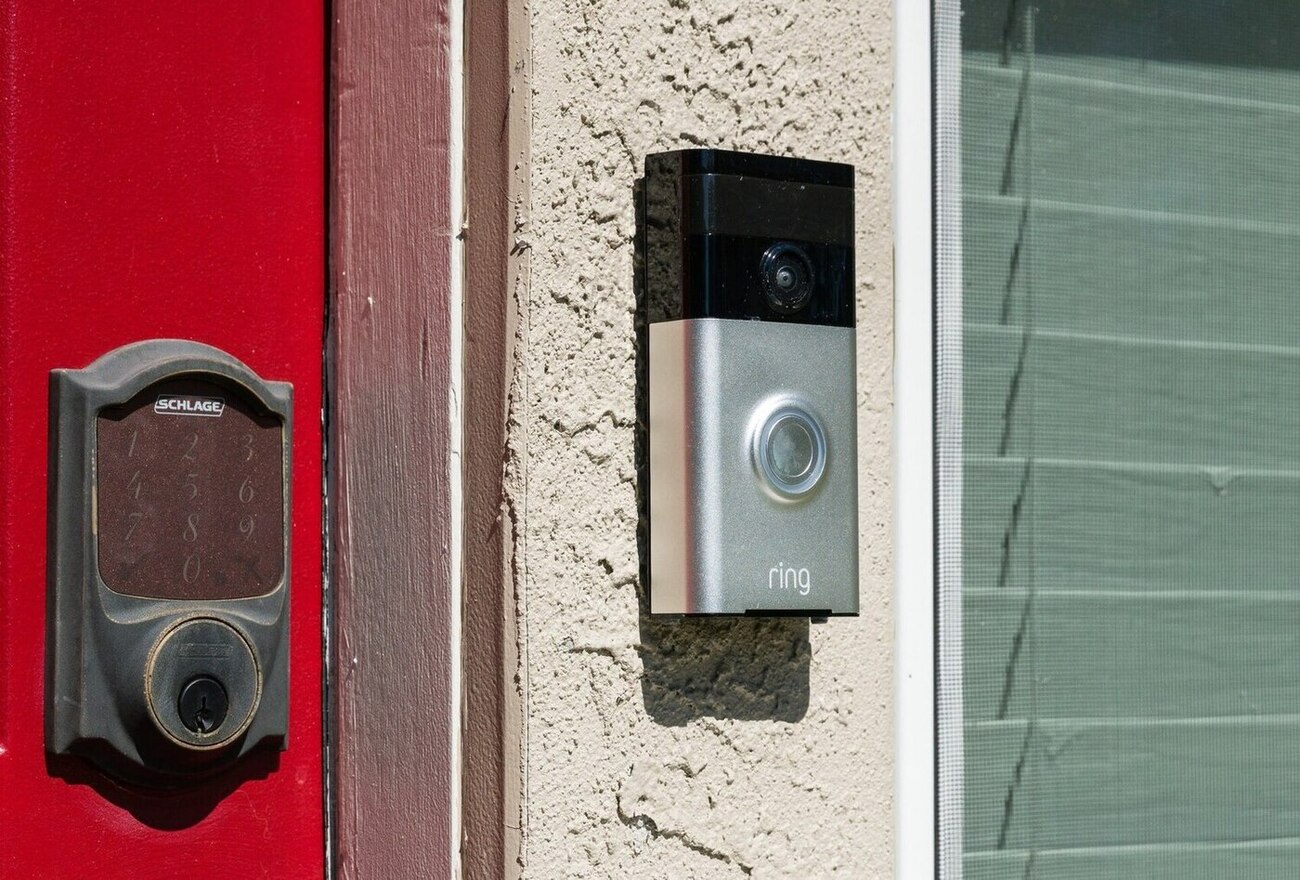
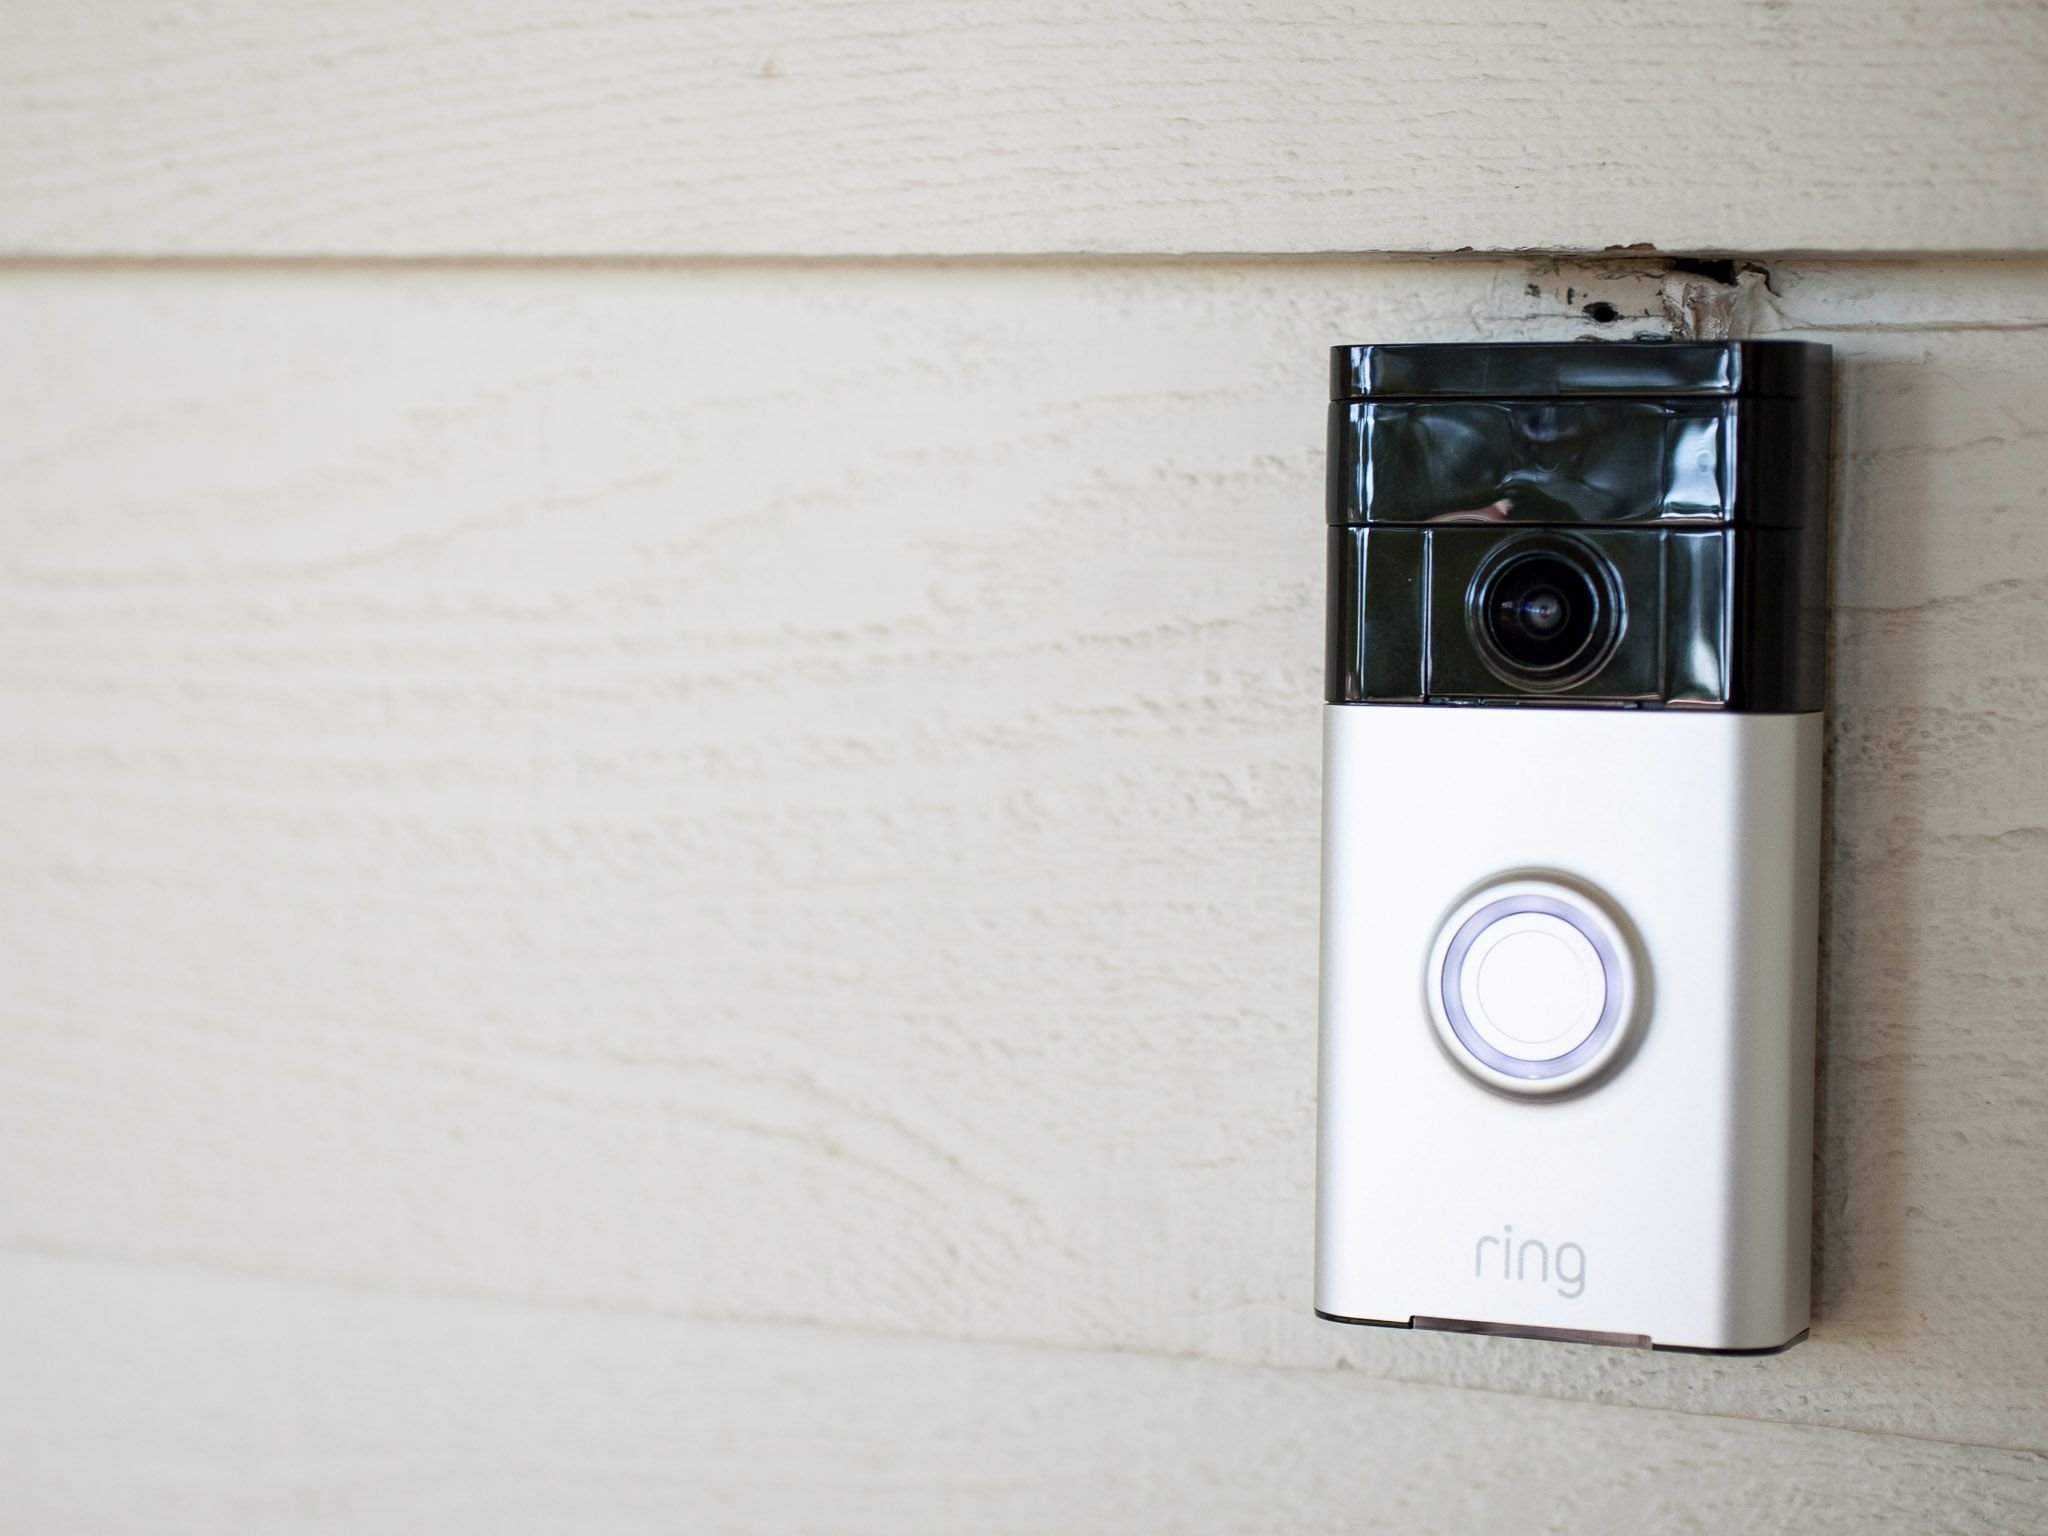
Welcome to the world of smart home security! If you have a Ring Doorbell installed in your home and find yourself in need of removing it, you’ve come to the right place. Taking a Ring Doorbell off may seem like a daunting task, but with the right guidance and tools, it can be a straightforward process.
Before we dive into the step-by-step instructions, let’s take a moment to understand why you might need to remove your Ring Doorbell. Perhaps you’re moving to a new house and want to take your device with you, or maybe you’re upgrading to a newer model. Whatever the reason, we’re here to help you navigate through the process.
Before we begin, it’s important to mention that safety should always be your top priority. Ensure that you follow all the necessary precautions, such as turning off the power before disconnecting any wires. If you’re unsure about any step, it’s best to consult a professional or the Ring support team.
Now that we have the important details out of the way, let’s get started on removing your Ring Doorbell!
Key Takeaways:
- Safely removing a Ring Doorbell requires gathering tools, disconnecting power, removing the faceplate and mounting bracket, and disconnecting wires. Reinstalling the faceplate is optional for a polished look.
- Prioritize safety when removing a Ring Doorbell by following step-by-step instructions and seeking professional assistance if unsure. Store components carefully for potential reuse or consult Ring for guidance.
Read more: How To Take Off Ring Doorbell Without Tool
Step 1: Gather Necessary Tools
Before you begin removing your Ring Doorbell, it’s essential to gather the necessary tools to ensure a smooth and efficient process. Here are the tools you’ll need:
- Flathead screwdriver
- Phillips screwdriver
- Wire cutters/strippers
- Optional: Power drill
Make sure you have these tools readily available before you begin. This will save you time and prevent any frustration that may arise from having to search for tools mid-task.
Once you have your tools, you’re ready to move on to the next step. Remember, safety should always be prioritized. If you’re uncomfortable or unfamiliar with any tool, don’t hesitate to seek help or guidance.
Step 2: Disconnect the Power
Before you begin removing your Ring Doorbell, it is crucial to disconnect the power to ensure safety. Follow these steps:
- Locate the breaker box or fuse panel in your home. It is typically found in the garage, basement, or utility room.
- Identify the breaker or fuse that controls the power to your doorbell. This may be labeled as “doorbell” or “outdoor electrical.”
- Switch the breaker to the “off” position or remove the corresponding fuse to cut off the power supply.
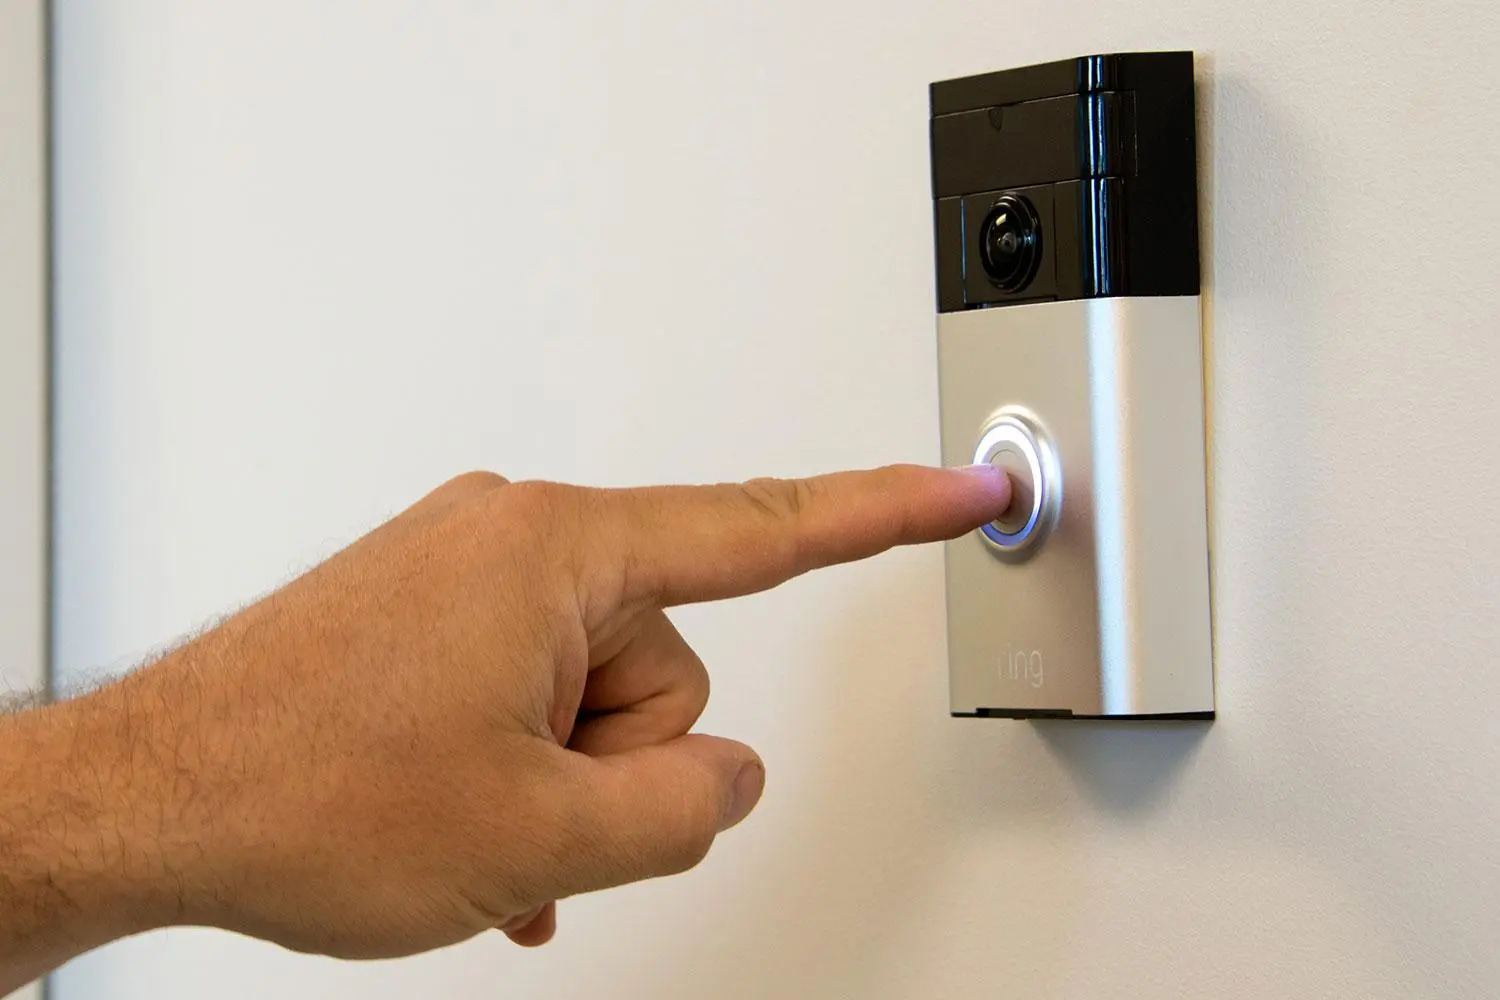
It is important to double-check that the power has been fully disconnected. To do this, press the doorbell button. If there is no chime or response, then you have successfully disconnected the power.
Remember, safety is paramount when dealing with electrical components. If you are unsure about locating or disconnecting the power, consult a professional electrician for assistance.
Once you have confirmed that the power is off, you can proceed to the next step of removing your Ring Doorbell.
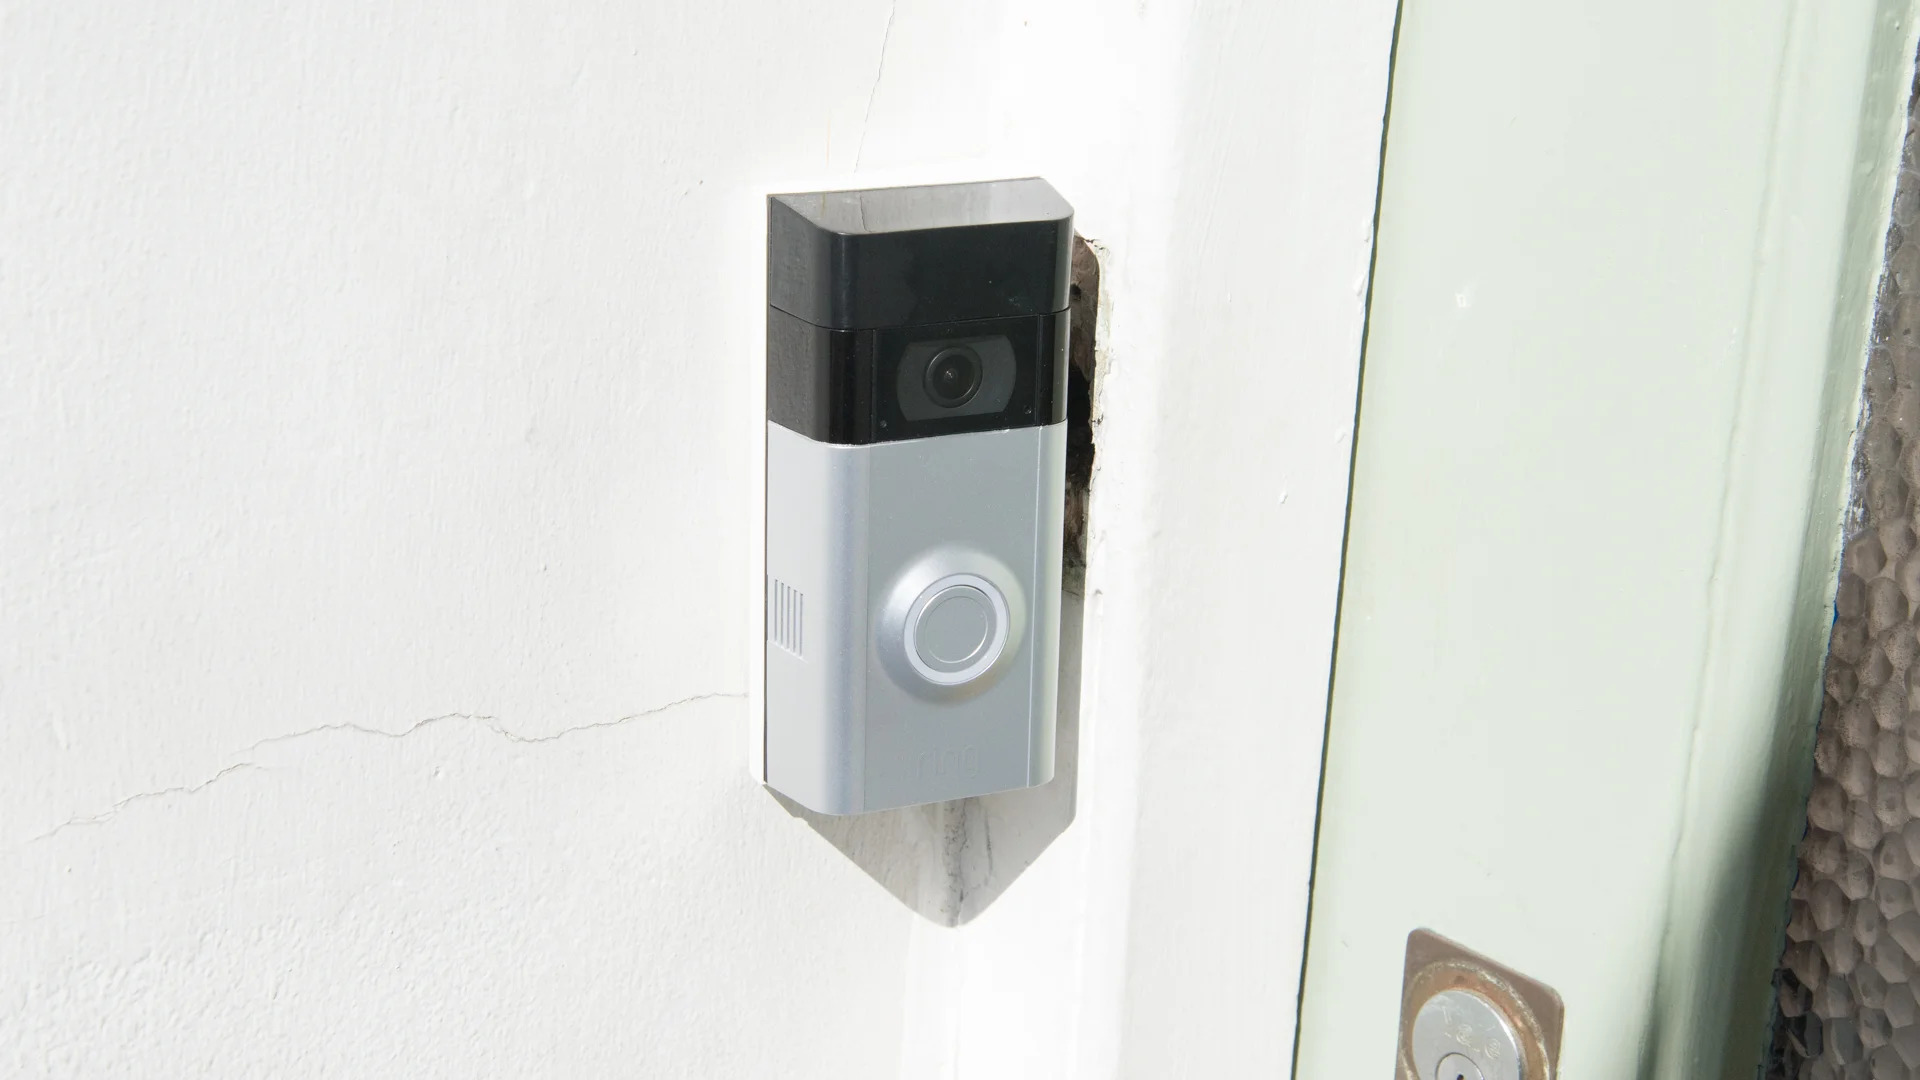
Step 3: Remove the Faceplate
Now that the power is disconnected, you can proceed to remove the faceplate of your Ring Doorbell. Follow these simple steps:
- Look for a small screw located at the bottom of the faceplate. This screw secures the faceplate to the mounting bracket.
- Using a Phillips screwdriver, gently loosen and remove the screw.
- Once the screw is removed, grasp the faceplate and carefully pull it away from the mounting bracket.
- If the faceplate is stubborn or difficult to remove, you can use a flathead screwdriver to gently pry it away from the bracket.
Be cautious while removing the faceplate to avoid any damage. Take your time and apply gentle pressure as needed.
With the faceplate removed, you will now have access to the inner components of your Ring Doorbell. Make sure to set the faceplate aside in a safe place to prevent it from getting misplaced or damaged.
Now that we have successfully removed the faceplate, we can proceed to the next step of removing the mounting bracket.
Step 4: Unscrew the Mounting Bracket
With the faceplate removed, we can now focus on removing the mounting bracket. Here’s how to do it:
- Inspect the back of your Ring Doorbell to locate the screws securing the mounting bracket.
- Using a Phillips screwdriver, carefully unscrew and remove the screws from the bracket.
- Once the screws are removed, firmly grasp the mounting bracket and gently pull it away from the wall.
Depending on the installation method, you may encounter different types of screws or other fasteners. Make sure to remove all components securing the mounting bracket in place.
Take extra care while removing the bracket to avoid damaging the wall or any surrounding areas. If the bracket seems stuck, apply gentle pressure and wiggle it slightly to loosen it.
Once the mounting bracket is detached, set it aside in a safe location. This will come in handy if you decide to reinstall your Ring Doorbell at a later time.
Now that the mounting bracket is removed, we can move on to the next step of disconnecting the wires.
To remove a Ring doorbell, first, turn off the power supply. Then, use a screwdriver to remove the security screws at the bottom of the device. Once the screws are removed, gently pull the doorbell off its mounting bracket.
Read more: How To Take Over A Ring Doorbell
Step 5: Disconnect the Wires
Now that the mounting bracket is removed, we can proceed to disconnecting the wires connected to your Ring Doorbell. Follow these steps:
- Take a closer look at the wires connected to the back of your Ring Doorbell. You should see two to three wires, typically colored red, green, and white.
- Identify the wire connectors or screws that are securing the wires in place.
- If your Ring Doorbell has wire connectors, gently twist and unscrew them counterclockwise to release the wires.
- If your Ring Doorbell has screws, use a screwdriver to loosen and remove the screws, freeing the wires.
- Once the wires are released, carefully pull them out of the back of your Ring Doorbell.
Be cautious while disconnecting the wires to avoid any unnecessary strain on the wires or causing damage to the electrical connections.
Take note of the wire colors and their respective locations if you plan on reusing them or installing a new Ring Doorbell in the future. Consider labeling the wires or taking a picture to ensure proper reconnection.
Once the wires are disconnected, set them aside and ensure they are in a safe position where they won’t be tangled or damaged.
We’re almost done! In the next step, we’ll remove the Ring Doorbell from the mounting bracket.
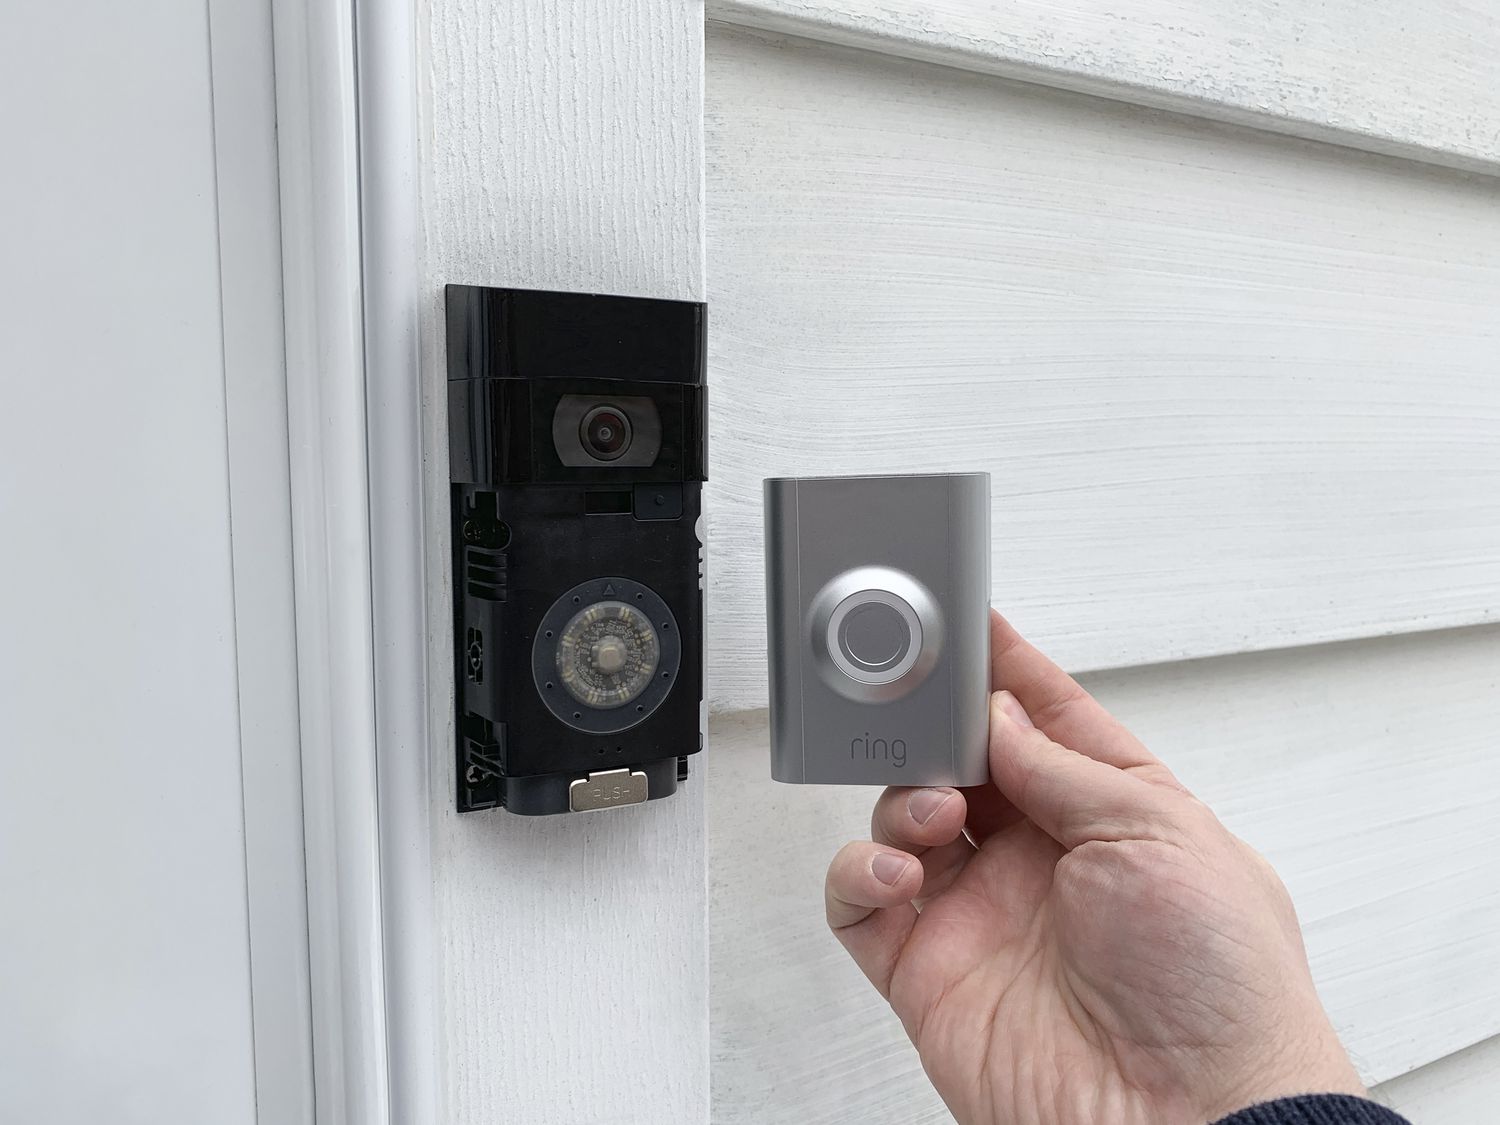
Step 6: Remove the Doorbell from the Mounting Bracket
With the wires disconnected, it’s time to remove your Ring Doorbell from the mounting bracket. Follow these steps:
- Gently lift the Ring Doorbell upward and away from the mounting bracket.
- Check for any additional screws or clips that may be securing the doorbell to the bracket.
- If you find any additional screws or clips, carefully remove them to fully detach the doorbell.
Take caution while removing the doorbell to avoid dropping it or causing any damage. If the doorbell feels stuck, double-check for any hidden fasteners and ensure they are properly removed.
Once the Ring Doorbell is disconnected from the mounting bracket, set it aside in a safe place. You can wrap it in a soft cloth or place it in its original packaging to protect it from any potential damage.
Now that your Ring Doorbell is fully removed from the mounting bracket, you can proceed to the final step of reinstalling the faceplate if desired.
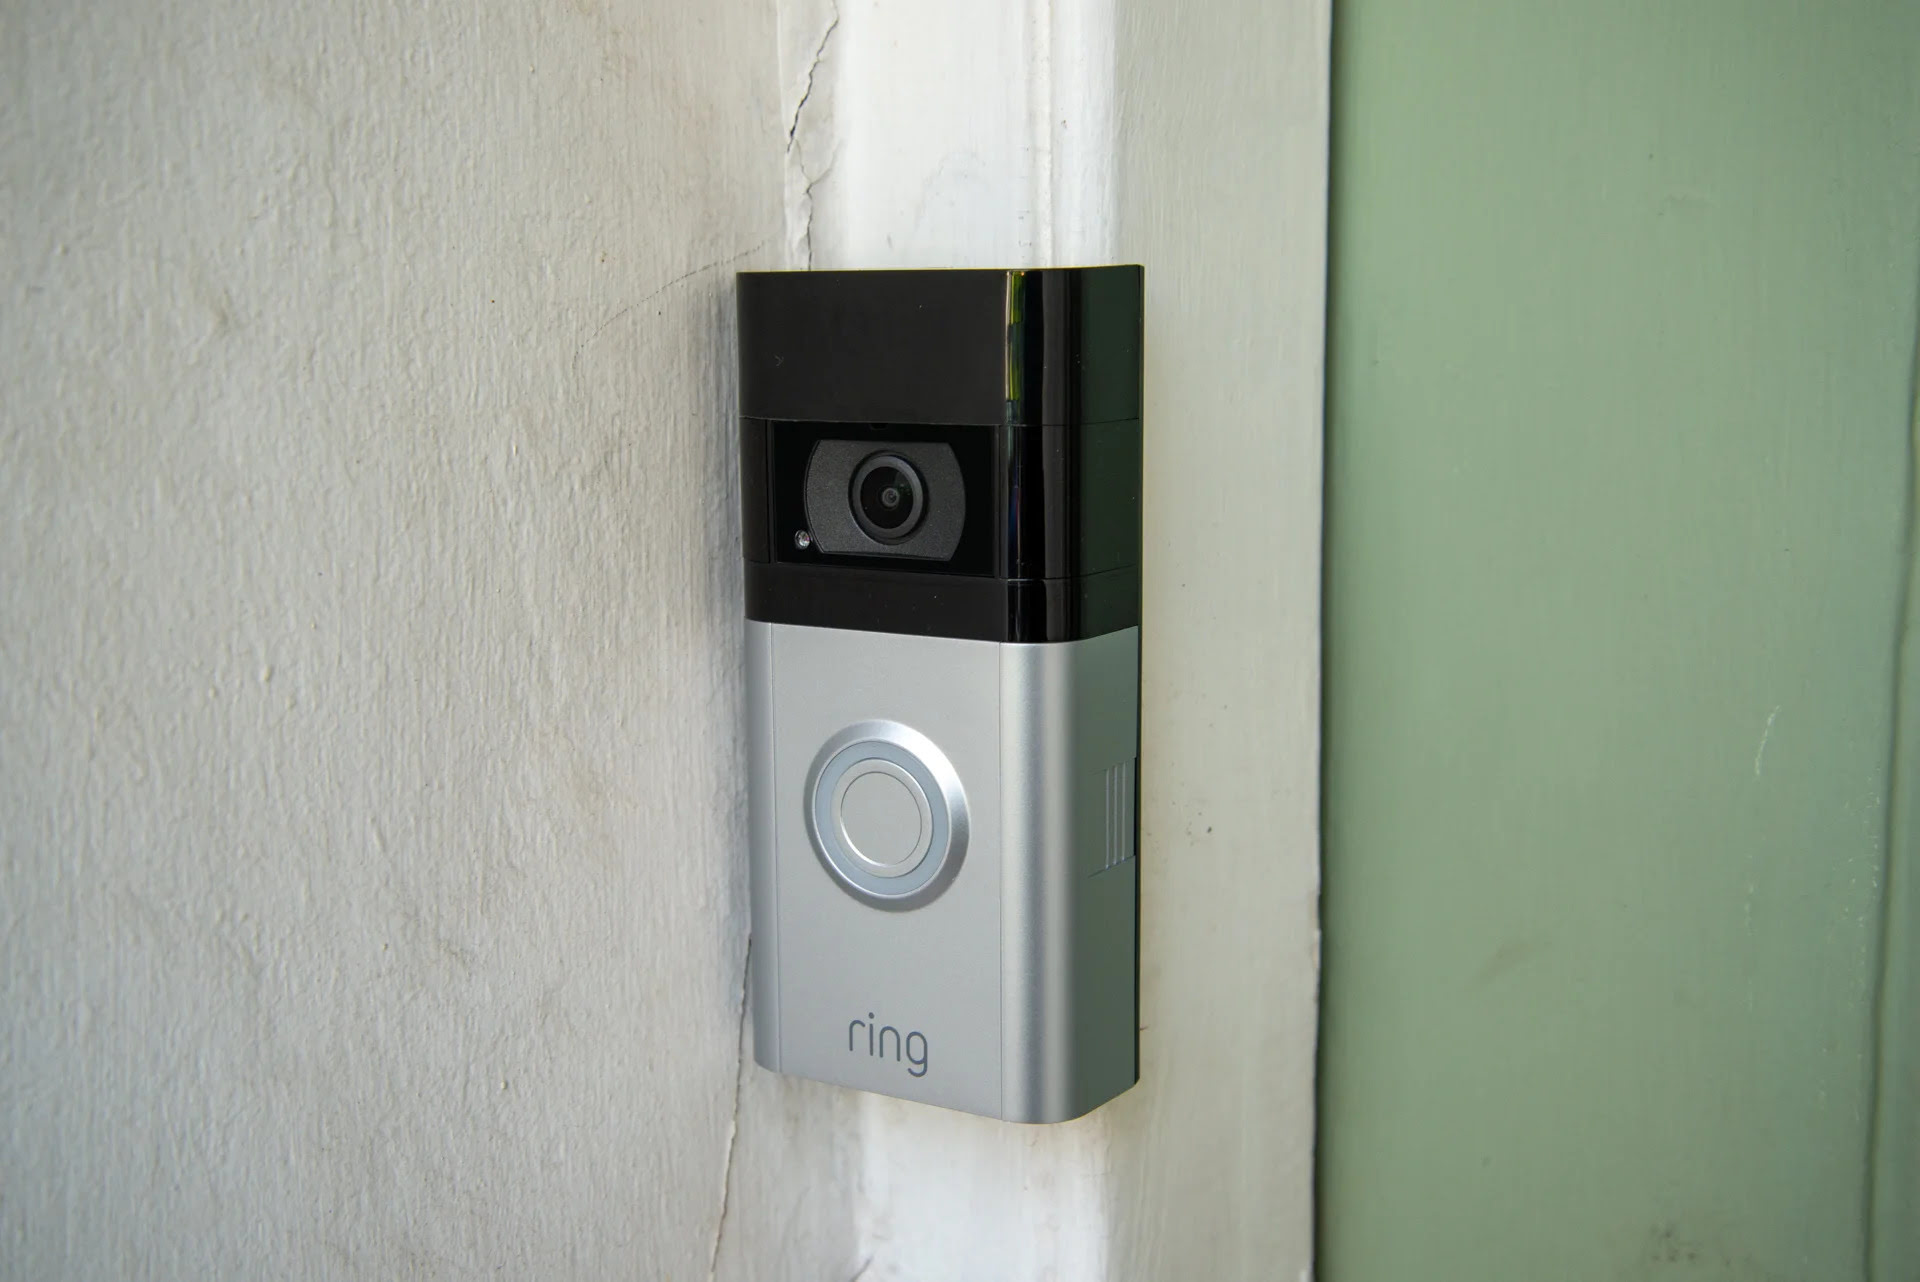
Step 7: Reinstall the Faceplate (Optional)
If you plan on reusing your Ring Doorbell or simply want to maintain the aesthetic of your home, you can choose to reinstall the faceplate. Here’s how:
- Align the faceplate with the mounting bracket, ensuring the screw holes match up.
- Insert the small screw into the bottom hole of the faceplate and use a Phillips screwdriver to tighten it securely.
- Double-check that the faceplate is properly aligned and securely attached to the mounting bracket.
Reinstalling the faceplate is entirely optional, but it can give your Ring Doorbell a finished look. However, if you plan to install the doorbell at a different location or have no use for the faceplate, you can skip this step.
Once the faceplate is reinstalled, you have successfully completed the process of removing your Ring Doorbell. Pat yourself on the back for a job well done!
Remember, if you plan on reusing your Ring Doorbell or installing a new one, make sure to follow the instructions provided by Ring or consult their support team for guidance.
With your Ring Doorbell safely removed, you can now decide to either store it for future use or proceed with installing a new device. The choice is yours!
Conclusion
Congratulations! You have successfully learned how to take a Ring Doorbell off. With the right tools and step-by-step guidance, removing your Ring Doorbell can be a simple and straightforward process.
Throughout this guide, we covered the necessary steps to safely remove your Ring Doorbell. From gathering the required tools to disconnecting the power, removing the faceplate, unscrewing the mounting bracket, disconnecting the wires, and finally removing the doorbell itself, each step was outlined to help you complete the process smoothly.
Remember, safety should always be a priority when working with electrical components. Make sure to disconnect the power and proceed with caution. If you’re unsure about any step, it’s best to consult a professional or the Ring support team for assistance.
If you plan on reusing your Ring Doorbell or installing a new one, keep in mind to carefully store the components and take note of wire placements for future reference. You can also choose to reinstall the faceplate for a polished look if desired.
Thank you for following this guide, and we hope it has been helpful in your Ring Doorbell removal process. Should you have any questions or encounter any difficulties, don’t hesitate to reach out to Ring or seek professional assistance.
Happy home security journey!
Frequently Asked Questions about How To Take A Ring Doorbell Off
Was this page helpful?
At Storables.com, we guarantee accurate and reliable information. Our content, validated by Expert Board Contributors, is crafted following stringent Editorial Policies. We're committed to providing you with well-researched, expert-backed insights for all your informational needs.


0 thoughts on “How To Take A Ring Doorbell Off”