Articles
How To Tack Carpet Back Down
Modified: October 20, 2024
Learn how to tack carpet back down with these helpful articles. Get step-by-step instructions and tips for a successful carpet reinstallation.
(Many of the links in this article redirect to a specific reviewed product. Your purchase of these products through affiliate links helps to generate commission for Storables.com, at no extra cost. Learn more)
Introduction
Having a properly installed carpet can add warmth, comfort, and style to any room. However, over time, carpets can become loose and start to buckle or ripple, not only affecting the appearance but also posing a tripping hazard. When this happens, it’s essential to tackle the issue promptly to prevent further damage and ensure the longevity of your carpet.
In this guide, we will walk you through the step-by-step process of reattaching a loose carpet to its underlay. Whether you’re dealing with a small area or an entire room, with the right tools and a little bit of patience, you can tackle this DIY fix and restore your carpet’s smooth and secure surface.
Before we jump into the details, let’s go over the tools and materials you’ll need to get started.
Key Takeaways:
- Reattaching a loose carpet is a manageable DIY project that can restore stability and aesthetic appeal to any room. With the right tools and systematic approach, you can easily tackle this task and enjoy a safe and visually pleasing carpeted space.
- Regular maintenance and preventive measures, such as using carpet grippers or double-sided carpet tape, can help prolong the lifespan of your reattached carpet. By taking good care of your carpet, you can ensure its long-term stability, safety, and visual appeal.
Read more: How To Tack Down Grass Carpet On Patio
Tools and Materials Needed
Before you begin reattaching your carpet, gather the following tools and materials:
- Knee kicker: This tool is essential for stretching and reattaching the carpet. It has a padded end and a lever for applying pressure.
- Carpet tacks: These small nails are used to secure the carpet to the underlay.
- Hammer: You’ll need a hammer to gently tap in the carpet tacks without damaging the carpet fibers.
- Knee pads: To protect your knees and provide comfort while using the knee kicker.
- Utility knife: Use this to trim excess carpet and remove any frayed or damaged edges.
- Measuring tape: Measure the area to ensure you have the right amount of carpet and to determine the placement of the knee kicker.
- Vacuum cleaner: Before reattaching the carpet, make sure to thoroughly clean the area to remove any dirt or debris.
- Carpenter’s pencil: Use a pencil to mark the areas where the carpet needs to be reattached or trimmed.
- Staple gun (optional): If you prefer, you can use a staple gun instead of carpet tacks to secure the carpet.
Additionally, make sure you have the necessary safety equipment, such as gloves and safety glasses, to protect yourself during the process.
Now that you have all the required tools and materials, let’s move on to the step-by-step guide on reattaching your loose carpet.
Step 1: Remove Furniture and Prepare the Area
Before you begin reattaching your carpet, it’s important to clear the room of any furniture or obstacles. This will give you unobstructed access to the entire carpeted area and make the process much easier.
Start by moving all the furniture out of the room. If there are heavy items that cannot be easily relocated, place furniture sliders underneath them to glide them across the floor without causing damage.
Next, thoroughly clean the area where the loose carpet is located. Use a vacuum cleaner to remove any dirt, debris, or loose particles. Pay particular attention to the edges and corners of the carpet, as these are often the areas most prone to coming loose.
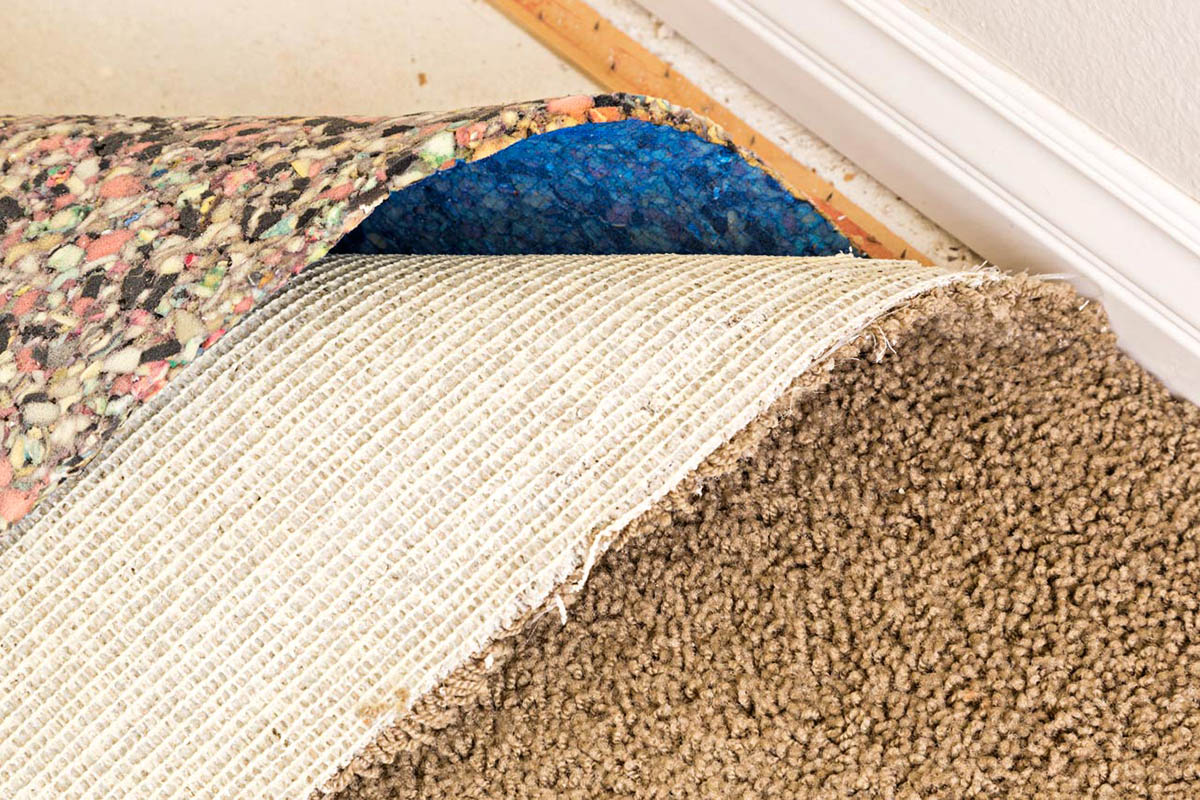
Once the area is clean, inspect the carpet to identify any loose sections or areas where it has come away from the underlay. Look for ripples, wrinkles, or obvious gaps. These are the areas that will need to be reattached.
Now that you have prepared the area and identified the loose sections of the carpet, you’re ready to move on to the next step: cleaning and drying the carpet.
Step 2: Inspect the Carpet and Identify Loose Areas
Once you have cleared the room and prepared the area, the next step is to inspect the carpet and identify the specific areas where it has come loose or is in need of reattachment.
Begin by carefully walking across the carpet and paying close attention to how it feels underfoot. Look for any areas where the carpet feels loose or spongy, or where you notice ripples or wrinkles forming. These are key indicators of areas that need to be reattached.
Once you have identified the loose areas, use a carpenter’s pencil or a small piece of masking tape to mark their locations. This will help you keep track of where the reattachment needs to take place.
It’s important to note that some carpet installations may have been secured with carpet tacks or staples that have come loose over time. In these cases, you may need to remove the existing tacks or staples to properly reattach the carpet. Use a pair of pliers or a flathead screwdriver to gently pry up any loose tacks or staples and remove them from the carpet and underlay.
Once you have marked the loose areas and dealt with any loose tacks or staples, you’re ready to move on to the next step: cleaning and drying the carpet.
Step 3: Clean and Dry the Carpet
Before reattaching the loose carpet, it’s important to ensure that it is clean and dry. This will not only help with the reattachment process but also prevent any mold or mildew from forming underneath the carpet.
Start by thoroughly vacuuming the carpet to remove any dirt, dust, or debris. Pay close attention to the edges and corners where loose debris tends to accumulate. A clean surface will provide a better bond between the carpet and the underlay.
If there are any stains or spills on the carpet, you may need to spot clean those areas. Use a carpet cleaner or a mixture of mild detergent and warm water to gently scrub the stained area. Be careful not to oversaturate the carpet, as excessive moisture can cause further damage or prolong the drying time.
After spot cleaning, allow the carpet to air dry completely. Open windows or use fans to facilitate air circulation and aid in the drying process. Avoid walking or placing any furniture on the damp carpet before it is thoroughly dry.
Once the carpet is clean and dry, you’re ready to move on to the next step: using a knee kicker to reattach the carpet.
Use a knee kicker to stretch the carpet back into place, starting from the center and working towards the edges. Secure with a carpet tucker and trim any excess carpet with a utility knife.
Read more: How To Remove Carpet Tack Strips
Step 4: Use a Knee Kicker to Reattach the Carpet
Now that you have prepared the area and ensured that the carpet is clean and dry, it’s time to reattach the loose sections using a knee kicker.
A knee kicker is a specialized tool designed to stretch and secure the carpet back into place. It consists of a padded end and a lever for applying pressure. Follow these steps to effectively use a knee kicker:
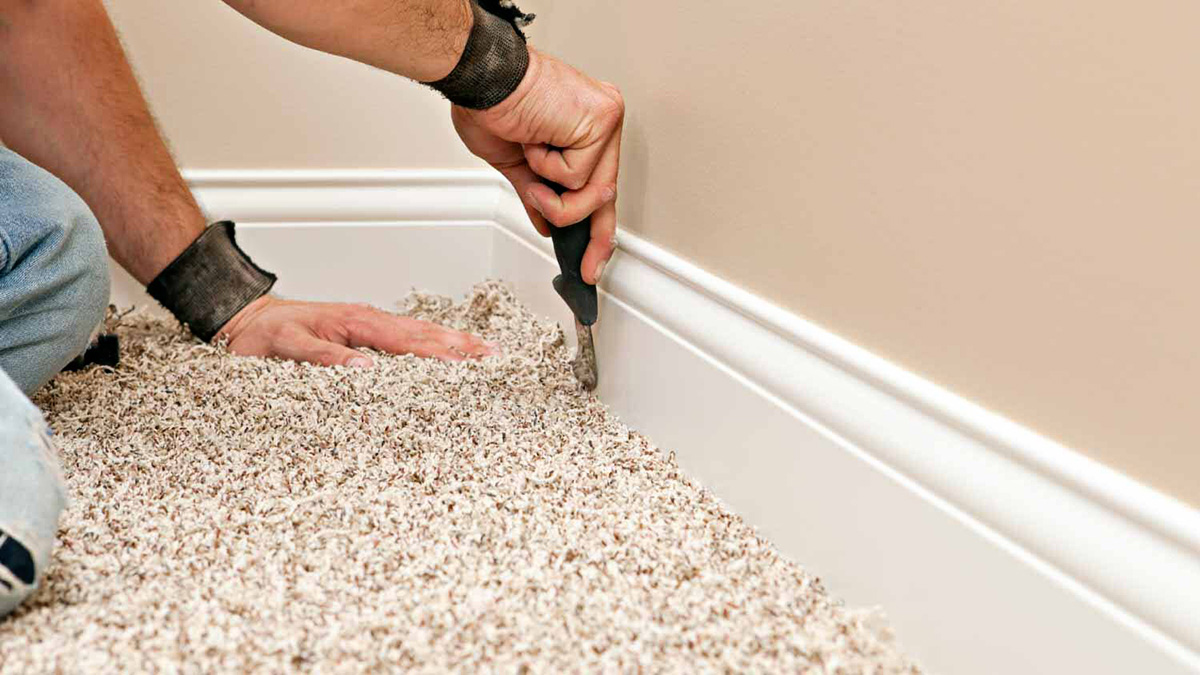
- Position the knee kicker: Start by positioning the knee kicker about six inches away from the loose edge of the carpet. Ensure that the teeth on the kicker’s pad are facing the edge of the carpet.
- Apply pressure: Position your knee on the cushioned pad of the knee kicker and use your hand to push down on the lever, applying pressure to stretch the carpet towards the loose edge.
- Kick the carpet: Now, using a quick and forceful motion, kick the padded end of the knee kicker with your knee. This action will stretch the carpet and secure it back into position.
- Move along the loose edge: Once you have kicked and attached the carpet in one section, move the knee kicker along the loose edge, taking small steps and repeating the process until you reach the end.
- Recheck and adjust: After using the knee kicker to stretch and attach the carpet, walk along the edge to ensure that it is securely in place. If you notice any remaining loose areas, go back and repeat the process as needed.
Remember to take your time and use controlled force when using the knee kicker. Overstretching the carpet can lead to wrinkles or damage, so it’s important to gauge the right amount of pressure to effectively reattach the carpet without causing any issues.
Once you have used the knee kicker to reattach the carpet along the loose edge, it’s time to move on to the next step: trimming excess carpet and securing it with carpet tacks.
Step 5: Trim Excess Carpet and Secure with Carpet Tacks
After using a knee kicker to reattach the carpet, the next step is to trim any excess carpet and secure it in place using carpet tacks. This will give your reattached carpet a neat and finished look.
Here’s how you can trim the excess carpet and secure it with carpet tacks:
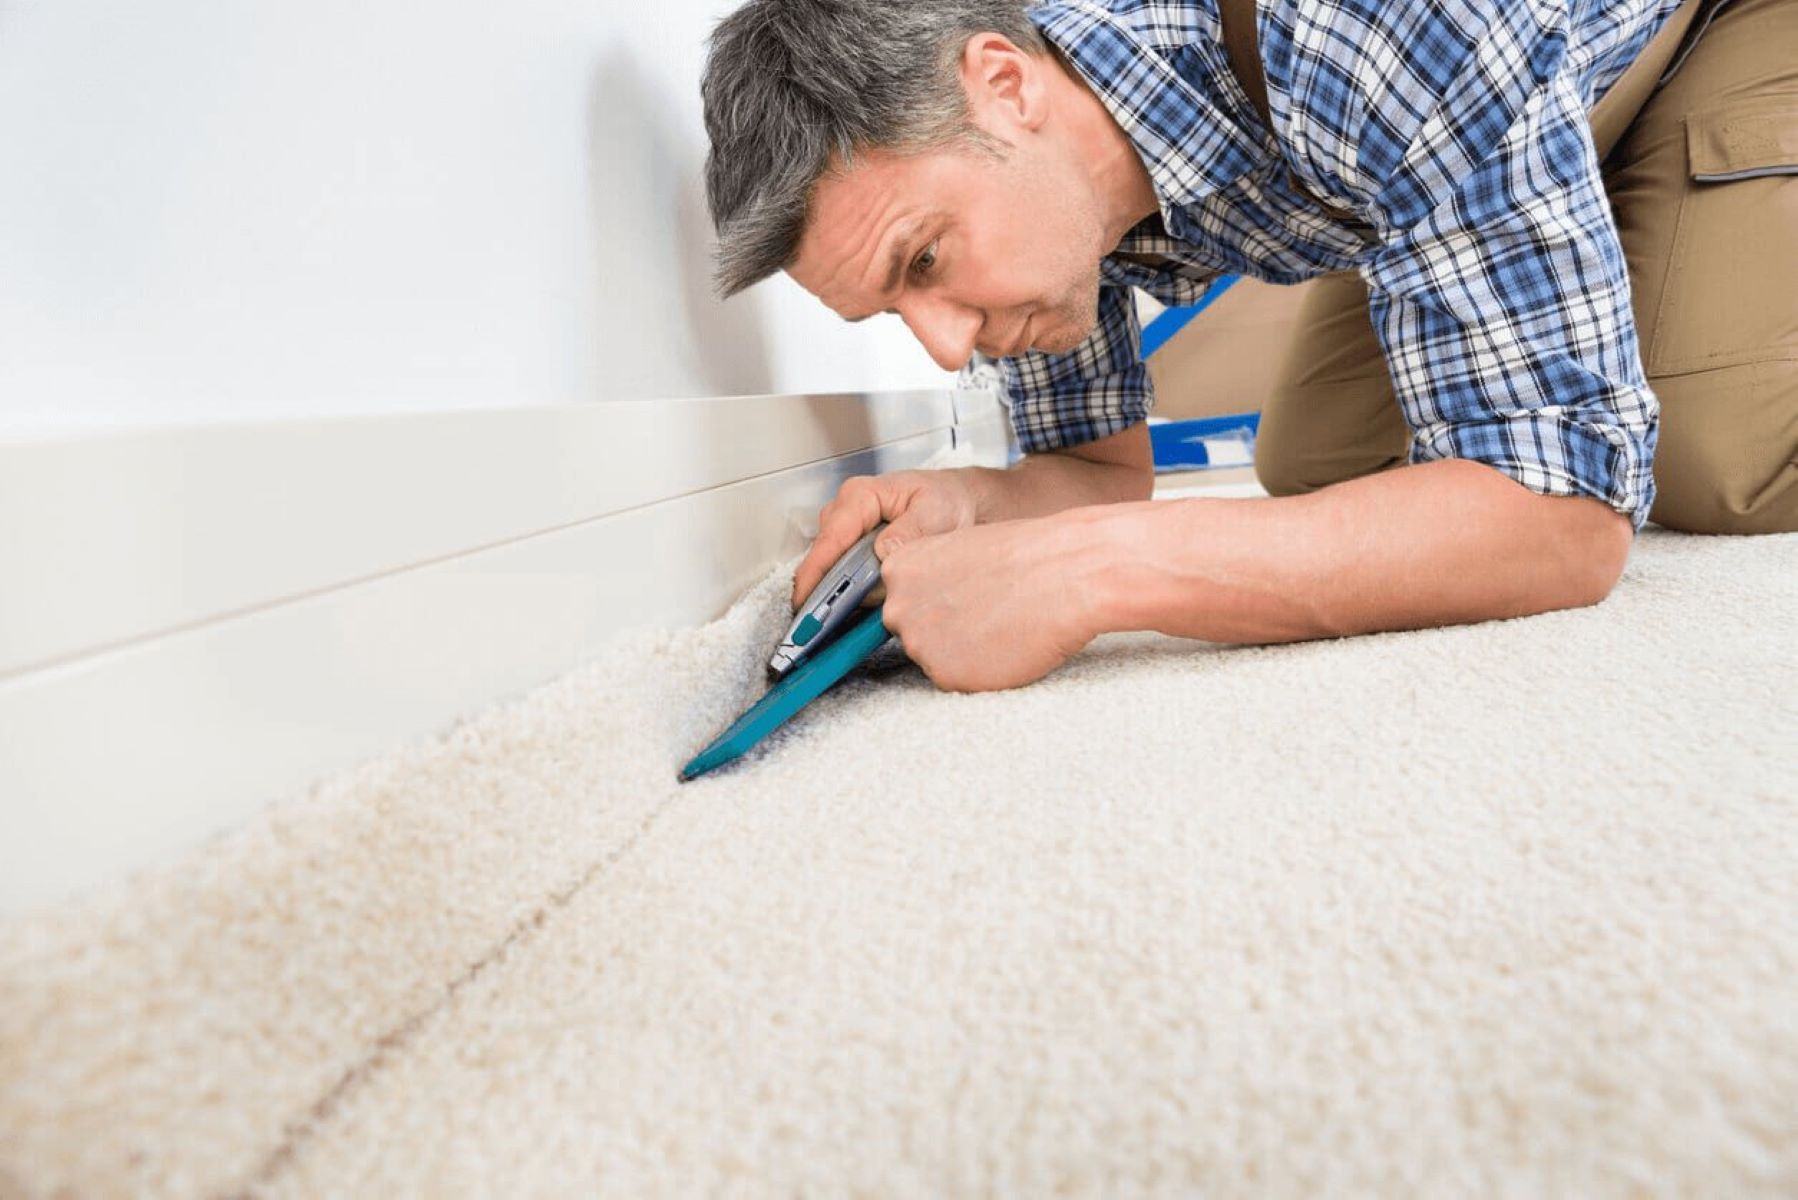
- Assess the excess carpet: Take a step back and evaluate if there are any areas where the carpet extends beyond the desired edge. Use a straightedge or a measuring tape to guide your trimming process. Mark these areas with a pencil.
- Cut the carpet: Use a utility knife to carefully trim along the marked lines. Make sure to apply consistent, gentle pressure to avoid fraying or damaging the carpet fibers. Take your time and make precise cuts.
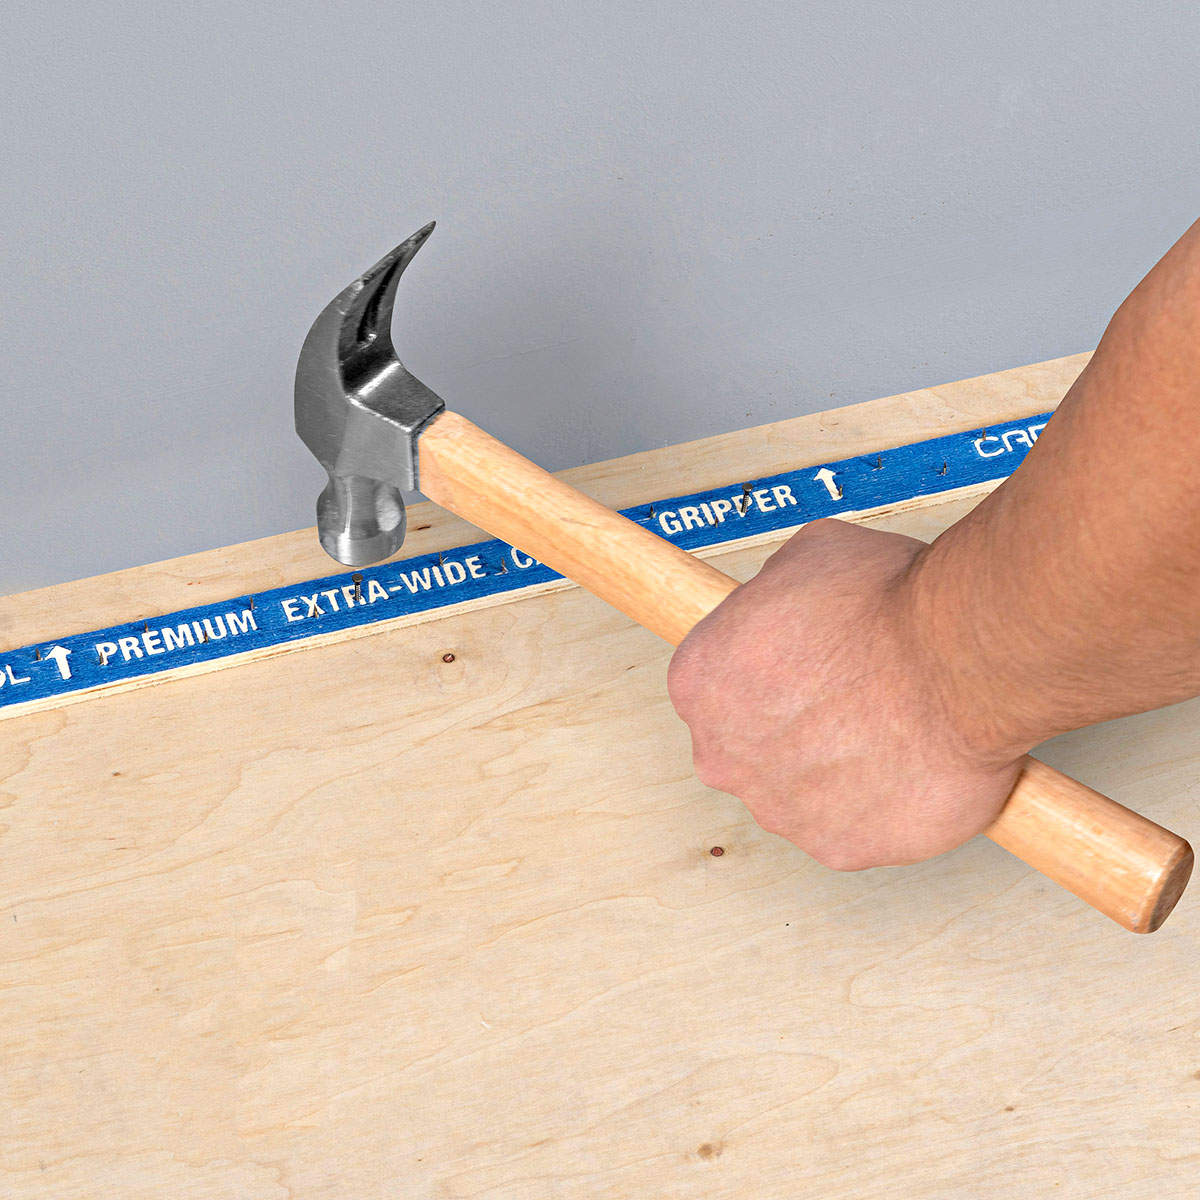
- Secure with carpet tacks: Once you have trimmed the excess carpet, it’s time to secure it in place. Position the carpet tacks along the edge of the carpet, ensuring they are evenly spaced. Use a hammer to gently tap the tacks into the underlay, securing the carpet firmly but without damaging the fibers.
- Continue along the edge: Work your way along the edge of the carpet, securing it with carpet tacks at regular intervals. This will ensure that the carpet remains securely attached and prevents any future loosening.
If you prefer, you can also use a staple gun instead of carpet tacks to secure the carpet. Ensure that you use sturdy staples that are long enough to penetrate both the carpet and the underlay without causing any damage.
Once you have trimmed the excess carpet and secured it with carpet tacks or staples, take a moment to inspect the entire reattached area. Ensure that the carpet is securely in place and that there are no visible loose sections or wrinkles.
Now that you have successfully reattached the carpet, it’s time to move on to the final step: replacing the furniture and testing the reattached carpet.
Step 6: Replace Furniture and Test the Reattached Carpet
With the reattached carpet now in place and secured, the final step is to replace the furniture and test the durability and stability of the newly fixed carpet.
Here’s what you need to do:
- Replace the furniture: Carefully move the furniture back into the room and position it in its original place. Use furniture sliders or protective pads to avoid scratching or damaging the newly reattached carpet.
- Test the carpet: Walk across the reattached carpet, paying close attention to how it feels underfoot. Check for any remaining loose or wrinkled areas. If you notice any issues, go back and repeat the previous steps to address them.
- Inspect the edges: Examine the edges of the carpet along the walls to ensure it is securely attached and properly trimmed. Look for any signs of lifting or fraying and make any necessary adjustments.
- Take preventive measures: To prevent the carpet from becoming loose again in the future, consider using carpet grippers or double-sided carpet tape along the edges. These products can provide additional support and help keep the carpet in place.
By replacing the furniture and thoroughly testing the reattached carpet, you can ensure that the repair is effective and the carpet remains securely in place for the long term.
Congratulations! You have successfully reattached your loose carpet and restored its smooth and secure surface. Your room now looks more aesthetically pleasing and safe to walk on.
Remember, regular maintenance and cleaning of your carpet can help prevent future loosening or damage. Vacuum the carpet frequently and address any spills or stains promptly to keep it in optimal condition.
Thank you for following this step-by-step guide. Enjoy the comfort and beauty of your newly fixed carpet!
Conclusion
Repairing a loose carpet may seem like a daunting task, but with the right tools and a systematic approach, it can be a manageable DIY project. By following the steps outlined in this guide, you can reattach your loose carpet and restore its stability and aesthetic appeal.
Start by preparing the area, removing furniture, and inspecting the carpet to identify the loose sections. Clean and dry the carpet thoroughly to ensure a strong bond during reattachment. Use a knee kicker to stretch and secure the carpet back into place, being mindful of applying controlled pressure to avoid overstretching. Trim any excess carpet and secure it with carpet tacks or staples, ensuring a clean and finished look.
After completing the reattachment process, replace the furniture and test the durability of the fixed carpet. Walk across the surface to ensure there are no remaining loose or wrinkled areas. Inspect the edges for proper attachment and consider using preventive measures, such as carpet grippers or double-sided carpet tape, to keep the carpet securely in place for the long term.
Regular maintenance, including vacuuming and addressing spills promptly, will help keep your carpet in optimal condition and prevent future loosening or damage. By taking good care of your carpet, you can prolong its lifespan and continue to enjoy the comfort and beauty it brings to your space.
Remember, if you feel uncomfortable or unsure about reattaching a loose carpet, it’s always best to consult a professional carpet installer. They have the experience and expertise to handle the job effectively and ensure a secure and long-lasting repair.
By following this comprehensive guide and taking the necessary steps to reattach your loose carpet, you can restore its stability, safety, and visual appeal, making your room a more inviting and comfortable space for all to enjoy.
Frequently Asked Questions about How To Tack Carpet Back Down
Was this page helpful?
At Storables.com, we guarantee accurate and reliable information. Our content, validated by Expert Board Contributors, is crafted following stringent Editorial Policies. We're committed to providing you with well-researched, expert-backed insights for all your informational needs.