Articles
How To Make A Mosaic Wall Art
Modified: December 7, 2023
Learn the art of creating stunning mosaic wall art with our step-by-step articles. Discover creative techniques, materials, and designs to bring your vision to life.
(Many of the links in this article redirect to a specific reviewed product. Your purchase of these products through affiliate links helps to generate commission for Storables.com, at no extra cost. Learn more)
Introduction
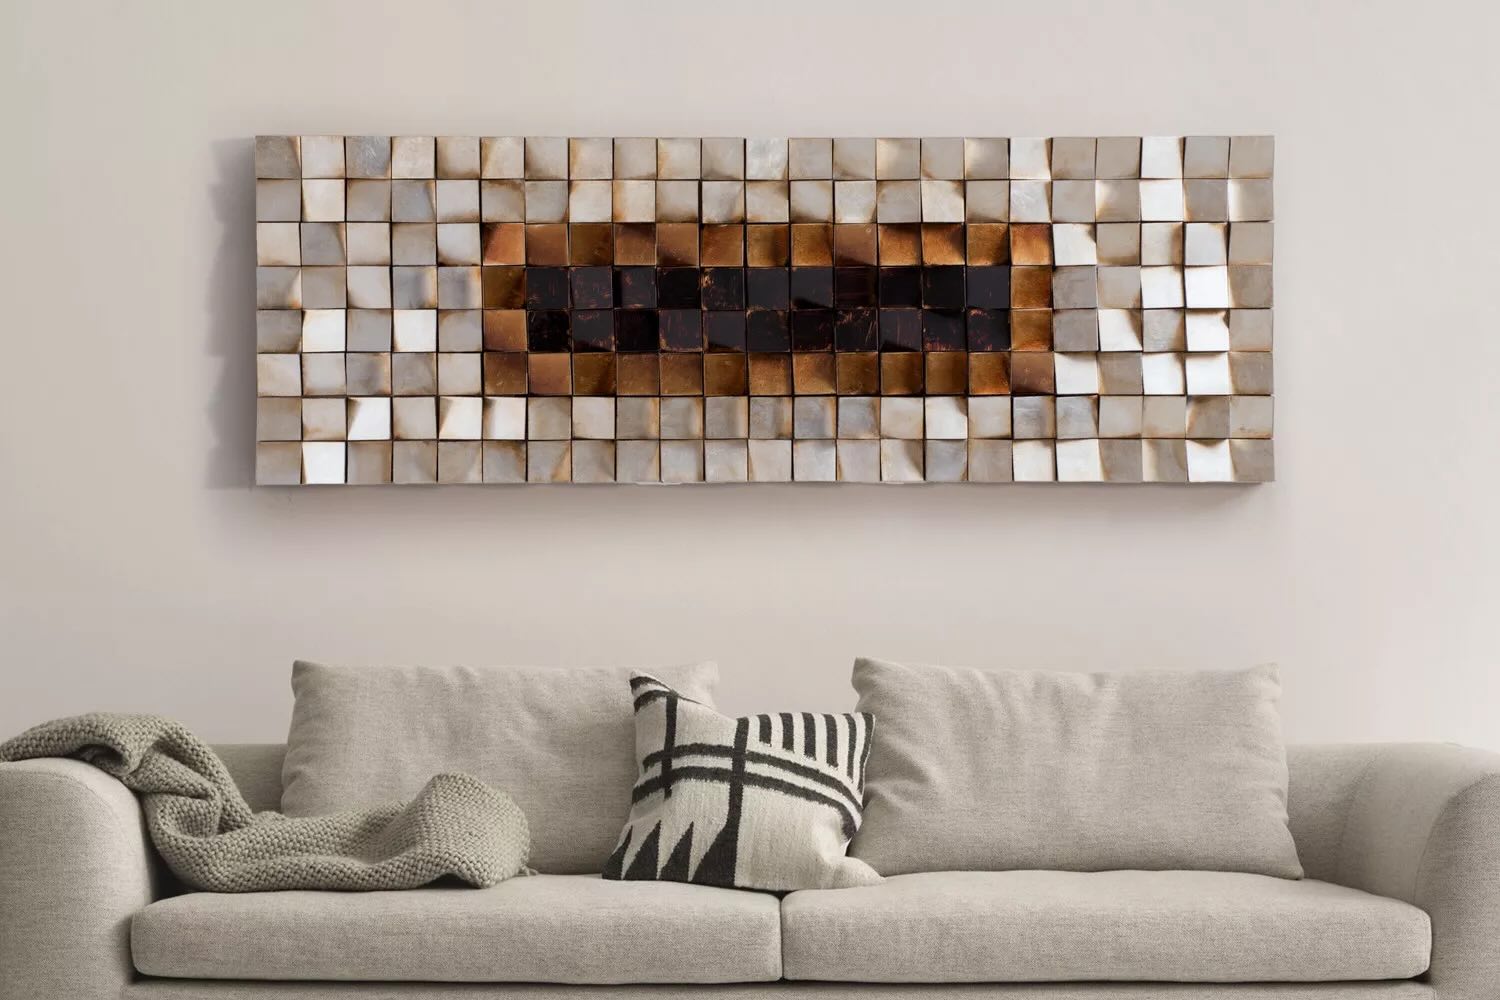
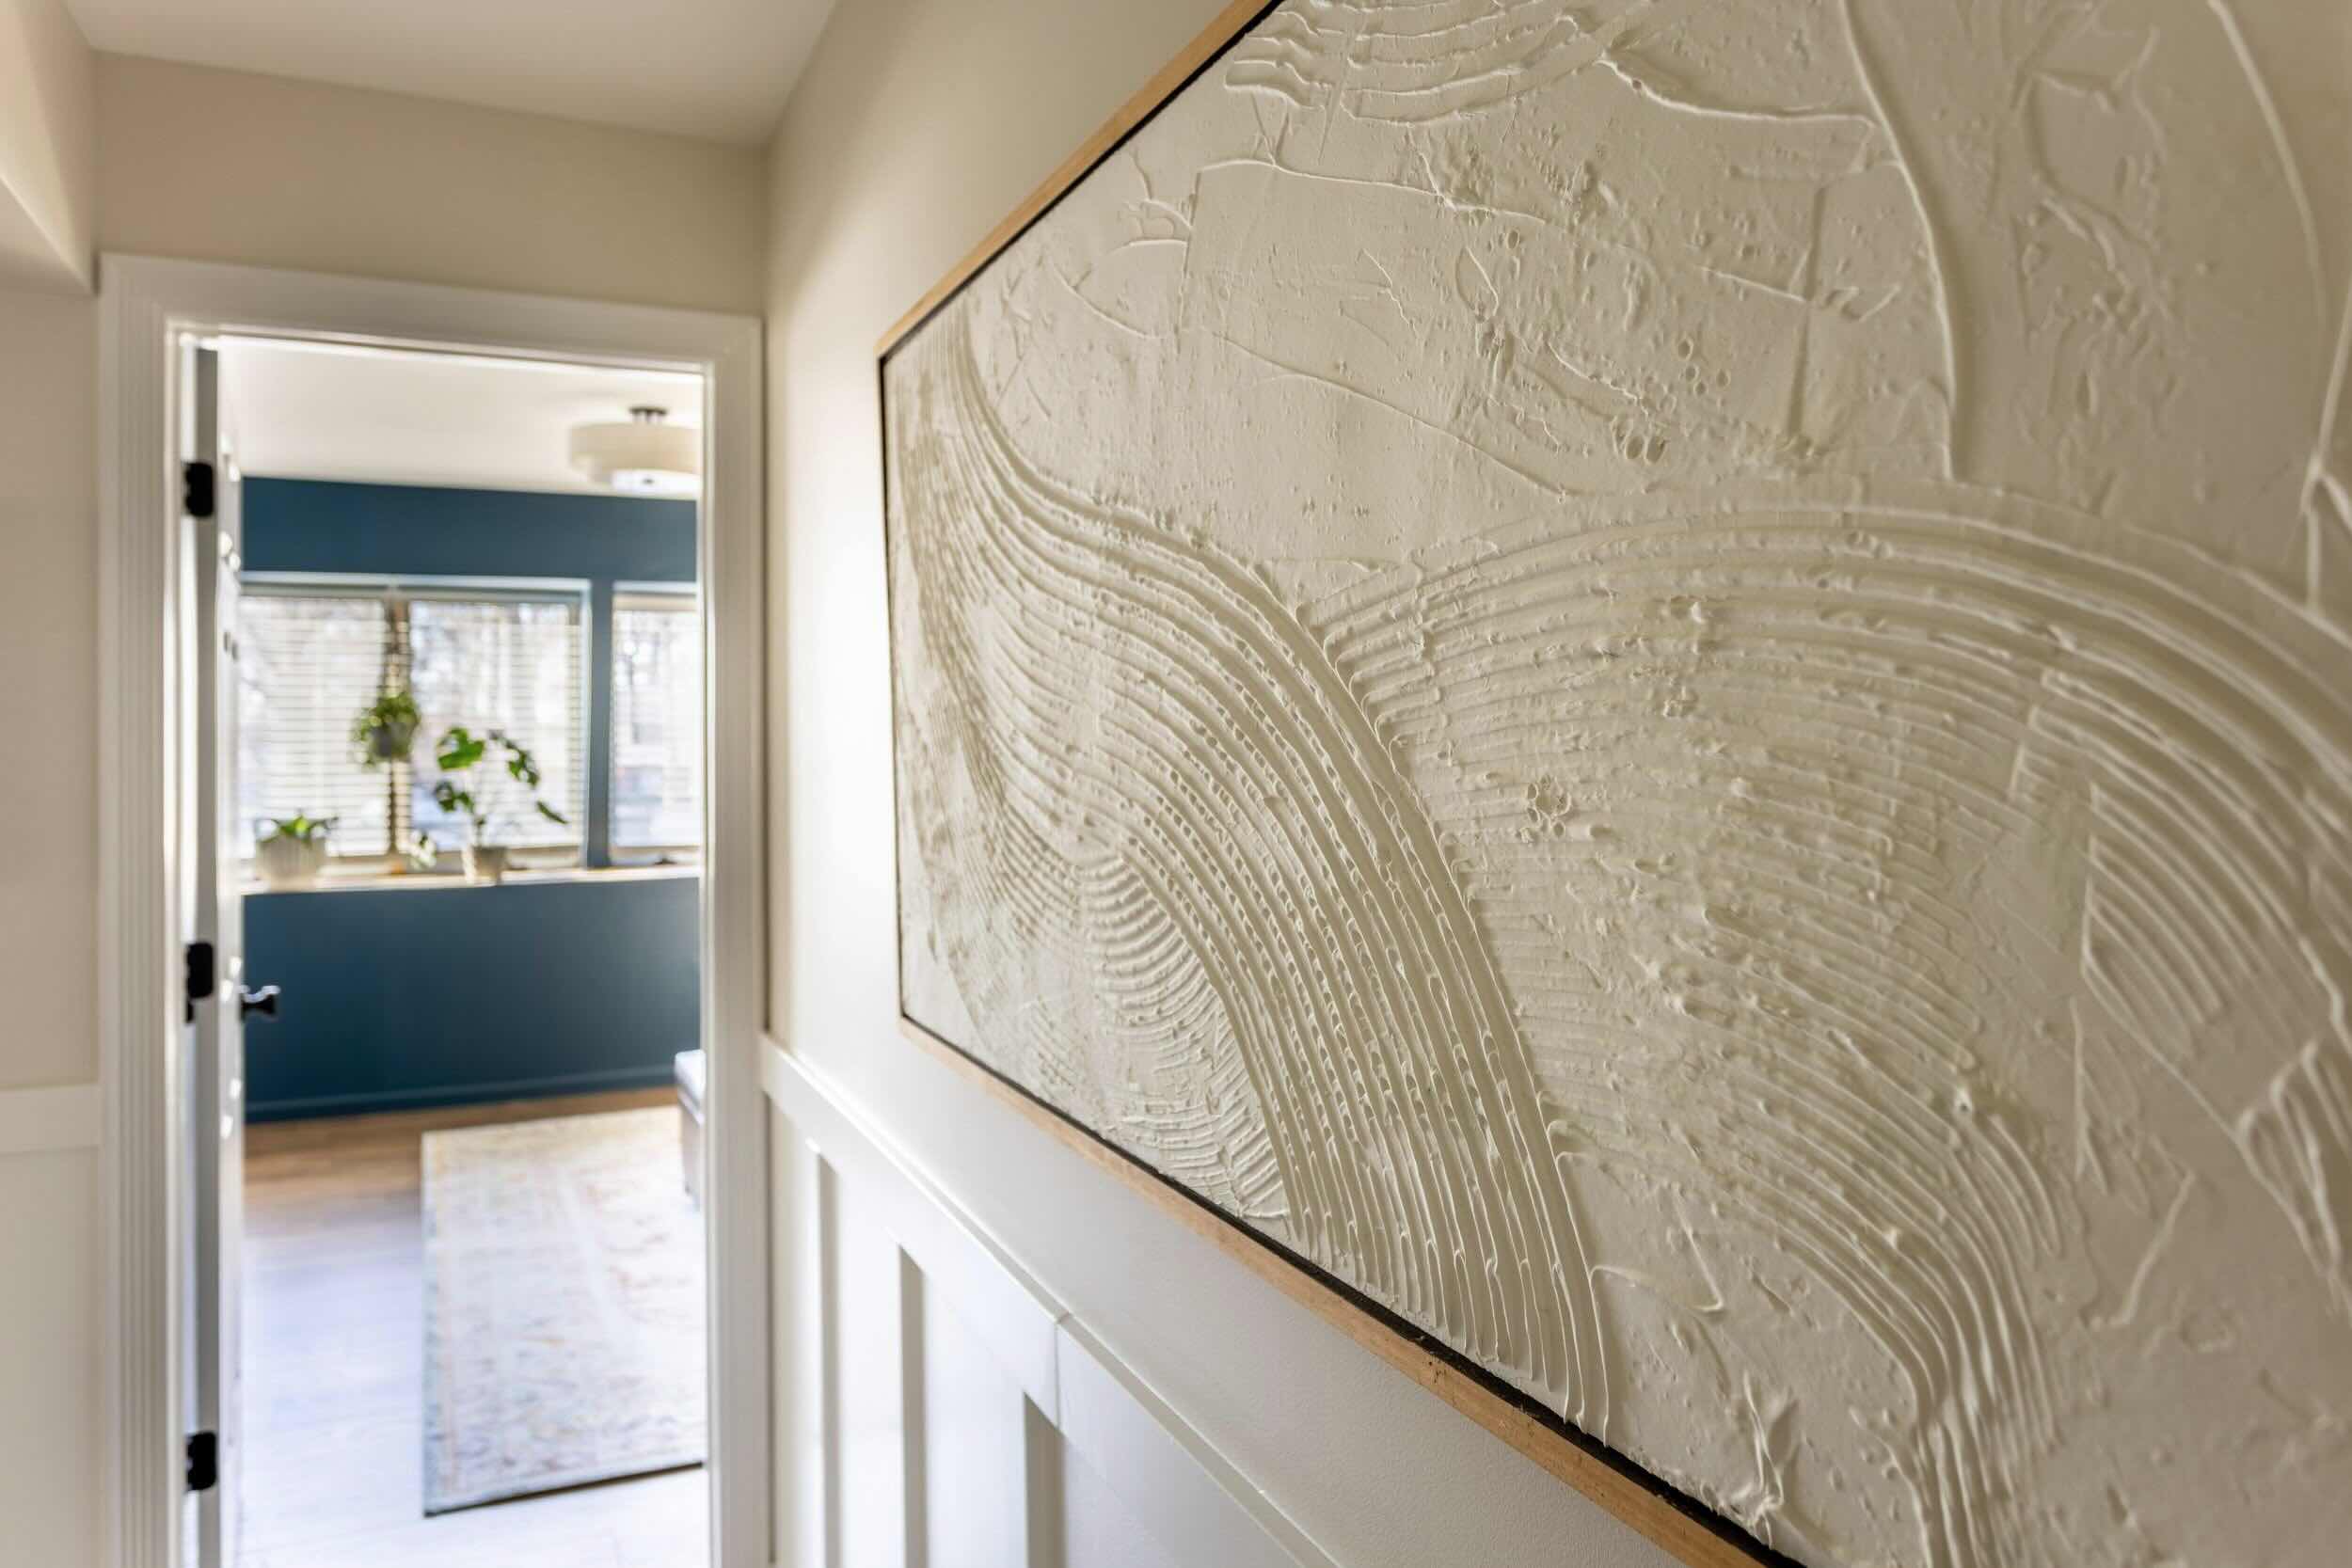
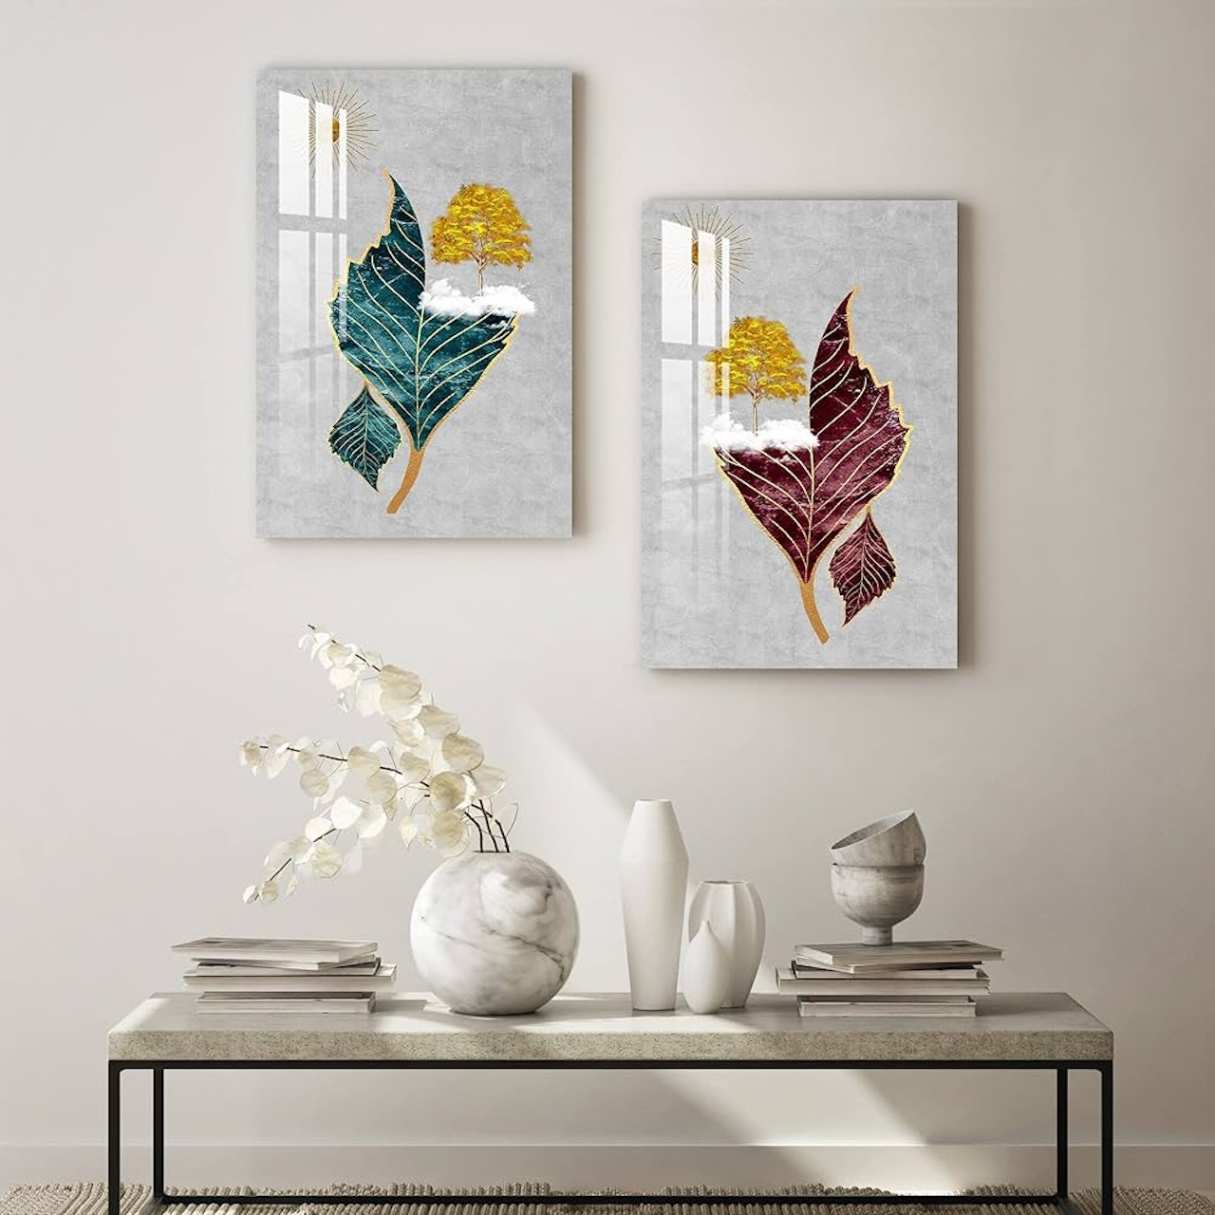
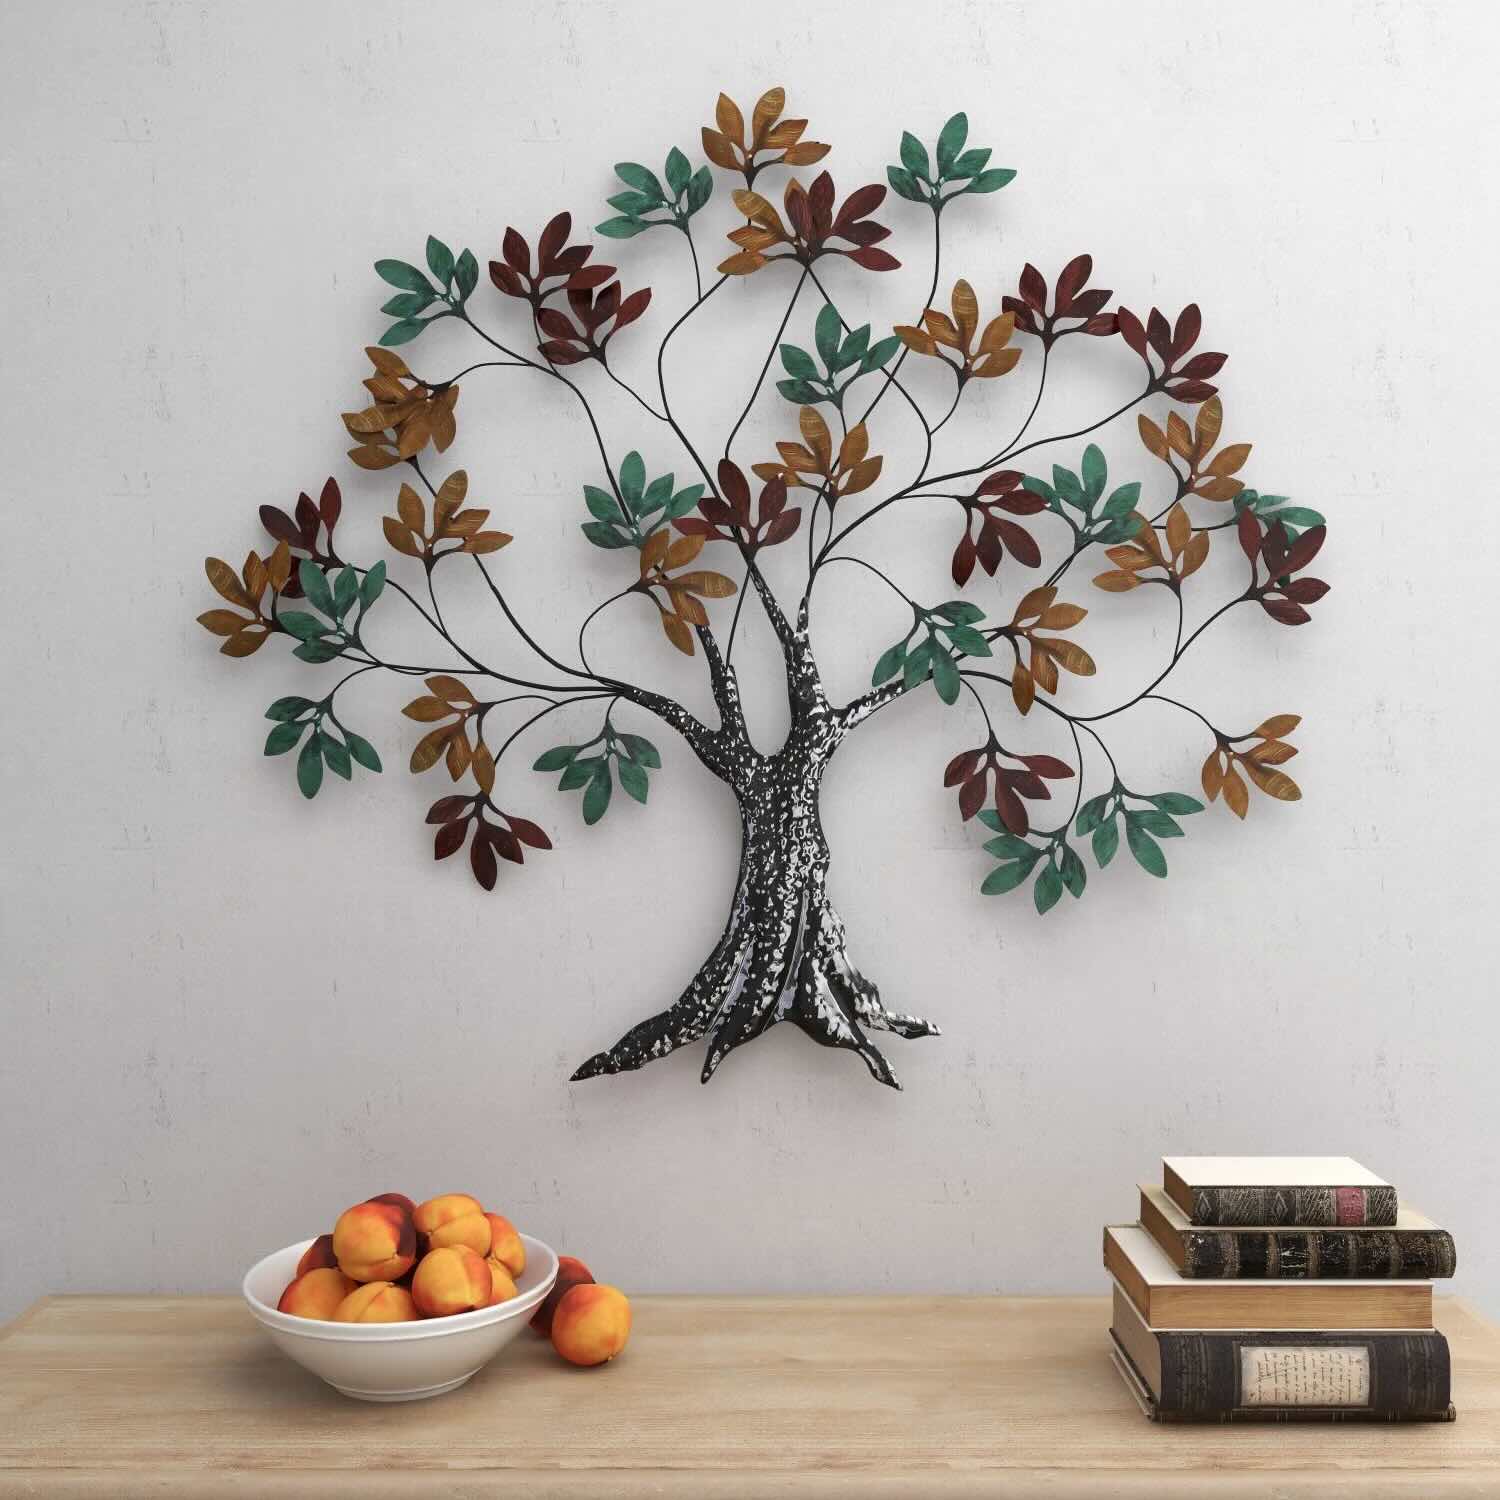
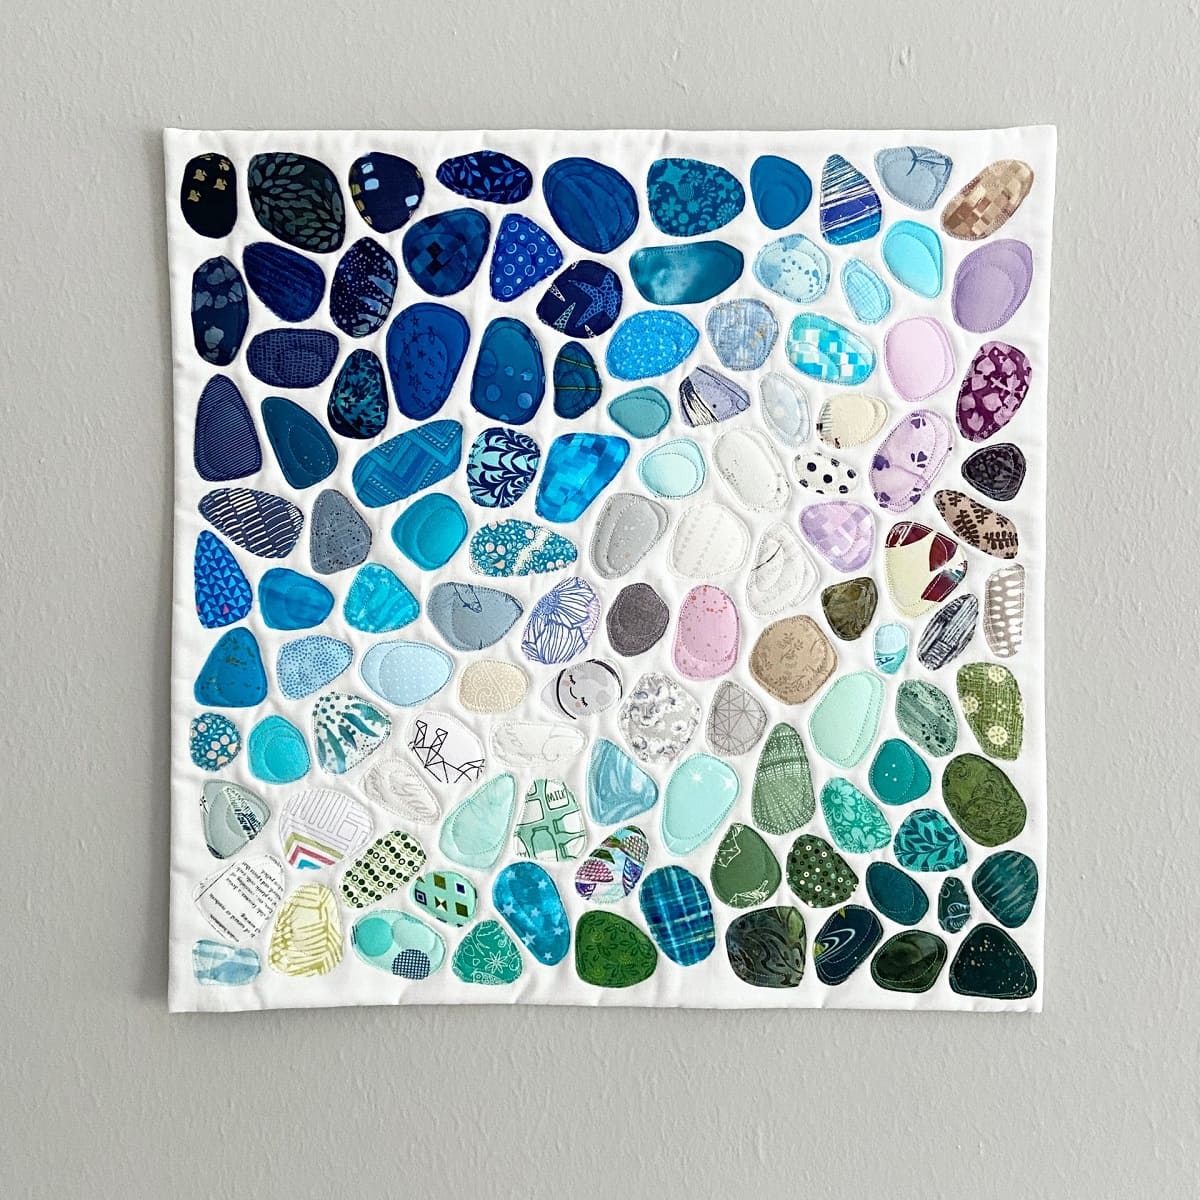
Mosaic wall art is a beautiful and versatile way to add a unique touch to any space. Whether you are looking to enhance the decor of your home or create a stunning focal point in a public area, creating a mosaic wall art piece can be a fulfilling and enjoyable project. This ancient art form dates back thousands of years and has been used to adorn temples, palaces, and public spaces across various cultures. Today, mosaic wall art continues to captivate people with its intricate patterns and vibrant colors.
Creating your own mosaic wall art allows you to unleash your creativity and express your personal style. From simple geometric designs to intricate landscapes and abstract compositions, the possibilities are endless. In this article, we will guide you through the process of making a mosaic wall art piece from start to finish. Whether you are a seasoned DIY enthusiast or a beginner looking to explore a new hobby, we will provide you with the step-by-step instructions and tips to help you create a stunning mosaic artwork.
Before we dive into the process, let’s take a look at the materials you will need to get started.
Key Takeaways:
- Unleash Your Creativity: Making mosaic wall art is a fulfilling and creative process that allows you to express your personal style and vision through intricate designs and vibrant colors.
- Preserve and Protect: Properly sealing and maintaining your mosaic wall art ensures its longevity and beauty, allowing you to showcase your talent and enjoy your one-of-a-kind masterpiece for years to come.
Read more: How To Make Glass Wall Art
Materials Needed
Before you begin your mosaic wall art project, it’s important to gather all the necessary materials. Here is a list of the materials you will need:
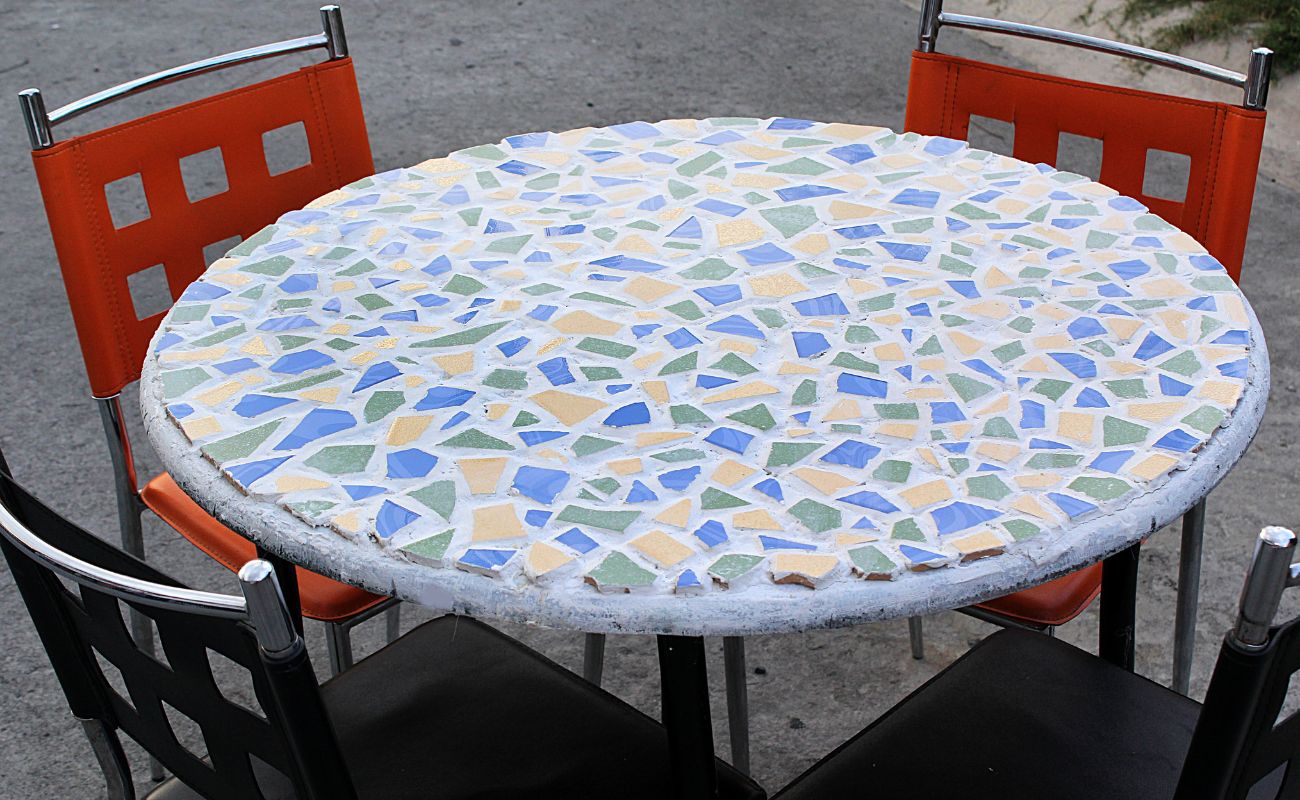
- Mosaic Tiles: These are the main elements of your artwork. You can choose from a wide variety of materials such as glass, ceramic, stone, or even recycled materials. Consider the color, texture, and size of the tiles when selecting them for your project.
- Tile Nippers: These are essential for cutting and shaping tiles to fit your desired design. Invest in a good quality pair that can easily cut through the materials you are using.
- Adhesive: You will need a strong adhesive specifically designed for mosaic projects. Look for a waterproof and weather-resistant adhesive that will securely bond the tiles to your chosen surface.
- Grout: Grout is used to fill the gaps between the tiles and give your artwork a finished look. Choose a grout color that complements your tiles and desired aesthetic.
- Grout Float: This tool is used to spread the grout evenly and smoothly over the tiles. Look for a rubber or foam float that will help you apply the grout effectively.
- Grout Sealer: Applying a grout sealer over your finished artwork will help protect the grout and prevent staining or discoloration over time.
- Protective Gear: It’s essential to protect yourself while working with adhesives and grout. Wear gloves, safety goggles, and a dust mask to prevent any accidents or inhalation of harmful particles.
- Surface: You will need a suitable surface to create your mosaic wall art. This can be a piece of wood, a canvas, a wall, or any other surface that can support the weight of the tiles.
- Tools: Along with the tile nippers and grout float, you may also need additional tools such as a hammer, chisel, and masking tape for certain techniques and designs.
Gather all these materials before you start your project to ensure a smooth and efficient process. Now that you have your materials ready, let’s move on to the first step: choosing a design.
Step 1: Choose a Design
Choosing a design is a crucial step in creating your mosaic wall art. It sets the overall theme and aesthetic of your artwork. Here are some tips to help you select the perfect design:
- Consider the Space: Think about the location where you plan to display your mosaic wall art. Take into account the size of the wall and the surrounding decor. Choose a design that complements the existing style of the space.
- Inspiration and Reference: Look for inspiration from books, magazines, websites, or even nature. Take note of patterns, colors, and motifs that appeal to you. You can also sketch out your own design if you have a specific idea in mind.
- Start Simple: If you are new to mosaic art, it’s best to start with a relatively simple design. Choose a design with clear lines and fewer intricate details. As you gain more experience, you can gradually tackle more complex designs.
- Consider Your Skill Level: Be realistic about your skill level and the amount of time you can dedicate to the project. If you have limited experience or a busy schedule, opt for a design that you can comfortably complete within your constraints.
- Create a Template: Once you have chosen a design, create a template on a piece of paper or use design software to visualize how the final artwork will look. This will help you plan the layout and placement of the tiles.
- Personalize Your Design: Add a personal touch to your design by incorporating elements that are meaningful to you. It could be a favorite color, a symbol, or a representation of something you love.
Remember, the design you choose will serve as the foundation for your mosaic wall art. Spend some time exploring various options and trust your instincts. Once you have finalized your design, move on to the next step: selecting and preparing the tiles.
Step 2: Select and Prepare Tiles
The selection of tiles is crucial in creating a visually stunning mosaic wall art. Here’s how you can select and prepare the tiles for your project:
- Choose the Right Material: Consider the material of the tiles according to your design and desired aesthetic. Glass tiles are vibrant and reflective, ceramic tiles offer a wide range of colors and finishes, stone tiles provide a natural and rustic look, and recycled materials add an eco-friendly touch.
- Consider the Size and Shape: Determine the size and shape of the tiles that will work best for your design. For intricate details, smaller tiles are recommended, while larger tiles are suitable for bold and simple designs.
- Test the Tiles: Before starting your project, it’s a good idea to do a test layout with the tiles. This will give you a visual preview of how the colors and shapes interact with each other. Make adjustments if necessary.
- Prepare the Tiles: If you have chosen ceramic or stone tiles, you might need to smooth the edges. Use sandpaper or a tile file to remove any rough or sharp edges. Be careful when handling the tiles, especially if they are made of glass or are delicate.
- Organize the Tiles: As you prepare the tiles, organize them by color and shape. This will make it easier for you to find the right tiles as you work on your design. You can use small containers or trays to keep the tiles sorted.
- Mix and Match: Don’t be afraid to mix different colors and textures to create depth and interest in your mosaic wall art. Experiment with various combinations to find the perfect balance.
- Consider Tile Adhesive: Keep in mind the type of tile adhesive you will be using when selecting the tiles. Some adhesives work better with specific tile materials, so read the instructions and choose tiles that are compatible with your chosen adhesive.
By carefully selecting and preparing the tiles, you are setting the stage for a visually appealing and cohesive mosaic wall art. Once you have your tiles ready, it’s time to move on to the next step: planning the layout.
Step 3: Plan the Layout
Planning the layout of your mosaic wall art is essential to ensure a well-balanced and visually pleasing final result. Here are the steps to follow when planning the layout:
- Refer to Your Design: Use your design template as a guide and reference point. It will help you determine the placement of different colors and shapes within your artwork.
- Consider the Size and Shape of Your Tiles: Think about how the size and shape of your tiles will affect the overall composition. Play around with different arrangements to find the most appealing layout.
- Create a Grid: Consider creating a grid on your surface using masking tape or a chalk line. This will help you maintain a straight and organized layout.
- Think About Color Distribution: Distribute the colors evenly throughout your design to create a balanced and harmonious look. Avoid clustering large areas of the same color as it can overpower the overall aesthetic.
- Experiment with Tile Placement: Lay out the tiles on your surface without adhesive to experiment with different arrangements. Take a step back and evaluate how the colors and shapes interact. Make adjustments as needed.
- Leave Space for Grout: Remember to leave small gaps between the tiles to accommodate the grout. The size of the gaps will depend on the design and tile size you have chosen.
- Consider Borders and Edging: Think about whether you want to incorporate borders or decorative edging in your design. These can add a finishing touch and frame your artwork.
- Take Your Time: Planning the layout is a crucial step that requires patience and attention to detail. Don’t rush through this process as it sets the foundation for your mosaic wall art.
Remember, the layout is a creative process, and it’s okay to make changes and adjustments along the way. Once you have finalized your layout, you are ready to move on to the next step: preparing the surface.
Read more: How To Make Fabric Wall Art
Step 4: Prepare the Surface
Before you can begin applying the tiles to your chosen surface, it’s important to properly prepare the surface to ensure a strong and long-lasting bond. Follow these steps to prepare the surface:
- Clean the Surface: Ensure that the surface is clean and free from any dust, dirt, or debris. Use a mild cleanser and a soft cloth to gently wipe down the surface. Allow it to dry completely before proceeding.
- Smooth the Surface: If the surface is rough or uneven, you may need to sand it down or use a primer to create a smooth and even base. This will help the tiles adhere securely to the surface.
- Apply a Primer: Depending on the type of surface you are working with, applying a primer may be necessary. A primer will enhance the adhesion of the adhesive and create a strong bond with the surface.
- Protect Surrounding Areas: Use masking tape or plastic sheeting to cover any areas surrounding the surface that you don’t want to come into contact with adhesive or grout. This will make the cleanup process easier.
- Mark Alignment Lines: Use a pencil or chalk to mark vertical and horizontal alignment lines on the surface. This will serve as a guide when applying the tiles and ensure a straight and even placement.
- Prepare Additional Surfaces: If you are working on multiple surfaces or sections, repeat the cleaning and preparation process for each surface. It is important to ensure consistency across the entire artwork.
- Allow Adequate Drying Time: Depending on the type of surface and any primer or adhesive used, allow sufficient drying time before proceeding to the next step. Follow the manufacturer’s instructions for drying times.
By properly preparing the surface, you are creating the ideal environment for the tiles to adhere securely and withstand the test of time. Once the surface is prepared, you are ready to move on to the next step: applying the adhesive.
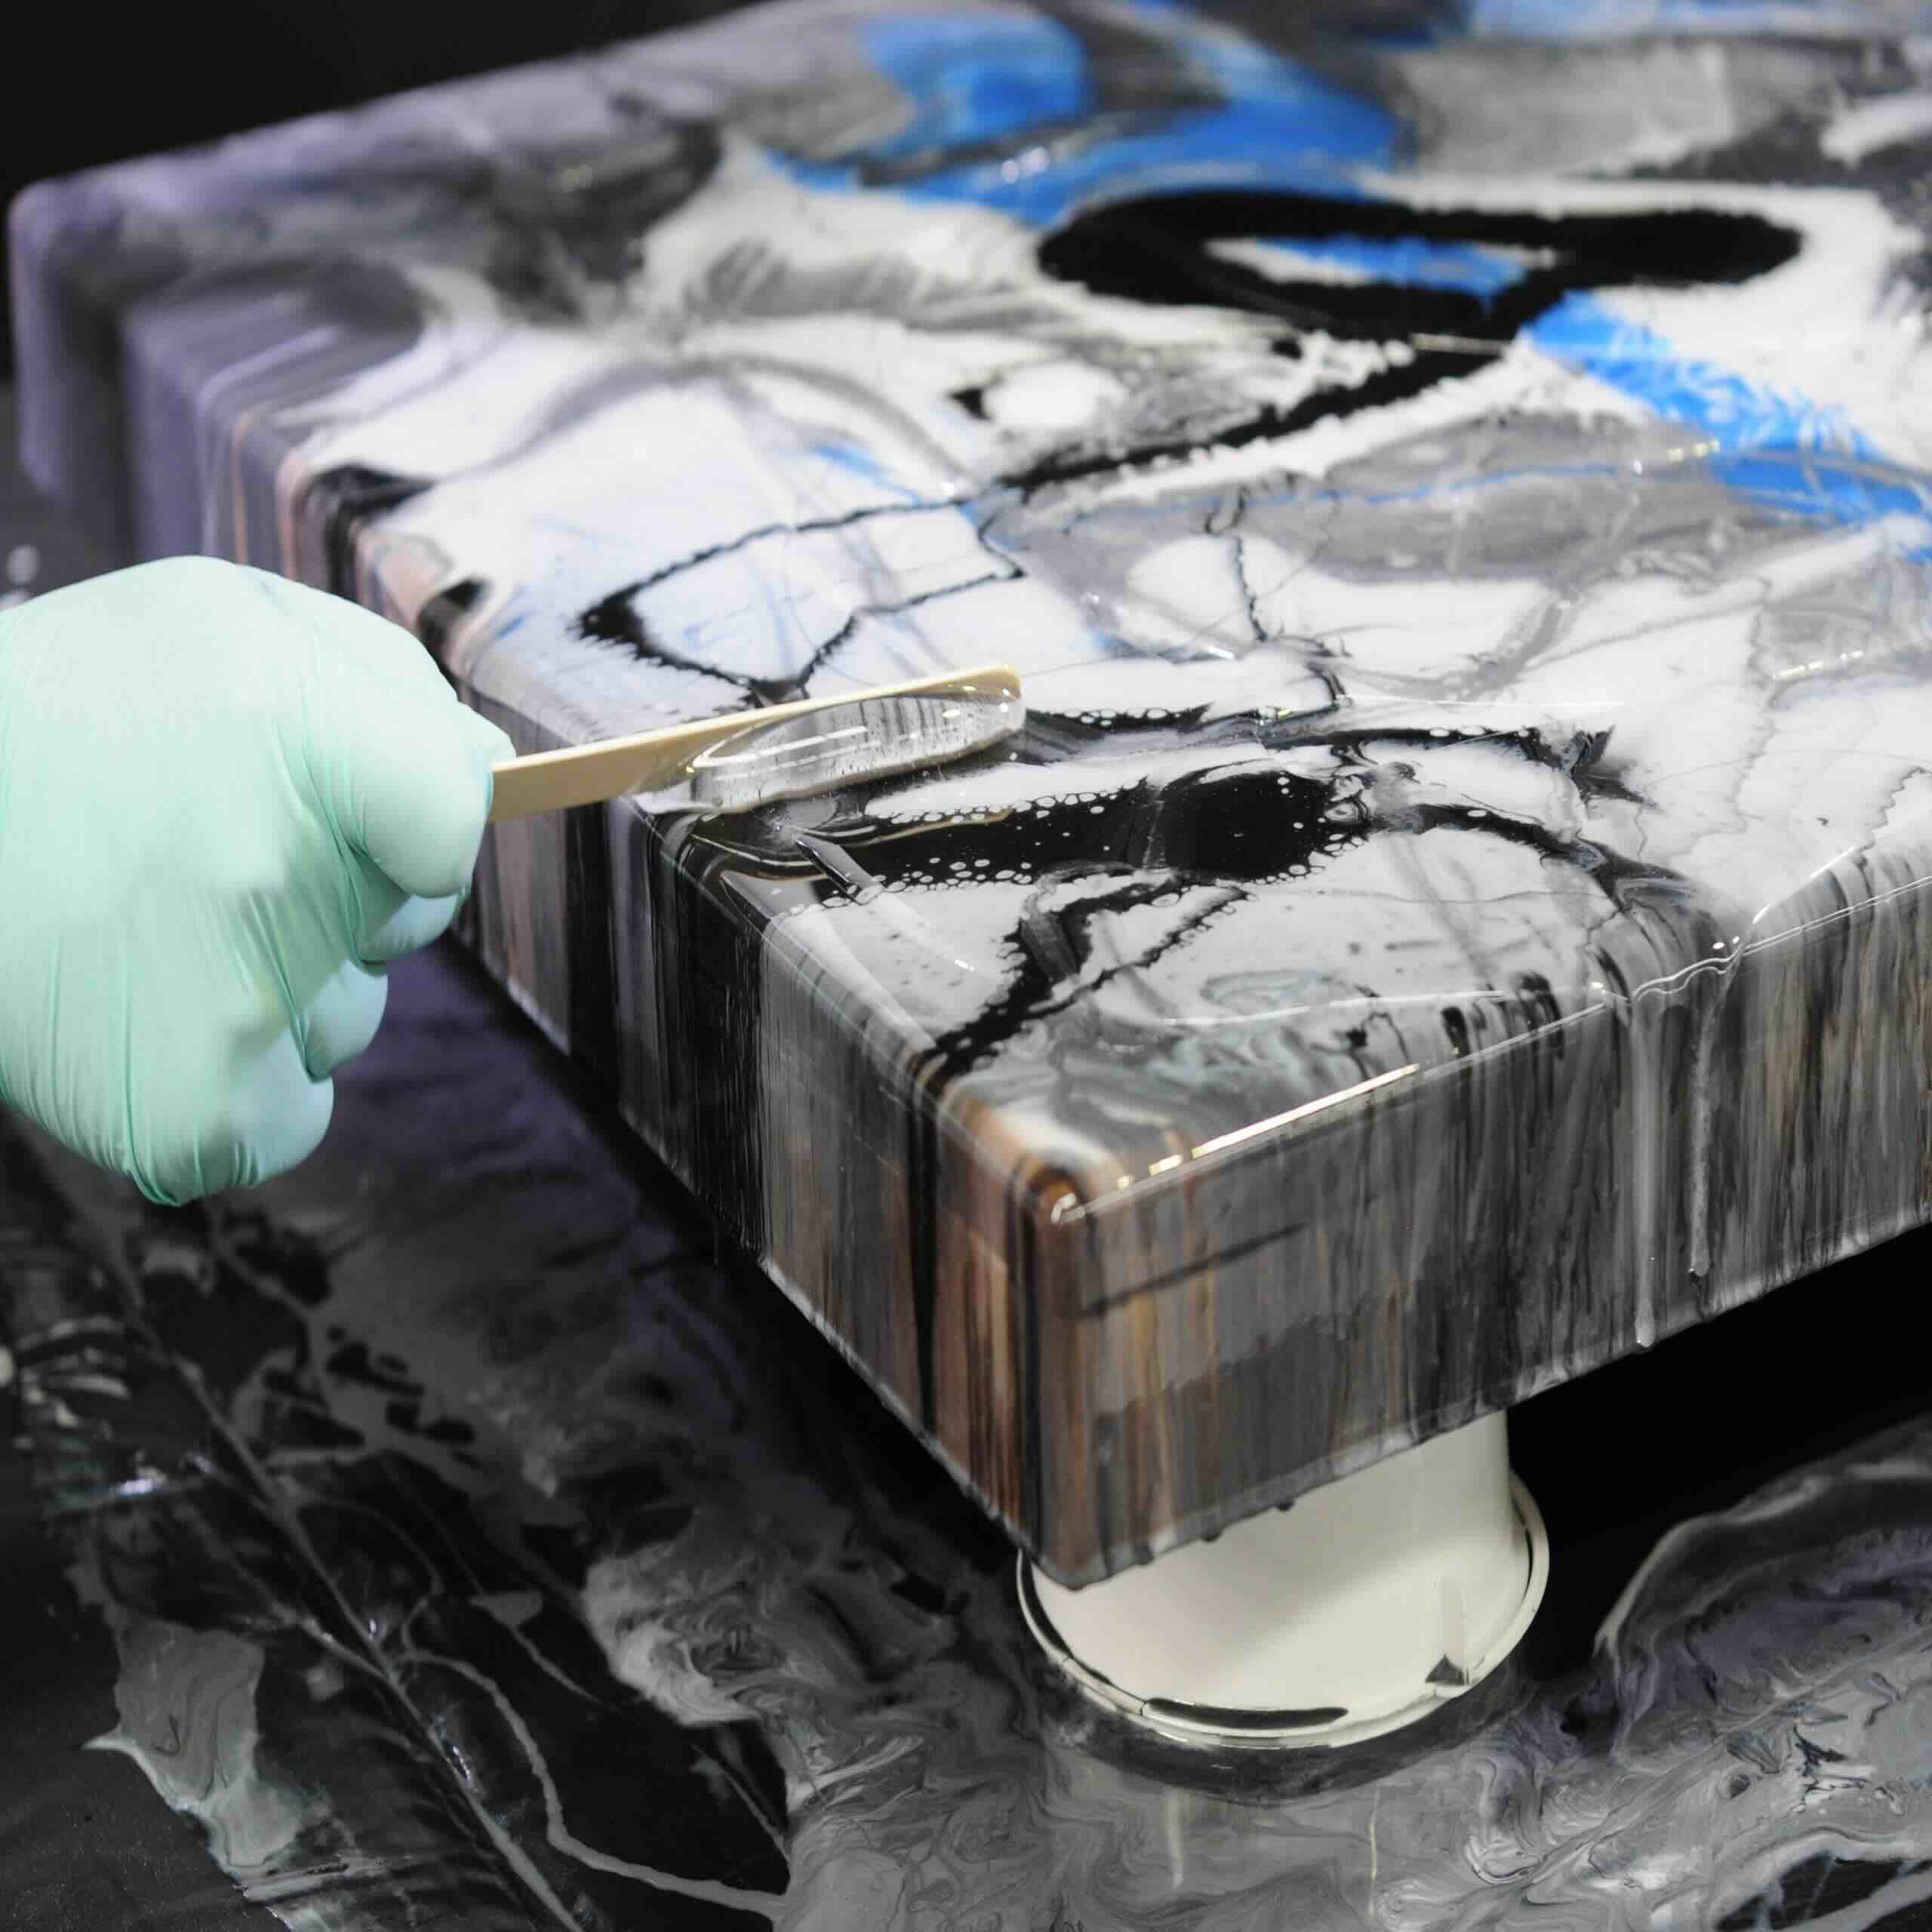
When creating a mosaic wall art, be sure to use a strong adhesive to secure the tiles or pieces in place. This will ensure that your artwork remains intact and durable over time.
Step 5: Apply Adhesive
Applying adhesive is a crucial step in creating a strong and durable bond between the tiles and the prepared surface. Follow these steps to apply adhesive for your mosaic wall art:
- Read the Instructions: Before using the adhesive, carefully read and follow the manufacturer’s instructions. Different adhesives may have specific requirements, such as mixing ratios or application techniques.
- Mix the Adhesive: If your adhesive requires mixing, follow the recommended mixing ratio and thoroughly mix the adhesive until it reaches a smooth and consistent texture. Use a container and a stirring stick for this process.
- Start in Small Sections: Working in small sections at a time, apply the adhesive to the prepared surface using a trowel or a small putty knife. Spread the adhesive evenly, ensuring that it covers the area you plan to tile.
- Create a Notched Trowel Pattern: For better adhesive coverage and tile adhesion, use a notched trowel to apply the adhesive in a pattern of ridges or grooves. This creates a stronger bond between the tiles and the surface.
- Work in a 45-Degree Angle: Hold the trowel at a 45-degree angle and apply consistent pressure to create a smooth and even layer of adhesive. Avoid applying too much pressure, as it may cause the adhesive to squeeze up between the tiles.
- Apply Adhesive in Small Sections: Work in small sections to prevent the adhesive from drying out before you can place the tiles. This ensures a secure bond and allows you to have control over the placement of the tiles.
- Keep the Surface Level: As you apply the adhesive, periodically check the alignment lines to ensure that the surface remains level and even. Adjust as necessary to maintain a straight and balanced layout.
- Remove Excess Adhesive: As you work, periodically remove any excess adhesive from the surface or the edges of the tiles using a damp cloth or sponge. This will help prevent the adhesive from drying and hardening in unwanted areas.
By applying the adhesive properly, you are setting the foundation for the tiles to adhere securely to the surface. Once the adhesive is applied, you are ready to move on to the next step: placing the tiles.
Step 6: Place the Tiles
Now that the adhesive has been applied, it’s time to start placing the tiles on the prepared surface. Follow these steps to ensure proper placement of the tiles for your mosaic wall art:
- Refer to Your Design: Use your design template as a guide to determine where each tile should be placed. Follow the colors and shapes indicated in the design to maintain consistency.
- Start from the Center: Begin placing the tiles from the center of the design and work your way outwards. This helps maintain symmetry and balance in the overall composition.
- Press Tiles Firmly: Press each tile firmly into the adhesive, ensuring that it is securely bonded to the surface. Use your fingertips or a level tool to gently press down on the tiles and check for any unevenness.
- Leave Space for Grout: As you place the tiles, remember to leave small gaps between them for the grout. The size of the gaps will depend on your design preferences and the overall aesthetic you want to achieve.
- Check Alignment and Level: Periodically check the alignment and levelness of the tiles as you work. Adjust them as needed to ensure a straight and even placement.
- Work in Sections: Work in small sections at a time to prevent the adhesive from drying out. This allows you to have better control over the placement and alignment of the tiles.
- Use Tile Spacers if Needed: If you prefer a more uniform spacing between the tiles, you can use tile spacers to ensure consistent gaps. These spacers can easily be removed once the adhesive is dry.
- Be Mindful of Patterns and Color Distribution: Pay attention to the patterns and color distribution as you place the tiles. Ensure that the overall design remains balanced and visually appealing.
- Make Adjustments as Needed: If you notice any tiles that are misaligned or don’t fit properly, carefully remove them and make the necessary adjustments. Be cautious not to disturb the surrounding tiles.
By carefully placing the tiles, you are bringing your mosaic wall art to life. Take your time and pay attention to the details to achieve the desired outcome. Once all the tiles are placed, you are ready to move on to the next step: grouting the tiles.
Step 7: Grout the Tiles
The grouting process is an important step in completing your mosaic wall art. Grout not only fills the gaps between the tiles but also provides a finished and cohesive look. Follow these steps to grout your tiles:
- Select the Right Grout: Choose a grout color that complements your tiles and desired aesthetic. Consider factors like the size of the gaps and the overall color scheme of your artwork.
- Mix the Grout: Follow the manufacturer’s instructions and mix the grout in a clean container. Use a grout float or a trowel to mix it until you achieve a smooth and consistent texture.
- Apply the Grout: Spread the grout over the tiles using a grout float, making sure to press it firmly into the gaps. Work in small sections to prevent the grout from drying before you can finish the entire area.
- Angle the Grout Float: Hold the grout float at a 45-degree angle and use diagonal motions to push the grout into the gaps. This ensures that the grout fills the spaces completely and eliminates any air bubbles.
- Remove Excess Grout: After applying the grout, use the grout float or a damp sponge to remove the excess grout from the tile surfaces. Hold the float or sponge at a 45-degree angle and gently swipe it across the tiles.
- Clean the Tiles: Once the excess grout is removed, wipe the tiles with a clean, damp sponge to further clean and smooth the surface. Rinse the sponge frequently to avoid spreading grout residue.
- Allow the Grout to Set: Leave the grout to set for the recommended time specified by the manufacturer. Avoid touching or disturbing the grouted area during this time to ensure proper curing.
- Buff the Tiles: Once the grout has fully set, use a clean, dry cloth or towel to gently buff the tiles and remove any remaining grout haze. This will reveal the true beauty of your mosaic artwork.
- Seal the Grout: To protect the grout from stains and water damage, apply a grout sealer according to the manufacturer’s instructions. This will help maintain the integrity and longevity of your mosaic wall art.
By grouting the tiles, you are giving your mosaic wall art a polished and finished appearance. Take your time and ensure that the grout is evenly distributed and properly sealed. Once the grout is dry and sealed, you can move on to the final steps: cleaning and polishing the artwork.
Read more: How To Make Wood Wall Art
Step 8: Clean and Polish
Cleaning and polishing your mosaic wall art is the final touch that will enhance its beauty and ensure it looks its best. Follow these steps to clean and polish your artwork:
- Dampen a Soft Cloth: Start by dampening a soft, lint-free cloth with warm water. Make sure the cloth is not too wet to avoid excess moisture on the tiles.
- Gently Wipe the Tiles: Begin wiping the tiles with the damp cloth in a gentle and circular motion. This will remove any dirt, dust, or residue that may have accumulated during the grouting process.
- Pay Attention to the Grout Lines: While cleaning, pay special attention to the grout lines. Use a soft toothbrush or a grout brush to clean any stubborn stains or residue from the grout.
- Use a Mild Cleaning Solution: If there are specific stains or areas that require additional cleaning, you can use a mild cleaning solution. Mix a small amount of mild dish soap or specialized mosaic cleaner with water and apply it to the affected area with a soft cloth or a sponge.
- Rinse with Clean Water: After cleaning, rinse the tiles thoroughly with clean water to remove any traces of cleaning solution or residue. Ensure that all soap or cleaning agents are completely removed.
- Dry the Surface: Use a clean, dry cloth or towel to completely dry the surface of your mosaic wall art. This will prevent the formation of water spots and maintain the shine of the tiles.
- Polish the Tiles: Once the surface is dry, you can further enhance the shine of the tiles by using a specialized mosaic polish or tile wax. Follow the product instructions and gently buff the tiles with a soft cloth.
- Inspect and Make Touch-ups: After cleaning and polishing, inspect your mosaic artwork for any areas that may require touch-ups. If you notice any loose tiles or uneven grout, carefully address these issues by reapplying adhesive or adding grout as necessary.
- Step Back and Admire: Once your mosaic wall art is clean, polished, and touched up, take a step back and admire your masterpiece. Appreciate the time and effort you have invested in creating a beautiful and unique piece of artwork.
By cleaning and polishing your mosaic wall art, you are ensuring that it retains its brilliance and showcases the intricate details of the tiles. Regular cleaning and maintenance will help preserve its beauty for years to come.
Now that your artwork is clean and polished, the final step is to protect it by sealing the artwork.
Step 9: Seal the Artwork
The final step in completing your mosaic wall art is to seal the artwork. Sealing not only adds a protective layer but also enhances the colors and longevity of your artwork. Follow these steps to properly seal your mosaic:
- Select the Right Sealer: Choose a sealer that is suitable for your type of tiles and the location of your artwork. There are sealers available for different materials like glass, ceramic, stone, and more. Make sure the sealer is specifically designed for mosaics.
- Prepare the Workspace: Find a well-ventilated area to work in, preferably outdoors or in a well-ventilated room. Protect your work surface with plastic or newspaper to avoid any sealer spills or stains.
- Read the Instructions: Carefully read and follow the instructions provided by the manufacturer of the sealer. Different sealers may have different application techniques and drying times.
- Apply the Sealer: Use a brush or a sponge to apply a thin and even layer of sealer over the entire surface of your mosaic artwork. Make sure to cover every tile and grout line. Work in small sections to ensure thorough coverage.
- Allow Drying Time: After applying the first coat of sealer, allow it to dry according to the manufacturer’s instructions. This usually takes a few hours, but it may vary depending on the specific sealer you are using.
- Apply Additional Coats: Depending on the manufacturer’s recommendations, you may need to apply additional coats of sealer for better protection. Allow each coat to dry before applying the next one.
- Inspect and Touch Up: Once the final coat of sealer has dried, carefully inspect your artwork for any areas that may require touch-ups. Apply more sealer to these areas as needed.
- Clean Up Excess Sealer: If any excess sealer has dripped onto the tiles or surrounding areas, use a clean cloth or sponge to gently remove it. Be cautious not to disturb the sealer that has already dried.
- Give It Time to Cure: After sealing, allow your mosaic wall art to cure for the recommended duration provided by the manufacturer. This will ensure that the sealer properly sets and provides maximum protection.
- Enjoy Your Sealed Mosaic: Once the sealer has fully cured, your mosaic wall art is ready to be displayed and admired. The sealer will help protect it from moisture, stains, and UV damage, ensuring its longevity.
By sealing your artwork, you are taking the necessary step to preserve its beauty and protect it from potential damage. Regular maintenance and resealing, if required, will further extend the life of your mosaic wall art.
Congratulations! You have successfully completed all the steps to create and seal your stunning mosaic wall art. It’s time to showcase your talent and enjoy the beauty of your one-of-a-kind artwork.
(NOTE: Validate the reply to check for valid HTML encoding.)
Conclusion
Creating a mosaic wall art piece is a fulfilling and creative endeavor that allows you to showcase your artistic abilities and add a unique touch to any space. Through the step-by-step process outlined in this article, you have learned how to make a mosaic wall art piece from start to finish. From choosing a design to sealing the artwork, each step plays a vital role in creating a stunning and long-lasting masterpiece.
By carefully selecting and preparing the tiles, planning the layout, applying the adhesive, placing the tiles, grouting, cleaning and polishing, and finally sealing the artwork, you have gained the skills and knowledge needed to create mosaic wall art that reflects your personal style and vision.
It is important to remember that mosaic art is a form of self-expression, and there is no right or wrong way to create. Embrace your creativity and experiment with different materials, colors, and designs. Whether you choose a bold geometric pattern or a serene natural landscape, your mosaic wall art will be a reflection of your artistic journey.
Additionally, don’t forget to take proper care of your mosaic wall art. Regular cleaning, polishing, and occasional resealing will help maintain its beauty and protect it from wear and tear. By treating your artwork with care, it will continue to be a source of joy and admiration for years to come.
Now, armed with the knowledge and skills gleaned from this article, it’s time to let your imagination soar and create your own stunning mosaic wall art. Unleash your creativity, explore various designs, and bring your vision to life. Whether it’s a small piece for your home or a large-scale installation, your mosaic wall art will undoubtedly become a cherished centerpiece that adds beauty and personality to any space.
So grab your materials, put on your creative hat, and embark on this transformative journey of creating a mosaic wall art masterpiece!
Frequently Asked Questions about How To Make A Mosaic Wall Art
Was this page helpful?
At Storables.com, we guarantee accurate and reliable information. Our content, validated by Expert Board Contributors, is crafted following stringent Editorial Policies. We're committed to providing you with well-researched, expert-backed insights for all your informational needs.


0 thoughts on “How To Make A Mosaic Wall Art”