Articles
How To Build 3D Wall Art
Modified: January 5, 2024
Learn how to create stunning 3D wall art with step-by-step articles. Unleash your creativity and transform your space today!
(Many of the links in this article redirect to a specific reviewed product. Your purchase of these products through affiliate links helps to generate commission for Storables.com, at no extra cost. Learn more)
Introduction
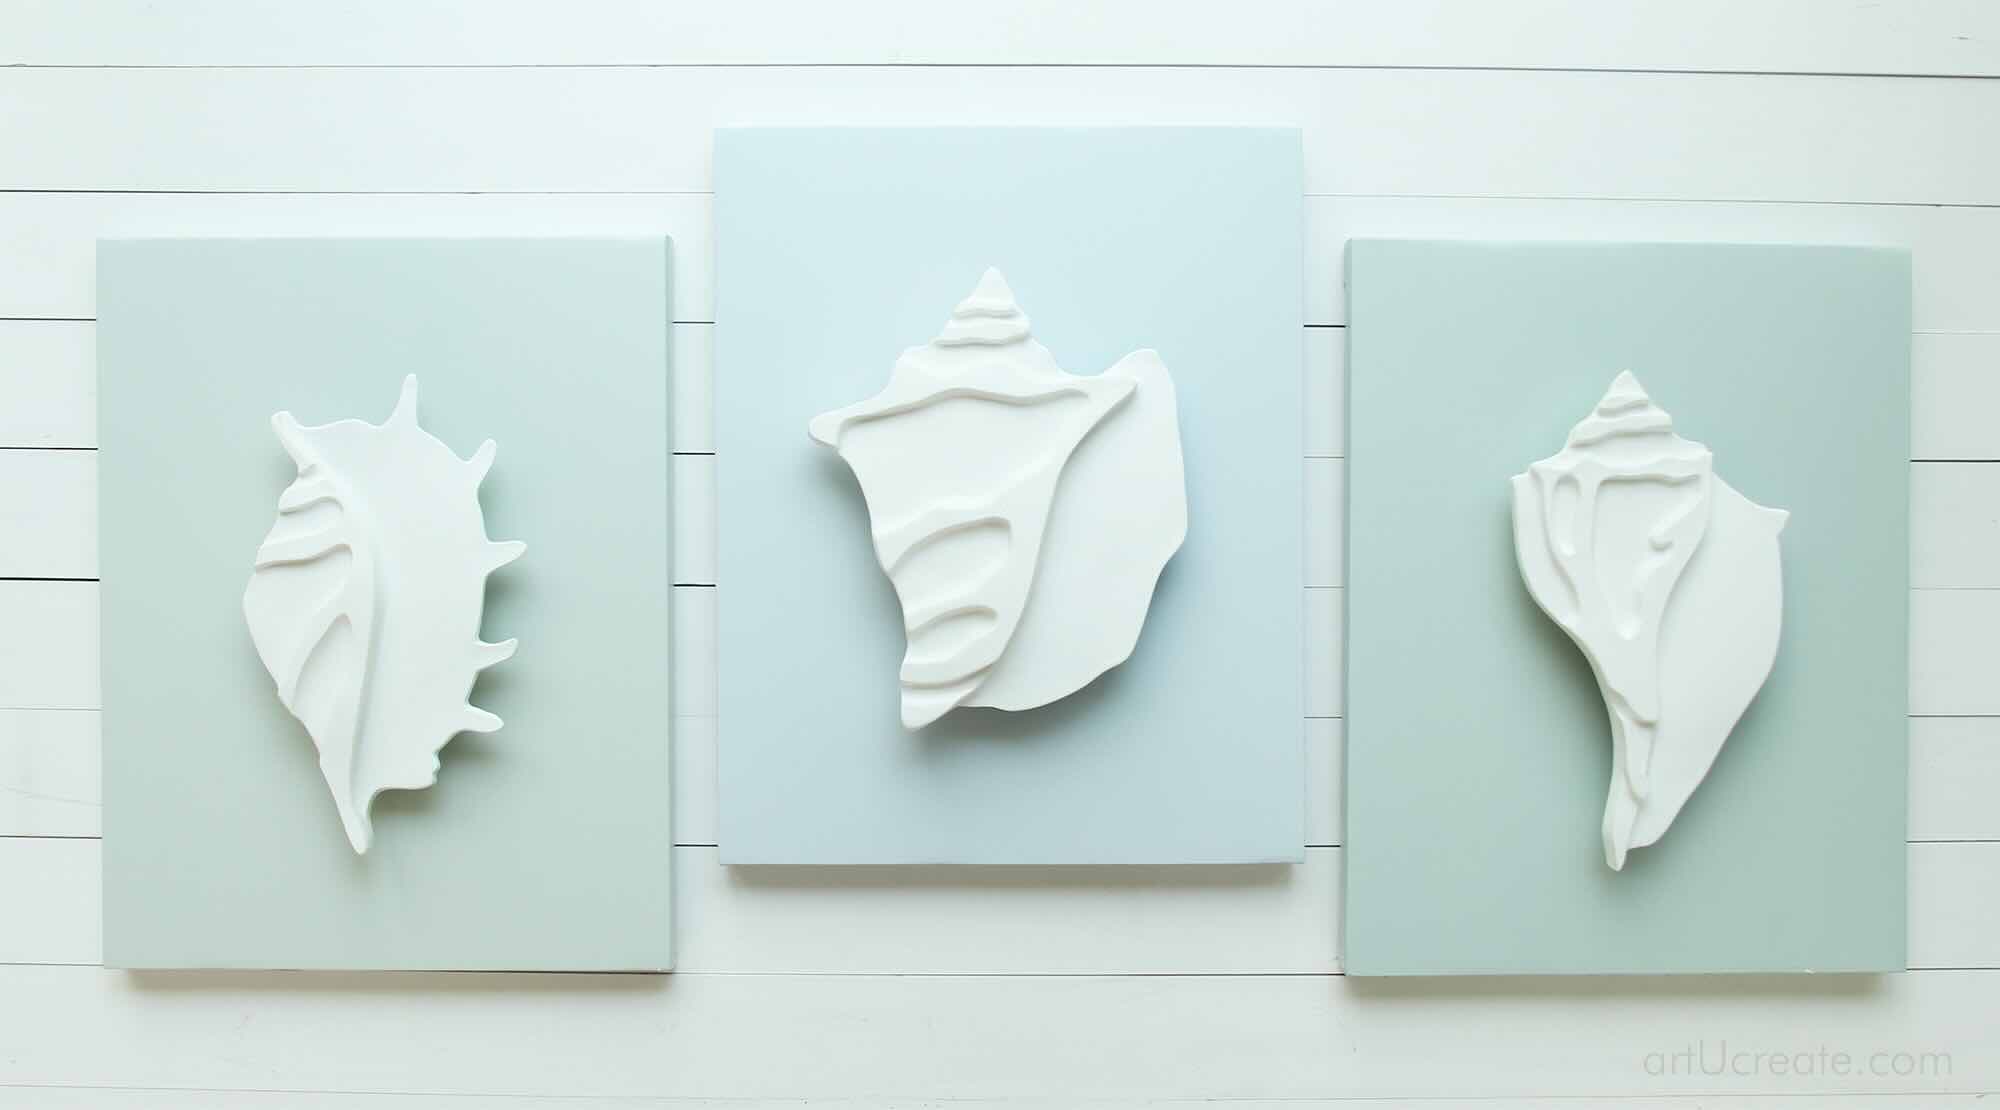
Wall art is a wonderful way to add personality and style to any space. While traditional wall art such as paintings and prints are widely popular, 3D wall art offers a unique and eye-catching alternative. With its dynamic and dimensional presence, 3D wall art can transform a dull and ordinary wall into a stunning focal point.
In this article, we will guide you through the process of building your own 3D wall art. Whether you are a seasoned DIY enthusiast or a beginner looking to embark on a new project, this step-by-step guide will help you create a one-of-a-kind piece of artwork that reflects your personal style and creativity.
Key Takeaways:
- Transform an ordinary wall into a stunning focal point with DIY 3D wall art. Unleash your creativity, experiment with designs, and enjoy the visual appeal of your handcrafted masterpiece.
- Embrace the endless possibilities of 3D wall art to reflect your unique style. From bold and intricate designs to minimalist pieces, let your creativity shine and spark conversations with guests.
Materials Needed
Before you begin your 3D wall art project, it is essential to gather all the necessary materials. Here is a list of materials you will need:
- Wood or foam board
- Measuring tape
- Pencil
- Ruler
- Scissors or utility knife
- Sandpaper
- Paint or spray paint
- Paintbrushes or spray paint cans
- Wood glue or adhesive
- Hanging hardware
- Level
Depending on the complexity of your design, you may also need additional materials such as stencils, masking tape, or decorative embellishments.
It is important to select materials that are suitable for your desired design, budget, and the size of your wall. Wood boards are ideal for creating sturdy and long-lasting 3D art pieces, while foam boards offer a lightweight alternative.
Once you have gathered all the necessary materials, you are ready to embark on the creative journey of designing and building your 3D wall art.
Step 1: Preparing the Surface
Before you begin assembling your 3D wall art, it is important to prepare the surface where you plan to mount it. Here are the steps to follow:
- Clear the wall: Remove any existing artwork, photos, or objects from the wall. This will provide a clean and blank canvas for your 3D art.
- Clean the wall: Use a mild detergent and water solution to clean the wall surface. Remove any dust, dirt, or grease that may affect the adherence of your 3D art.
- Repair any imperfections: Inspect the wall for any cracks, holes, or uneven surfaces. Repair them using spackle or putty. Make sure to sand the repaired areas to create a smooth surface.
- Prime the wall (optional): If you are working with a porous or textured surface, it is recommended to apply a coat of primer. This will ensure better adhesion and a professional finish.
- Measure and mark: Use a measuring tape, pencil, and level to determine the desired placement of your 3D wall art. Make precise measurements and mark where each piece will be mounted.
By thoroughly preparing the surface, you are creating an optimal environment for your 3D wall art to be securely mounted and visually striking. Take your time in this step to ensure the best results.
Step 2: Designing the Artwork
Designing the artwork for your 3D wall art is where your creativity can truly shine. Here are the steps to consider:
- Brainstorm ideas: Get inspired and brainstorm different concepts and themes for your artwork. Consider your personal style, the room’s aesthetic, and any specific motifs or images you want to incorporate.
- Sketch your design: Use a pencil and paper to sketch out your design. This will give you a visual representation of how the final artwork will look on the wall. Experiment with different shapes, lines, and patterns to find the perfect composition.
- Create a digital mockup (optional): If you have access to graphic design software, you can create a digital mockup of your design. This will help you visualize how the artwork will appear on the wall and make any necessary adjustments before proceeding.
- Select colors: Choose a color palette that complements your overall design and the room’s decor. Consider the emotions and atmosphere you want to evoke with your artwork.
- Determine the size and number of art pieces: Decide on the size and number of individual art pieces that will make up your 3D wall art. This will depend on the available wall space and the complexity of your design.
- Consider lighting and shadows: Think about how lighting and shadows will interact with your 3D art. This can add depth and dimension to your artwork, enhancing its visual impact.
Remember to take your time during the design phase. Experiment with different ideas and seek feedback from others to ensure that your artwork is both visually appealing and meaningful to you.
When building 3D wall art, consider using a variety of materials such as wood, metal, and fabric to add texture and depth to your design. Experiment with different shapes and sizes to create a visually interesting piece.
Step 3: Cutting the Art Pieces
Once you have finalized your design, it’s time to cut the art pieces that will bring your 3D wall art to life. Follow these steps:
- Prepare your materials: Gather your chosen wood or foam board, measuring tape, pencil, ruler, and cutting tools such as scissors or a utility knife.
- Measure and mark: Use your measuring tape and pencil to measure the dimensions of each art piece according to your design. Mark the measurements on the board.
- Cut the pieces: With your cutting tool, carefully follow the marked lines to cut out each art piece. Take your time and ensure precise cuts to maintain the integrity and shape of your design.
- Smooth the edges: Use sandpaper to smooth any rough edges or imperfections on the cut art pieces. This will create a clean and professional finish.
If you are working with wood, make sure to use appropriate safety precautions such as wearing gloves and protective eyewear. Take breaks as needed to maintain accuracy and prevent fatigue.
Remember, the success of this step lies in the precision and attention to detail. Measure twice, cut once, and be patient throughout the process to create perfectly cut art pieces for your 3D wall art.
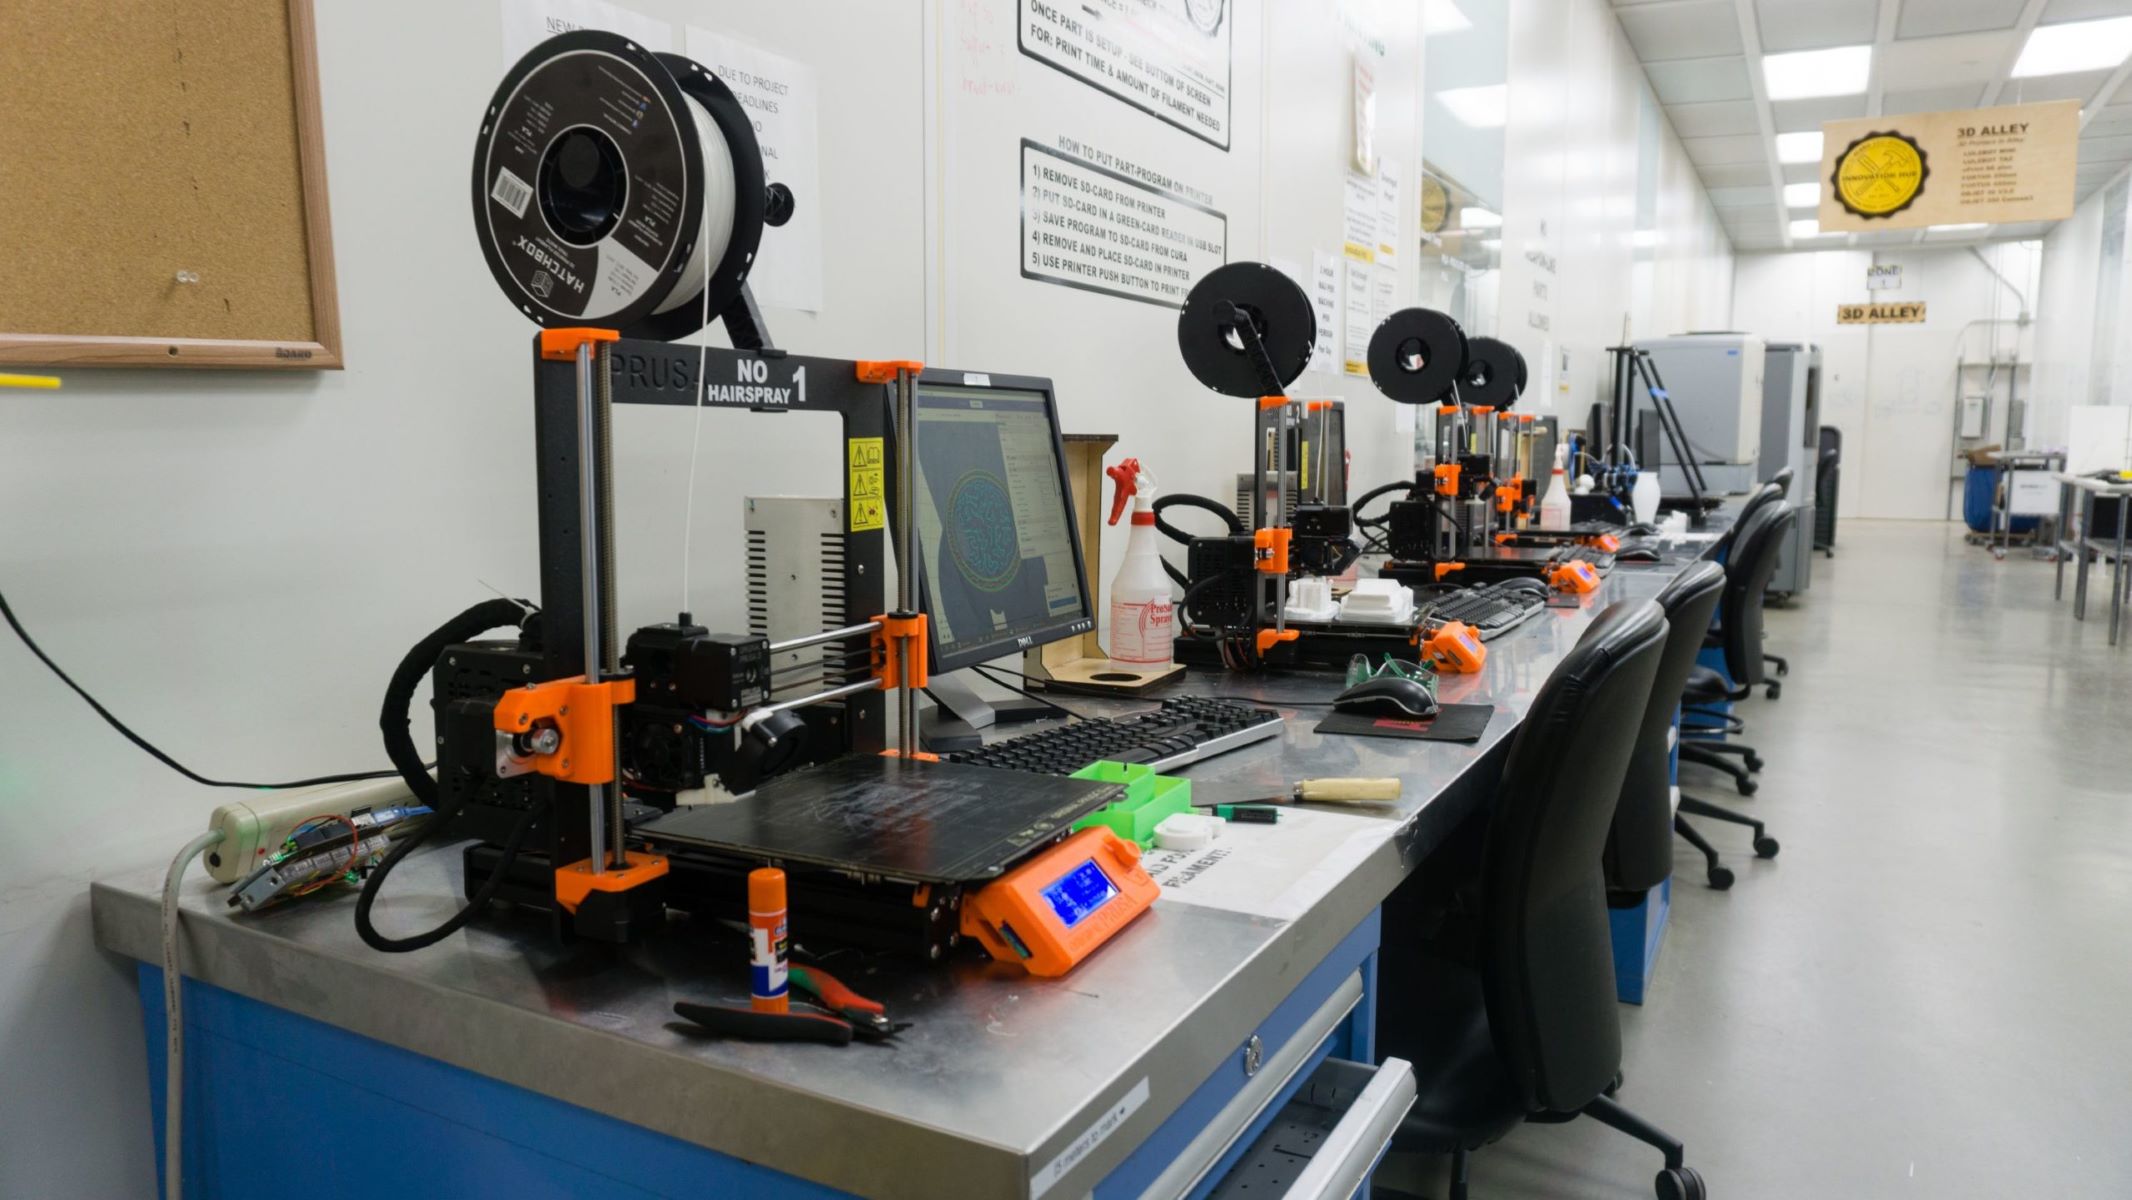
Read more: How Hard Is 3D Modeling
Step 4: Assembling the Wall Art
With the art pieces cut and ready, it’s time to assemble your 3D wall art. Follow these steps to bring your design to life:
- Lay out the art pieces: Arrange the cut art pieces on a flat surface according to your design. Take a moment to ensure that the placement and orientation of each piece are correct.
- Apply adhesive: Depending on the material you are working with, use either wood glue or adhesive suitable for foam boards. Apply a thin, even layer of adhesive to the back of each art piece.
- Press and hold: Carefully place each art piece onto the wall in the designated position. Press firmly and hold for a few seconds to allow the adhesive to bond.
- Follow the design: Work in a systematic manner, following your design pattern. Pay attention to spacing and alignment, ensuring a cohesive and visually pleasing arrangement.
- Allow drying time: Allow the adhesive to fully dry according to the manufacturer’s instructions. This will ensure that your 3D wall art is securely attached to the wall.
- Touch up paint (if necessary): If any paint touch-ups are needed to hide adhesive marks or seams, use the same paint color or spray paint to carefully touch up the areas. Blend the paint seamlessly into the surrounding art pieces.
Throughout the assembly process, double-check the levelness and alignment of your 3D wall art using a level and ruler. This will ensure a professional finish and a wall art that perfectly matches your design vision.
Once your 3D wall art is fully assembled and dry, you can move on to the final step of mounting it on the wall.
Step 5: Mounting the Art on the Wall
The final step in creating your 3D wall art is mounting it securely on the wall. Follow these steps to ensure a safe and stable installation:
- Positioning: Use a measuring tape and level to determine the precise placement of your 3D wall art on the wall. Mark the positions lightly with a pencil.
- Hanging hardware: Depending on the weight of your 3D art and the type of wall surface, choose appropriate hanging hardware such as picture hooks, screws, or adhesive hooks.
- Apply hanging hardware: Follow the manufacturer’s instructions to attach the hanging hardware securely to the back of each individual art piece. Make sure the hardware is positioned correctly based on your markings.
- Test the placement: Hold each art piece against the wall and double-check the positioning. Adjust if necessary to ensure the desired arrangement.
- Mount the art pieces: With the assistance of a partner or using a level and ruler, carefully hang each art piece on the wall using the installed hardware. Take your time to ensure the pieces are level and aligned.
- Final adjustments: Stand back and evaluate the overall look of your 3D wall art. Make any final adjustments to ensure spacing and alignment are visually pleasing.
It is crucial to consider the weight of your 3D wall art and select the appropriate hanging hardware for a secure installation. If you are unsure, consult with a professional or seek advice from your local hardware store.
Once your 3D wall art is mounted, step back and admire your creation. Your unique and visually captivating artwork will enhance the aesthetic of your space and be a reflection of your creative prowess.
Conclusion
Congratulations on successfully completing your 3D wall art project! By following the step-by-step guide, you have transformed an ordinary wall into a stunning and dimensional focal point. Your creativity and craftsmanship have resulted in a unique piece of artwork that adds personality and style to your space.
Remember, the process of building 3D wall art allows for endless possibilities and personal expression. Feel free to experiment with different materials, designs, and color schemes to create artwork that resonates with your individual aesthetic.
Whether you choose to create a bold and intricate design or a minimalist and subtle piece, your 3D wall art will undoubtedly capture the attention of anyone who enters the room. The added dimension and visual interest create a dynamic atmosphere and spark conversation among guests.
Don’t be afraid to showcase your DIY talent and take pride in the unique artwork you have created. Your 3D wall art is not only a reflection of your creativity but also a testament to your ability to transform simple materials into something extraordinary.
Now, take a step back and admire your masterpiece. Enjoy the visual appeal and sense of accomplishment that comes with creating your own 3D wall art. Embrace the compliments and the conversations it will spark, knowing that you have made a lasting impression with your handcrafted creation.
Thank you for joining us on this creative journey, and we hope this guide has inspired you to continue exploring new artistic endeavors. Happy crafting!
Frequently Asked Questions about How To Build 3D Wall Art
Was this page helpful?
At Storables.com, we guarantee accurate and reliable information. Our content, validated by Expert Board Contributors, is crafted following stringent Editorial Policies. We're committed to providing you with well-researched, expert-backed insights for all your informational needs.


0 thoughts on “How To Build 3D Wall Art”