
Articles
How To Create Wall Art
Modified: January 9, 2024
Learn the process of creating stunning wall art pieces with our informative articles. Explore various techniques, materials, and tips to unleash your creativity.
(Many of the links in this article redirect to a specific reviewed product. Your purchase of these products through affiliate links helps to generate commission for Storables.com, at no extra cost. Learn more)
Introduction
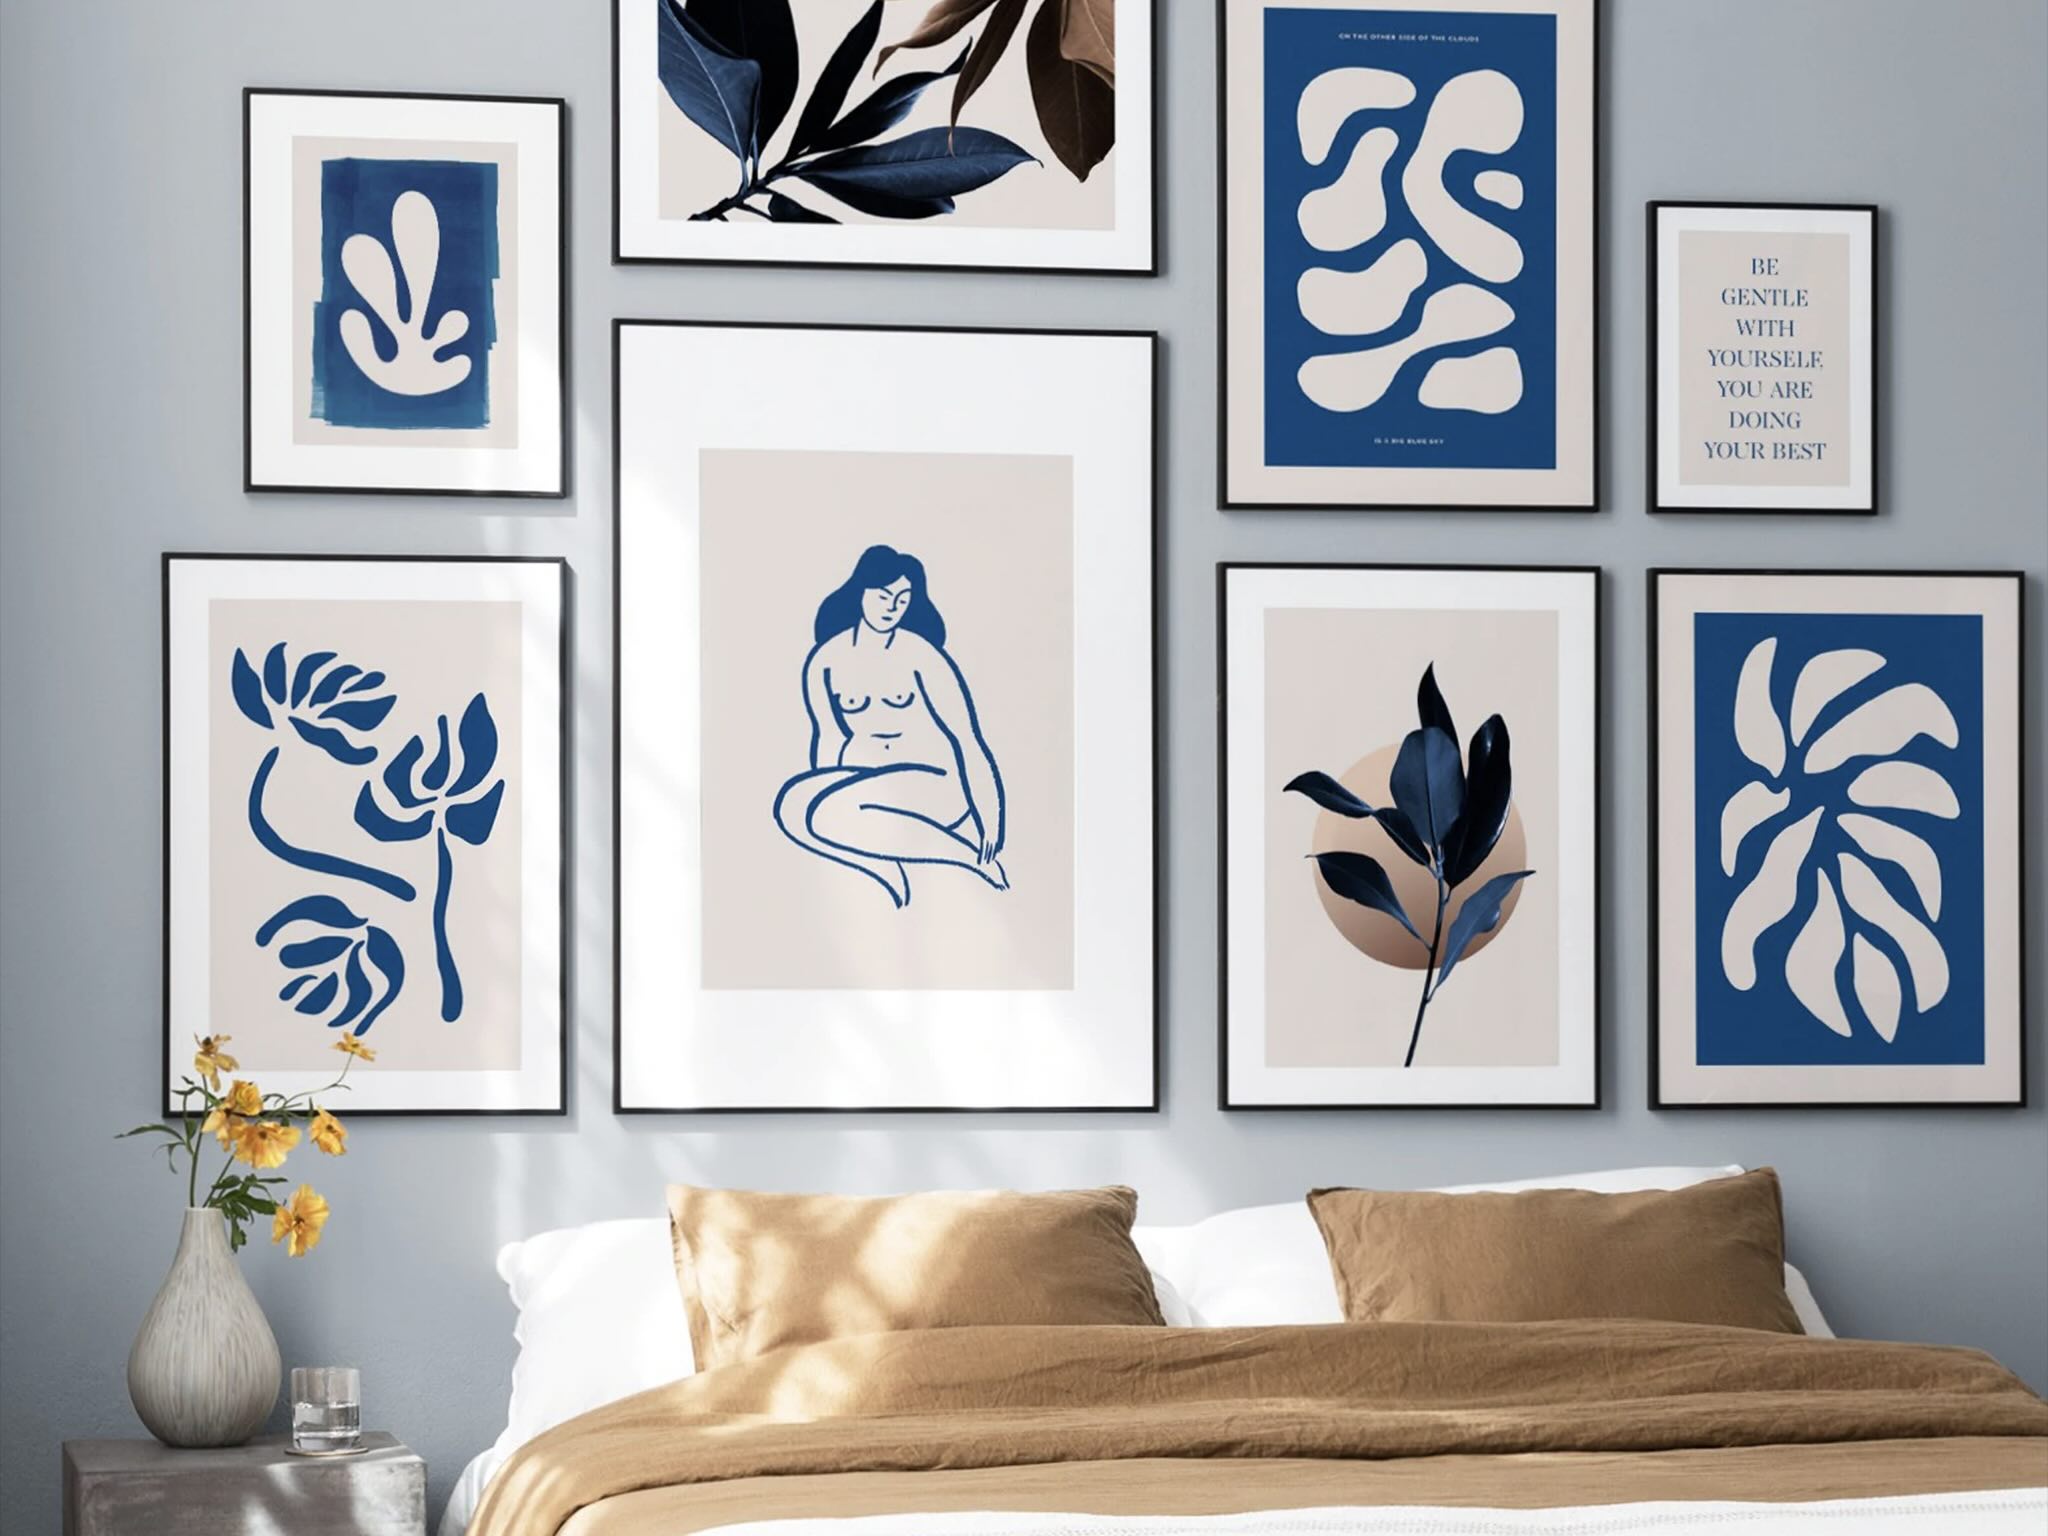
Wall art is a fantastic way to add personality and style to your living space. Whether you’re looking to add a focal point to a room or simply want to express your creativity, creating your own wall art can be a fulfilling and fun project. Not only will you have a one-of-a-kind piece to showcase, but you’ll also enjoy the satisfaction of seeing your artistic vision come to life.
In this article, we will guide you through the process of creating your own wall art. From gathering the necessary materials to adding the finishing touches, we’ll cover all the steps involved in turning a blank canvas into a stunning work of art. Whether you’re a seasoned artist or a beginner, this step-by-step guide will help you bring your artistic ideas to fruition.
Before we dive into the process, it’s important to note that there are countless ways to create wall art. The approach we’ll outline here is just one of many possibilities. Feel free to adapt and modify the steps to suit your own preferences and artistic style. The beauty of DIY wall art is that there are no strict rules – you have the freedom to explore and experiment, making the process truly your own.
So, without further ado, let’s gather our materials and get started on this exciting artistic journey!
Key Takeaways:
- Creating wall art is a personalized and fulfilling process that allows for artistic expression, from gathering materials to sealing the artwork. Embrace the freedom to adapt and experiment with different techniques and styles.
- Each step in creating wall art, from choosing a design to adding intricate details, contributes to the overall process of bringing a unique artistic vision to life. Embrace the ongoing journey of artistic growth and exploration.
Read more: How To Create Cheap Wall Art
Step 1: Gathering Materials
Before you begin creating your wall art, it’s essential to gather all the necessary materials. Here are some items you’ll need:
- Canvas: Choose a canvas size that suits your preferences and the available wall space. You can opt for a traditional rectangular canvas or go for a unique shape like a circular or hexagonal one.
- Paint: Acrylic paint is a popular choice for wall art due to its versatility and vibrant colors. Select a range of colors that align with your desired design and visual aesthetic.
- Paintbrushes: Invest in a variety of paintbrushes with different sizes and shapes. Flat brushes are ideal for covering larger areas, while fine detail brushes work well for intricate designs.
- Pencils and erasers: These tools will come in handy for sketching and correcting any mistakes in your design.
- Palette: Use a palette to mix and blend your paint colors. You can use a traditional wooden palette or opt for a disposable palette pad for easy cleanup.
- Water cup and paper towels: Keep a cup of water nearby to clean your brushes and a stack of paper towels for drying them off.
- Protective covering: Lay down a protective covering over your workspace to keep it clean and free from paint spills or stains.
- Reference material: If you’re creating a specific design or drawing inspiration from something, gather any reference material such as photographs, sketches, or images for guidance.
Make sure you have all these materials readily available before you start the creative process. Having everything within reach will ensure a smooth and uninterrupted workflow.
Step 2: Choosing a Design
Now that you have your materials ready, it’s time to choose a design for your wall art. This step is all about expressing your creativity and personal style. Here are some tips to help you select a design:
- Consider your theme: Think about the overall theme or mood you want to create in your space. Do you want something abstract, nature-inspired, or a specific subject matter? Having a clear theme in mind can guide your design choices.
- Explore different styles: Look for inspiration in various art styles such as abstract, impressionism, realism, or pop art. Browse through art books, galleries, or even online platforms to discover different artistic approaches that resonate with you.
- Sketch out your ideas: Take some time to sketch out your ideas on paper. This will help you visualize how your design will look on the canvas and make any necessary adjustments before you start painting.
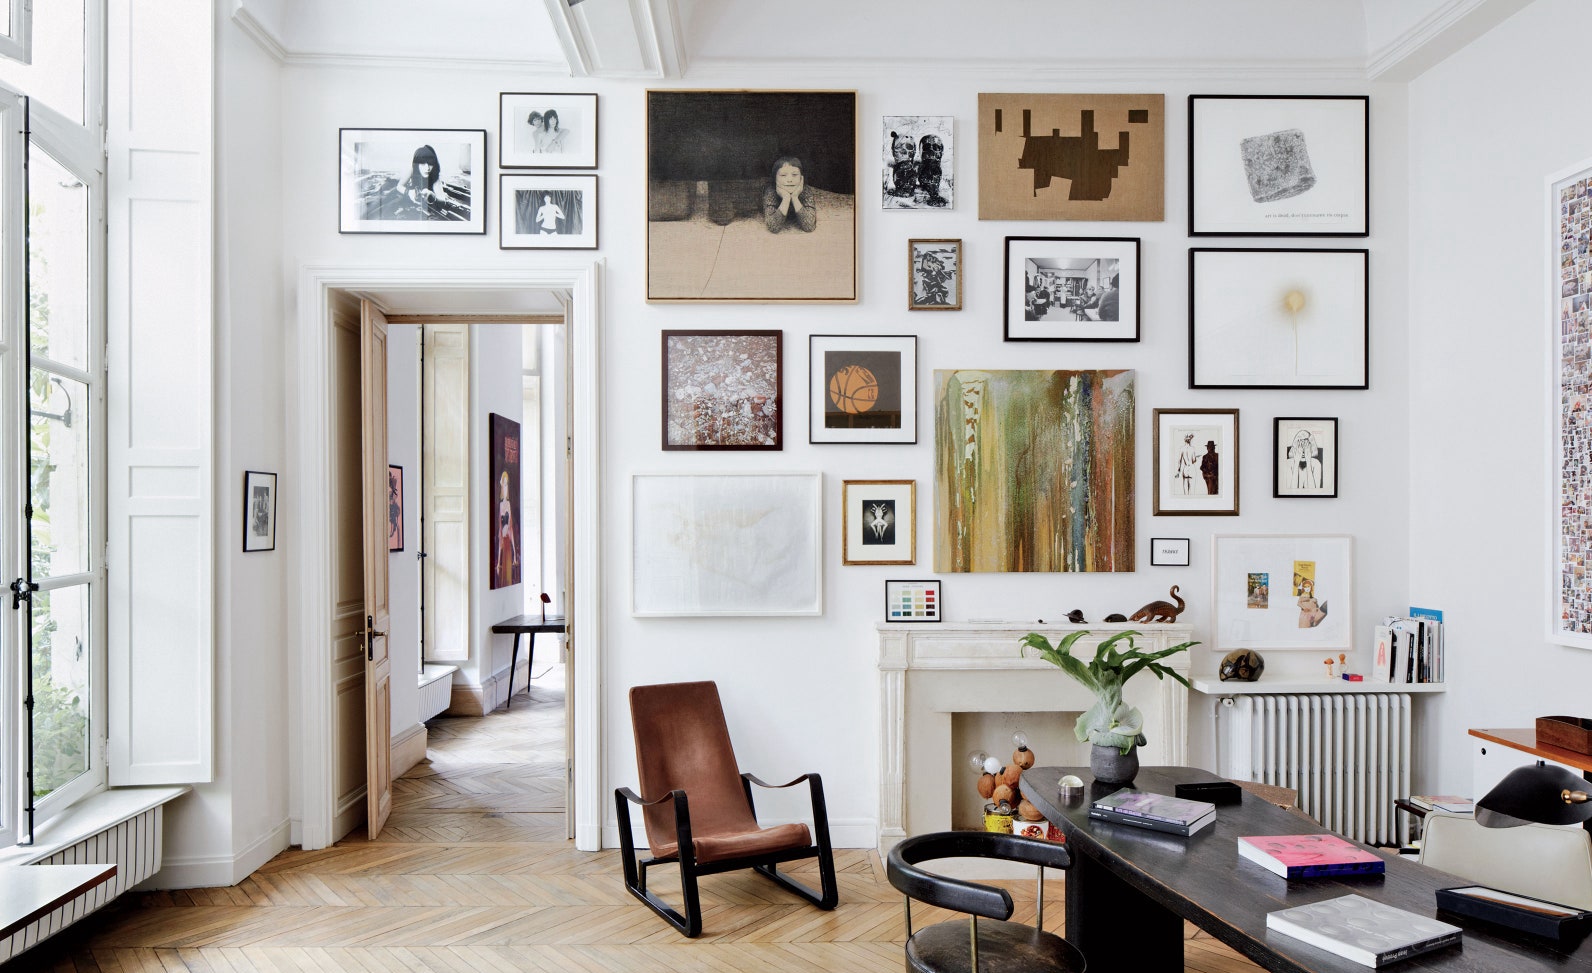
- Consider the space: Think about where you’ll be hanging your wall art and how it will fit within the existing décor. Consider the color scheme, furniture placement, and overall aesthetic of the room to create a cohesive and harmonious look.
- Play with colors: Colors have a significant impact on the overall feel of a piece of art. Experiment with different color palettes to evoke certain emotions or create a specific atmosphere in your space.
- Get inspired: Look for inspiration in your surroundings, nature, or even your favorite artists. Allow their work to spark ideas and influence your own unique design.
Remember, there are no right or wrong choices when it comes to choosing a design for your wall art. It’s all about reflecting your personal taste and creating something that brings you joy and adds beauty to your living space.
Once you have a clear design in mind, you can move on to the next step: preparing the canvas.
Step 3: Preparing the Canvas
Before you start painting your design, it’s important to properly prepare the canvas. This step ensures that the surface is ready to receive the paint and provides a smooth and durable foundation for your artwork. Follow these steps to prepare your canvas:
- Clean the canvas: Use a clean, dry cloth to gently wipe the surface of your canvas. This will remove any dust or debris that may interfere with the paint’s adhesion.
- Prime the canvas: If you’re using an unprimed canvas, apply a layer of gesso to prime it. Gesso creates a barrier between the paint and the canvas, improving the paint’s adherence and ensuring the longevity of your artwork. Apply a thin, even coat of gesso using a brush or a roller, and let it dry according to the manufacturer’s instructions. If your canvas is already pre-primed, you can skip this step.
- Sand the surface (optional): If you prefer a smoother surface for your artwork, you can lightly sand the primed canvas using fine-grit sandpaper. This step helps to level out any texture or imperfections.
- Apply additional layers: Depending on the desired effect and the thickness of the canvas, you may choose to apply additional layers of gesso. Each layer should be allowed to dry completely before applying the next one. This step creates a more solid and sturdy surface for your paint.
By properly preparing the canvas, you ensure that your paint will adhere well and that your artwork will stand the test of time. Take the time to complete this step thoroughly before moving on to the next stage of the creative process.
Once your canvas is prepared, it’s time to sketch your chosen design onto the surface. This will serve as a guideline for your painting process and help you maintain proportion and accuracy in your artwork.
Step 4: Sketching the Design
With your prepared canvas in front of you, it’s time to bring your chosen design to life by sketching it onto the surface. Sketching serves as a blueprint for your painting process, allowing you to establish the composition, proportions, and key elements of your artwork. Follow these steps to sketch your design:
- Choose your sketching tools: Use a soft pencil, such as a 2B or HB, for sketching on the canvas. These pencils enable smooth and easily erasable lines.
- Refer to your reference material: If you’re working from a reference photo or image, use it as a guide for your sketch. Pay attention to the placement of objects, proportions, and any intricate details you want to include.
- Outline the basic shapes: Start by lightly sketching the basic shapes of your design. Focus on capturing the main elements and their placement on the canvas. Use simple geometric shapes to establish the overall structure.
- Add details and refine: Gradually add more details to your sketch, refining the shapes and contours. Pay attention to smaller elements and any intricate features that make your design unique.
- Make adjustments: Step back and assess your sketch. If something doesn’t look quite right, don’t hesitate to make adjustments. Erase and redraw areas as needed until you’re satisfied with the overall composition and accuracy of your design.
Remember, sketching is a flexible and iterative process. Don’t be afraid to experiment and make changes as you go along. The sketch is a guideline, and you have the freedom to refine and modify it to suit your artistic vision.
Once you’re happy with the sketch, you can move on to the exciting part: bringing your design to life with colors. This is where the true magic happens, and your wall art starts to take shape.
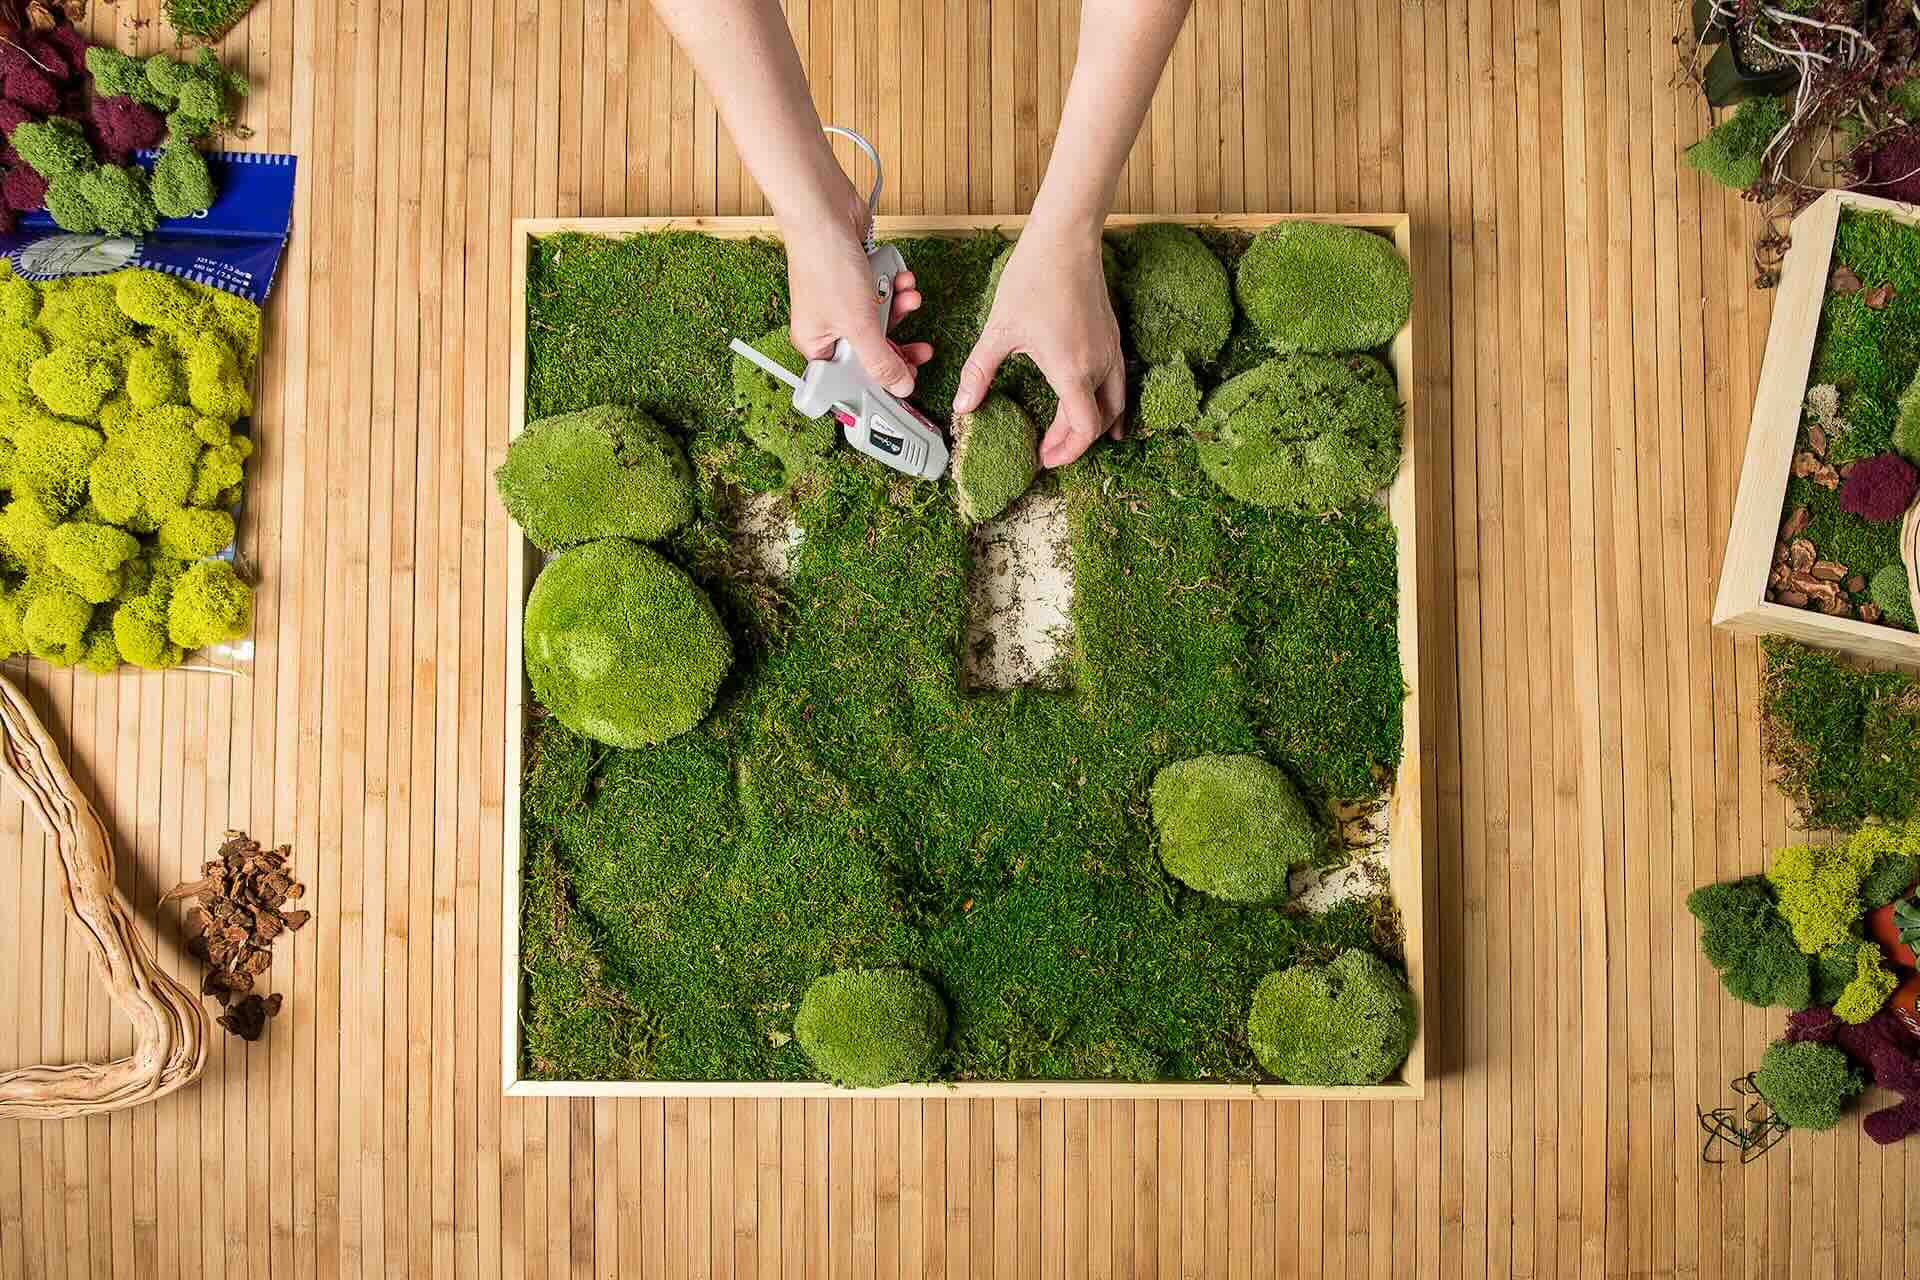
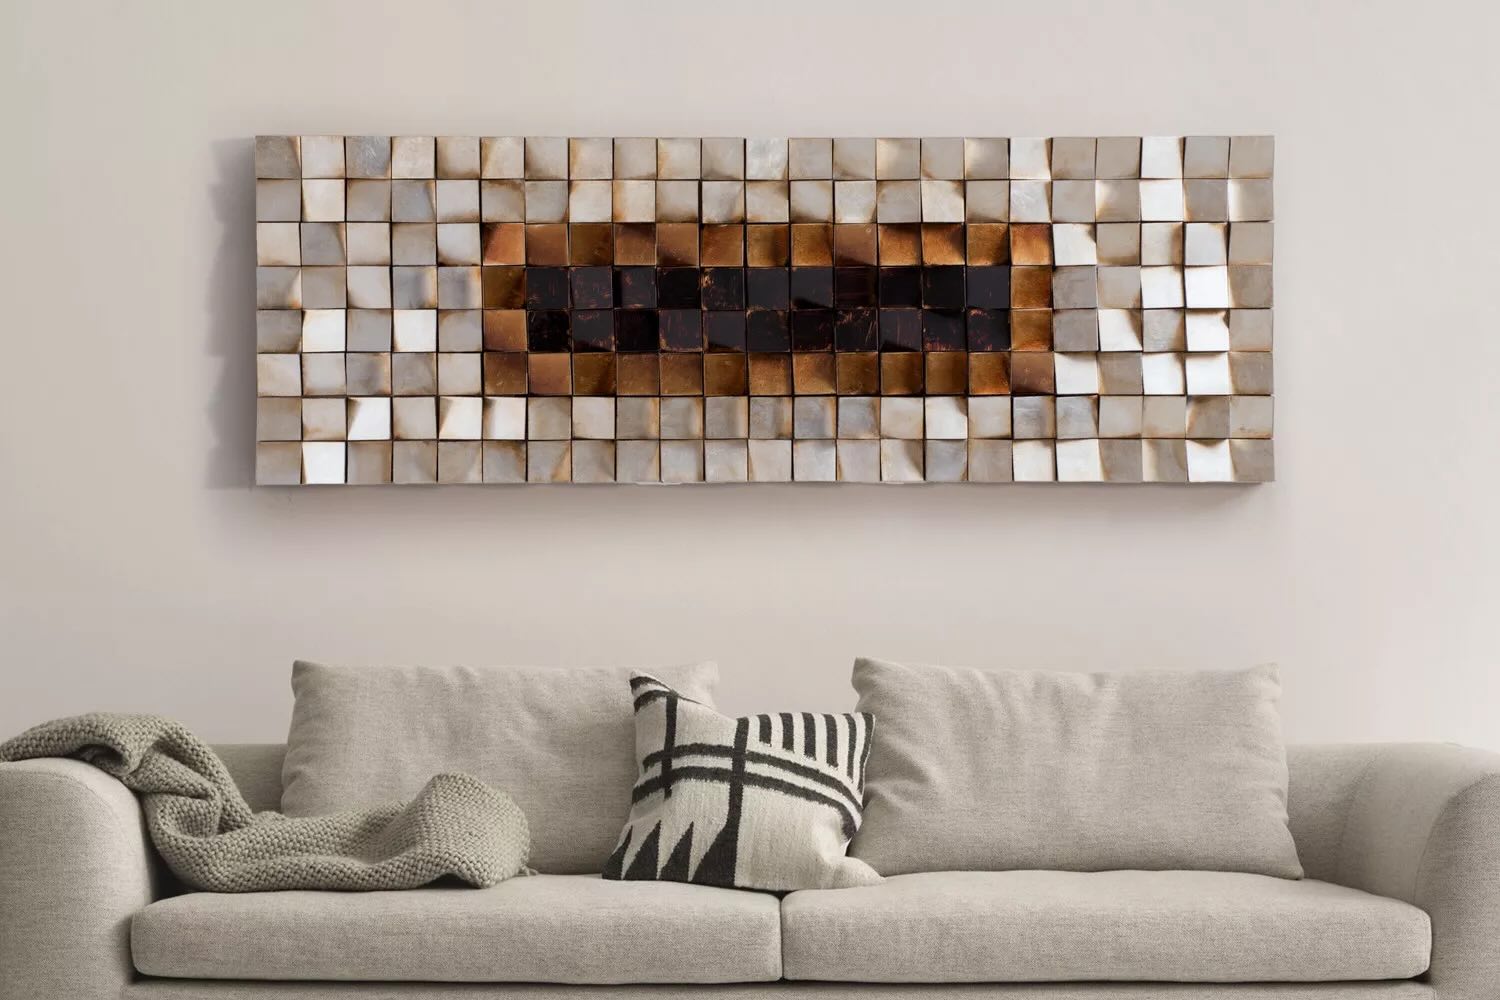
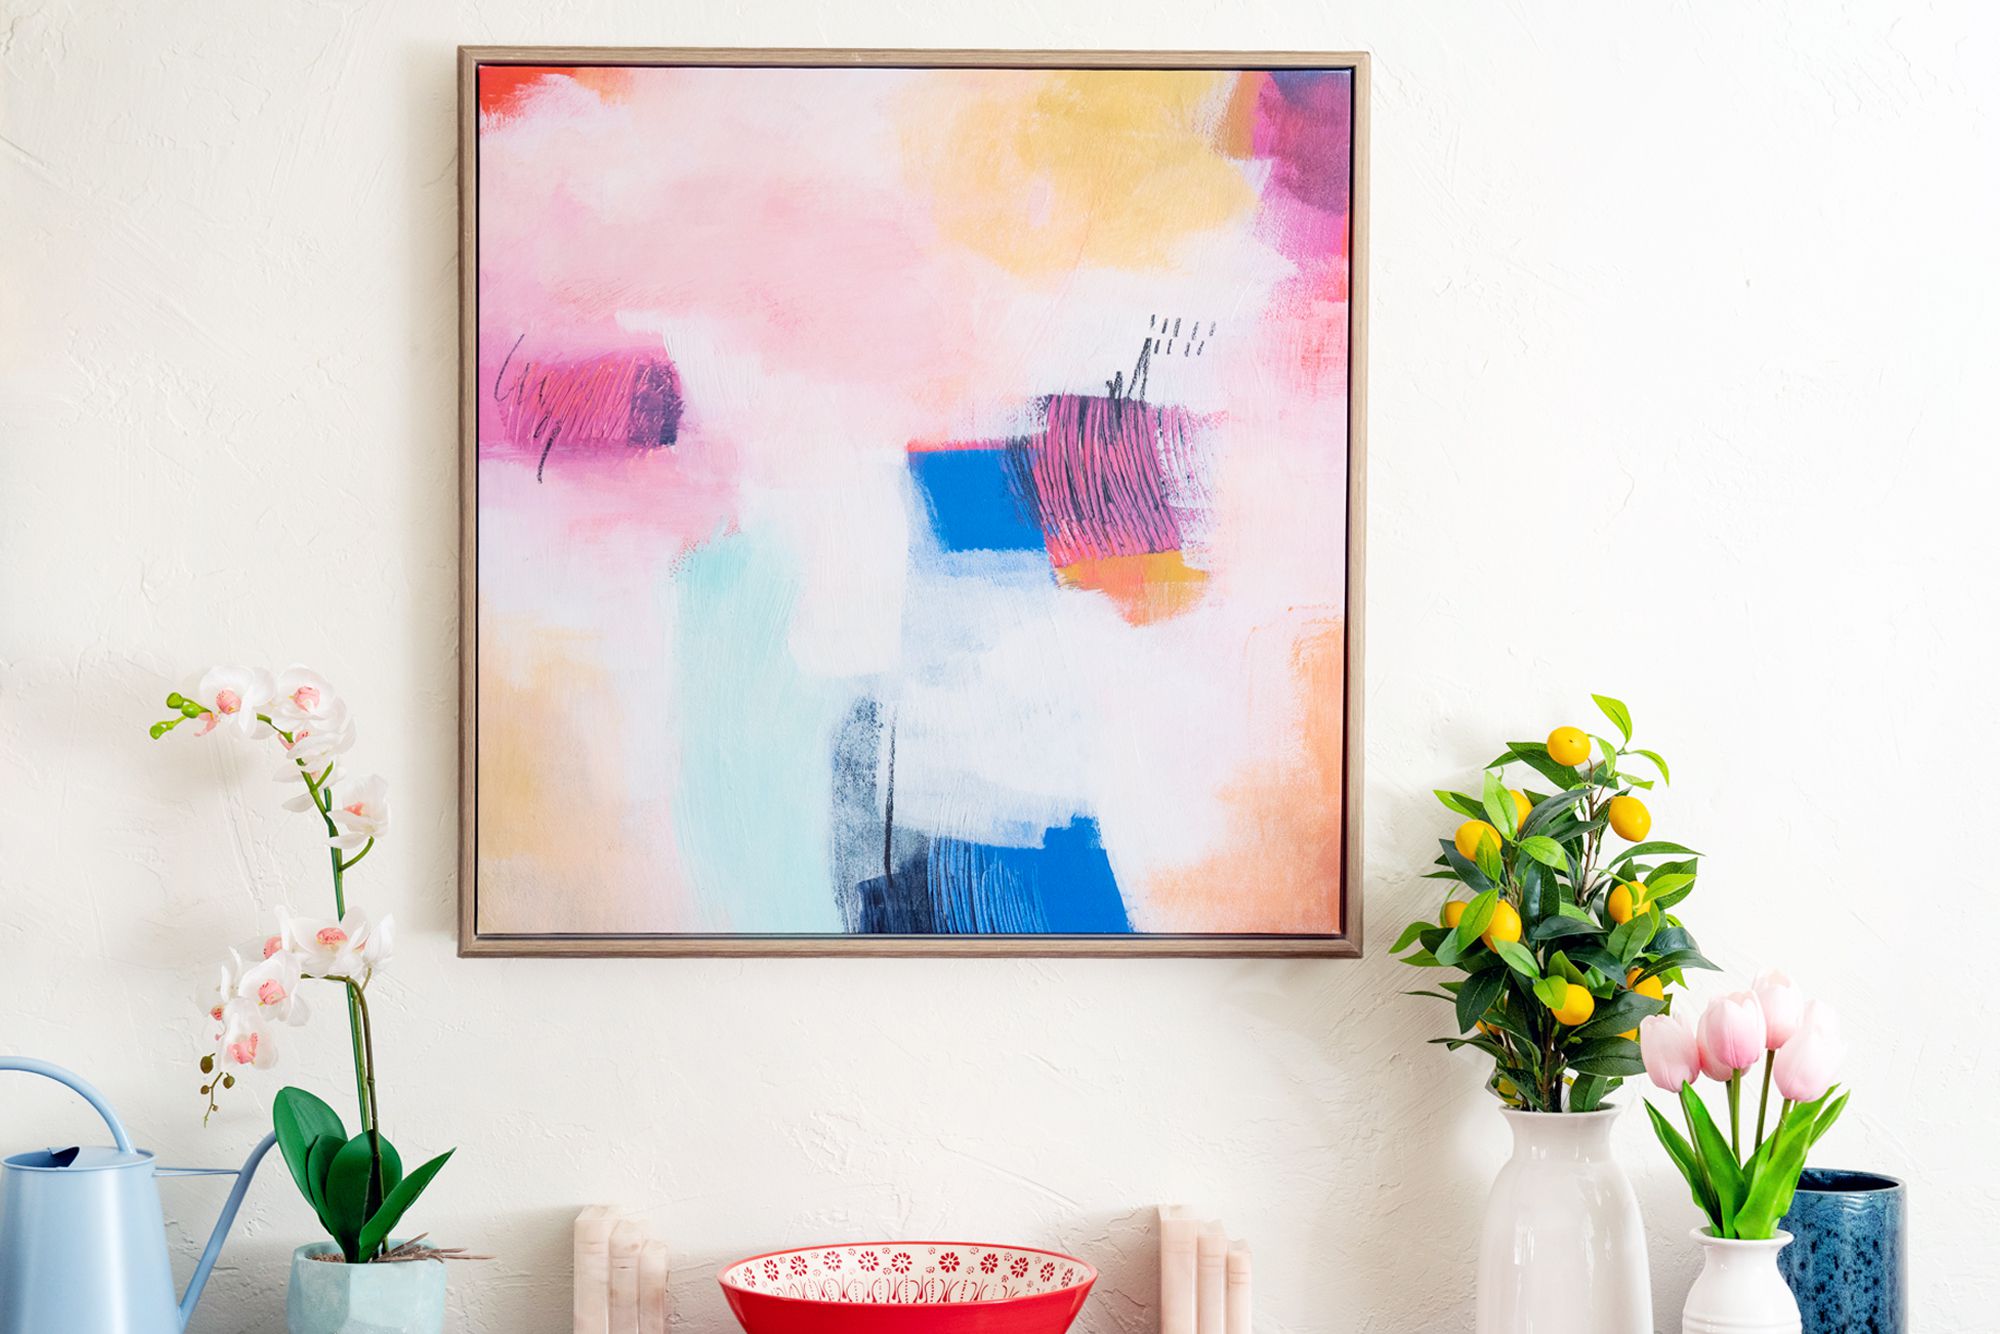
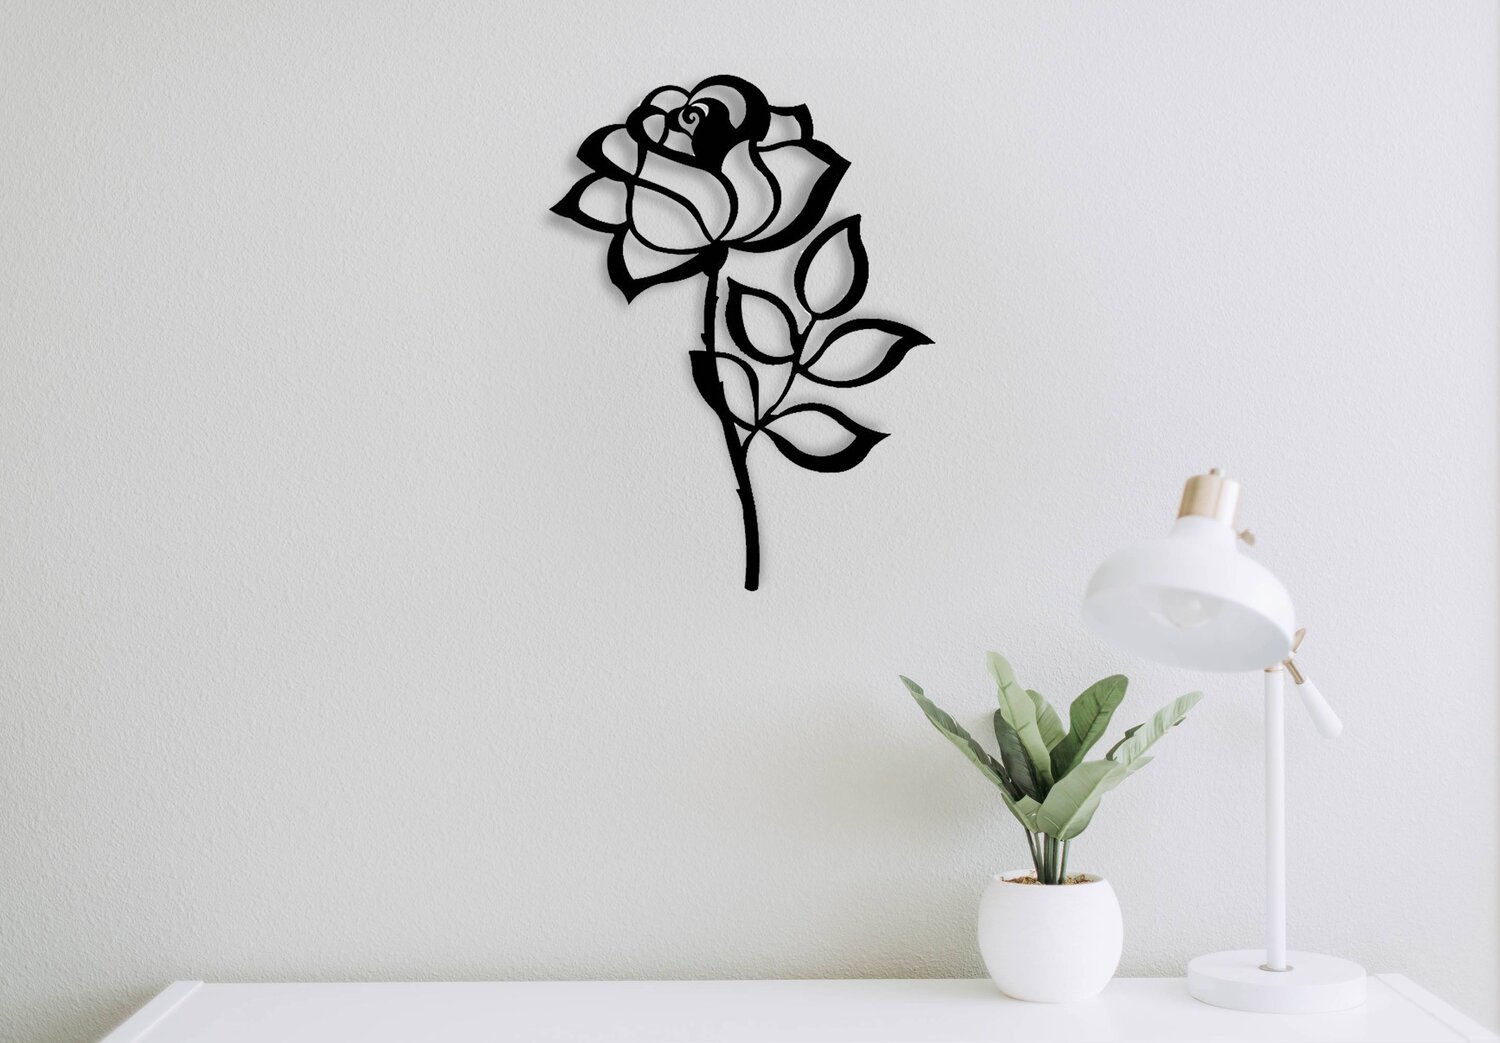
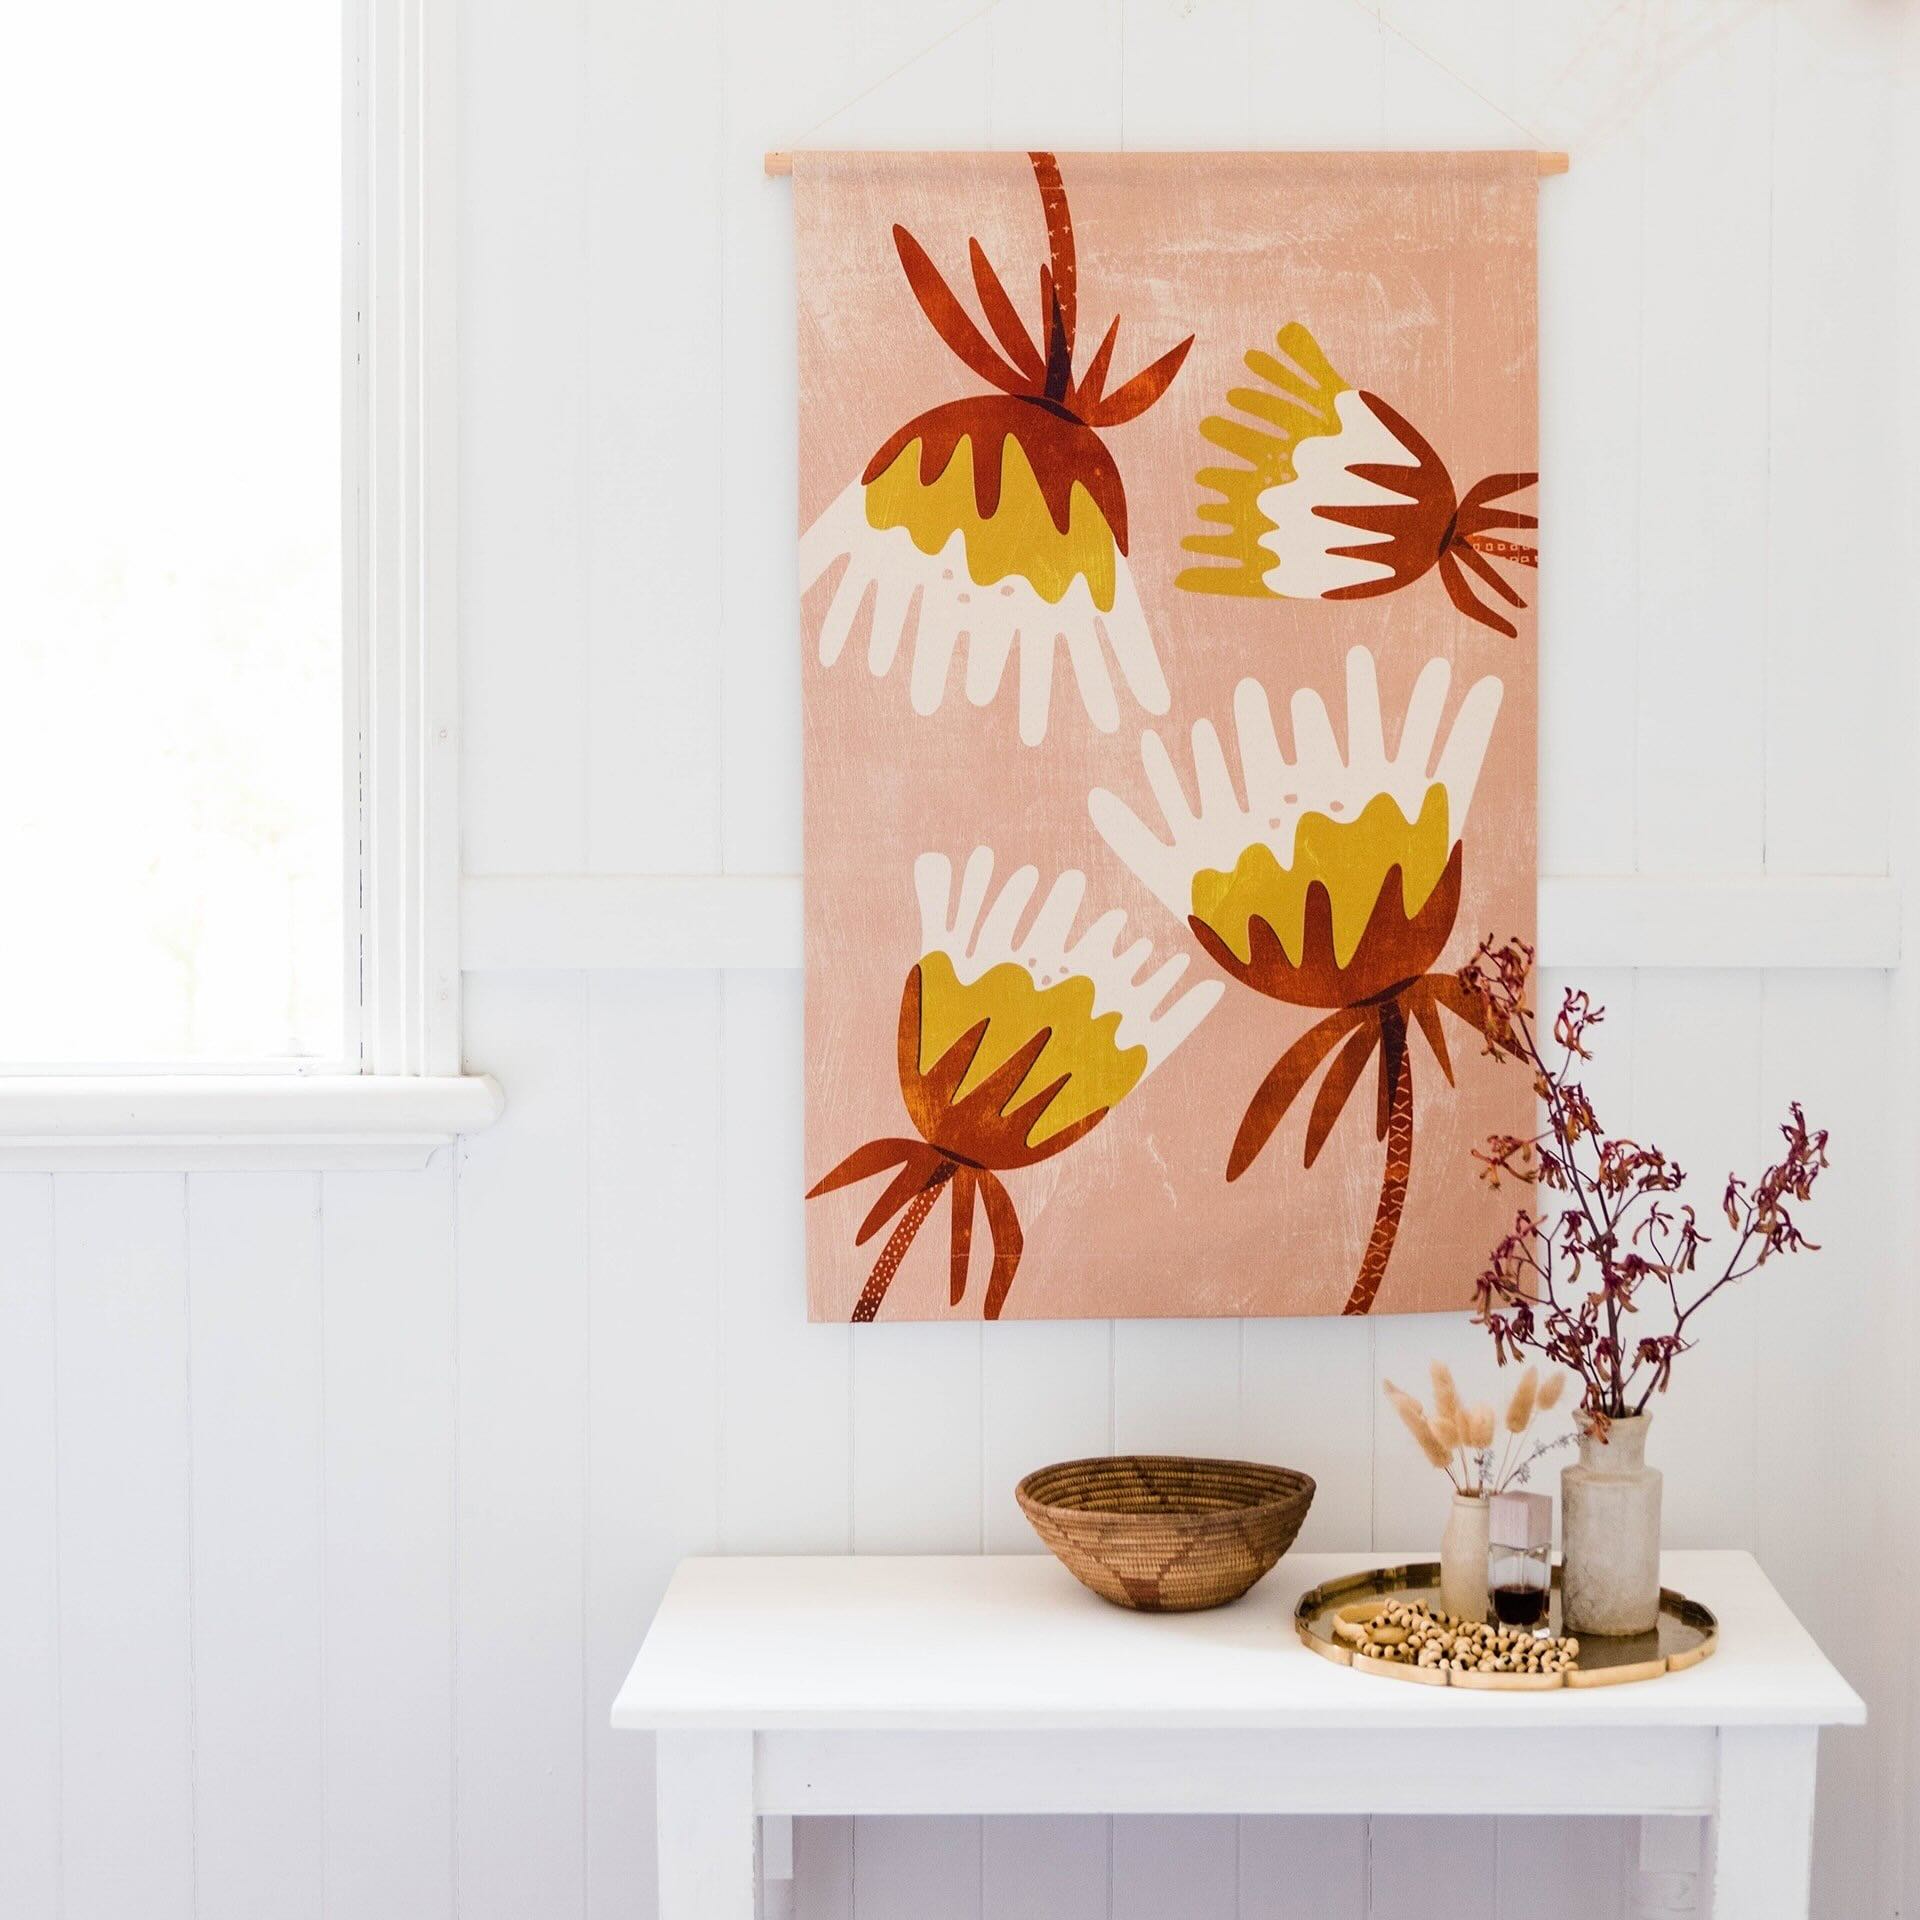
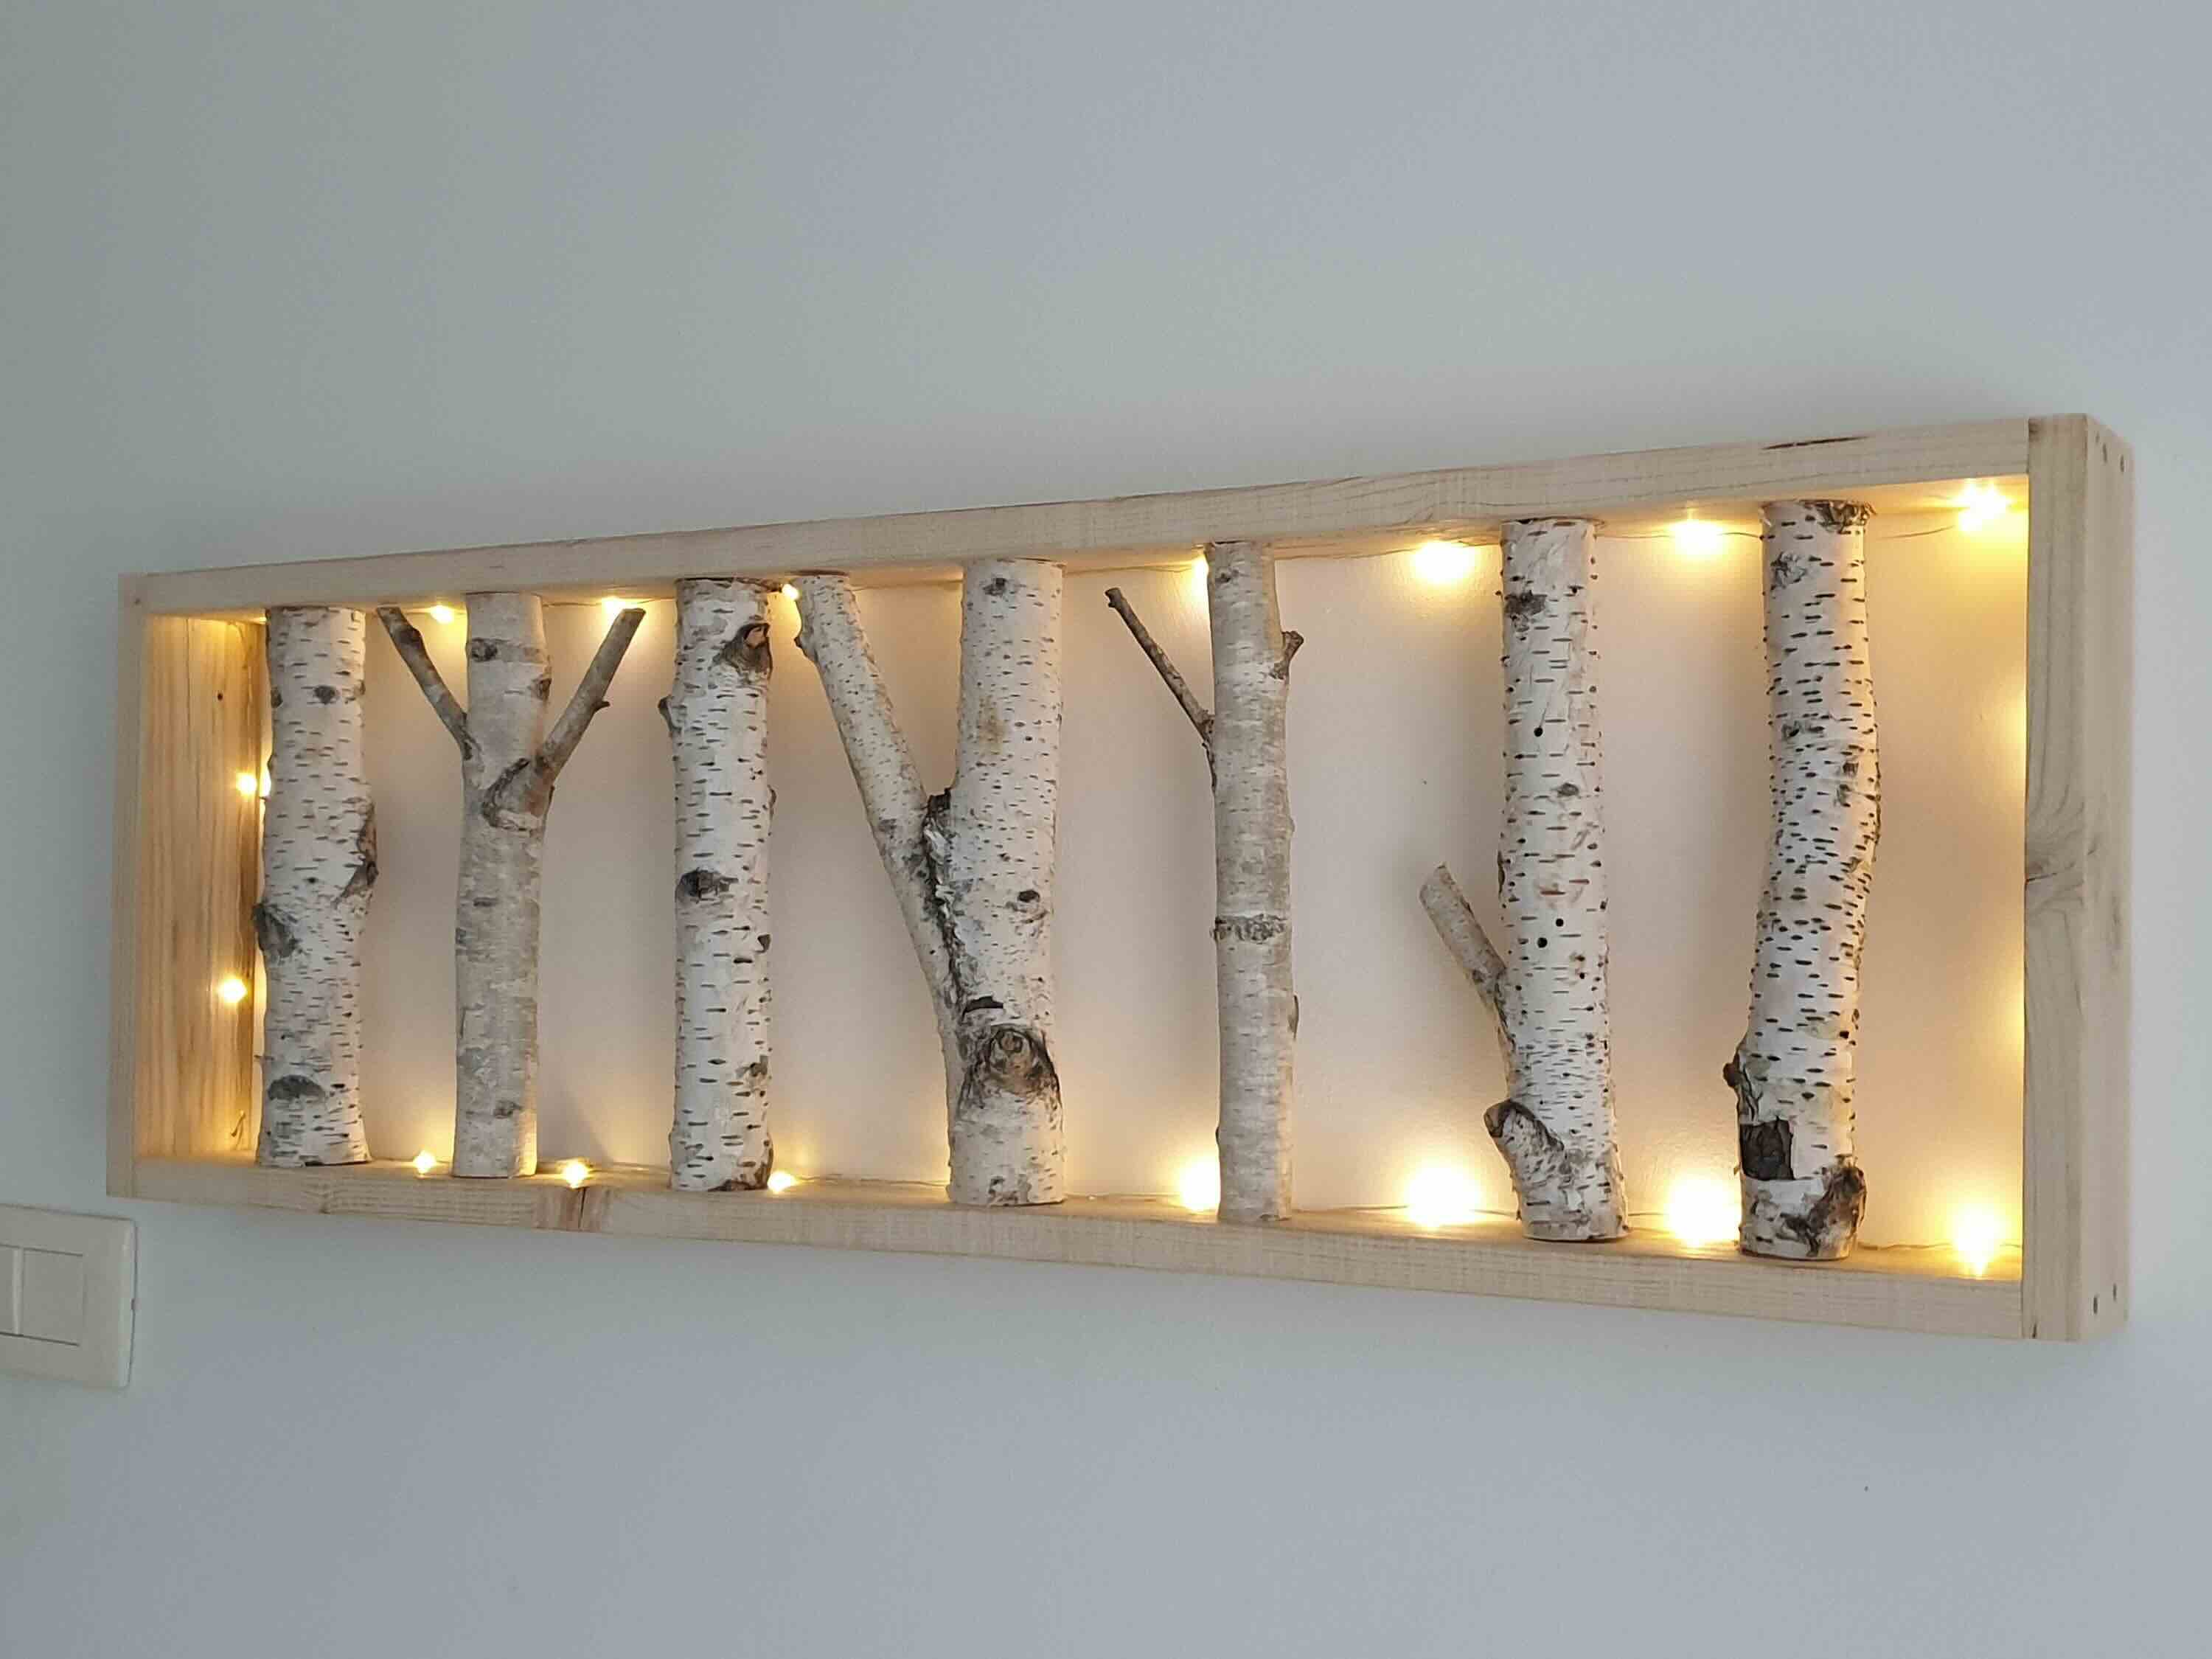
Consider using a variety of materials such as canvas, wood, or metal to create texture and visual interest in your wall art. Experiment with different techniques and mediums to add depth and dimension to your piece.
Read more: How To Arrange Wall Art
Step 5: Outlining the Design
Now that you have sketched your design onto the canvas, it’s time to bring more definition and structure to your artwork by outlining the design. Outlining serves as a guide for adding colors and helps define the boundaries and shapes of your artwork. Follow these steps to outline your design:
- Choose your outlining tool: Opt for a fine-tip paintbrush or a liner brush to create crisp and precise lines. Alternatively, you can use a paint pen or a marker if you prefer a bolder and more defined outline.
- Select your outline color: Consider the color palette you’ve chosen for your artwork and select a color that complements it. Often, black or a dark shade of the predominant color in your design works well for outlining.
- Starting from the edges: Begin by outlining the outer edges of your design. This helps establish the overall shape and composition of your artwork.
- Add interior details: Move on to outlining the interior elements of your design, focusing on the smaller details and defining their shapes. Take your time and work systematically to ensure consistency.
- Refine and adjust as needed: Step back periodically and assess your outlines. Make any necessary adjustments to ensure the lines are straight, smooth, and accurately represent your design.
Remember to take a steady approach and be patient during this step. Precision and attention to detail can significantly enhance the final outcome of your artwork. Don’t rush and take breaks if needed to maintain a steady hand and focus.
Once you have completed the outlining process, your design will start to come alive, ready to be filled with vibrant colors. In the next step, we will explore the art of adding colors to your wall art masterpiece.
Step 6: Adding Colors
With the outline complete, it’s time to infuse your wall art with vibrant colors. Adding colors will bring depth, dimension, and personality to your artwork. Follow these steps to add colors to your design:
- Prepare your paint palette: Squeeze out small amounts of each color you plan to use onto your palette. Arrange them in a way that makes it easy to access and mix the colors as needed.
- Refer to your reference material: If you have a specific color scheme or reference photo, refer to it for guidance on selecting the appropriate colors for each element in your design.
- Start with the larger areas: Begin by painting the larger areas in your design. Use a larger brush or a sponge to quickly and evenly fill in these sections with the desired colors.
- Layer and blend colors: As you progress, layer different colors to create depth and richness in your artwork. Experiment with blending techniques, such as wet-on-wet or dry brush, to achieve varying textures and effects.
- Add shading and highlights: Use lighter and darker shades of your base colors to add shading and highlights to your design. This technique helps create dimension and make your artwork visually dynamic.
- Be patient and allow layers to dry: Depending on the thickness and type of paint you’re using, certain areas of your artwork may need time to dry before adding details or additional layers. Allow the paint to dry completely to avoid smudging or mixing the colors unintentionally.
- Pay attention to color harmony: Regularly step back and assess the overall harmony of the colors in your artwork. Make adjustments as needed to ensure a balanced and visually pleasing composition.
Remember, adding colors to your wall art is your chance to let your creativity shine. Don’t be afraid to experiment, blend colors, and take risks. Embrace the process and enjoy the journey of watching your design come to life through vibrant hues.
In the next step, we’ll explore adding intricate details and the finishing touches to complete your wall art masterpiece.
Step 7: Adding Details and Finishing Touches
As you near the completion of your wall art, adding intricate details and applying the finishing touches will give your artwork that extra level of polish and refinement. This step is all about adding those special touches that make your art truly unique and captivating. Here’s how to add details and apply finishing touches:
- Refine the lines: Take a fine-tip brush or a liner brush to clean up any messy or uneven lines in your design. This step helps to sharpen the edges and make your artwork appear neater and more professional.
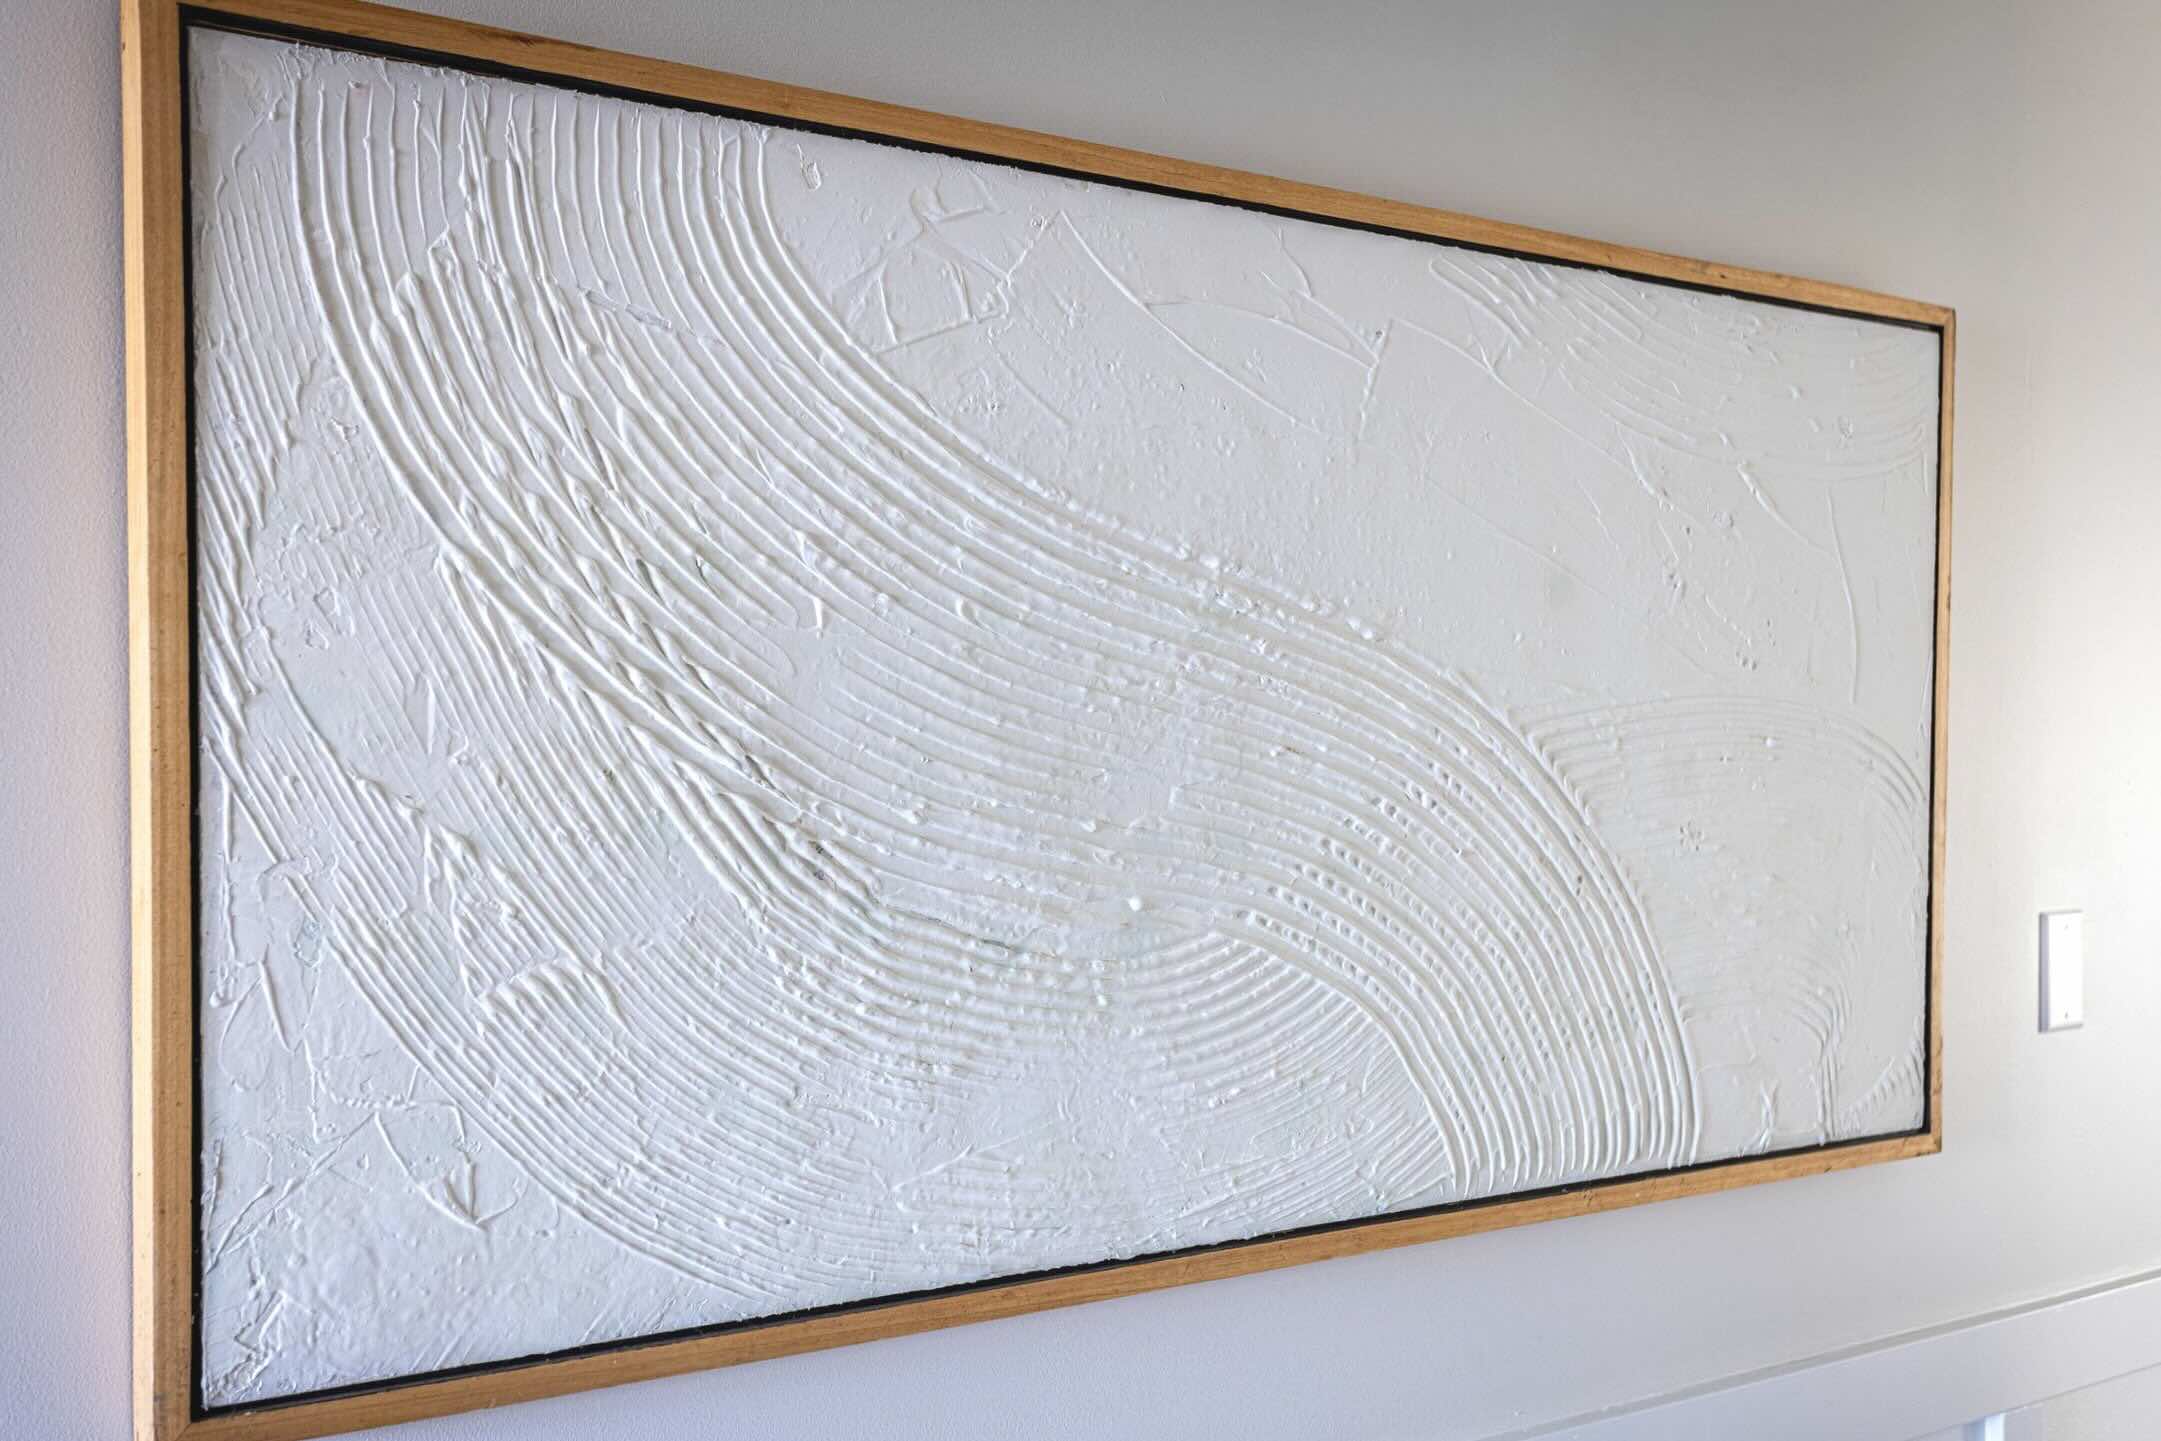
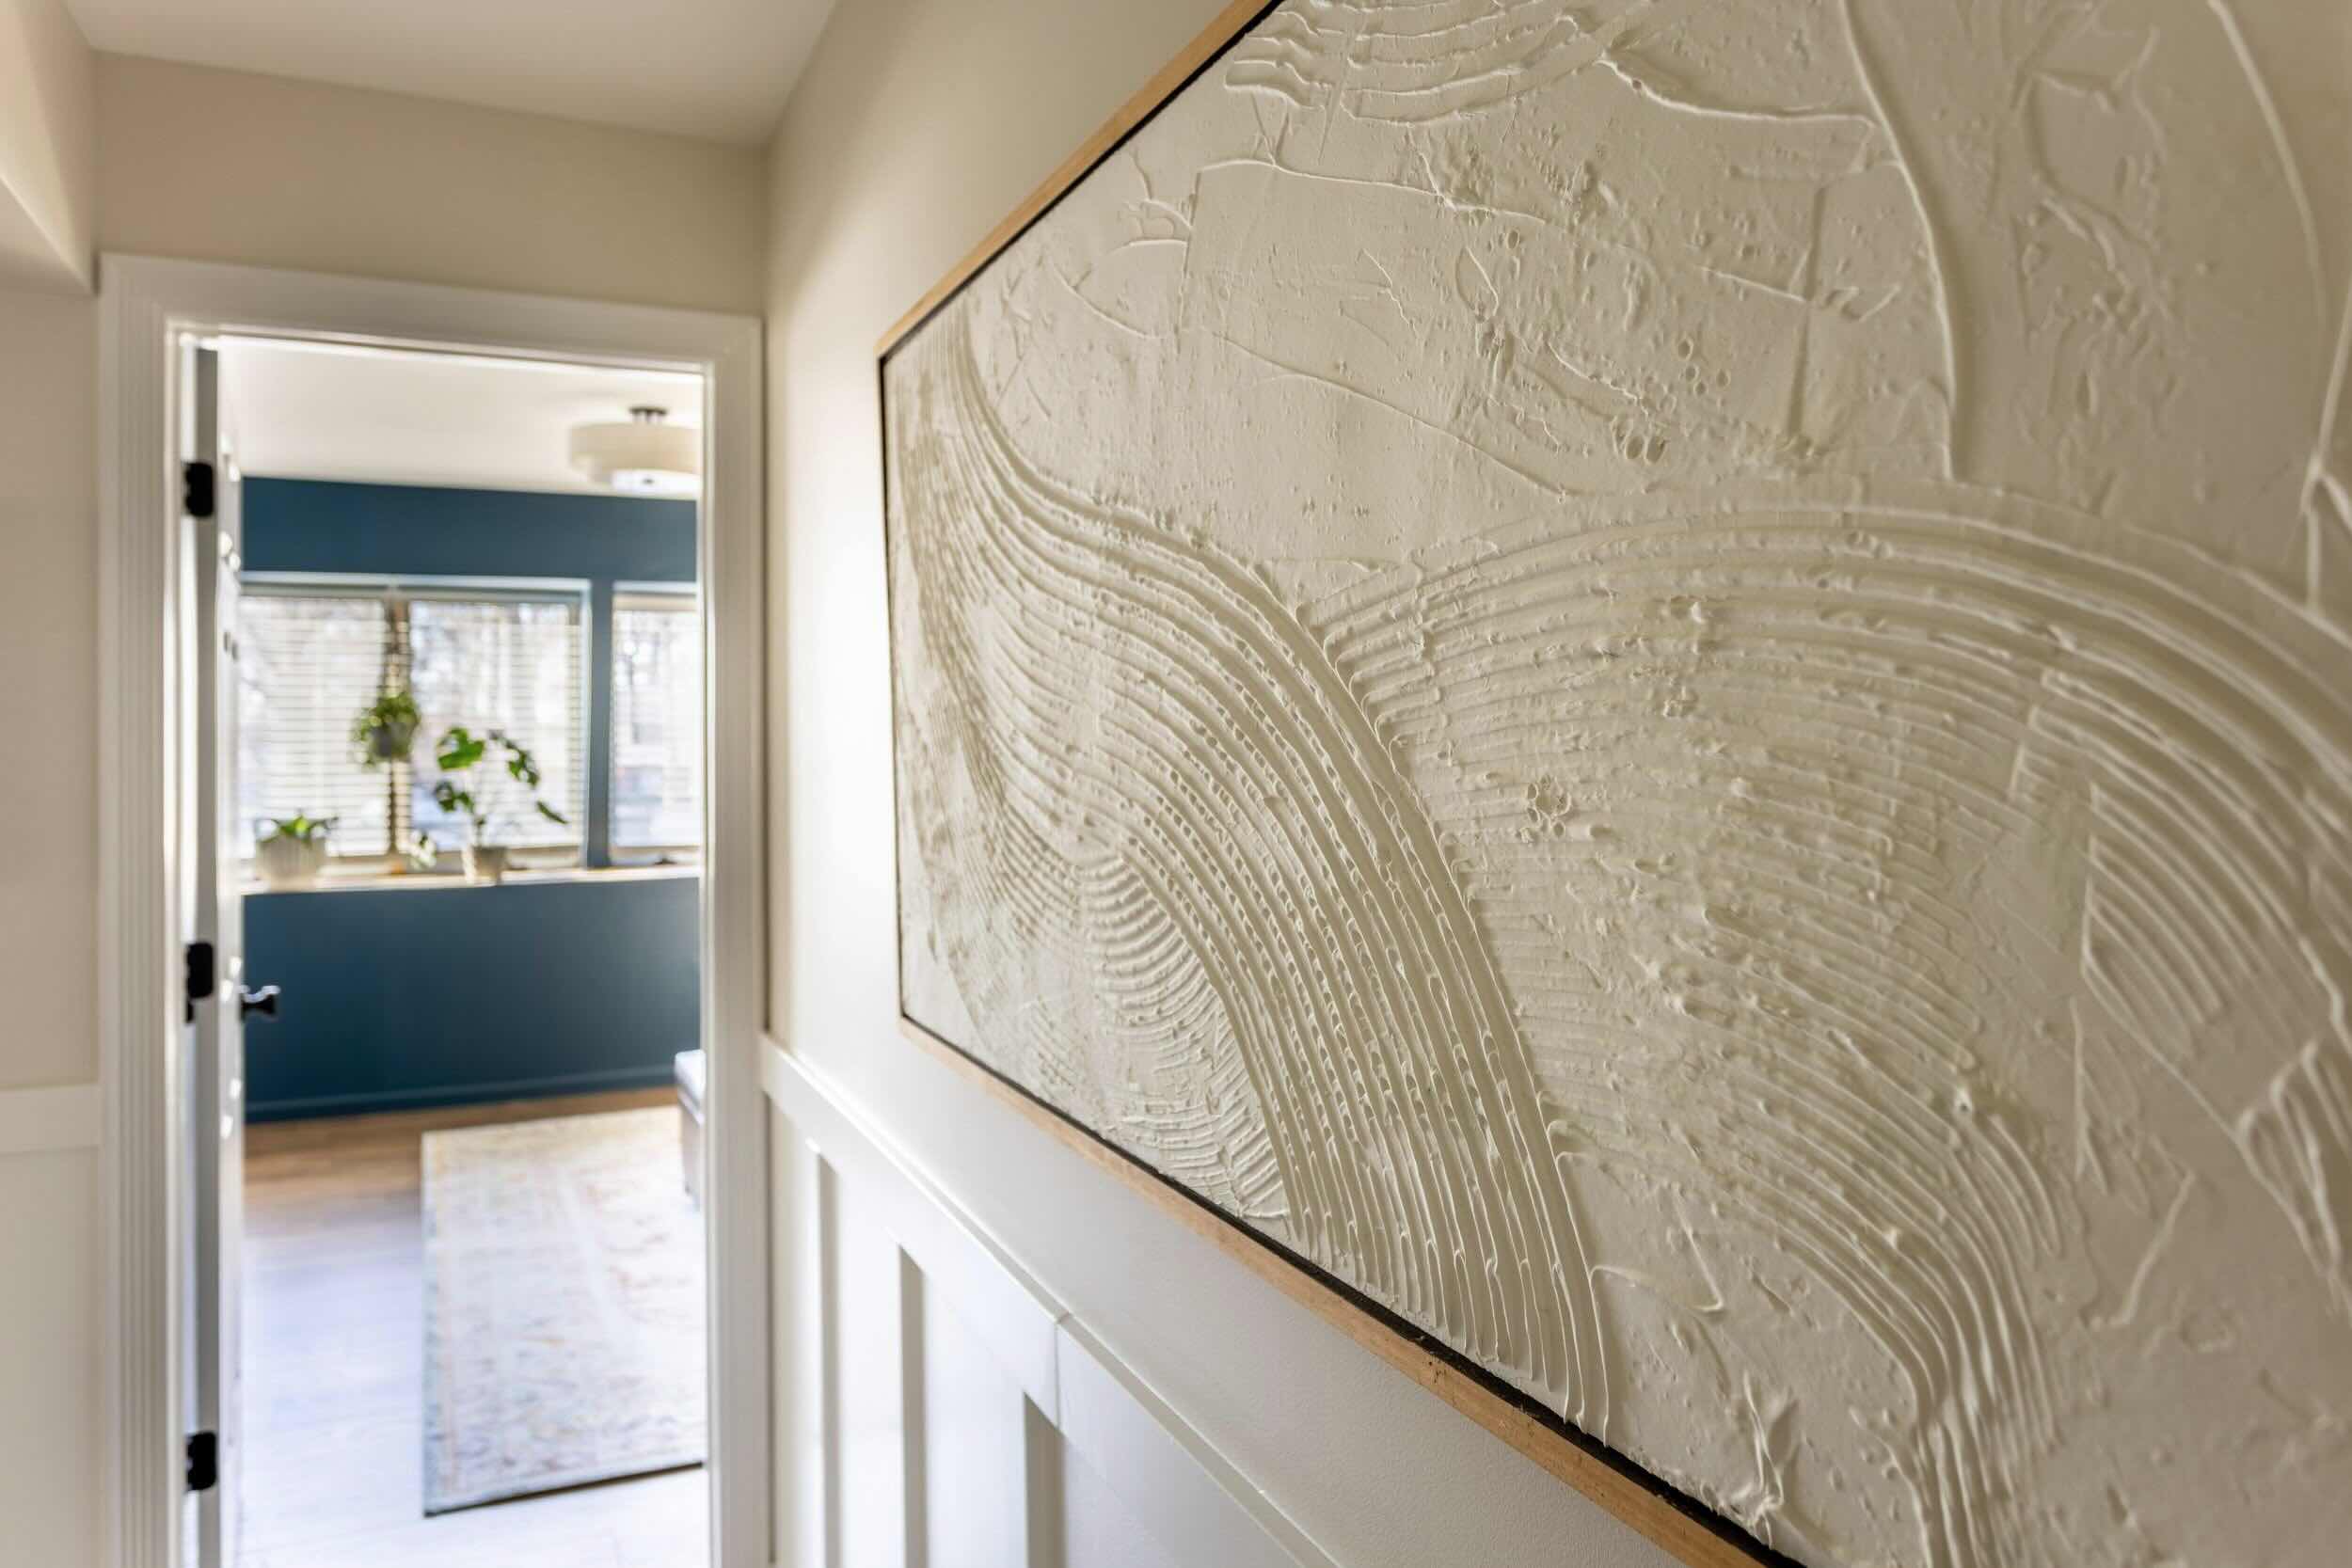
- Add texture and patterns: Use various painting techniques to add texture and patterns to your artwork. This can be achieved through stippling, dry brushing, or even using different tools like sponges or palette knives to create interesting effects.
- Enhance the depth: Add depth and dimension to your artwork by selectively layering and intensifying certain areas with darker or lighter shades. This technique helps create a more three-dimensional and dynamic appearance.
- Highlight special elements: Identify key focal points or standout elements in your design. Use lighter shades or metallic paints to highlight these areas and draw attention to them.
- Add fine details: If your design includes intricate details, take your time to carefully paint these smaller elements. Utilize thin brushes or even fine-tip pens for precision and accuracy.
- Step back and assess: Regularly step back from your artwork to gain perspective and evaluate the overall composition. Make any necessary adjustments or refinements to ensure a visually balanced and visually engaging piece.
- Sign your artwork: Once you’re satisfied with the final result, add your signature or initials to the bottom corner of your artwork. This not only adds a personal touch but also symbolizes your ownership and pride in your creation.
Remember, the details and finishing touches are what truly elevate your wall art and make it an extraordinary piece. Take your time, be patient, and enjoy the process of seeing your vision come to life in the final stages of your artwork.
Now, it’s time to protect and preserve your masterpiece by applying a sealant.
Step 8: Sealing the Artwork
After investing time and effort into creating your wall art, it’s essential to protect and preserve it for years to come. Sealing your artwork not only enhances its durability but also adds a layer of protection against dust, moisture, and fading. Follow these steps to properly seal your artwork:
- Select a suitable sealant: Choose a sealant that is compatible with the type of paint you used in your artwork. Most commonly, artists use a clear acrylic sealer, which is available in both spray and brush-on forms.
- Prepare your workspace: Find a well-ventilated area with enough space to work comfortably. Lay down a protective covering, such as a drop cloth, to prevent any mess or overspray.
- Test the sealant: Before applying the sealant to your artwork, it’s advisable to test it on a small, inconspicuous area or a test canvas. This will help you ensure that the sealant does not react or damage your artwork in any way.
- Apply thin, even coats: Hold the can or brush a few inches away from your artwork and apply thin, even coats of sealant. Be sure to follow the manufacturer’s instructions and allow each coat to dry completely before applying the next one. Multiple thin coats are generally more effective than one thick coat.
- Focus on the front and sides: Pay attention to sealing the front surface of your artwork as well as the sides of the canvas. This provides overall protection and ensures a consistent finish.
- Avoid pooling: Be cautious not to overapply the sealant, as it may cause pooling or dripping, which can result in an uneven finish. Aim for a smooth, consistent application.
- Consider a varnish (optional): If you prefer a glossy or satin finish, you can apply a varnish as a final step after the sealant has dried. Varnish adds a protective layer and enhances the overall appearance of your artwork.
- Allow sufficient drying time: Once you have completed the sealing process, allow adequate time for the sealant to dry and cure as per the manufacturer’s guidelines. This drying time ensures that your artwork is fully protected and ready to be displayed.
By properly sealing your artwork, you are not only preserving its quality but also ensuring that it maintains its original beauty for years to come. Don’t skip this crucial step in the creative process.
Now that your wall art has been sealed, it’s time to find the perfect spot to proudly display your masterpiece and enjoy the fruits of your artistic labor.
Congratulations on creating a unique and stunning piece of wall art!
Read more: How To Sell Wall Art
Conclusion
Congratulations! You have completed the journey of creating your own wall art. From gathering the materials to sealing the artwork, you’ve put your creativity and skills to work, resulting in a unique and personal masterpiece. Creating wall art allows you to showcase your artistic expression while adding a touch of beauty and personality to your living space.
Throughout this step-by-step guide, we’ve explored the importance of gathering the necessary materials, choosing a design, preparing the canvas, sketching and outlining, adding colors, including details and finishing touches, and sealing the artwork. Each step has contributed to the overall process and helped you bring your vision to life.
Remember, there are no right or wrong approaches to creating wall art. You have the freedom to adapt and modify the steps to suit your own preferences and artistic style. Make the process your own, experiment with different techniques, colors, and textures, and let your imagination guide you.
Creating wall art is not only a fulfilling endeavor but also a valuable skill that can be honed and developed over time. With each new project, you’ll gain confidence and insight into your own unique artistic style.
Now that you have completed your wall art, find the perfect spot to proudly display it. Let it be a conversation starter, a reflection of your personality, and a source of inspiration for all who gaze upon it.
Remember, the process of creating wall art is an ongoing journey. Continue to explore new techniques, experiment with different mediums, and seek inspiration to further develop your artistic skills.
So, get ready to embark on future artistic endeavors and keep nurturing your passion for creating beautiful, captivating wall art. May your creative journey be filled with endless possibilities and artistic growth!
Frequently Asked Questions about How To Create Wall Art
Was this page helpful?
At Storables.com, we guarantee accurate and reliable information. Our content, validated by Expert Board Contributors, is crafted following stringent Editorial Policies. We're committed to providing you with well-researched, expert-backed insights for all your informational needs.



0 thoughts on “How To Create Wall Art”