Articles
How To Make Fabric Wall Art
Modified: January 6, 2024
Learn how to create stunning fabric wall art with our helpful articles. Discover tips, techniques, and inspiration for your next DIY project.
(Many of the links in this article redirect to a specific reviewed product. Your purchase of these products through affiliate links helps to generate commission for Storables.com, at no extra cost. Learn more)
Introduction
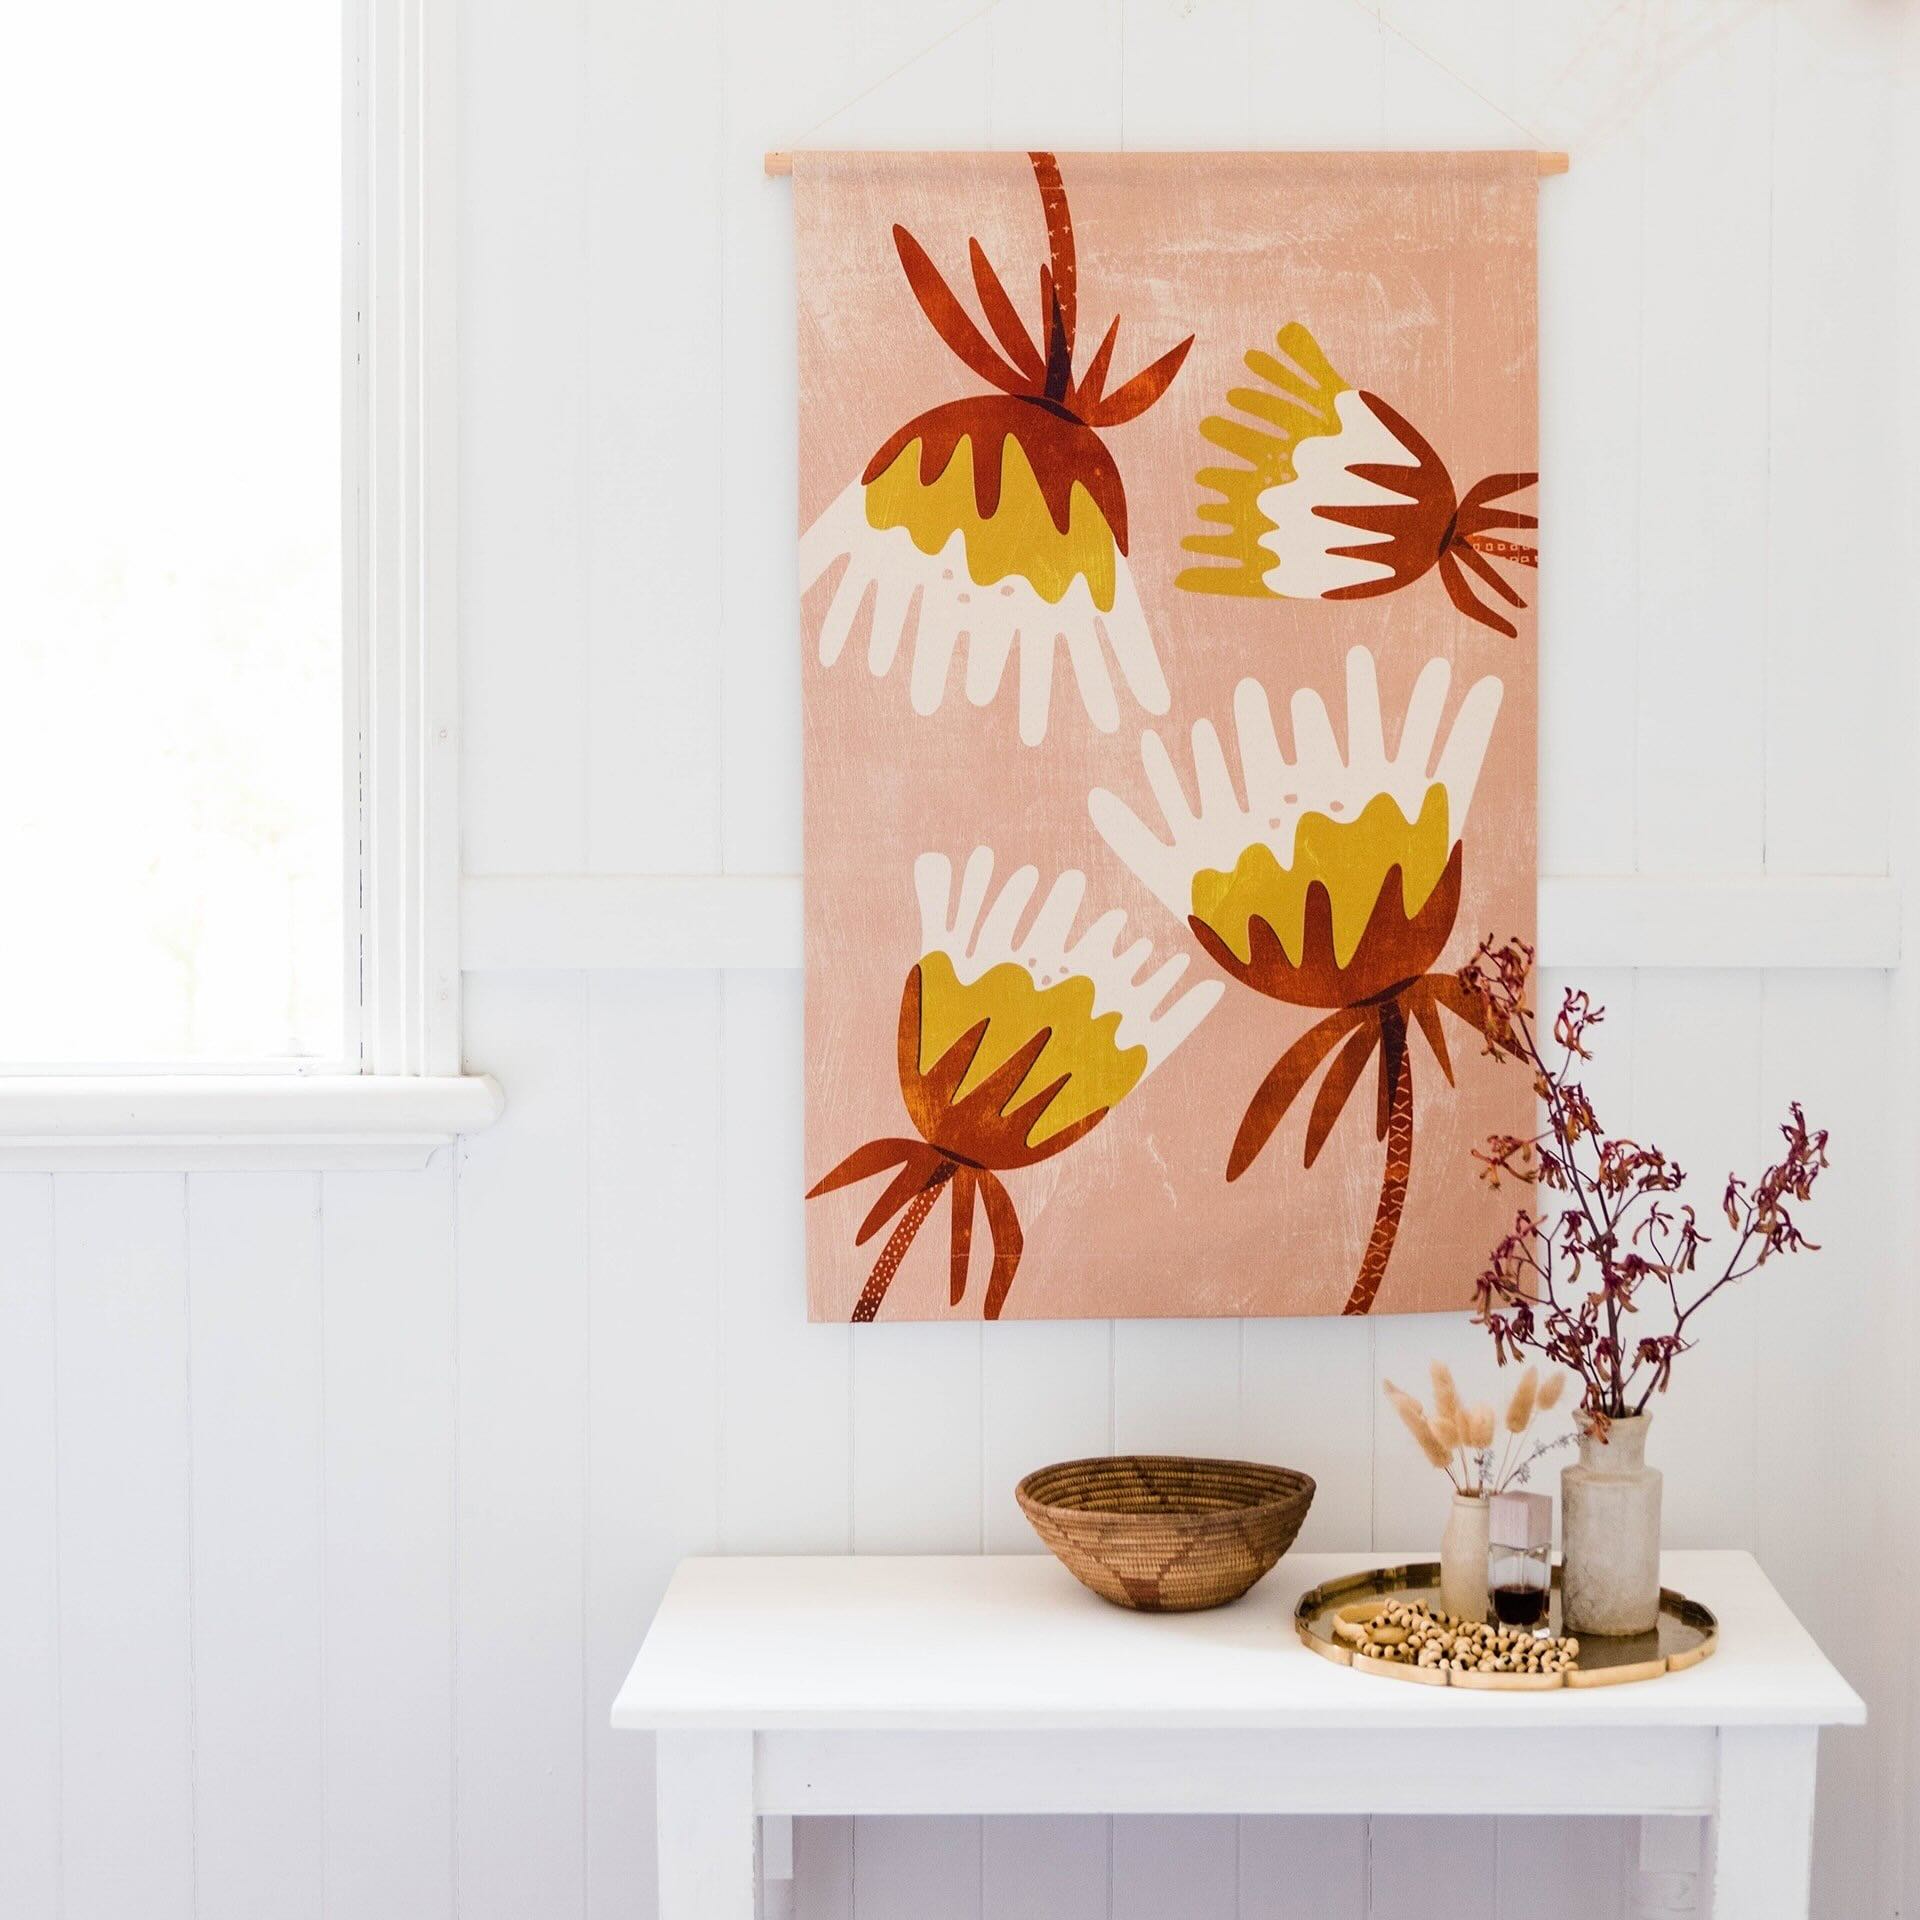
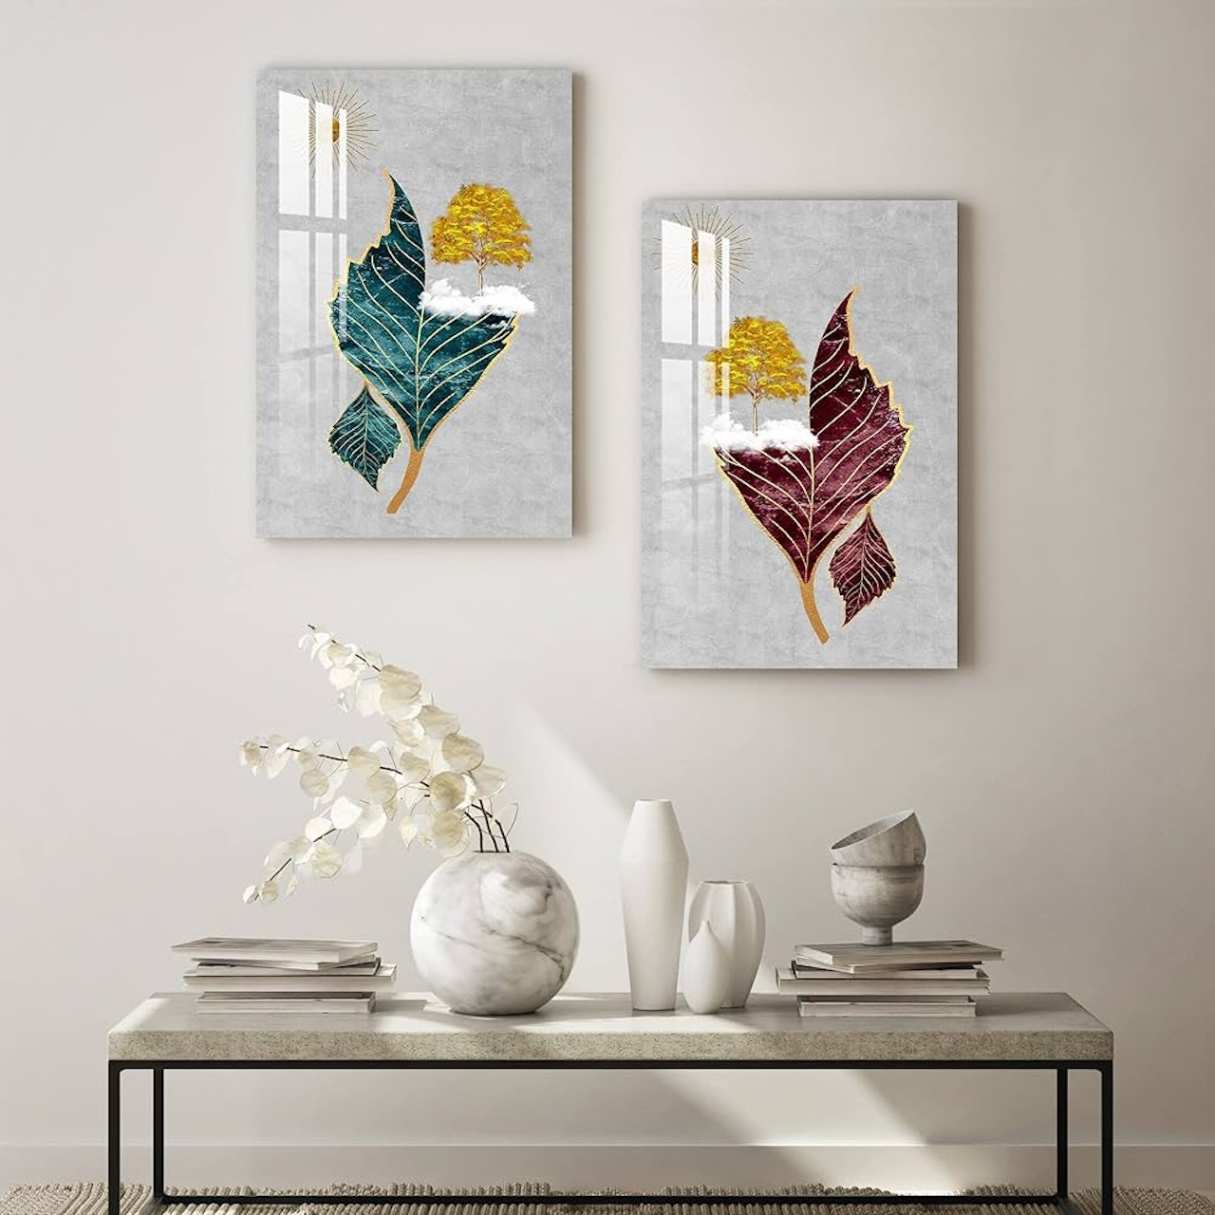
Fabric wall art is a fantastic way to add a personal touch to your living space. Whether you're looking to spruce up a plain wall or showcase your creativity, fabric wall art offers a versatile and cost-effective solution. In this article, we'll explore the step-by-step process of creating your own fabric wall art, from selecting the perfect fabric to displaying your finished piece.
Not only does fabric wall art allow you to express your individual style, but it also provides an opportunity to unleash your creativity. With a wide range of fabric choices and design options, you can tailor your fabric wall art to complement your existing decor or serve as a striking focal point in any room.
By following the guidelines in this article, you'll learn how to choose the right fabric, prepare it for your project, create a captivating design, and securely attach the fabric to a frame. Additionally, we'll cover tips for hanging and displaying your fabric wall art, ensuring that your masterpiece receives the attention it deserves.
Whether you're a seasoned crafter or a novice DIY enthusiast, creating fabric wall art is an enjoyable and rewarding endeavor. So, gather your materials, unleash your imagination, and let's embark on this creative journey together!
Key Takeaways:
- Choosing the right fabric is crucial for fabric wall art. Consider texture, color, durability, theme, and size/stretch. The right fabric sets the foundation for a stunning and personalized creation.
- Prepare and secure the fabric carefully before creating the design and attaching it to the frame. Attention to detail ensures a successful and visually appealing fabric wall art project.
Read more: How To Make A Mosaic Wall Art
Choosing the Right Fabric
When it comes to creating fabric wall art, selecting the perfect fabric is crucial. The fabric you choose will not only determine the overall appearance of your artwork but also its durability and ease of maintenance. Here are some essential factors to consider when choosing the right fabric for your project:
- Texture and Pattern: Consider the texture and pattern of the fabric. Do you prefer a smooth, sleek surface, or are you drawn to intricate patterns and textures? The fabric’s visual and tactile qualities will greatly impact the aesthetic appeal of your wall art.
- Color Scheme: Take into account the color scheme of the room where the fabric wall art will be displayed. Choose a fabric that complements the existing color palette, whether you opt for harmonizing tones or a bold contrast to make a statement.
- Durability: Assess the durability of the fabric, especially if the artwork will be exposed to sunlight or high-traffic areas. Consider factors such as colorfastness and resistance to wear and tear to ensure the longevity of your creation.
- Theme and Style: Reflect on the theme and style of your space. Whether you’re aiming for a contemporary, rustic, or eclectic look, the fabric should align with the overall ambiance and decor of the room.
- Size and Stretch: Determine the size of the fabric needed for your project and whether it requires any stretch. Some designs may benefit from a fabric with a bit of stretch, while others may require a more rigid material to achieve the desired effect.
Once you’ve considered these factors, it’s time to explore the wide array of fabric options available. From classic cotton and luxurious silk to durable denim and versatile linen, the market offers an abundance of choices to suit every preference and project requirement.
By carefully evaluating these criteria and exploring various fabric samples, you can confidently select the ideal fabric for your wall art project. The right fabric will serve as the foundation for your creative vision, ensuring that your fabric wall art becomes a stunning and personalized addition to your home decor.
Preparing the Fabric
Before transforming your chosen fabric into a captivating piece of wall art, it’s essential to prepare it properly. This preparation process ensures that the fabric is clean, wrinkle-free, and ready for the next steps of your project. Here’s a step-by-step guide to preparing the fabric for your wall art:
- Washing and Ironing: If your fabric is machine-washable, start by washing and drying it according to the manufacturer’s instructions. This step removes any dirt, dust, or sizing from the fabric. Once clean, iron the fabric to eliminate wrinkles and creases, creating a smooth and pristine surface for your artwork.
- Trimming and Hemming: Trim the fabric to the desired size for your wall art, leaving a few extra inches around the edges to accommodate the framing process. If the fabric has raw or frayed edges, consider hemming or serging them to prevent unraveling and ensure a polished finish.
- Stretching the Fabric: Depending on the type of frame you’ll be using, you may need to stretch the fabric to achieve a taut and even surface. This step is particularly important for achieving a professional-looking result, especially if the fabric is prone to sagging or wrinkling.
- Securing the Fabric: Once the fabric is trimmed and stretched, secure it to a flat surface or a sturdy frame using staples, tacks, or a stretching tool. This ensures that the fabric remains smooth and taut during the attachment process, setting the stage for the design phase of your wall art.
By meticulously preparing the fabric, you lay the groundwork for a successful and visually appealing fabric wall art project. This attention to detail ensures that your chosen fabric is in prime condition for the subsequent stages of the creative process, allowing you to focus on bringing your design to life with confidence and precision.
When making fabric wall art, be sure to stretch the fabric tightly over the frame to avoid wrinkles and sagging. This will give your artwork a professional and polished look.
Creating the Design
With your fabric prepared and ready for transformation, it’s time to unleash your creativity and bring your design vision to life. Whether you’re drawn to bold geometric patterns, intricate floral motifs, or abstract compositions, the design phase is where your fabric wall art truly takes shape. Here’s how to approach the process of creating a captivating design:
- Inspiration and Concept: Begin by seeking inspiration for your design. Whether it’s nature, art movements, or personal experiences, draw inspiration from diverse sources to develop a concept that resonates with you. Consider the mood and atmosphere you want to evoke with your wall art.
- Sketching and Planning: Sketch out your design on paper, experimenting with different layouts, shapes, and arrangements. This preliminary planning phase allows you to refine your ideas and visualize how the design will translate onto the fabric.
- Color Selection: Choose a color palette that complements the fabric and harmonizes with the surrounding decor. Whether you opt for vibrant hues or a more subdued scheme, the colors you select will play a pivotal role in the impact of your fabric wall art.
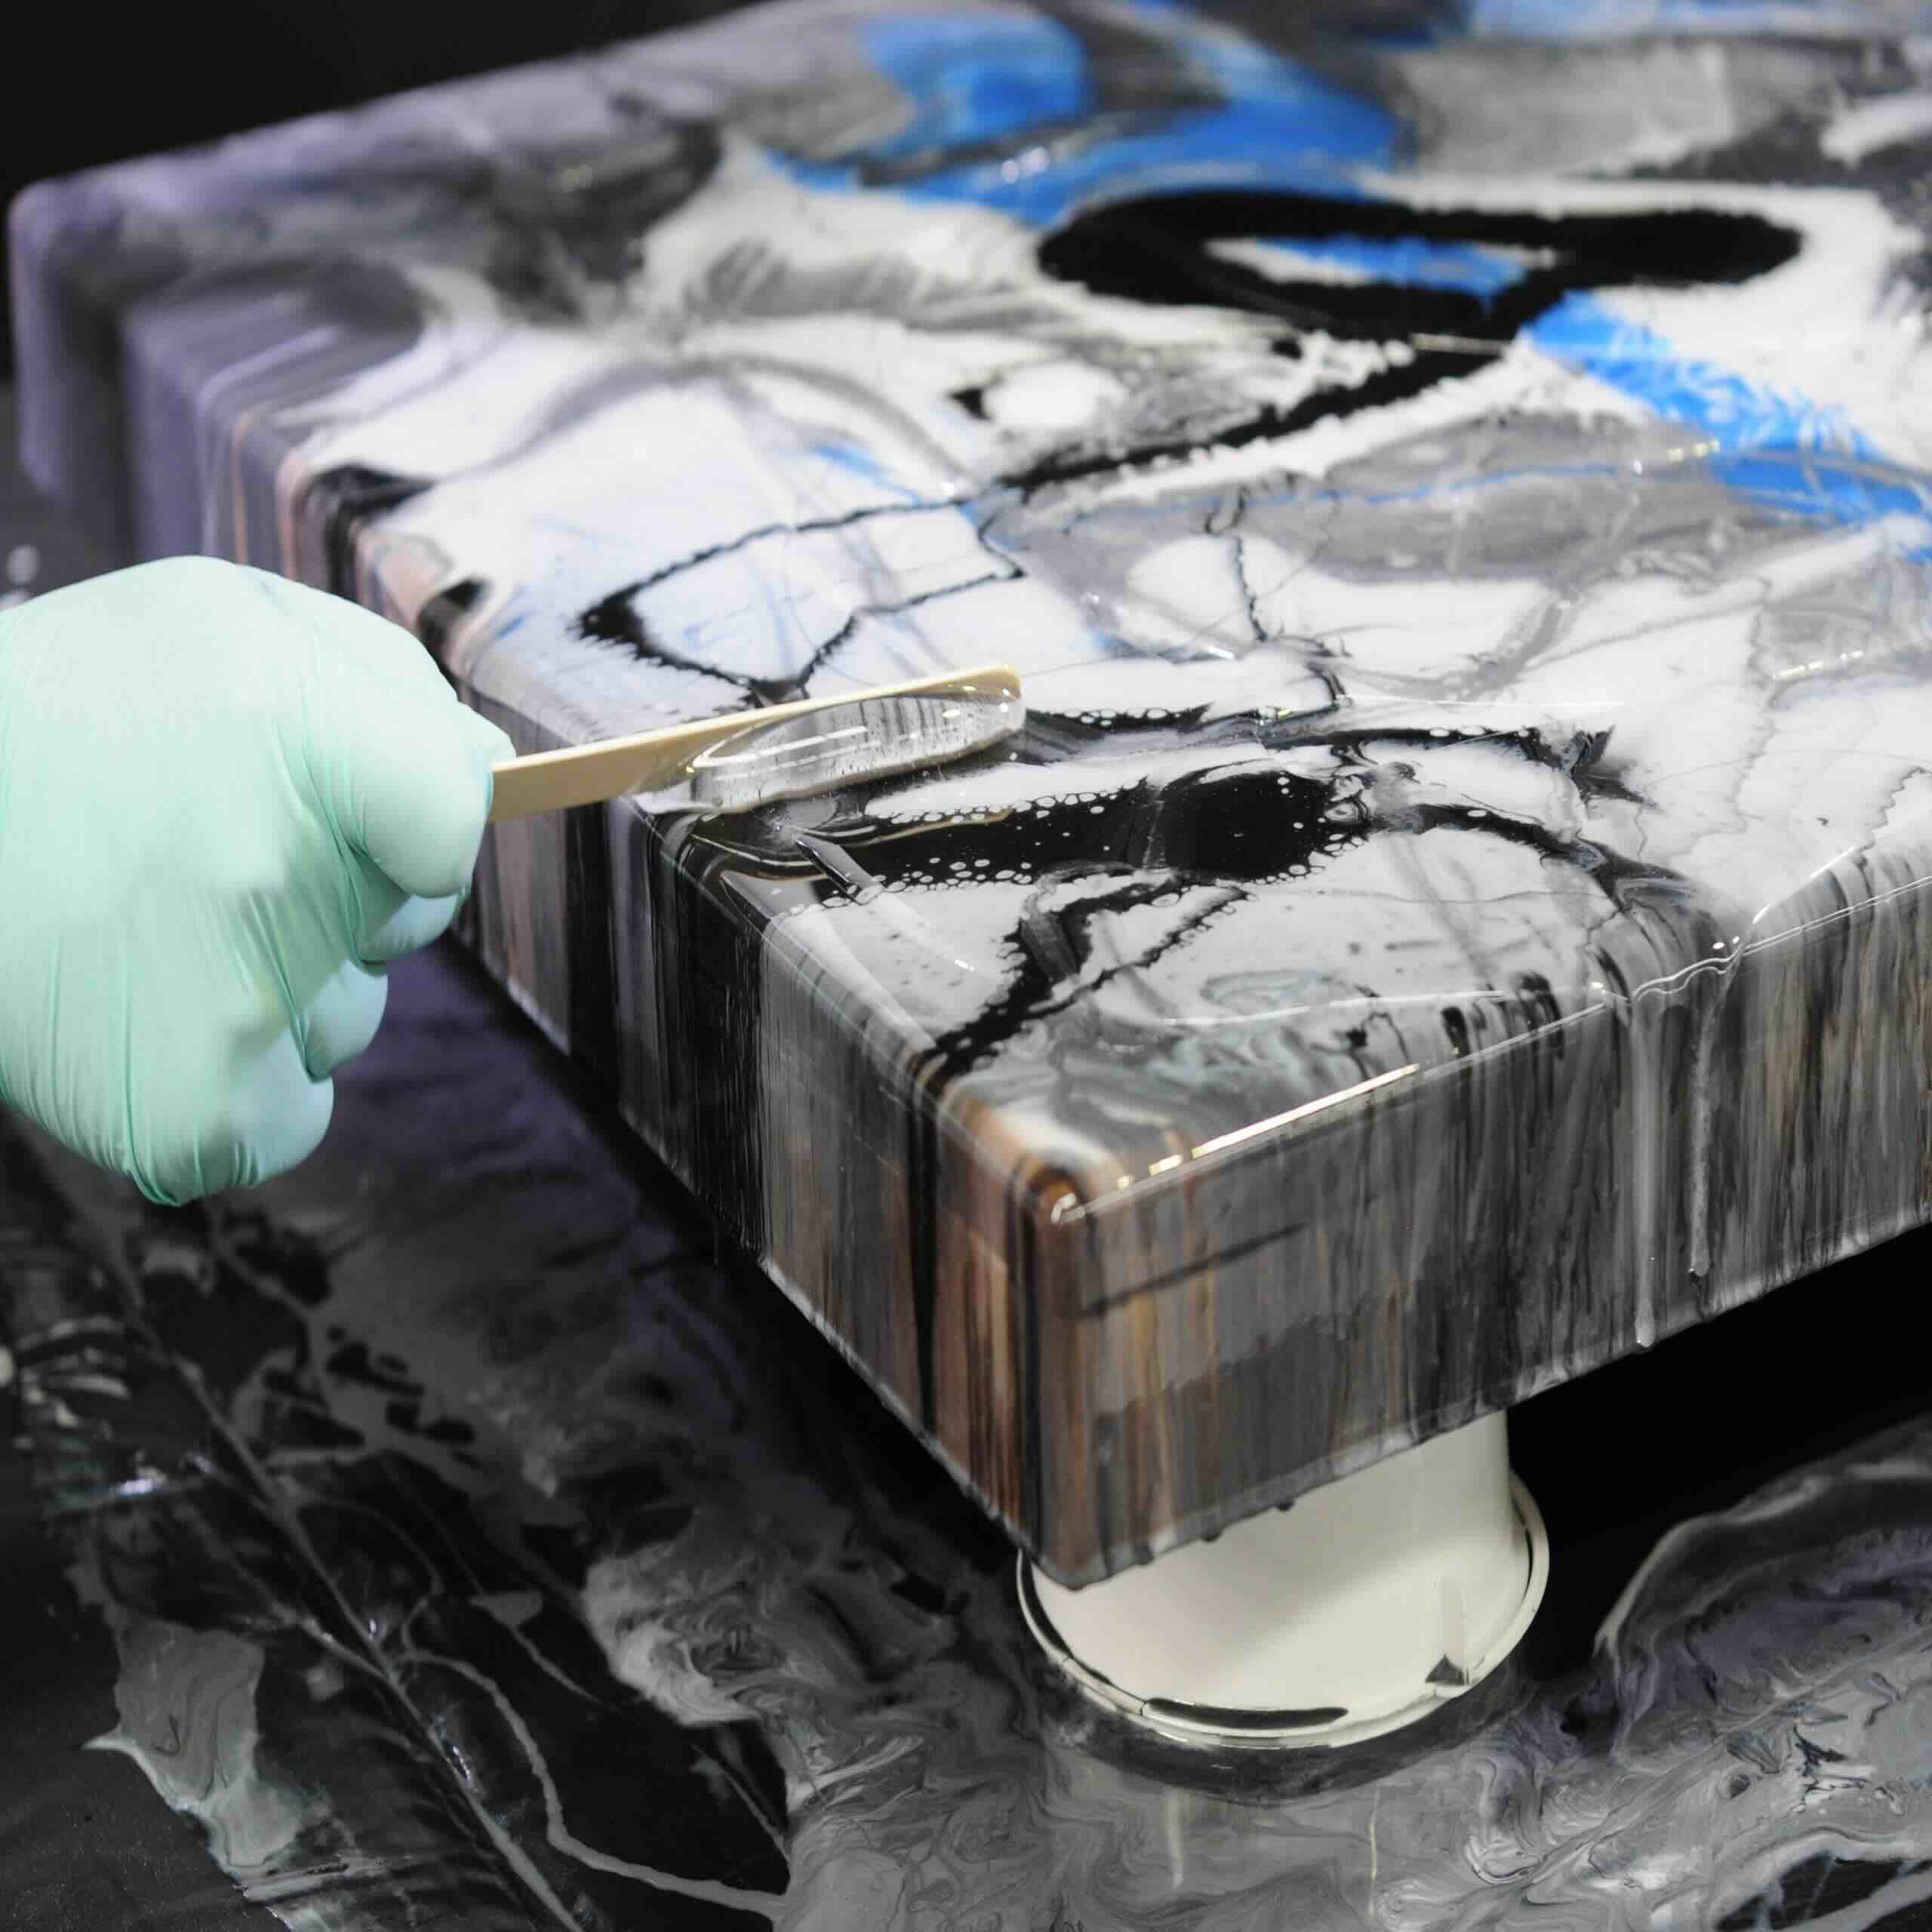
- Execution and Detailing: Transfer your finalized design onto the fabric using fabric markers, paint, or other appropriate mediums. Pay close attention to detail, ensuring that your design is accurately represented and that the colors are applied with precision and vibrancy.
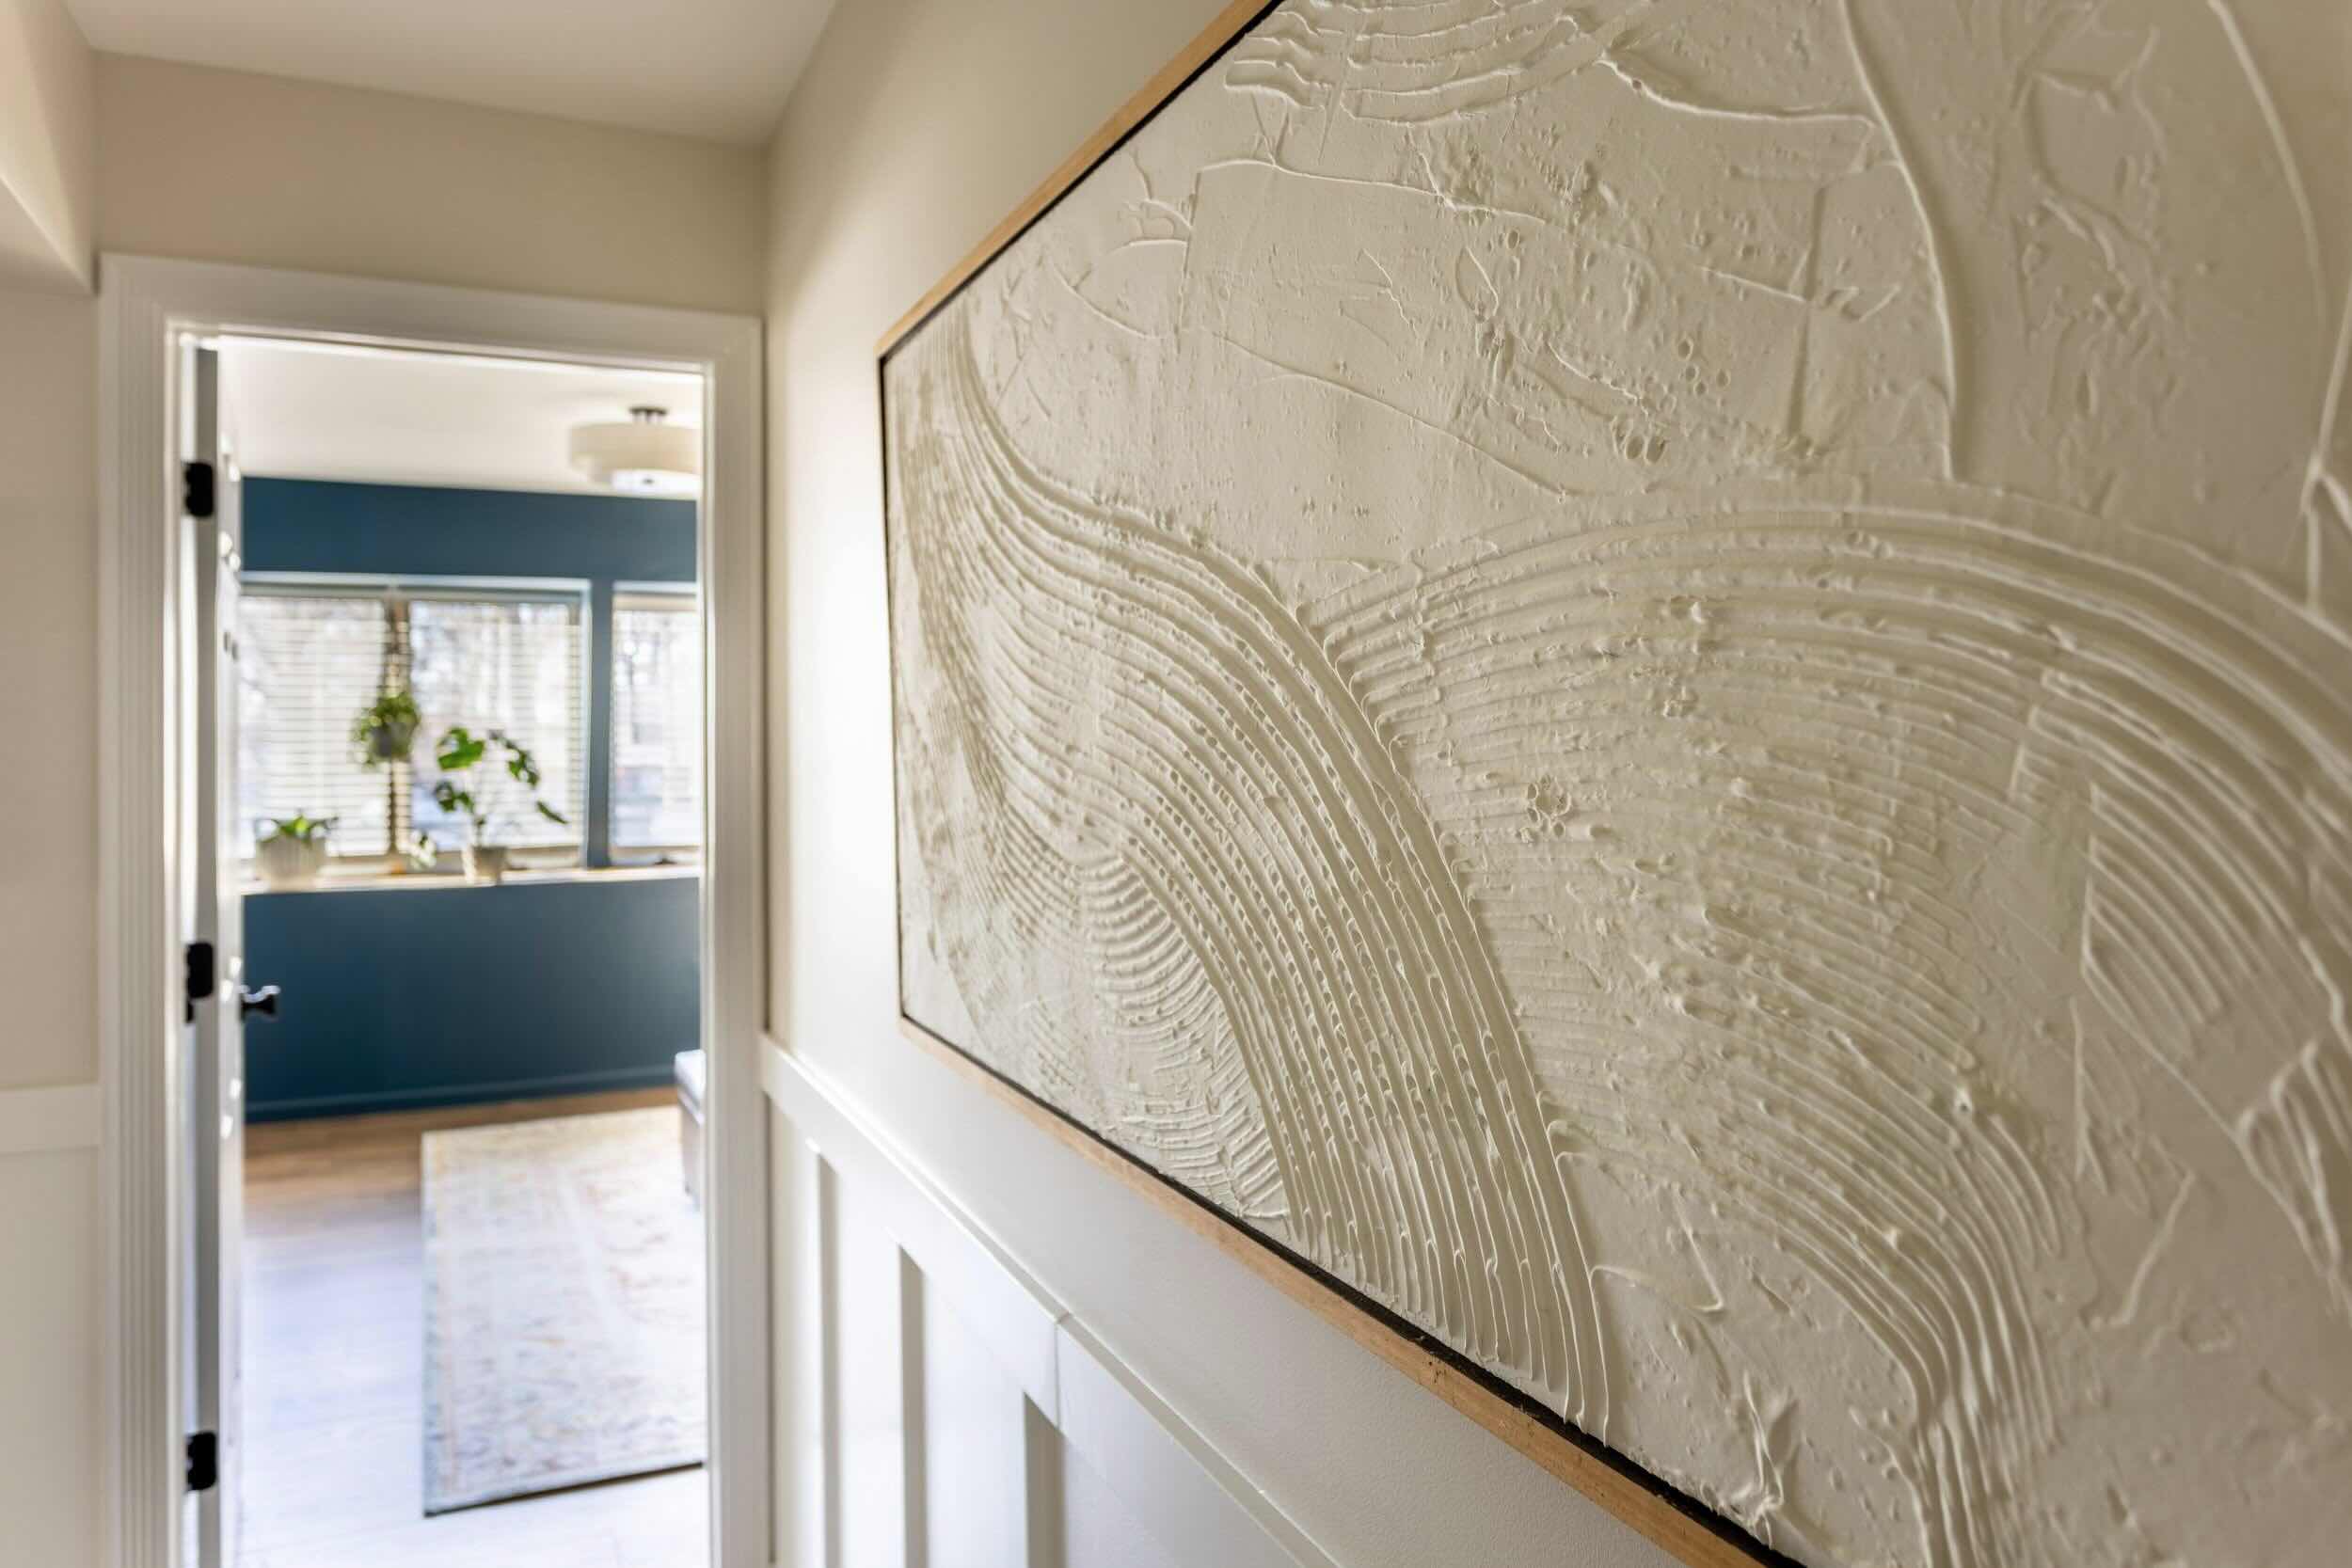
- Texture and Dimension: Consider incorporating texture and dimension into your design to add visual interest and depth to the artwork. This could involve layering fabrics, adding embellishments, or employing techniques such as quilting or appliqué to enhance the tactile and visual appeal of the piece.
As you immerse yourself in the design process, allow your imagination to flourish and embrace the freedom to experiment with different techniques and styles. Whether your design is bold and contemporary or delicate and intricate, this is your opportunity to infuse the fabric with your unique artistic expression.
By investing time and thought into the design phase, you’ll ensure that your fabric wall art reflects your individual style and creative vision, resulting in a captivating and personalized addition to your living space.
Attaching the Fabric to the Frame
Once your fabric has been transformed into a stunning canvas of artistic expression, the next crucial step is to securely attach it to a frame. Properly securing the fabric to the frame is essential for maintaining its tautness and preserving the integrity of your design. Here’s a comprehensive guide to effectively attaching the fabric to the frame:
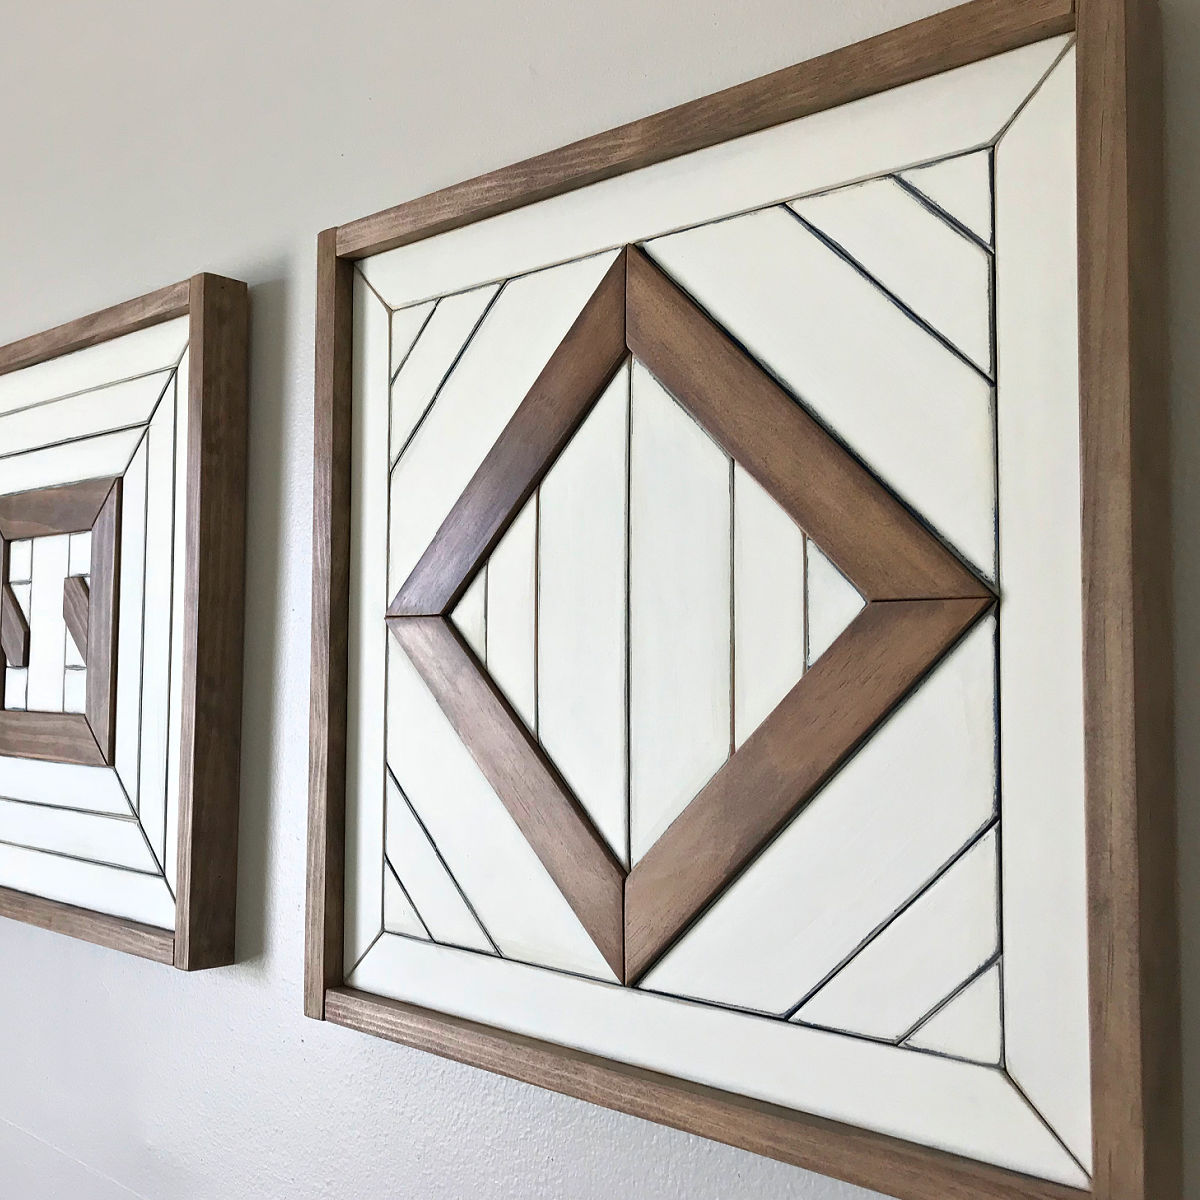
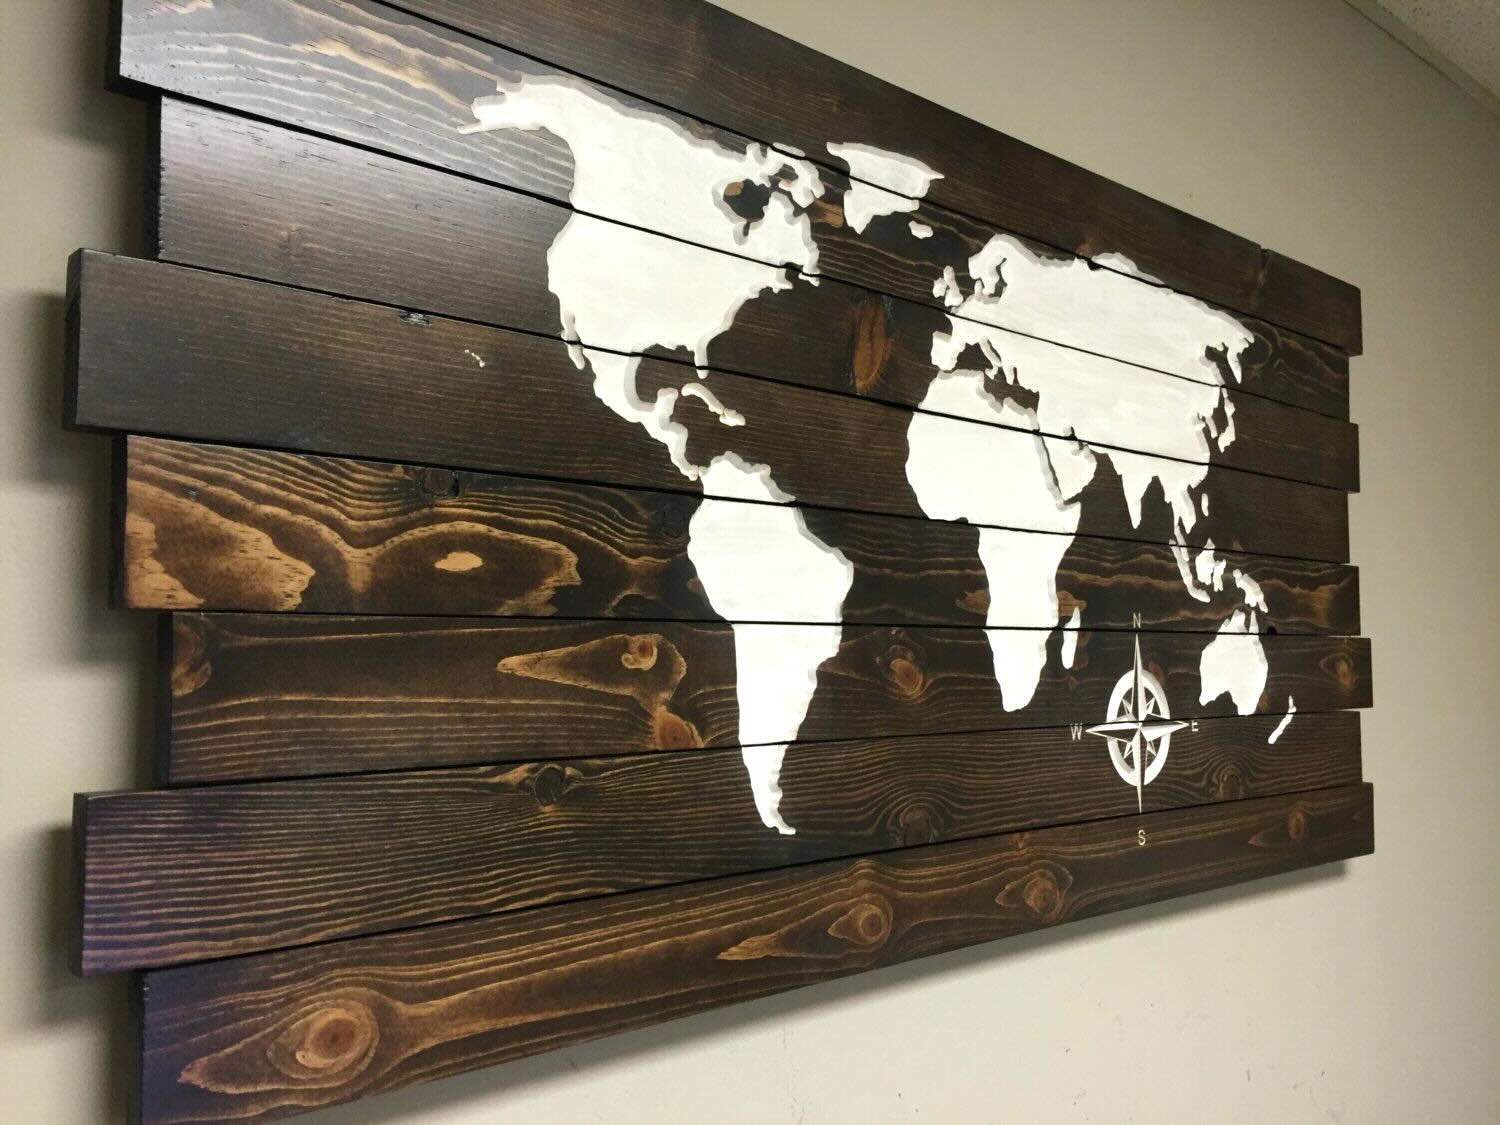
- Choosing the Right Frame: Select a frame that complements the size and style of your fabric wall art. Whether you opt for a traditional wooden frame, a sleek metal frame, or a custom-crafted alternative, the frame should enhance and showcase your artwork.
- Positioning the Fabric: Lay the fabric face down on a clean, flat surface, ensuring that it is smooth and free of wrinkles. Center the frame over the fabric, allowing for an even border around the edges for stapling or securing the fabric to the frame.
- Securing the Fabric: Starting from the center of each side, use a staple gun to secure the fabric to the frame. Work your way outward, pulling the fabric taut as you staple to maintain an even tension across the entire surface. Ensure that the fabric remains smooth and wrinkle-free during this process.
- Corners and Finishing: When reaching the corners, fold and tuck the fabric neatly to create crisp, professional-looking corners. Depending on the frame type, you may need to employ different folding techniques to achieve clean and secure corners. Trim any excess fabric if necessary.
- Final Inspection: Once the fabric is securely attached to the frame, inspect the front and back of the artwork to ensure that the fabric is evenly stretched and free of imperfections. Make any necessary adjustments to the fabric tension or stapling to achieve a flawless finish.
By following these steps, you’ll effectively marry the fabric and frame, transforming your artistic creation into a polished and professionally presented piece of fabric wall art. The secure attachment of the fabric to the frame not only showcases your design in the best possible light but also ensures its longevity and durability over time.
With the fabric securely fastened to the frame, your custom fabric wall art is now ready to take its place as a captivating and visually striking addition to your home decor.
Read more: How To Make Glass Wall Art
Hanging and Displaying Your Fabric Wall Art
With your fabric wall art expertly crafted and securely framed, the final step is to hang and proudly display your masterpiece. How you choose to showcase your fabric wall art can significantly impact its visual impact within your living space. Here’s a guide to hanging and displaying your fabric wall art with flair and finesse:
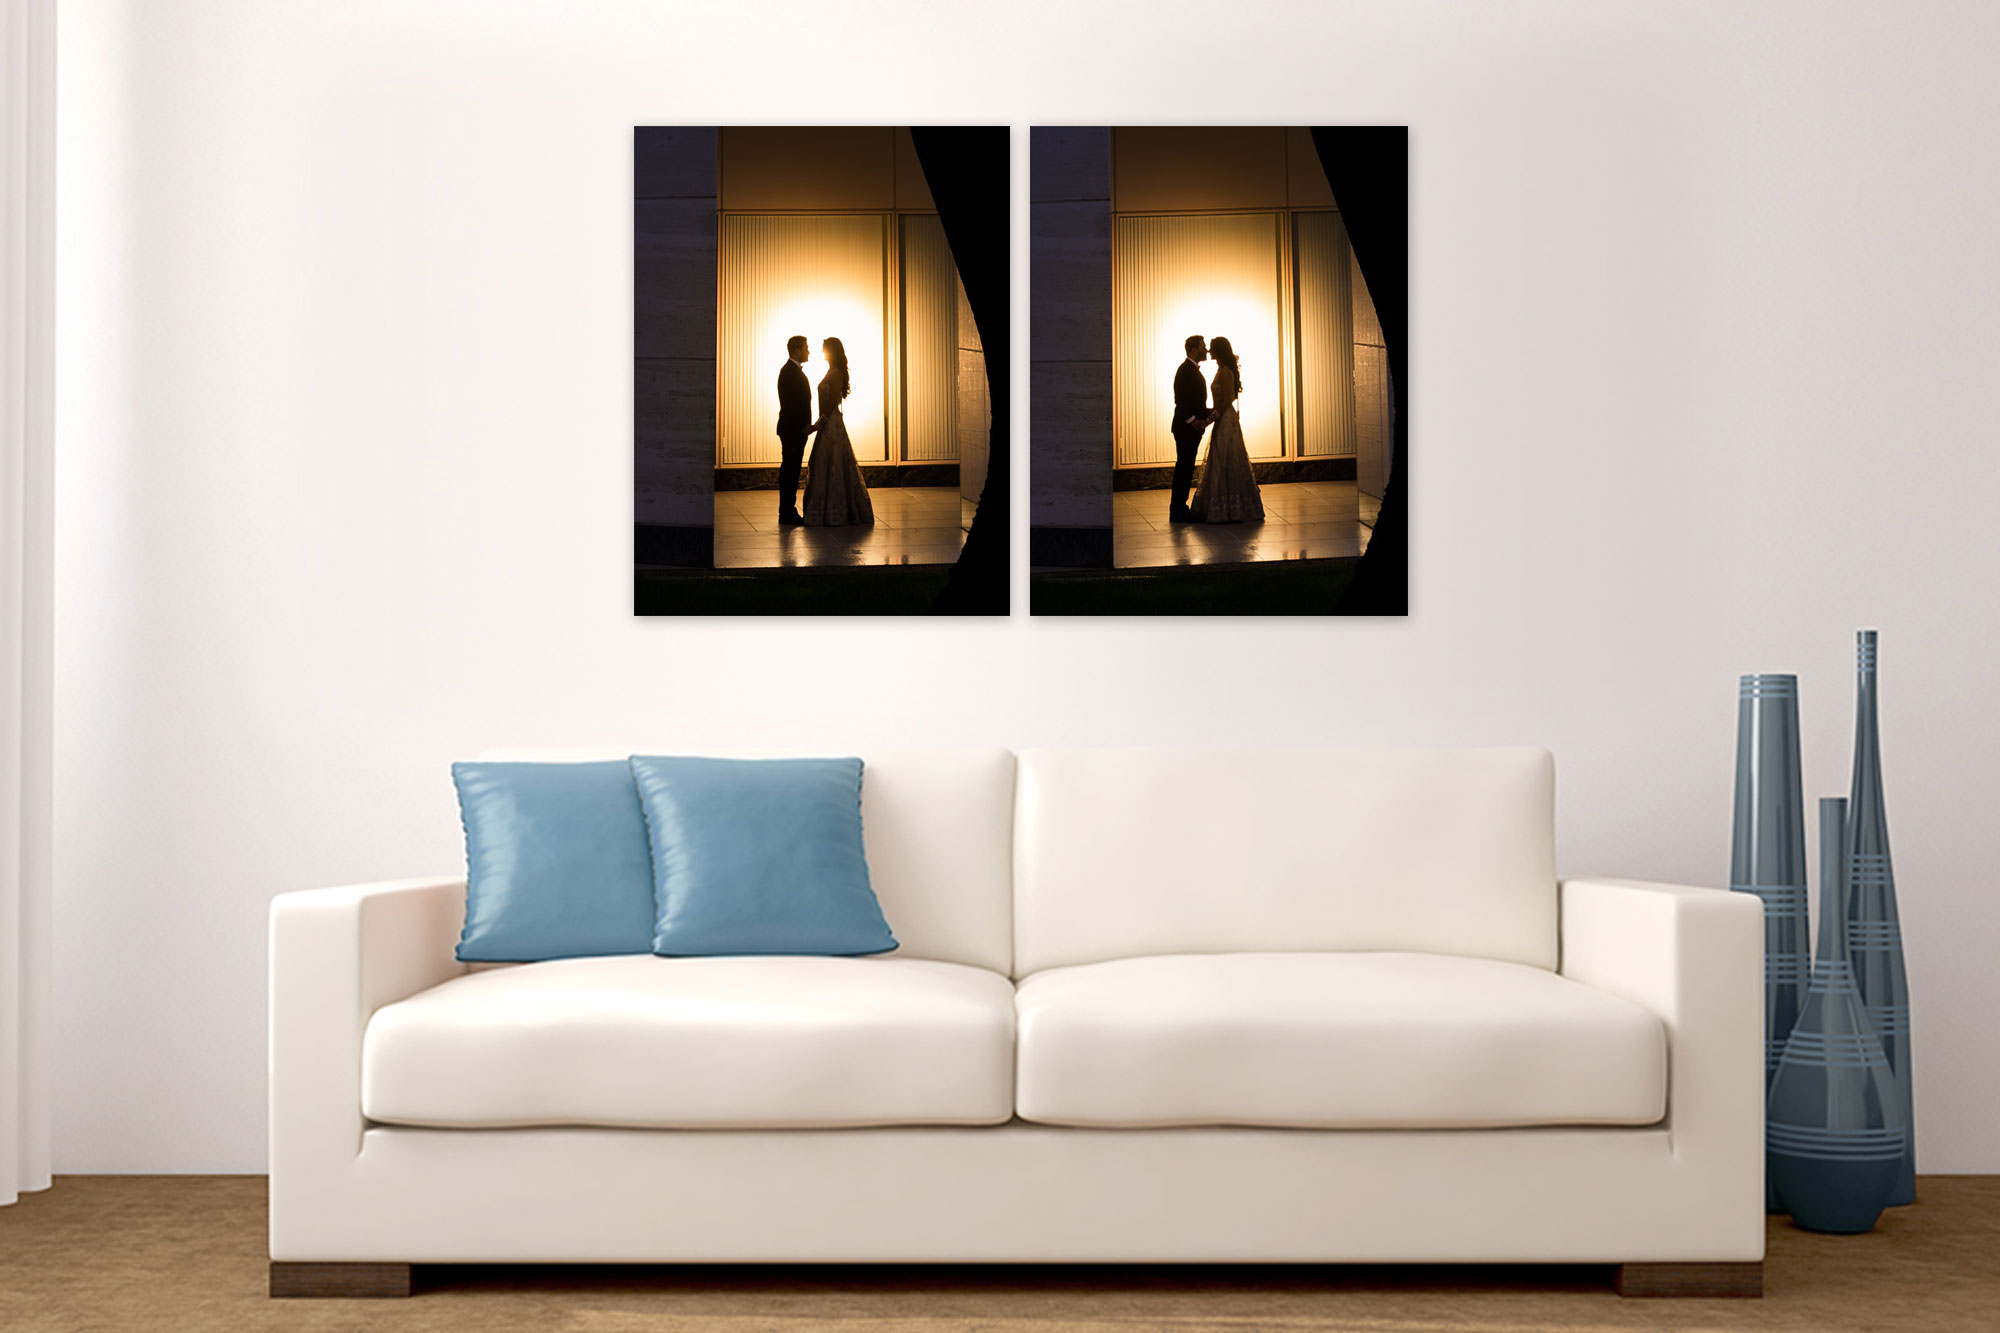
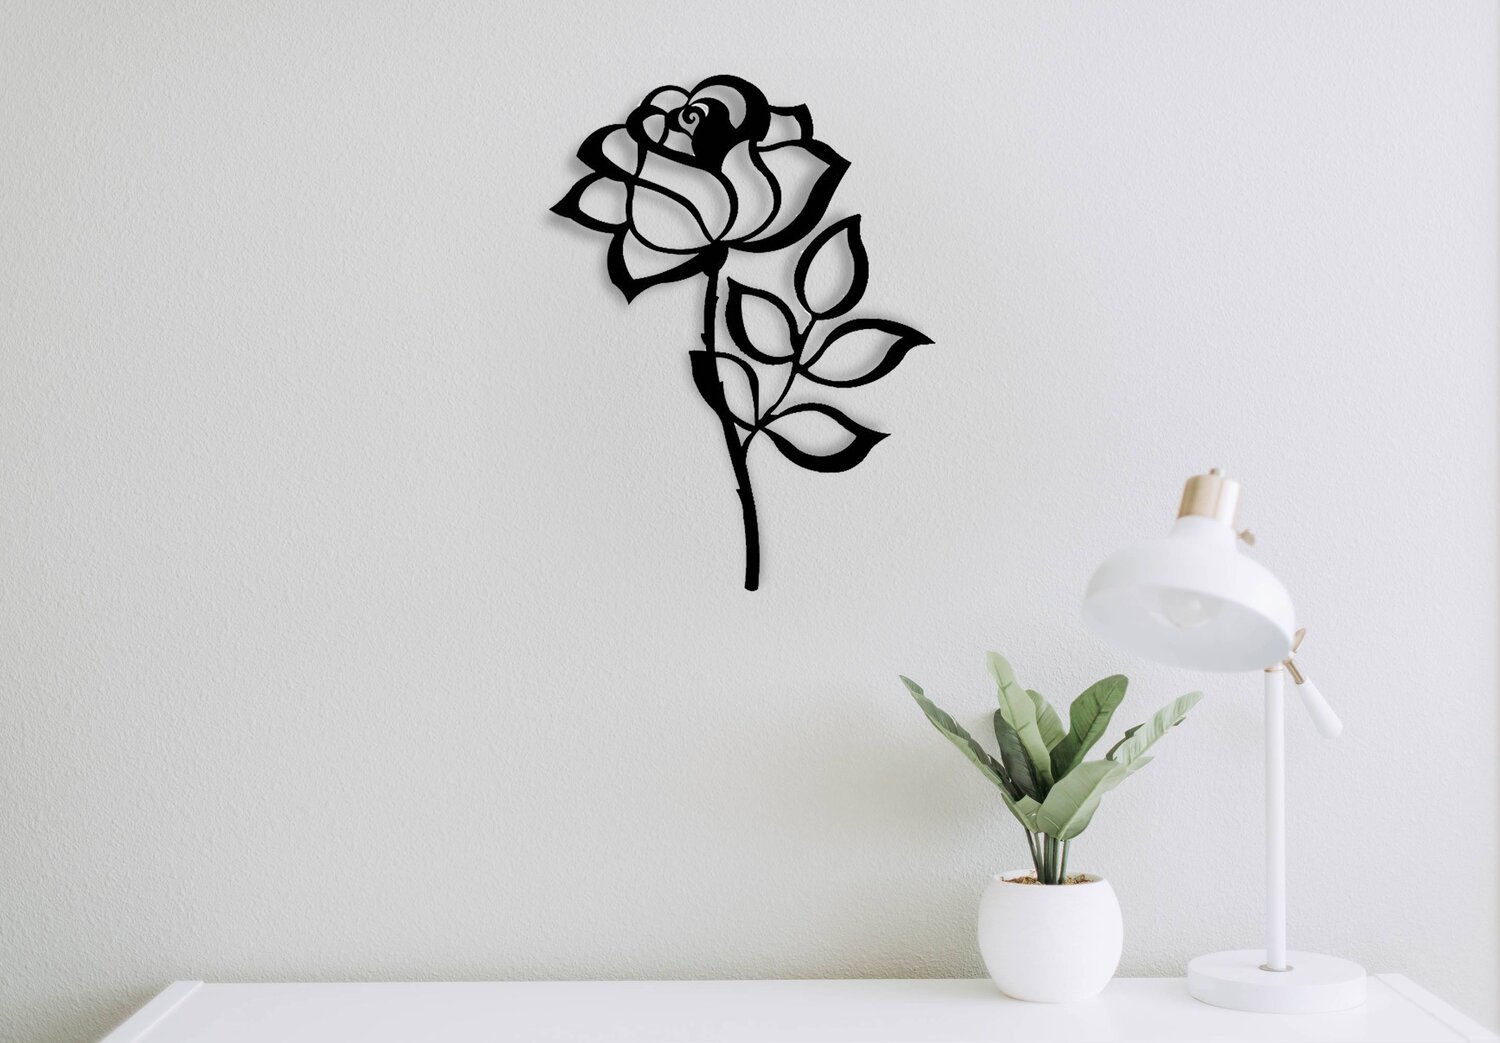
- Choosing the Perfect Location: Consider the ideal placement for your fabric wall art. Whether it’s a focal point above a sofa, a statement piece in the hallway, or a decorative accent in the bedroom, the location should allow the artwork to shine and complement the surrounding decor.
- Mounting Hardware: Depending on the weight and size of your fabric wall art, select appropriate mounting hardware to ensure secure and level installation. This may include picture hooks, wall anchors, or a French cleat system for larger and heavier pieces.
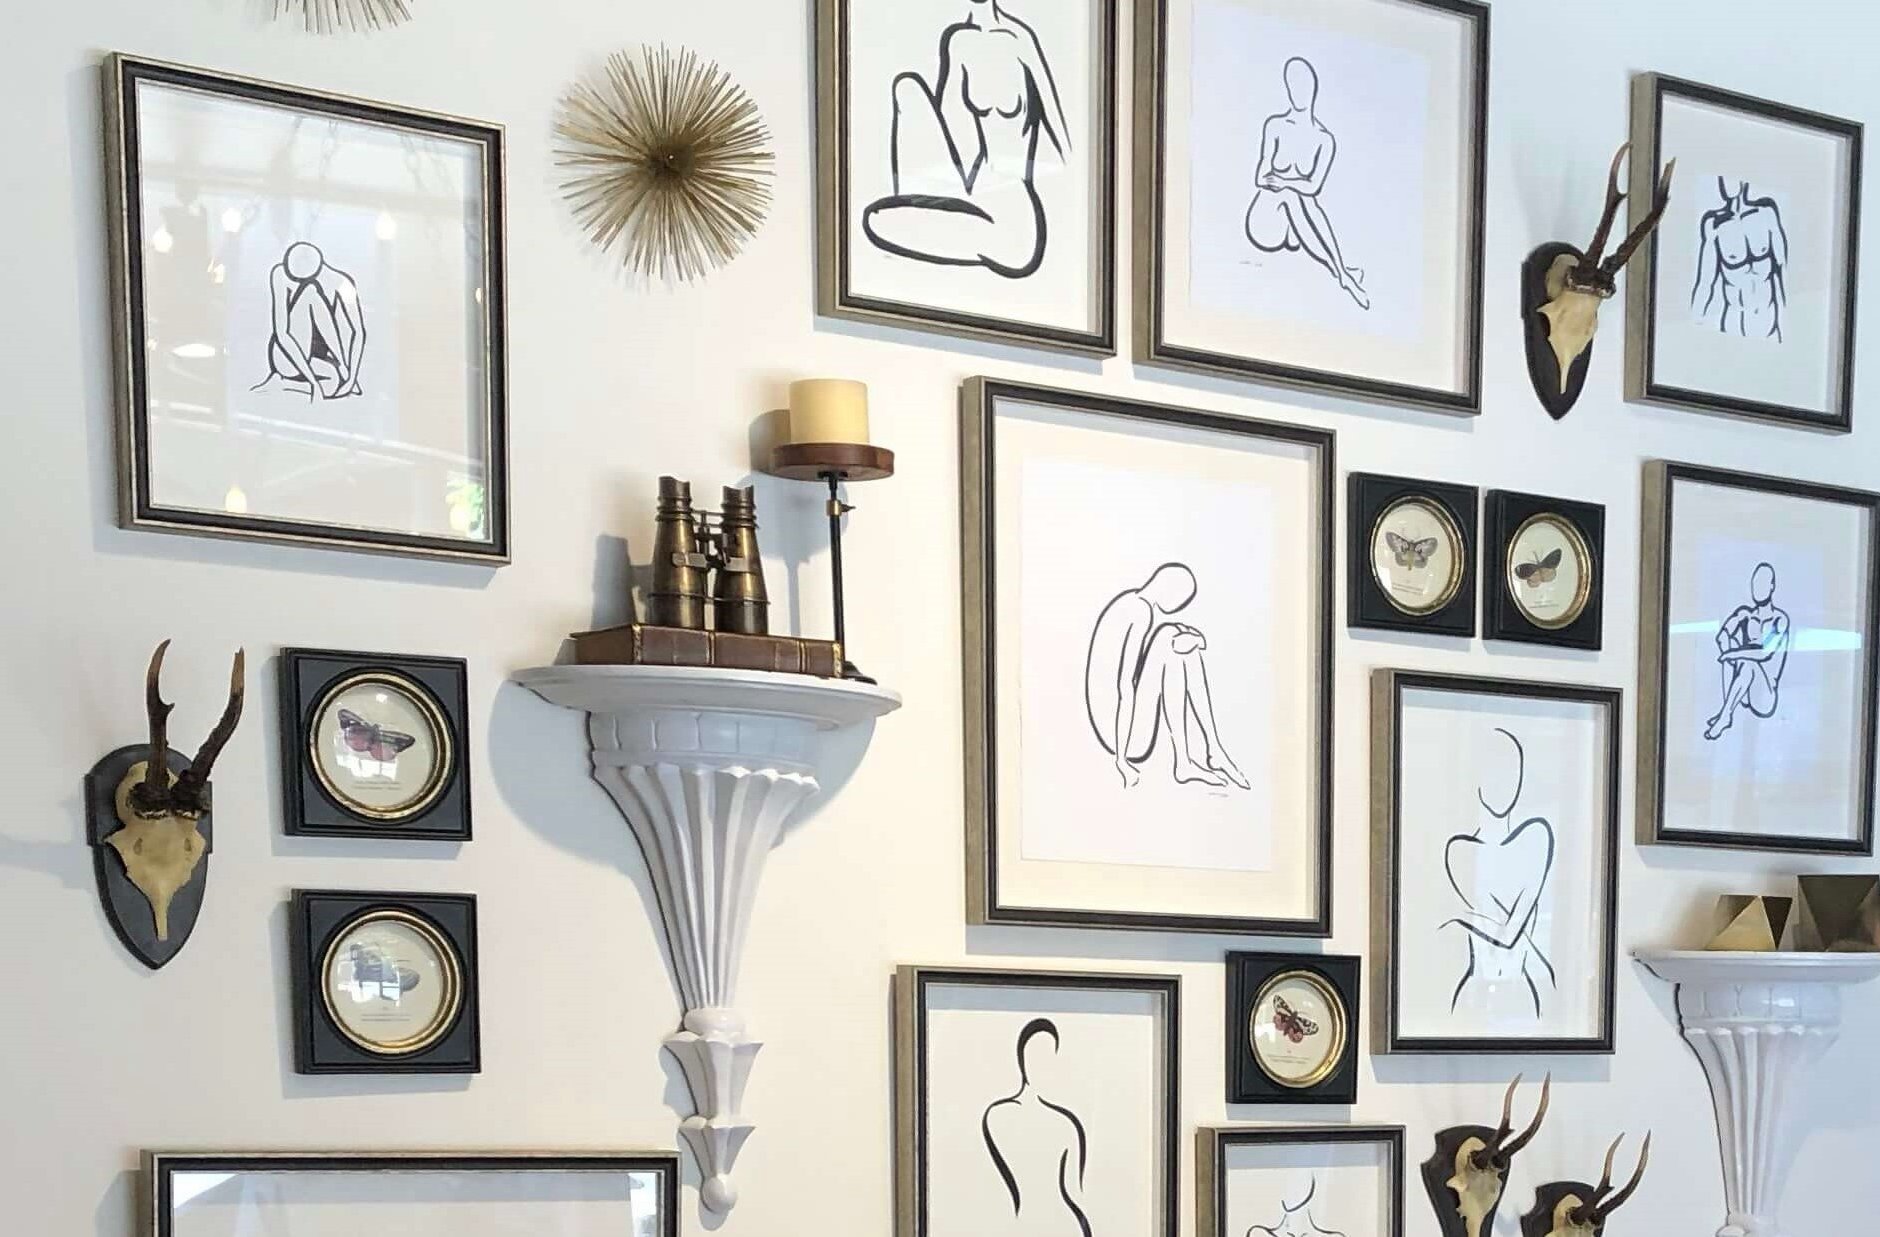
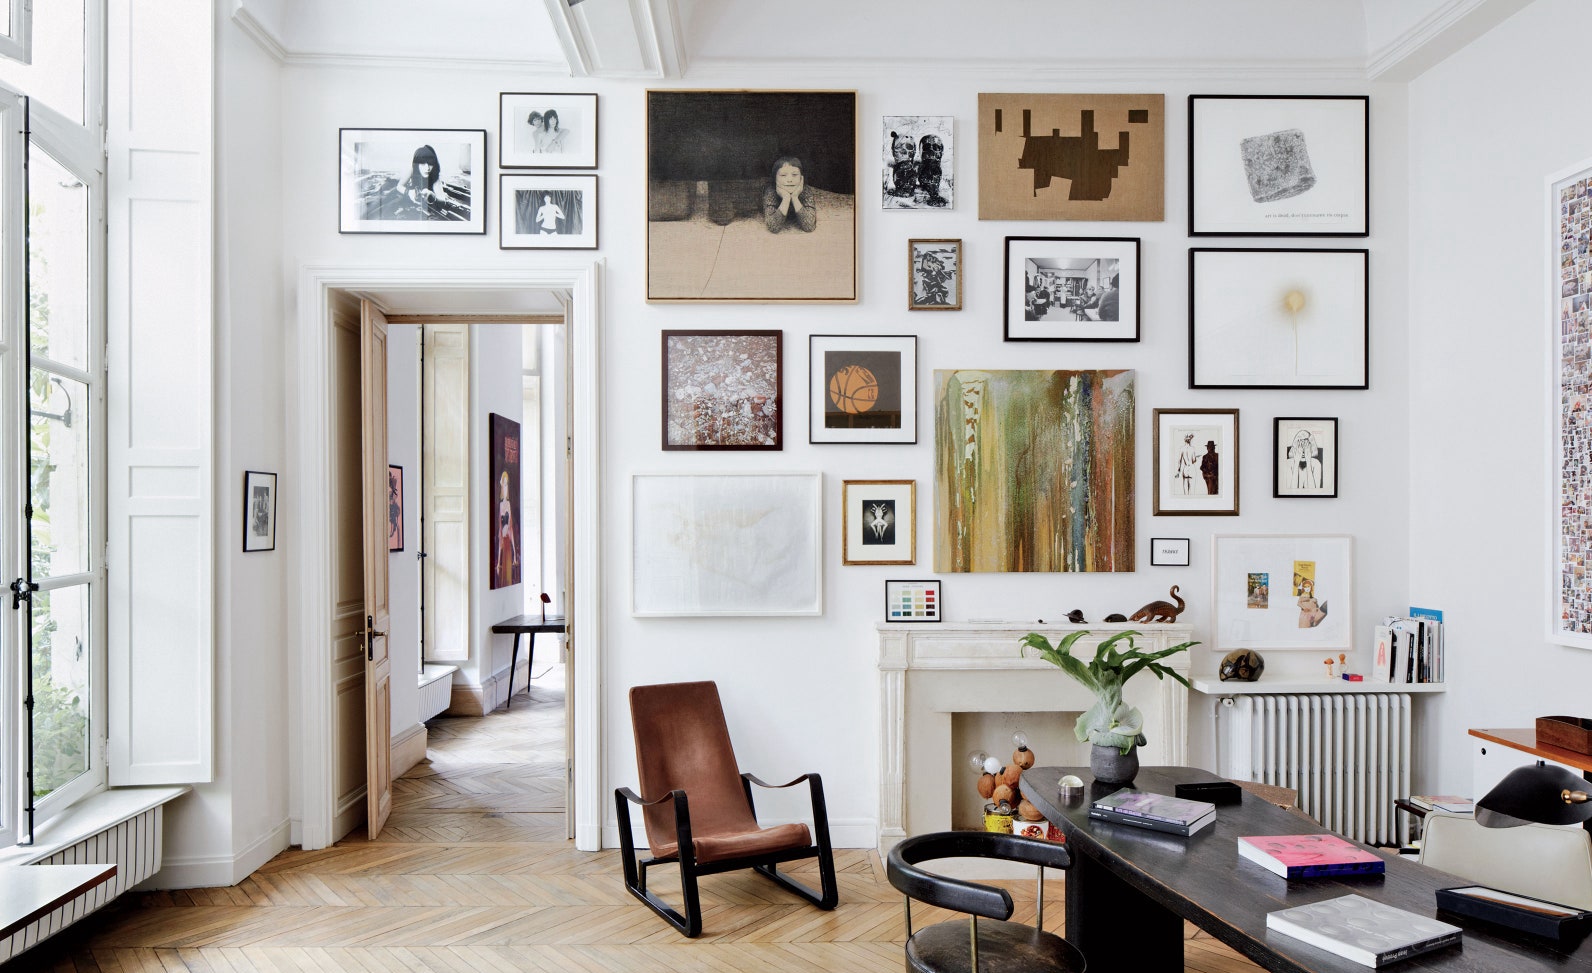
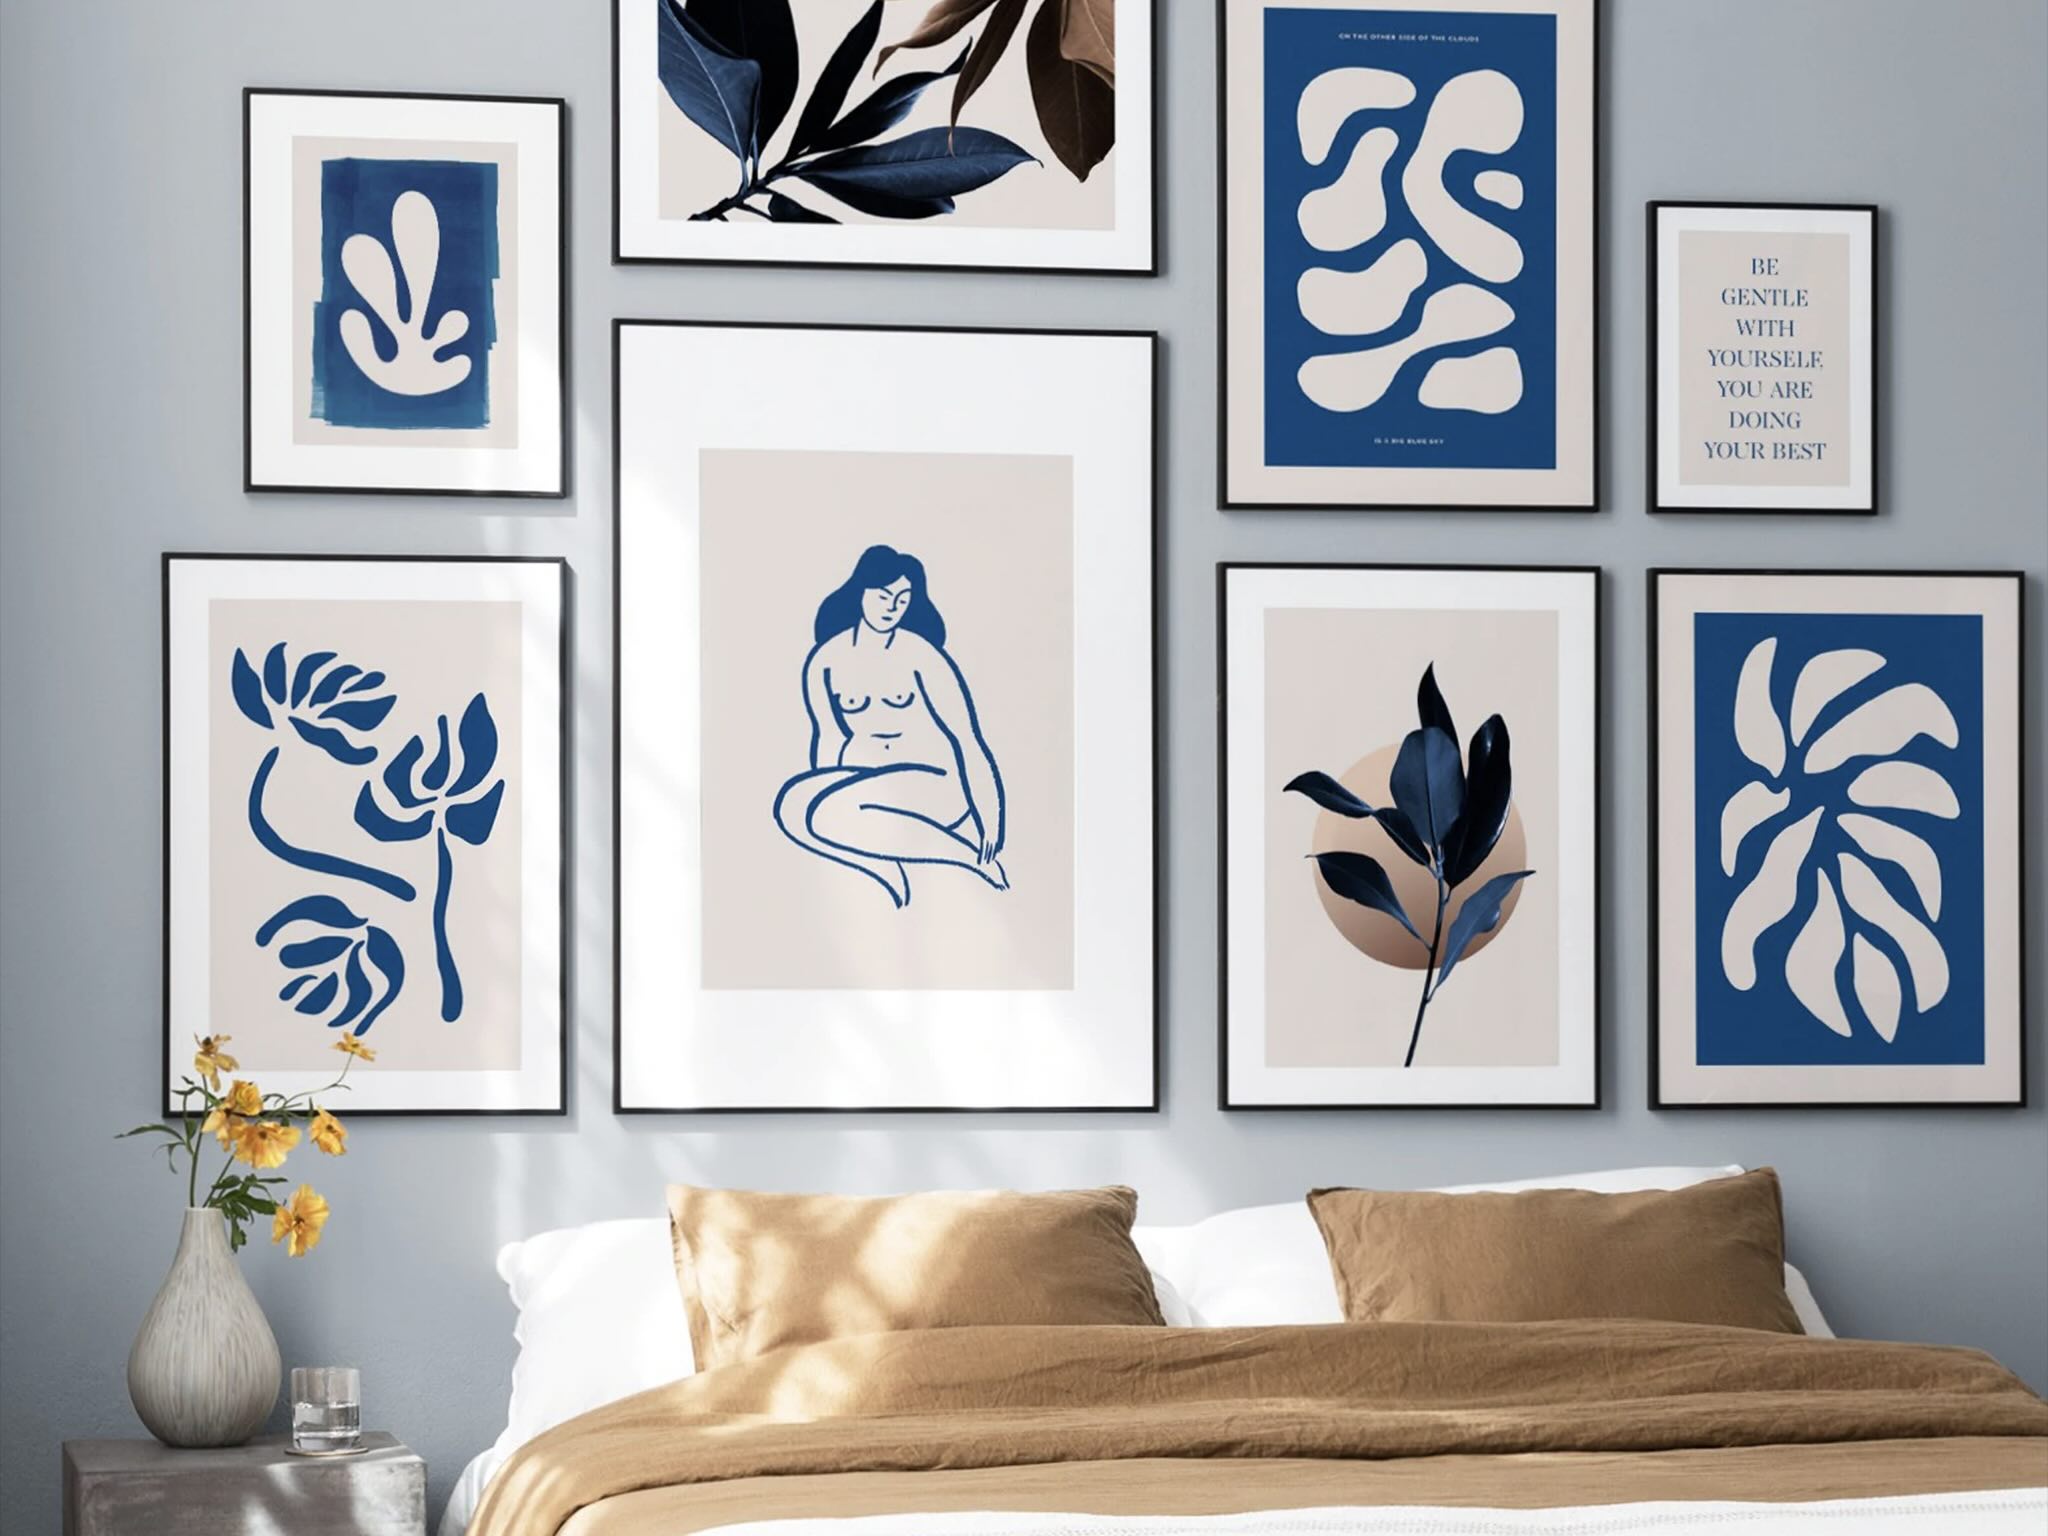
- Arrangement and Composition: If you’re creating a gallery wall with multiple pieces of art, carefully plan the arrangement and spacing to achieve a balanced and visually appealing display. Experiment with different layouts before committing to a final arrangement.
- Lighting and Ambiance: Consider the lighting in the chosen location. Adequate lighting can accentuate the colors and textures of your fabric wall art, adding depth and vibrancy to the overall display. Experiment with different lighting options to find the most flattering illumination for your artwork.
- Personal Touches: Enhance the visual impact of your fabric wall art by incorporating personal touches around the display. This could include decorative accents, complementary furnishings, or a cohesive color scheme that ties the entire space together.
By thoughtfully considering these aspects, you’ll elevate the presentation of your fabric wall art, ensuring that it becomes a captivating focal point within your home. The careful attention to detail in hanging and displaying your artwork will accentuate its beauty and provide a visually engaging experience for both residents and visitors.
As you step back and admire your fabric wall art taking pride of place in your home, you’ll revel in the satisfaction of transforming fabric into a stunning piece of personalized art that reflects your unique style and creativity.
Frequently Asked Questions about How To Make Fabric Wall Art
Was this page helpful?
At Storables.com, we guarantee accurate and reliable information. Our content, validated by Expert Board Contributors, is crafted following stringent Editorial Policies. We're committed to providing you with well-researched, expert-backed insights for all your informational needs.


0 thoughts on “How To Make Fabric Wall Art”