Articles
How To Build Abstract Wall Art
Modified: December 7, 2023
Learn how to create stunning abstract wall art with these step-by-step articles. Discover techniques, inspiration, and tips for designing your own unique pieces.
(Many of the links in this article redirect to a specific reviewed product. Your purchase of these products through affiliate links helps to generate commission for Storables.com, at no extra cost. Learn more)
Introduction
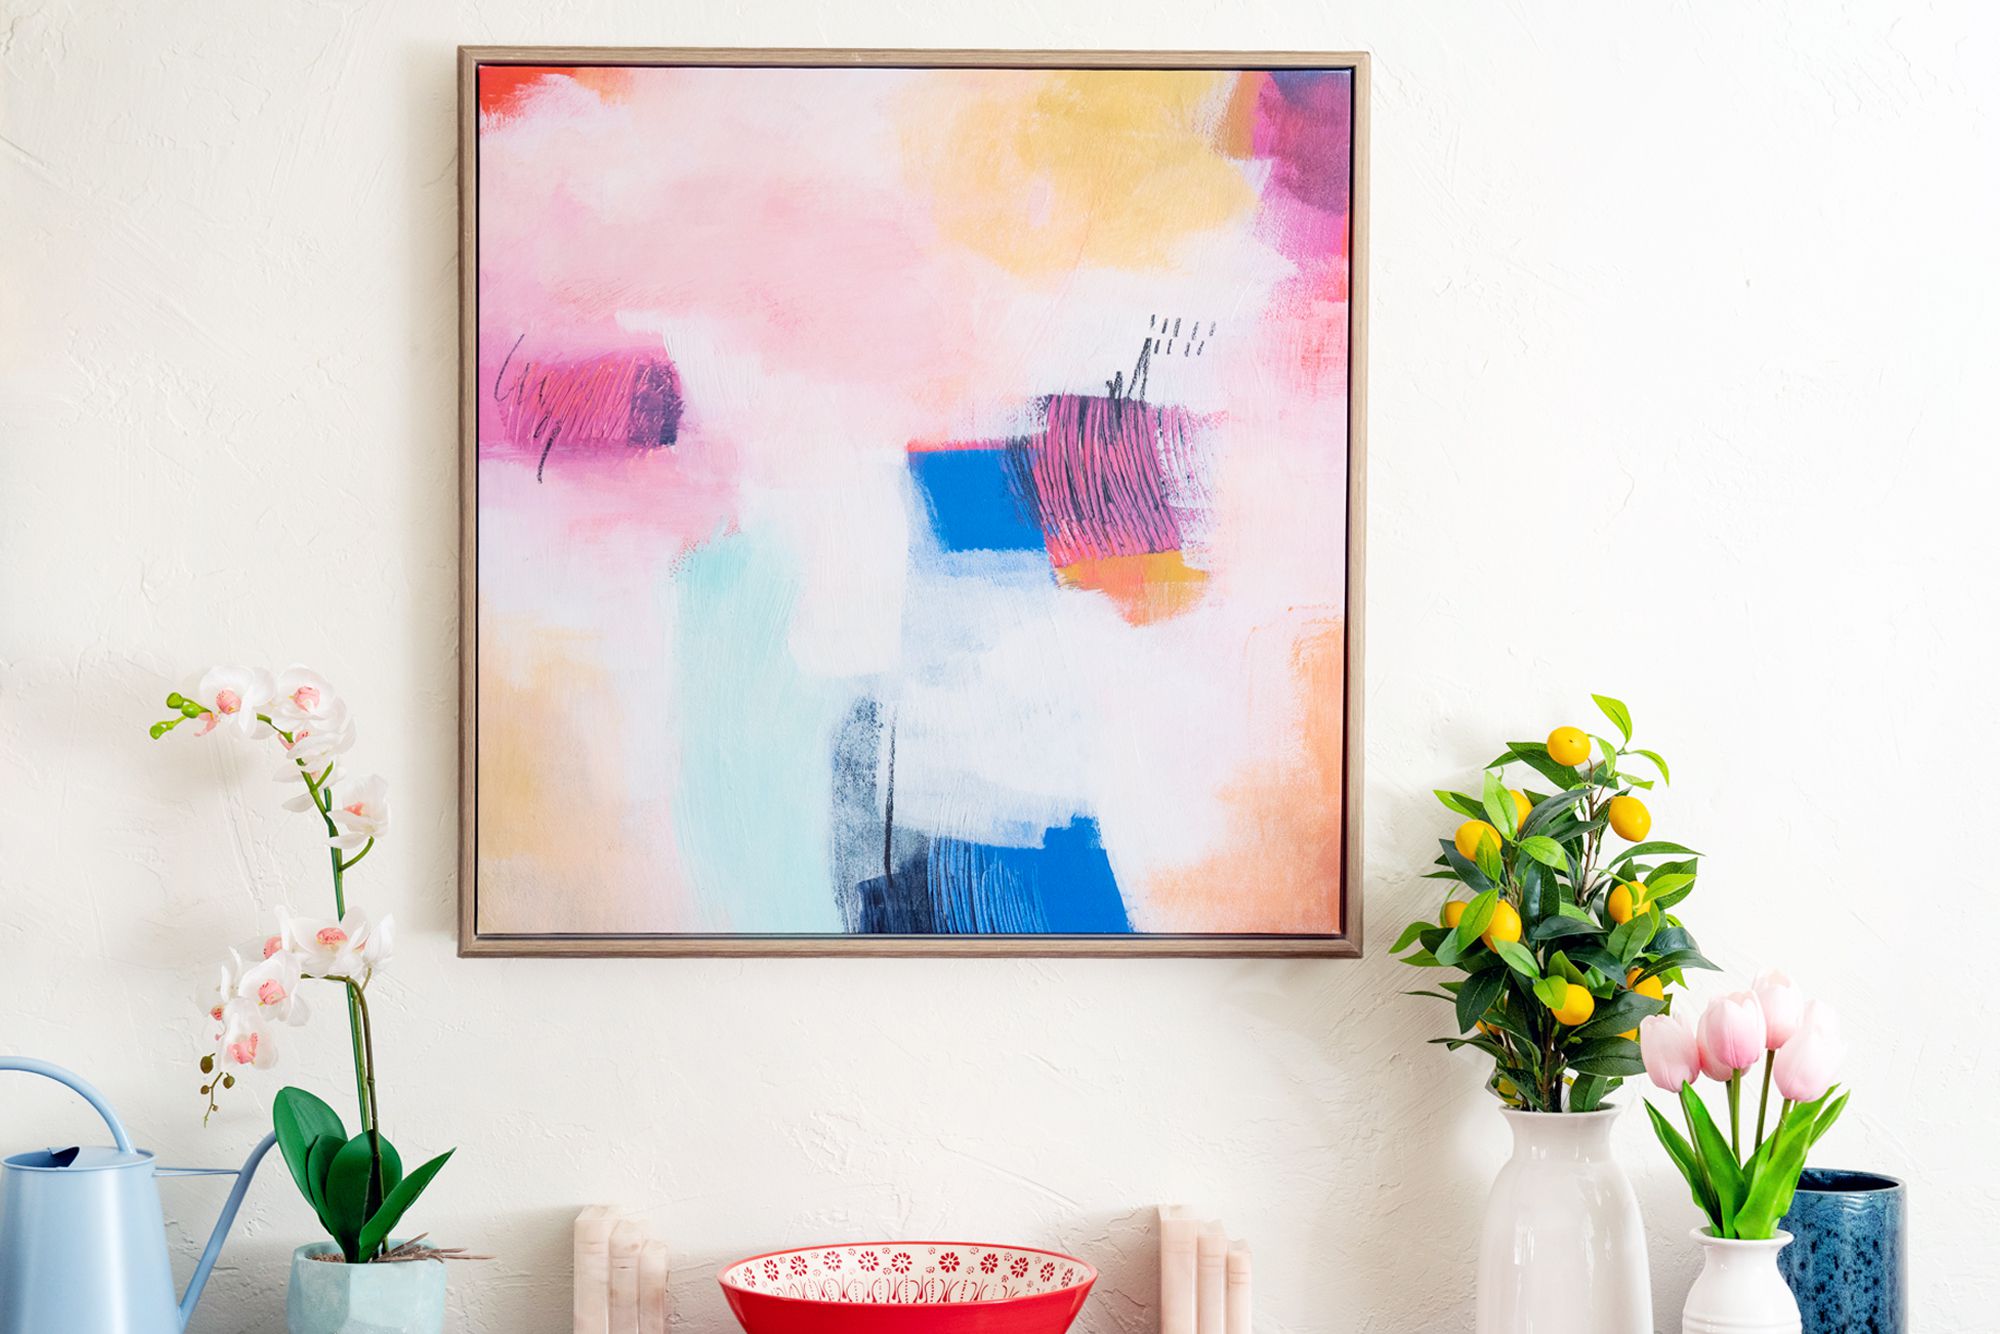
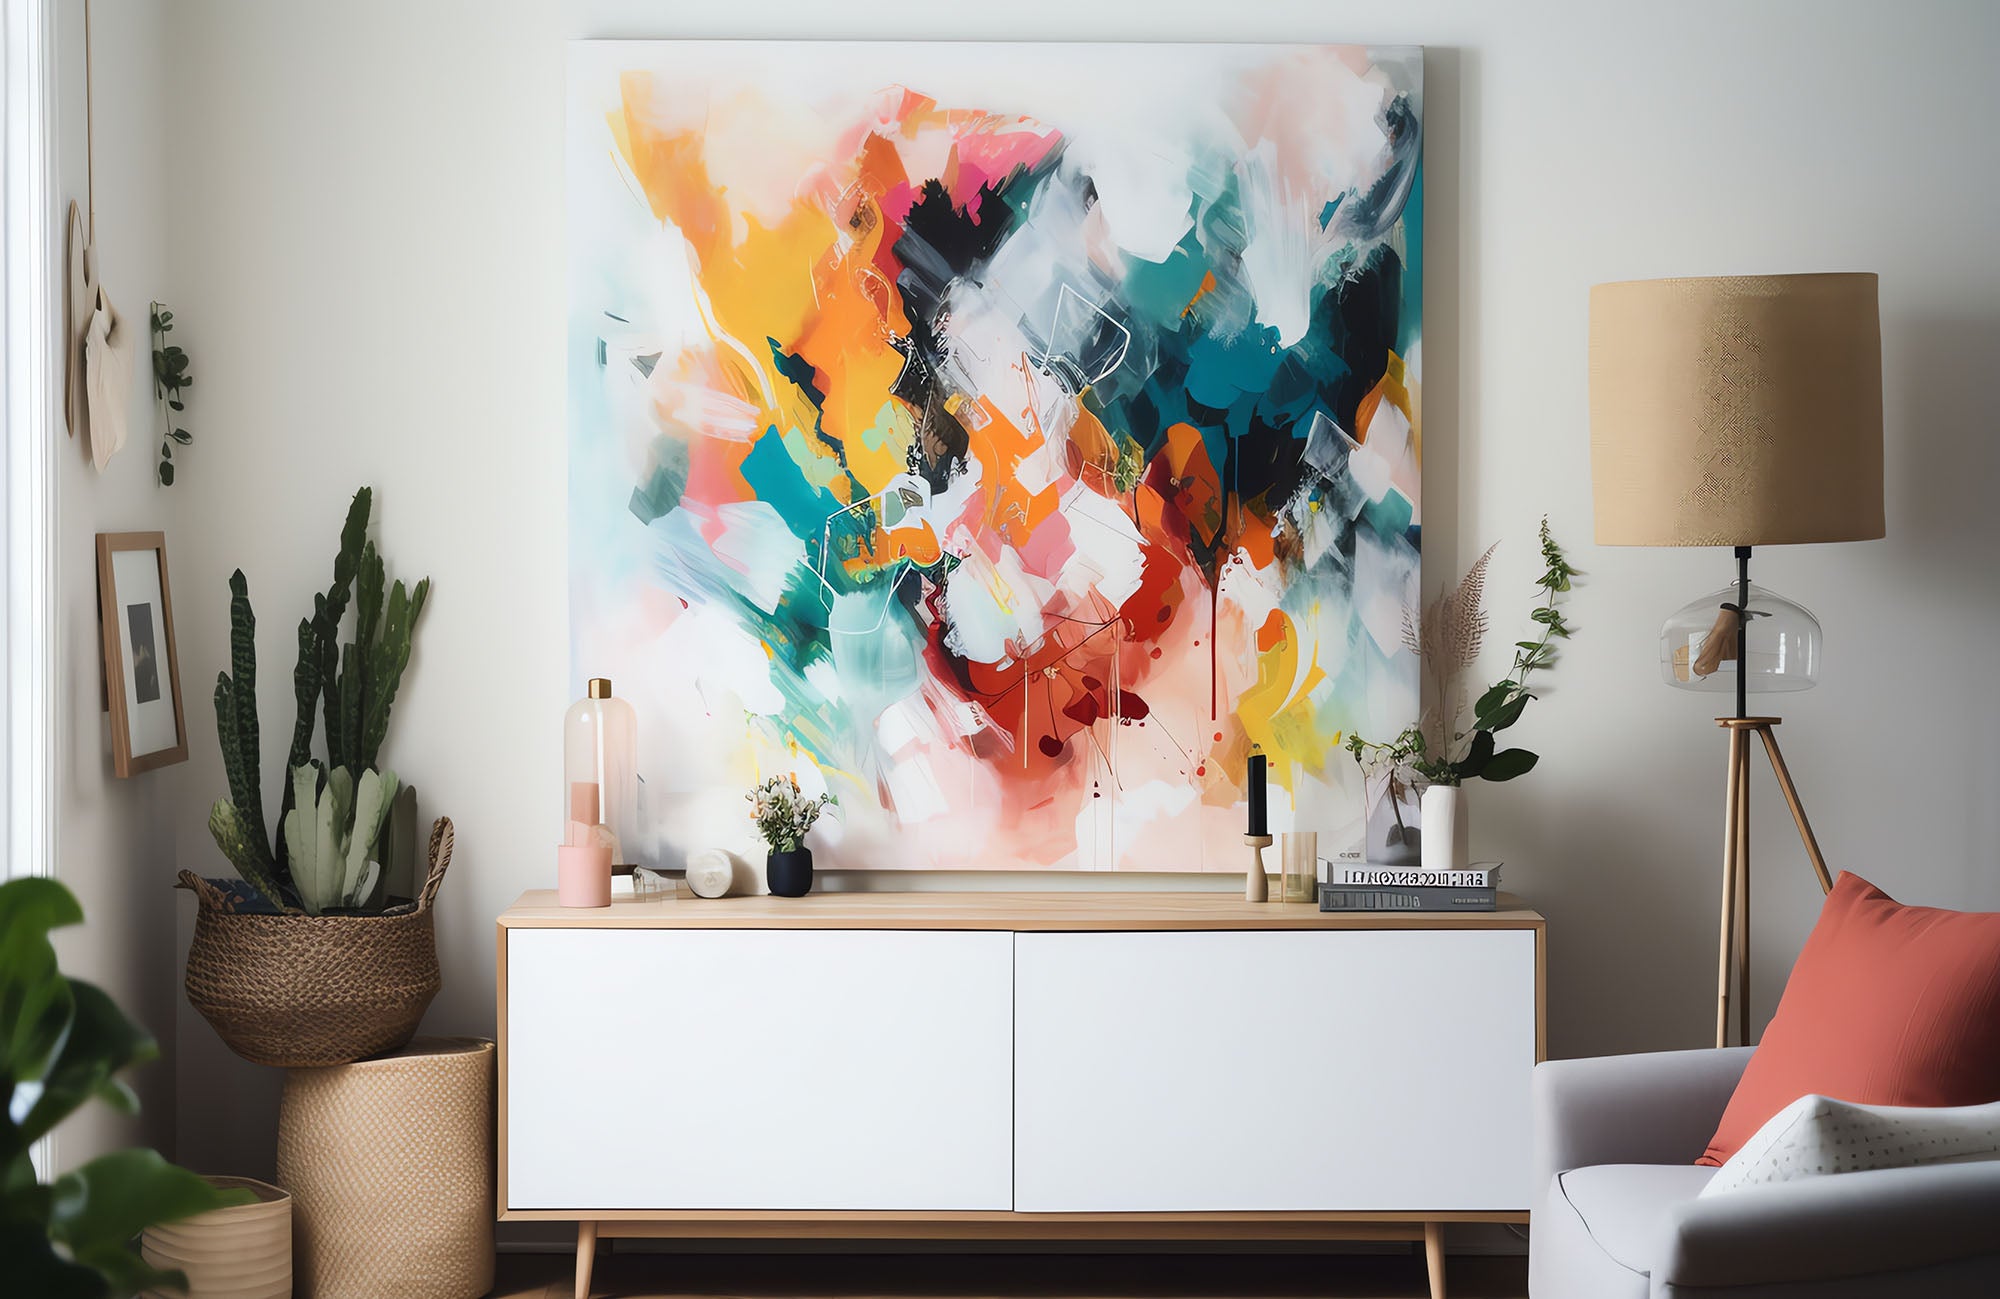
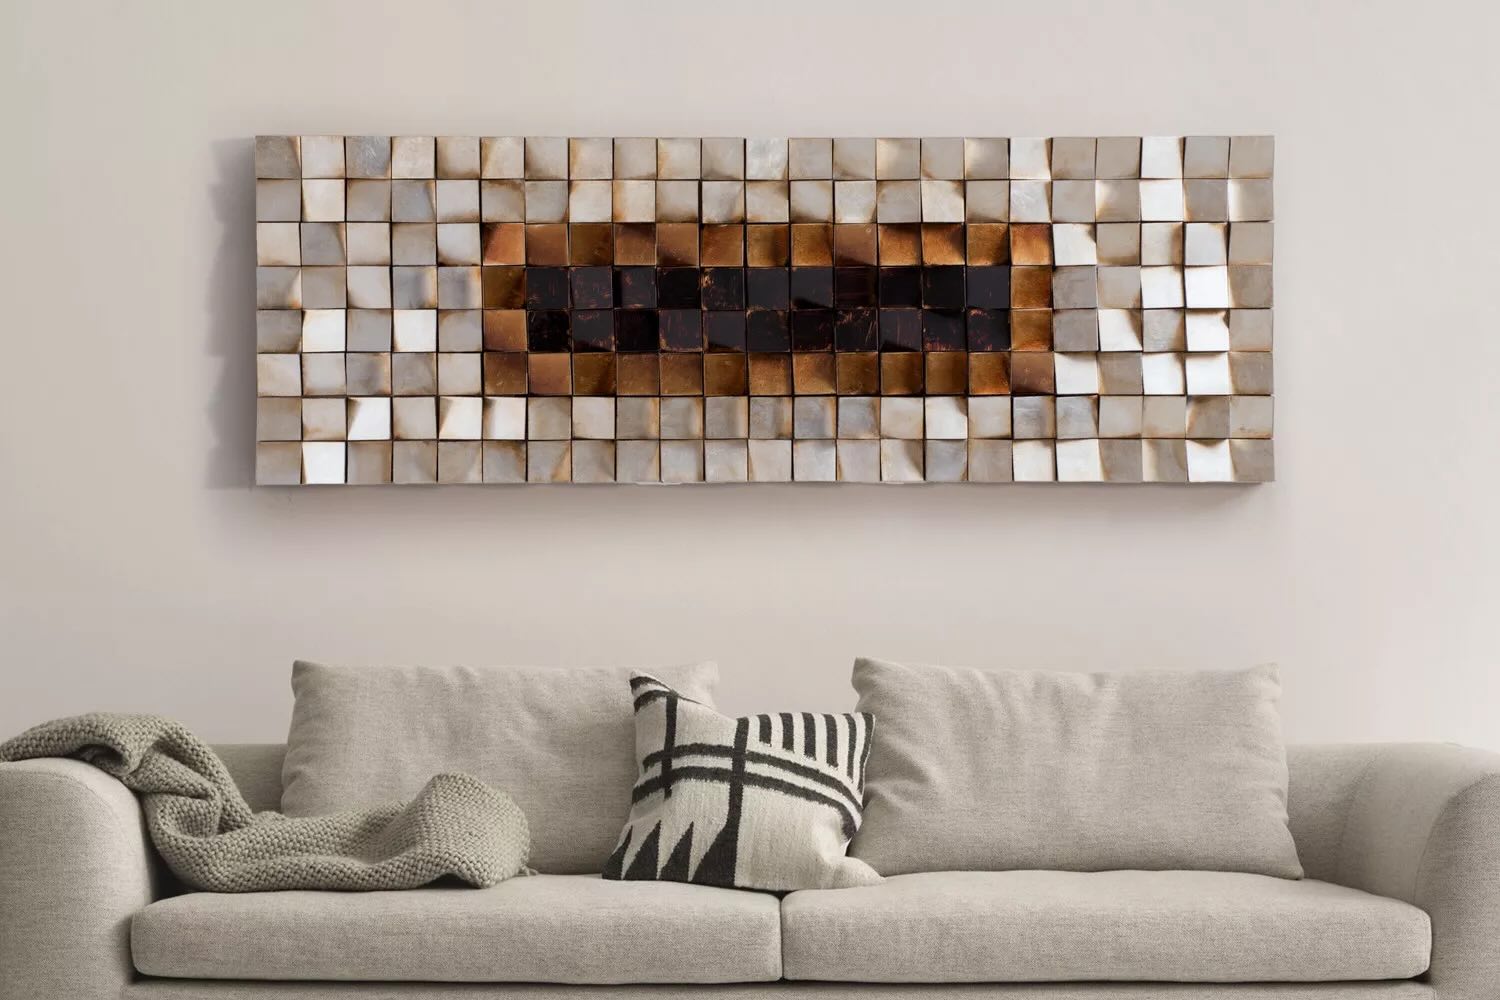
Abstract wall art is a fantastic way to add a pop of color and creativity to any space. Creating your own abstract wall art not only allows you to express your artistic side but also gives you the opportunity to customize the design to complement your existing decor. Whether you’re a seasoned artist or a beginner, this step-by-step guide will help you build your own stunning abstract wall art.
In this article, we will explore the materials you’ll need, as well as the techniques and steps involved in creating abstract wall art. By the end of this guide, you’ll have the knowledge and inspiration to create a unique and captivating piece of art that will be the focal point of any room.
So, let’s gather our supplies and get ready to unleash our creativity!
Key Takeaways:
- Unleash Your Creativity: Building abstract wall art is a fulfilling journey of self-expression and exploration. Embrace spontaneity, experiment with colors and textures, and let your imagination guide you to create a unique masterpiece.
- Personalized Art for Any Space: Whether you’re a seasoned artist or a beginner, creating abstract wall art allows you to customize your living space with a pop of color and creativity. Follow the step-by-step guide to build a stunning and captivating piece that reflects your unique style and vision.
Materials Needed
Before we dive into the process of creating abstract wall art, let’s gather the essential materials. Having everything on hand will ensure a smooth and uninterrupted creative process. Here’s a list of materials you’ll need:
- Canvas: Choose a canvas size that suits your space and design preferences. Consider the dimensions of the wall where you plan to hang the artwork to determine the ideal size.
- Acrylic Paint: Acrylic paint is perfect for abstract art due to its fast-drying properties and versatility. Select a variety of colors that complement the color scheme of your room.
- Paintbrushes: Invest in a range of paintbrushes, including different sizes and shapes. This will allow you to experiment with various brush strokes and create different textures in your artwork.
- Palette Knife: A palette knife is an excellent tool for creating interesting textures and adding depth to your abstract art.
- Palette: You’ll need a palette or a non-porous surface to mix and blend your paint colors.
- Water Container: Keep a container of water nearby to rinse your brushes between color changes.
- Protective Gloves and Apron: Painting can get messy, so wearing gloves and an apron will help protect your hands and clothes.
- Dropping Tools: Dropping tools, such as plastic pipettes or squeeze bottles, can be used to create controlled drips or splatters in your artwork.
- Masking Tape: Masking tape can be handy for creating clean edges or separating different sections of your canvas.
- Drop Cloth or Newspapers: Place a drop cloth or layer of newspapers beneath your workspace to protect the surface from paint splatters.
With these materials in hand, you’re now ready to embark on your artistic adventure. Let’s move on to the step-by-step process of creating stunning abstract wall art.
Step 1: Choosing a Canvas Size
The first step in creating abstract wall art is to choose the right canvas size. The size of your canvas will depend on various factors such as the available wall space, the desired impact of the artwork, and your personal preference.
Consider the room where you intend to hang the artwork. Is it a large living room wall or a smaller bedroom wall? Measure the wall space to get an idea of the maximum dimensions your canvas can be.
Next, think about the visual impact you want to achieve. Do you envision a bold, statement piece or a subtle and intimate artwork? Larger canvases tend to make a more dramatic impact, while smaller canvases can create a sense of intimacy.
It’s also essential to consider the other elements in the room, such as furniture and decor. The canvas should harmonize with the overall aesthetic of the space. For example, if you have high ceilings and spacious furniture, a larger canvas might be more suitable. On the other hand, if you have a cozy space with smaller furniture, a smaller canvas will complement the room better.
Once you have determined the ideal dimensions for your canvas, you can either purchase a pre-stretched canvas or build your own canvas frame. Pre-stretched canvases are readily available in art supply stores and online, saving you time and effort. Alternatively, if you prefer a custom size or want to save costs, you can buy canvas fabric and construct your own frame using wooden stretcher bars, which are also easily obtainable.
Remember, the canvas size you choose will serve as the foundation of your artwork, so take your time to find the perfect fit for your creative vision and the space it will occupy.
Step 2: Preparing the Canvas
Once you have chosen the desired canvas size, it’s important to properly prepare it before starting your abstract wall art. Preparing the canvas will ensure a smooth and durable surface for your paint application. Here are the steps to prepare your canvas:
- Clean the Surface: Start by removing any dust or debris from the canvas. Use a soft brush or cloth to gently sweep away any particles that may affect the paint application.
- Prime the Canvas: Priming the canvas helps create a good bond between the paint and the canvas surface. Apply a layer of acrylic gesso primer evenly across the entire canvas using a wide brush or a roller. Allow the primer to dry completely before proceeding to the next step.
- Sand the Surface (Optional): If you prefer a smoother surface, you can lightly sand the dried primer using fine-grit sandpaper. This step is optional and can be skipped if you prefer a textured surface.
- Apply a Base Coat (Optional): Depending on your design vision, you may choose to apply a base coat of paint to your canvas. This can provide a solid background color or tone to work on. Use a large brush or a roller to evenly apply the base coat across the entire canvas. Allow the paint to dry completely before moving on to the next step.
By following these preparation steps, you will ensure that your canvas is ready for the next stage of your creative process. Preparing the canvas will help achieve better paint adhesion, durability, and longevity for your abstract wall art.
Step 3: Selecting Colors and Design
Now that your canvas is prepared, it’s time to dive into the exciting process of selecting colors and designing your abstract wall art. This step allows you to unleash your creativity and experiment with different color combinations and design elements. Here’s how you can approach this step:
- Color Palette: Begin by selecting a color palette that resonates with your vision for the artwork. Consider the mood and atmosphere you want to create. Are you drawn to vibrant and bold colors, or do you prefer a more subdued and harmonious palette? Choose colors that complement or contrast each other to create visual interest.
- Color Mixing: If you want specific shades or hues that are not available in your paint collection, you can mix colors to achieve the desired result. Use a palette or a non-porous surface to mix the paints, experimenting with different ratios until you achieve the desired colors.
- Design Approach: Consider the overall design and composition of your abstract art. Will you create a centralized focal point or a more scattered and balanced design? Experiment with different shapes, lines, and patterns to create a visually engaging artwork.
- Inspiration and References: Drawing inspiration from other abstract artworks or nature can help spark ideas and guide your design choices. Explore different art styles and techniques to find inspiration for your own unique creation.
- Sketching (Optional): If you prefer a more planned approach, you can sketch a rough outline of your design on the canvas using a pencil or charcoal. This can help you visualize the composition and make adjustments before applying paint.
Remember, abstract art is all about freedom and expression. Don’t be afraid to experiment and try new things. Allow the colors and design elements to speak to you, and embrace any happy accidents or spontaneous brushstrokes along the way.
Once you have finalized your color palette and design approach, it’s time to move on to the next step: applying the base coat to your canvas.
When building abstract wall art, consider using a variety of textures and materials to add depth and visual interest to your piece. Experiment with different techniques such as layering, splattering, and sponging to create unique and dynamic effects.
Read also: 8 Superior Abstract Wall Art for 2024
Step 4: Applying Base Coat
Now that you have selected your colors and designed the layout of your abstract wall art, it’s time to apply the base coat to your canvas. The base coat serves as the foundation for your artwork, providing a solid background color or tone for your design to stand out. Here’s how you can apply the base coat:
- Prepare Your Paint: Squeeze out the desired base coat color onto a palette or a non-porous surface. Use a large brush or a roller to evenly distribute the paint.
- Start from the Center: Begin applying the base coat from the center of your canvas and work your way outwards. Use long, smooth brushstrokes or the roller to cover the entire canvas surface. Ensure that the paint is evenly spread for a consistent base.
- Multiple Layers (Optional): Depending on the opacity of the paint and the desired effect, you may need to apply multiple layers of the base coat. Allow each layer to dry completely before adding the next layer to prevent smudging or blending of colors. This step is optional and can be skipped if you are satisfied with the coverage of the first coat.
- Blend and Feather the Edges: To create a seamless transition between the base coat and the rest of your design, gently blend and feather the edges where the base coat meets the canvas. This will give your artwork a more professional and polished finish.
Remember to let each layer of the base coat dry thoroughly before moving on to the next step. Patience is key to achieving the best results in creating your abstract wall art. Once the base coat is dry, the real fun begins as we start creating abstract patterns and adding textures and dimensions to your artwork in the next steps.
Step 5: Creating Abstract Patterns
Now that the base coat has dried, it’s time to let your creativity flow by creating abstract patterns on your canvas. This step allows you to experiment with different brushstrokes, techniques, and layering to achieve unique and captivating designs. Here’s how you can create abstract patterns:
- Brushwork: Use a variety of brushes in different sizes and shapes to create different patterns on the canvas. Experiment with short and long brushstrokes, cross-hatching, stippling, or even splattering for a more dynamic and textured effect.
- Layering Colors: Build depth and complexity by layering different colors on top of each other. Apply one color with a brush and let it dry before adding another color on top. This can create interesting visual effects and give your artwork a sense of depth and dimension.
- Blending and Mixing: Explore the possibilities of blending and mixing colors on the canvas. Blend wet colors together to create smooth transitions or use a dry brush to lightly mix different colors for a more textured and blended look.
- Contrasting Elements: Play with contrasting elements to create visual interest. This can be achieved by adding bold strokes of color next to more muted tones, incorporating sharp lines alongside soft edges, or combining smooth brushwork with textured applications.
- Creating Shapes: Experiment with creating various shapes on the canvas, such as circles, triangles, or rectangles. These geometric shapes can add structure and balance to your abstract design.
- Composition: Step back and evaluate the composition of your patterns as you work. Consider the overall balance of colors, shapes, and textures. Adjust the design as needed to create a visually pleasing and harmonious composition.
Remember, abstract art is a subjective and personal expression of creativity. There are no right or wrong patterns to create. Trust your instincts and allow yourself to explore different techniques and styles. Embrace spontaneity and let your brushstrokes guide you as you create your own unique abstract patterns.
Once you are satisfied with the patterns you have created, it’s time to add texture and dimension to your artwork in the next step.
Step 6: Adding Texture and Dimension
Adding texture and dimension to your abstract wall art can elevate it to another level of visual interest and appeal. This step allows you to create tactile elements and give your artwork a three-dimensional quality. Here’s how you can add texture and dimension to your artwork:
- Palette Knife Techniques: Utilize a palette knife to create textured elements on your canvas. Apply thick layers of paint or use the edge of the knife to create raised lines or ridges. Experiment with different pressures and angles to achieve various texture effects.
- Mixed Media: Incorporate other materials or techniques to add texture and dimension. Consider using collage elements like textured papers, fabric, or even sand. You can also use gel mediums or modeling paste to build up texture on the canvas.
- Dry Brushing: Use a dry brush technique to lightly drag the bristles over the surface, creating a subtle texture or highlighting certain areas of your design. This technique can add depth and dimension to your artwork.
- Impasto Technique: Apply thick layers of paint directly onto the canvas using a brush or palette knife. Leaving visible brushstrokes and paint texture on the surface can create a bold and textured effect.
- Drips and Splatters: Experiment with controlled drips or splatters to add an element of spontaneity and movement to your artwork. Use droppers, brushes, or even flicking techniques to create interesting drips or splatters of paint.
- Layering and Transparency: Build up layers of paint, allowing partially dry layers to show through. This can create depth and visual interest as different colors peek through the layers, giving your artwork a sense of depth and dimension.
Remember to let each layer of paint or texture dry thoroughly before adding the next layer. Take breaks and step back to assess the overall texture and dimension of your artwork. Make adjustments and fine-tune as needed to achieve the desired effect.
With the addition of texture and dimension, your abstract wall art will truly come to life. However, we’re not quite finished yet. Let’s move on to the final step: adding the finishing touches to complete your masterpiece.
Step 7: Finishing Touches
Congratulations! You’re on the final step of creating your abstract wall art. Now it’s time to add the finishing touches to refine and complete your masterpiece. These final touches will help enhance the overall look and ensure that your artwork is ready to be displayed. Here’s what you can do in this step:
- Detailing: Take a moment to inspect your artwork and make any necessary touch-ups or additions. Look for any areas that need more definition or refinement. This could be adding finer lines, highlights, or additional layers of color to enhance certain aspects of your design.
- Edge Treatment: Consider the edges of your canvas. Decide whether you want the paint to continue onto the sides or if you prefer a clean and finished look. You can paint the edges in a complementary color or leave them as they are, depending on your artistic vision.
- Varnishing: Applying a varnish to your artwork can provide protection and enhance the vibrancy of the colors. Choose a varnish suitable for acrylic paint and follow the instructions for application. Ensure that your artwork is completely dry before applying the varnish.
- Signing and Dating: Don’t forget to sign your artwork! Add your signature in a discreet but visible area of the canvas. You can also include the date to mark the completion of your artwork.
Take a step back and evaluate your artwork as a whole. Assess if you’re satisfied with the overall composition, colors, textures, and dimension. Make any final adjustments if needed, and then step back again to appreciate the beauty and uniqueness of your final creation.
Now that your abstract wall art is complete, it’s time to enjoy and proudly display it in your home or give it as a thoughtful and personalized gift to someone special. Your artwork is a reflection of your creativity and passion, and it will undoubtedly bring joy and inspiration to those who view it.
Remember, the process of creating abstract art is about self-expression and exploration. Don’t be afraid to take risks and embrace the unexpected. Enjoy the journey of creating unique and captivating abstract wall art.
Well done on completing your abstract wall art masterpiece!
Read more: How To Build Bathroom Wall Art
Conclusion
Creating your own abstract wall art is a rewarding and fulfilling experience that allows you to unleash your creativity and add a personal touch to your living space. Throughout this article, we’ve explored the step-by-step process of building abstract wall art, from choosing the canvas size to adding the finishing touches.
By following these steps and using the materials and techniques mentioned, you can create stunning and captivating abstract wall art that reflects your unique style and artistic vision. Remember to gather all the necessary materials, prepare the canvas, select colors and design, apply a base coat, create abstract patterns, add texture and dimension, and finish with the final touches.
Throughout the process, be open to experimentation and embrace the spontaneity of abstract art. Don’t be afraid to make mistakes or deviate from your original plan. Some of the most remarkable and unexpected creations can arise from these moments of unpredictability.
Whether you are a seasoned artist or a beginner, the joy of creating abstract wall art lies in the process itself. Express yourself freely, enjoy the journey, and allow your creativity to guide you. Each stroke of the brush, each layer of paint, and each decision you make will contribute to a unique and personal masterpiece.
Once your abstract wall art is complete, display it proudly in your home or share it as a thoughtful and personalized gift. Your artwork will not only enrich your living space but also inspire and evoke emotions in those who view it.
So gather your materials, carve out some creative time, and embark on this artistic adventure. Let your imagination soar and create abstract wall art that will be a testament to your creativity and artistic expression. Enjoy the process, and may your artwork bring beauty and joy to your life and the lives of others.
Frequently Asked Questions about How To Build Abstract Wall Art
Was this page helpful?
At Storables.com, we guarantee accurate and reliable information. Our content, validated by Expert Board Contributors, is crafted following stringent Editorial Policies. We're committed to providing you with well-researched, expert-backed insights for all your informational needs.
0 thoughts on “How To Build Abstract Wall Art”