Furniture
How To Hang A Lamp Shade From The Ceiling
Modified: August 20, 2024
Learn how to hang a stylish lamp shade from the ceiling in just a few simple steps. Elevate your furniture's aesthetic with this easy DIY project.
(Many of the links in this article redirect to a specific reviewed product. Your purchase of these products through affiliate links helps to generate commission for Storables.com, at no extra cost. Learn more)
Introduction
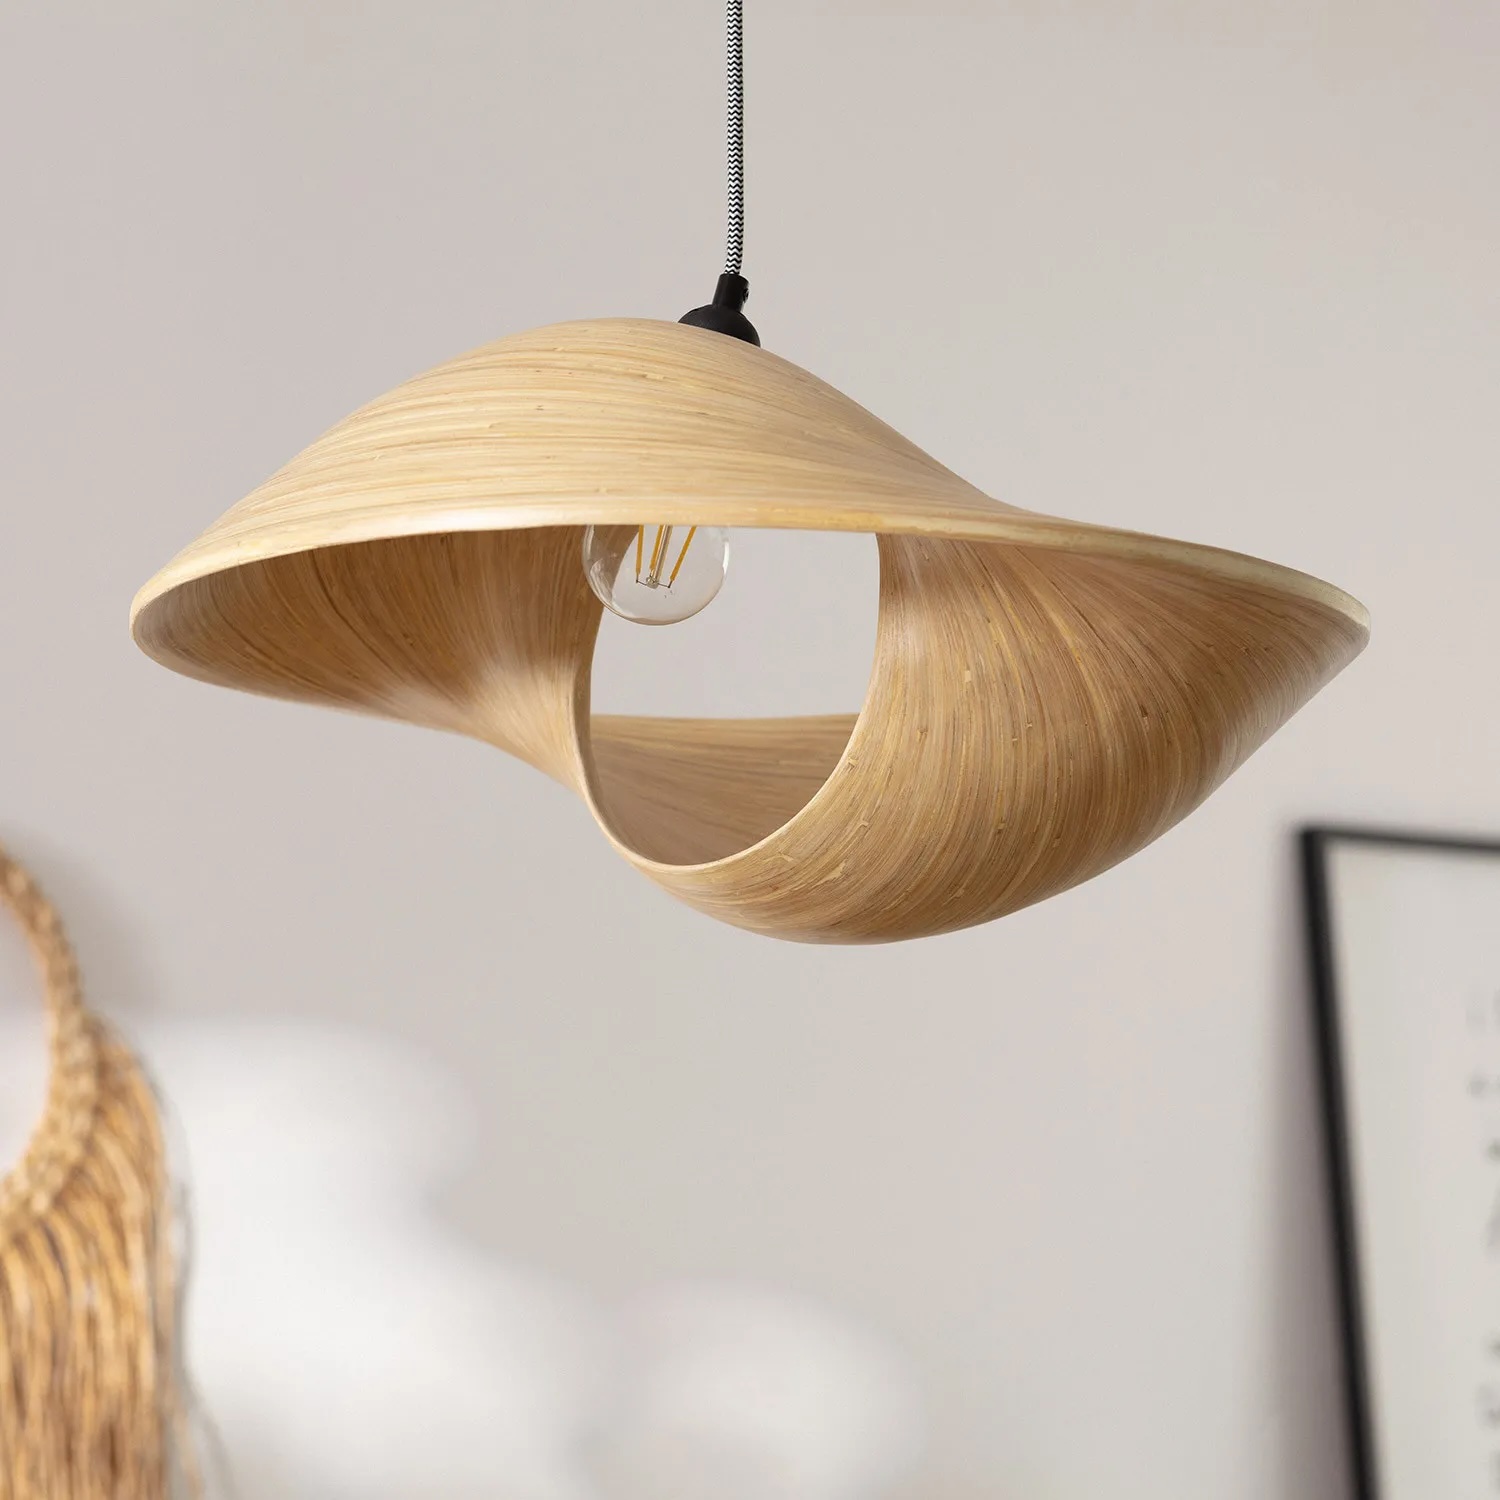
When it comes to interior lighting, nothing adds ambiance and style quite like a hanging lamp shade. Whether you’re looking to create a cozy reading nook, illuminate a dining area, or add a decorative touch to a bedroom, hanging a lamp shade from the ceiling can instantly transform a space.
However, if you’ve never attempted this before, it can be a daunting task. From selecting the right location to ensuring proper installation, there are several factors to consider. Fortunately, with the right tools and a step-by-step process, you can easily hang a lamp shade from the ceiling and enjoy the warm glow it brings to your room.
In this article, we will guide you through the process of hanging a lamp shade from the ceiling. We’ll cover everything from gathering the necessary tools and materials to adjusting the height and position of the lamp shade. By the end, you’ll feel confident and ready to tackle this DIY project.
So, let’s get started by gathering the necessary tools and materials.
Key Takeaways:
- Elevate your room’s ambiance and style with a hanging lamp shade. Follow our step-by-step guide to confidently and safely install a lamp shade that complements your space and provides functional lighting.
- Prioritize safety and maintenance to ensure a stable and visually pleasing lamp shade installation. Create a cozy and stylish atmosphere in any room by hanging a beautiful lamp shade from the ceiling.
Step 1: Gather the necessary tools and materials
Before you begin hanging a lamp shade from the ceiling, it’s important to have the right tools and materials on hand. Here’s a list of what you’ll need:
- A lamp shade – Choose a shade that complements your room’s decor and fits the style of your lamp.
- Ceiling hook or mounting bracket – This will depend on the type of lamp shade you have and the structure of your ceiling. Make sure it’s sturdy enough to support the weight of the shade.
- Screwdriver or power drill – Depending on the type of hook or bracket you’re using, you’ll need a screwdriver or power drill to secure it to the ceiling.
- Wire cutters – You may need wire cutters if your lamp shade has a hanging chain or wire that needs to be adjusted.
- Toggle bolts (optional) – If you’re unable to find a stud in the ceiling to secure the hook or bracket, toggle bolts can provide extra support.
- Measuring tape or ruler – To ensure proper placement and alignment of the lamp shade.
- Pencil or marker – Use to mark the location for installation.
- Ladder or step stool – Depending on the height of your ceiling, you’ll need a secure and stable surface to reach the installation area.
Once you have gathered these tools and materials, you’ll be well-prepared to move on to the next step – identifying the appropriate location for hanging the lamp shade.
Step 2: Identify the appropriate location for hanging the lamp shade
Choosing the right location to hang your lamp shade is crucial for both aesthetic reasons and practicality. Here are some factors to consider when identifying the appropriate location:
- Room layout and purpose: Think about the layout of the room and how the lamp shade will fit into the overall design. Consider the purpose of the space and how the lighting will enhance that purpose.
- Ceiling height: Take into account the height of your ceiling. If it’s low, you’ll need to ensure the lamp shade doesn’t hang too low and interfere with people’s movement.
- Existing electrical connections: Check if there are any existing electrical connections in the area where you plan to hang the lamp shade. If there’s a ceiling outlet or junction box, that can make the installation easier.
- Natural light sources: Evaluate the natural light sources in the room. Avoid hanging the lamp shade in a spot that competes with natural light during the day, as it may diminish the effectiveness of both lighting sources.
- Furniture and architectural features: Consider the placement of furniture and any architectural features in the room. You want to ensure the lamp shade is positioned in a way that allows for unobstructed lighting and doesn’t clash with other elements.
- Lighting needs: Determine the purpose of the lamp shade and the type of lighting it will provide. If it’s for task lighting, you’ll want to position it in a spot that offers adequate illumination for the intended task.
Once you have taken all these factors into account, you can mark the location on the ceiling where you plan to install the hook or mounting bracket. Use a pencil or marker to make an easily visible mark.
With the location identified, you’re ready to move on to the next step – preparing the ceiling for installation.
Step 3: Prepare the ceiling for installation
Before you can hang your lamp shade from the ceiling, it’s important to ensure that the ceiling is ready for installation. Follow these steps to prepare the ceiling:
- Clear the area: Remove any furniture or objects from the area where you plan to install the lamp shade. This will provide you with a clear workspace and prevent any accidental damage.
- Locate the ceiling studs: Use a stud finder to locate the ceiling studs near the marked installation location. The studs will provide the strongest support for the hook or mounting bracket. If you’re unable to find a stud, toggle bolts can be used as an alternative for added stability.
- Inspect the ceiling: Check the condition of the ceiling to ensure there are no cracks or loose plaster. If necessary, patch up any imperfections and allow the repairs to dry completely before proceeding.
- Turn off the power: If you’re installing the lamp shade near an existing electrical connection, such as a ceiling outlet or junction box, turn off the power at the breaker panel before proceeding with the installation.
- Use a pilot hole (if needed): If your hook or mounting bracket requires it, use a power drill with a small drill bit to create a pilot hole in the ceiling at the marked location. This will make it easier to secure the hook or bracket.
With the ceiling properly prepared, you’re now ready to move on to the next step – installing the ceiling hook or mounting bracket.
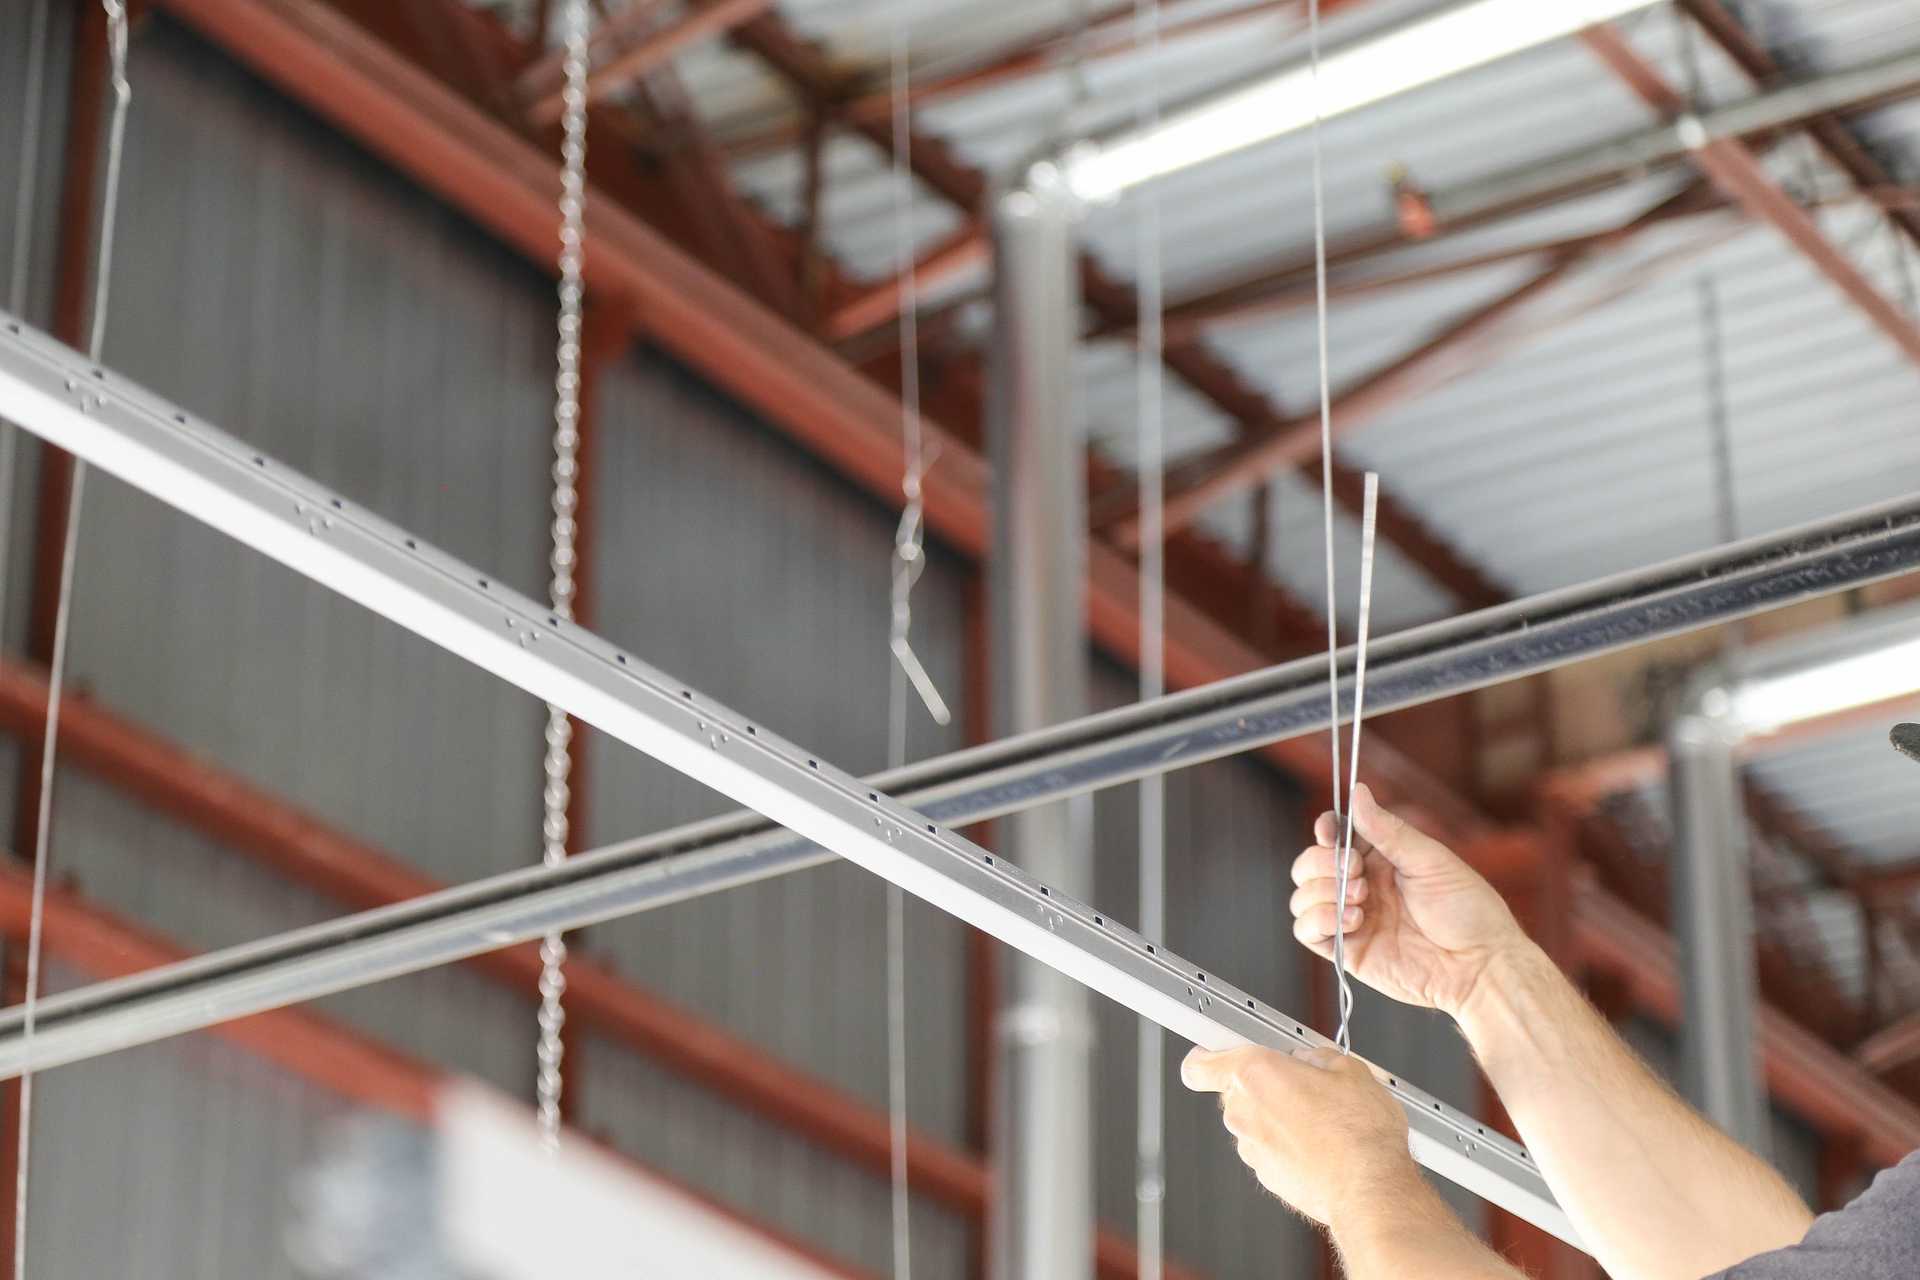
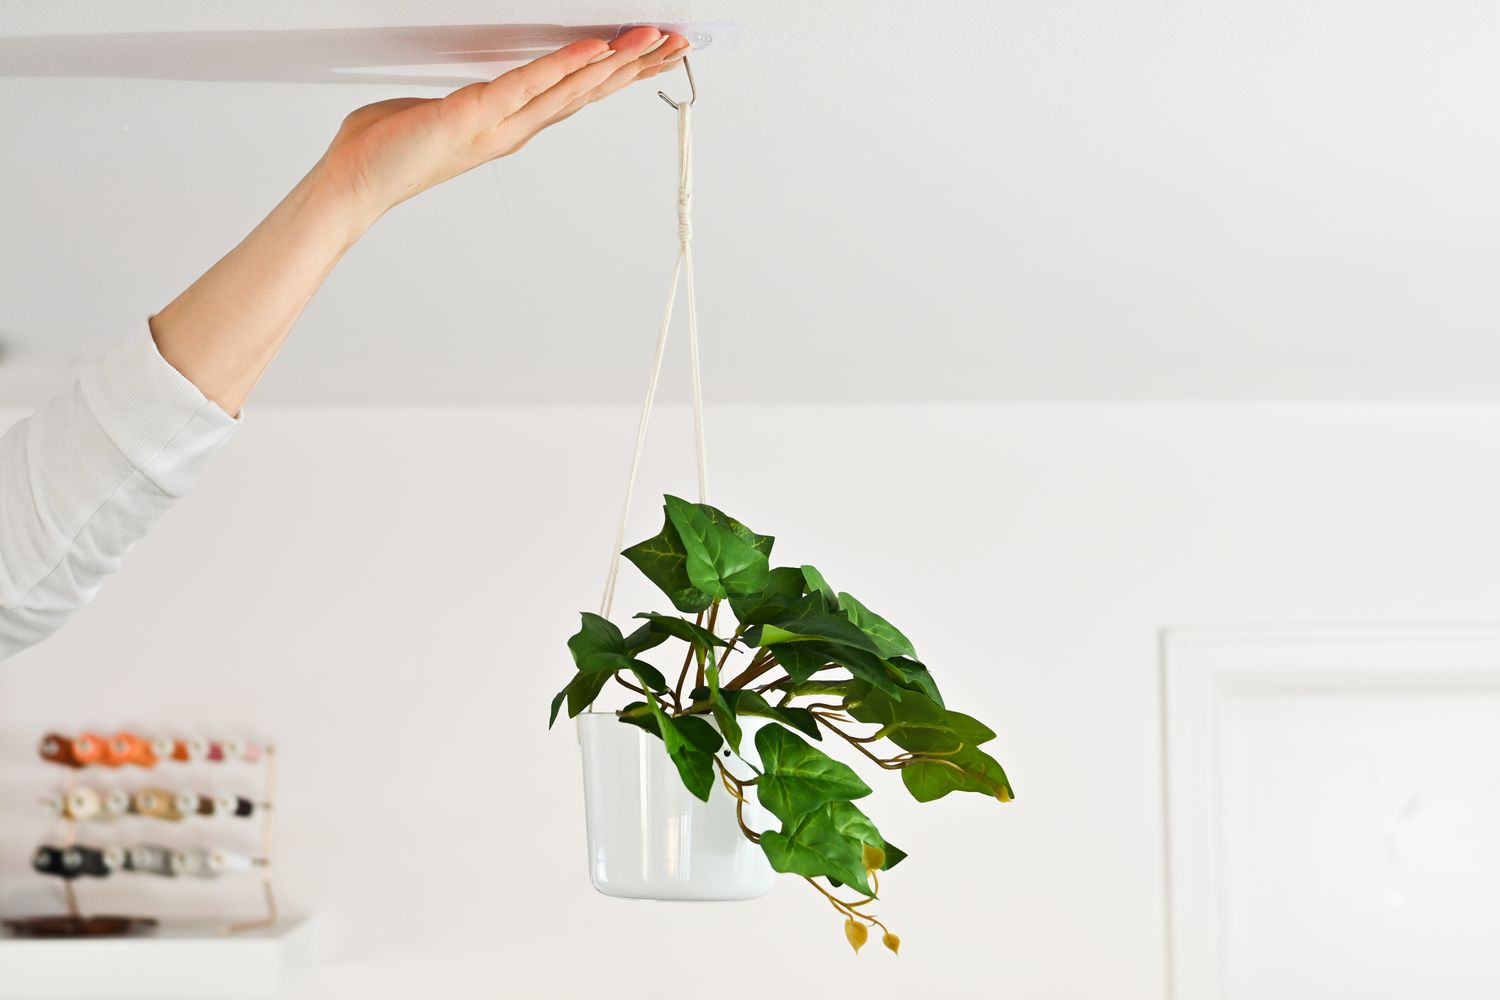
Step 4: Install the ceiling hook or mounting bracket
Now that you have prepared the ceiling, it’s time to install the ceiling hook or mounting bracket. Follow these steps to securely attach it to the ceiling:
- Position the hook or bracket: Align the hook or bracket with the marked installation location on the ceiling. Make sure it is centered and level.
- Secure the hook or bracket: Depending on the type of hook or bracket, use a screwdriver or power drill to secure it to the ceiling. If you are using a stud, place the screws directly into the stud. If not, use toggle bolts as directed by the manufacturer.
- Tighten the screws: Ensure the hook or bracket is firmly secured to the ceiling by tightening the screws. Avoid overtightening, as it can damage the ceiling or the hook/bracket.
- Test stability: Gently tug on the hook or bracket to test its stability. It should feel secure and not wobble or shift. If needed, adjust the screws to ensure a snug fit.
Once the hook or mounting bracket is securely installed, you’re ready to move on to the next step – attaching the lamp shade to the hook or bracket.
When hanging a lamp shade from the ceiling, make sure to use a secure and stable hook or mounting hardware to support the weight of the shade. Always follow the manufacturer’s instructions for installation to ensure safety.
Read more: How To Put A Lamp Shade On A Ceiling Light
Step 5: Attach the lamp shade to the hook or bracket
With the ceiling hook or mounting bracket in place, it’s time to attach the lamp shade. Follow these steps to securely hang the lamp shade from the hook or bracket:
- Ensure the lamp shade is clean and free of any dust or debris. Wipe it down with a soft cloth if necessary.
- If your lamp shade has a wire or chain for hanging, adjust its length using wire cutters if needed. You want the lamp shade to hang at the desired height.
- Gently lift the lamp shade and carefully hook it onto the installed hook or bracket. Take your time to ensure it is properly aligned and centered.
- Double-check the stability and balance of the lamp shade. Ensure it hangs straight and does not tilt to one side. Adjust the position of the hook or bracket if necessary.
- If your lamp shade has any additional attachments or hardware, such as a finial or decorative cap, securely fasten them according to the manufacturer’s instructions.
Once you have attached the lamp shade, step back and admire your handiwork. You’ve completed the installation process. However, there are a few more steps to ensure the lamp shade is perfectly positioned and safe. We’ll cover those in the next steps.
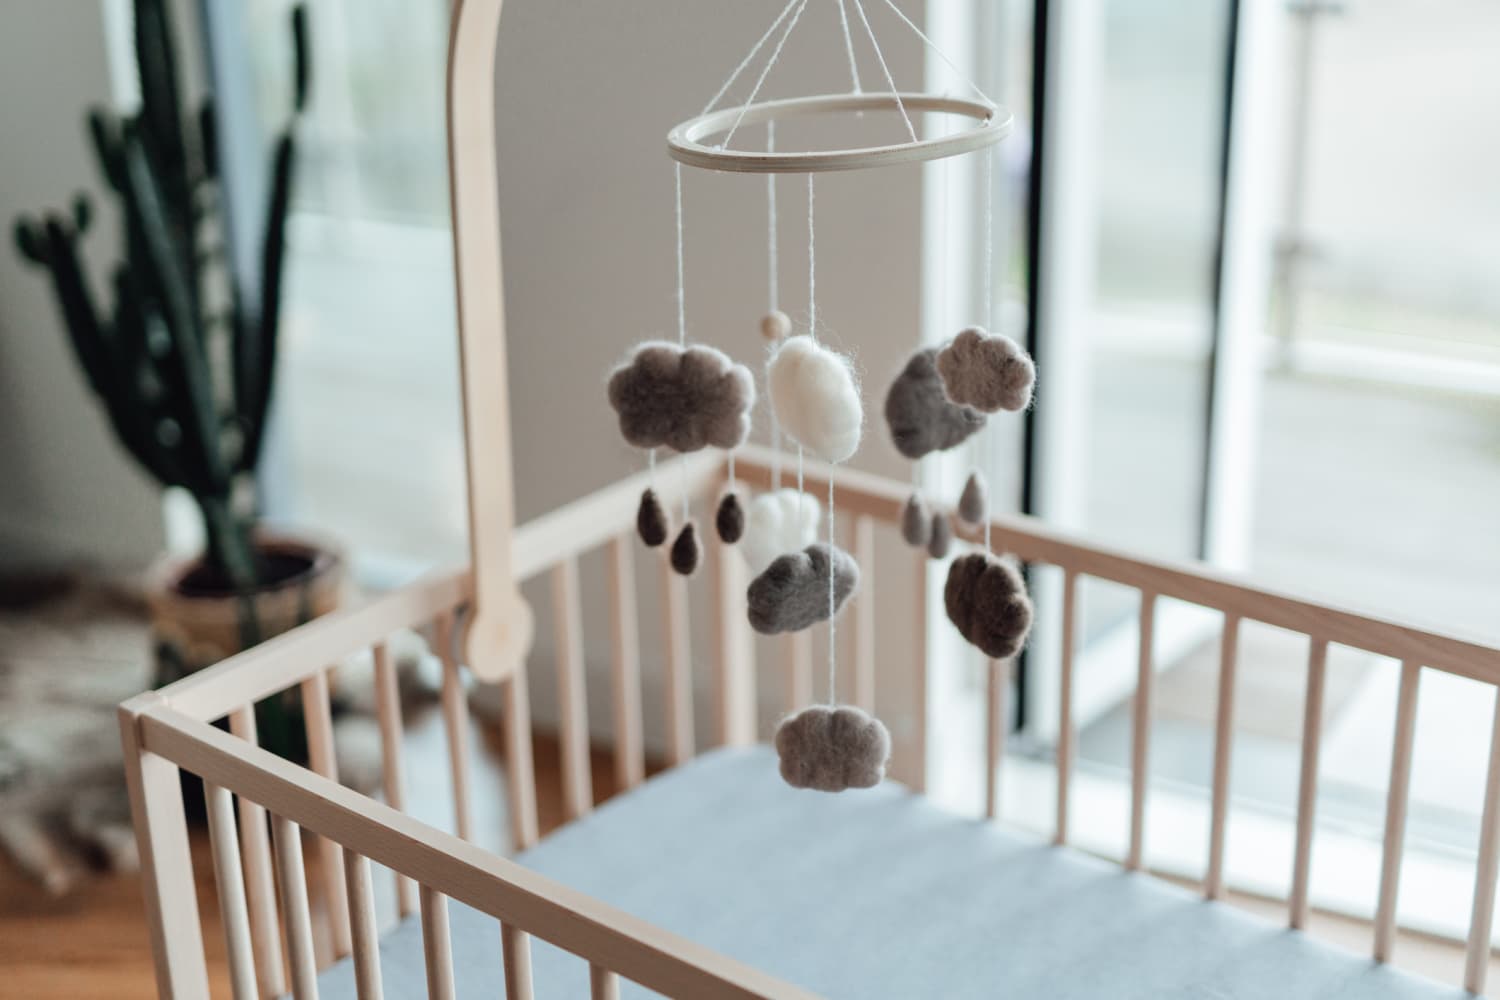
Step 6: Adjust the height and position of the lamp shade
Now that the lamp shade is attached to the hook or bracket, it’s time to make any necessary adjustments to the height and position. Follow these steps to ensure the lamp shade is perfectly situated:
- Stand back and assess the lamp shade’s position. Take note of any adjustments that need to be made in terms of height, alignment, or angle.
- If the lamp shade is hanging too low or too high, you may need to adjust the length of the wire or chain. Using wire cutters, carefully trim the excess length, making sure to leave enough slack for easy adjustment.
- If the lamp shade is not sitting straight or is tilted to one side, gently rotate it or adjust the position of the hook or bracket to bring it into alignment.
- Step back again and observe the lamp shade from different angles to ensure it is visually pleasing and meets your desired aesthetic.
- Make any necessary final adjustments until you are satisfied with the height and position of the lamp shade.
Remember, the goal is to have the lamp shade hang at a comfortable height, provide adequate lighting, and enhance the overall ambiance of the room. Take your time with these adjustments to achieve the desired effect.
Now that the lamp shade is properly positioned, it’s time to move on to the final step – ensuring stability and safety.
Step 7: Ensure stability and safety
Once you have hung the lamp shade and made the necessary adjustments, it’s crucial to ensure its stability and safety. Follow these steps to make sure your lamp shade is secure:
- Check the stability of the lamp shade by gently testing its movement. It should hang securely and not sway or wobble excessively.
- Verify that the hook or bracket is securely fastened to the ceiling and can support the weight of the lamp shade. Give it a slight tug to ensure it remains in place.
- Inspect the wiring and connections of the lamp shade, especially if it is an electric lamp. Ensure that the wiring is intact and properly connected, with no exposed wires or loose connections.
- Consider using safety measures such as cord covers or cord clips to secure and hide any loose wires or cords, reducing the risk of accidents or entanglements.
- Regularly check the lamp shade and its attachments for any signs of wear or damage. Replace any worn-out parts or damaged components to maintain safety and functionality.
- Follow proper maintenance and cleaning instructions for your specific lamp shade type. Dust or clean the lamp shade regularly to prevent the accumulation of dirt and debris, which can affect its stability and light quality.
By ensuring stability and safety, you can enjoy the beauty and functionality of your lamp shade with peace of mind. Regular inspections and maintenance will help extend its lifespan and keep it in optimal condition.
Congratulations! You have successfully hung a lamp shade from the ceiling. Step back and admire the cozy and stylish ambiance it brings to your space.
Remember to always prioritize safety and consult a professional if you have any concerns or doubts about the installation process.
Conclusion
Hanging a lamp shade from the ceiling is a rewarding DIY project that can instantly elevate the look of your room while providing functional lighting. By following the steps outlined in this guide, you can confidently and safely install a lamp shade that fits your style and enhances your space.
From gathering the necessary tools and materials to adjusting the height and position of the lamp shade, each step is important in ensuring a successful installation. Taking the time to properly prepare the ceiling, install the hook or mounting bracket, and secure the lamp shade will result in a stable and visually pleasing end result.
Throughout the process, remember to prioritize safety. Make sure all electrical connections are secure and in good condition, and regularly inspect the lamp shade for any signs of wear or damage. Additionally, always follow proper maintenance and cleaning instructions to keep your lamp shade looking its best and functioning safely.
By carefully choosing the appropriate location for hanging the lamp shade and making adjustments to achieve the desired height and position, you can create a welcoming and cozy atmosphere in any room.
So, don’t hesitate to add a touch of style and warmth to your space by hanging a beautiful lamp shade from the ceiling. With the knowledge and guidance provided in this article, you are well-equipped to embark on this DIY project and enjoy the soft glow and decorative appeal it brings.
Happy hanging!
Frequently Asked Questions about How To Hang A Lamp Shade From The Ceiling
Was this page helpful?
At Storables.com, we guarantee accurate and reliable information. Our content, validated by Expert Board Contributors, is crafted following stringent Editorial Policies. We're committed to providing you with well-researched, expert-backed insights for all your informational needs.


0 thoughts on “How To Hang A Lamp Shade From The Ceiling”