
Articles
How To Hang A Picture From The Ceiling
Modified: October 19, 2024
Learn the best techniques and tools in our articles about how to hang pictures from the ceiling. Find step-by-step instructions and expert tips.
(Many of the links in this article redirect to a specific reviewed product. Your purchase of these products through affiliate links helps to generate commission for Storables.com, at no extra cost. Learn more)
Introduction
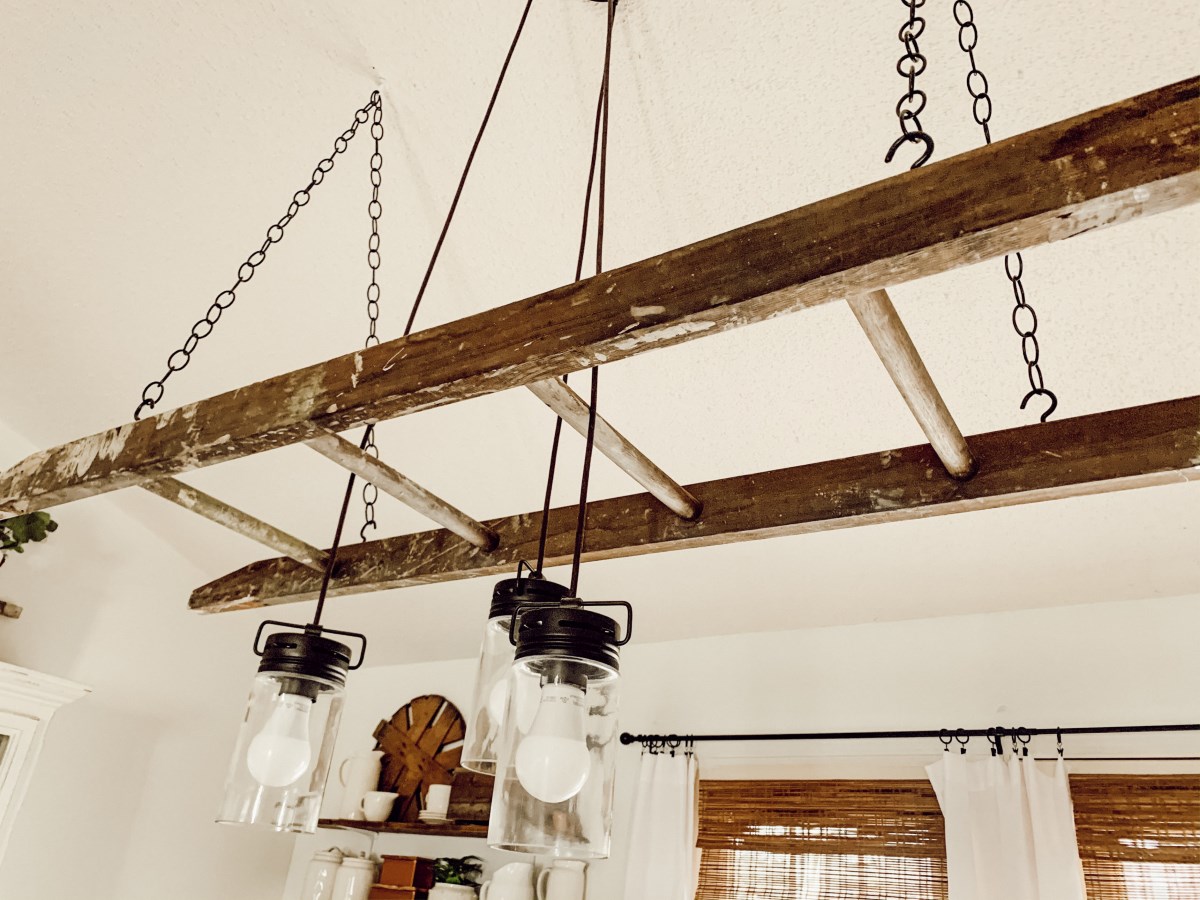
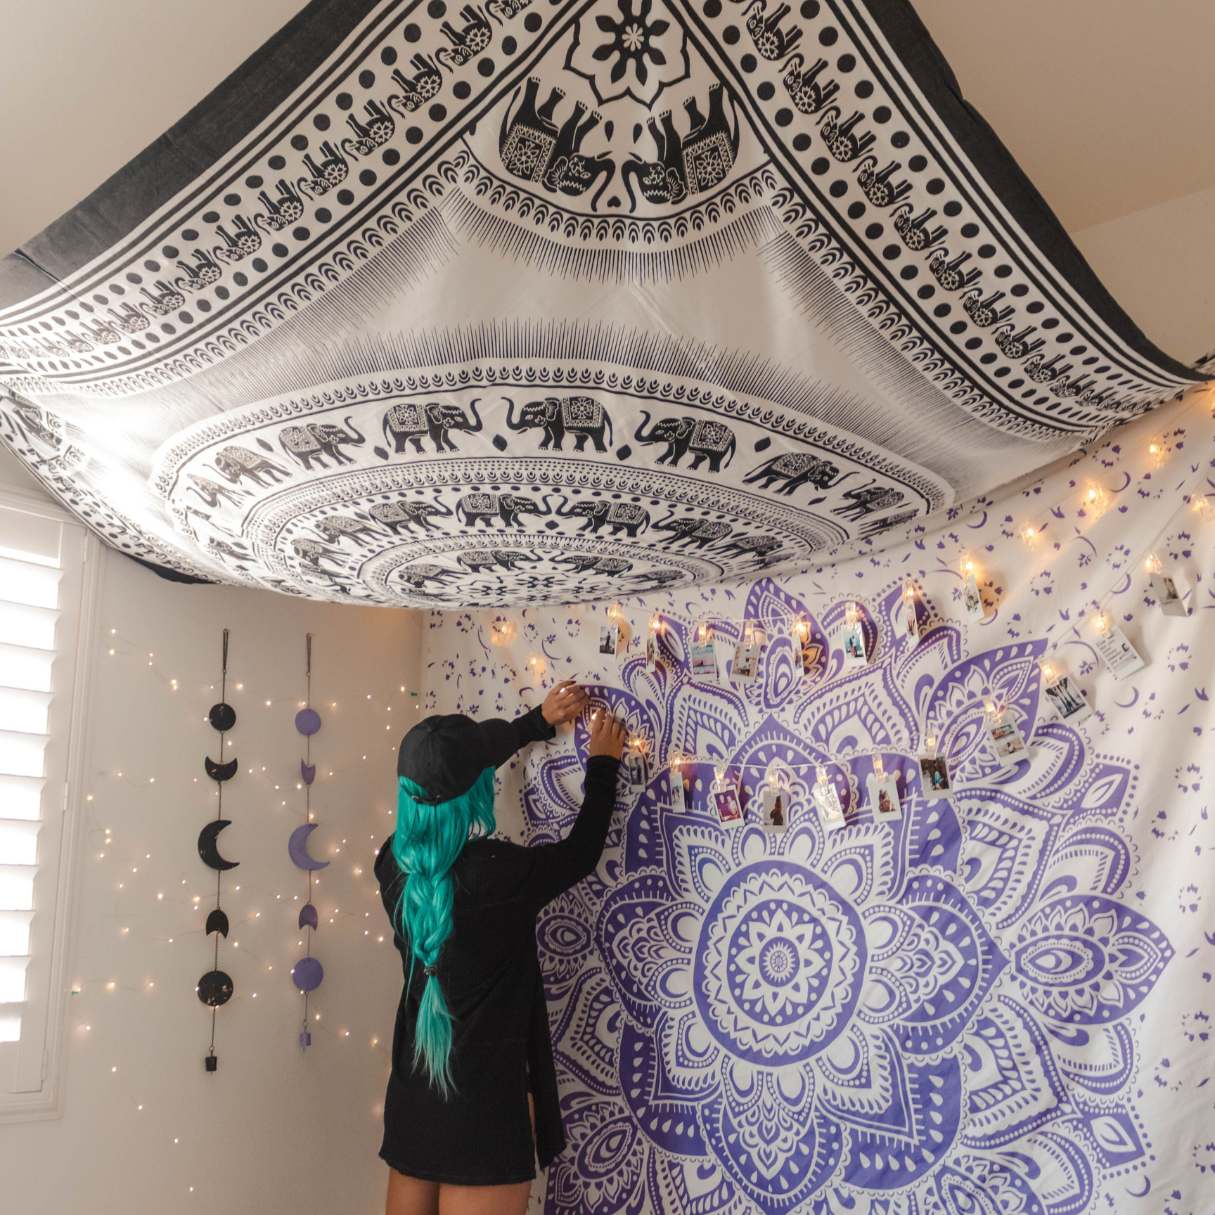
When it comes to decorating our homes, hanging pictures on the walls is a common practice. However, sometimes we may want to think outside the box and create a unique and eye-catching display by hanging pictures from the ceiling. Hanging pictures from the ceiling can add a sense of depth and dimension to a room, creating a focal point that draws the eye upward.
In this article, we will walk you through the step-by-step process of how to hang a picture from the ceiling effectively and safely. Whether you wish to showcase a cherished family photo, an inspirational quote, or a beautiful piece of artwork, this guide will provide you with all the information you need to create a stunning ceiling display.
Before we get started, it’s important to note that the techniques and materials mentioned in this article are suitable for lightweight and medium-weight pictures. If you’re planning to hang a heavy or oversized picture, it is recommended to consult a professional for assistance to ensure the safety of your artwork and the integrity of your ceiling.
Now, let’s gather our materials and get ready to transform your space with a creative and captivating ceiling picture display!
Key Takeaways:
- Elevate your home decor by hanging pictures from the ceiling, creating a unique and captivating focal point that adds depth and dimension to any room.
- Prioritize safety and precision when hanging pictures from the ceiling, ensuring the right location, proper hardware, and secure installation for a visually balanced and aesthetically pleasing display.
Read more: How To Hang Unistrut From The Ceiling
Step 1: Gather the Materials
Before you begin hanging a picture from the ceiling, it’s essential to gather all the necessary materials. Ensuring that you have everything you need beforehand will help streamline the process and make it easier to complete the task. Here are the materials you will need:
- Picture: Choose the picture or artwork you want to hang from the ceiling. Make sure it is lightweight or of medium weight to prevent any strain on the ceiling.
- Picture hanger or wire: Depending on the type of picture you have, you will need either a picture hanger or wire. A picture hanger is a small hook that attaches to the back of the frame, while wire can be used to create a hanging mechanism.
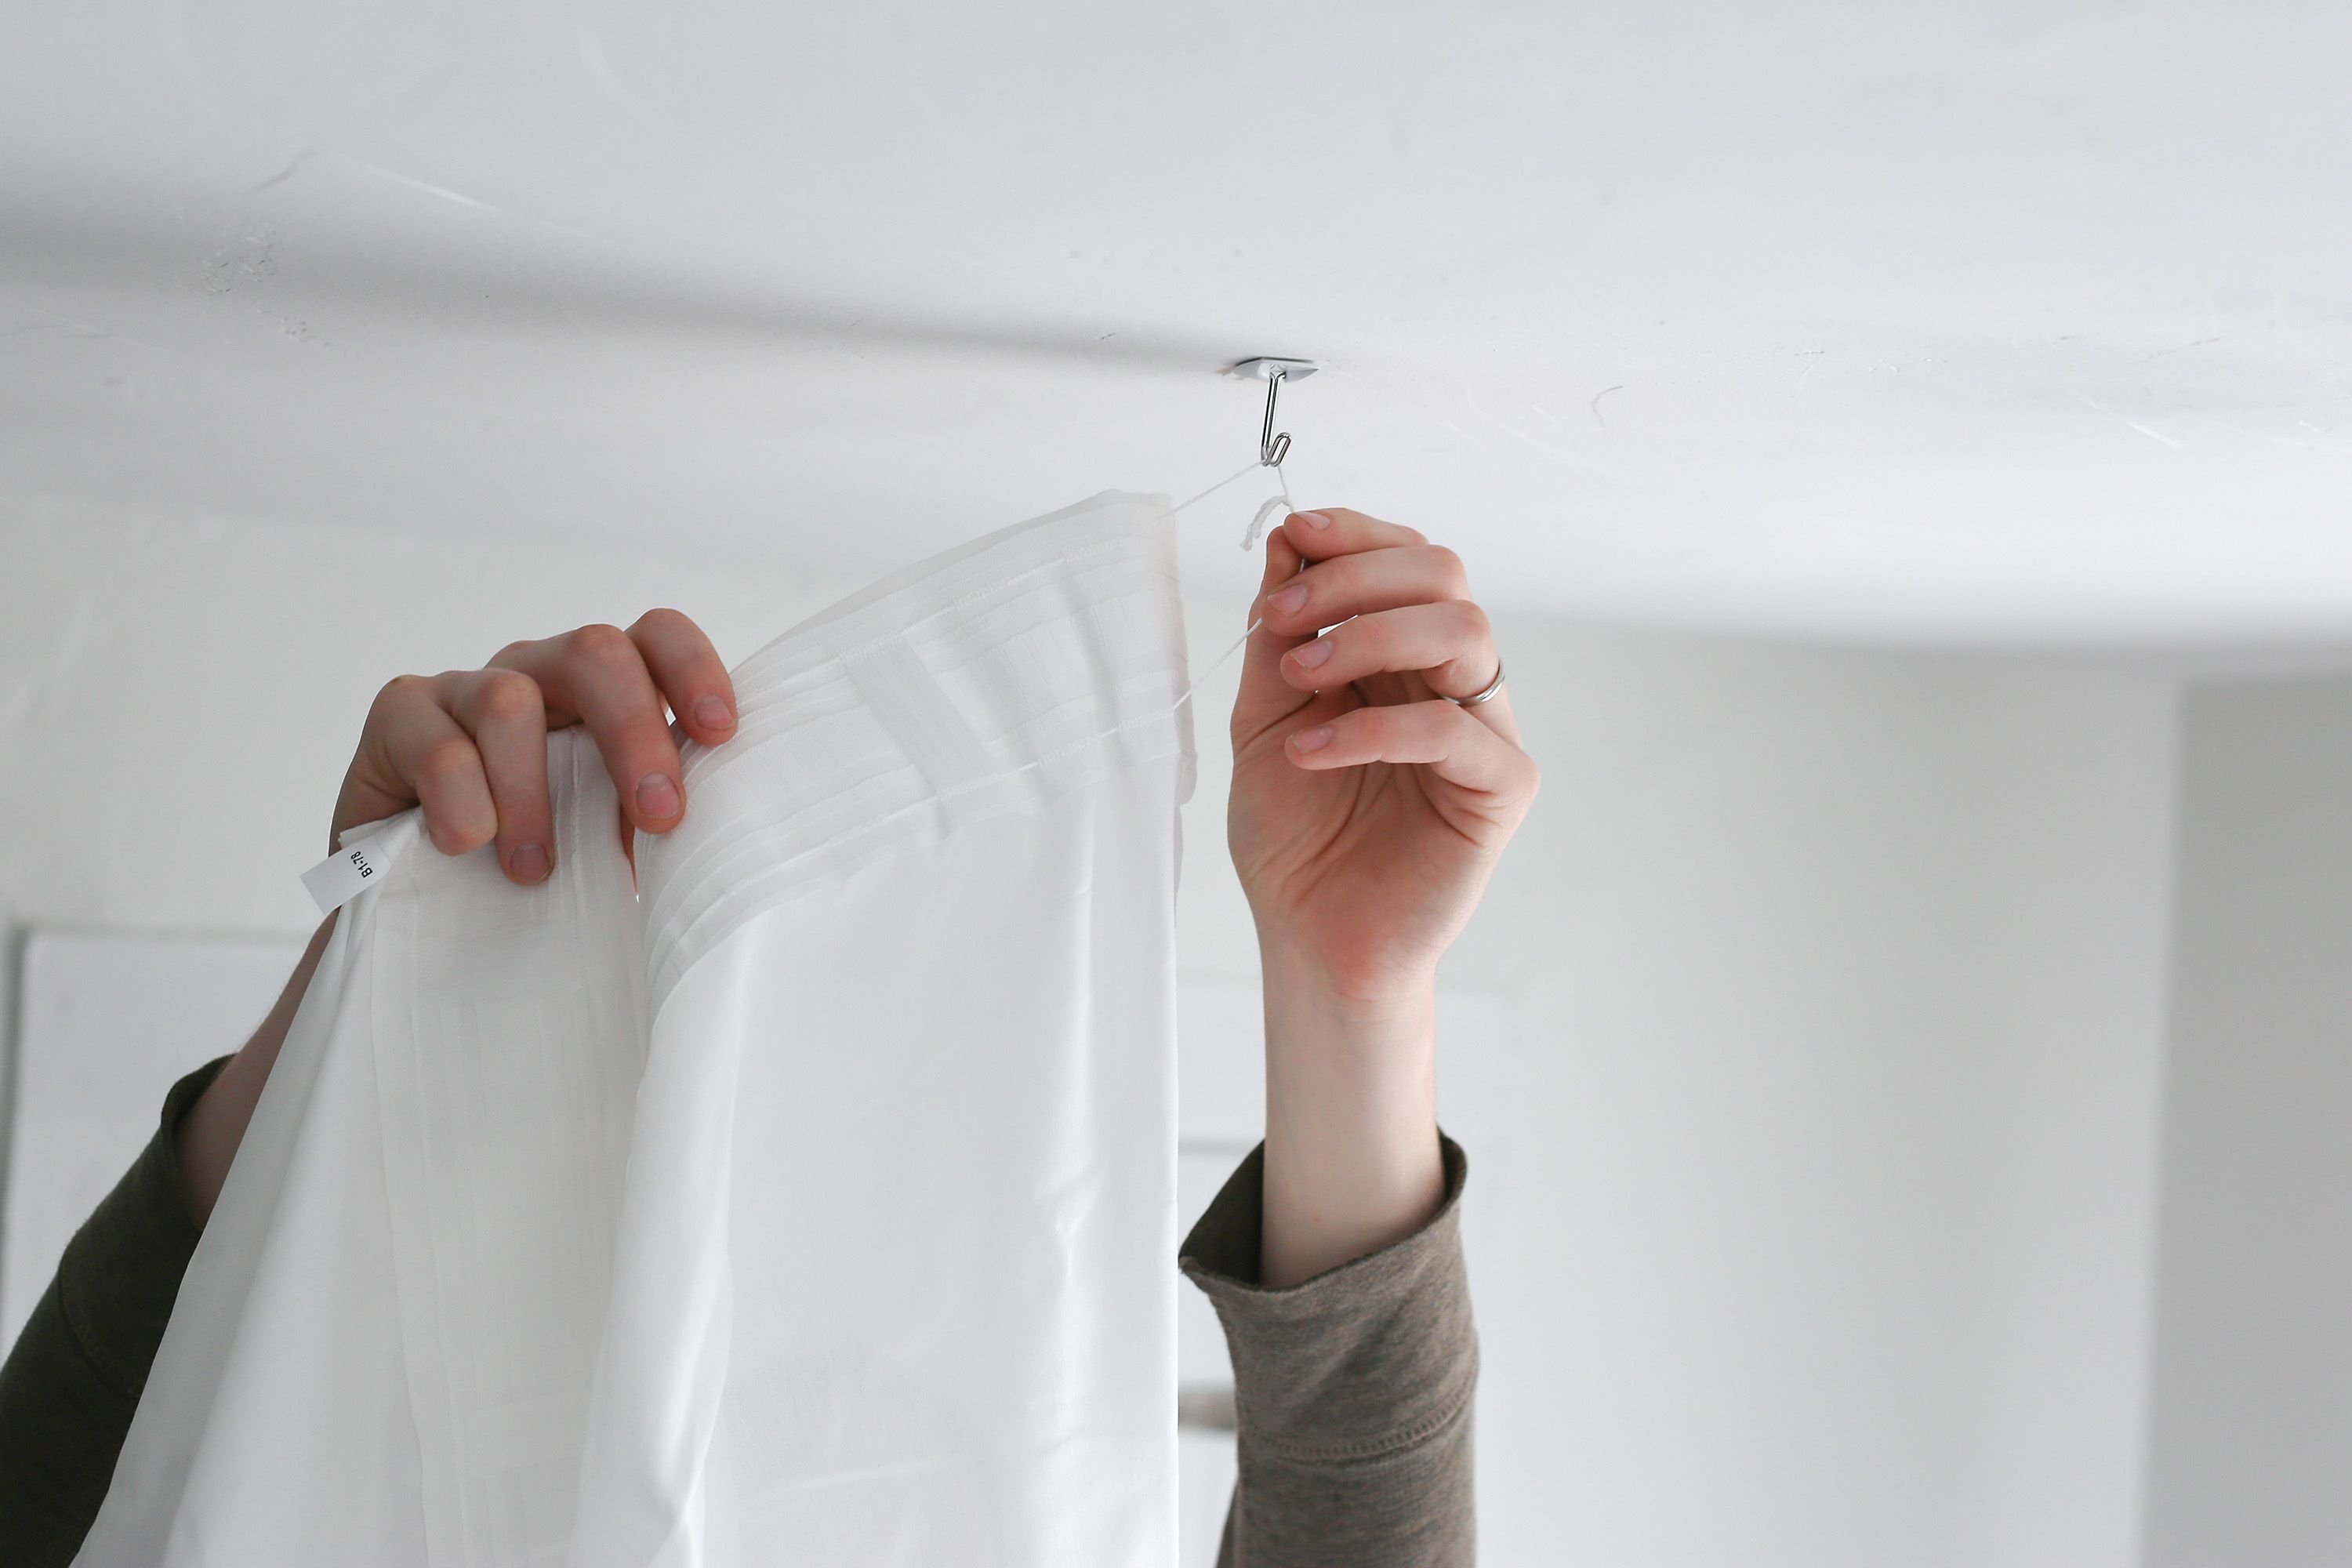
- Ceiling hooks or eye screws: These hardware pieces will serve as the anchor point for hanging the picture. Ceiling hooks or eye screws should be able to support the weight of the picture and be securely attached to the ceiling.
- Measuring tape: To ensure precision in hanging the picture, you will need a measuring tape to measure distances and marks on the ceiling.
- Pencil or marker: Using a pencil or marker, mark the spots on the ceiling where you will install the hooks or eye screws.
- Step ladder: Since you will be working at an elevated height, a step ladder will provide stability and easier access to the ceiling.
- Safety goggles and gloves: It’s always a good idea to wear safety goggles to protect your eyes and gloves to prevent any injuries while handling hardware or tools.
Ensure you have all these materials readily available before starting the process. Having everything on hand will save you time and prevent any unnecessary interruptions during the project. Once you have gathered all the materials, you are ready to move on to the next step: choosing the right location for hanging your picture.
Step 2: Choose the Right Location
Choosing the right location for hanging your picture from the ceiling is crucial to create an aesthetically pleasing display. Consider the following factors when selecting the ideal spot:
- Room layout: Take a moment to evaluate the room’s layout and identify areas that will benefit from a ceiling picture display. Look for empty spaces or areas that lack visual interest.
- Room function: Consider the purpose of the room. For example, in a living room or dining area, you may want to hang a picture above a seating arrangement or dining table to create a focal point.
- Ceiling height: Take note of your ceiling height. Hanging a picture from the ceiling works best in rooms with taller ceilings to avoid the risk of individuals bumping into the frame.
- Lighting: Assess the room’s lighting sources, including natural light and artificial fixtures. Avoid hanging a picture in an area that may cast unwanted shadows or interfere with the overall lighting balance.
- Wall color and texture: Consider the color and texture of the walls. Hanging a picture from the ceiling can make a bold statement, so ensure the picture complements the surrounding walls.
- Furniture placement: If you have furniture in the room, take into consideration its placement. Ensure that the picture does not obstruct any furniture or make the room appear cluttered.
Once you have considered these factors, you can determine the best location for hanging your picture. It’s a good idea to visualize the placement by holding the picture against the ceiling in different spots before making a decision.
Remember, the goal is to create a visually balanced and harmonious display, so take your time to find the perfect spot. Once you have chosen the location, you can proceed to the next step: preparing the ceiling for installation.
Step 3: Prep the Ceiling
Before you can hang your picture from the ceiling, it’s important to prep the ceiling area to ensure a secure and stable installation. Follow these steps to prepare the ceiling:
- Clear the area: Remove any furniture, decorations, or obstructions in the vicinity where you will be installing the picture. This will provide you with a clear and unobstructed workspace.
- Clean the ceiling: Use a soft cloth or duster to remove any dust, dirt, or debris from the ceiling surface. This will ensure proper adhesion and prevent any particles from interfering with the installation process.
- Locate ceiling joists: If you plan to hang a heavier picture, it is important to locate the ceiling joists. Joists provide additional support and stability for hanging items. You can use a stud finder or tap lightly on the ceiling to identify the joists. Mark their locations with a pencil or marker.
- Prepare for drywall installations: If you have a drywall ceiling, consider using drywall anchors to ensure a strong hold. These anchors provide additional support and prevent the hardware from pulling out of the drywall over time.
- Choose the right hardware: Based on the type of ceiling you have (concrete, drywall, etc.), select the appropriate hooks or eye screws that can securely hold the weight of your picture. Consult a hardware specialist if you are unsure about which hardware to use.
By prepping the ceiling, you can ensure a solid foundation for your picture hanging project. Clearing the area and cleaning the ceiling will allow for a seamless installation process, while locating ceiling joists and using appropriate hardware will provide the necessary support and stability.
Once you have prepped the ceiling, move on to the next step: determining the hanging hardware required for your picture.
Step 4: Determine the Hanging Hardware
When it comes to hanging a picture from the ceiling, choosing the right hardware is essential for a secure and successful installation. The type of hardware you will need depends on the weight and size of your picture, as well as the composition of your ceiling. Here are some common options to consider:
- Ceiling hooks: Ceiling hooks are a popular choice for hanging lightweight pictures. They are typically made of metal or plastic and feature a hook on one end for easy attachment of wire or hanging fixtures.
- Eye screws: Eye screws are another common type of hardware used for ceiling picture hanging. They are screwed directly into the ceiling and have a loop or eyelet on one end to attach wire or hanging fixtures.
- Toggle bolts: Toggle bolts are sturdy anchors that can be used for heavier pictures. They consist of a bolt and a spring-loaded wing mechanism that expands behind the ceiling surface for added support.
- Drywall anchors: If you have a drywall ceiling, using drywall anchors is a recommended option. These anchors provide a secure hold by distributing the weight of the picture across a larger surface area.
When selecting the hanging hardware, keep in mind the weight and size of your picture. It’s important to choose hardware that can support the weight without causing damage to your ceiling. If you’re unsure about the appropriate hardware, consult a hardware specialist or a professional picture hanger for guidance.
Once you have determined the type of hanging hardware you will need, you can proceed to the next step: measuring and marking the placement for installation.
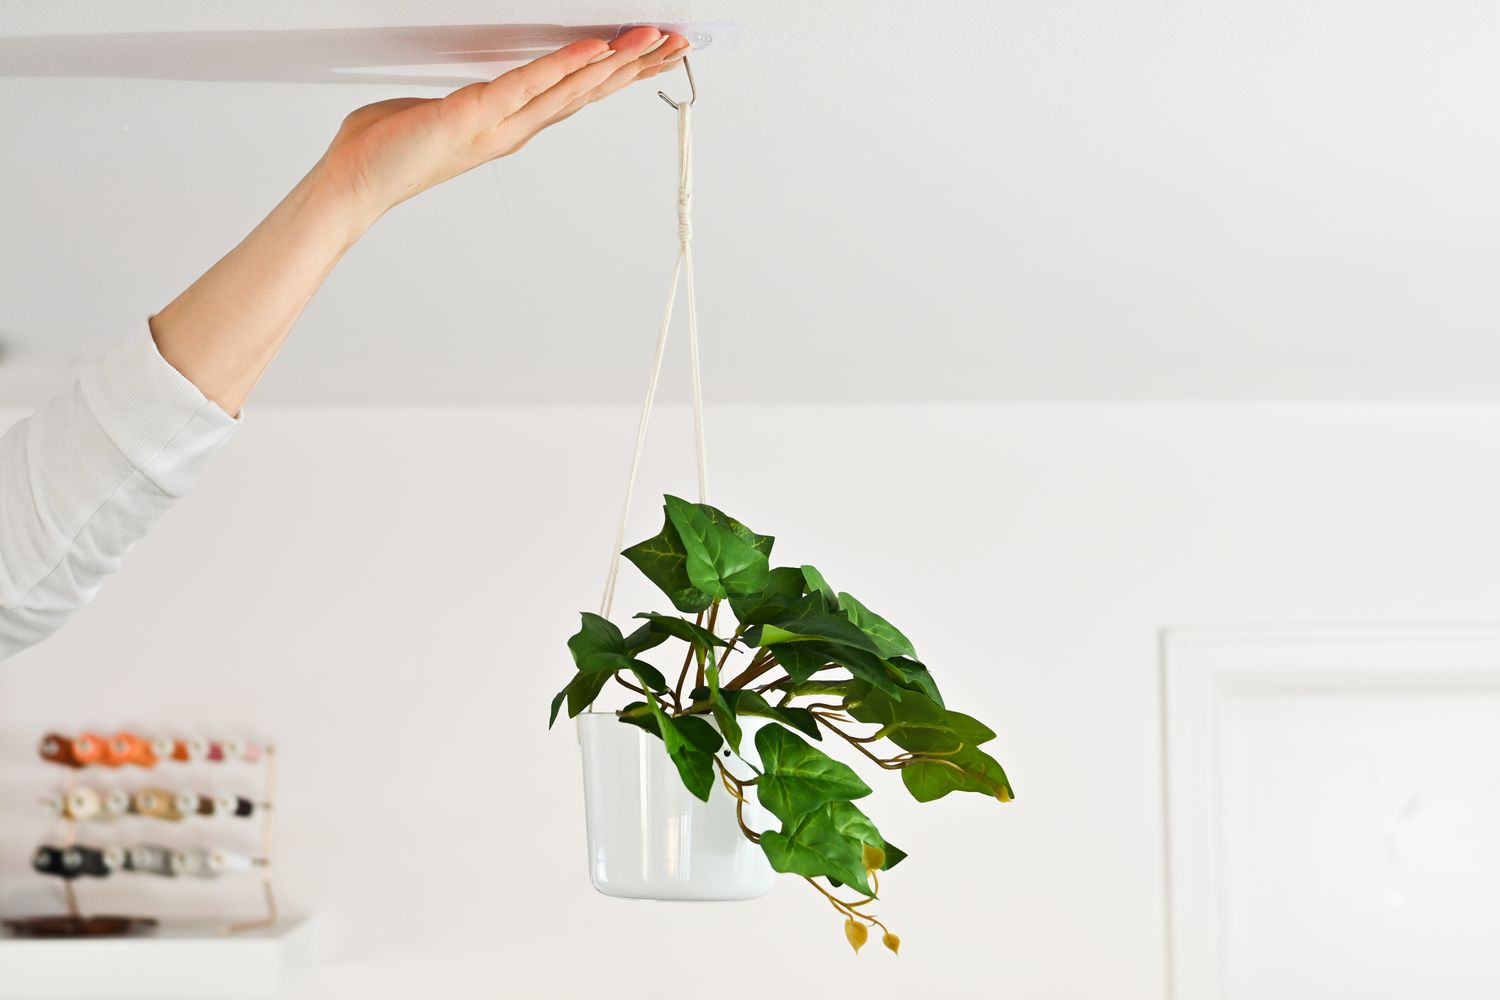
Use a ceiling hook or adhesive hook to hang a picture from the ceiling. Make sure to use a sturdy hook that can support the weight of the picture. Measure and mark the spot on the ceiling before installing the hook.
Read more: How To Hang Surfboard From The Ceiling
Step 5: Measure and Mark
Measuring and marking the placement for your ceiling picture hanging is a crucial step to ensure accurate installation. By taking the time to measure and mark your desired locations, you can achieve a balanced and visually pleasing display. Follow these steps:
- Position the picture: Place the picture against the ceiling in your desired location. Adjust the position until you are satisfied with the placement.
- Measure the distance: Use a measuring tape to measure the distance from the edges of the picture to the desired hanging point on the ceiling. This will help determine the exact placement of the hanging hardware.
- Transfer measurements: With the measurements taken, transfer them to the ceiling using a pencil or marker. Mark the spots where the hanging hardware will be installed. Ensure to mark both the vertical and horizontal positions accurately.
- Double-check measurements: Before proceeding, double-check your measurements to ensure accuracy. This will help prevent any mistakes or uneven placement of the picture.
By taking the time to measure and mark your desired locations, you can avoid unnecessary rework and achieve a professional-looking installation. Remember to always measure twice to ensure precision.
Once you have measured and marked the placement, you can move on to the next step: installing the hanging hardware.
Step 6: Install the Hanging Hardware
With the measurements and marks in place, it’s time to install the hanging hardware for your ceiling picture display. Follow these steps for a successful installation:
- Prepare drilling tools: Depending on the type of hardware you are using, gather the necessary drilling tools. This may include a drill, screwdriver, or other relevant tools.
- Start drilling: Begin by drilling pilot holes at the marked spots on the ceiling. Pilot holes help guide the screws and prevent any potential damage to the ceiling surface. Use the appropriate drill bit size based on the hardware you are using.
- Attach the hardware: Once the pilot holes are drilled, secure the hanging hardware by screwing them into place. Make sure they are tightly fastened to provide a stable and secure anchor for your picture.
- Test the stability: Give the installed hardware a gentle tug to ensure it is firmly in place. If any adjustments or tightening is necessary, do so before proceeding.
It’s important to follow the manufacturer’s instructions when installing the hanging hardware and use the recommended tools and techniques. This will ensure a secure attachment and prevent any potential damage to your ceiling.
Once the hanging hardware is installed, you’re ready to move on to the exciting part: hanging the picture from the ceiling!
Step 7: Hang the Picture
Now that the hanging hardware is securely in place, it’s time to hang your picture from the ceiling. Follow these steps for a successful and visually appealing display:
- Prepare the picture: If you’re using a picture hanger, attach it to the back of the frame according to the manufacturer’s instructions. If you’re using wire, thread it through the hooks or eye screws and securely fasten it to the frame.
- Align the picture: Hold the picture up to the hanging hardware on the ceiling and align it with the hooks or eye screws. Make sure the picture is level and centered in the desired location.
- Suspend the picture: Carefully lift the picture and hook it onto the ceiling hooks or eye screws. Gently release your grip and ensure that the picture is securely hanging in place.
- Adjust the position: Step back and assess the position of the picture. Make any necessary adjustments to ensure it is straight, level, and at the desired height. Take your time to ensure a visually balanced display.
It’s important to handle the picture with care during the hanging process to avoid any damage. If needed, use a step ladder to reach higher ceilings and ensure your safety while positioning the picture.
Once the picture is securely hanging from the ceiling, step back and admire your handiwork. You’re one step away from completing your ceiling picture hanging project.
Step 8: Adjust and Secure
The final step in hanging a picture from the ceiling is to adjust and secure it in its desired position. By taking the time to make necessary tweaks and ensure the picture is securely attached, you can enjoy a worry-free display. Follow these steps to complete the process:
- Check for balance: Step back and assess the overall balance of the picture. Ensure it is level and aligned with the surrounding space. Make any small adjustments as needed to achieve a visually pleasing arrangement.
- Secure the picture: Once you’re satisfied with the placement, use adhesive tabs, Velcro, or other non-damaging methods to secure the bottom of the picture to the wall. This helps to prevent any excess movement or swinging of the picture.
- Test stability: Once again, give the picture a gentle shake or tap to see if it feels secure. If it wobbles or feels unstable, make any necessary adjustments to the hanging hardware or additional securement options.
- Step back and admire: Take a moment to step back and admire your ceiling picture display. Make sure everything looks as you envisioned and that the picture enhances the overall aesthetic of the room.
By double-checking the balance, securing the picture, and testing its stability, you can ensure that your ceiling-hung picture will remain in place and provide enjoyment for years to come.
Congratulations! You have successfully hung a picture from the ceiling. Stand back and appreciate the unique and captivating display you’ve created.
Now that you’ve completed the entire process, take the time to clean up any tools or materials used during the installation. Enjoy your newly adorned space and the visual impact of your ceiling picture hanging project.
Remember, it’s always a good idea to periodically check the stability and security of the picture, especially if you live in an area prone to seismic activity or if the room experiences frequent vibrations. Keep an eye out for any signs of wear or loosening over time and address them promptly to ensure the ongoing safety and integrity of your ceiling display.
Enjoy the beauty and artistic flair that your ceiling-hung picture brings to your space!
Read more: How To Hang Tablecloths From The Ceiling
Conclusion
Hanging a picture from the ceiling can be a creative and unique way to elevate the aesthetics of any room. It allows you to create a captivating focal point that draws the eye upward and adds depth to your space. By following the step-by-step process outlined in this article, you can successfully hang a picture from the ceiling and transform your room into a visually stunning environment.
From gathering the necessary materials to choosing the right location, prepping the ceiling, determining the hanging hardware, measuring and marking, installing the hardware, hanging the picture, and making necessary adjustments, each step plays a vital role in achieving a safe and aesthetically pleasing display.
Remember to consider the weight and size of your picture, the composition of your ceiling, and the overall balance and visual appeal of the room. Taking the time to properly plan and execute each step will result in a well-crafted ceiling picture hanging that enhances the ambiance of your space.
Always prioritize safety by ensuring the hardware is securely fastened, the picture is stable, and any additional security measures are in place. Regularly check the stability of the picture and address any maintenance needs to keep your display intact over time.
Now that you’ve learned how to hang a picture from the ceiling, it’s time to get creative and showcase your personality and style. Explore different arrangements, mix and match picture sizes and shapes, and experiment with different ceiling heights to create a truly unique and visually captivating display.
Enjoy the process of transforming your space with a ceiling-hung picture, and let your creativity shine as you create a one-of-a-kind ambiance that reflects your personal taste and enhances the beauty of your home.
Frequently Asked Questions about How To Hang A Picture From The Ceiling
Was this page helpful?
At Storables.com, we guarantee accurate and reliable information. Our content, validated by Expert Board Contributors, is crafted following stringent Editorial Policies. We're committed to providing you with well-researched, expert-backed insights for all your informational needs.


0 thoughts on “How To Hang A Picture From The Ceiling”