Articles
How To Hide Beam In The Ceiling
Modified: October 20, 2024
Learn how to hide a beam in your ceiling with our informative articles. Find tips, tricks, and step-by-step guides to seamlessly conceal beams in any room.
(Many of the links in this article redirect to a specific reviewed product. Your purchase of these products through affiliate links helps to generate commission for Storables.com, at no extra cost. Learn more)
Introduction
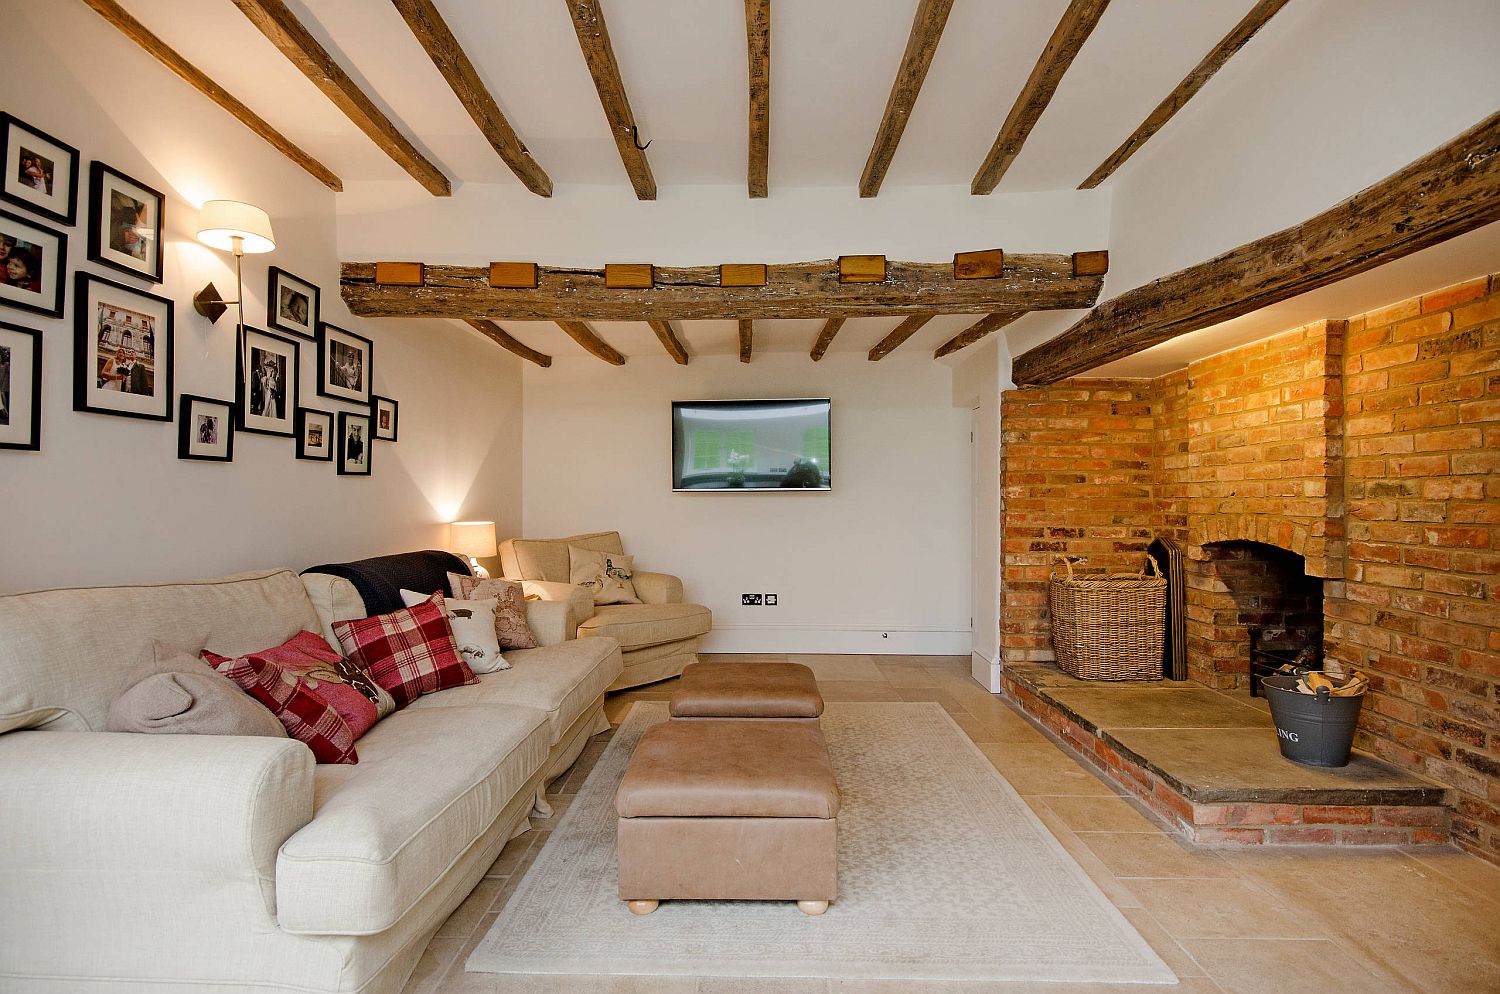
When it comes to interior design, exposed beams can add a touch of rustic charm and character to any space. However, there may be instances when you want to hide the beams in the ceiling to achieve a more streamlined and modern look. Whether you’re renovating an older home or simply looking to update the aesthetic of a room, concealing beams can create a cohesive and polished look.
In this article, we will walk you through the step-by-step process of hiding beams in the ceiling. From choosing the right materials to the finishing touches, we will provide you with all the information you need to successfully hide those exposed beams. So, let’s get started!
Key Takeaways:
- Transform the aesthetic of any room by concealing beams in the ceiling, creating a sleek and modern look that exudes sophistication and charm. Follow the step-by-step process for a professional finish.
- Hiding beams in the ceiling not only enhances the visual appeal of a room but also adds value to your home. Seek professional guidance for a seamless and polished outcome.
Read more: How To Make Beams For Ceiling
Step 1: Choosing the Right Materials
Before you begin hiding beams in the ceiling, it’s essential to gather the necessary materials. Here are some key items you’ll need:
- Drywall sheets: Measure the length and width of your ceiling to determine the number of drywall sheets required. Ensure that the thickness of the drywall complements the existing ceiling.
- Construction adhesive: This adhesive will help secure the drywall sheets to the ceiling. Choose a high-quality adhesive that provides strong adhesion and long-lasting results.
- Screws or nails: You’ll need these to attach the drywall sheets to the ceiling beams.
- Sanding tools: Plan on sanding the drywall joints and edges for a smooth finish. Invest in sanding blocks, sandpaper, and a sanding pole for hard-to-reach areas.
- Primer and paint: Once the drywall is installed, you’ll need to prime and paint it to match the surrounding ceiling.
- Tools: Gather essential tools such as a measuring tape, utility knife, drill, screwdriver, and a ladder for easy access to the ceiling.
When selecting the materials, ensure they are of high quality and suitable for your specific project. Choosing the right materials will result in a seamless and professional-looking hidden beam ceiling.
It’s worth mentioning that if you’re uncertain about the materials or the process, consulting a professional contractor or interior designer can be a wise decision. They have the expertise and experience to guide you through the process and ensure the best outcome.
Step 2: Measuring and Marking the Ceiling
Before you start concealing the beams, it’s crucial to accurately measure and mark the ceiling. This step ensures proper alignment and spacing for the drywall installation. Follow these steps:
- Measure the ceiling: Use a measuring tape to determine the length and width of the ceiling. Take into account any irregularities or angles that may affect the measurements.
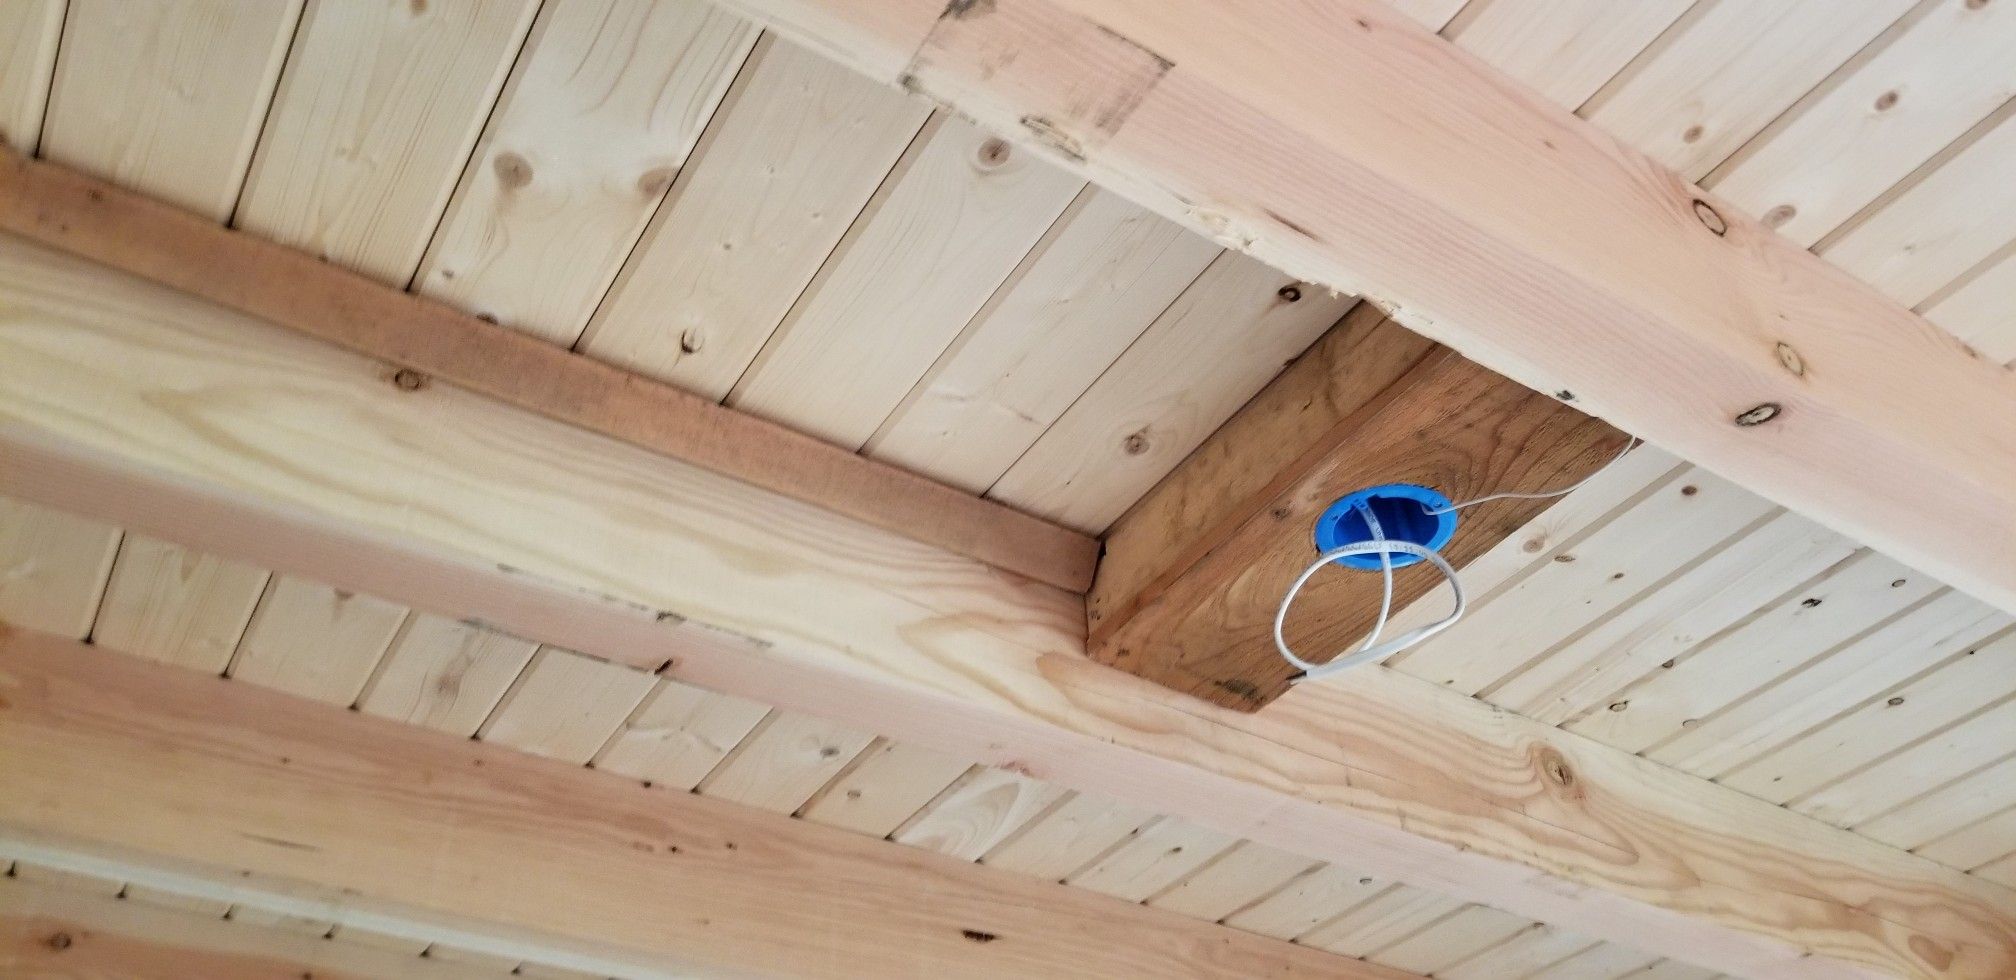
- Locate the beams: Carefully examine the ceiling to identify the position of the beams. This step allows you to determine where the drywall will be attached.
- Mark the locations: Using a pencil or marker, make small marks on the ceiling where the beams are located. This will serve as a guide for attaching the drywall later on.
- Plan the spacing: Decide on the spacing between the drywall sheets. Generally, a gap of 16 inches on center is recommended, but you can adjust it based on your preferences and the dimensions of the room.
- Mark the layout: Using a chalk line or a long straight edge, connect the marks you made for the beams to create straight lines. This will help you visualize the layout and ensure the drywall installation is aligned.
Accurate measurements and clear markings are essential for a successful hidden beam ceiling. Take your time during this step to ensure precise calculations and markings. It’s always better to double-check and make any necessary adjustments before moving on to the installation process.
Step 3: Creating a False Ceiling
With the measurements and markings in place, it’s time to create a false ceiling that will allow you to hide the beams. Follow these steps to create a false ceiling:
- Remove any existing fixtures: Before proceeding, remove any light fixtures, ceiling fans, or other items that may obstruct the installation of the false ceiling. This will provide a clear workspace for the next steps.
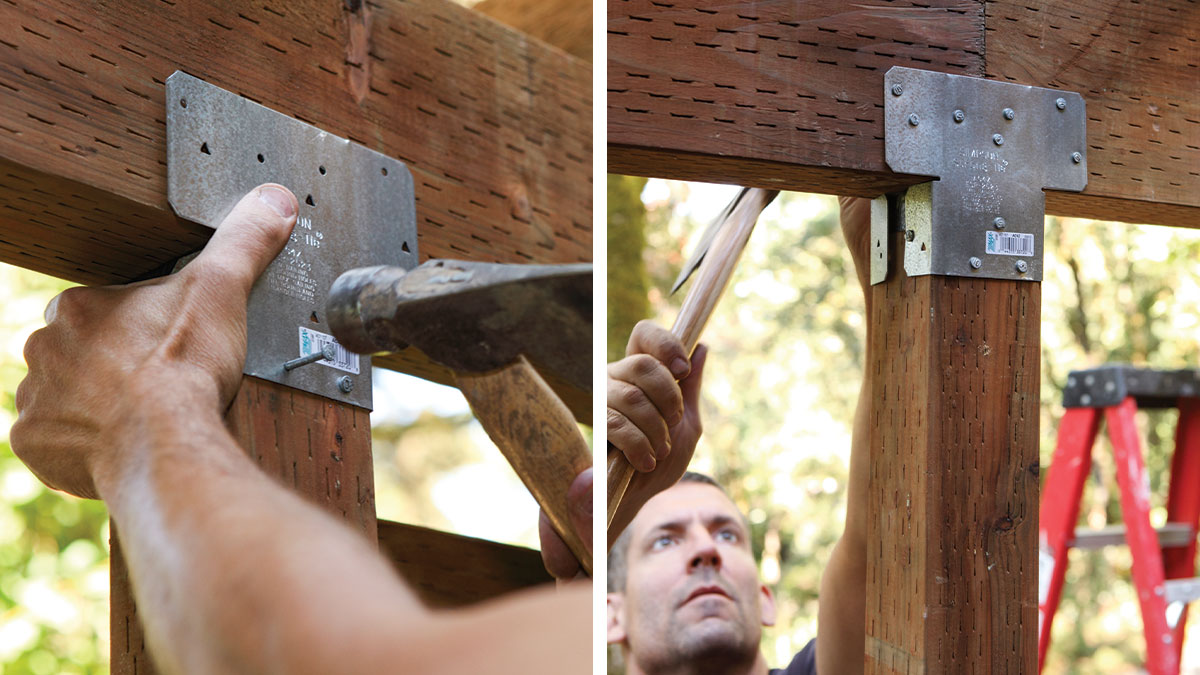
- Install furring strips: Furring strips are thin pieces of wood or metal that will be attached to the beams to create a frame for the false ceiling. Measure and cut the furring strips to the appropriate length, then secure them to the beams using screws or nails. Make sure the furring strips are aligned and level.
- Attach the cross pieces: After the furring strips are installed, attach shorter cross pieces of furring strips perpendicular to the main strips. These will provide additional support and stability for the false ceiling.
- Install the support brackets: Depending on the size and weight of the false ceiling material, you may need to install support brackets at regular intervals along the furring strips. These brackets will provide extra support and prevent sagging.
- Check for stability: Once all the furring strips and support brackets are in place, check the stability of the false ceiling frame. Make any necessary adjustments to ensure it is secure and level.
Creating a false ceiling is a critical step in hiding the beams. It provides a framework for the drywall installation and ensures a smooth and even surface for the next steps. Remember to use proper safety precautions, such as wearing protective gloves and using a ladder or scaffolding when needed.
Use a drywall saw to carefully cut a small opening in the ceiling. Slide the beam into the opening and cover with drywall. Patch and paint for a seamless finish.
Step 4: Installing the Beams
Now that the false ceiling framework is in place, it’s time to install the beams that will create the hidden ceiling effect. Follow these steps to install the beams:
- Select the beam material: Choose the material for your beams based on your desired aesthetic and the overall style of the room. Options can include wood, faux wood, or even metal beams.
- Measure and cut the beams: Measure the distance between the furring strips to determine the length of each beam. Use a saw or suitable cutting tool to cut the beams to the appropriate size.
- Prepare the beams: Sand the cut edges of the beams to remove any rough or uneven areas. Consider staining or painting the beams to match the surrounding decor, but make sure to allow them to dry completely before installation.
- Secure the beams: Attach each beam to the furring strips using screws or nails. Ensure that the beams are level and evenly spaced. Use a level to check the alignment and make any adjustments as needed.
- Fill in any gaps: If there are gaps between the beams or between the beams and the walls, use wood filler or caulk to fill them in. This will create a seamless and polished look.
Installing the beams is a crucial step in achieving a hidden ceiling effect. Take your time to ensure proper measurements, alignment, and secure attachment. The beams will add visual interest and a sophisticated touch to the overall design of the room.
Step 5: Concealing the Beams
Now that the beams are installed, it’s time to conceal them and create a seamless ceiling. Follow these steps to effectively hide the beams:
- Cover the beams with drywall: Measure and cut drywall sheets to fit over the beams. Use a utility knife to make precise cuts. Attach the drywall to the furring strips using screws or nails, making sure to countersink them slightly below the surface.
- Tape the drywall joints: Apply drywall tape over the joints where the drywall sheets meet. Use a drywall knife to smooth out the tape and remove any air bubbles. This will create a smooth surface without visible seams.
- Apply joint compound: Use a putty knife to apply joint compound over the taped joints and screw/nail indentations. Feather the edges of the compound to blend it with the surrounding drywall. Allow it to dry completely, then sand it down until smooth.
- Apply additional coats of joint compound: Depending on the quality of the initial coat, you may need to apply additional coats of joint compound to achieve a flawless finish. Sand between each coat and ensure they are adequately dried.
- Prime and paint: Once the joint compound is fully dry and smooth, apply a coat of primer to the entire concealed ceiling area. Allow it to dry, then paint the ceiling to match the rest of the room. Use a roller or brush for even coverage.
Concealing the beams requires attention to detail and precision. Take your time during the joint compound application and painting process to achieve a professional finish that seamlessly hides the beams. The end result will be a ceiling that appears as if there were never any beams present.
Step 6: Finishing Touches
With the beams concealed and the ceiling painted, it’s time to add the finishing touches to complete the hidden beam effect. Follow these steps to enhance the overall look and ensure a cohesive design:
- Install ceiling fixtures: Reinstall any light fixtures, ceiling fans, or other fixtures that were removed during the process. Make sure they are securely attached to the ceiling and properly wired.
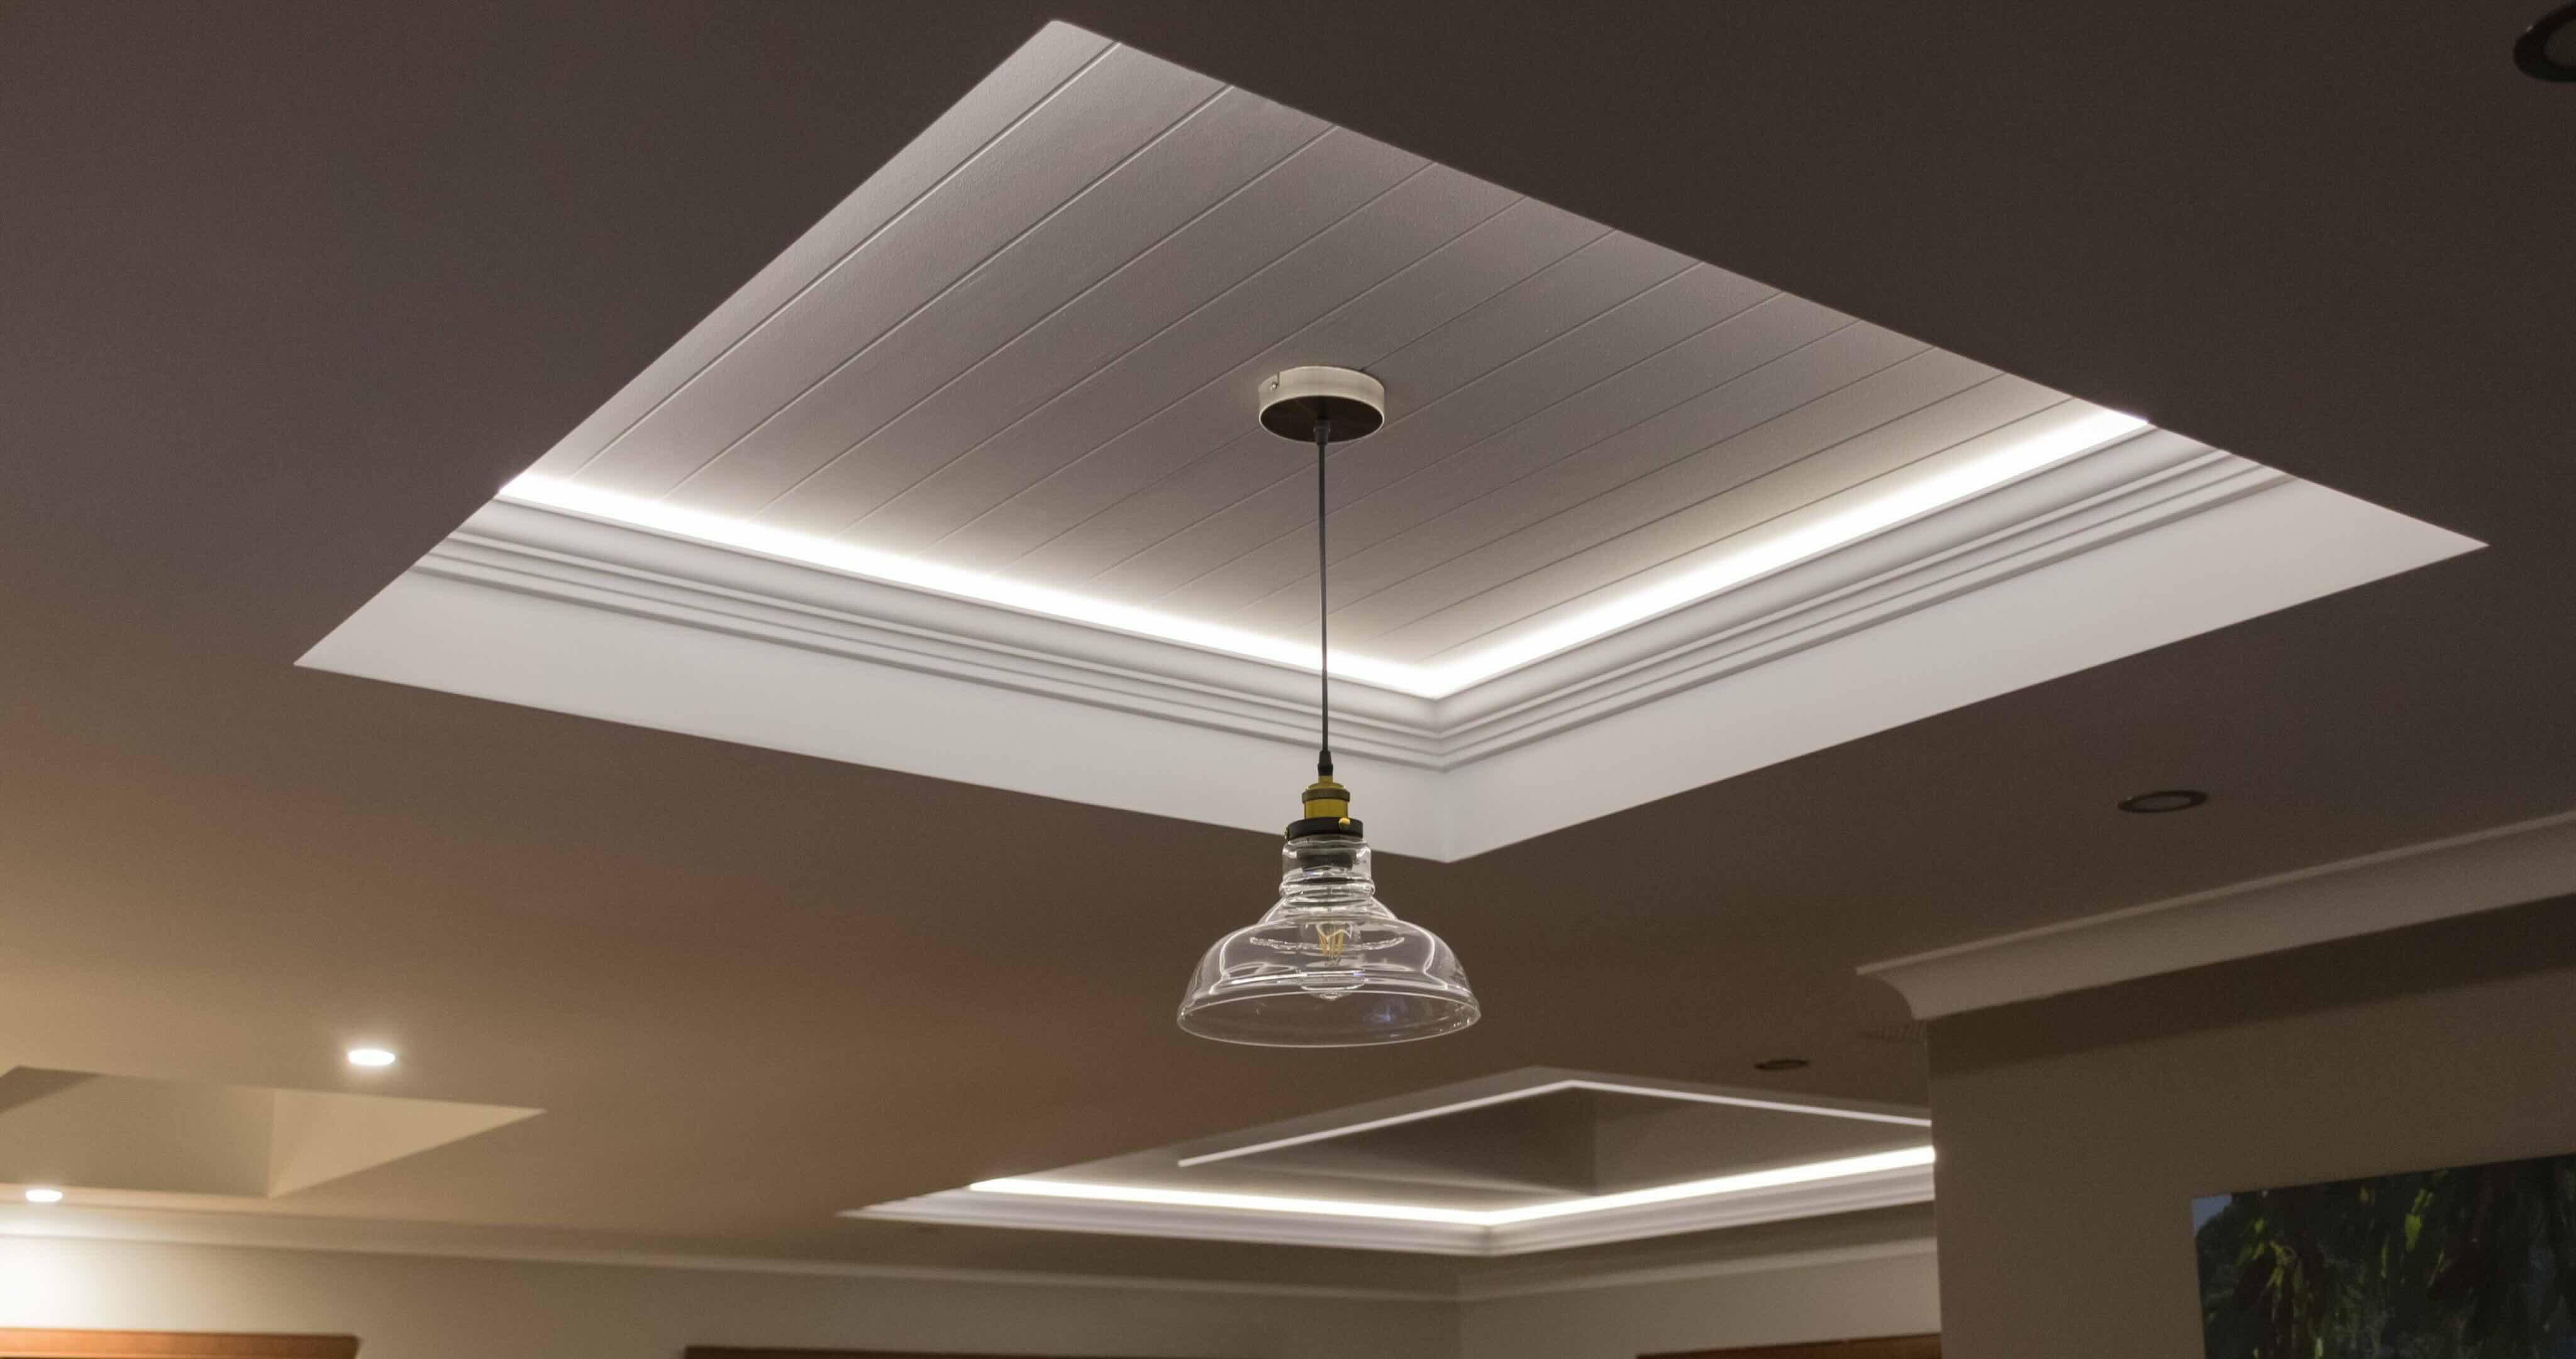
- Consider additional elements: If desired, you can further enhance the hidden beam ceiling by adding crown molding or decorative trim around the edges. This will add a touch of elegance and visually tie the ceiling to the rest of the room.
- Choose appropriate lighting: Select lighting fixtures that complement the style and ambiance of the room. Recessed lighting or track lighting can be a great choice to highlight the hidden beam ceiling and create a warm and inviting atmosphere.
- Accessorize the space: Complete the room’s design by adding furniture, artwork, and other decorative elements that complement the hidden beam ceiling. These additions will enhance the overall aesthetic and create a harmonious and cohesive space.
- Maintain the concealed ceiling: Regularly check for any signs of wear or damage and address them promptly. Keep the ceiling clean and free of dust and cobwebs to maintain its pristine appearance.
By paying attention to these finishing touches, you’ll create a stunning hidden beam ceiling that seamlessly integrates into the room’s design. The result will be a space that exudes charm, sophistication, and a sense of modernity.
Conclusion
Hiding beams in the ceiling can transform the look and feel of a room, providing a sleek and modern aesthetic. By following the step-by-step process outlined in this article, you can successfully conceal the beams and create a seamless ceiling.
From choosing the right materials and measuring the ceiling to creating a false ceiling, installing the beams, and concealing them with drywall, each step is crucial to achieving a professional and polished finish. Remember to pay attention to details, such as taping joints, applying joint compound, and properly priming and painting the ceiling, to ensure a flawless and cohesive look.
By adding the finishing touches, such as reinstalling fixtures, considering additional design elements, and accessorizing the space, you’ll complete the hidden beam ceiling’s transformation. The result will be a visually stunning room that combines functionality, style, and a touch of sophistication.
Don’t be afraid to seek professional assistance if you’re unsure about any step of the process or want to ensure the best outcome. Professional contractors or interior designers can provide valuable guidance and expertise tailored to your specific project.
Remember, a hidden beam ceiling not only enhances the visual appeal of a room, but it can also increase the value of your home. So, whether you’re renovating or simply looking for a creative way to update your space, consider hiding beams in the ceiling for a fresh and modern look.
Now that you've mastered concealing beams, why not shift focus to upgrading your floors? Our detailed guide on the best hardwood floors for home renovation offers practical advice to transform any living space. With insights on durability, aesthetics, and maintenance, you're sure to make an informed decision for your next project.
Frequently Asked Questions about How To Hide Beam In The Ceiling
Was this page helpful?
At Storables.com, we guarantee accurate and reliable information. Our content, validated by Expert Board Contributors, is crafted following stringent Editorial Policies. We're committed to providing you with well-researched, expert-backed insights for all your informational needs.


0 thoughts on “How To Hide Beam In The Ceiling”