Articles
How To Find Ceiling Stud
Modified: May 4, 2024
Discover the best techniques and tips for finding ceiling studs with our informative articles. Enhance your DIY projects and ensure secure installations.
(Many of the links in this article redirect to a specific reviewed product. Your purchase of these products through affiliate links helps to generate commission for Storables.com, at no extra cost. Learn more)
Introduction
When it comes to hanging heavy objects or installing fixtures on your ceiling, it’s important to find a secure spot to anchor them. This is where ceiling studs come into play. Ceiling studs are the vertical wooden or metal supports that provide structural stability to your ceiling. By locating these studs, you can ensure that your installation is secure and won’t come crashing down.
Understanding how to find ceiling studs is an essential skill for any homeowner or DIY enthusiast. While it may sound like a daunting task, there are several methods you can use to locate ceiling studs quickly and accurately. Whether you prefer a visual inspection, using a stud finder, measuring from door or window frames, or simply tapping the ceiling, we’ve got you covered.
In this article, we’ll walk you through each method, explaining the tools you’ll need and the step-by-step process for finding ceiling studs. By the end, you’ll have the knowledge and confidence to tackle any ceiling installation or hanging project with ease.
Key Takeaways:
- Finding ceiling studs is crucial for secure installations. Use visual inspection, stud finders, measuring from door or window frames, or tapping the ceiling to locate studs accurately.
- Mastering the art of finding ceiling studs empowers DIY enthusiasts. Whether through visual inspection, stud finders, measuring from door or window frames, or tapping the ceiling, secure and successful installations are achievable.
Understanding Ceiling Studs
Before we dive into the methods of finding ceiling studs, let’s first understand what they are and why they are important. Ceiling studs, also known as joists or rafters, are horizontal or vertical supports that provide structural stability to the ceiling. They are typically made of wood or metal and are spaced at regular intervals.
The main purpose of ceiling studs is to bear the weight of the ceiling itself and any additional loads, such as light fixtures, fans, or heavy objects that are hung from the ceiling. By attaching objects to the studs, you can ensure that they are properly supported and won’t cause any damage or accidents.
In older homes, ceiling studs are usually made of wood and are placed around 16 inches apart, a measurement known as “on-center.” In newer constructions, metal studs or engineered wood studs may be used, and the spacing can vary depending on building codes and specifications.
It’s important to note that not all parts of the ceiling will have studs. Some areas, such as around doors, windows, or openings for ventilation or wiring, may have additional structural supports or be free of studs altogether. Understanding the layout of your ceiling and where the studs are located is crucial for a secure and successful installation.
Now that we have a basic understanding of ceiling studs, let’s explore the different methods you can use to find them.
Tools Needed
Before you start the process of finding ceiling studs, it’s important to gather the necessary tools. These tools will help you accurately locate the studs and ensure a successful installation. Here are the tools you’ll need:
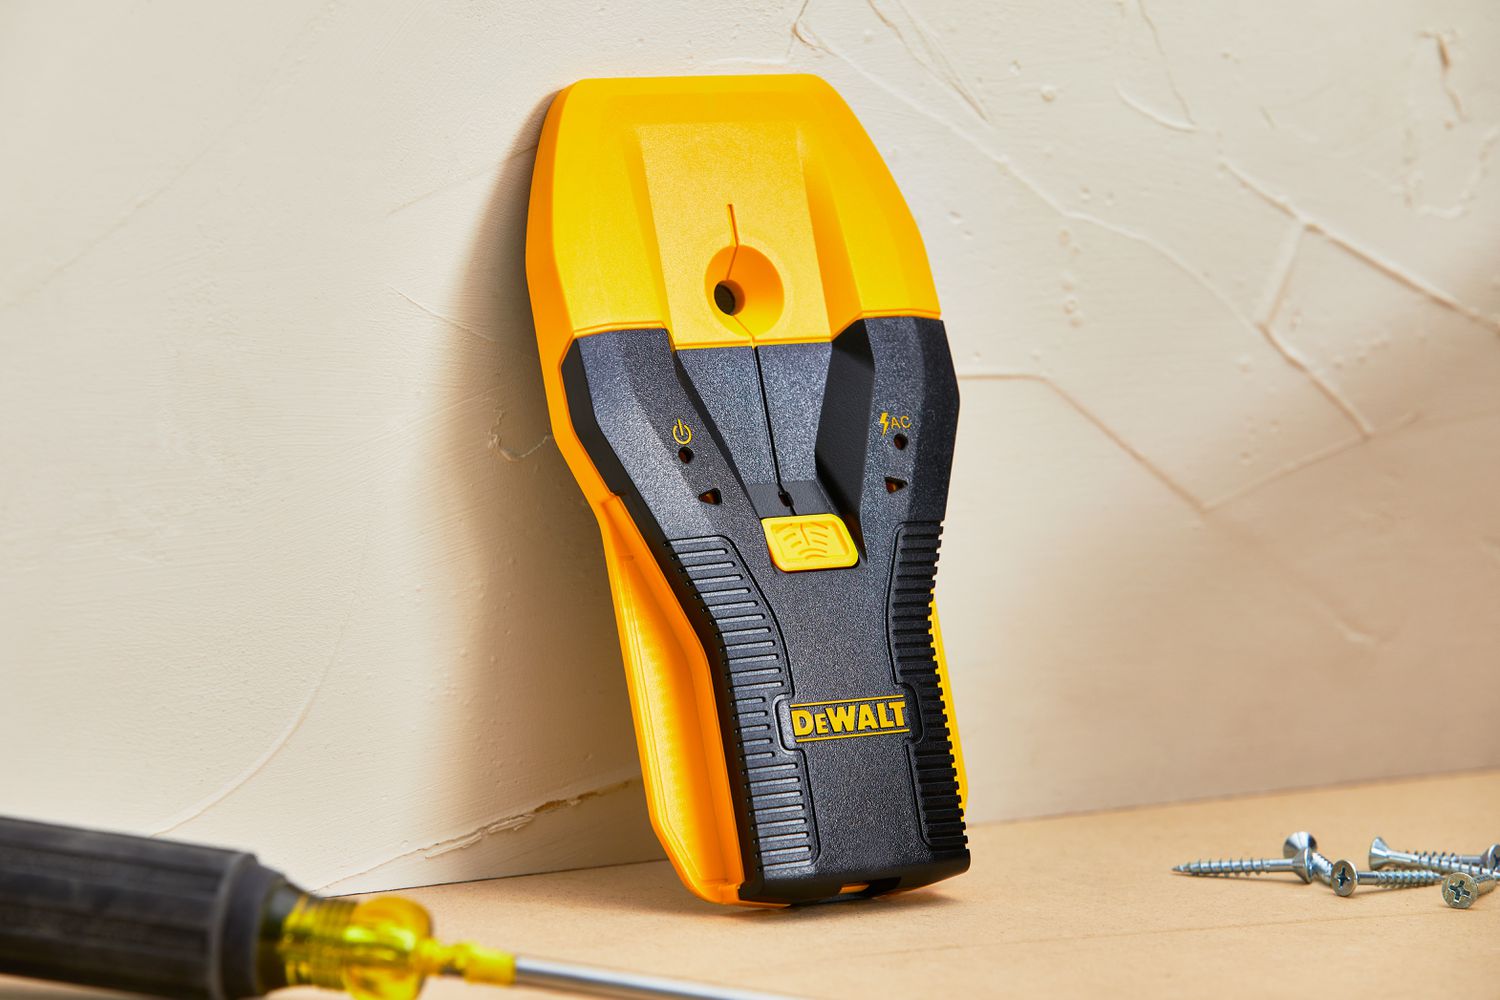
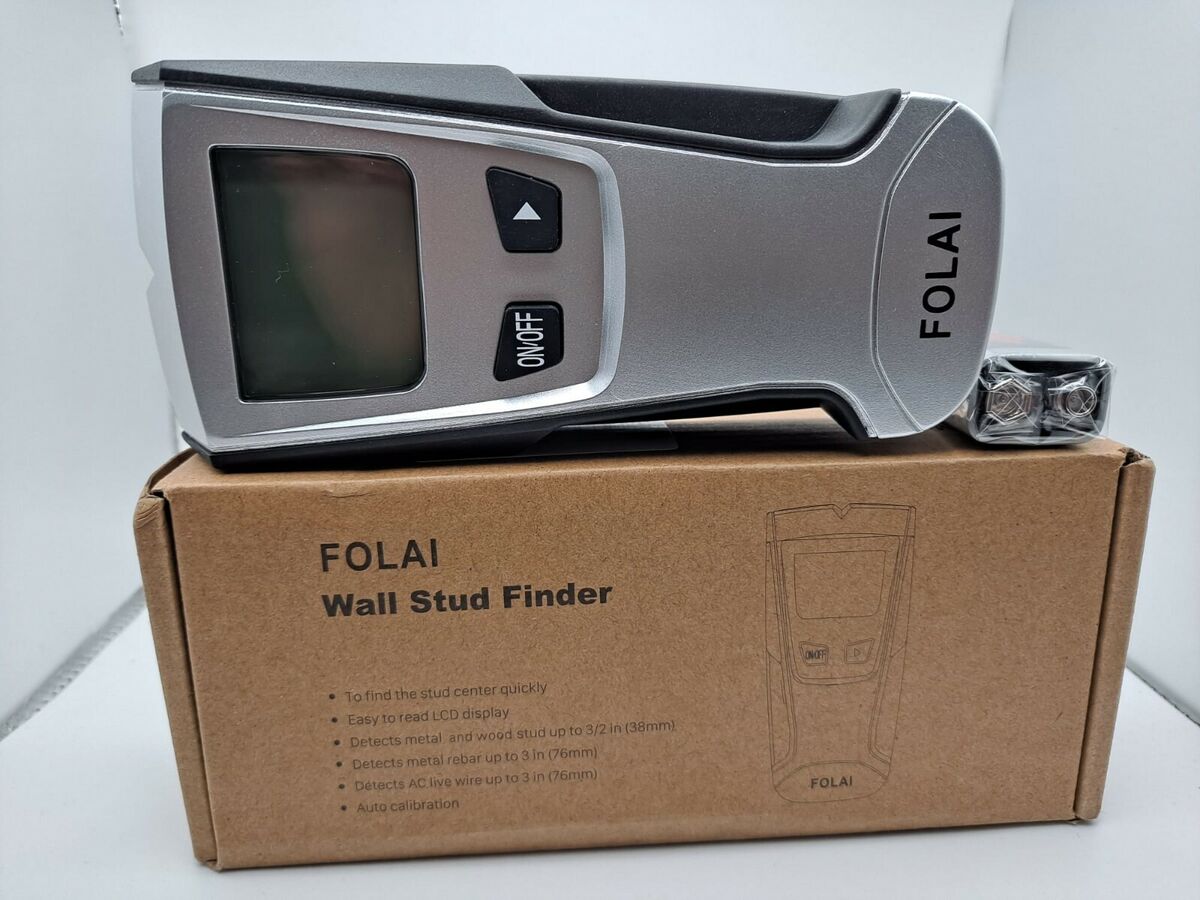
- Stud Finder: A stud finder is a handy device that uses electronic sensors to detect changes in density behind the ceiling surface. This tool is essential for accurately locating ceiling studs. You can find stud finders at your local hardware store or online.
- Tape Measure: A tape measure will come in handy when measuring distances between studs or locating studs based on door or window frames.
- Pencil or Marker: You’ll need a pencil or marker to mark the spots where you find the studs. This will help you remember their location during the installation process.
- Hammer: A hammer can be useful for tapping the ceiling to listen for the hollow sound that indicates the absence of a stud.
- Ladder or Step Stool: Depending on the height of your ceiling, you may need a ladder or step stool to reach the ceiling safely and comfortably.
With these tools in hand, you’ll be well-prepared to proceed with any of the methods we’ll discuss next for finding ceiling studs. Remember to follow safety precautions, such as using a sturdy ladder or step stool, and exercise caution when working at heights.
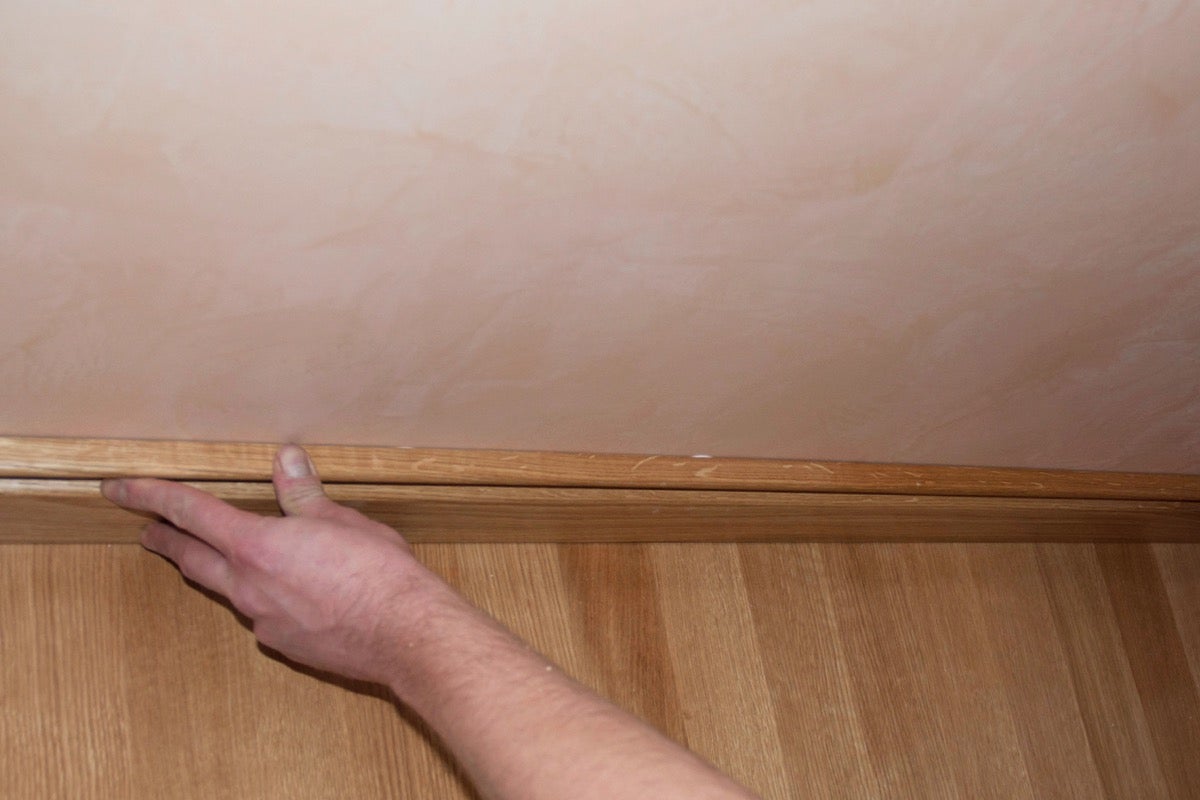
Method 1: Visual Inspection
One of the simplest and most straightforward methods for finding ceiling studs is through visual inspection. This method involves looking for visible clues on the ceiling surface that indicate the presence of studs. Here’s how you can do it:
- Clear the area: Start by removing any light fixtures, fans, or other objects that may be hanging from the ceiling. Clearing the area will give you a better view of the ceiling surface.
- Look for nails or screws: Examine the ceiling closely and look for any nails or screws that may be visible. These are often used to secure the drywall or other ceiling materials to the studs. If you spot any nails or screws, they are a good indicator of the stud’s location.
- Observe patterns: Take note of any repeating patterns or lines on the ceiling surface. These could be caused by the joints between the sheets of drywall or the seams where different sections of the ceiling meet. Studs are often placed behind these joints or seams, so they can serve as a guide for locating the studs.
- Use a flashlight: If needed, use a flashlight to shine light perpendicular to the ceiling surface. This can help you identify subtle shadows or irregularities that could indicate the presence of studs.
- Mark the spots: Once you’ve identified potential stud locations, use a pencil or marker to mark the spots on the ceiling. This will help you keep track of the stud positions during the installation process.
While visual inspection may not always be foolproof, it is a good starting point and can work well in certain situations. Keep in mind that this method relies on visible cues, so it may not be effective in ceilings with textured surfaces or where the ceiling materials are not directly attached to the studs.
Now that you’ve learned the visual inspection method, let’s move on to another popular method: using a stud finder.
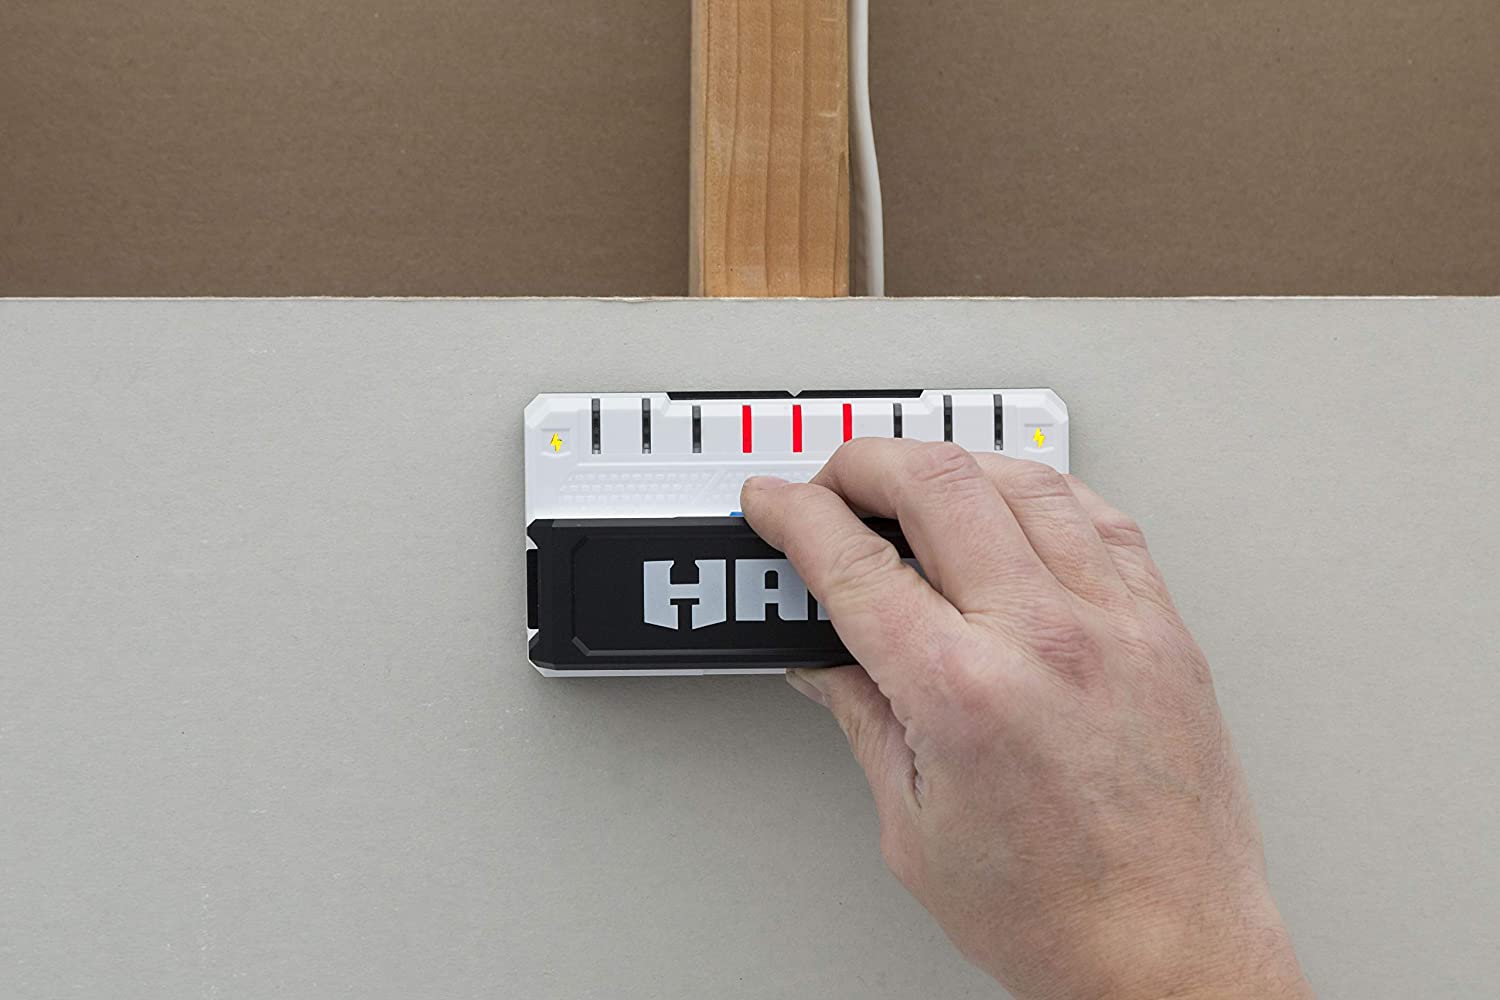
Use a stud finder to locate ceiling studs. Start by running the stud finder along the ceiling until it indicates the presence of a stud. Mark the location and continue until you have found all the studs you need.
Method 2: Using a Stud Finder
A stud finder is a reliable and efficient tool for locating ceiling studs. It uses electronic sensors to detect changes in density behind the ceiling surface, indicating the presence of studs. Here’s how you can use a stud finder to find ceiling studs:
- Choose the right type of stud finder: There are two main types of stud finders – magnetic stud finders and electronic stud finders. Magnetic stud finders detect the presence of metal fasteners, such as nails or screws, while electronic stud finders can detect changes in density. For most ceilings, electronic stud finders are the preferred option.
- Calibrate the stud finder: Before you start, make sure to calibrate the stud finder according to the manufacturer’s instructions. This will ensure accurate readings.
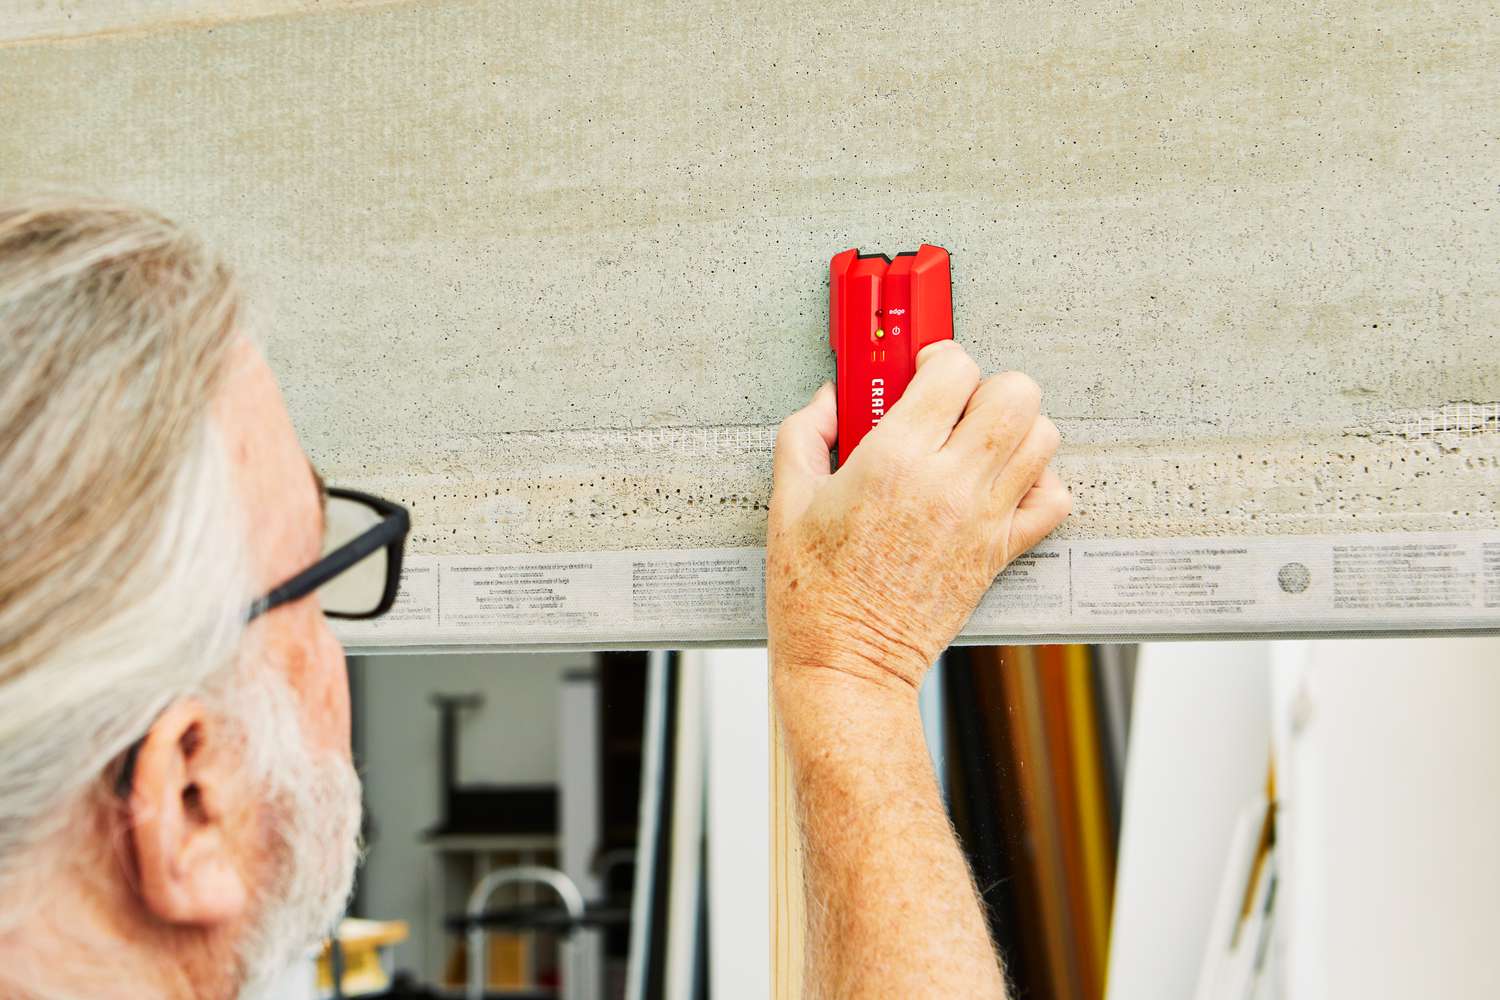
- Place the stud finder on the ceiling: Hold the stud finder against the ceiling and slowly move it horizontally. The stud finder will display signals or make a beeping sound when it detects a stud.
- Mark the stud locations: Once you’ve detected a stud, use a pencil or marker to mark the spot on the ceiling. Continue scanning the ceiling with the stud finder to locate additional studs and mark their positions as well.
- Verify the stud locations: After marking the suspected stud locations, it’s a good idea to double-check by measuring the distances between the marks. In most cases, studs are spaced around 16 inches apart, but it’s always best to verify.
Using a stud finder is a reliable method for finding ceiling studs, especially in ceilings with drywall or similar materials. It saves time and ensures accuracy, making it a popular choice for many homeowners and professionals.
Now that you’ve learned about using a stud finder, let’s explore another method: measuring from door or window frames.
Read more: How Far Apart Are Ceiling Studs
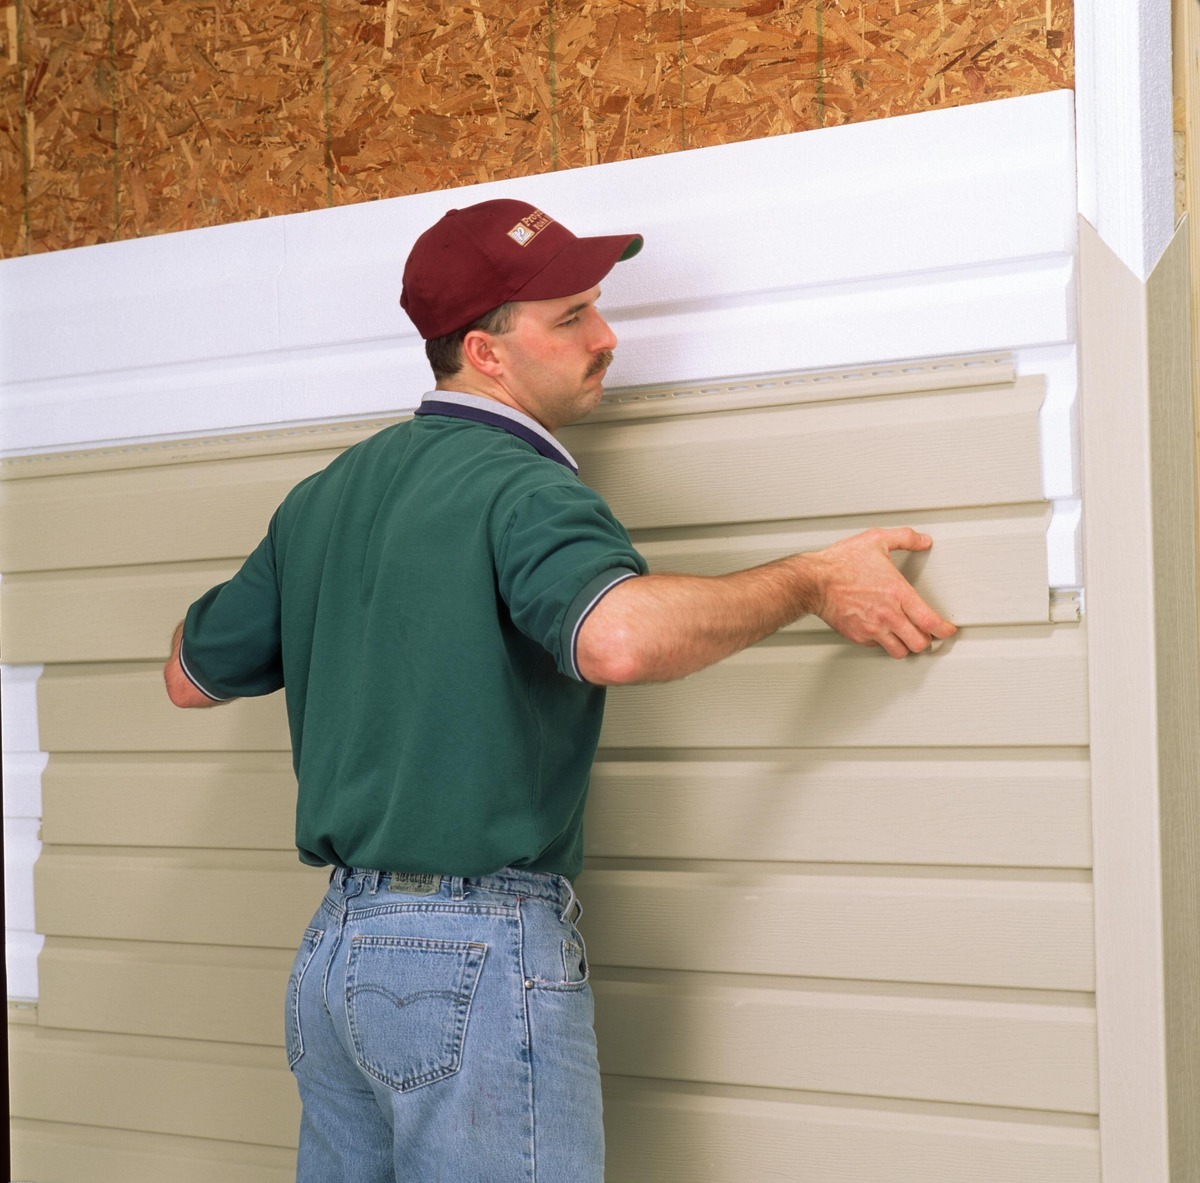
Method 3: Measuring from Door or Window Frames
If you don’t have a stud finder or prefer a more straightforward approach, you can use door or window frames to help locate ceiling studs. This method relies on the fact that door and window frames are typically attached to the studs. Here’s how you can use this method:
- Identify door or window frames: Look for doors or windows on the same wall as the ceiling you’re working on. Door frames and window frames are usually installed directly into the adjacent wall studs.
- Measure from the frame: Use a tape measure to measure the distance between the edge of the door or window frame and the desired location on the ceiling. Studs are typically spaced around 16 inches apart, so you can use this measurement as a guide to find the next stud.
- Mark the stud locations: Based on the measurement from the frame, mark the spot on the ceiling where the next stud is likely to be located. Repeat this process along the length of the wall until you’ve marked all the stud positions.
- Verify the stud locations: To ensure accuracy, it’s always a good idea to double-check the marked stud locations by measuring the distances between them. If they are spaced approximately 16 inches apart, you’ve likely found the studs.
This method is useful in situations where you don’t have access to a stud finder or prefer a more hands-on approach. Just keep in mind that this method relies on the assumption that door and window frames are attached to the studs, which may not always be the case.
Now that you’ve learned about measuring from door or window frames, let’s move on to another method: tapping the ceiling.
Method 4: Tapping the Ceiling
If you prefer a low-tech method that doesn’t require any special tools, you can try tapping the ceiling to locate ceiling studs. This method relies on the sound difference between the hollow areas and the solid areas where the studs are located. Here’s how you can use this method:
- Clear the area: Start by clearing the area and removing any objects or fixtures that may be hanging from the ceiling. This will allow you to tap the ceiling without any obstructions.
- Find a reference point: Look for a reference point, such as a known stud or a corner of the wall, to start your tapping. This will help you establish a baseline for comparison.
- Tap the ceiling: Begin tapping the ceiling with your knuckles or a small hammer, starting from the reference point. Listen to the sound produced when you tap different areas of the ceiling.
- Listen for sound differences: As you tap the ceiling, pay attention to the sound produced. A hollow sound indicates the absence of a stud, while a solid or dull thud indicates the presence of a stud.
- Mark the stud locations: Once you’ve identified the areas with solid thuds, use a pencil or marker to mark the spots on the ceiling. These marks will help you locate the studs during the installation process.
- Verify the stud locations: To ensure accuracy, it’s recommended to double-check the marked stud locations by using other methods, such as visual inspection or a stud finder. This will help confirm the presence of studs in those areas.
While this method may require a bit of practice and may not be as precise as using a stud finder or other methods, it can be a useful alternative when you don’t have access to specialized tools. It’s a hands-on approach that allows you to rely on your senses to locate the studs.
Now that you’ve learned about tapping the ceiling, you have four different methods for finding ceiling studs in your arsenal. Choose the one that suits your preferences and the materials available to you, and you’ll be well-equipped to tackle any ceiling installation or hanging project with confidence.
Conclusion
Locating ceiling studs is an essential skill for any homeowner or DIY enthusiast. Whether you’re hanging heavy objects like chandeliers or installing fixtures such as ceiling fans, finding ceiling studs ensures a secure and stable installation. In this article, we covered four different methods for finding ceiling studs: visual inspection, using a stud finder, measuring from door or window frames, and tapping the ceiling.
Visual inspection is a straightforward method that involves looking for visible clues such as nails, screws, or patterns on the ceiling surface. While it may not always be foolproof, it’s a good starting point and can work well in certain situations.
Using a stud finder is a reliable and efficient method that utilizes electronic sensors to detect changes in density behind the ceiling surface. It saves time and ensures accuracy, making it a popular choice for many homeowners and professionals.
Measuring from door or window frames is a hands-on approach that relies on the fact that these frames are typically attached to the studs. By measuring the distance from the frames, you can approximate the locations of the studs.
Tapping the ceiling is a low-tech method that involves listening for sound differences to identify the presence of studs. While it may require some practice and verification, it can be a useful alternative when more sophisticated tools are not available.
Regardless of the method you choose, it’s important to practice caution and follow safety guidelines when working with ceilings. Always use sturdy ladders or step stools, and ensure you have a secure grip when reaching for the ceiling.
By mastering the art of finding ceiling studs, you’ll be able to confidently tackle any ceiling installation or hanging project. Whether you’re a seasoned DIY enthusiast or a beginner, understanding the importance of ceiling studs and having the knowledge and tools to locate them will save you time, effort, and ensure the success of your projects.
Frequently Asked Questions about How To Find Ceiling Stud
Was this page helpful?
At Storables.com, we guarantee accurate and reliable information. Our content, validated by Expert Board Contributors, is crafted following stringent Editorial Policies. We're committed to providing you with well-researched, expert-backed insights for all your informational needs.


0 thoughts on “How To Find Ceiling Stud”