Articles
How To Hide LED Strip Ceiling Lights
Modified: October 20, 2024
Looking for articles on how to hide LED strip lights on the ceiling? Check out our guide for step-by-step instructions and creative ideas.
(Many of the links in this article redirect to a specific reviewed product. Your purchase of these products through affiliate links helps to generate commission for Storables.com, at no extra cost. Learn more)
Introduction
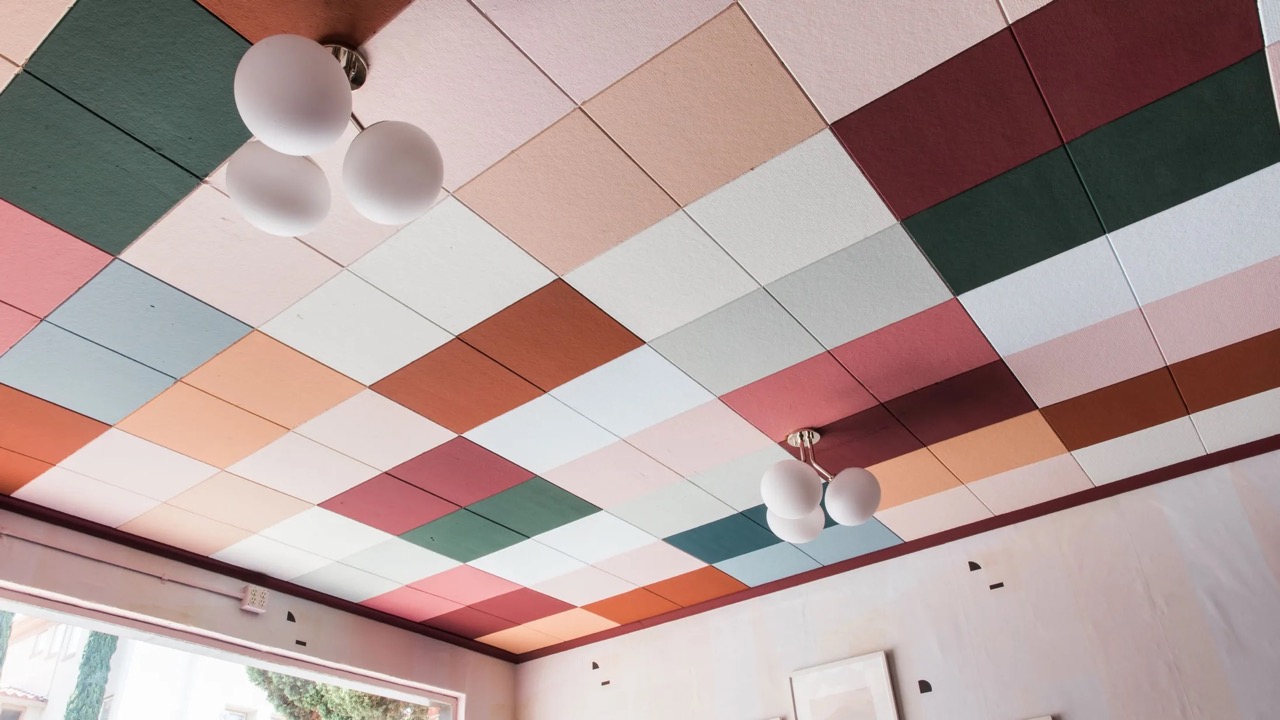
LED strip lights have become increasingly popular for their versatility and ability to add an enchanting glow to any space. One creative way to utilize these lights is by installing them on the ceiling, creating a stunning hidden lighting effect. In this article, we will guide you through the process of hiding LED strip lights on your ceiling, transforming your living space into a captivating and mesmerizing haven.
By following a few simple steps, you can achieve a seamless and professional installation that not only enhances the ambiance of your room but also adds a touch of elegance and sophistication. Whether you want to create a cozy atmosphere in your bedroom or add a touch of drama to your living room, hidden LED strip lights can completely transform the look and feel of any space.
Before we dive into the step-by-step process, let’s go over the materials you will need to gather and ensure you have everything at hand.
Key Takeaways:
- Transform your living space into a captivating haven by hiding LED strip lights on the ceiling. Follow the step-by-step process for a seamless and professional installation that adds elegance and sophistication to any room.
- Enjoy the enchanting ambiance created by hidden LED strip lights. Experiment with dimming, colors, and highlighting architectural features to fully appreciate the transformative effect of these mesmerizing ceiling lights.
Read more: How To Hide LED Strips
Step 1: Gather Materials
Before starting the installation process, it’s essential to gather all the necessary materials. This will ensure a smooth and hassle-free experience. Here is a list of materials you will need:
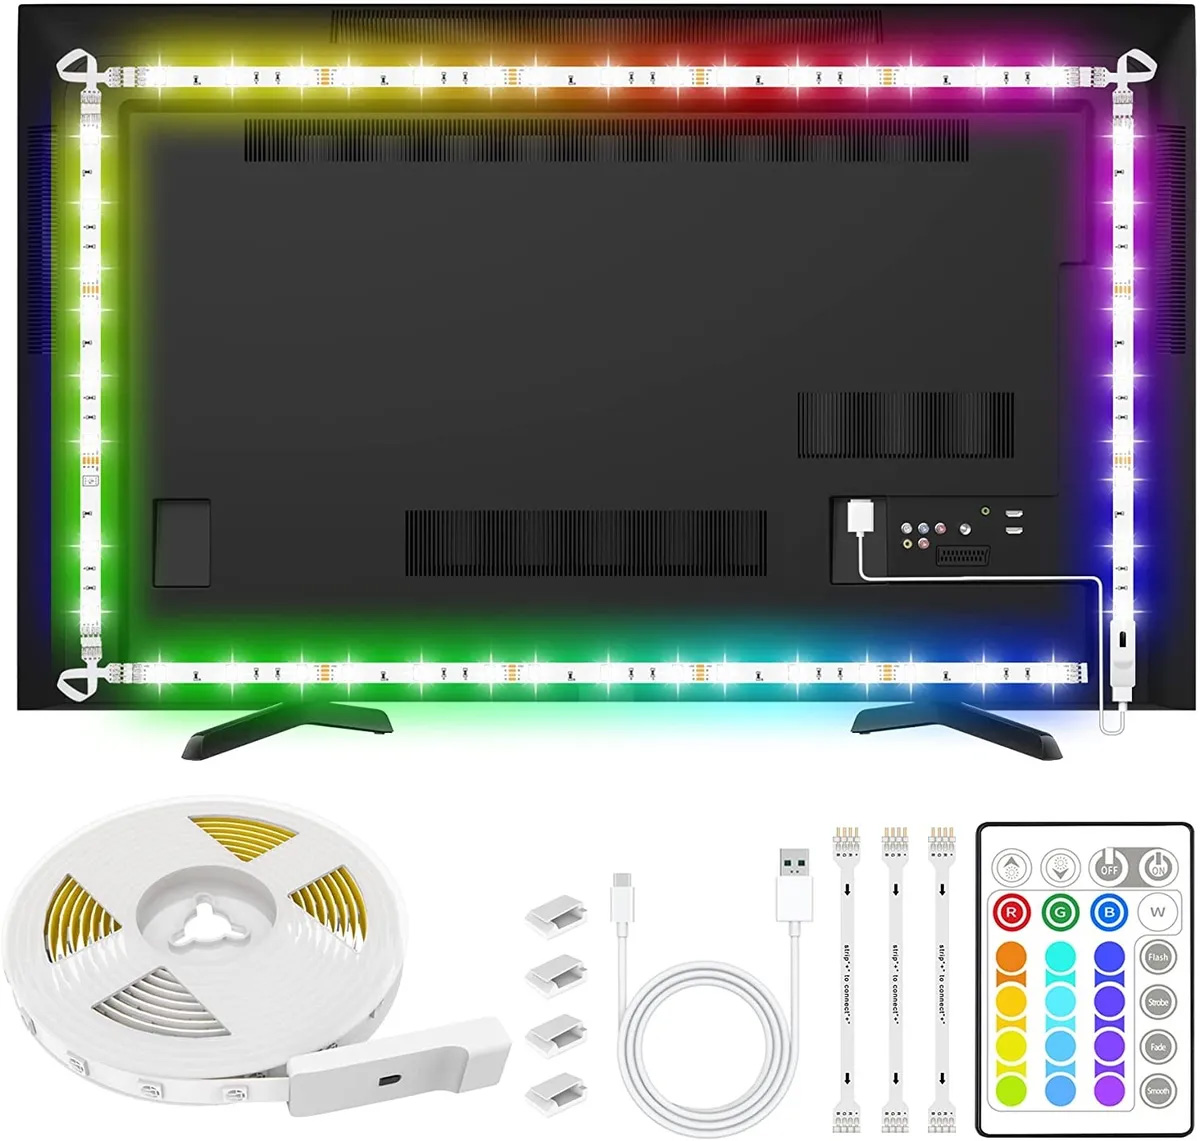
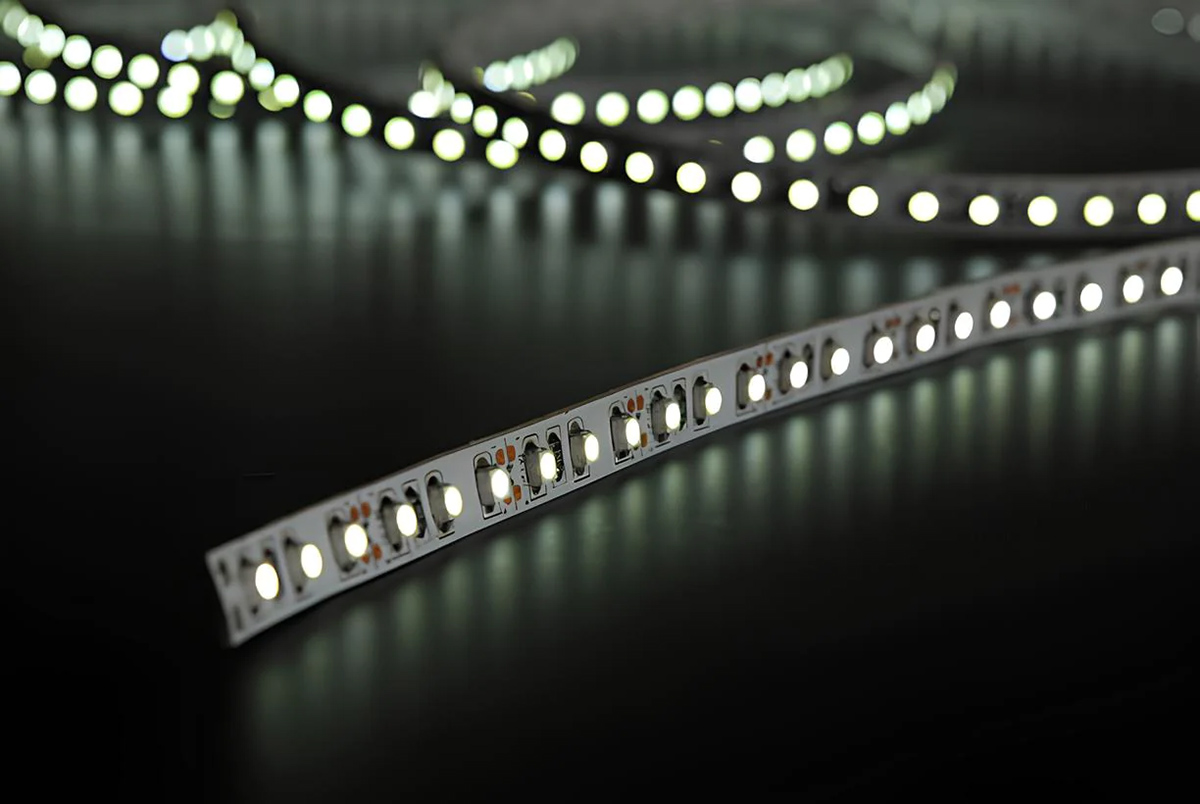
- LED strip lights: Choose high-quality LED strip lights that are suitable for ceiling installation. Ensure you measure the length required.
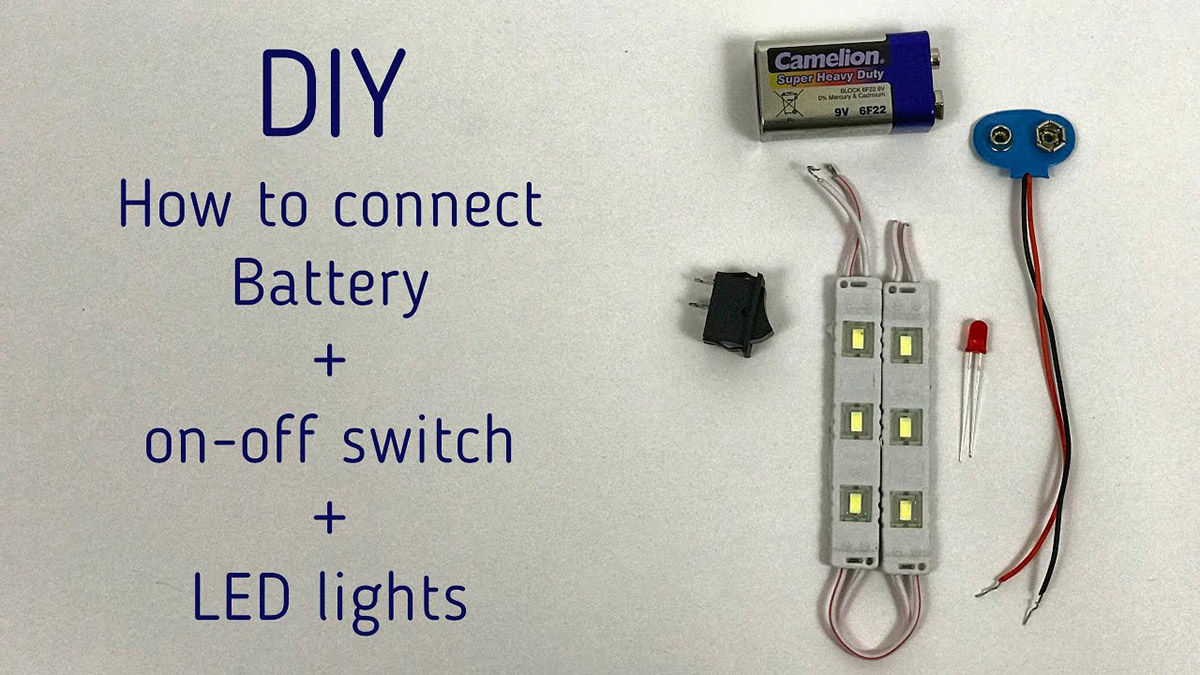
- Power supply: Purchase a power supply that matches the specifications of your LED strip lights. Consider whether you want a plug-in or hardwired power supply.
- Mounting clips or adhesive tape: Depending on your preference, you can use mounting clips or adhesive tape to secure the LED strip lights to the ceiling.
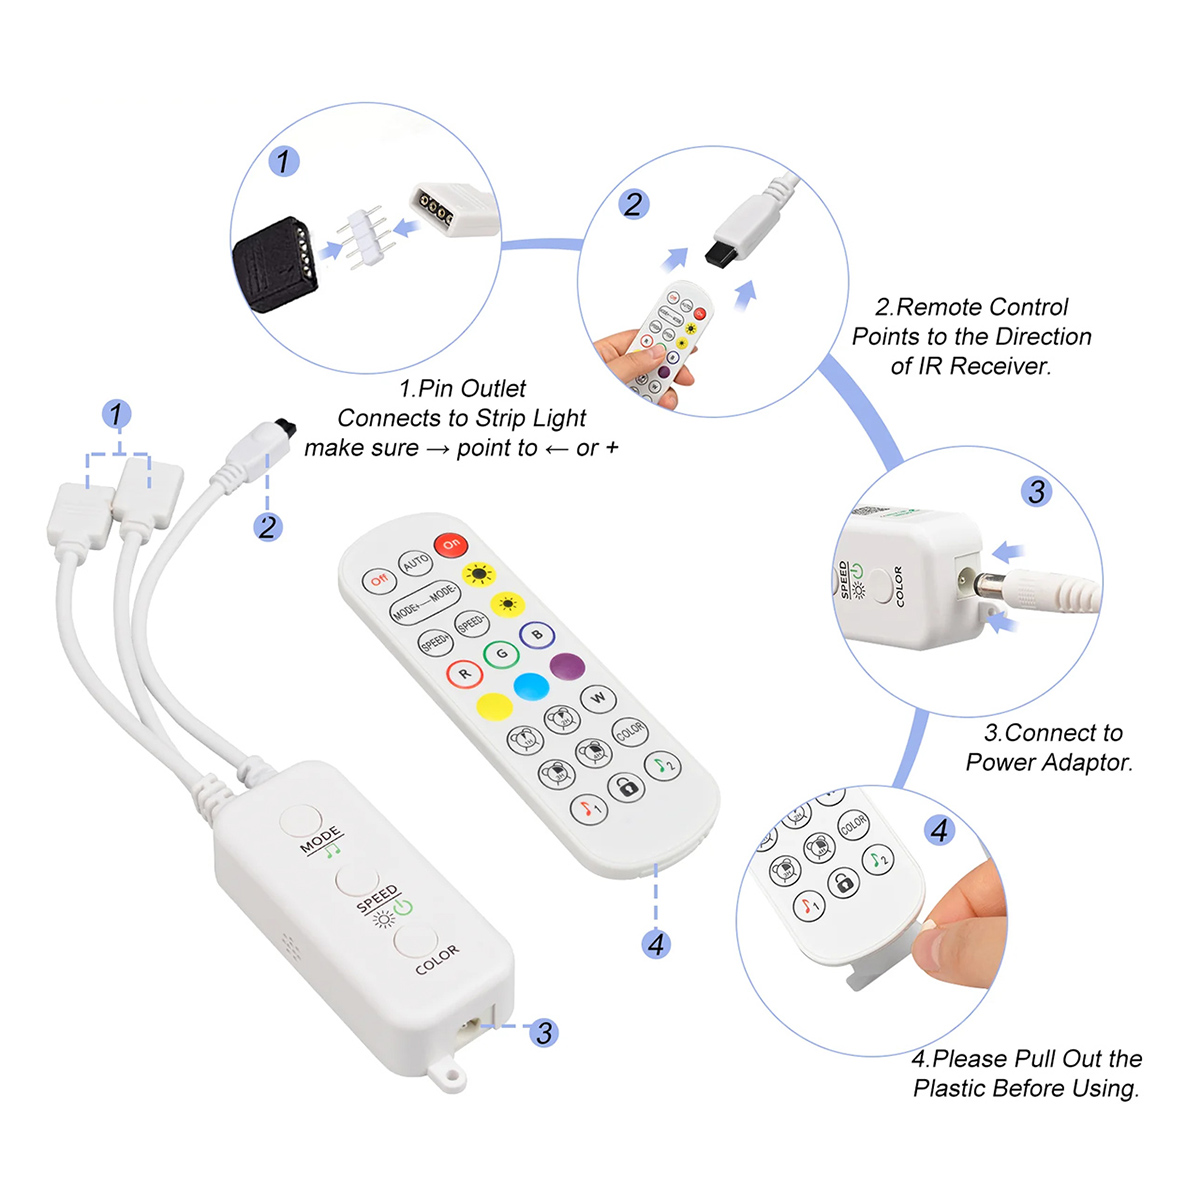
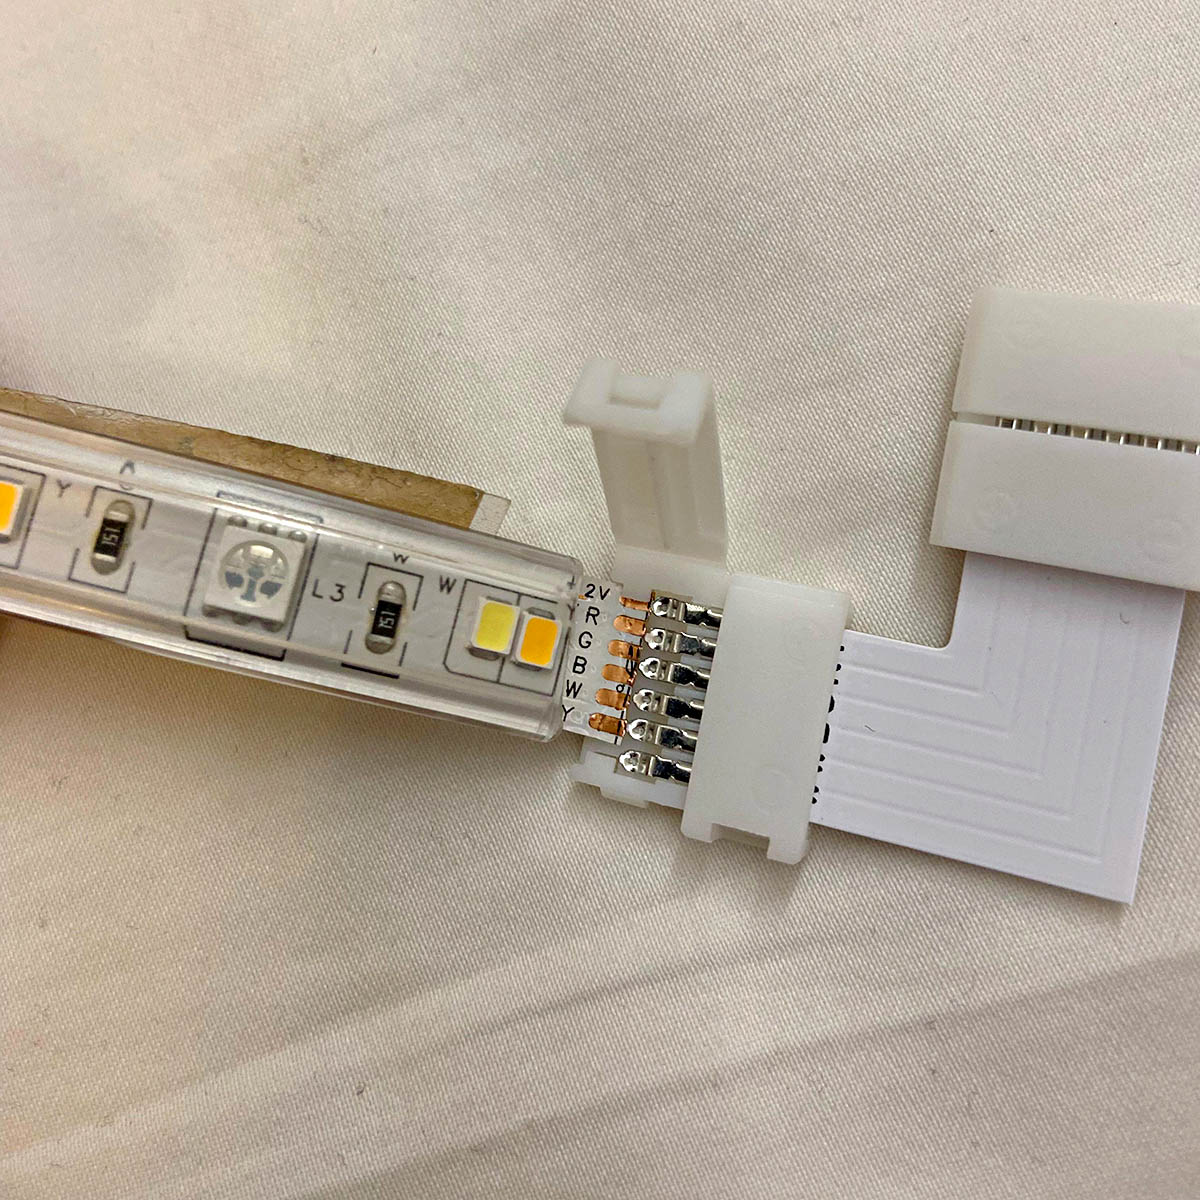
- Connectors and extension cables: If your LED strip lights require multiple sections or need to be connected to a power source, make sure you have connectors and extension cables.
- Wire cutters and connectors: These tools will be necessary for cutting and connecting wires during the installation process.
- Wire clips or cable management system: To conceal and manage the wiring, you will need wire clips or a cable management system.
- Measuring tape: A measuring tape will help you accurately measure and plan the installation.
- Ladder or step stool: Depending on the height of your ceiling, you may need a ladder or step stool to reach the installation area safely.
Once you have gathered all the materials, you’re ready to move on to the next step: measuring and planning the installation.
Step 2: Measure and Plan
Measuring and planning the installation is an essential step to ensure that your hidden LED strip lights are installed seamlessly and evenly across the ceiling. Here’s how you can measure and plan the installation:
- Measure the length: Use a measuring tape to determine the length of the area where you want to install the LED strip lights. It’s crucial to measure accurately to ensure you have enough strip lights to cover the entire space.
- Mark the placement: Based on your desired lighting effect, mark the placement of the LED strip lights on the ceiling. Consider factors such as the placement of furniture, architectural features, and the overall aesthetic of the room.
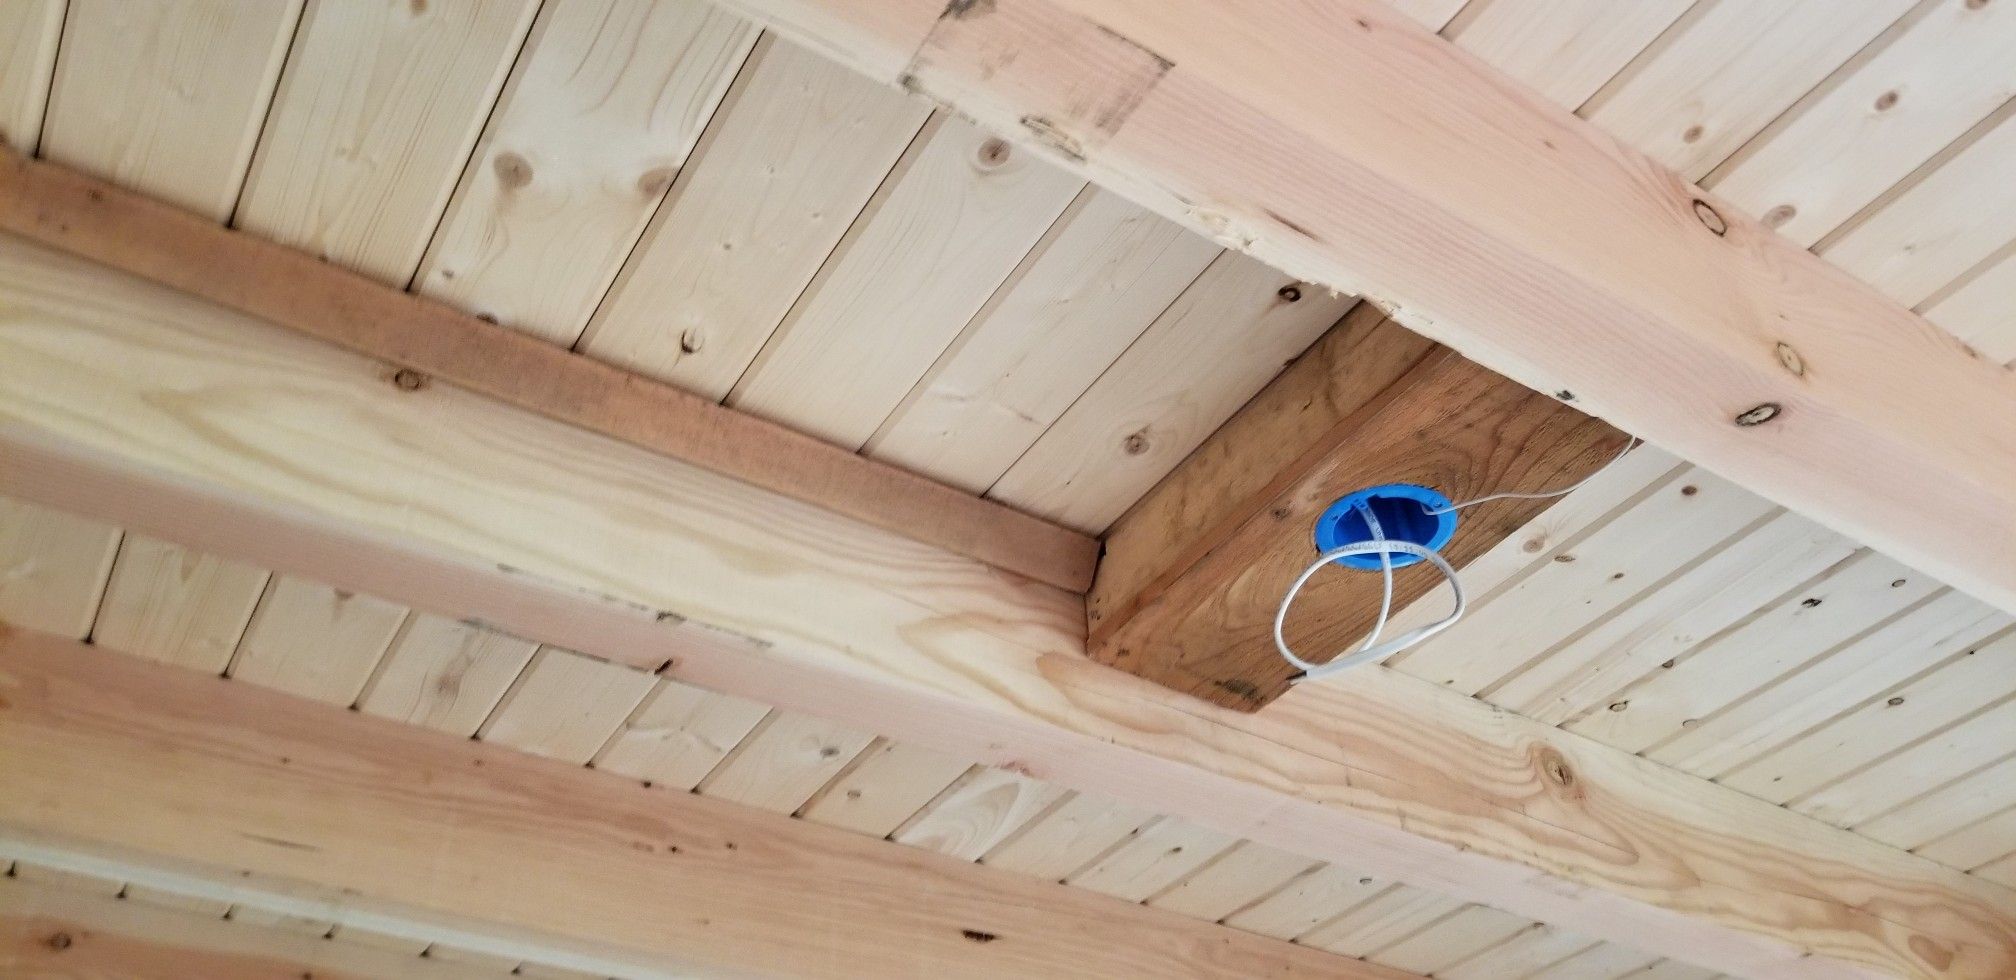
- Determine the wiring route: Plan the wiring route from the LED strip lights to the power supply. It’s important to choose a route that provides easy access and allows for discreet wiring concealment.
- Consider connectors and extensions: If your LED strip lights require connectors and extension cables, plan their placement accordingly. Ensure that the connectors and extension cables can reach the power supply without any issues.
- Design a layout: Create a layout or diagram to visualize the placement of the LED strip lights. This will help you during the installation process and ensure a cohesive lighting design.
By measuring and planning the installation beforehand, you can avoid any last-minute adjustments or errors. Taking the time to plan will result in a more polished and professional-looking end result. Once you have completed the planning phase, it’s time to prepare the ceiling for installation.
Step 3: Prepare the Ceiling
Before installing the LED strip lights, it’s crucial to prepare the ceiling to ensure a smooth and secure installation. Here are the necessary steps to prepare the ceiling:
- Clean the surface: Use a damp cloth or mild cleaning solution to clean the area where the LED strip lights will be installed. This will remove any dust, dirt, or grease that could affect the adhesion of the mounting clips or adhesive tape.
- Locate studs or anchor points: Identify the location of ceiling studs or anchor points. These will provide additional stability and support when attaching the mounting clips or adhesive tape.
- Apply primer (optional): If your ceiling has a rough or uneven surface, consider applying a primer. This will create a smoother and more even surface for the mounting clips or adhesive tape.
- Allow the primer to dry: If you applied a primer, make sure to follow the instructions regarding the drying time. Ensure the surface is completely dry and ready for installation.
Preparing the ceiling is an essential step to guarantee the longevity of the installation. By cleaning the surface and ensuring it’s smooth and dry, you can enhance the adhesion of the mounting clips or adhesive tape, providing a secure foundation for the LED strip lights. Once the ceiling is prepared, you can move on to the exciting part: installing the LED strip lights.
Step 4: Install the LED Strip Lights
Now that you have prepared the ceiling, it’s time to install the LED strip lights. Follow these steps for a successful installation:
- Attach the mounting clips or adhesive tape: Depending on your preference and the type of LED strip lights you have, attach the mounting clips or adhesive tape to the back of the strip lights. Make sure they are evenly spaced and securely attached.
- Align and apply the strip lights: Carefully align the LED strip lights with the marked placement on the ceiling. Slowly and smoothly apply the strip lights, ensuring they are straight and evenly positioned. Press firmly to secure them to the ceiling.
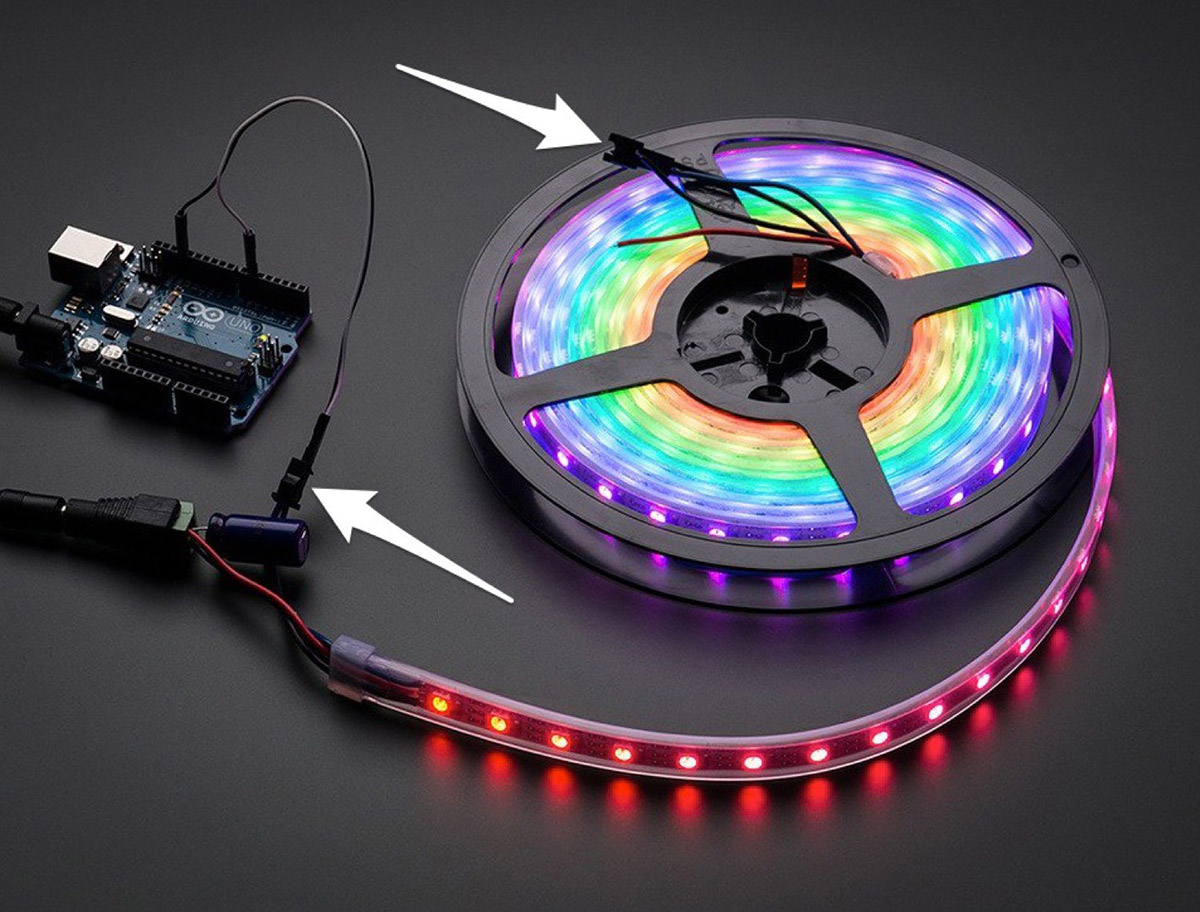
- Connect the strips (if necessary): If you are using multiple sections of LED strip lights, connect them using the connectors and extension cables. Follow the manufacturer’s instructions for proper connection.
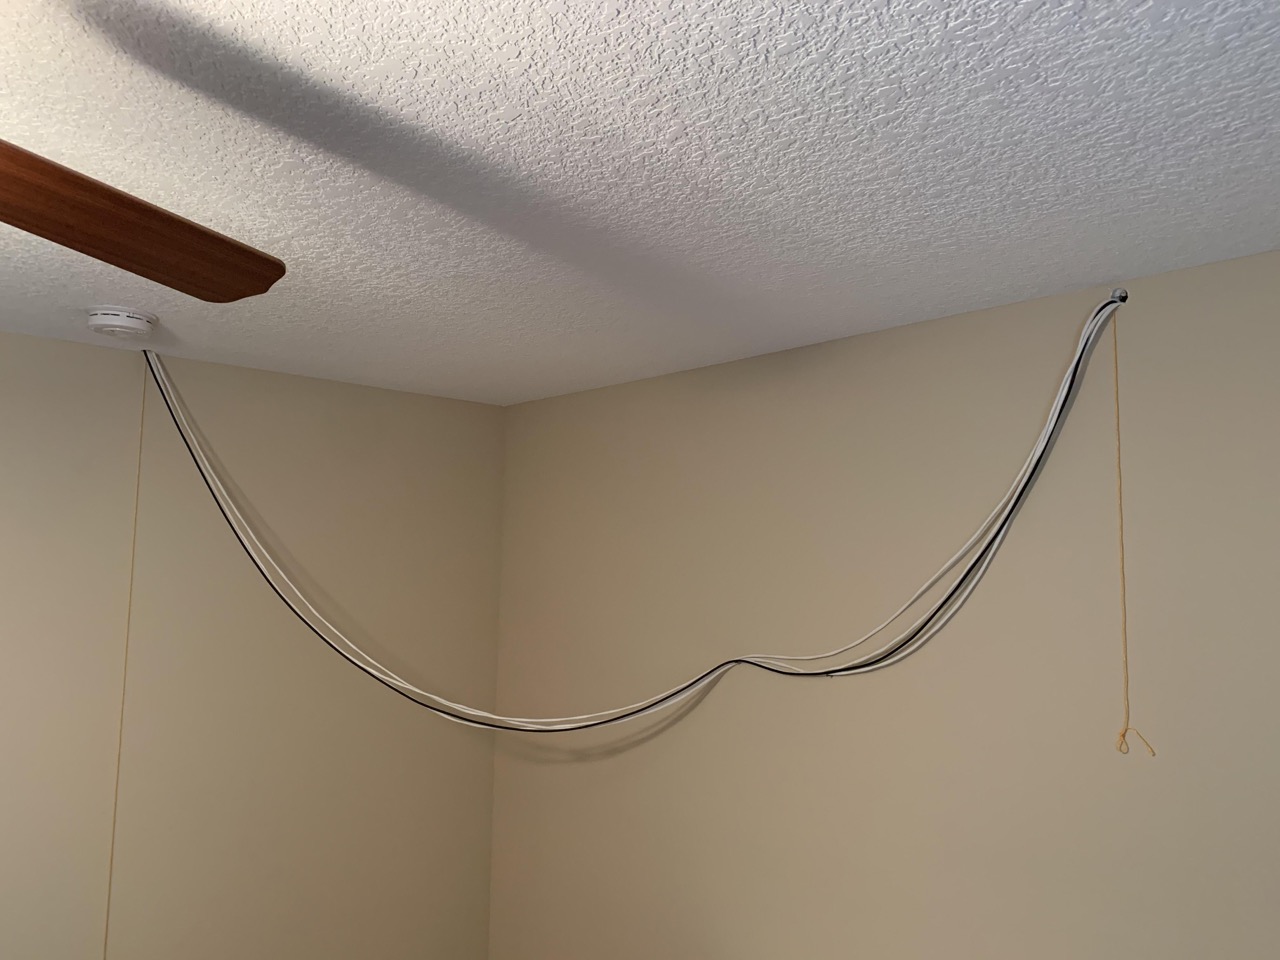
- Secure the wiring: Use wire clips or a cable management system to secure and conceal the wiring along the predetermined route. Make sure the wiring is hidden and doesn’t disrupt the aesthetics of the room.
- Test the lights: Before completing the installation, test the LED strip lights to ensure they are functioning properly. Connect them to the power supply and turn them on. Check for any flickering, dimming, or uneven lighting.
- Make any necessary adjustments: If you notice any issues during the testing phase, make the necessary adjustments. Ensure that the strip lights are evenly illuminated and provide the desired lighting effect.
By following these steps, you can achieve a professional and seamless installation of the LED strip lights. Once they are securely in place, it’s time to move on to the next step: concealing the wiring.
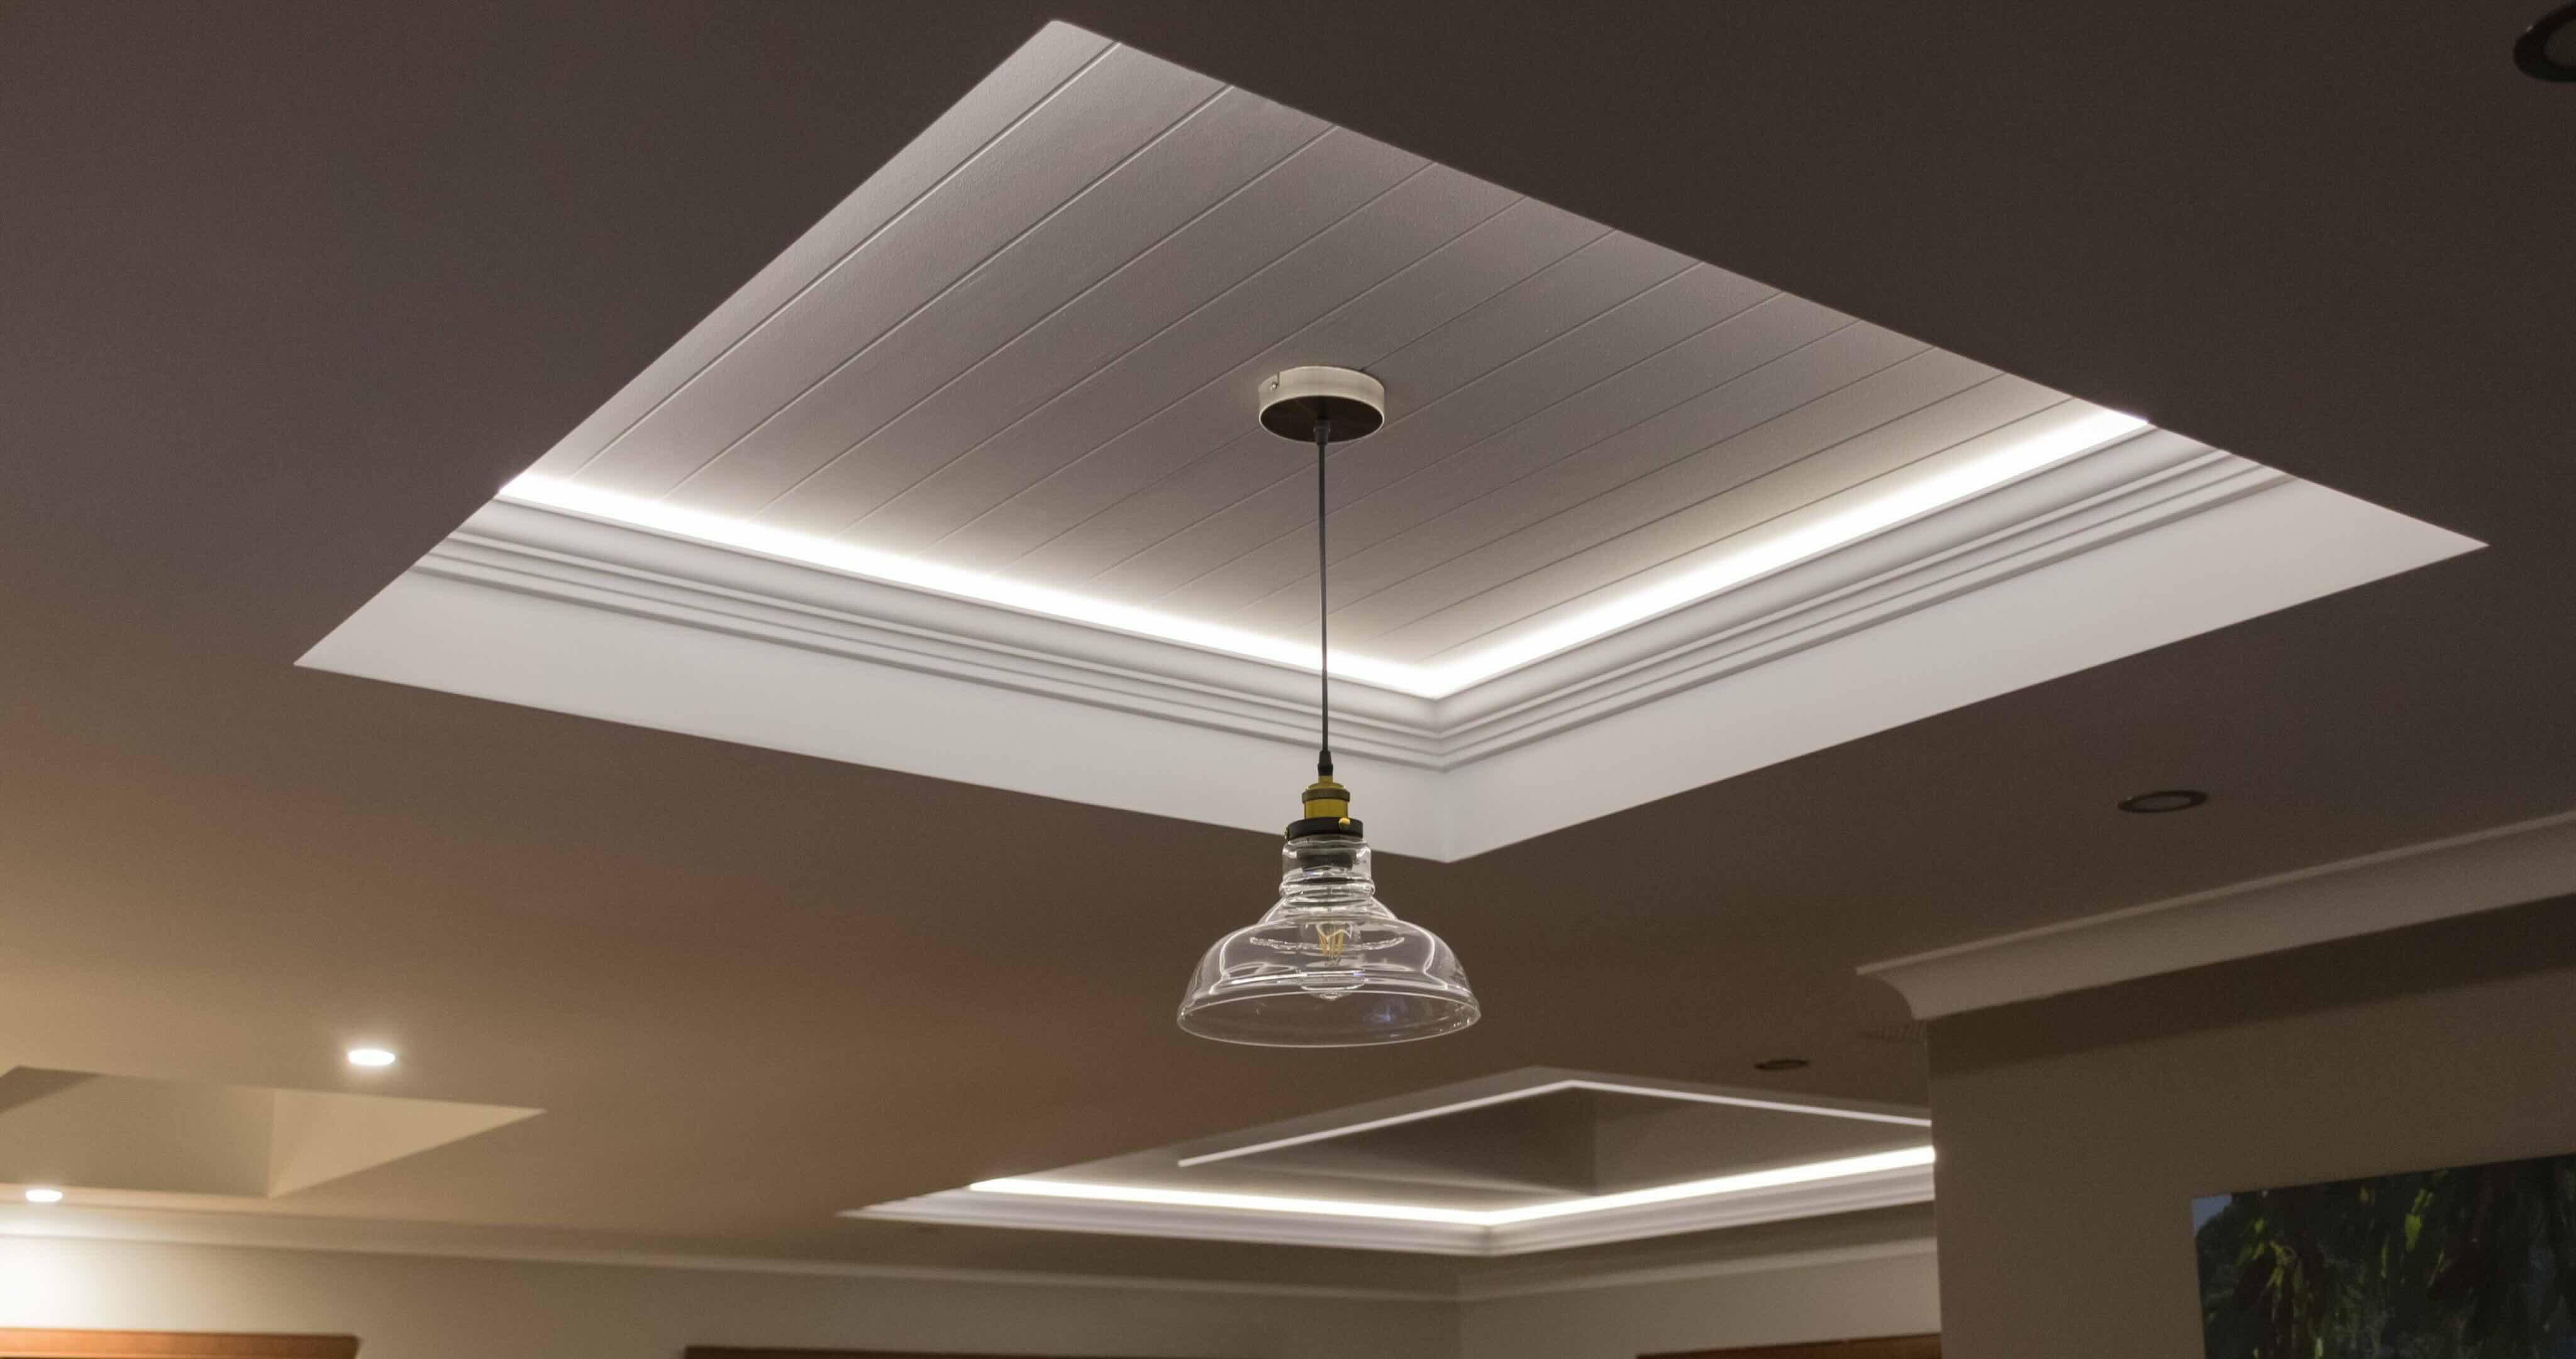
Use a crown molding to conceal the LED strip lights on the ceiling. The molding can be installed around the perimeter of the room, providing a seamless and elegant way to hide the lights.
Read more: How To Hide A Ceiling Light Cord
Step 5: Conceal the Wiring
After installing the LED strip lights, it’s important to conceal the wiring to create a clean and polished look. Here’s how you can effectively conceal the wiring:
- Use wire clips: Attach wire clips along the route of the wiring to secure it in place. Make sure the clips are discreet and blend seamlessly with the ceiling.
- Paint or hide the wiring: If the wiring is visible, you can paint it to match the color of the ceiling or use wire channel covers to hide it. This will help create an unobtrusive look.
- Consider a cable management system: If you have multiple wires and connectors, a cable management system can be an excellent option. These systems neatly organize and hide the wiring, providing a sleek and professional appearance.
- Check for any exposed wires: Ensure that all the wires are securely covered and protected. Exposed wires can not only detract from the aesthetics but also pose a safety hazard.
Concealing the wiring is an important step in achieving a clean and seamless installation. It ensures that the focus remains on the elegant lighting effect rather than the visible wires. Once the wiring is concealed, it’s time to proceed to the next step: testing the lights.
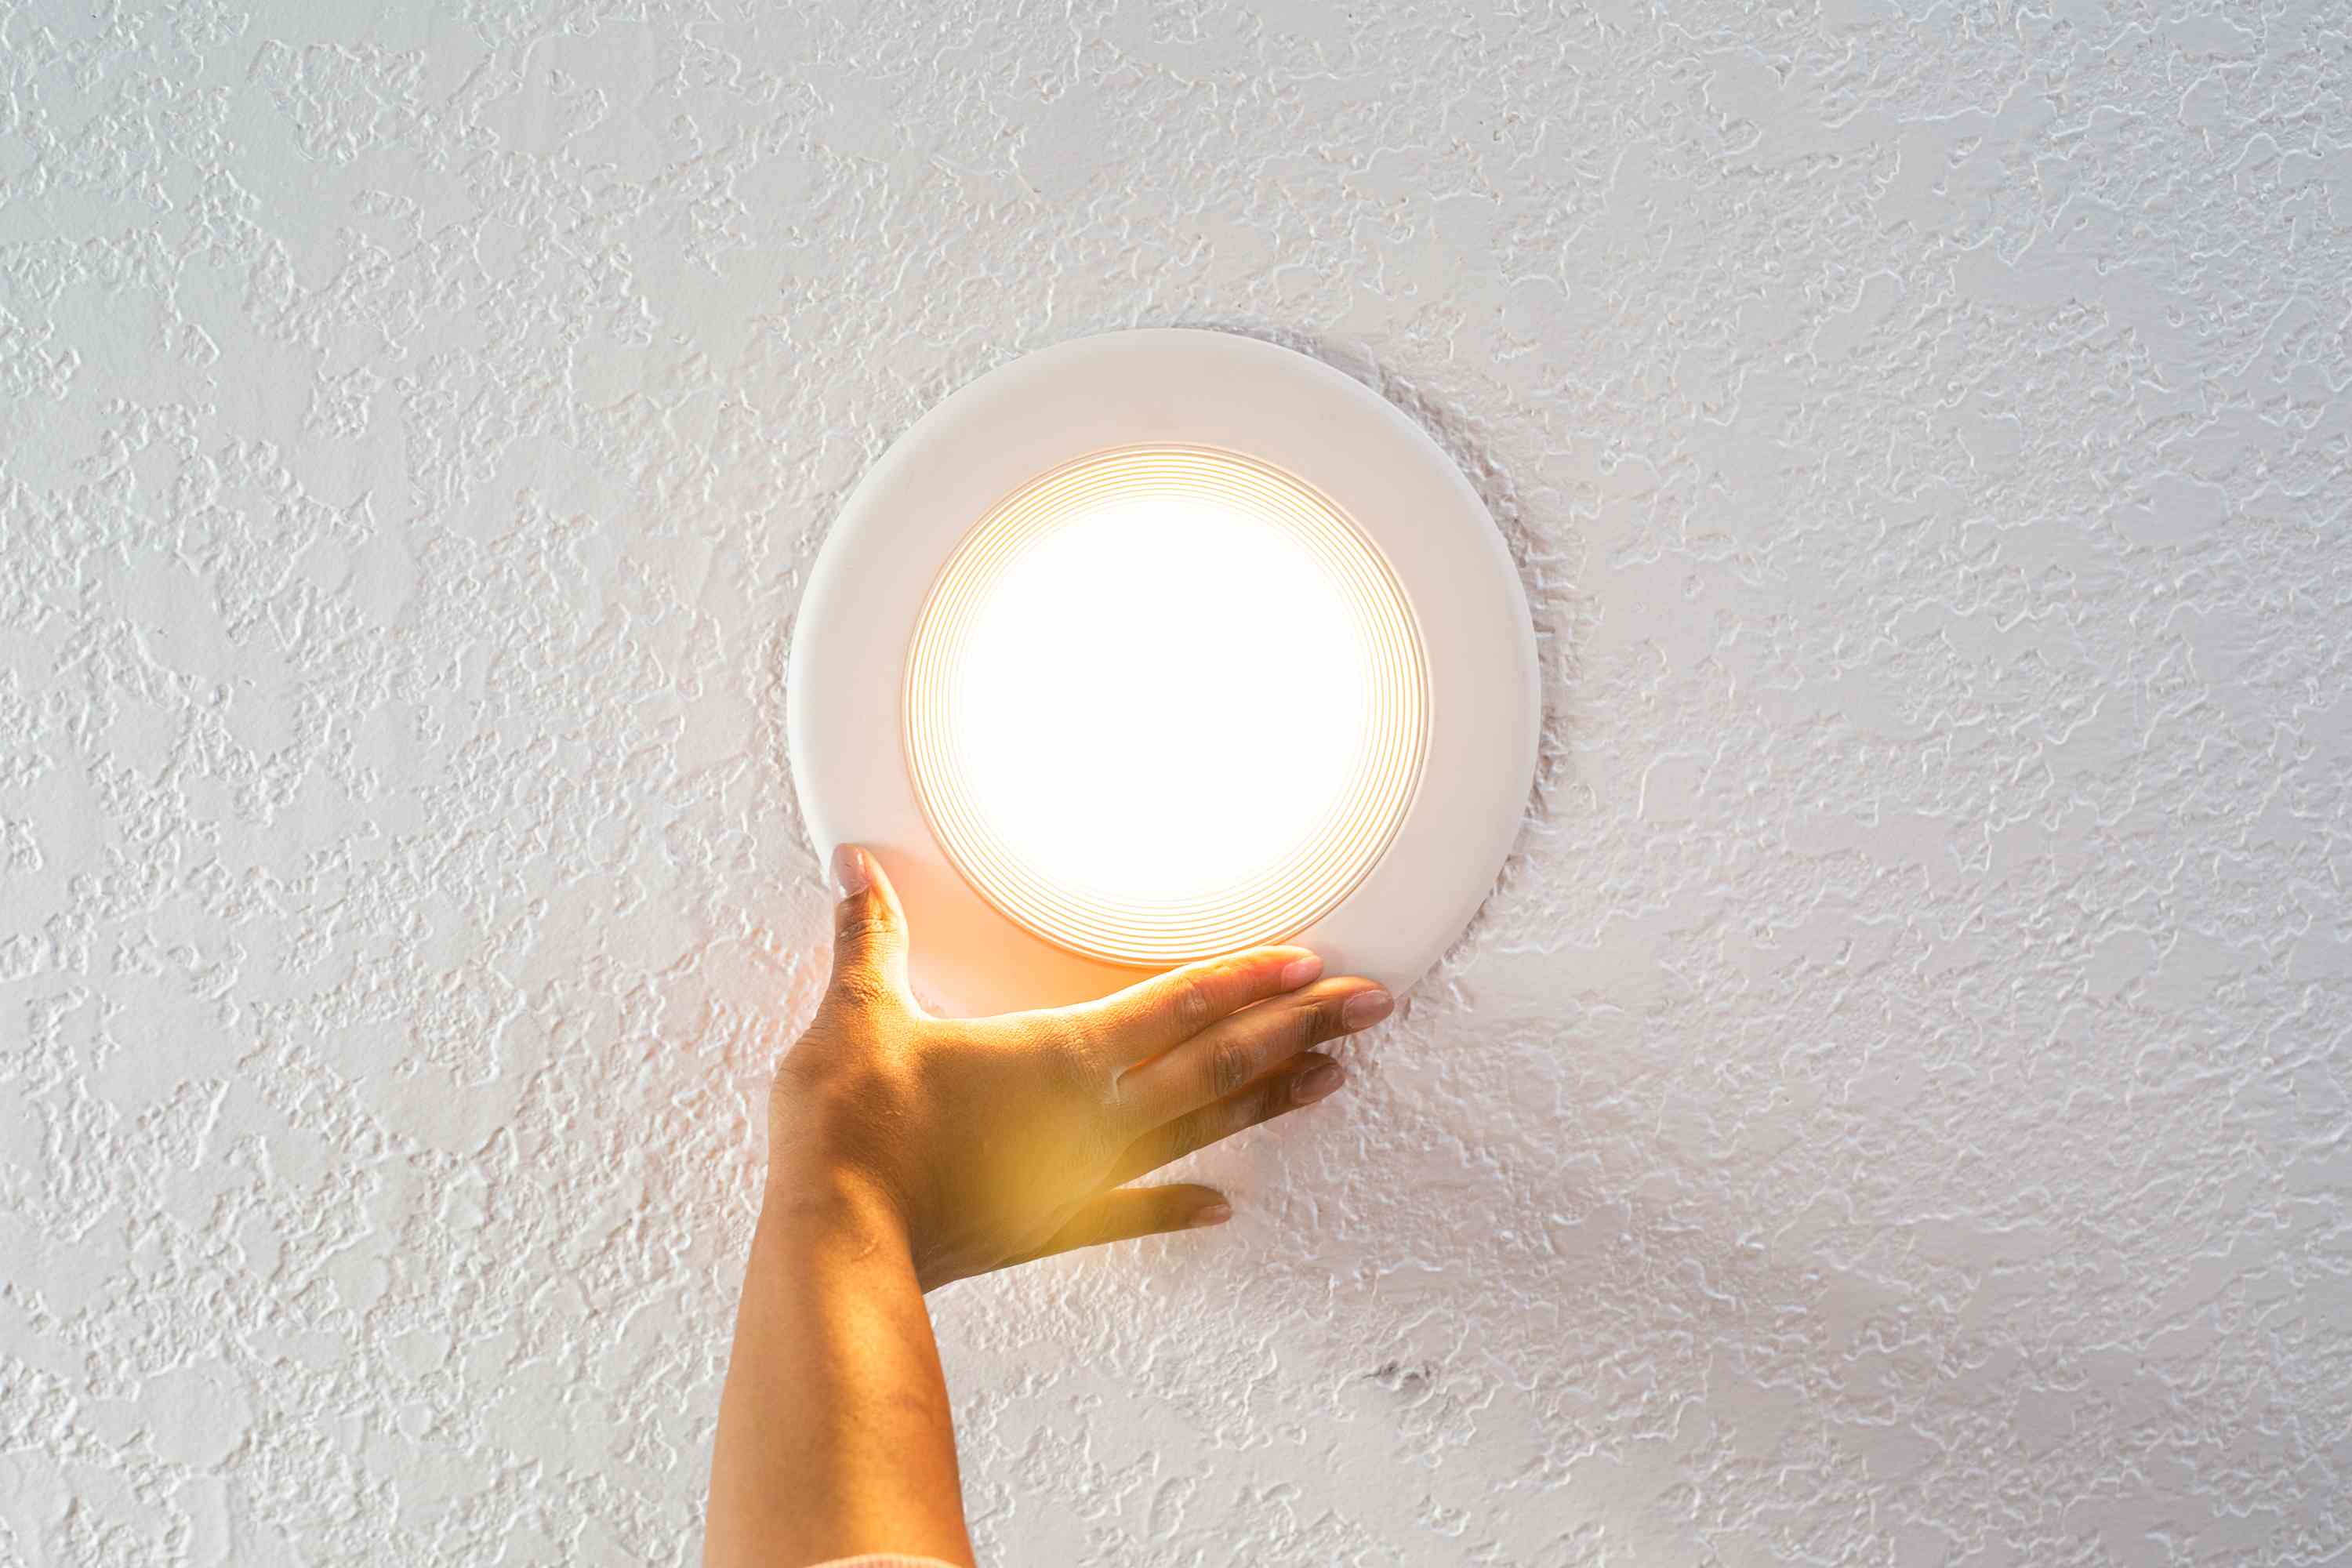
Step 6: Test the Lights
Testing the LED strip lights is a crucial step to ensure they are functioning properly and providing the desired lighting effect. Follow these steps to test the lights:
- Connect to the power supply: Plug in or wire the LED strip lights to the power supply according to the manufacturer’s instructions.
- Turn on the lights: Switch on the power supply and see if the LED strip lights illuminate. Check for any flickering, dimming, or color inconsistencies.
- Verify the lighting effect: Assess whether the lighting effect matches your expectations. Make sure the lights are evenly distributed and provide the desired brightness and ambiance.
- Make any necessary adjustments: If you notice any issues during the testing phase, such as uneven lighting or an unsatisfactory lighting effect, make the necessary adjustments. Check the wiring, connectors, and placement of the strip lights.
- Ensure safety and functionality: Confirm that the installation adheres to safety standards and doesn’t pose any risks. The LED strip lights should operate smoothly without any overheating or electrical issues.
By thoroughly testing the LED strip lights, you can address any potential issues early on and make necessary adjustments. This ensures that the final result is a flawlessly lit and safe space. Once you are satisfied with the test results, it’s time to enjoy your newly installed hidden LED strip lights on the ceiling.
Step 7: Enjoy Your Hidden LED Strip Lights Ceiling
Congratulations! You have successfully installed and tested your hidden LED strip lights on the ceiling. Now it’s time to sit back, relax, and enjoy the enchanting ambiance they create in your space. Here are a few suggestions to fully appreciate your hidden LED strip lights:
- Dim the lights: Adjust the brightness of your LED strip lights to create the perfect mood. Dimming the lights can help set a cozy and intimate atmosphere in your room.
- Experiment with colors: If your LED strip lights come with color options, have fun experimenting with different colors to match your mood or theme. Create a vibrant and dynamic environment by changing the colors accordingly.
- Highlight architectural features: Use your hidden LED strip lights to highlight specific architectural features in the room, such as crown molding, alcoves, or beams. This can add depth and visual interest to your space.
- Create a focal point: Place your hidden LED strip lights strategically to create a focal point in the room. Draw attention to a specific area or object, such as a piece of artwork or a statement piece of furniture.
- Set up a remote control or smart device: Make controlling your LED strip lights even more convenient by setting up a remote control or connecting them to a smart device. This allows you to easily adjust the lighting from anywhere in the room.
- Host gatherings and events: Your hidden LED strip lights can add a touch of magic to social gatherings or events. Host parties, dinners, or game nights under the mesmerizing glow of your ceiling lights.
Remember to regularly maintain and clean your hidden LED strip lights to ensure they maintain their functionality and appearance. With proper care, your LED strip lights can continue to enhance your space for years to come.
With your installation complete and your hidden LED strip lights illuminating your ceiling, you can bask in the captivating ambiance they create. Enjoy the beauty and versatility of your newly transformed space!
Conclusion
Installing hidden LED strip lights on your ceiling can completely transform the atmosphere and visual appeal of any space. By following the step-by-step process outlined in this article, you can achieve a seamless and professional installation that will leave you in awe of the captivating lighting effect.
From gathering the necessary materials to concealing the wiring and finally enjoying the mesmerizing glow, each step is crucial in ensuring a successful installation. Remember to measure and plan carefully, prepare the ceiling, and securely attach the LED strip lights. Conceal the wiring for a clean and polished look, and perform thorough testing to ensure proper functionality.
Once your hidden LED strip lights are installed and tested, it’s time to sit back and enjoy the ambiance they create. Dim the lights, experiment with colors, and use them to highlight architectural features or create a focal point in your room. Take advantage of remote control or smart devices for added convenience, and use your hidden LED strip lights to enhance social gatherings and events.
Remember to regularly maintain and clean your LED strip lights to prolong their lifespan and preserve their visual impact. With proper care, your hidden LED strip lights will continue to brighten your space for years to come.
So go ahead, unleash your creativity, and create a truly enchanting environment with your hidden LED strip lights. Transform your living space into a haven of beauty and tranquility, and enjoy the magical ambiance they provide.
Frequently Asked Questions about How To Hide LED Strip Ceiling Lights
Was this page helpful?
At Storables.com, we guarantee accurate and reliable information. Our content, validated by Expert Board Contributors, is crafted following stringent Editorial Policies. We're committed to providing you with well-researched, expert-backed insights for all your informational needs.


0 thoughts on “How To Hide LED Strip Ceiling Lights”