Articles
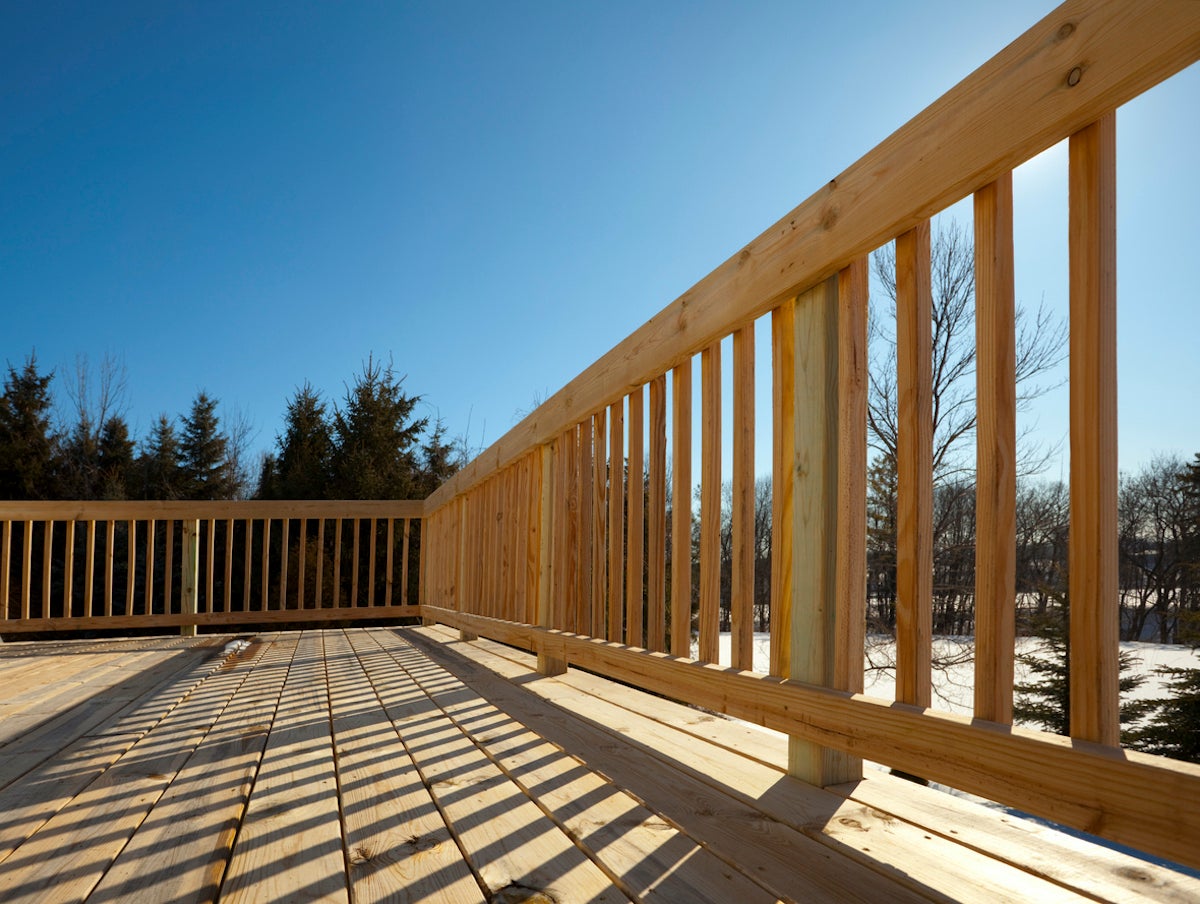
How To Install Deck Beams
Modified: May 6, 2024
Learn how to install deck beams with our informative articles. Discover step-by-step instructions and expert tips for a successful installation.
(Many of the links in this article redirect to a specific reviewed product. Your purchase of these products through affiliate links helps to generate commission for Storables.com, at no extra cost. Learn more)
Introduction
Welcome to our comprehensive guide on how to install deck beams. If you’re planning to build a deck, understanding the proper installation of deck beams is essential for its structural integrity and overall stability. Deck beams play a crucial role in supporting the weight of the deck and transferring it to the support posts. By following the steps outlined in this article, you’ll be well on your way to creating a strong and durable deck that will last for years to come.
Before we dive into the installation process, it’s important to note that building codes and regulations may vary depending on your location. It’s always a good idea to check with your local building department to ensure that you’re following the appropriate guidelines and obtaining any necessary permits.
In this guide, we’ll walk you through each step of installing deck beams, from measuring and planning to securing the beams to the support posts. We’ll also provide tips and recommendations along the way to help you achieve the best results.
So, grab your measuring tape, gather your tools, and let’s get started on building your dream deck!
Key Takeaways:
- Proper planning, precise measurements, and careful alignment of deck beams and support posts are crucial for creating a strong and durable deck foundation. Attention to detail in the installation process ensures long-term structural integrity.
- Regular inspection, maintenance, and prompt repairs are essential for preserving the beauty and durability of a deck. Following proper care guidelines will help ensure the deck’s longevity and safety for years to come.
Read more: How To Install A Support Beam In The Attic
Step 1: Measure and Plan
The first step in installing deck beams is to carefully measure and plan the layout of your deck. Proper measurements and planning will ensure that your deck beams are positioned correctly and aligned with the support posts.
Start by determining the desired size and shape of your deck. Consider factors such as the available space, intended use of the deck, and any existing structures or obstacles in the area. Once you have a clear vision of your deck, use a measuring tape to measure the dimensions, including the length, width, and height of the deck.
Next, mark the locations for the support posts using stakes or spray paint. The spacing between the support posts will depend on the weight load requirements and local building codes. Typically, support posts are spaced between 4 to 8 feet apart, but it’s important to consult the building codes specific to your area.
After marking the support post locations, use a level and string to ensure that the layout is square and level. This step is crucial to maintaining the structural integrity of your deck. Adjust the position of the support post markings as needed to achieve a square and level layout.
Once you have finalized the layout, it’s time to calculate the number and size of the deck beams needed. The size and spacing of the beams will depend on the load requirements and the span between the support posts. Refer to local building codes or consult a structural engineer to determine the appropriate beam size and spacing for your deck.
With the measurements and layout plan in hand, you’re now ready to move on to the next step of gathering the necessary materials and tools for installing the deck beams.
Step 2: Gather Materials and Tools
Before you start installing deck beams, it’s important to ensure that you have all the necessary materials and tools on hand. Having everything ready ahead of time will streamline the installation process and prevent unnecessary delays or interruptions.
Here’s a list of materials you’ll need for installing deck beams:
- Pressure-treated lumber or engineered beams: These beams will provide the necessary strength and durability for your deck.
- Fasteners: Choose appropriate screws or bolts based on the beam and post materials.
- Support posts: These vertical posts will bear the weight of the deck and support the beams.
- Concrete or post anchors: Depending on your deck design and local building codes, you may need to secure the support posts with concrete footings or anchors.
- Level: A long, sturdy level will help ensure that your deck beams are installed evenly and levelly.
- Measuring tape: Use a measuring tape to accurately measure and mark the dimensions of your deck.
- String or chalk line: These tools will help you establish straight lines and ensure the proper alignment of your deck beams.
- Drill or impact driver: You’ll need a power tool to drive screws or bolts into the beams and support posts.
- Saw: Depending on your deck design, you may need a saw to cut the beams to the appropriate length.
- Personal protective equipment (PPE): Safety glasses, gloves, and ear protection are essential for your safety while working with power tools and construction materials.
Make sure to gather all these materials before you begin the installation process. Having everything prepared will save you time and effort as you move through the steps. It’s also a good idea to double-check that you have the correct quantities and sizes of materials to complete the project.
Once you have all the necessary materials and tools, you’re ready to proceed to the next step of preparing the support posts for installation.
Step 3: Prepare the Support Posts
Before you can install the deck beams, it’s important to properly prepare the support posts. The support posts play a crucial role in carrying the weight of the deck and providing stability. Follow these steps to ensure your support posts are ready for the installation of the deck beams:
- Cut the support posts: Measure and mark the desired height for your deck posts. Use a saw to cut the posts to the appropriate length. Ensure that all the support posts are the same height, as this will help maintain a level and uniform deck.
- Prepare the bottom of the support posts: If you are using concrete footings, dig the holes according to local building codes and guidelines. Place a cardboard tube or form in the hole to create a form for the concrete. Make sure the bottom of the hole is leveled and stable. If you are using post anchors, secure them to the ground or existing concrete surface as per the manufacturer’s instructions.
- Attach post caps: Install post caps on the top of each support post. Post caps not only provide a finished look to your deck, but they also protect the top of the post from water damage and rot. Secure the post caps using appropriate fasteners.
- Apply waterproofing: To protect your support posts from moisture and decay, apply a waterproofing sealant or paint to the bottom portion of the posts that will come into contact with the ground.
- Allow for ventilation: If your support posts will be installed directly into the ground, it’s important to create a gap between the bottom of the post and the ground to allow for proper air circulation. This will help prevent moisture buildup and prolong the lifespan of the posts.
Properly preparing the support posts will ensure that they are secure, stable, and able to withstand the weight of the deck. Take your time during this step to ensure accuracy and precision. Once the support posts are ready, you can move on to the next step of attaching the ledger board.
Step 4: Attach the Ledger Board
The ledger board is an important component of the deck structure as it provides support and stability. In this step, we will guide you through the process of attaching the ledger board to the house or main structure. Here’s how to do it:
- Choose the proper location: Select a suitable location on the house or main structure where the ledger board will be installed. Ensure that it is level and properly aligned with the layout of your deck.
- Mark the ledger board placement: Use a level and measuring tape to mark the desired height of the ledger board. Mark the location of each support post on the ledger board, based on the predetermined spacing.
- Pre-drill holes: Using an appropriate drill bit, pre-drill holes through the ledger board where the support posts will be attached. The size of the holes should correspond to the diameter of the fasteners you’ll be using.
- Attach the ledger board: Position the ledger board against the house or main structure, aligning the pre-drilled holes with the support post locations. Secure the ledger board using lag screws or through-bolts, ensuring that it is firmly attached and level. Take care not to overtighten the fasteners, as this can cause the ledger board to warp or damage the structure.
- Waterproof the ledger board: To protect the ledger board from water damage, apply a waterproofing membrane or flashing tape along the top edge of the board. This will help prevent moisture infiltration and prolong the lifespan of the ledger board.
- Verify alignment: Use a level to verify that the ledger board is horizontally level and properly aligned with the layout of your deck. Make any necessary adjustments before proceeding to the next step.
Attaching the ledger board securely and ensuring proper alignment is crucial for the overall stability and safety of your deck. Take your time during this step to double-check all measurements and ensure a strong attachment. Once the ledger board is securely in place, you’re ready to move on to installing the deck beams in the next step.
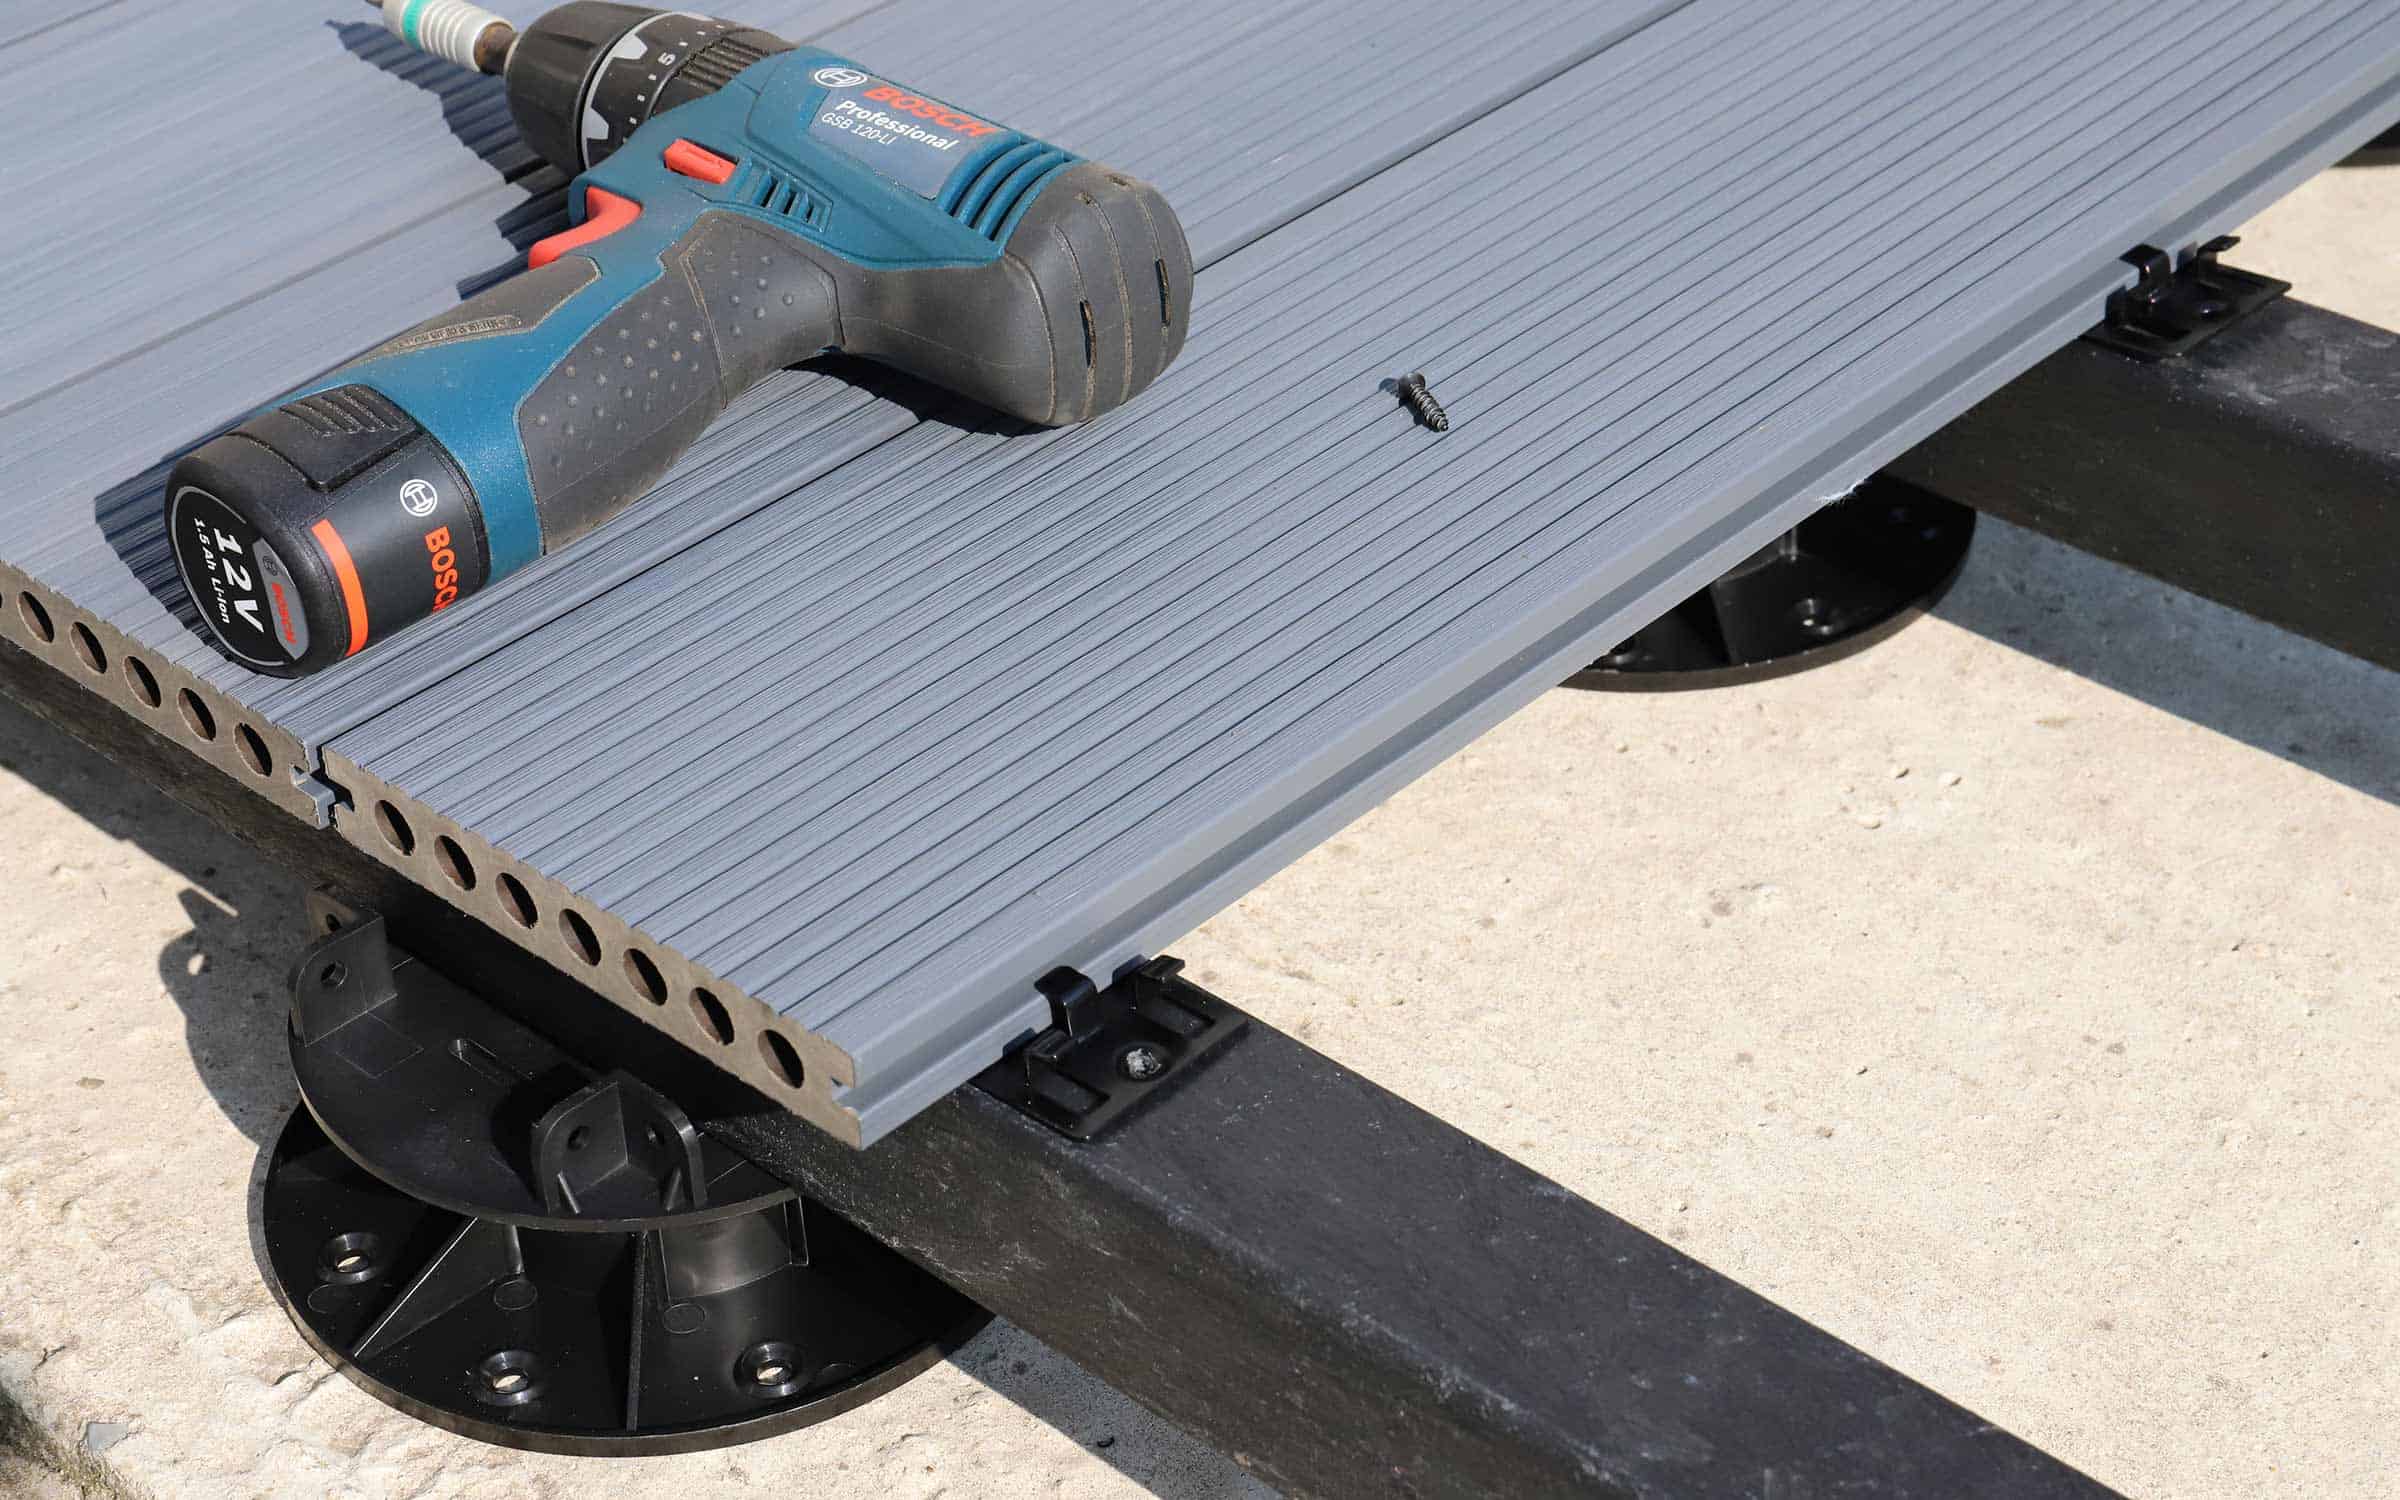
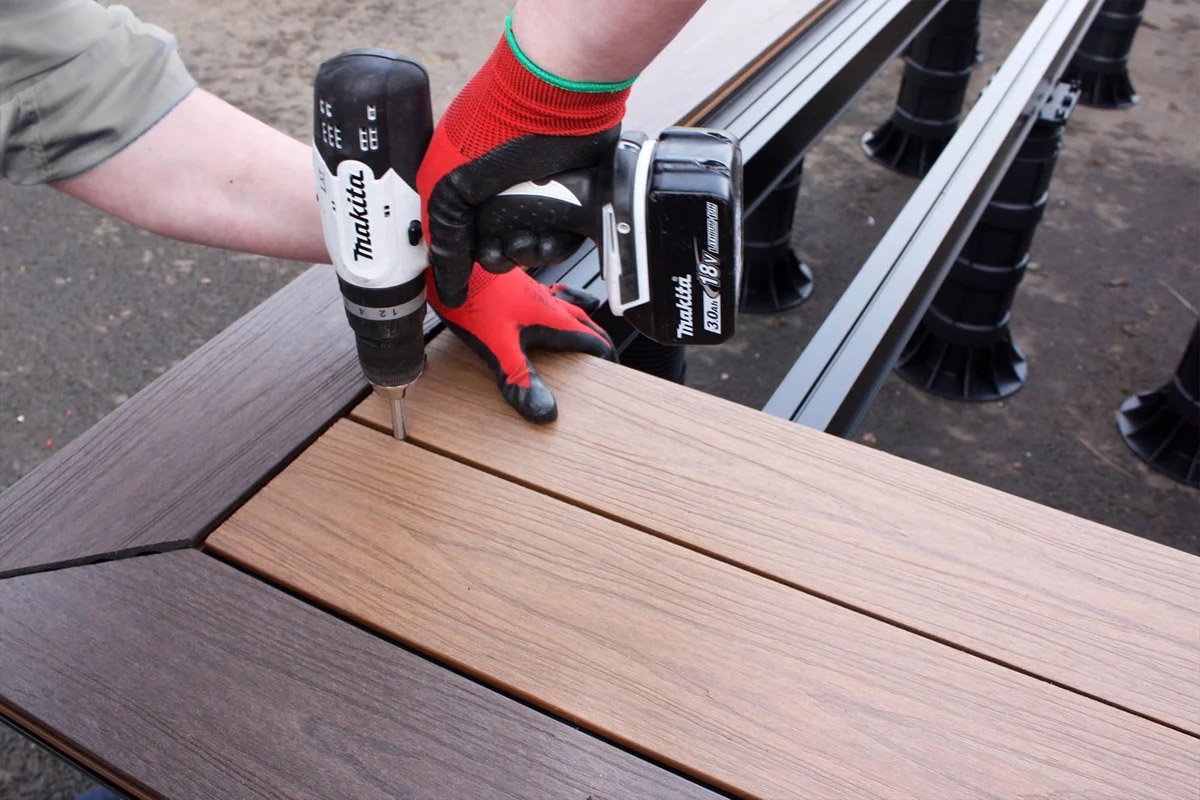
Step 5: Install the Deck Beams
With the ledger board securely attached, it’s time to install the deck beams. The deck beams provide additional support and distribute the weight of the deck evenly across the support posts. Follow these steps to install the deck beams:
- Cut the deck beams: Measure and mark the length for each deck beam based on your layout plan. Use a saw to cut the beams to the desired length.
- Position the deck beams: Place the deck beams on top of the support posts, aligning them with the markings on the support posts or ledger board. Ensure that the beams are level, using a level tool to make any necessary adjustments.
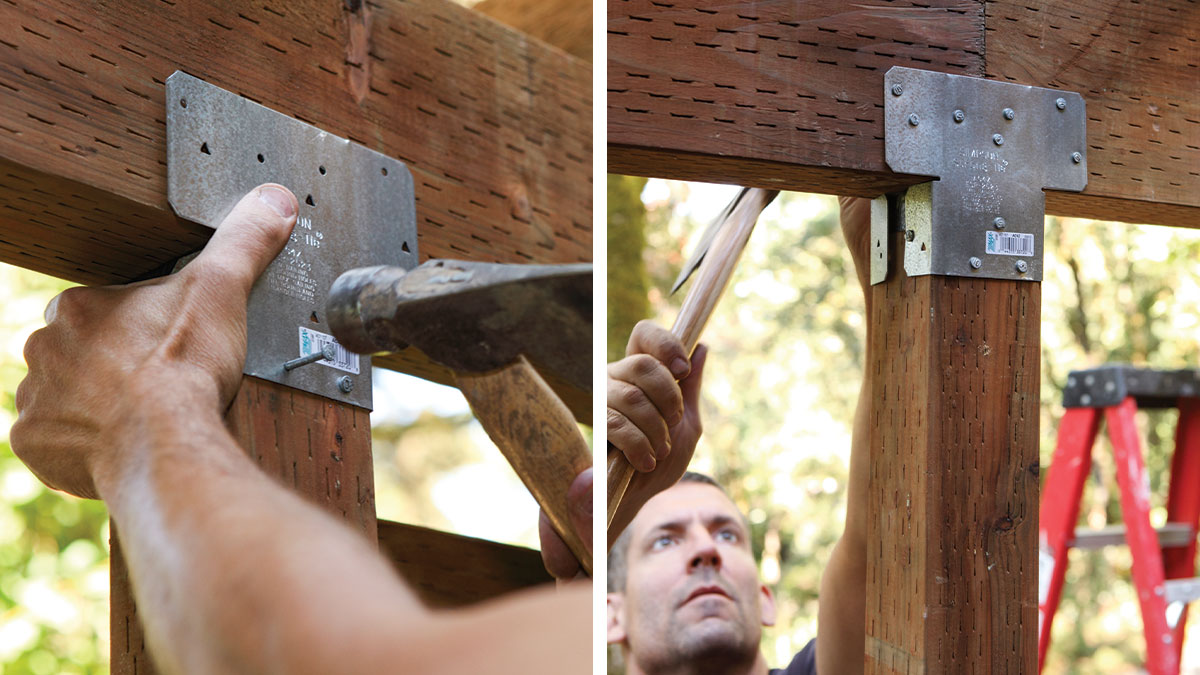
- Attach the deck beams to the support posts: Depending on your deck design and construction preferences, you can either use joist hangers to connect the beams to the support posts or secure them directly using screws or bolts. Follow the manufacturer’s instructions for joist hangers or use appropriate fasteners for direct attachment.
- Secure the deck beams to the ledger board: If your deck design requires the deck beams to be attached to the ledger board, use appropriate fasteners such as lag screws or through-bolts. Ensure that the beams are firmly attached but avoid overtightening, as it may cause the beams or ledger board to warp or damage the structure.
- Check for levelness: Use a level to verify that the deck beams are horizontally level and aligned with the support posts and ledger board. Make any necessary adjustments by adding shims or adjusting the placement of the beams.
- Repeat for additional beams: If your deck design requires multiple beams, repeat the above steps to install the remaining beams. Ensure proper spacing between the beams and maintain levelness for each beam.
Properly installing the deck beams is crucial for the structural integrity and stability of your deck. Take your time during this step to ensure accurate measurements, level placement, and secure attachment. Once the deck beams are installed, you can proceed to secure them to the support posts in the next step.
When installing deck beams, make sure to use pressure-treated lumber for durability and resistance to rot. Additionally, use galvanized or stainless steel hardware to prevent corrosion.
Step 6: Secure the Beams to the Support Posts
After installing the deck beams, the next step is to secure them to the support posts. This will provide additional stability and ensure that the weight of the deck is evenly distributed. Follow these steps to secure the beams to the support posts:
- Verify alignment: Use a level to double-check that the deck beams are still level and properly aligned with the support posts.
- Pre-drill holes: Before driving screws or bolts, pre-drill pilot holes through the deck beams into the support posts. This will help prevent the wood from splitting and make it easier to secure the beams.
- Drive screws or insert bolts: Using a drill or impact driver, drive screws or insert bolts through the pre-drilled holes to secure the deck beams to the support posts. Make sure to use appropriate-sized screws or bolts that will securely hold the beams in place.
- Tighten screws or bolts: Ensure that all screws or bolts are tightened securely. However, be careful not to overtighten as it may damage the wood or affect the structural integrity of the deck.
- Repeat for each beam: Repeat steps 2 to 4 for each deck beam, ensuring that all beams are securely fastened to the support posts.
- Check for stability: Once all the beams are secured to the support posts, check for any signs of wobbling or instability. If needed, reinforce the attachment points or adjust the placement of the beams for better stability.
Properly securing the deck beams to the support posts is essential for the overall strength and durability of your deck. Take your time during this step to ensure that all connections are tight and secure. Once the beams are firmly attached, you can move on to the next step of checking for levelness and making any necessary adjustments if needed.
Step 7: Check for Level and Adjust if Necessary
Once you have secured the deck beams to the support posts, it’s important to check for levelness and make any necessary adjustments. A level and careful observation will ensure that your deck is properly aligned and structurally sound. Follow these steps to check for levelness and make adjustments if necessary:
- Use a level: Place a level tool on top of the deck beams in different areas to check for any unevenness. Make sure the level is positioned horizontally and assess if the beams are perfectly level or if there are any noticeable slopes.
- Identify uneven areas: Note any areas where the deck beams are not level. This could be due to variations in the support posts, uneven ground, or other factors.
- Add shims for adjustment: If you find any areas that are not level, you can use shims to make adjustments. Shims are small, wedge-shaped pieces of material that can be placed between the support posts and the deck beams to level them out. Gradually insert shims until the beams are level in the identified areas.
- Recheck for levelness: After adding shims, recheck the levelness of the deck beams. Make sure to place the level tool in different areas to ensure that the entire deck is level.
- Make additional adjustments if needed: If there are still areas that are not level, you may need to make further adjustments. This could involve adding or removing shims or adjusting the placement of the support posts.
Checking for levelness is crucial, as an uneven deck can lead to potential structural issues and an uncomfortable outdoor space. By taking the time to ensure that your deck beams are level, you’ll create a sturdy and visually appealing deck. Once you have achieved proper levelness, you can proceed to the next step of installing any additional beams that may be needed.
Step 8: Install Additional Beams (if needed)
Depending on the size and design of your deck, you may need to install additional beams to provide sufficient support and stability. These additional beams can be added in areas where the span between support posts is larger or where extra reinforcement is required. Follow these steps to install additional beams, if needed:
- Determine the need for additional beams: Assess the layout and size of your deck to determine if any areas require additional beams. Consider factors such as the distance between support posts and the load-bearing requirements.
- Measure and cut the additional beams: Use a measuring tape to determine the length needed for the additional beams. Mark the measurements on the beams and cut them using a saw accordingly.
- Position the beams: Place the additional beams in the desired locations, taking into account the proper spacing and alignment with the existing deck beams and support posts.
- Secure the additional beams: Depending on your deck design, secure the additional beams to the existing deck beams or support posts using appropriate fasteners. Ensure that the beams are tightly and securely attached to provide proper support.
- Check for levelness and stability: Use a level to verify that the additional beams are level and aligned with the existing beams and support posts. Check for any signs of wobbling or instability. Make any necessary adjustments to ensure stability.
Installing additional beams, if needed, will reinforce the structural integrity of your deck and ensure that it is capable of supporting the intended load. Take the time to properly measure, cut, and secure the additional beams for a reliable and durable deck. Once the additional beams are installed and properly secured, you can move on to the final step of double-checking for levelness and stability.
Read more: How To Install Veranda Decking
Step 9: Double-check for Levelness and Stability
As the final step in the installation process, it’s crucial to double-check the levelness and stability of your deck. This ensures that your deck is safe, structurally sound, and provides a comfortable outdoor space. Follow these steps to double-check for levelness and stability:
- Use a level: Place a level tool on various areas of the deck, including the deck beams and the surface of the deck itself. Check for any signs of unevenness or slopes.
- Check for stability: Walk around the deck and carefully observe any areas that may feel unstable or wobbly. Pay attention to any noticeable movement or excessive flexing.
- Make adjustments as needed: If you identify any areas that are not level or feel unstable, take the necessary steps to make adjustments. This could involve adding or removing shims, tightening fasteners, or reinforcing the support structure.
- Recheck for levelness and stability: After making adjustments, recheck the levelness and stability of the deck. Use the level tool and carefully observe the deck’s performance to ensure it is now level and stable.
- Seek professional support if needed: If you encounter significant leveling or stability issues that you are unable to rectify on your own, it may be necessary to consult a professional contractor or structural engineer for further assessment and guidance.
By double-checking for levelness and stability, you’re taking an important step to ensure the long-term integrity and safety of your deck. It’s worth investing the time to make any necessary adjustments before proceeding with the use and enjoyment of your deck.
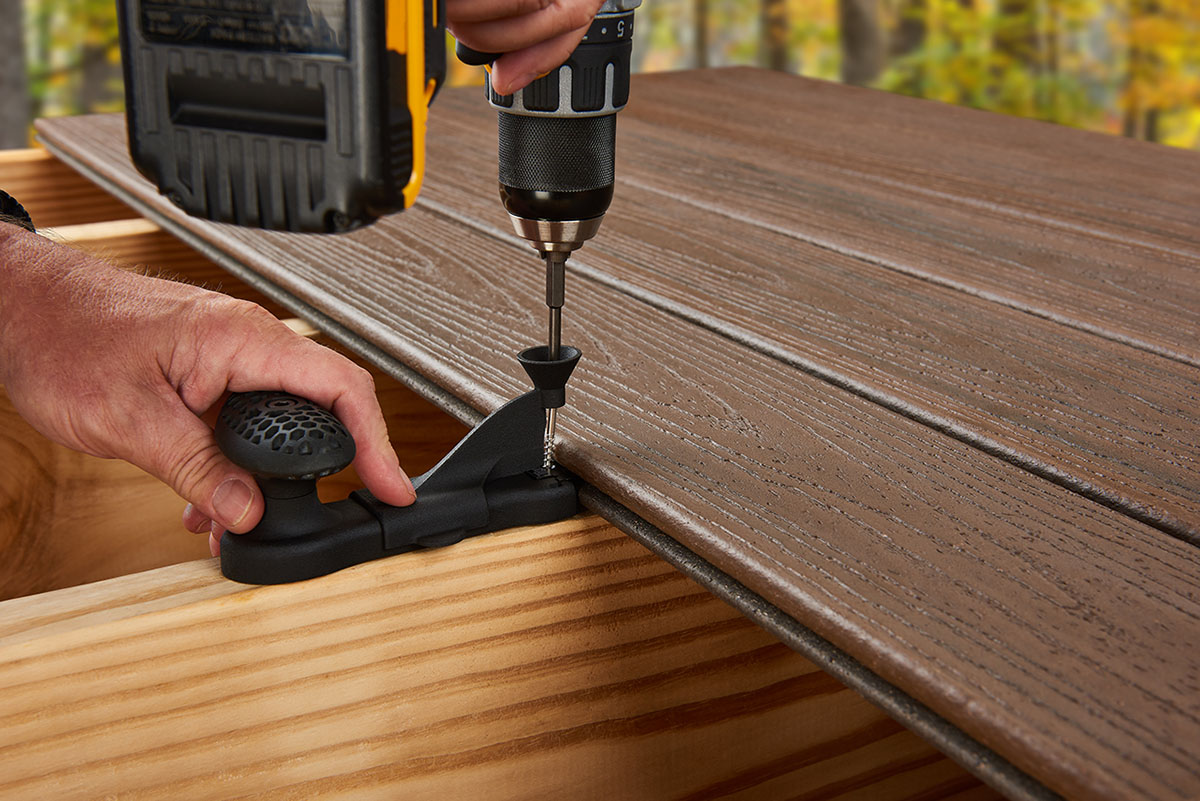
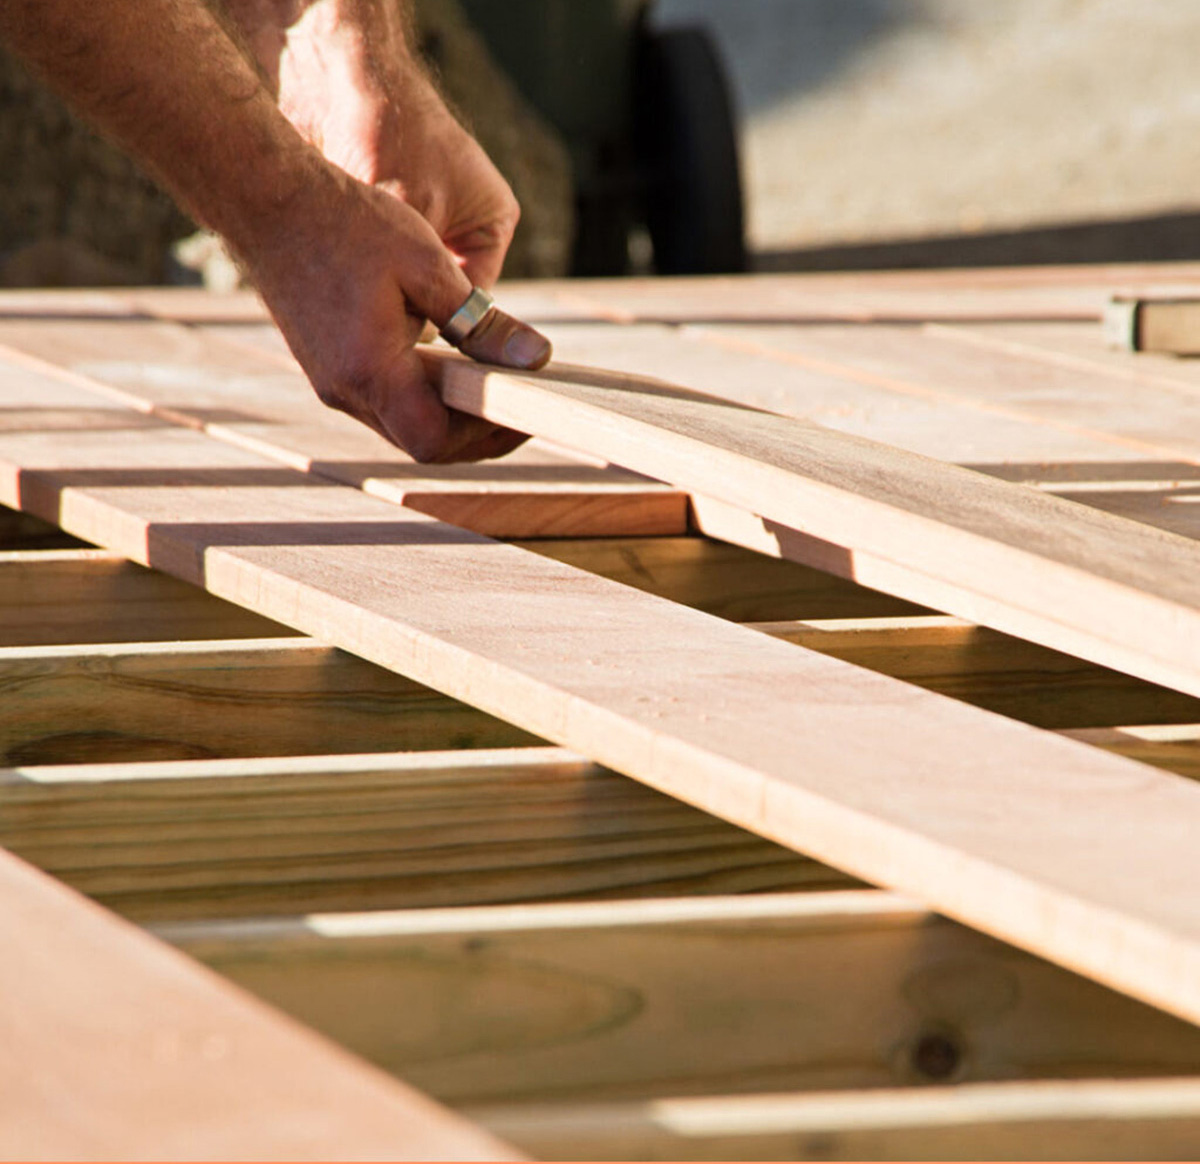
Once you are satisfied with the levelness and stability of your deck, congratulations! You have successfully installed deck beams and created a solid foundation for your outdoor space. Now you can proceed to complete the remaining steps of your deck construction, such as installing the deck boards, railings, and any other finishing touches.
Remember to regularly inspect and maintain your deck to keep it in optimal condition and ensure its longevity. Following proper maintenance guidelines and prompt repairs will help you enjoy your deck for years to come.
Conclusion
Congratulations on completing the installation of your deck beams! By following the steps outlined in this guide, you have successfully built a strong and stable foundation for your deck. Properly installed deck beams are essential for the structural integrity and longevity of your deck, ensuring its safety and durability for years of enjoyment.
Throughout this guide, we covered important steps such as measuring and planning, gathering materials and tools, preparing the support posts, attaching the ledger board, installing the deck beams, securing them to the support posts, checking for levelness and making adjustments, and installing additional beams if needed. Each of these steps plays a crucial role in creating a well-built and structurally sound deck.
Remember, always consult local building codes and regulations to ensure compliance and obtain any necessary permits before starting your deck installation. Additionally, if you are unsure about any aspect of the installation process, consider seeking professional guidance to ensure the best results.
As you move forward with your deck construction, be mindful of ongoing maintenance. Regularly inspect your deck for signs of wear and damage, and address any issues promptly to prevent further deterioration. Proper care and maintenance will help preserve the beauty and durability of your deck for many years to come.
Now that you have completed the installation of your deck beams, continue with the remaining steps to finish your deck project. Whether it’s installing the deck boards, adding railings, or any other personalized touches, remember to approach each step with attention to detail and a commitment to quality.
Thank you for joining us on this deck-building journey. We hope this guide has provided you with the knowledge and confidence to create a beautiful and functional deck that will be enjoyed by family and friends for countless seasons.
Now that you've mastered deck beam installation, why not tackle another rewarding project? Our latest article on the best woodworking tips offers practical guidance for creating stunning crafts and furniture. Whether you're a seasoned woodworker or just starting, these insights can elevate your skills and inspire your next project.
Frequently Asked Questions about How To Install Deck Beams
Was this page helpful?
At Storables.com, we guarantee accurate and reliable information. Our content, validated by Expert Board Contributors, is crafted following stringent Editorial Policies. We're committed to providing you with well-researched, expert-backed insights for all your informational needs.


0 thoughts on “How To Install Deck Beams”