
Articles
How To Hook Up A Washer Drain Hose
Modified: August 27, 2024
Learn how to properly hook up a washer drain hose with this informative article. Find step-by-step instructions and tips to avoid common mistakes.
(Many of the links in this article redirect to a specific reviewed product. Your purchase of these products through affiliate links helps to generate commission for Storables.com, at no extra cost. Learn more)
Introduction
When it comes to hooking up a washer, one crucial component that needs to be properly installed is the drain hose. The drain hose is responsible for removing the wastewater from the washer and safely transferring it to the drainpipe. Making sure that the drain hose is correctly connected is essential to prevent any leaks or water damage in your laundry area.
In this article, we will guide you through the step-by-step process of hooking up a washer drain hose. By following these instructions, you will have your washer up and running in no time, with a secure and reliable drain system.
Before we dive into the specifics, it’s important to gather all the necessary tools and materials. This will ensure that you have everything you need at your disposal, making the installation process smoother and more efficient.
Key Takeaways:
- Properly hooking up a washer drain hose is crucial for efficient water drainage and preventing leaks. Follow the step-by-step guide to confidently connect and secure the drain hose for hassle-free laundry days.
- Gather the necessary tools and materials before starting the installation process. Ensure a tight and watertight connection, secure the drain hose properly, and conduct regular maintenance checks for a reliable and efficient washer drain hose connection.
Read more: How To Hook Up Pressure Washer
Tools and Materials Needed
Before you begin installing the washer drain hose, gather the following tools and materials:
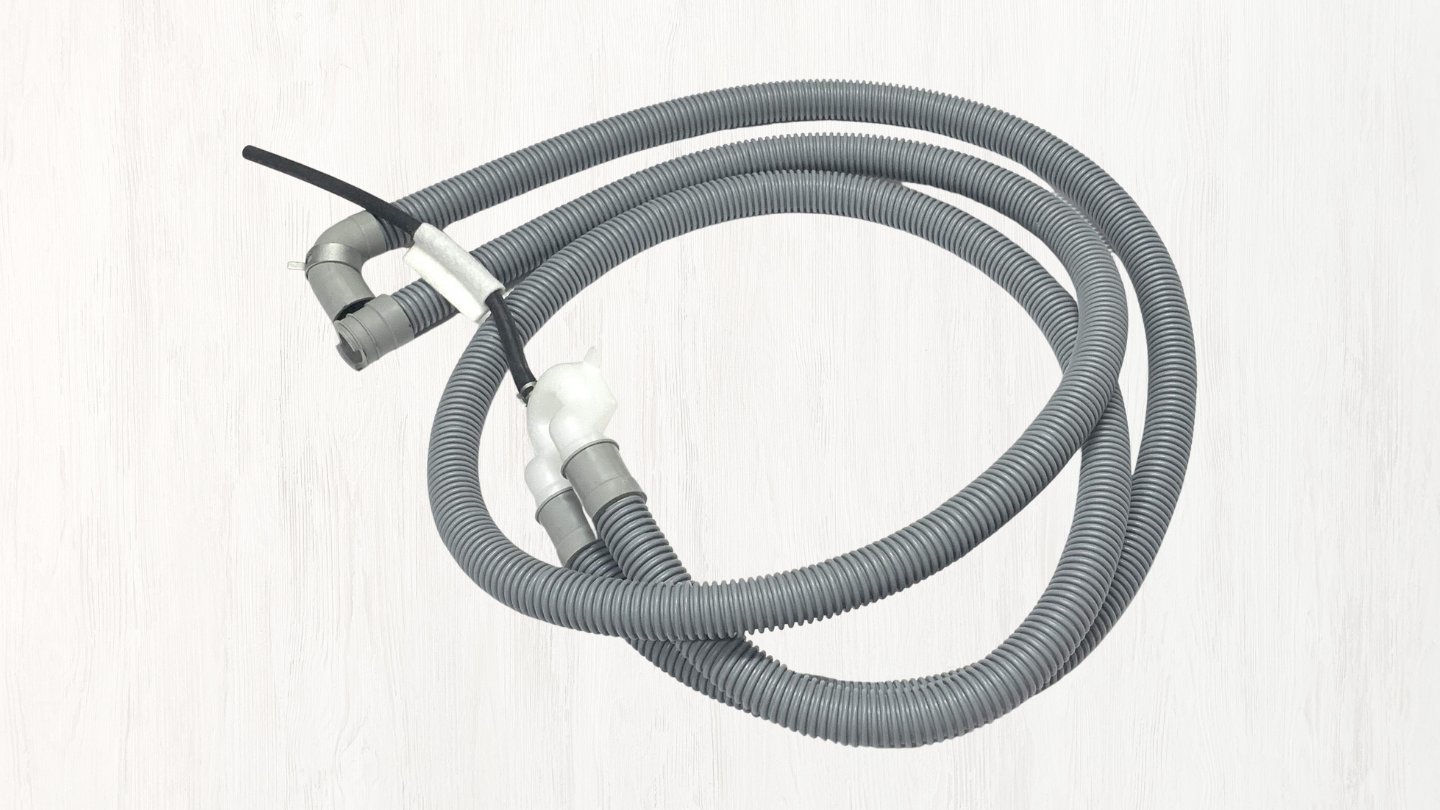
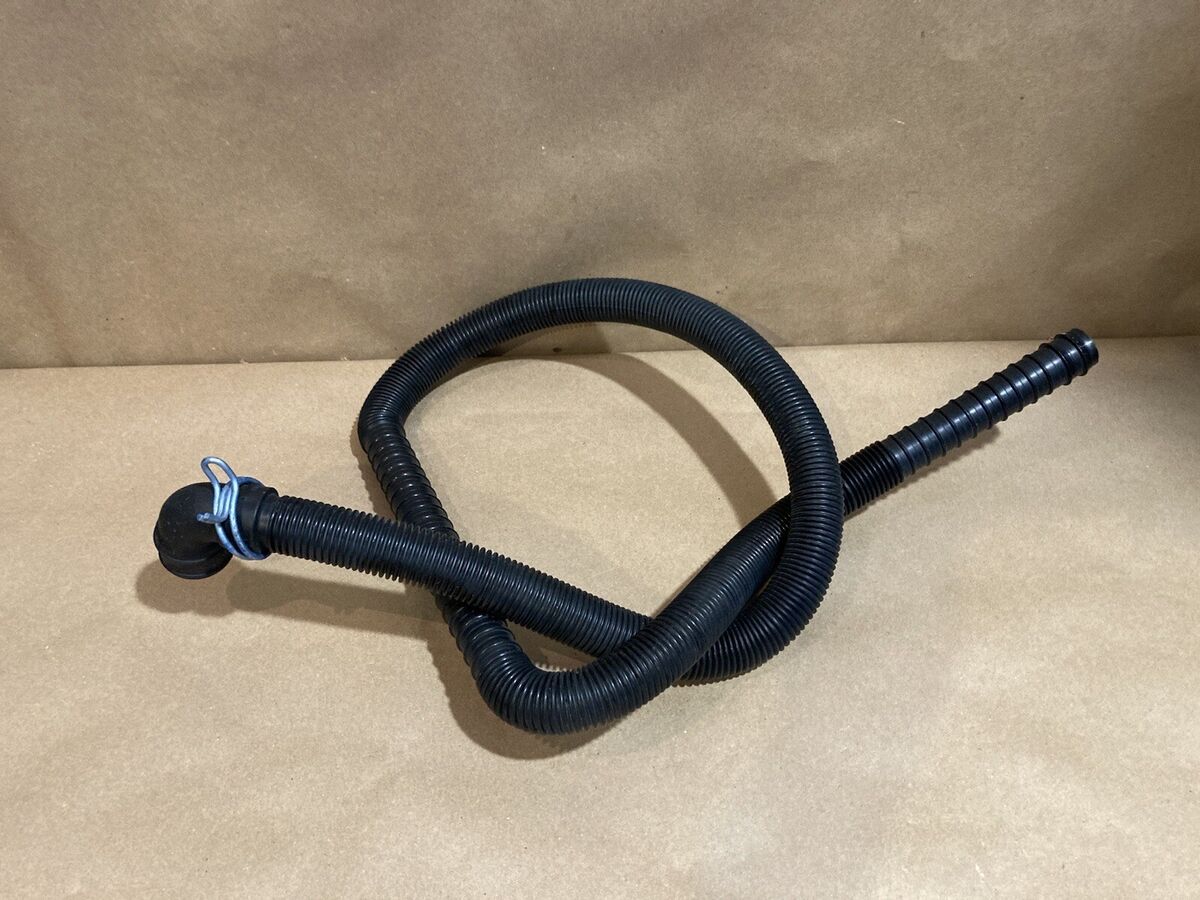
- Washer drain hose
- Adjustable wrench
- Bucket
- Teflon tape
- Hose clamp
- Drainpipe adapter (if needed)
Having these items ready will save you time and ensure a smooth installation process.
Step 1: Locate the Drain Hose Connection Point
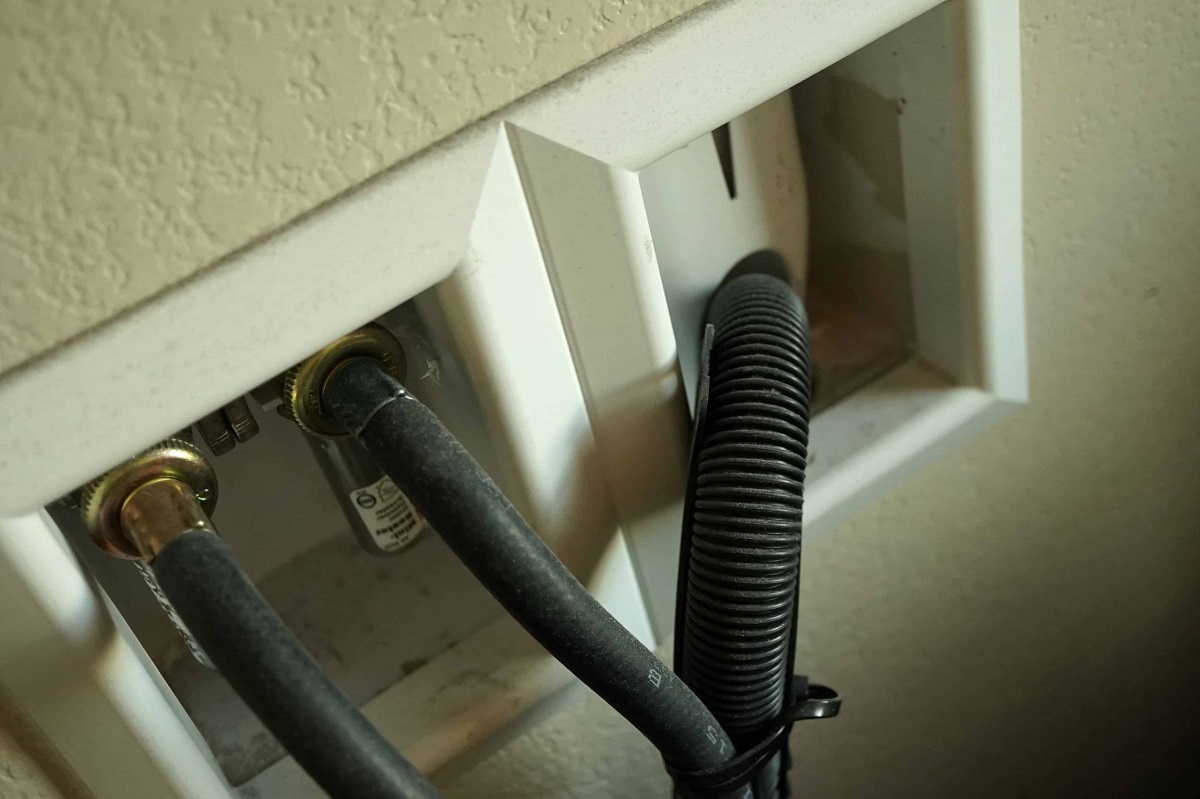
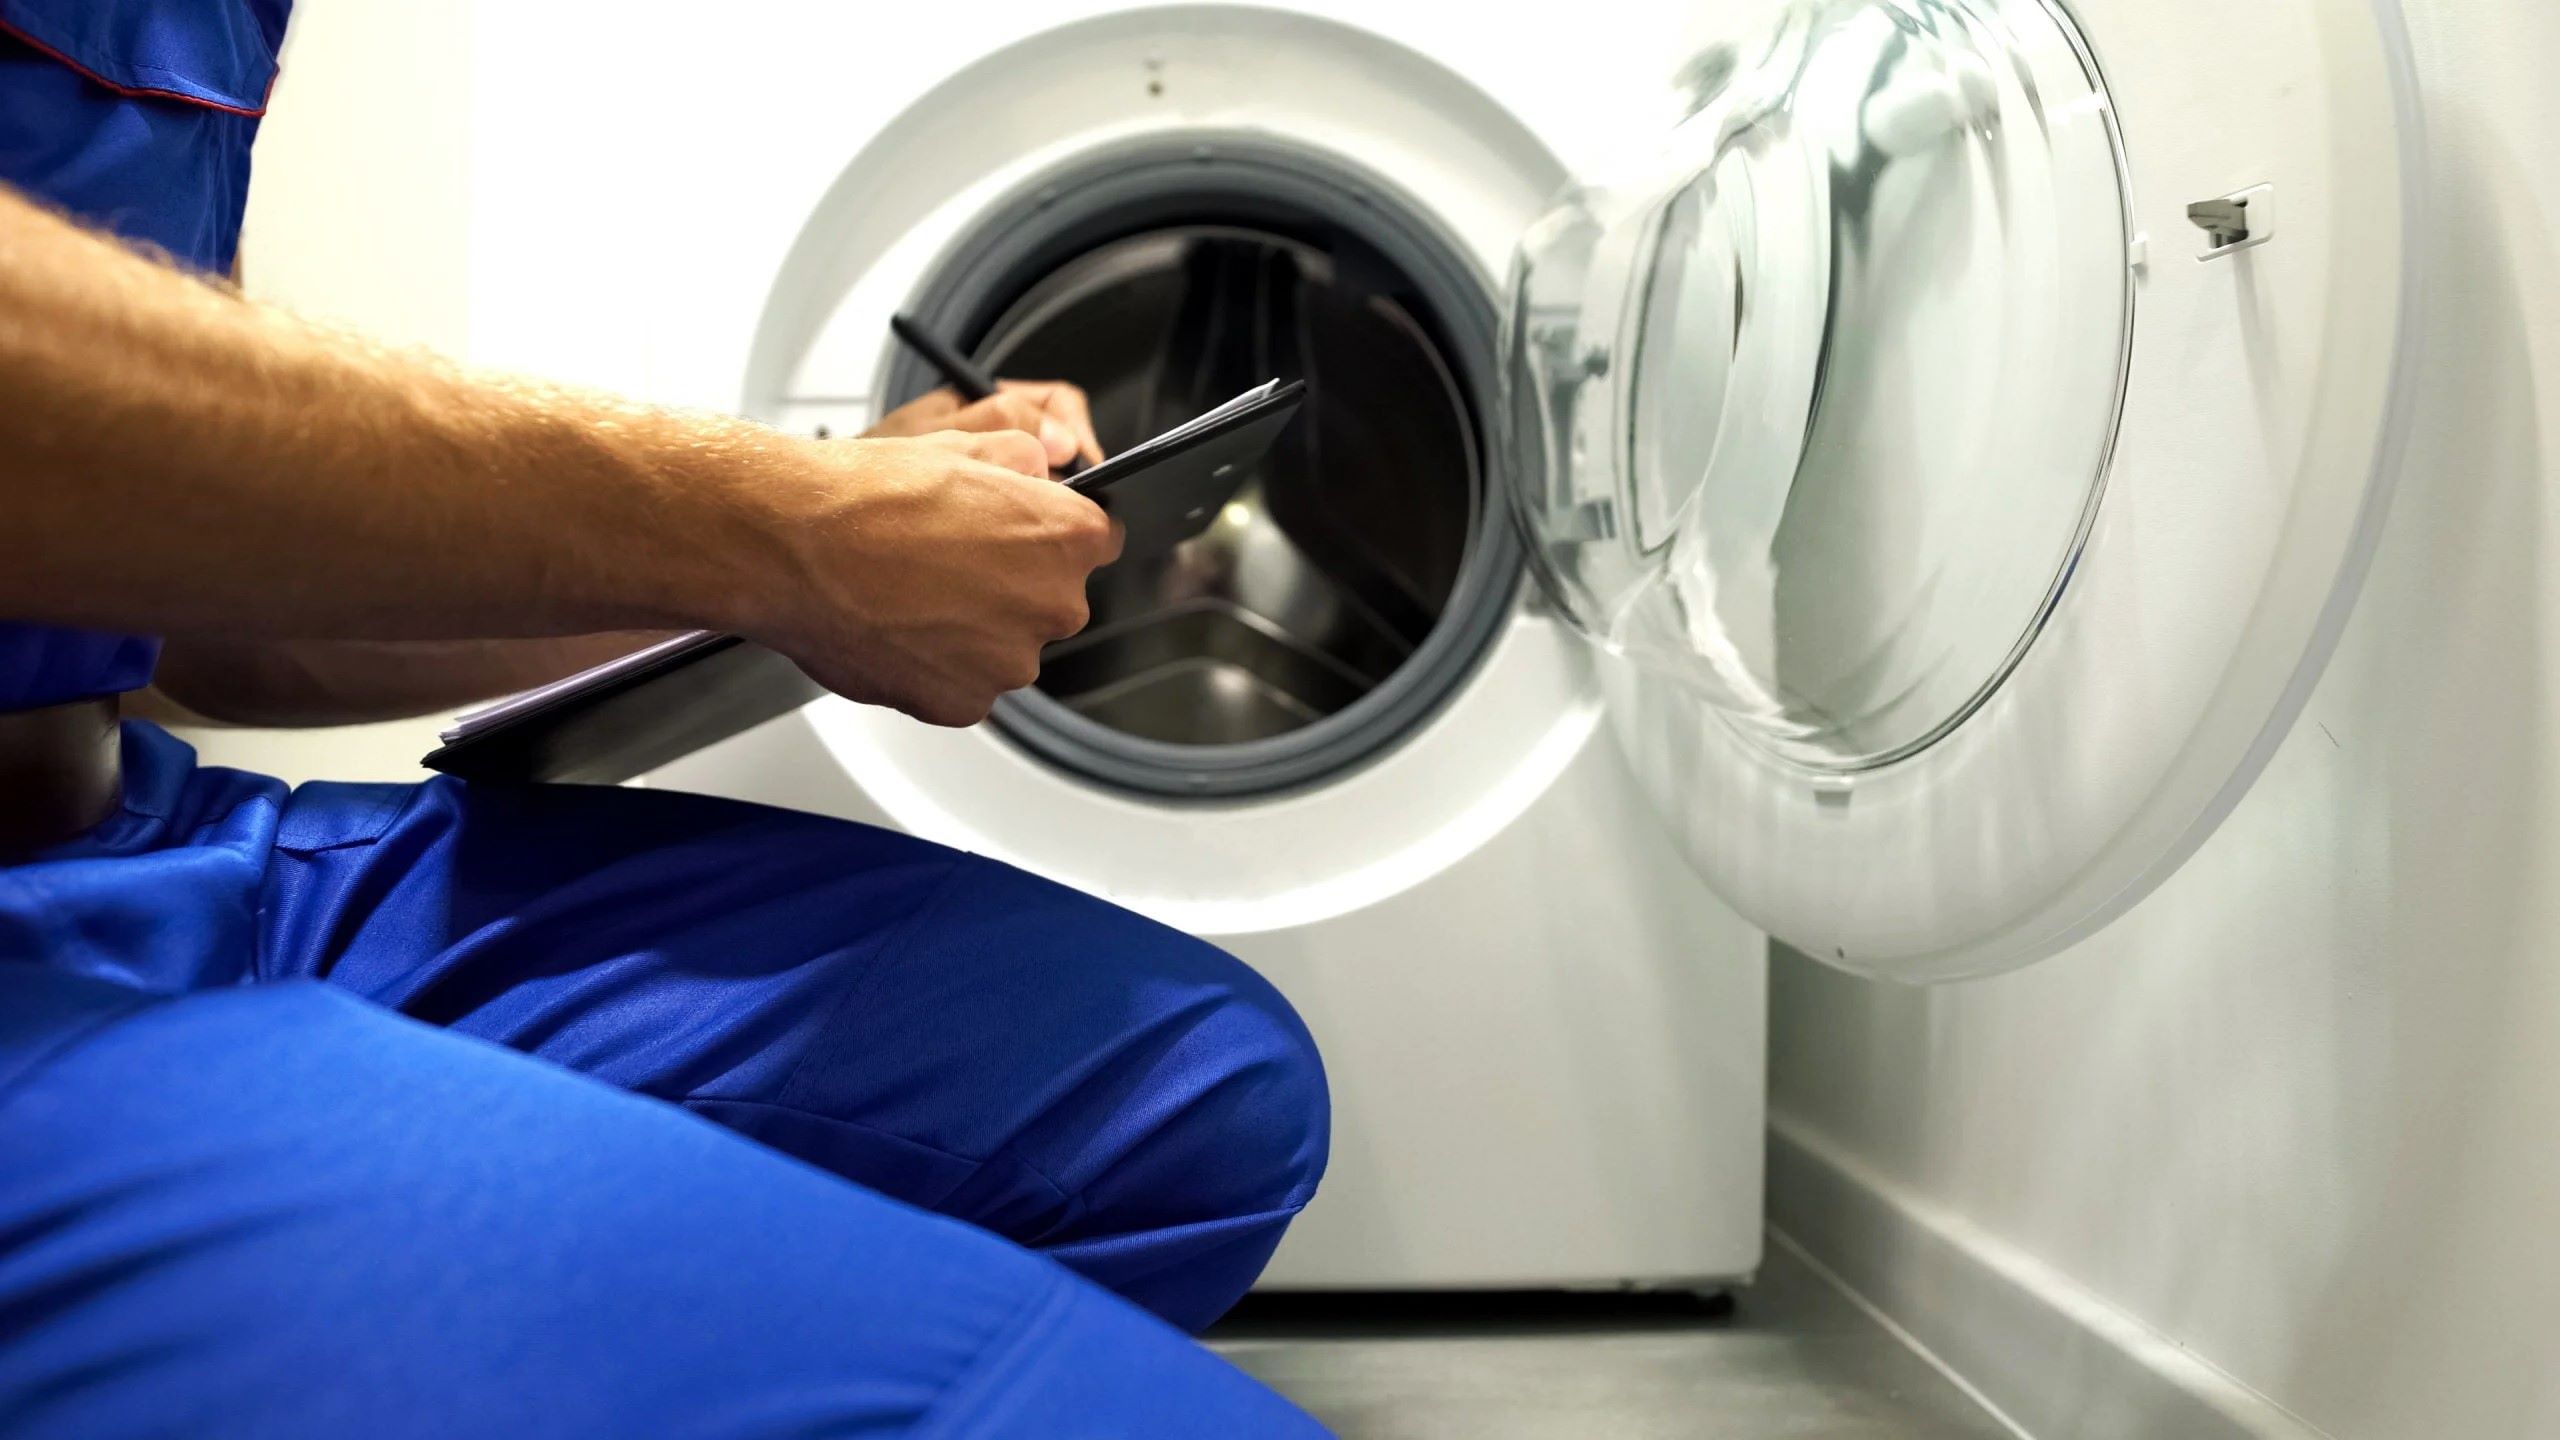
The first step in hooking up a washer drain hose is to locate the drain hose connection point on your washing machine. This connection point is typically located on the back of the machine, near the bottom.
Find the access panel or cover that hides the connection point. It may be secured with screws or clips, so use a screwdriver or your hands to remove any fasteners and open the panel.
Once the access panel is removed, you should see a small opening or a hose connection. This is where the drain hose will be connected.
Take a moment to examine the connection point and ensure that it is clean and free of any debris or blockages. If you notice any obstructions, use a cloth or a brush to clean the area before proceeding.
Once you have located the drain hose connection point and ensured its cleanliness, you are ready to move on to the next step of the installation process.
Step 2: Remove any Existing Drain Hose
Before you can attach the new washer drain hose, you need to remove any existing drain hose that may already be connected to the machine. Some washers come with a pre-installed hose, while others may have had a previous hose connected.
To remove the existing drain hose, follow these steps:
- Make sure the washing machine is unplugged to ensure safety.
- Locate the clamp or fastener that secures the existing drain hose to the drain connection point.
- Use an adjustable wrench to loosen and remove the clamp or fastener.
- Gently pull the existing drain hose out of the connection point.
- Place a bucket or a towel underneath the connection point to catch any residual water that may drain out.
- Allow any remaining water to drain completely before proceeding.
Once the existing drain hose has been removed, set it aside or dispose of it properly. You are now ready to move on to the next step of attaching the new drain hose to the washer.
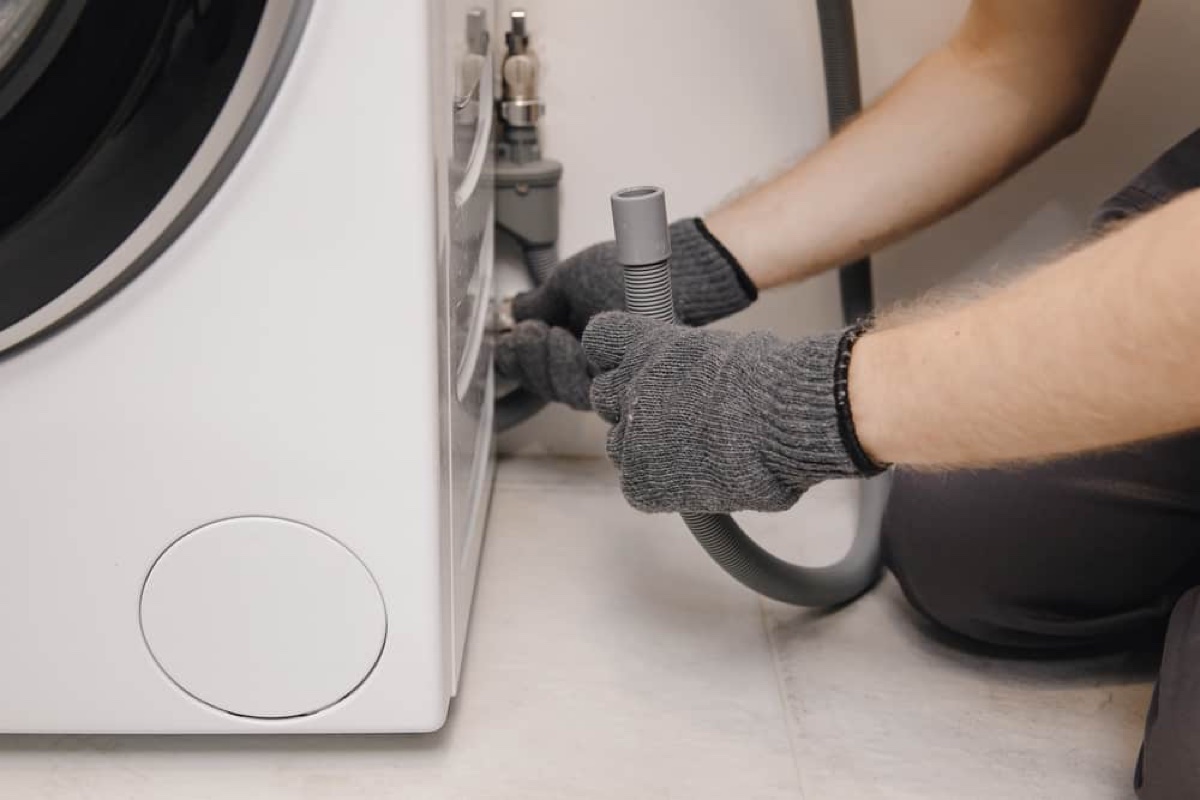
Step 3: Attach the Washer Drain Hose to the Washer
Now that the old drain hose has been removed, it’s time to attach the new washer drain hose to the washing machine. Follow these steps for a secure connection:
- Take the new drain hose and inspect it for any kinks or damage. If you notice any issues, it’s best to replace the hose before proceeding.
- Apply a layer of Teflon tape to the threads of the washer’s drain hose connection point. This will create a watertight seal.
- Insert one end of the drain hose into the washer’s drain hose connection point. Make sure it fits snugly and securely.
- If provided, secure the connection with a hose clamp. Slide the clamp over the connection and tighten it using a screwdriver.
- Gently tug on the hose to ensure it is firmly attached to the washer. It should not come loose or disconnect easily.
Once you have successfully attached the new drain hose to the washer, you are ready to move on to the next step of connecting it to the drainpipe.
Make sure the washer drain hose is not kinked or twisted to ensure proper drainage. Use a zip tie or hose clamp to secure the hose to the standpipe to prevent leaks.
Read more: How To Hook Up A Stacked Washer And Dryer
Step 4: Connect the Washer Drain Hose to the Drainpipe
With the washer drain hose securely attached to the washing machine, it’s time to connect it to the drainpipe. Follow these steps to ensure a proper connection:
- Locate the drainpipe in your laundry area. It is usually situated near the floor or on the wall.
- If the drainpipe has an existing connection point, remove any cap or cover. If not, you may need to install a drainpipe adapter to provide a suitable connection point for the washer drain hose.
- Inspect the drainpipe for any debris or blockages. Clear any obstructions using a wire brush or pipe cleaner.
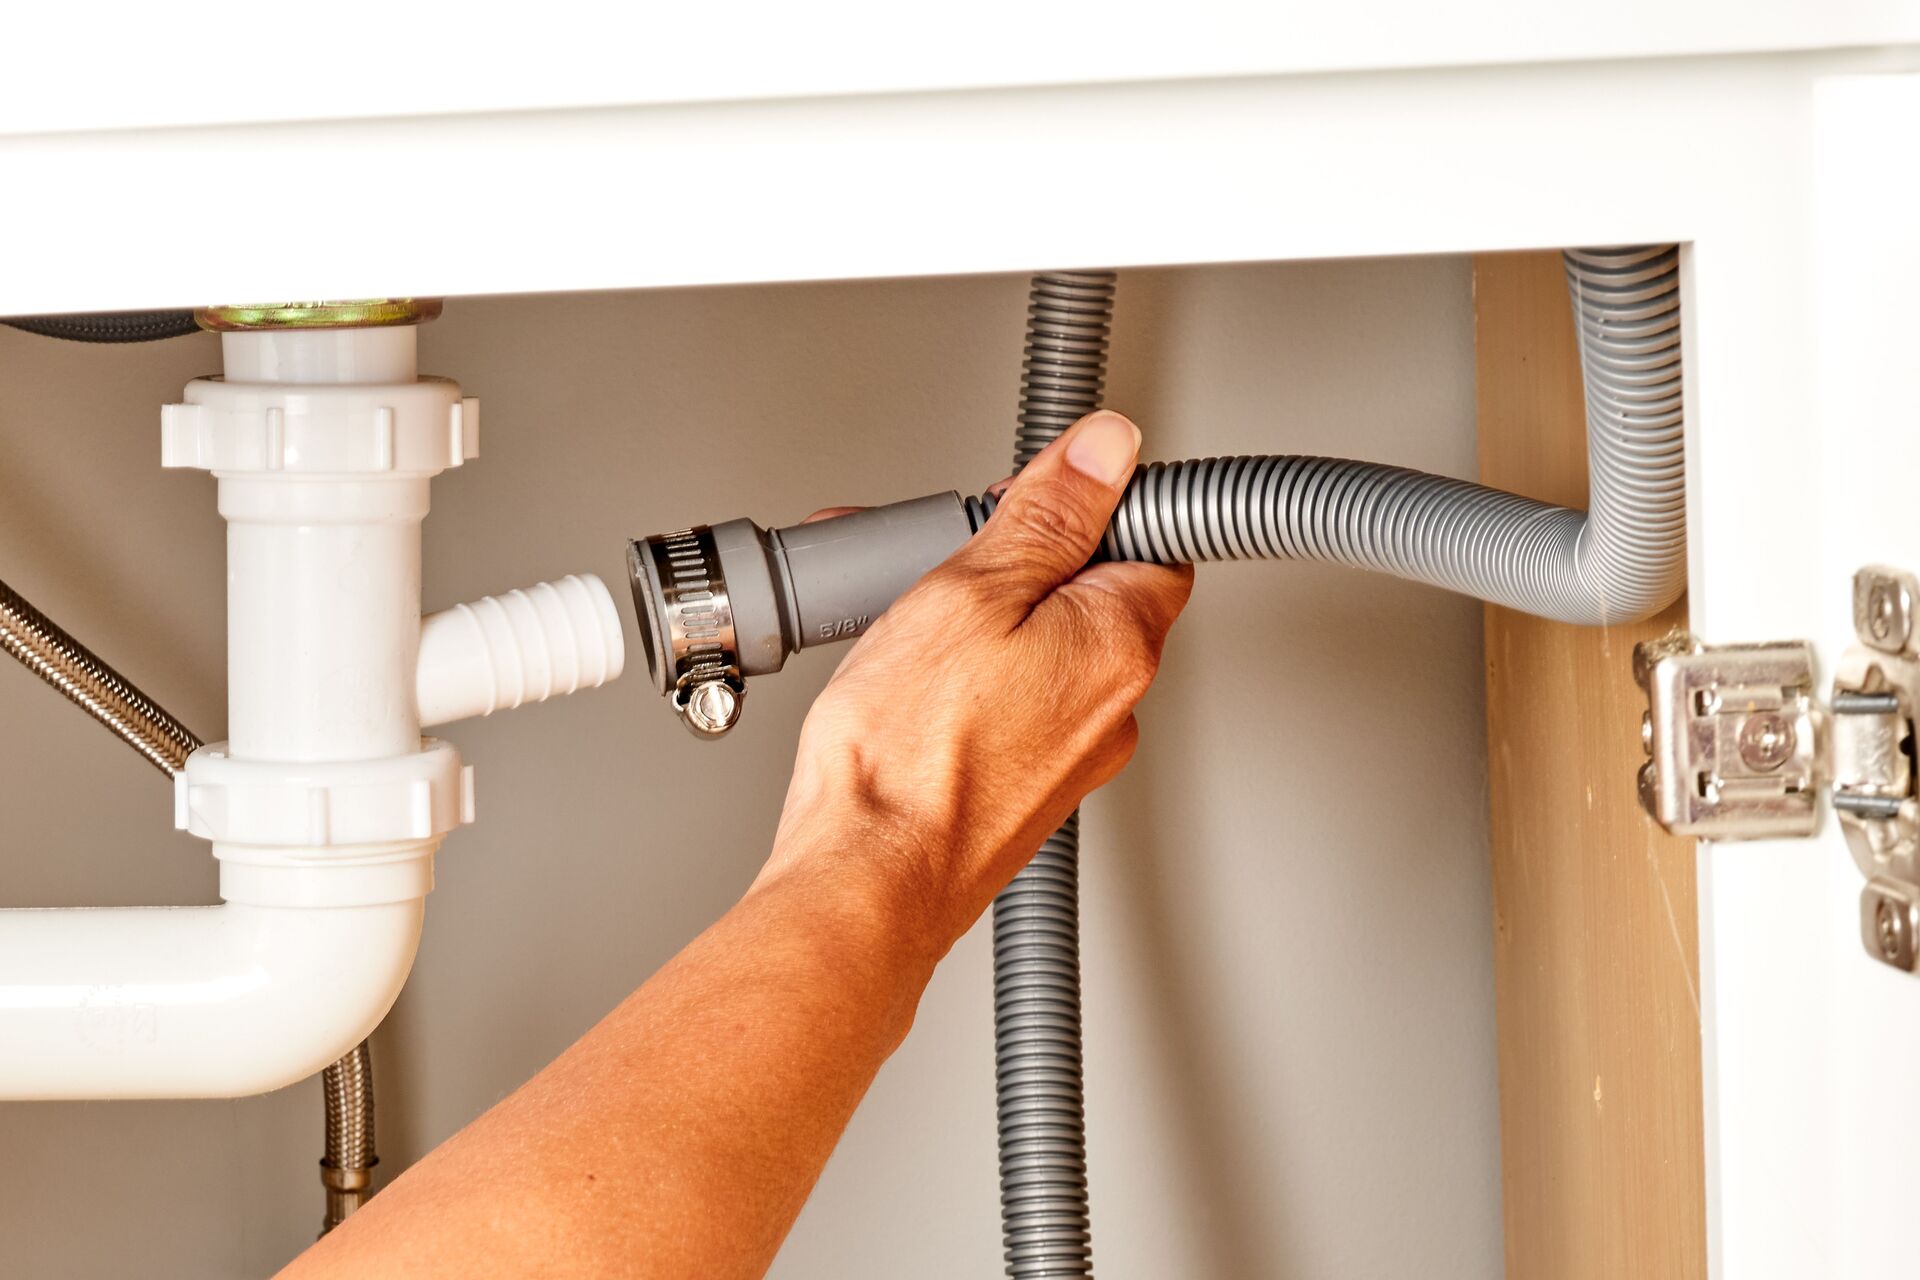
- Insert the other end of the washer drain hose into the drainpipe. Make sure it fits securely and snugly. If necessary, use a hose clamp to fasten the connection.
- Double-check that the connection is tight and secure. Give the drain hose a gentle tug to ensure it doesn’t come loose.
Connecting the washer drain hose to the drainpipe is an important step in preventing leaks or water damage. Once you have completed this step, proceed to the next step to ensure the drain hose is properly secured.
Step 5: Secure the Drain Hose Properly
After connecting the washer drain hose to the drainpipe, it’s essential to ensure that it is properly secured to prevent any leaks or disconnections. Follow these steps to secure the drain hose:
- Check for any excess length of the drain hose. Trim it if necessary, leaving enough length to reach the drainpipe without any tension or pulling.
- Use zip ties, hose clamps, or hook-and-loop fasteners to secure the drain hose along the back of the washing machine or the laundry area’s walls. Make sure it is fastened at regular intervals to keep it in place.
- Ensure that there are no sharp bends or kinks in the drain hose. A smooth, downward slope is ideal to facilitate proper water flow.
- Leave a small gap between the end of the drain hose and the drainpipe. This prevents a vacuum effect that could hinder the drainage process.
- Inspect the entire length of the drain hose for any signs of damage or wear. Replace the hose if you notice any cracks, leaks, or weak spots.
Properly securing the drain hose is essential to avoid any mishaps or water damage during the washing machine’s operation. Once you have ensured the hose is securely fastened, proceed to the final step to test the washer drain hose connection.
Step 6: Test the Washer Drain Hose Connection
With the washer drain hose properly attached and secured, it’s time to test the connection to ensure it is functioning correctly. Follow these steps to test the washer drain hose:
- Close the access panel or cover that provides access to the washer’s drain hose connection point.
- Turn on the water supply to the washing machine. Make sure the water flows smoothly without any leaks or drips from the drain hose connection.
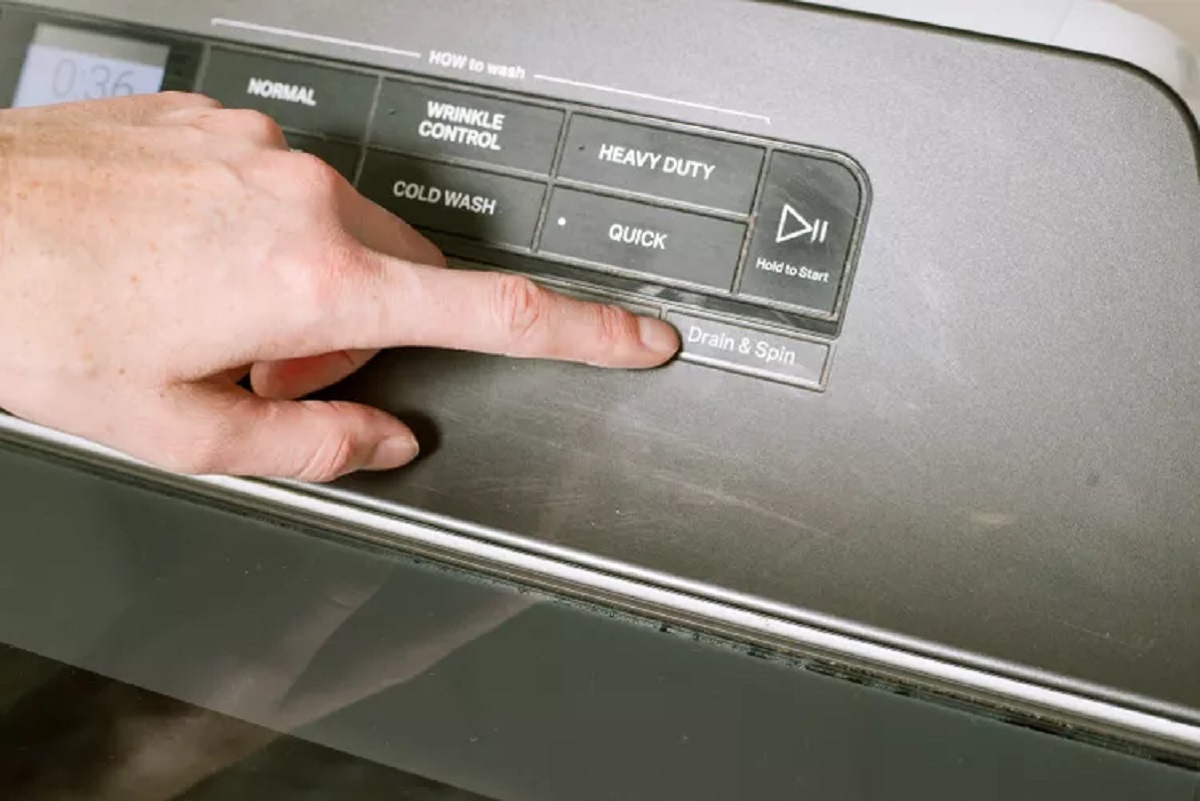
- Start a wash cycle on your washing machine and monitor the drainage process. Check for any leaks or backups.
- Observe the drainpipe as the washer discharges the wastewater. Ensure that the water flows freely and does not overflow or cause any clogs.
- Verify that there are no strange noises or vibrations during the drainage process. These can be indications of an improper connection or a blockage.
If any issues or abnormalities are detected during the testing phase, immediately turn off the washing machine and disconnect the drain hose. Inspect and troubleshoot the connections to identify and resolve the problem.
Once you are satisfied with the testing and the washer drain hose is functioning properly, you can proceed to use your washing machine as usual, with confidence in the secure and efficient drainage system.
Conclusion
Properly hooking up a washer drain hose is essential to ensure efficient water drainage and prevent potential leaks or water damage in your laundry area. By following the step-by-step process outlined in this article, you can confidently connect the drain hose and have your washer up and running smoothly.
Remember to gather all the necessary tools and materials before starting the installation process. Locate the drain hose connection point on your washing machine and remove any existing drain hose if needed. Attach the new drain hose securely to the washer, ensuring a tight and watertight connection. Connect the other end of the drain hose to the drainpipe, checking for any obstructions or debris along the way.
Once the drain hose is connected, take the time to secure it properly using zip ties, hose clamps, or hook-and-loop fasteners. Avoid sharp bends or kinks in the hose and maintain a smooth downward slope towards the drainpipe.
Lastly, test the washer drain hose connection by turning on the water supply and running a wash cycle. Monitor the drainage process, checking for any leaks, backups, or unusual noises. If any issues arise, promptly address and resolve them to ensure the proper functioning of the drain system.
By following these steps and conducting regular maintenance checks, you can maintain a reliable and efficient washer drain hose connection. Enjoy hassle-free laundry days with the confidence of a securely connected and functioning drain system.
Now that you've mastered setting up your washer drain hose, why not keep your appliances in tip-top shape? Our next guide offers practical advice on routine washer maintenance. Diving into this piece will equip you with savvy techniques for cleaning both washers and dryers, ensuring they run efficiently and extend their lifespan. Don't miss out on simple strategies that could save you from future headaches.
Frequently Asked Questions about How To Hook Up A Washer Drain Hose
Was this page helpful?
At Storables.com, we guarantee accurate and reliable information. Our content, validated by Expert Board Contributors, is crafted following stringent Editorial Policies. We're committed to providing you with well-researched, expert-backed insights for all your informational needs.

0 thoughts on “How To Hook Up A Washer Drain Hose”