Articles
How To Hook Up A Ceiling Fan
Modified: October 20, 2024
Learn how to hook up a ceiling fan with our informative articles. Find step-by-step instructions and expert tips to make installation a breeze.
(Many of the links in this article redirect to a specific reviewed product. Your purchase of these products through affiliate links helps to generate commission for Storables.com, at no extra cost. Learn more)
Introduction
Ceiling fans are a popular and efficient way to circulate air and cool down a room. They not only provide a practical solution for hot summer days but also add a stylish element to any space. Whether you’re installing a ceiling fan in a brand new room or replacing an old one, it’s important to know the proper steps to ensure a safe and functional installation process.
In this article, we will guide you through the process of hooking up a ceiling fan. We will provide you with step-by-step instructions, tips, and important considerations to keep in mind. By following these guidelines, you’ll be able to enjoy the benefits of a well-installed ceiling fan in no time.
Before getting started, it’s crucial to emphasize the importance of safety. Always make sure to turn off the power at the breaker box before beginning any electrical work. If you’re uncomfortable working with electricity, consider hiring a professional electrician to assist you.
Now, let’s get started with the first step of hooking up a ceiling fan: gathering the necessary tools and materials.
Key Takeaways:
- Prioritize safety by turning off the power and gathering the necessary tools before installing a ceiling fan. Follow the step-by-step guide for a successful and stylish addition to your space.
- Test the fan and make necessary adjustments to ensure smooth operation. Enjoy the benefits of improved air circulation, energy efficiency, and added comfort in your home.
Step 1: Gather the necessary tools and materials
Before you begin the installation process, it’s essential to gather all the tools and materials you’ll need. Having everything prepared in advance will save you time and make the installation process smoother. Here’s a list of the tools and materials you’ll likely need:
- Ceiling fan
- Ceiling fan bracket
- Screwdriver (preferably a Phillips-head screwdriver)
- Wire stripper
- Wire connectors
- Electrical tape
- Wire nuts
- Ladder or step stool
- Circuit tester
- Masking tape (to label wires)
- Wire cutters
- Pliers
- Electrical box (if required)
- Mounting hardware
- Instruction manual (included with ceiling fan)
Make sure to carefully read the instruction manual for your specific ceiling fan model before you begin the installation process. The manual will provide you with detailed instructions and any specific tools or materials that may be required.
Once you have gathered all your tools and materials, you’re ready to proceed to the next step: turning off the power.
Step 2: Turn off the power
Before you begin any electrical work, it is crucial to ensure your safety by turning off the power to the area where you will be installing the ceiling fan. This step will help prevent electrical shocks and injuries. Here’s how to turn off the power:
- Locate the main electrical panel in your home. It is usually found in the garage or basement.
- Open the panel door using a screwdriver or a panel key if necessary.
- Locate the circuit breaker that controls the power supply to the room where you will be installing the ceiling fan.
- Flip the circuit breaker switch to the “Off” position. You can also use a circuit tester to ensure that the power is off.
- Once you have confirmed that the power is off, you can proceed with confidence knowing that you won’t be working with live electrical wires.
Remember, safety should always be your top priority when working with electrical components. If you are uncertain or uncomfortable handling the electrical panel, it is recommended to seek the assistance of a qualified electrician.
With the power turned off, you can now move on to the next step of installing the ceiling fan: mounting the ceiling fan bracket.
Step 3: Mount the ceiling fan bracket
The ceiling fan bracket is the component that securely holds the fan to the ceiling. It is important to properly mount the bracket to ensure stability and safety. Here’s how you can mount the ceiling fan bracket:
- Start by removing the existing electrical box cover on the ceiling. If there is no electrical box in place, you will need to install one before proceeding.
- Hold the ceiling fan bracket against the electrical box and align the screw holes. Most brackets have multiple holes to accommodate different mounting options.
- Insert the screws provided with the ceiling fan into the holes of the bracket and tighten them securely with a screwdriver.
- Use a level to ensure the bracket is properly aligned and adjust if necessary.
- Once the bracket is securely mounted and level, you can move on to the next step of connecting the electrical wires.
It is important to follow the specific instructions provided in the ceiling fan’s manual for mounting the bracket as different models may have different requirements. Additionally, ensure that the bracket is rated to support the weight of your ceiling fan to avoid any accidents or damage.
With the ceiling fan bracket properly mounted, you are now ready to move on to the next step: connecting the electrical wires.
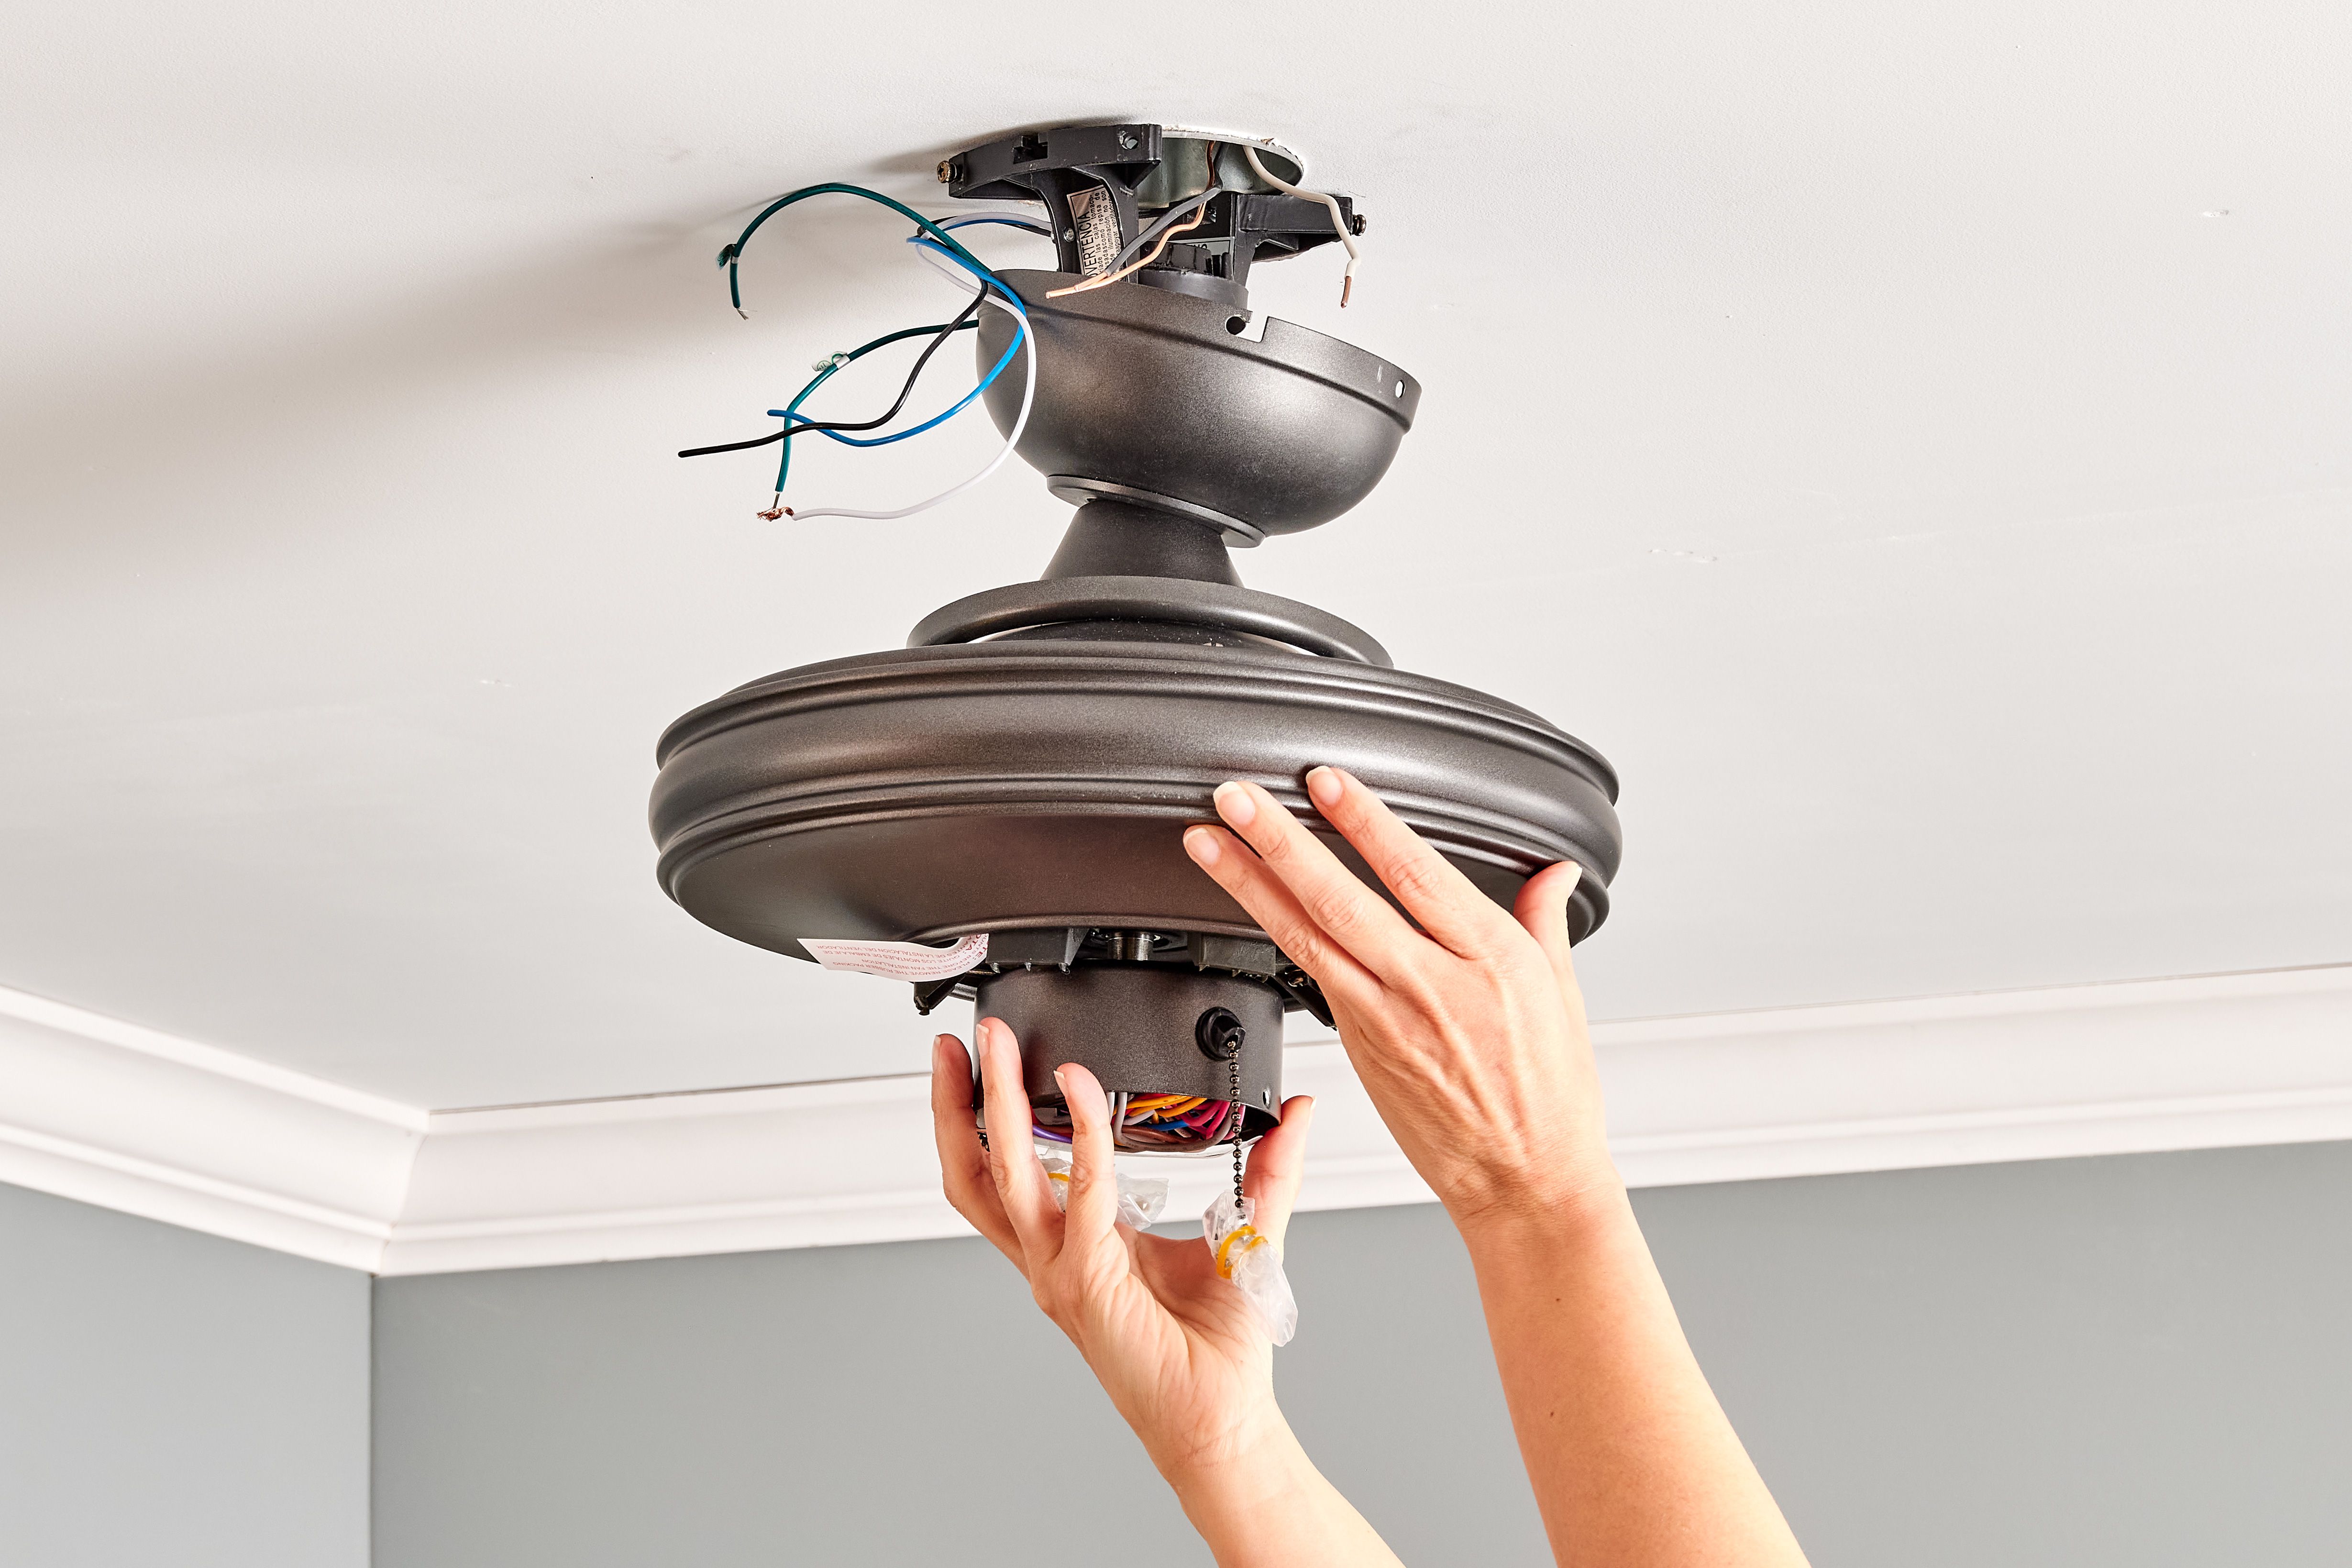
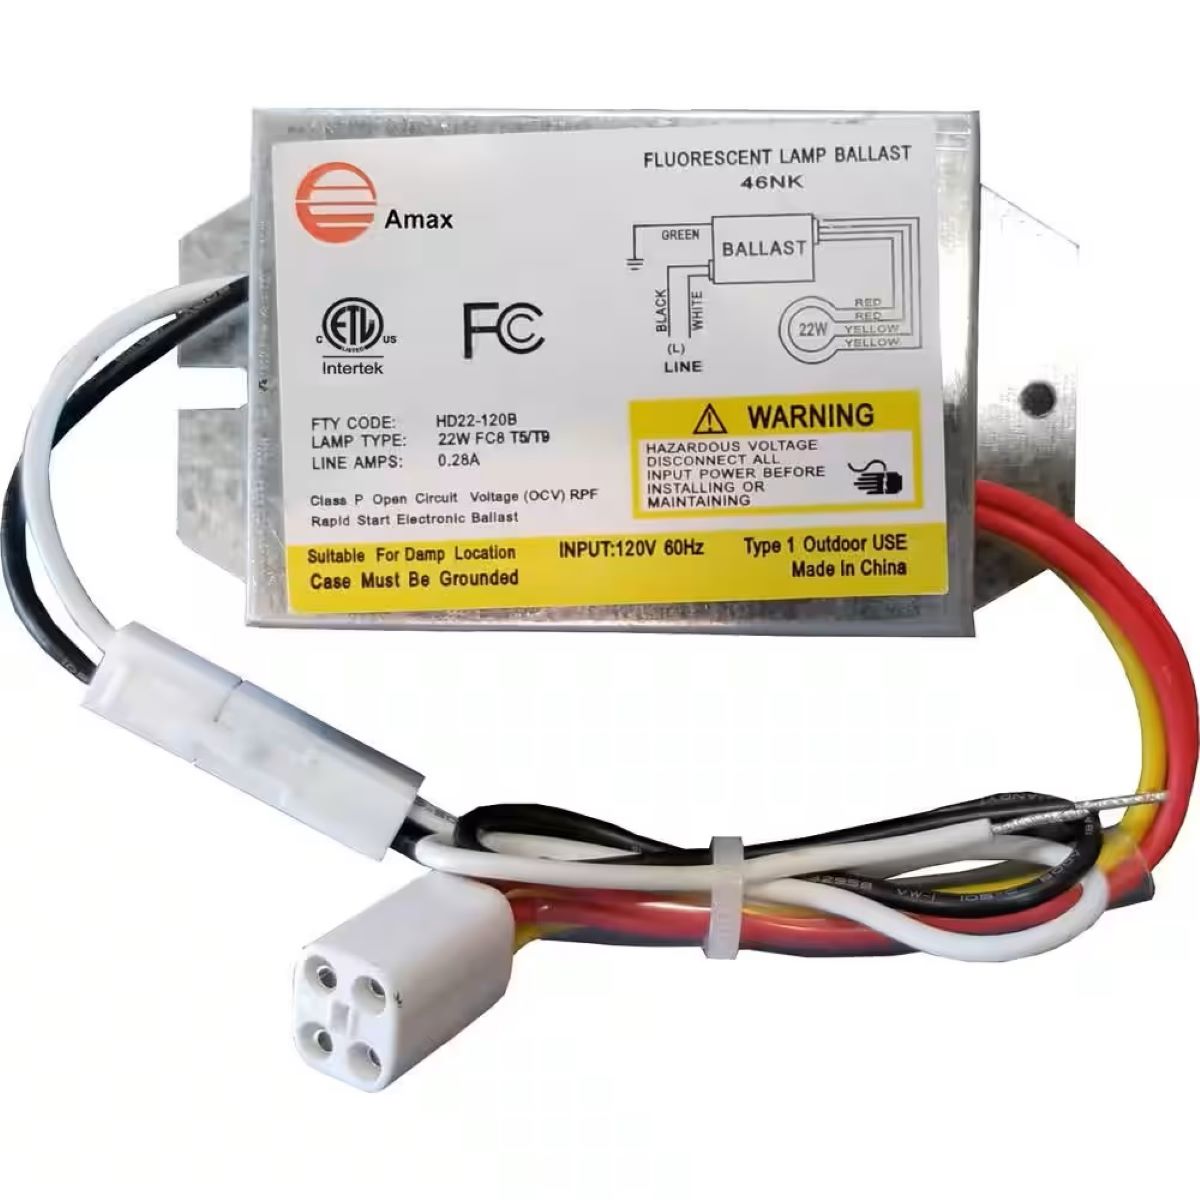
Step 4: Connect the electrical wires
Connecting the electrical wires is a crucial step in hooking up a ceiling fan. It involves safely connecting the wires from the fan to the corresponding wires in your electrical box. Here’s how you can do it:
- Start by identifying the wires in the ceiling electrical box. Typically, you will find a black wire (hot), a white wire (neutral), and a bare or green wire (ground).
- Carefully untwist the wire connectors on both the fan wires and the electrical box wires.
- Match the wires based on their colors: connect the black wire from the fan to the black (hot) wire in the electrical box, the white wire from the fan to the white (neutral) wire, and the green or bare wire from the fan to the bare or green (ground) wire.
- Twist the ends of the wires together tightly and secure them with wire connectors. Make sure all connections are tight and secure.
- Wrap electrical tape around the wire connectors to provide an extra layer of protection and to ensure the connections do not come loose.
As with any electrical work, it is important to take safety precautions. Always turn off the power supply and use a circuit tester to verify that there is no electricity flowing through the wires before making any connections. If you are uncertain about the wiring or feel uncomfortable handling electrical work, consult a qualified electrician.
Once the electrical wires are properly connected, you can proceed to the next step: securing the fan blades to the motor.
Read more: How To Hook Up A Ceiling Light
Step 5: Secure the fan blades to the motor
Securing the fan blades to the motor is an important step in the installation process. It ensures that the blades are properly aligned and securely attached. Here’s how you can do it:
- Check the instructions provided with your ceiling fan for the specific method of attaching the blades. Different fan models may have different mechanisms.
- Each fan blade will typically have multiple holes or slots for attachment. Align the holes with the corresponding holes on the fan motor.
- Insert the screws provided with the fan through the holes in the blades and into the motor. Tighten the screws using a screwdriver, but do not overtighten as it may damage the blades or motor.
- Repeat this process for each fan blade, making sure they are all securely fastened to the motor.
It’s important to note that fan blades are often reversible, allowing you to choose between different blade finishes or air circulation patterns. Follow the instructions provided by the manufacturer to ensure the blades are installed in the desired orientation.
Once all the fan blades are securely attached to the motor, you can proceed to the next step of installing the fan motor onto the bracket.
Make sure to turn off the power to the existing ceiling light before starting the installation process. This will ensure your safety while working with electrical components.
Step 6: Attach the fan motor to the bracket
Attaching the fan motor to the bracket is a crucial step in installing a ceiling fan. It ensures that the fan is securely mounted and stable. Here’s how you can do it:
- Hold the fan motor up to the ceiling bracket, aligning the holes on the motor with the holes on the bracket.
- Insert the screws provided with the fan into the holes, starting with one screw to hold the motor in place.
- Use a screwdriver to tighten the screw, but do not fully tighten it yet.
- Ensure that the fan motor is level by using a leveling tool or simply by visually checking that it is not tilted. Adjust the positioning of the motor as needed.
- Once the motor is positioned correctly, insert and tighten the remaining screws to securely attach the motor to the bracket.
- Double-check that all the screws are tightened adequately to prevent any wobbling or looseness.
If your ceiling fan has a light kit, this is also the step where you would typically attach the light kit to the fan motor before attaching the motor to the bracket. Follow the manufacturer’s instructions for installing the light kit and ensure all electrical connections are properly made.
Once the fan motor is securely attached to the bracket, you are almost finished with the installation process. The next step is to install the fan canopy and canopy trim ring.
Step 7: Install the fan canopy and canopy trim ring
Installing the fan canopy and canopy trim ring is the next step in completing the installation of your ceiling fan. The canopy and trim ring not only provide a finished look but also serve to cover the electrical components. Here’s how you can do it:
- Start by removing the screws that hold the canopy cover in place. The canopy cover is the decorative piece that hides the ceiling junction box.
- Hold the canopy cover up to the mounting bracket, aligning the holes on the cover with the screw holes on the bracket.
- Insert the screws through the holes on the canopy cover and tighten them using a screwdriver. Make sure the canopy cover is securely attached to the bracket.
- If your ceiling fan comes with a canopy trim ring, it is typically installed between the canopy cover and the ceiling. Attach the trim ring to the canopy cover according to the manufacturer’s instructions.
- Make any necessary adjustments to ensure that the canopy cover and trim ring are properly aligned and seated flush against the ceiling.
Once the canopy and canopy trim ring are properly installed, your ceiling fan’s electrical components will be concealed, giving it a clean and polished appearance. This step brings you one step closer to enjoying the benefits of your newly installed ceiling fan.
The next step is to attach the fan blades to the motor, which is essential for the fan’s functionality and airflow. We will cover this in the next step.
Step 8: Attach the fan blades to the motor
Attaching the fan blades to the motor is a straightforward process that completes the assembly of the ceiling fan. Follow these steps to ensure a secure and balanced installation:
- Locate the blade iron brackets included with your ceiling fan. These brackets connect the fan blades to the motor.
- Hold a blade iron bracket over the motor housing with the holes on the bracket aligned with the corresponding holes on the motor.
- Insert the screws provided with the fan into the holes on the bracket and tighten them using a screwdriver. Repeat this process for all the fan blades.
- Make sure all screws are tightened securely, but avoid over-tightening to prevent damage to the blades or motor.
- Once all the fan blades are attached, gently tug on each blade to check for any movements or looseness. If needed, tighten the screws further to ensure a stable connection.
Double-check the alignment and balance of the fan blades. If any of the blades appear misaligned, adjust their positions by slightly loosening the screws and repositioning the blades until they are evenly spaced and parallel to each other.
Remember, maintaining a balanced fan is essential for smooth operation and noise reduction. In cases where your ceiling fan is equipped with balancing weights, refer to the manufacturer’s instructions for balancing the fan blades.
With the fan blades securely attached to the motor, your ceiling fan is almost ready for use. The next step will guide you through the installation of the light fixture (if applicable).
Read more: How To Hook Up A Doorbell
Step 9: Install the light fixture (if applicable)
If your ceiling fan includes a light fixture, installing it is an additional step in the installation process. Adding a light fixture to your ceiling fan can provide both functionality and aesthetics to your space. Here’s how you can install the light fixture:
- Before installing the light fixture, make sure the power is turned off at the circuit breaker to prevent any electrical accidents.
- Refer to the manufacturer’s instructions to determine the specific method of attaching the light fixture to your ceiling fan. Depending on the model, it may involve wiring and mounting the fixture.
- If necessary, remove any covers or parts from the bottom of the fan to access the wiring area and light fixture mount.
- Connect the wires of the light fixture to the corresponding wires in the fan. Typically, this involves connecting the black wires, white wires, and grounding wires using wire connectors.
- Safely tuck the wires back into the fan housing and secure the light fixture mount to the fan using the provided screws.
- Attach the light bulbs or shades to the light fixture, following the manufacturer’s instructions and recommendations.
Once the light fixture is installed, double-check that all connections are secure and the bulbs are properly seated. Restore power to the circuit and test the light fixture to ensure it is functioning correctly.
Note that not all ceiling fans come with a light fixture, and in some cases, the light fixture may be sold separately. If you do not plan to install a light fixture, you can skip this step and move on to the final step of testing the fan and making necessary adjustments.
Step 10: Test the fan and make necessary adjustments
After completing the installation of your ceiling fan, it’s important to test it to ensure it is functioning properly and making any necessary adjustments for optimal performance. Follow these steps to test and make adjustments if needed:
- Turn on the power at the circuit breaker.
- Start by testing the fan functionality. Use the fan controls, typically located on a wall switch or remote control, to turn on the fan at different speeds (low, medium, high). Verify that the fan spins smoothly and without any wobbling.
- Observe the fan blades as it rotates in each speed setting. If you notice any wobbling or unbalanced movement, turn off the fan and make sure all the blade screws are tightened securely. If the wobbling persists, you may need to use a fan balancing kit to correct the imbalance.
- If your fan includes a light fixture, test the lighting functionality by turning the light switch on and off. Make sure the bulbs are properly installed and functioning.
- Check for any unusual noises or vibrations while the fan is running. If you notice any, tighten all the screws and connections again, and make sure the blades and motor housing are properly aligned.
- Take note of any additional adjustments or fine-tuning mentioned in the fan’s user manual or installation guide. Follow those instructions for optimal performance and safety.
By testing the fan and making any necessary adjustments, you ensure that it operates smoothly, quietly, and safely. If you encounter persistent issues or concerns, consider contacting the manufacturer’s customer support for assistance or consult a professional electrician.
Congratulations! You have successfully hooked up your ceiling fan and are now ready to enjoy its cooling breeze and added aesthetic appeal in your space.
Remember to always exercise caution and prioritize safety when dealing with electrical components. If you are unsure or uncomfortable performing any of the installation steps, it is advisable to seek the assistance of a qualified electrician.
Thank you for following along with this guide, and we hope your new ceiling fan adds comfort and style to your home!
Conclusion
Installing a ceiling fan is a rewarding project that not only adds functionality but also enhances the aesthetics of a room. By following the step-by-step guide outlined in this article, you can confidently hook up a ceiling fan and enjoy its benefits.
Throughout the installation process, it’s important to prioritize safety. Always turn off the power at the breaker box and double-check for any live wires before working with electrical components. If you’re unsure, it’s best to consult a professional electrician.
By gathering the necessary tools and materials, turning off the power, mounting the ceiling fan bracket, connecting the electrical wires, securing the fan blades to the motor, attaching the fan motor to the bracket, installing the fan canopy and canopy trim ring, attaching the fan blades to the motor, installing the light fixture (if applicable), testing the fan, and making necessary adjustments, you’ll be able to successfully complete the installation process.
Remember to carefully read and follow the instructions provided with your specific ceiling fan model, as they may differ slightly from the general steps outlined in this guide.
Once your ceiling fan is installed and fully operational, sit back, relax, and enjoy the benefits it brings, from improved air circulation and energy efficiency to added style and comfort in your space.
Thank you for choosing to follow this comprehensive guide on how to hook up a ceiling fan. We hope it has been informative and helpful in your installation journey.
Frequently Asked Questions about How To Hook Up A Ceiling Fan
Was this page helpful?
At Storables.com, we guarantee accurate and reliable information. Our content, validated by Expert Board Contributors, is crafted following stringent Editorial Policies. We're committed to providing you with well-researched, expert-backed insights for all your informational needs.

0 thoughts on “How To Hook Up A Ceiling Fan”