
Articles
How To Insulate Porch Floor
Modified: October 31, 2024
Learn effective techniques and strategies to insulate your porch floor with informative articles. Improve the comfort and energy efficiency of your home.
(Many of the links in this article redirect to a specific reviewed product. Your purchase of these products through affiliate links helps to generate commission for Storables.com, at no extra cost. Learn more)
Introduction
Insulating your porch floor is a smart and economical way to make it more comfortable, especially during colder months. By adding insulation, you can prevent drafts, reduce heat loss, and create a barrier against moisture and pests. Whether you have a screened porch, a sunroom, or an enclosed porch, insulating the floor can help regulate the temperature and improve energy efficiency.
Before you begin the insulation process, it’s important to evaluate your porch floor and determine the appropriate insulation material and method. This article will guide you through the step-by-step process of insulating your porch floor, helping you create a cozy and insulated space that you can enjoy year-round.
Key Takeaways:
- Insulating your porch floor can enhance comfort, energy efficiency, and reduce heat loss. Choose the right material, measure accurately, and secure the insulation for a cozy and sustainable living space.
- Consider adding a vapor barrier for extra protection against moisture buildup. Proper preparation, insulation choice, and sealing gaps ensure a well-insulated and durable porch floor.
Read more: How To Insulate A Floor
Step 1: Preparing the Porch Floor
Before you start insulating your porch floor, you need to ensure that the surface is clean and free from any debris. Here’s how you can prepare your porch floor for insulation:
- Clear the area: Remove any furniture or items from the porch floor and sweep away any dirt, leaves, or dust.
- Inspect for damage: Check the floor for any signs of damage, such as cracks, holes, or rot. Repair any damaged areas before proceeding with the insulation.
- Address moisture issues: If your porch floor is prone to moisture problems, such as leaks or condensation, it’s crucial to address these issues before insulating. Install proper drainage systems or fix any leaks to prevent moisture buildup.
- Check for pests: Inspect the porch floor for any signs of pests or infestations, such as termite damage or rodent nests. If pests are present, treat the area accordingly to eliminate the problem.
By properly preparing your porch floor, you ensure a clean and stable surface for insulation installation. This step is essential in creating a long-lasting and effective insulation barrier.
Step 2: Choosing the Insulation Material
Choosing the right insulation material for your porch floor is crucial in ensuring proper insulation and maximum energy efficiency. There are several options available, each with its own advantages and considerations. Here are some commonly used insulation materials for porch floors:
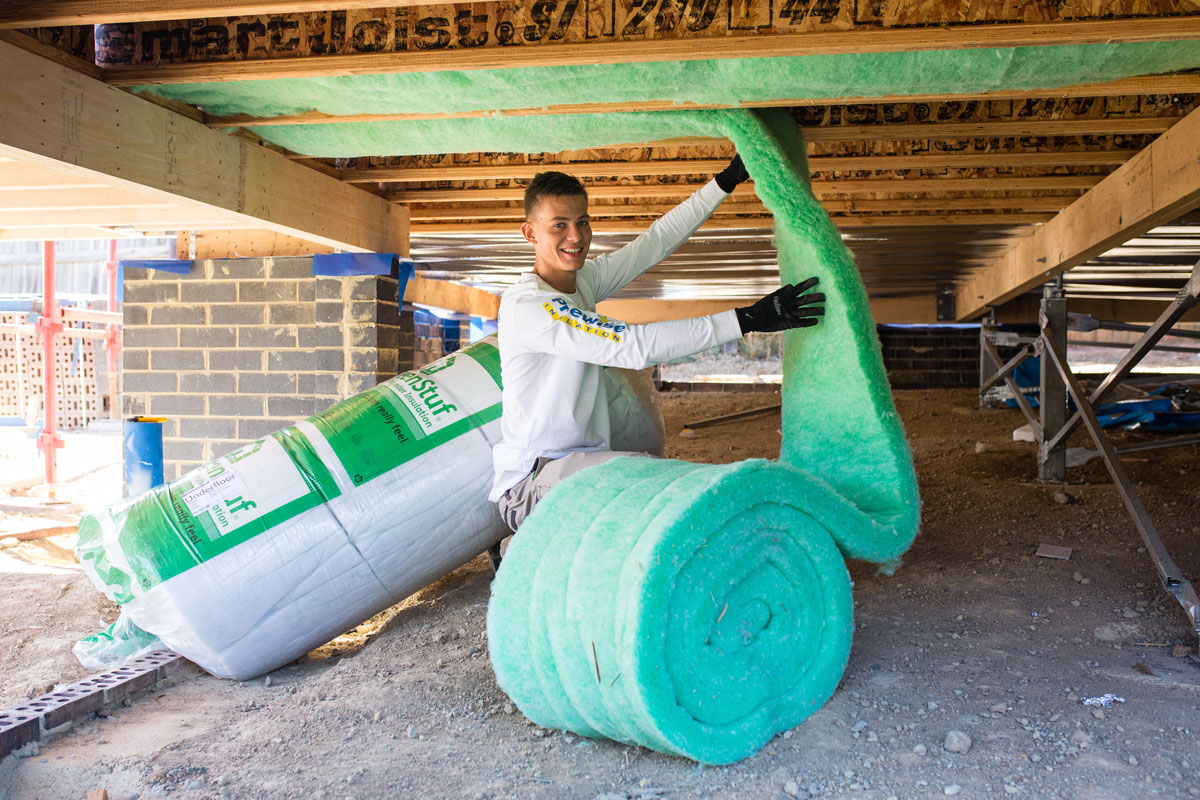
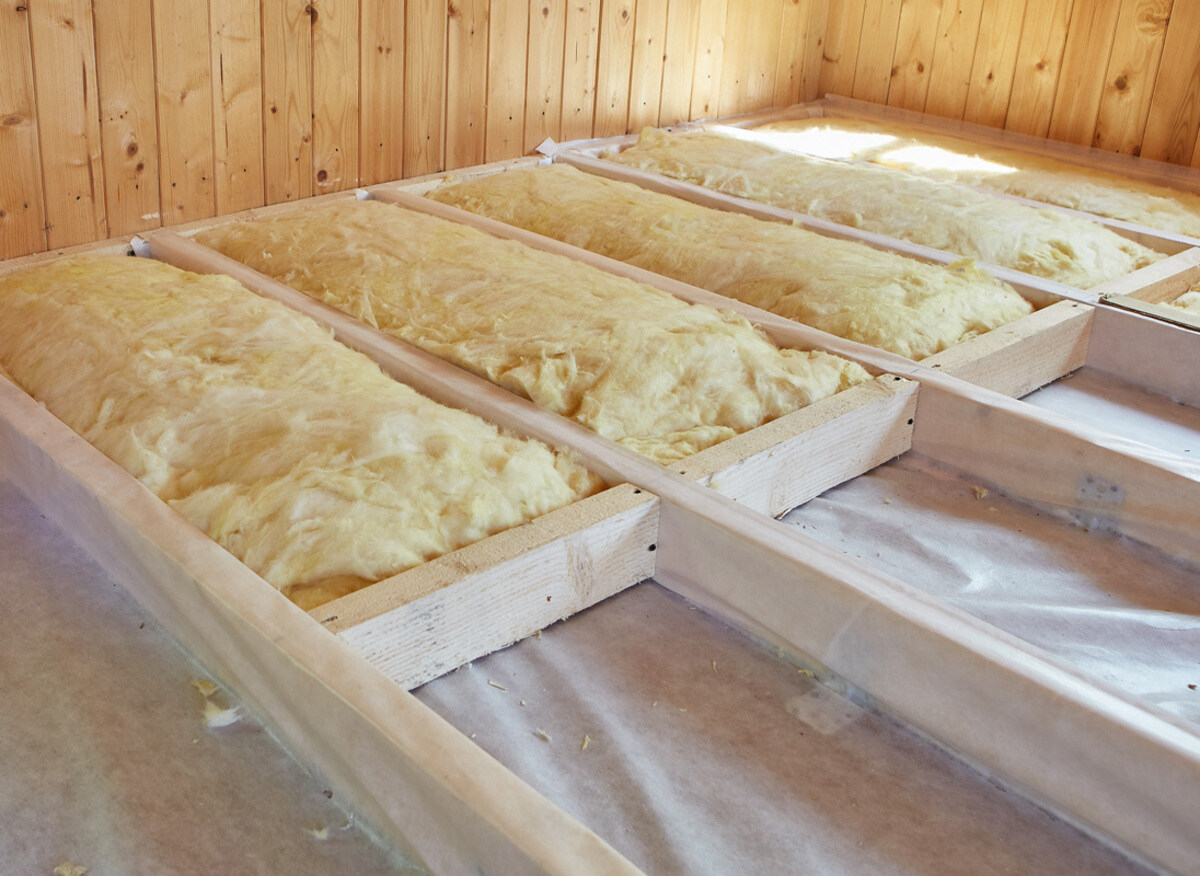
- Fiberglass Batts: Fiberglass batts are a popular choice for insulation due to their affordability and relatively easy installation. They come in pre-cut widths and are placed between the floor joists, providing thermal resistance and reducing heat transfer.
- Spray Foam Insulation: Spray foam insulation provides an excellent air seal, fills gaps and cracks, and offers high thermal insulation value. It can be sprayed onto the underside of the porch floor, adhering to the surface and providing a continuous insulation barrier.
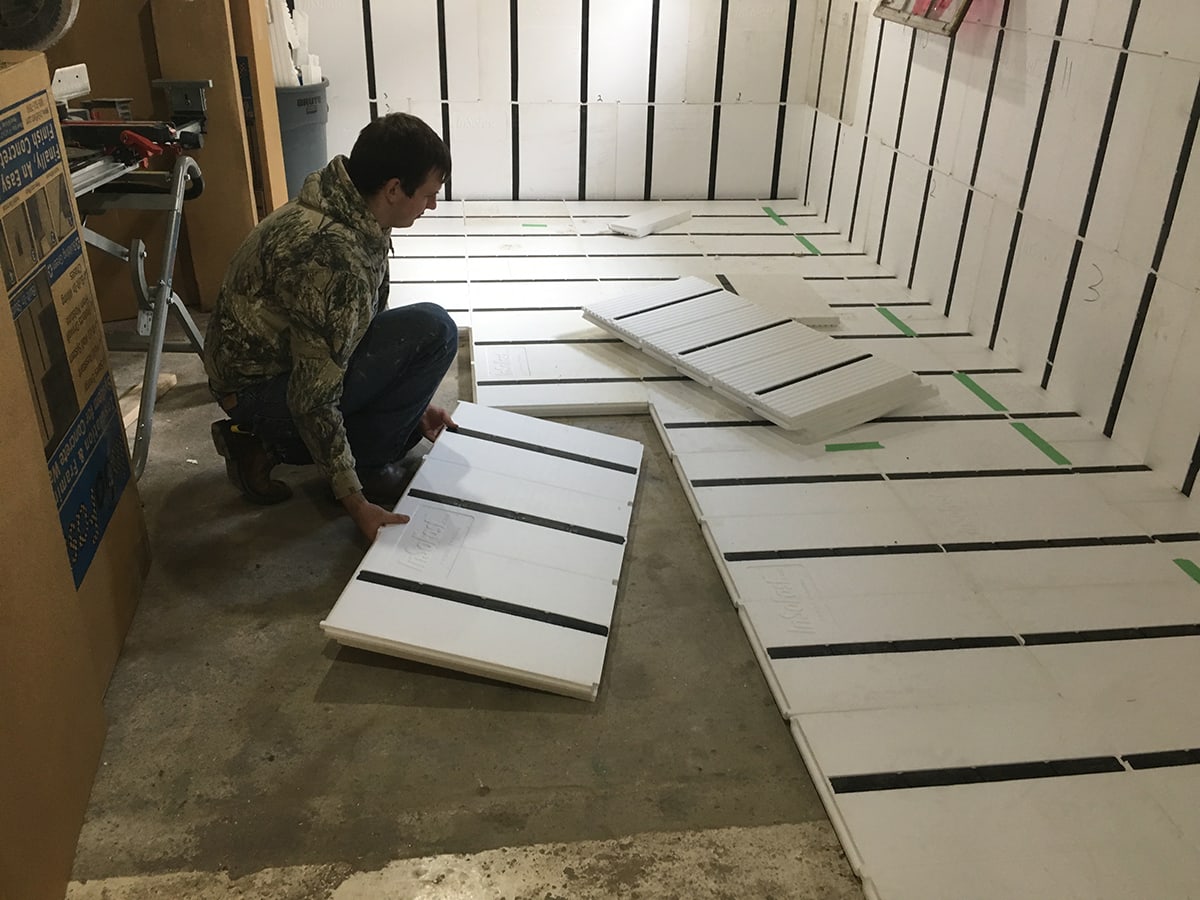
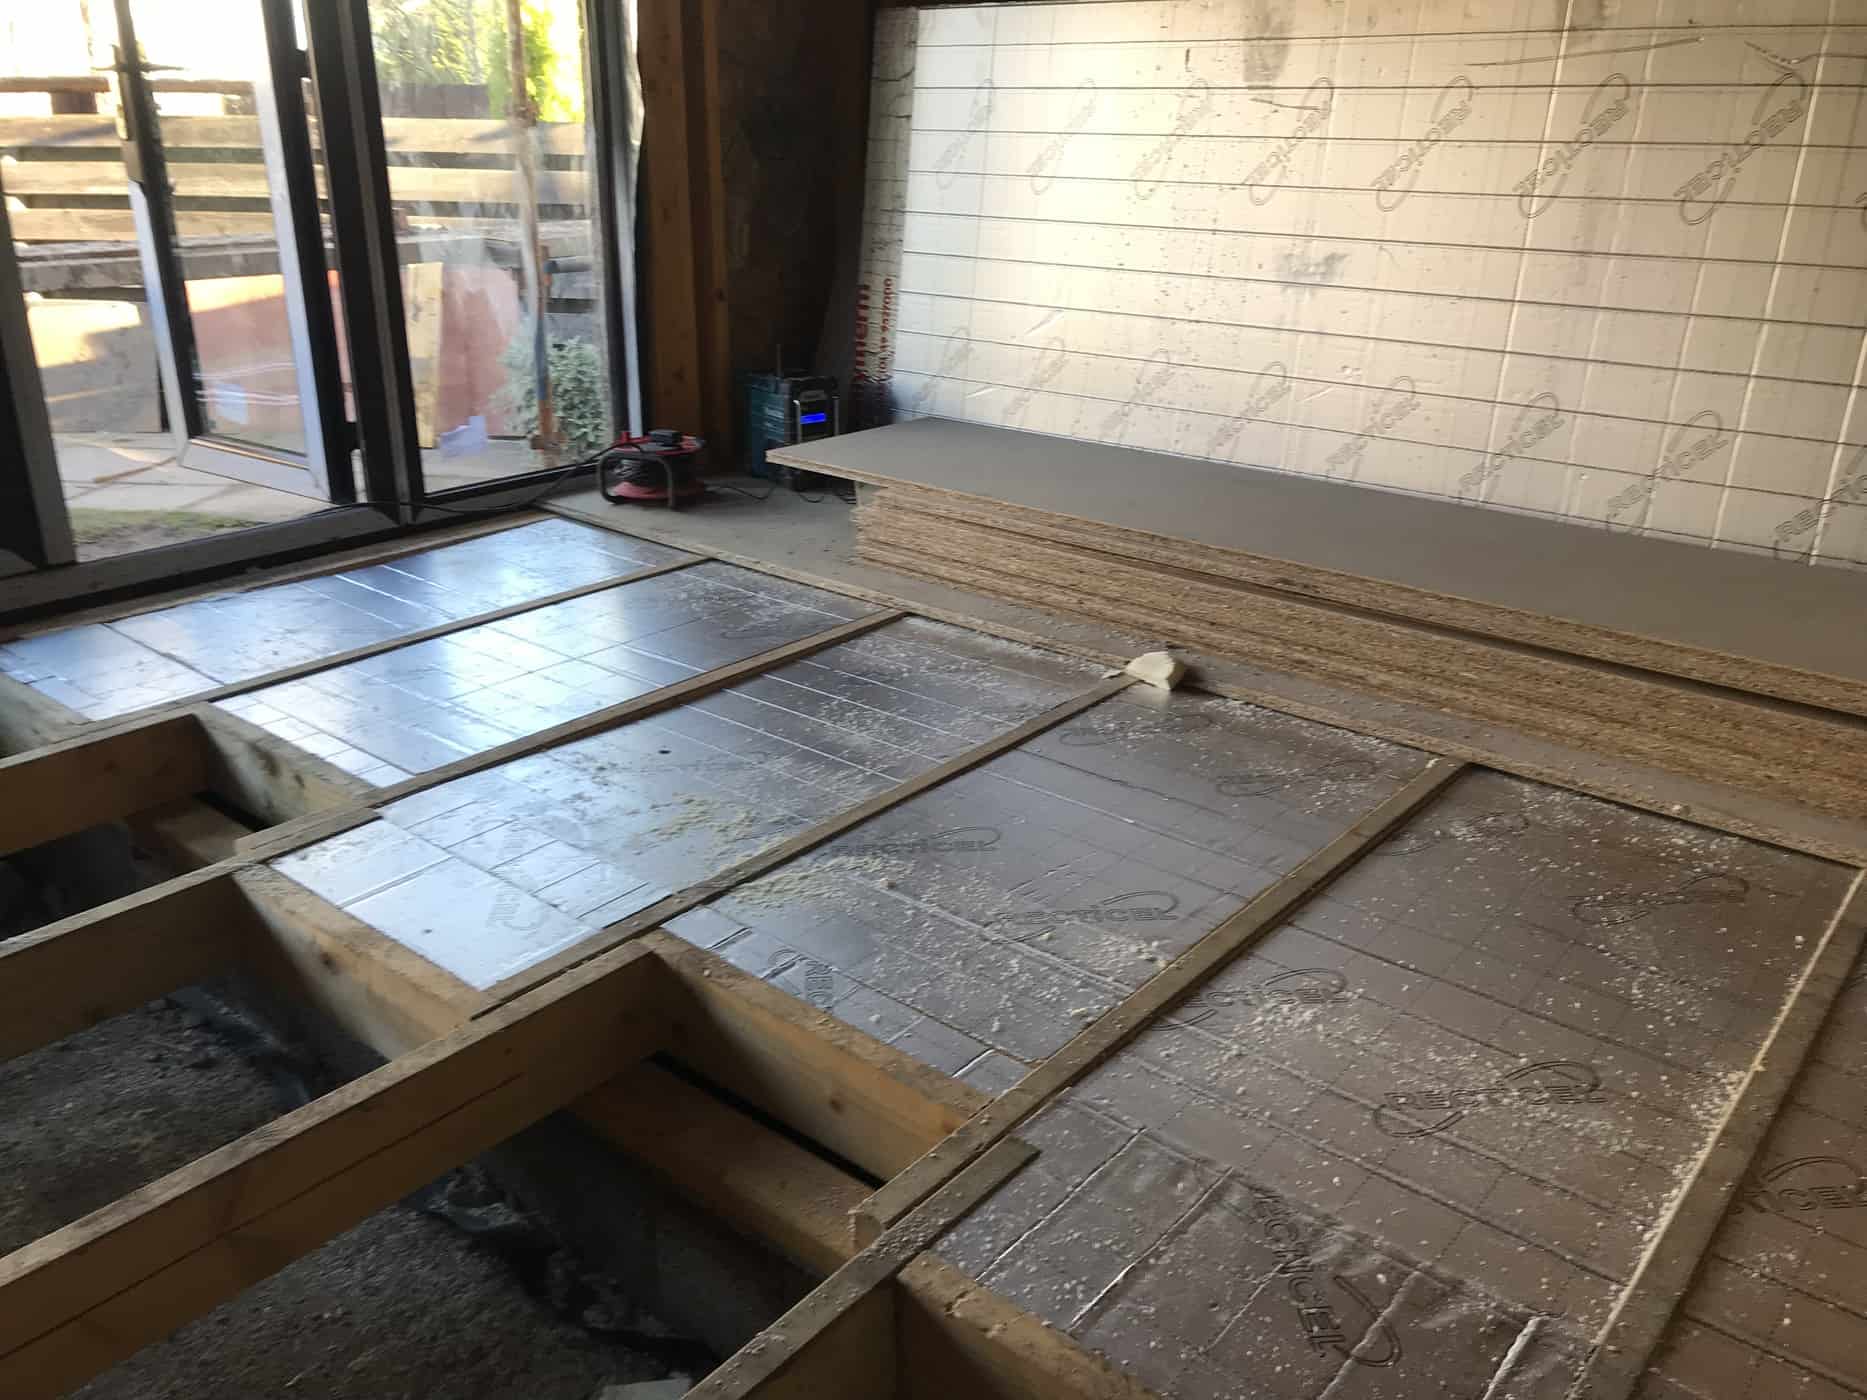
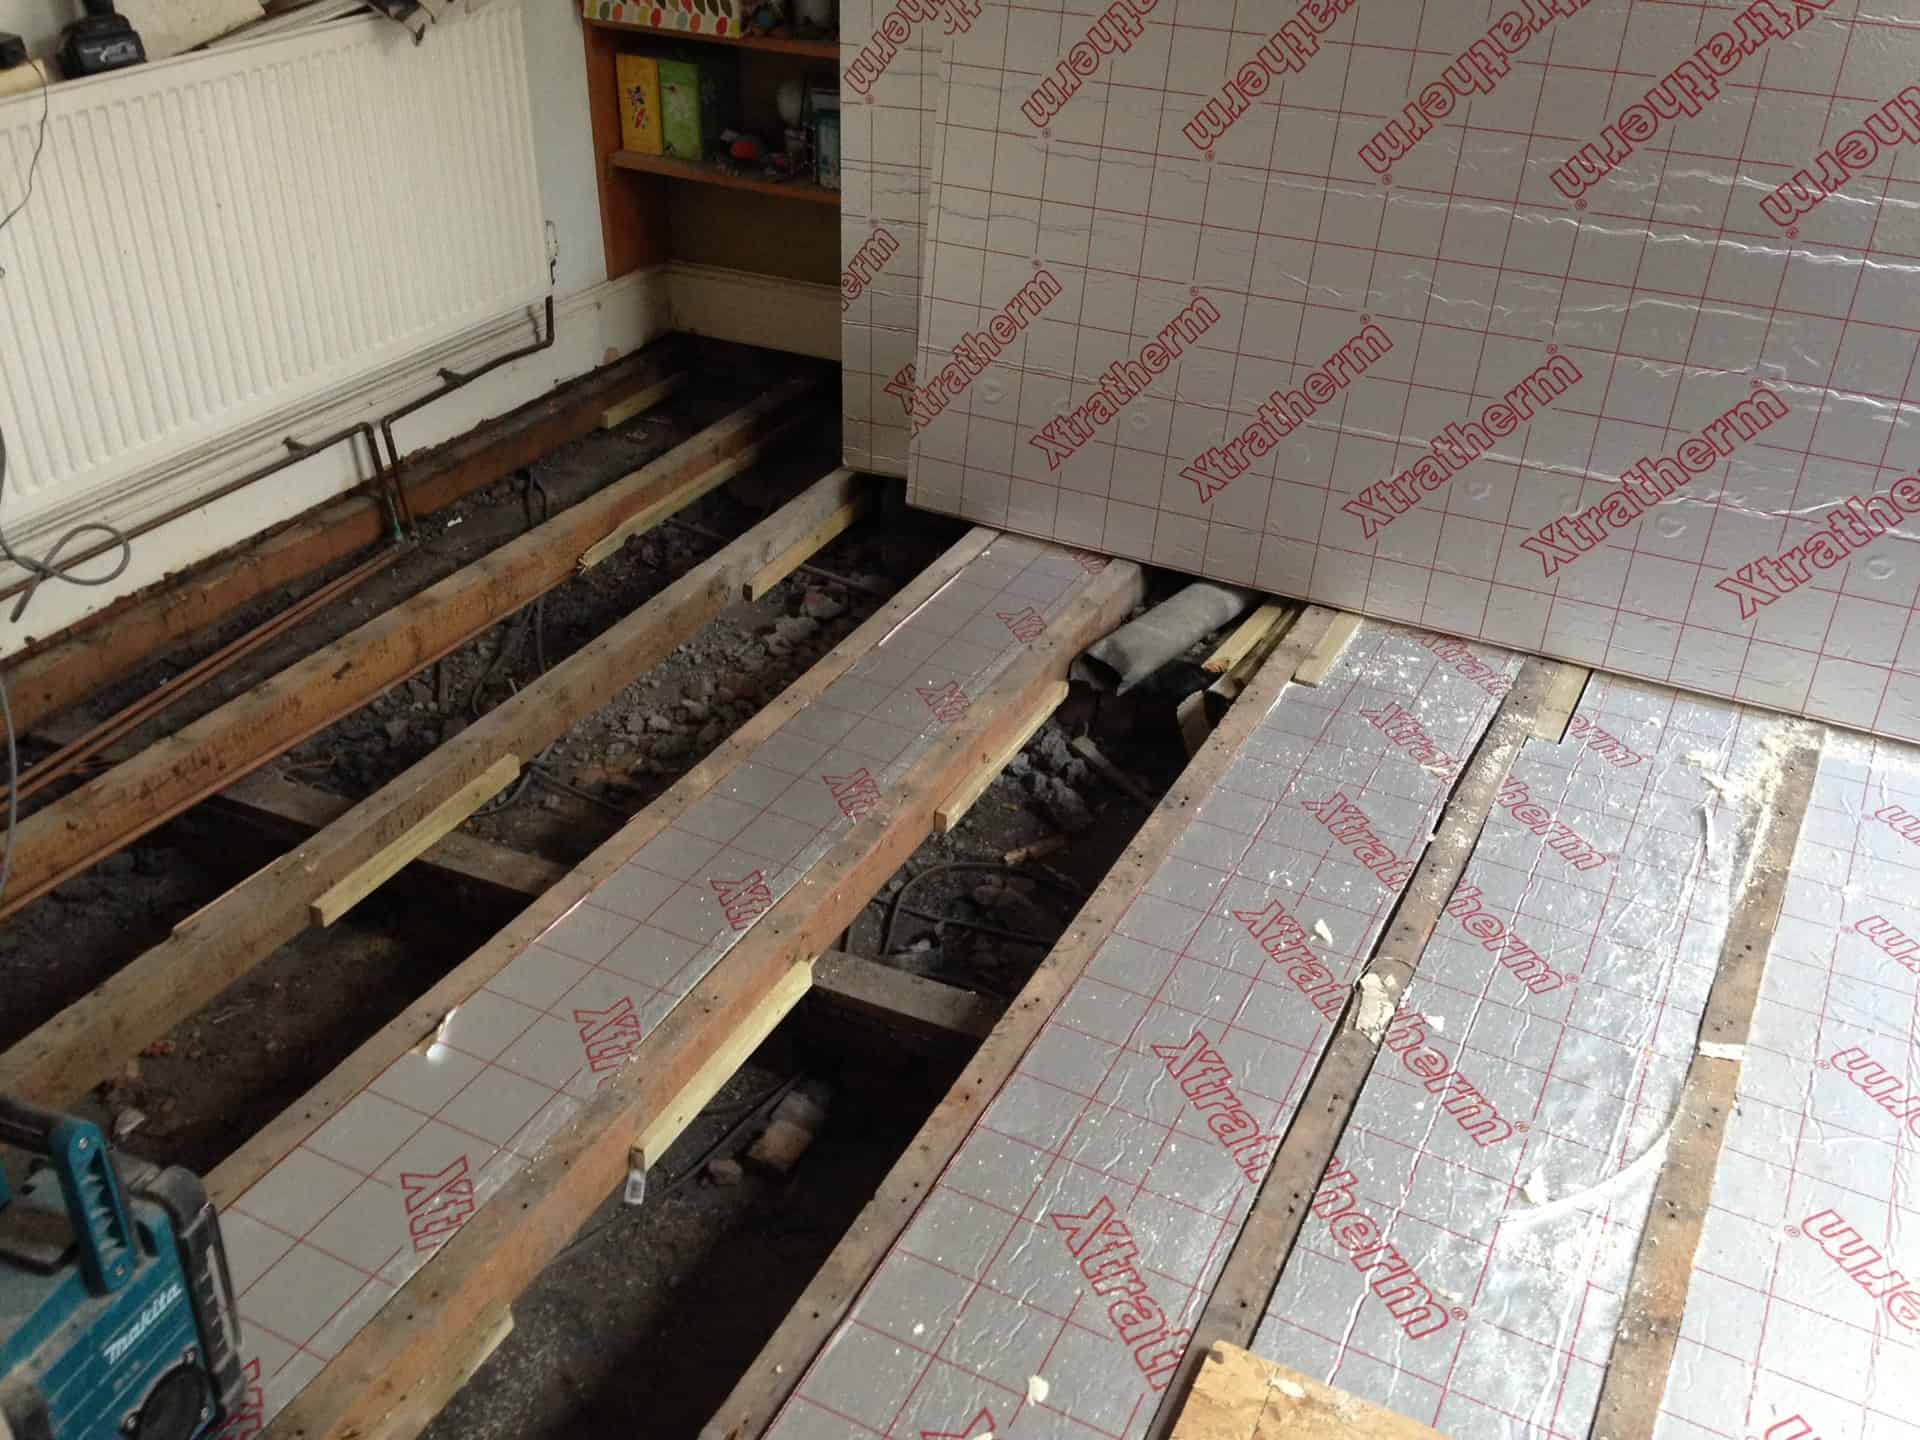
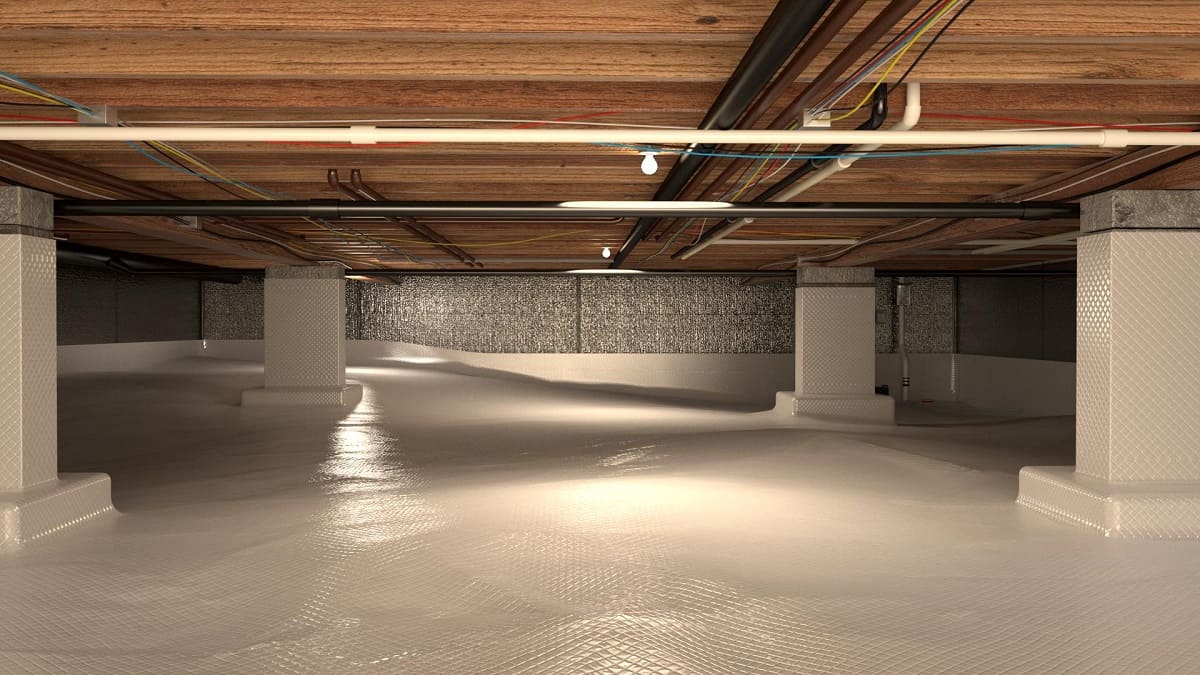
- Rigid Foam Insulation: Rigid foam insulation boards offer excellent thermal insulation and are resistant to moisture and pests. They can be cut to fit between the floor joists or installed as a continuous layer on the underside of the porch floor.
- Cellulose Insulation: Cellulose insulation is made from recycled paper and is an eco-friendly option. It can be blown into the floor cavities, filling them completely and providing good thermal insulation.
When choosing the insulation material, consider factors such as R-value (a measure of thermal resistance), moisture resistance, ease of installation, and any specific requirements for your porch floor. It’s also advisable to consult with a professional or insulation supplier to determine the most suitable material for your specific needs.
Remember, the insulation material you choose will impact the effectiveness and longevity of your porch floor insulation, so make an informed decision based on your requirements and budget.
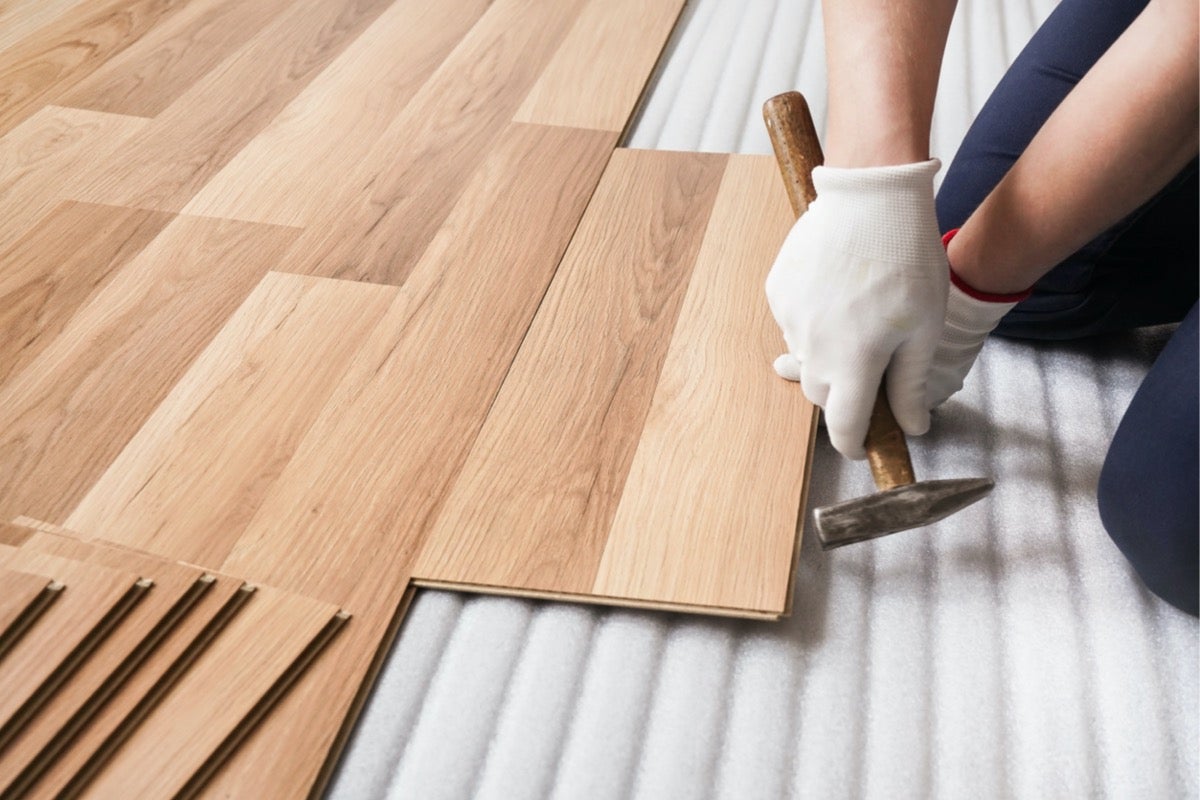
Step 3: Measuring and Cutting the Insulation
Once you have selected the appropriate insulation material for your porch floor, the next step is to measure and cut the insulation to fit the floor cavities. Here’s how you can do it:
- Measure the floor joist spacing: Start by measuring the distance between the floor joists. This will help you determine the width and length of the insulation pieces.
- Transfer the measurements: Take the measurements of the floor joist spacing and transfer them onto the insulation material. Use a measuring tape and a straightedge to mark the dimensions accurately.
- Cut the insulation: Using a sharp utility knife or insulation cutter, carefully cut the insulation along the marked lines. Take care not to compress or damage the insulation during the cutting process.
- Repeat for each insulation piece: Continue measuring, marking, and cutting the insulation material for each floor joist space. It’s important to ensure a snug fit without any gaps or spaces.
Properly measuring and cutting the insulation is essential for a well-insulated porch floor. Take your time and double-check your measurements to ensure accuracy. It’s better to have slightly larger insulation pieces that can be trimmed down rather than pieces that are too small and leave gaps in the insulation barrier.
Remember, safety is crucial when handling insulation material. Wear protective gloves, goggles, and a dust mask to avoid any irritation or allergic reactions. Follow the manufacturer’s instructions for handling and cutting the insulation material.
Step 4: Installing the Insulation
With the insulation material cut to size, it’s time to install it in the floor cavities of your porch. Proper installation is key to achieving effective insulation and optimizing energy efficiency. Here’s how you can install the insulation:
- Start at one end: Begin at one end of the porch and place the insulation between the floor joists, ensuring that it fits snugly. For fiberglass batts, gently push the insulation into place. For rigid foam insulation, slide it between the joists or secure it with adhesive.
- Work your way across: Continue installing the insulation along the length of the porch, moving from one joist space to the next. Make sure there are no gaps or spaces between the insulation pieces.
- Trim if necessary: If any insulation pieces are slightly oversized, trim them down to fit properly. Be careful not to leave any exposed areas or gaps in the insulation.
- Ensure consistent coverage: Check that the insulation provides consistent coverage across the entire porch floor. It should reach the perimeter and cover all the floor joist cavities.
During the installation process, be cautious not to compress the insulation too much, as this can reduce its effectiveness. Maintain it in its intended thickness and density to achieve optimal insulation.
If you’re using spray foam insulation, follow the manufacturer’s instructions for application. Ensure that the foam is evenly sprayed and covers the entire surface area, filling gaps and creating a continuous insulation layer.
Take your time with the installation process to ensure the insulation is properly placed and secured. This will help create a more comfortable and energy-efficient porch space.
Consider using rigid foam insulation boards to insulate the porch floor. These boards are easy to install and provide excellent thermal resistance. Make sure to seal any gaps or joints to prevent air leakage.
Read more: How To Paint A Porch Floor
Step 5: Securing the Insulation in Place
Once the insulation is installed, it’s important to secure it in place to prevent any movement or displacement. This will ensure that the insulation remains effective and provides consistent coverage. Here’s how you can secure the insulation:
- Use insulation supports: Insulation supports, also known as insulation hangers or wire fasteners, can be used to hold the insulation in position. These are metal wires or clips that are attached to the floor joists and hold the insulation securely against the underside of the porch floor.
- Attach with adhesive: For rigid foam insulation, you can use construction adhesive to adhere it to the floor joists or between the joists. Apply the adhesive as directed by the manufacturer and press the insulation firmly in place.
- Utilize insulation straps or bands: Insulation straps or bands can be wrapped around the floor joists and insulation to provide additional support and keep the insulation in place.
Make sure to evenly space the insulation supports or straps along the floor joists to prevent any sagging or gaps in the insulation. This will help maintain the effectiveness of the insulation barrier.
Take into consideration any specific instructions or recommendations from the insulation manufacturer regarding securing the insulation in place. Following these guidelines will ensure a secure and durable installation.
By securing the insulation, you prolong its lifespan and ensure that it remains in its intended position, providing optimal thermal insulation and energy efficiency for your porch floor.
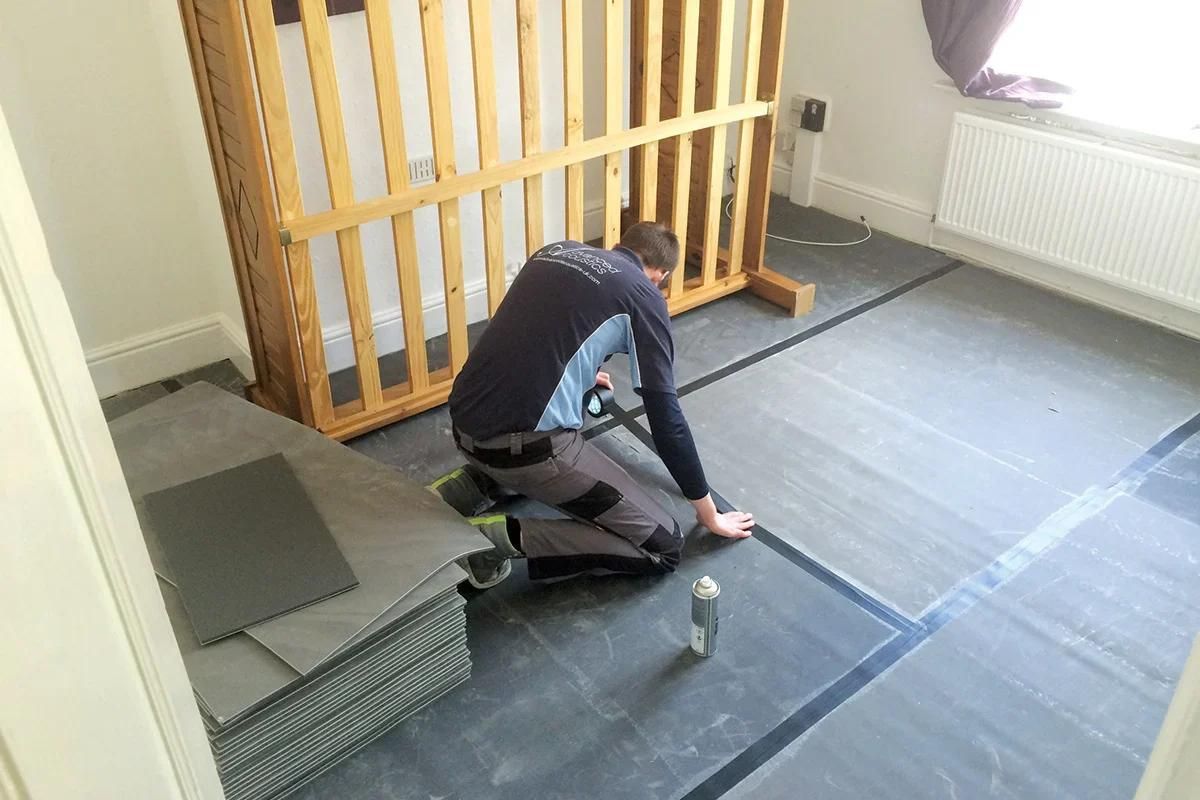
Step 6: Sealing Gaps and Edges
Sealing any gaps and edges is an essential step in insulating your porch floor. This will help prevent air leaks, moisture intrusion, and the entry of pests. Here’s what you need to do:
- Inspect for gaps: Carefully examine the area where the insulation meets the floor joists and the adjacent surfaces. Look for any gaps, openings, or cracks that need to be sealed.
- Apply caulk or foam sealant: Use caulk or foam sealant to fill in any small gaps or cracks. Apply the caulk or sealant along the edges of the insulation, where it meets the floor joists or the porch floor itself. This will create a tight seal and prevent air infiltration.
- Plug larger openings: If there are larger openings or gaps, use expanding foam sealant to fill them. This foam expands to fill the space, providing an effective barrier against air and moisture.
- Seal around pipes or wires: If there are any pipes or wires running through the porch floor, ensure that they are properly sealed. Use foam insulation sleeves or specialized sealing materials to prevent air leaks around these penetrations.
Sealing gaps and edges not only improves the insulation efficiency but also enhances the overall integrity of the insulation system. It helps create a sealed and protected environment, ensuring that the insulation performs effectively for years to come.
Remember to work carefully and precisely when applying caulk or foam sealant. Follow the manufacturer’s instructions for proper application and curing time.
By sealing gaps and edges, you create a more airtight and energy-efficient porch floor, improving both comfort and energy savings.
Step 7: Adding a Vapor Barrier (Optional)
Adding a vapor barrier to your insulated porch floor is an optional step but can provide additional protection against moisture buildup. It helps prevent condensation and the potential for mold or mildew growth. Here’s how you can add a vapor barrier:
- Choose the right material: Select a suitable vapor barrier material such as a plastic sheet or vapor retarder. Ensure that it is designed to be used in floors and has a high moisture resistance rating.
- Cut the vapor barrier: Measure the dimensions of your porch floor and cut the vapor barrier to fit. Allow for some overlap along the edges to create a continuous barrier.
- Place the vapor barrier: Lay the vapor barrier over the installed insulation, covering the entire porch floor. Make sure it is flat and smooth, without any wrinkles or folds.
- Secure the vapor barrier: Use adhesive or tape to secure the edges of the vapor barrier to the floor joists or the perimeter of the porch floor. Ensure that it is properly sealed and tightly secured.
By adding a vapor barrier, you create an extra layer of protection for your insulated porch floor. It helps minimize moisture intrusion and reduces the risk of damage and deterioration.
Keep in mind that not all porch floors require a vapor barrier, especially if the space is well-ventilated or if your chosen insulation material has built-in moisture resistance properties. Consider consulting with a professional or following local building codes and regulations to determine whether a vapor barrier is necessary for your specific situation.
Adding a vapor barrier can provide peace of mind, knowing that your insulated porch floor is protected from potential moisture-related issues.
Conclusion
Insulating your porch floor is a worthwhile investment that can significantly enhance the comfort and energy efficiency of your living space. By following the steps outlined in this guide, you can effectively insulate your porch floor and create a cozy, insulated environment.
Starting with proper preparation and choosing the right insulation material, such as fiberglass batts, spray foam, rigid foam, or cellulose, is crucial to achieving optimal insulation performance. Measuring and cutting the insulation accurately ensures a proper fit, while securing it in place and sealing gaps and edges prevent air leaks and maintain the integrity of the insulation barrier.
Keep in mind that adding a vapor barrier is optional but can provide additional protection against moisture buildup, particularly in locations prone to high humidity or moisture issues.
Throughout the insulation process, it’s essential to prioritize safety and follow the manufacturer’s instructions. Wear protective gear when handling insulation, and consult professionals or local building codes if needed.
By insulating your porch floor, you create a more comfortable and energy-efficient space, reducing heat loss and preventing drafts. This not only improves your overall living experience but also contributes to energy savings and a more sustainable lifestyle.
So, take the necessary steps to insulate your porch floor and enjoy the benefits of a well-insulated and cozy porch throughout the seasons.
After wrapping up your porch insulation project, why not tackle more hands-on tasks? Engaging in DIY projects offers a wealth of benefits, from enhancing your home's appeal to boosting your practical skills. Curious about all the perks that come with taking on such endeavors yourself? Dive into our article detailing why tackling projects DIY-style is incredibly rewarding.
Frequently Asked Questions about How To Insulate Porch Floor
Was this page helpful?
At Storables.com, we guarantee accurate and reliable information. Our content, validated by Expert Board Contributors, is crafted following stringent Editorial Policies. We're committed to providing you with well-researched, expert-backed insights for all your informational needs.


0 thoughts on “How To Insulate Porch Floor”