
Articles
How To Install A Feit Dimmer Switch
Modified: August 26, 2024
Learn how to install a Feit dimmer switch in our comprehensive articles. Step-by-step instructions and helpful tips for a successful installation.
(Many of the links in this article redirect to a specific reviewed product. Your purchase of these products through affiliate links helps to generate commission for Storables.com, at no extra cost. Learn more)
Introduction
Installing a Feit dimmer switch is a great way to add functionality and ambiance to your home lighting system. Whether you want to create a cozy atmosphere in the living room or adjust the brightness for different tasks in your kitchen, a dimmer switch gives you the flexibility to control the lighting levels to suit your needs. In this article, we will guide you through the step-by-step process of installing a Feit dimmer switch.
Before getting started, it’s important to note that electrical work can be dangerous if not done correctly. If you are not confident in your abilities, it’s best to hire a licensed electrician to perform the installation. Otherwise, with the right tools and safety precautions, you can successfully install a Feit dimmer switch yourself.
During the installation process, we will be working with electrical wiring, so it’s crucial to turn off the power to the circuit you’ll be working on. Additionally, it’s important to gather all the necessary tools and materials before starting the installation. Let’s take a look at what you’ll need:
Key Takeaways:
- Installing a Feit dimmer switch is a DIY project that enhances home lighting control. Prioritize safety, gather tools, prepare and connect wires, and test the switch for a successful installation.
- Enjoy the flexibility and ambiance of a Feit dimmer switch. Follow the step-by-step guide, prioritize safety, and seek professional help if needed for a seamless installation process.
Read more: Installing A Chandelier And Dimmer Switch
Tools and Materials Needed
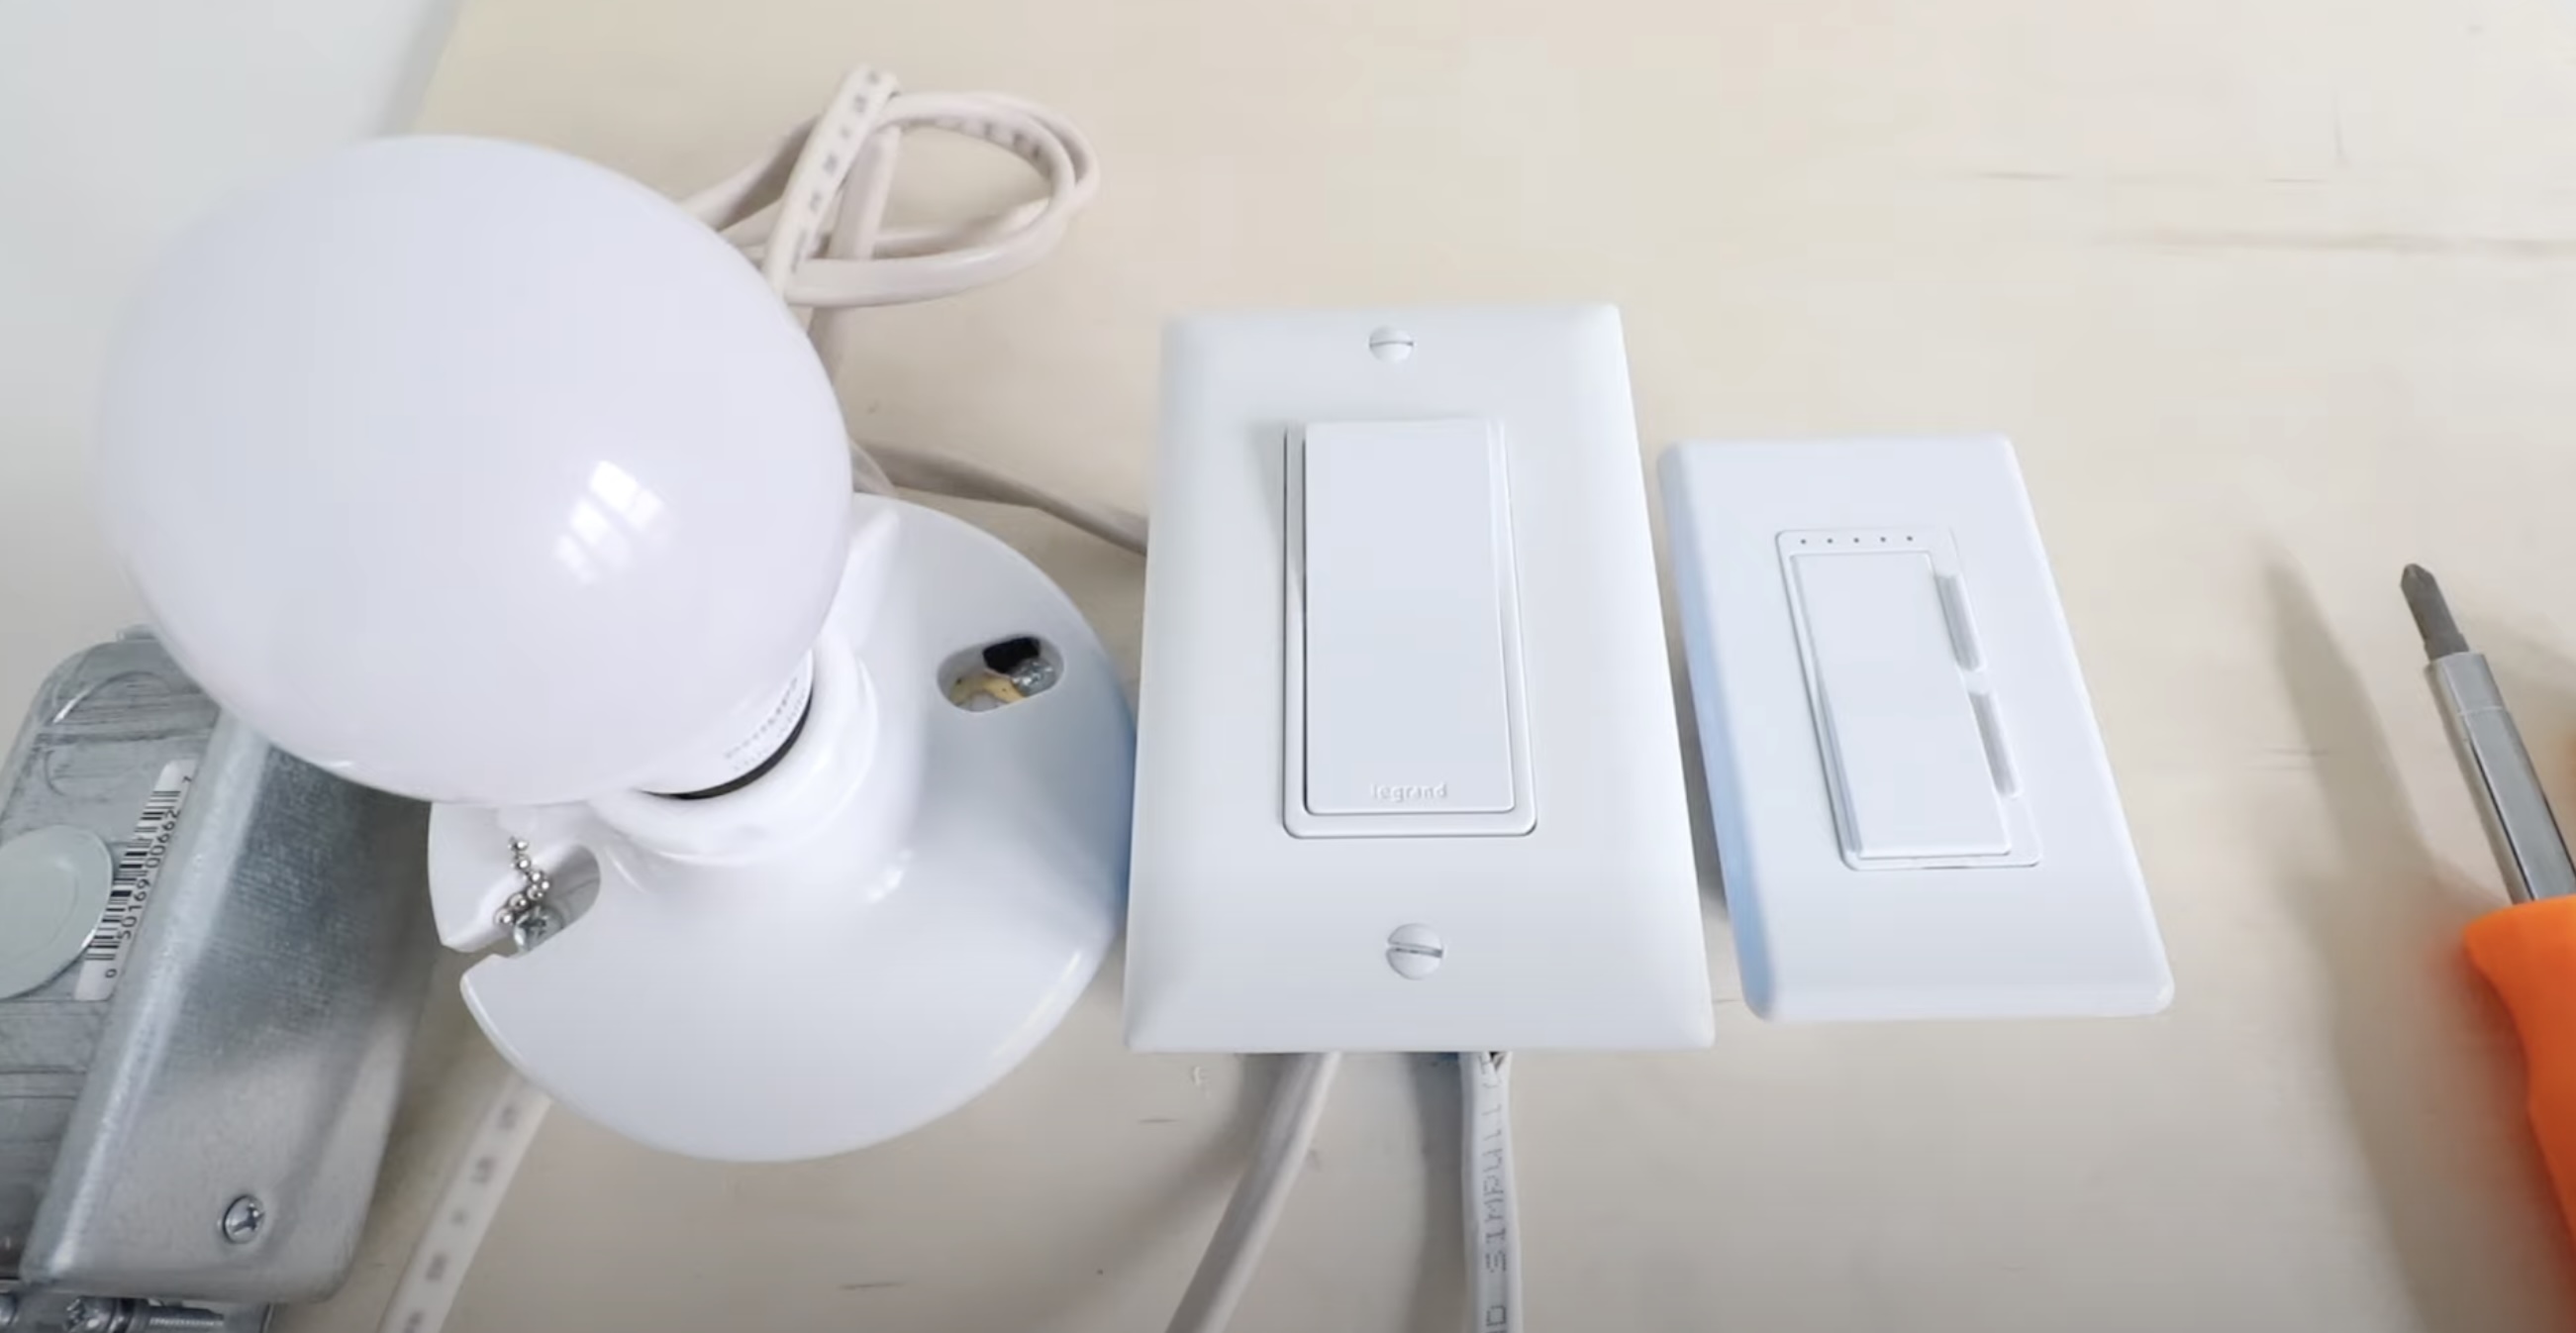
Before you begin installing a Feit dimmer switch, make sure you have the following tools and materials on hand:
- Flathead screwdriver
- Phillips head screwdriver
- Wire strippers
- Wire connectors
- Feit dimmer switch
- Electrical tape
- Voltage tester
- Faceplate
Ensure that you have the correct type of Feit dimmer switch for your specific lighting setup. Feit offers a range of dimmer switches designed for different types of lighting fixtures, such as LED or incandescent bulbs. It’s important to select the appropriate dimmer switch based on the type and wattage of the bulbs you will be using.
Once you have gathered all the necessary tools and materials, and are confident that you have the correct type of Feit dimmer switch, you can proceed to the installation process. Remember to always prioritize safety by turning off the power and following proper electrical procedures.
Step 1: Turn off the Power
The first and most important step in installing a Feit dimmer switch is to turn off the power to the circuit you will be working on. This ensures your safety and prevents any risk of electrical shock.
Start by identifying the breaker or fuse that controls the circuit. It is typically labeled in the electrical panel. Once you have located the correct breaker, flip it to the “Off” position. If your home has a fuse box, remove the appropriate fuse to cut off power to the circuit.
After turning off the power, it’s crucial to verify that the circuit is truly de-energized. You can use a voltage tester to confirm that there is no electricity running through the wires. Place the voltage tester on the wires you will be working with and ensure that there is no voltage present. This extra precaution will provide peace of mind and protect you from any potential electrical hazards.
Remember, even after turning off the power, treat all wires as if they are live until you test them with the voltage tester. This will help prevent accidents and ensure your safety throughout the installation process.
Once you have confirmed that the circuit is de-energized and there is no voltage, you can proceed with confidence to the next step of installing your Feit dimmer switch.
Step 2: Remove the Existing Switch
Now that you have ensured the power is off, it’s time to remove the existing switch from the wall. Follow these steps to safely remove the switch:
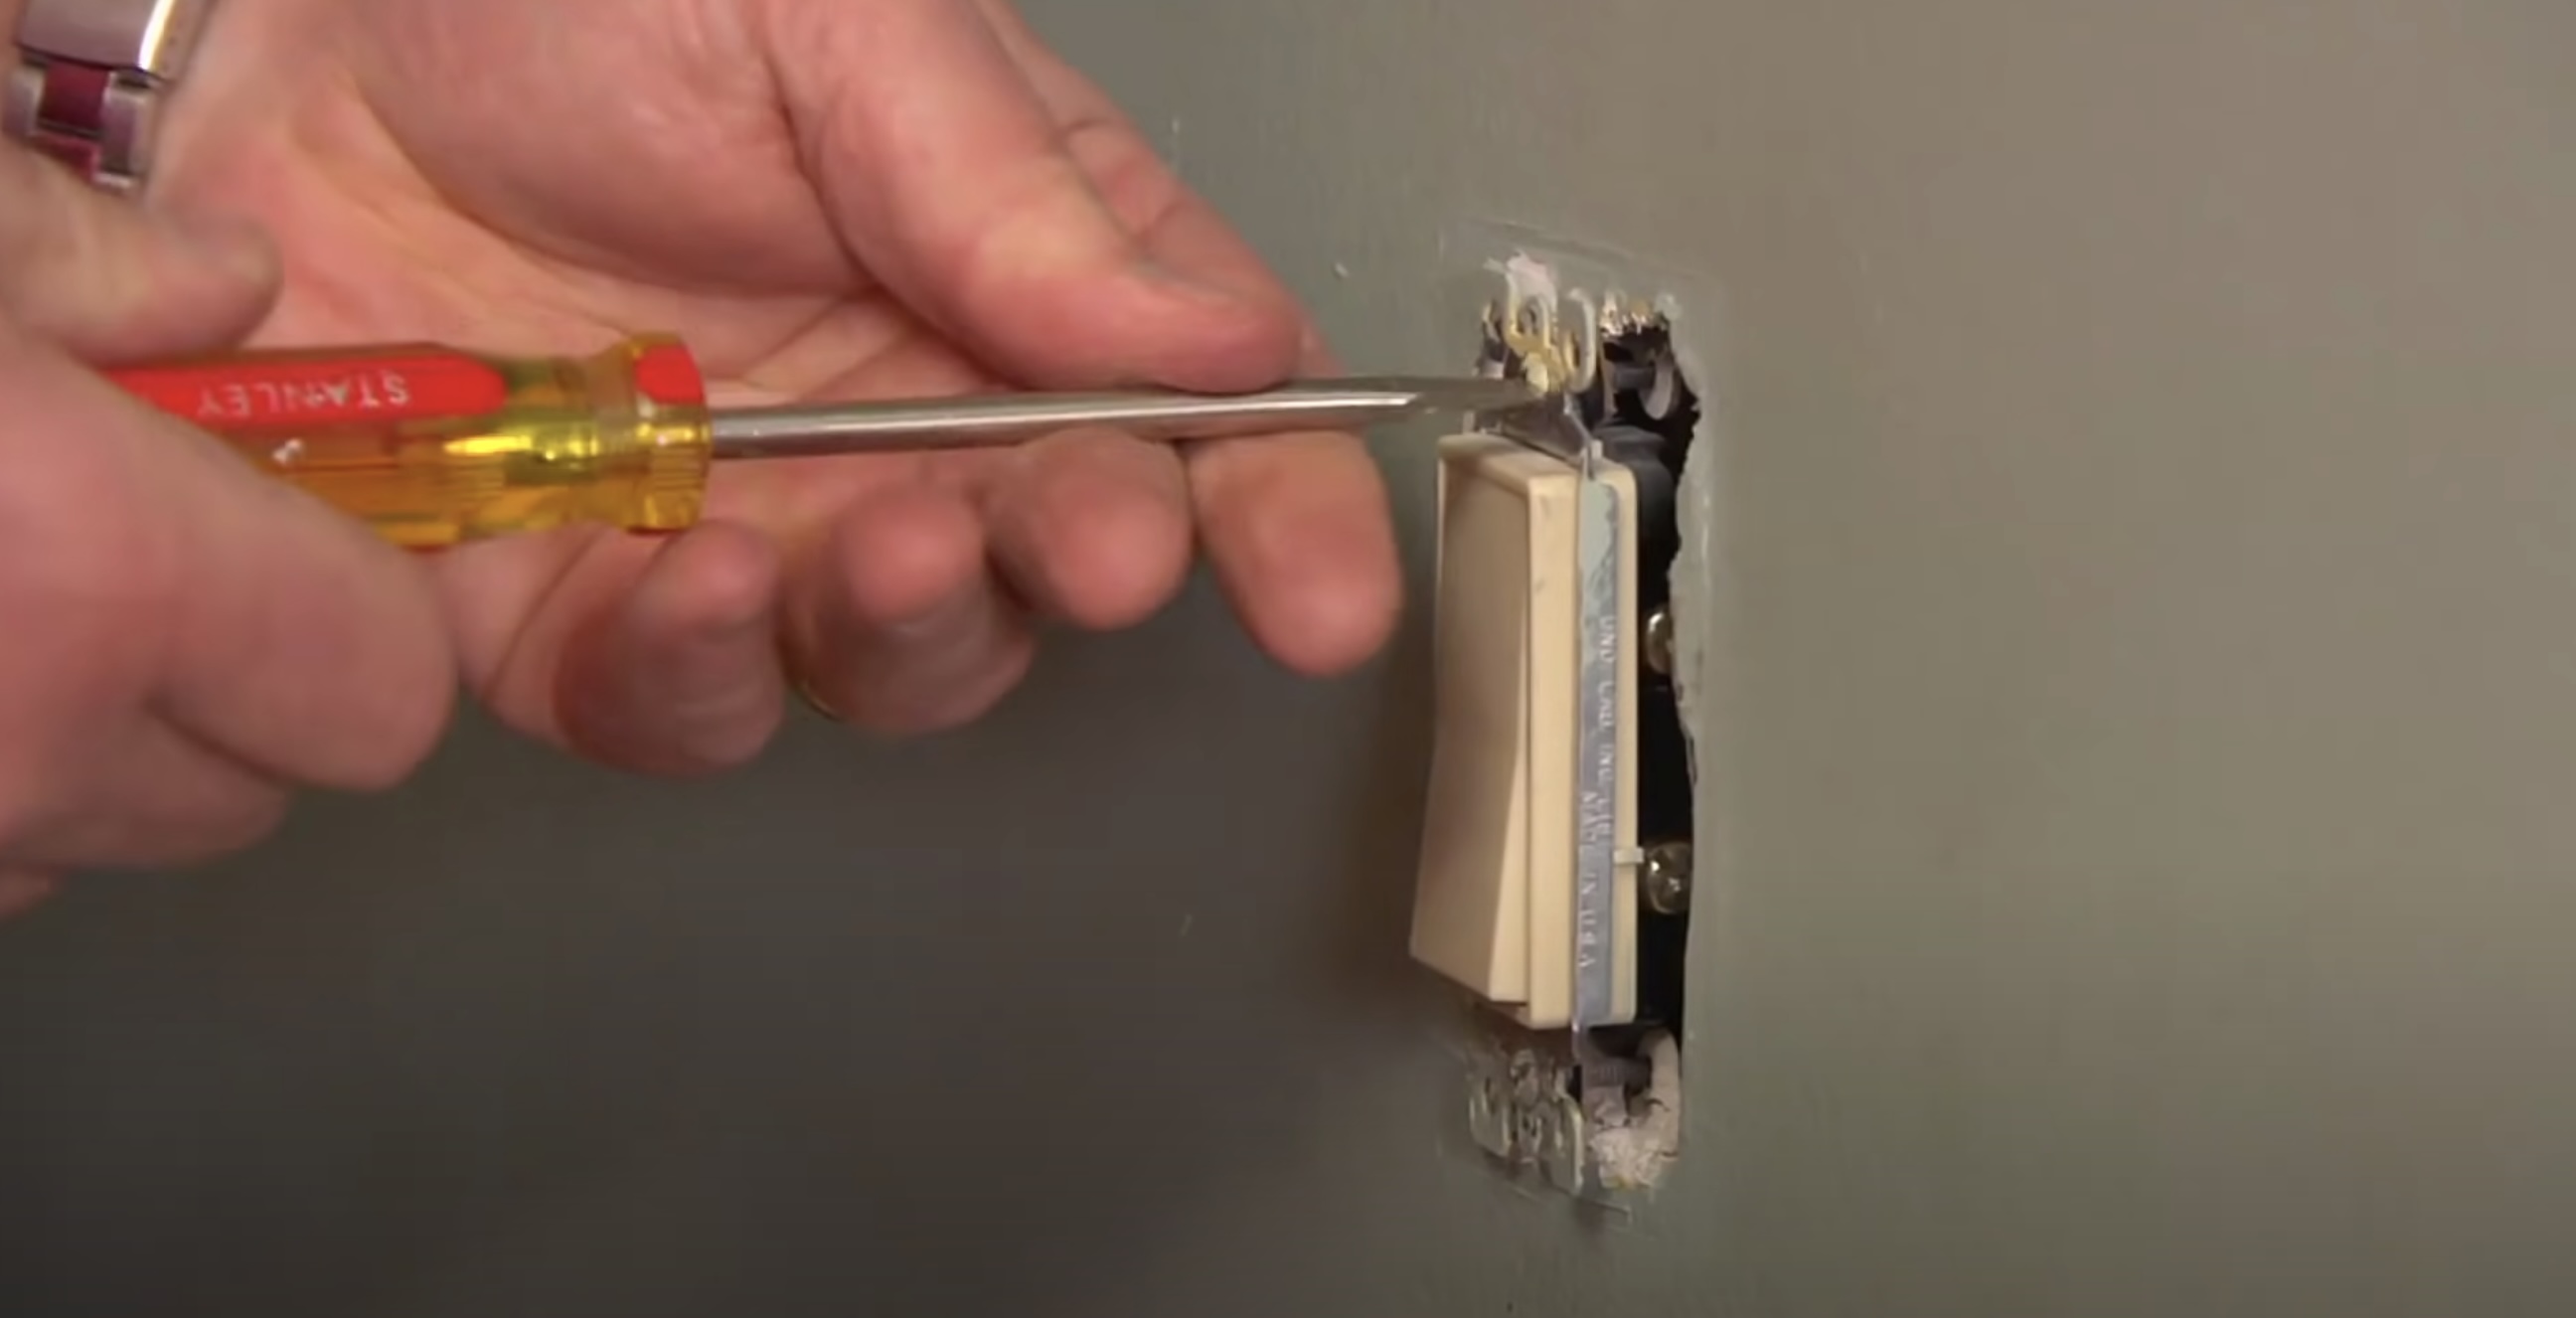
- Start by using a flathead screwdriver to remove the faceplate covering the switch. Gently insert the tip of the screwdriver into the small slot on the side of the faceplate and pry it off.
- Next, use a Phillips head screwdriver to remove the screws that hold the switch in place. Typically, there will be two screws securing the switch to the electrical box. Carefully loosen and remove these screws.
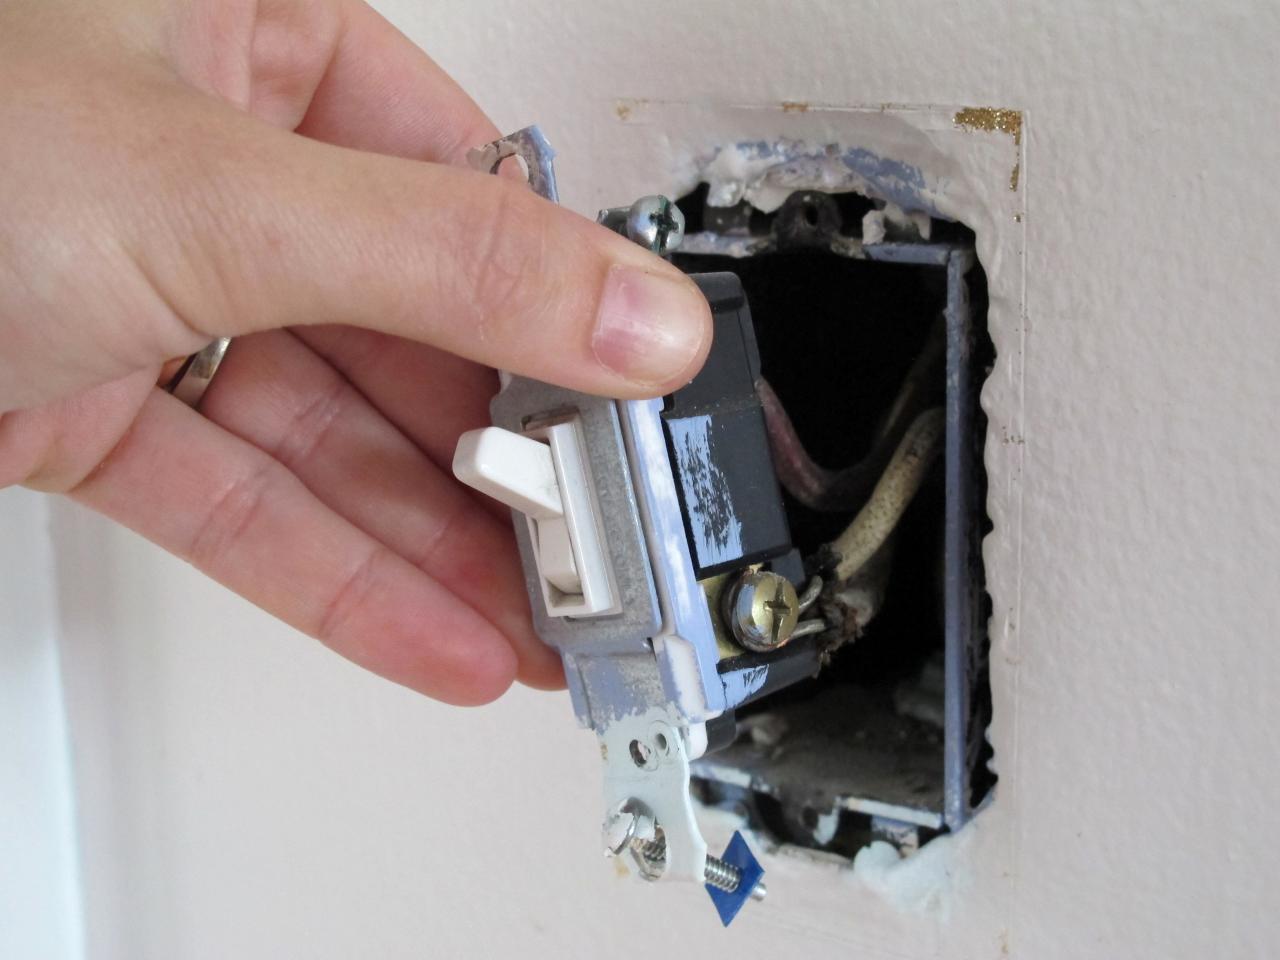
- Once the screws are removed, carefully pull the switch out of the electrical box. Take note of the wires connected to the switch and the position of each wire.
- Using wire strippers, strip off approximately 1/2 inch of insulation from the ends of the wires. This will expose the bare copper wire for proper connection with the dimmer switch.
- After stripping the wires, carefully disconnect them from the switch. There may be screws or wire connectors holding the wires in place. Loosen the screws or remove the wire connectors to release the wires.
- Once all the wires are disconnected, remove the existing switch from the electrical box and set it aside. You will no longer need it for the installation of your Feit dimmer switch.
Ensure that you handle the existing switch and the wires with care to avoid any damage. Take note of the wire colors and their corresponding positions for proper connection with the dimmer switch. With the existing switch removed, you can now proceed to the next step of preparing the wires for the installation of the Feit dimmer switch.
Step 3: Prepare the Wires
With the existing switch removed, it’s time to prepare the wires for the installation of the Feit dimmer switch. Follow these steps to properly prepare the wires:
- Start by examining the wires that were connected to the old switch. There are typically three wires – a black (hot) wire, a white (neutral) wire, and a green or bare copper (ground) wire. Note the location of each wire.
- Next, using wire strippers, strip off approximately 1/2 inch of insulation from the ends of the wires. This will expose the bare copper wire for proper connection.
- If there is a ground wire present, twist it with the other ground wires in the electrical box and secure them together with a wire connector. Ensure that the wire connector is twisted tightly and covers all exposed copper wire.
- Now, take the black (hot) wire from the electrical box and the black wire from the Feit dimmer switch. Twist these wires together and secure them with a wire connector. Again, ensure that the wire connector covers all exposed copper wire and is twisted tightly.
- Lastly, take the white (neutral) wire from the electrical box and the white wire from the Feit dimmer switch. Twist these wires together and secure them with a wire connector, just as you did with the black wires.
It’s important to ensure that all connections are securely twisted and properly capped with wire connectors. This will prevent any loose connections and ensure a safe and reliable electrical connection.
Once the wires are prepared and connected, you are now ready to move on to the next step – connecting the Feit dimmer switch.
Read more: How To Install A Smart Dimmer Switch
Step 4: Connect the Dimmer Switch
Now that the wires are properly prepared, it’s time to connect the Feit dimmer switch. Follow these steps to ensure a secure and correct connection:
- Take the Feit dimmer switch and carefully align the exposed wires with their corresponding terminals on the switch. The black wire should be connected to the “Load” or “Hot” terminal, the white wire to the “Neutral” terminal, and the ground wire to the “Ground” terminal.
- Once the wires are aligned with the correct terminals, use a screwdriver to tighten the terminal screws. Ensure that the wires are securely fastened to the switch.
- Double-check all the connections to ensure that none of the wires are loose or exposed. If necessary, re-tighten the terminal screws and make sure the wire connectors are securely twisted.
- If your Feit dimmer switch has any additional features or settings, such as adjustable light levels or a dimmer slide, refer to the manufacturer’s instructions for how to adjust them.
It’s important to follow the manufacturer’s instructions and ensure that the wires are connected to the correct terminals. Incorrect wiring can lead to malfunctioning of the dimmer switch or pose a safety risk.
Once you have completed the connection of the dimmer switch, you can move on to the next step – securing the switch in place.
When installing a Feit dimmer switch, always turn off the power at the circuit breaker before beginning the installation. This will ensure your safety while working with electrical wiring.
Step 5: Secure the Dimmer Switch
After connecting the wires to the Feit dimmer switch, it’s time to secure the switch in place. Follow these steps to ensure a secure installation:
- Start by carefully tucking the wires back into the electrical box. Make sure that the dimmer switch sits flat against the wall without any interference from the wires.
- Align the screw holes on the dimmer switch with the screw holes on the electrical box. Using the screws provided with the switch, insert them through the screw holes and tighten them with a screwdriver. Ensure that the dimmer switch is firmly held in place.
- Double-check the positioning of the dimmer switch to ensure it sits securely in the electrical box. Make any necessary adjustments to ensure a flush and secure fit against the wall.
- Gently tug on the wires to ensure they are tightly secured and do not come loose from the dimmer switch.
It’s important to note that the installation process may vary depending on the specific Feit dimmer switch model you have. Always refer to the manufacturer’s instructions for any specific guidance or requirements.
Once the dimmer switch is securely installed, you can proceed to the next step – testing the dimmer switch to ensure its proper functionality.
Step 6: Test the Dimmer Switch
Testing the dimmer switch is an essential step to ensure its proper functionality. Follow these steps to test the Feit dimmer switch:
- Before turning on the power, double-check that all wiring connections are secure and there are no exposed wires.
- Once you have confirmed the proper installation, restore power to the circuit by flipping the breaker back to the “On” position or reinstalling the fuse.
- With the power restored, turn on the light controlled by the dimmer switch and gradually adjust the dimmer switch’s slide or knob.
- Observe the light as you adjust the dimmer switch. It should smoothly transition from full brightness to a dimmer setting. Make sure there are no flickering lights, buzzing sounds, or any other signs of malfunction.
- Test the dimmer switch’s ability to turn the light on and off by toggling the switch. The light should respond accordingly.
If everything is functioning correctly, congratulations! You have successfully installed and tested your Feit dimmer switch. Enjoy the added functionality and control over your home lighting.
However, if you encounter any issues during the testing phase, such as flickering lights or abnormal behavior, it’s important to recheck the wiring connections and ensure they are properly secured. If the issues persist, consult the manufacturer’s troubleshooting guide or consider seeking assistance from a licensed electrician.
After confirming the proper functionality of the dimmer switch, the next step is to replace the faceplate.
Step 7: Replace the Faceplate
After testing the Feit dimmer switch and confirming its proper functionality, it’s time to replace the faceplate. Follow these steps to complete the installation:
- Take the faceplate that you removed earlier and align it with the switch opening in the wall. Ensure that it sits flush against the wall and covers the switch completely.
- With the faceplate in position, use a screwdriver to insert the screws into the screw holes on the faceplate. Tighten the screws firmly, but be cautious not to overtighten and damage the faceplate or the wall.
- Double-check the position of the faceplate and make any adjustments if necessary to ensure it appears level and aligned with the surrounding wall surface.
- Gently test the faceplate to ensure it is securely attached and does not move or wiggle.
With the faceplate properly installed, your Feit dimmer switch installation is complete from a functional and aesthetic standpoint. The faceplate not only provides a finished look to the switch but also adds a layer of safety by covering the electrical components.
Now that you have successfully installed the Feit dimmer switch and replaced the faceplate, the final step is to restore power to the circuit.
Read more: How To Install An LED Dimmer Switch
Step 8: Restore Power
After completing the installation of the Feit dimmer switch and replacing the faceplate, the final step is to restore power to the circuit. Follow these steps to safely restore power:
- Double-check all the connections and make sure the dimmer switch and faceplate are securely installed.
- With everything in place and secure, go to the electrical panel or fuse box and locate the breaker or fuse that controls the circuit you were working on.
- Carefully flip the breaker back to the “On” position or reinstall the fuse into its designated slot.
- Once you have restored power, give the dimmer switch a few moments to fully initialize.
- When ready, test the dimmer switch by turning it on and adjusting the brightness. Ensure that the light responds as expected and there are no issues.
By restoring power and testing the dimmer switch one final time, you can confirm that the installation was successful and the switch is ready for everyday use.
Remember, if you experience any issues or abnormalities during the testing phase, such as flickering lights or unusual sounds, it’s important to address these concerns immediately. Check all the connections, consult the manufacturer’s troubleshooting guide, or consider contacting a licensed electrician for assistance.
Congratulations! You have successfully installed a Feit dimmer switch and completed the entire installation process.
Whether you’re creating a cozy ambiance in your living room or adjusting the lighting levels for different tasks in your kitchen, the Feit dimmer switch offers you the flexibility and control over your home lighting. Enjoy the enhanced functionality and ambiance that the dimmer switch provides!
Please note that electrical work can be dangerous if not done correctly. If you have any doubts or concerns about your abilities, it’s always advisable to seek the assistance of a licensed electrician to ensure the installation is done safely and in compliance with local electrical codes.
Conclusion
Installing a Feit dimmer switch is a great way to upgrade your home lighting system and gain control over the brightness levels in your living space. By following the step-by-step installation guide provided in this article, you can successfully install a Feit dimmer switch and enjoy the benefits it offers.
Throughout the installation process, it’s crucial to prioritize safety. Always turn off the power to the circuit you’ll be working on and use caution when handling electrical wires. If you are unsure about any aspect of the installation, it’s recommended to consult a licensed electrician.
By gathering the necessary tools and materials, preparing the wires, connecting the dimmer switch, securing it in place, testing its functionality, and replacing the faceplate, you can ensure a successful installation. Remember to restore power to the circuit only after completing all the steps and double-checking your work.
Once the Feit dimmer switch is installed, you can enjoy the flexibility and convenience it offers. Adjust the brightness levels to create the desired ambiance, save energy by dimming the lights when full brightness is not needed, and enhance the overall aesthetics of your home.
Remember, safety should always be your top priority when working with electrical installations. If any issues arise during or after the installation, it is important to address them promptly and consult a professional if needed.
With the installation of your Feit dimmer switch complete, you’ve taken a significant step towards improving the functionality and control of your home lighting. Sit back, relax, and enjoy the transformative effects that the dimmer switch brings to your living space.
Frequently Asked Questions about How To Install A Feit Dimmer Switch
Was this page helpful?
At Storables.com, we guarantee accurate and reliable information. Our content, validated by Expert Board Contributors, is crafted following stringent Editorial Policies. We're committed to providing you with well-researched, expert-backed insights for all your informational needs.


0 thoughts on “How To Install A Feit Dimmer Switch”