Articles
How To Install A Hardwired Smoke Detector
Modified: October 20, 2024
Learn how to install a hardwired smoke detector with our informative articles, providing step-by-step instructions and essential tips for a safe home.
(Many of the links in this article redirect to a specific reviewed product. Your purchase of these products through affiliate links helps to generate commission for Storables.com, at no extra cost. Learn more)
Introduction
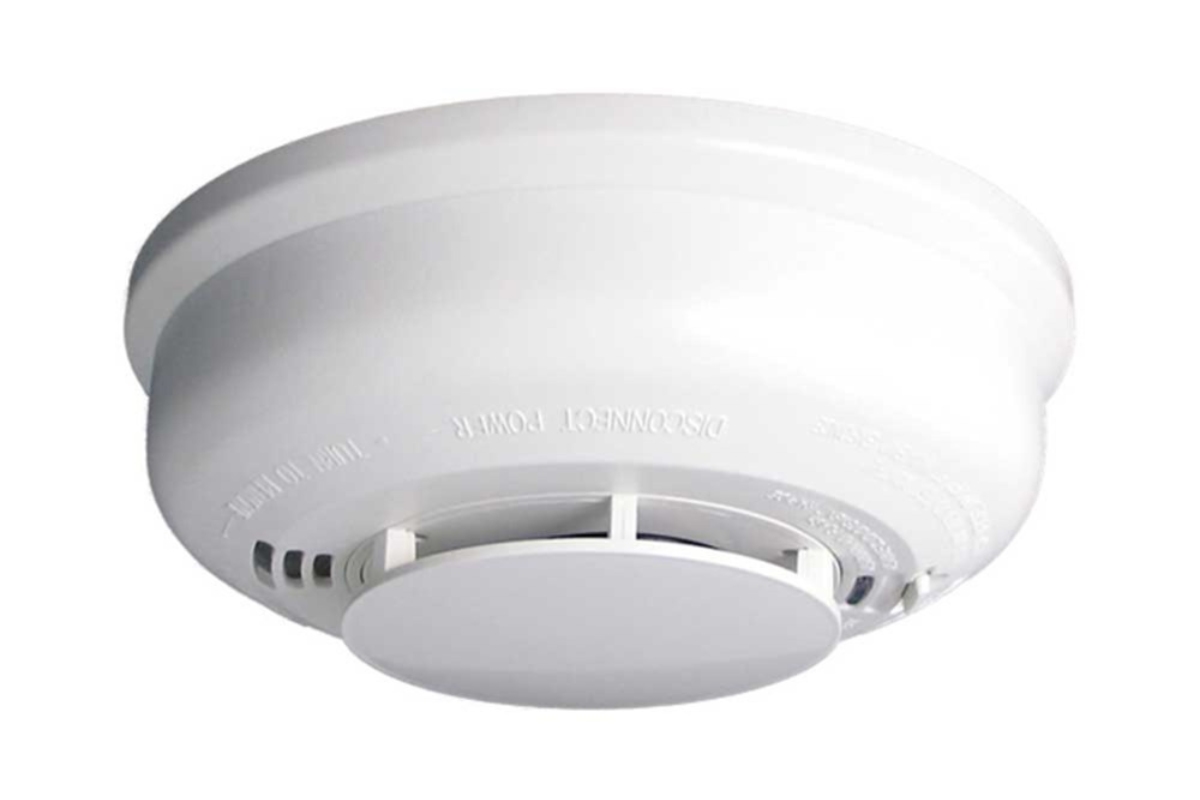
Installing a hardwired smoke detector is an essential step in ensuring the safety of your home and protecting your loved ones from potential fire hazards. Unlike battery-operated smoke detectors, hardwired smoke detectors are directly connected to your home’s electrical system, providing a reliable and continuous power source.
In this article, we will guide you through the step-by-step process of installing a hardwired smoke detector. With a few tools, materials, and basic electrical knowledge, you can successfully install a smoke detector in your home, providing you with peace of mind and an added layer of protection.
Please note that electrical work can be dangerous if not done correctly, so if you don’t feel comfortable or confident in your abilities, it is always best to consult a professional electrician for assistance.
Now, let’s dive into the necessary tools and materials you will need for this project.
Key Takeaways:
- Ensure safety and peace of mind by installing a hardwired smoke detector, following the step-by-step guide. Prioritize family protection and home security with the right tools and expert advice.
- Safeguard your home against fire hazards by choosing the right location, securely mounting the detector, and testing its functionality. Take proactive steps to create a safer living environment for your loved ones.
Read more: What Is A Hardwired Smoke Detector?
Step 1: Gather the necessary tools and materials
Before you begin the installation process, it’s important to gather all the required tools and materials. Having everything at hand will make the installation smoother and more efficient. Here is a list of the tools and materials you will need:
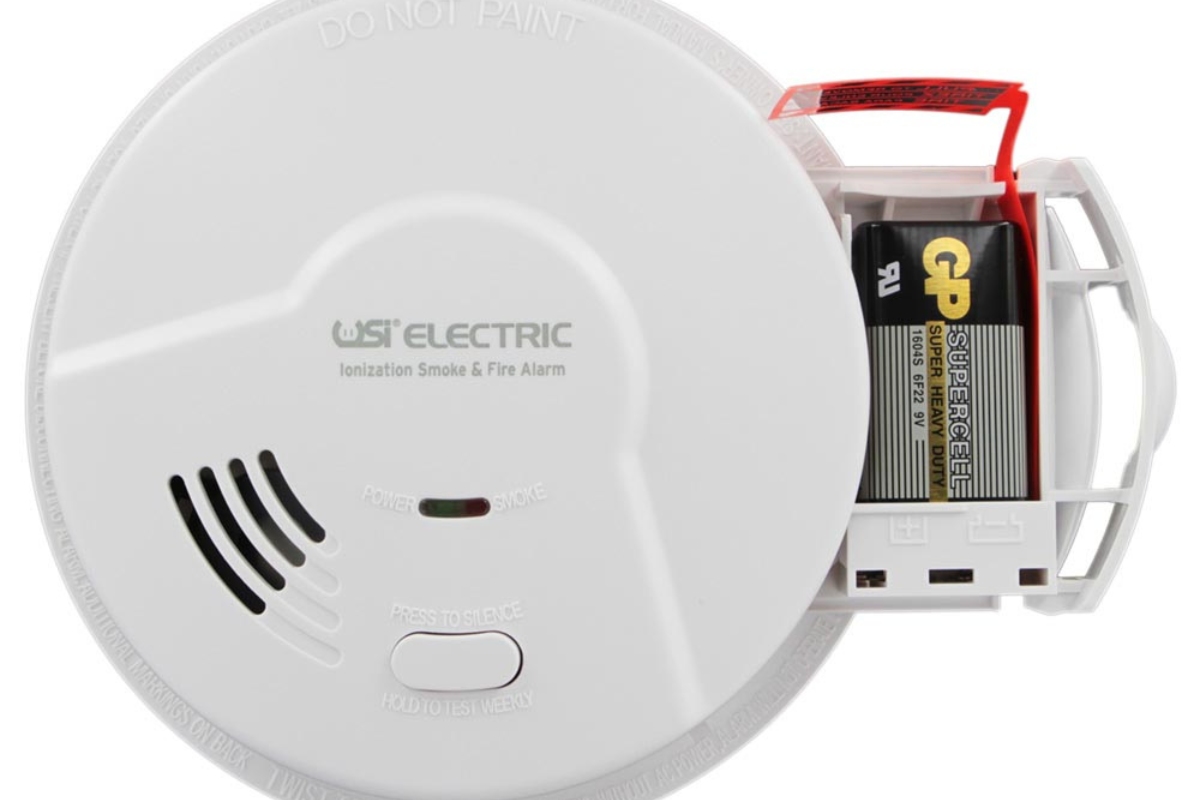
- Hardwired smoke detector unit
- Electrical junction box
- Screwdriver
- Wire strippers
- Electrical tape
- Wire nuts
- Electrical wires
- Stud finder (optional)
- Pencil or marker
- Mounting screws or anchors
Make sure to choose a smoke detector that meets the safety standards in your area. It’s also a good idea to consider additional features such as a battery backup or interconnected system for enhanced security.
Once you have gathered all the necessary tools and materials, you are ready to move on to the next step of turning off power to the area.
Step 2: Turn off power to the area
Before you begin any electrical work, it is crucial to ensure your safety by turning off the power to the area where you will be installing the hardwired smoke detector. This step will protect you from accidental electrical shock.
Follow these steps to safely turn off the power:
- Locate your home’s electrical panel. It is usually located in the basement, utility room, or garage.
- Open the electrical panel door.
- Locate the circuit breaker or fuse that controls the area where you will be installing the smoke detector.
- Switch off the circuit breaker or remove the fuse corresponding to that area.
- Use a non-contact voltage tester to confirm that the power is indeed off. Place the tester near the wires or outlet to ensure there is no active electrical current.
Take extra precautions and double-check if the power is off before proceeding with the installation. This step will ensure a safe working environment.
Now that the power is turned off, you can proceed to choose the appropriate location for your smoke detector in the next step.
Step 3: Choose the location for the smoke detector
Choosing the right location for your smoke detector is crucial to ensure optimal performance and effectiveness in detecting smoke or fire. Here are some important factors to consider:
- Follow local building codes: Check your local building codes or regulations to determine the specific requirements for smoke detector placement. This will ensure that you comply with safety standards.
- Consider the number of detectors needed: Install smoke detectors on every level of your home, including the basement and attic. Additionally, place detectors outside each bedroom area and in each sleeping room.
- Avoid areas prone to false alarms: Keep the detector away from the kitchen, bathrooms, laundry rooms, and unfinished attics. These areas can produce unwanted smoke or steam, leading to false alarms.
- Mount detectors on the ceiling or high on the wall: Smoke rises, so mounting the detector on or near the ceiling is highly recommended. If you must install it on the wall, make sure it is placed at least 4-12 inches from the ceiling.
- Keep it away from air vents and drafts: Avoid placing the smoke detector near air vents, windows, or doors where drafts can interfere with its operation.
Once you have determined the suitable location, mark it with a pencil or marker for reference. Use a stud finder if necessary to locate the ceiling joists or wall studs for secure mounting.
Now that you have chosen the location, it’s time to install the junction box in the next step.
Step 4: Install the junction box
Installing a junction box is an important step in the process of hardwiring a smoke detector. The junction box provides a secure and centralized location for connecting the electrical wires.
Here’s how you can install the junction box:
- Position the junction box: Hold the junction box against the ceiling or wall at the marked location. Ensure it is level and align it with the ceiling joists or wall studs.
- Trace the outline: Once you are satisfied with the position, use a pencil or marker to trace the outline of the junction box on the surface.
- Prepare the mounting holes: If the junction box has mounting holes, use a screwdriver or drill to create pilot holes for the screws. Ensure the holes are smaller than the screws to provide a secure fit.
- Attach the junction box: Align the mounting holes of the junction box with the pilot holes on the surface. Insert the screws through the holes and tighten them securely to fasten the junction box in place.
Ensure that the junction box is securely mounted and does not wobble or move when touched. A stable and properly installed junction box is essential for the safe and reliable operation of the smoke detector.
Now that the junction box is installed, you can proceed to run the electrical wires in the next step.
When installing a hardwired smoke detector, make sure to turn off the power to the circuit before beginning the installation to avoid any electrical hazards.
Step 5: Run the electrical wires
Running the electrical wires is a critical step in the process of hardwiring a smoke detector. This step involves connecting the wires from the junction box to the smoke detector unit.
Follow these steps to run the electrical wires:
- Turn off the power: Before working with electrical wires, make sure the power to the area is turned off at the electrical panel.
- Measure and cut the wires: Measure the distance from the junction box to the location of the smoke detector. Add a few extra inches for flexibility. Using wire strippers, carefully cut two lengths of electrical wire to the appropriate size.
- Strip the wire ends: Using the wire strippers, remove about 3/4 inch of insulation from the ends of each wire. This will expose the copper conductors for connection.
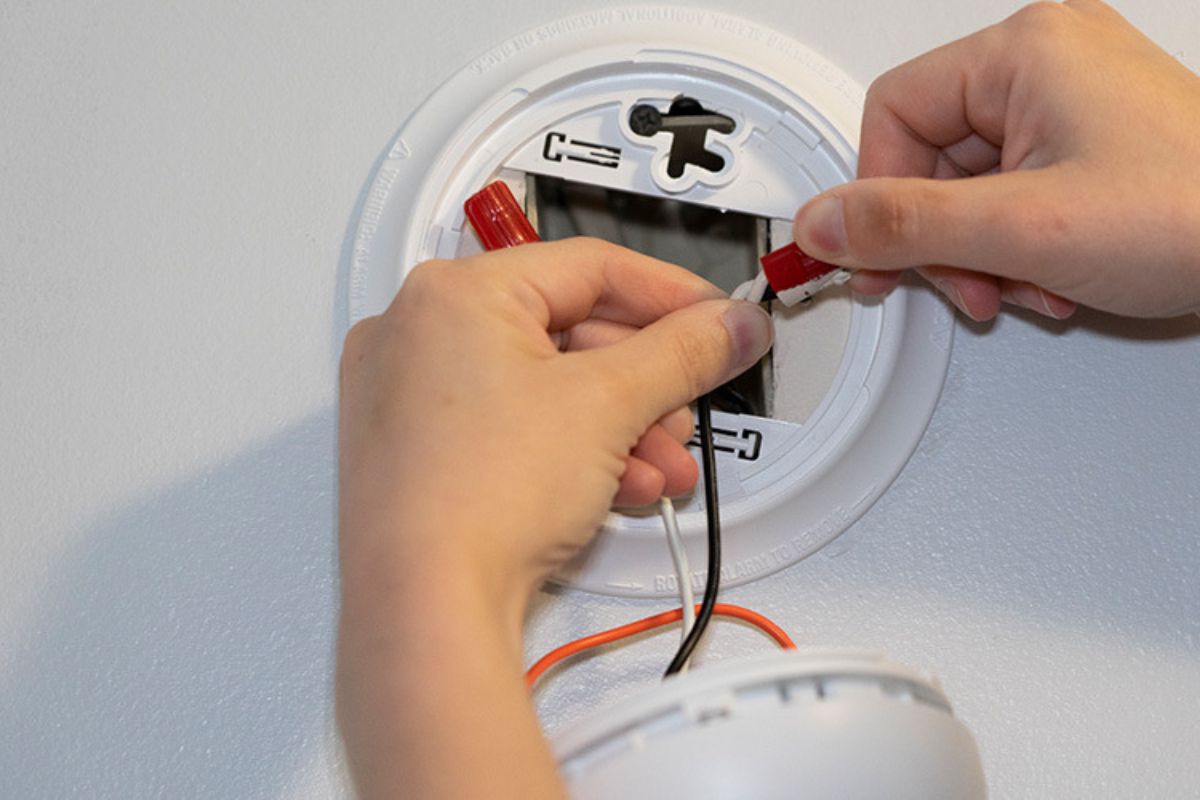
- Connect the wires: Inside the junction box, you will find a set of terminals labeled “Line.” These terminals typically consist of black, white, and green screw terminals. Connect the black wire to the black or “Line” terminal, the white wire to the white or “Neutral” terminal, and the copper wire to the green or “Ground” terminal. Use wire nuts to securely fasten the wires together.
- Run the wires: Carefully guide the wires from the junction box to the location of the smoke detector. Conceal the wires by running them through walls or ceilings or using surface-mounted conduit, depending on your preference and the existing structure of your home.
- Leave enough excess wire: Ensure you leave enough excess wire at both the junction box and the smoke detector location to make the necessary connections later on.
When running the wires, be mindful of any obstacles or hazards in the wall or ceiling, such as pipes or electrical conduits. Take your time to route the wires safely and securely.
With the electrical wires in place, you are now ready to connect them to the smoke detector in the next step.
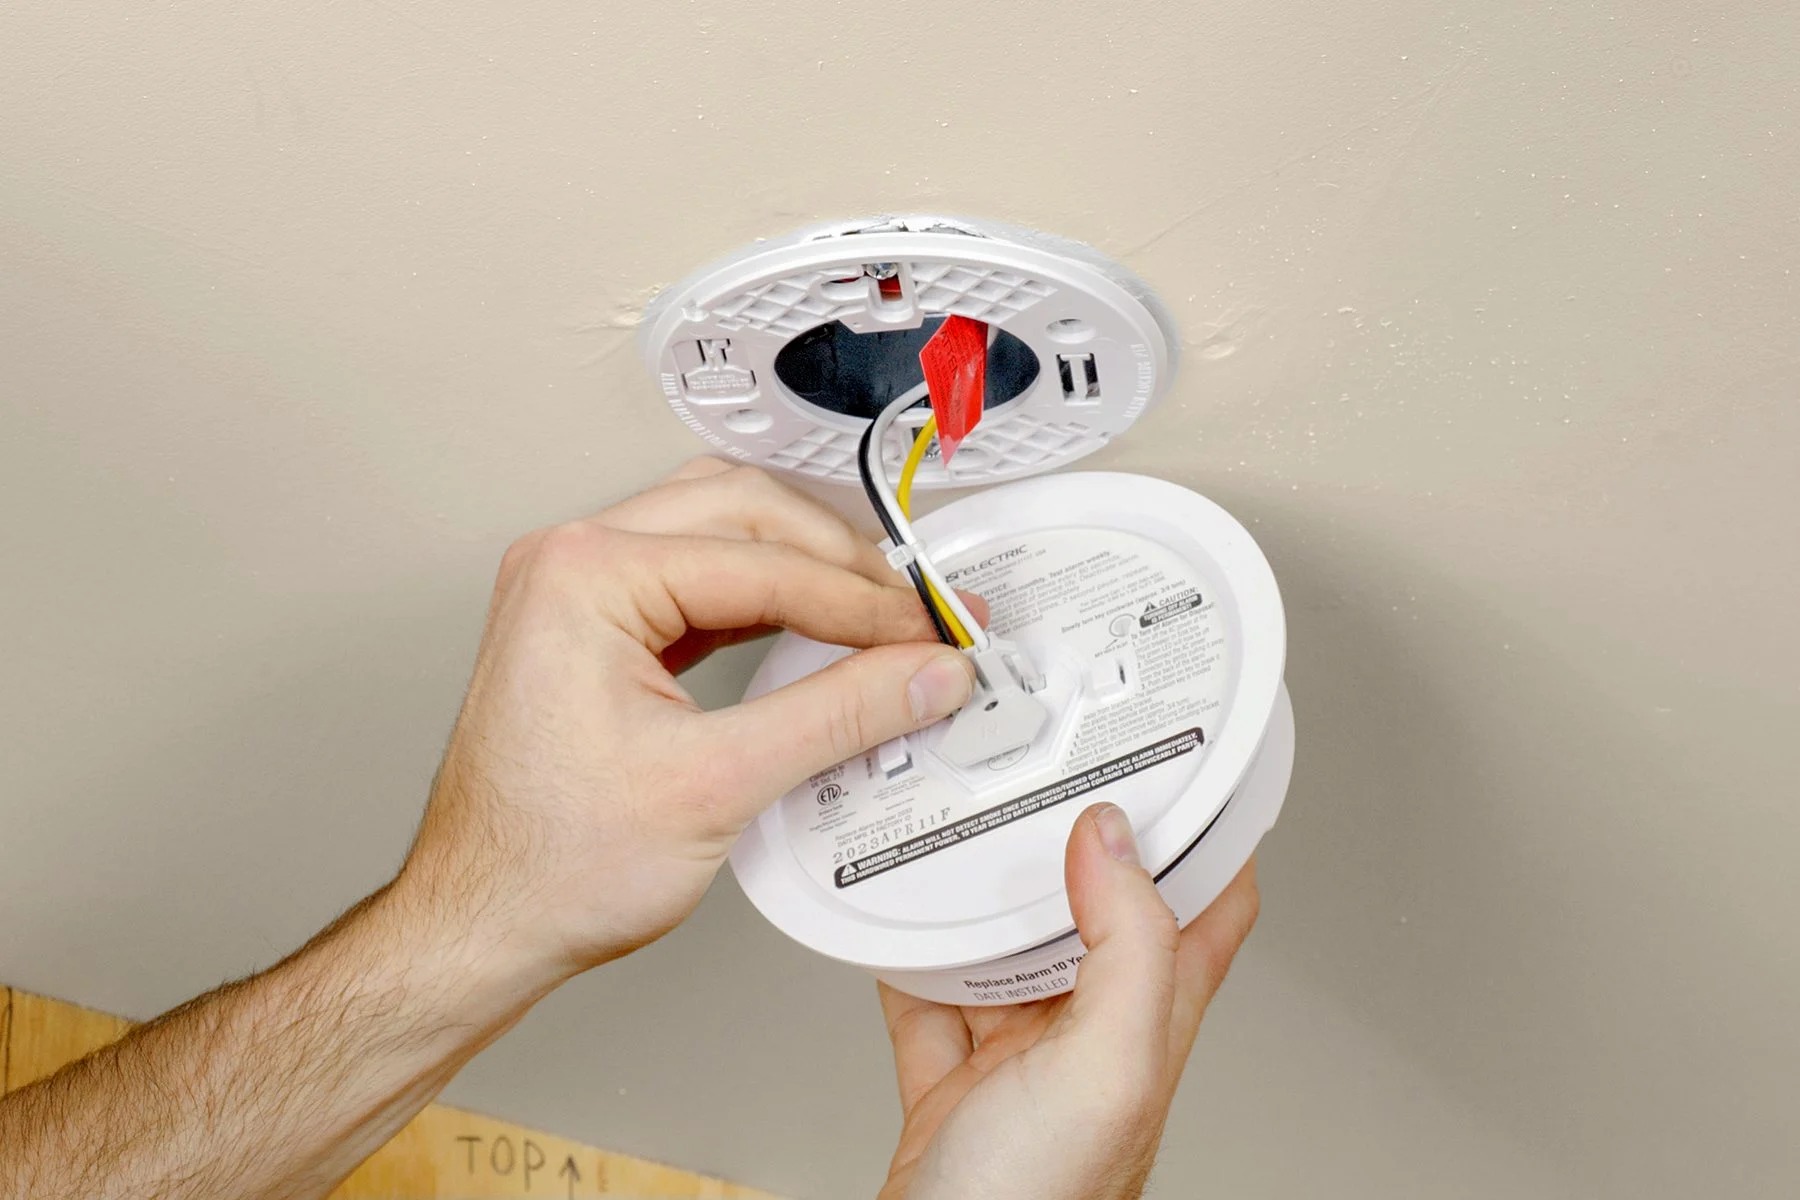
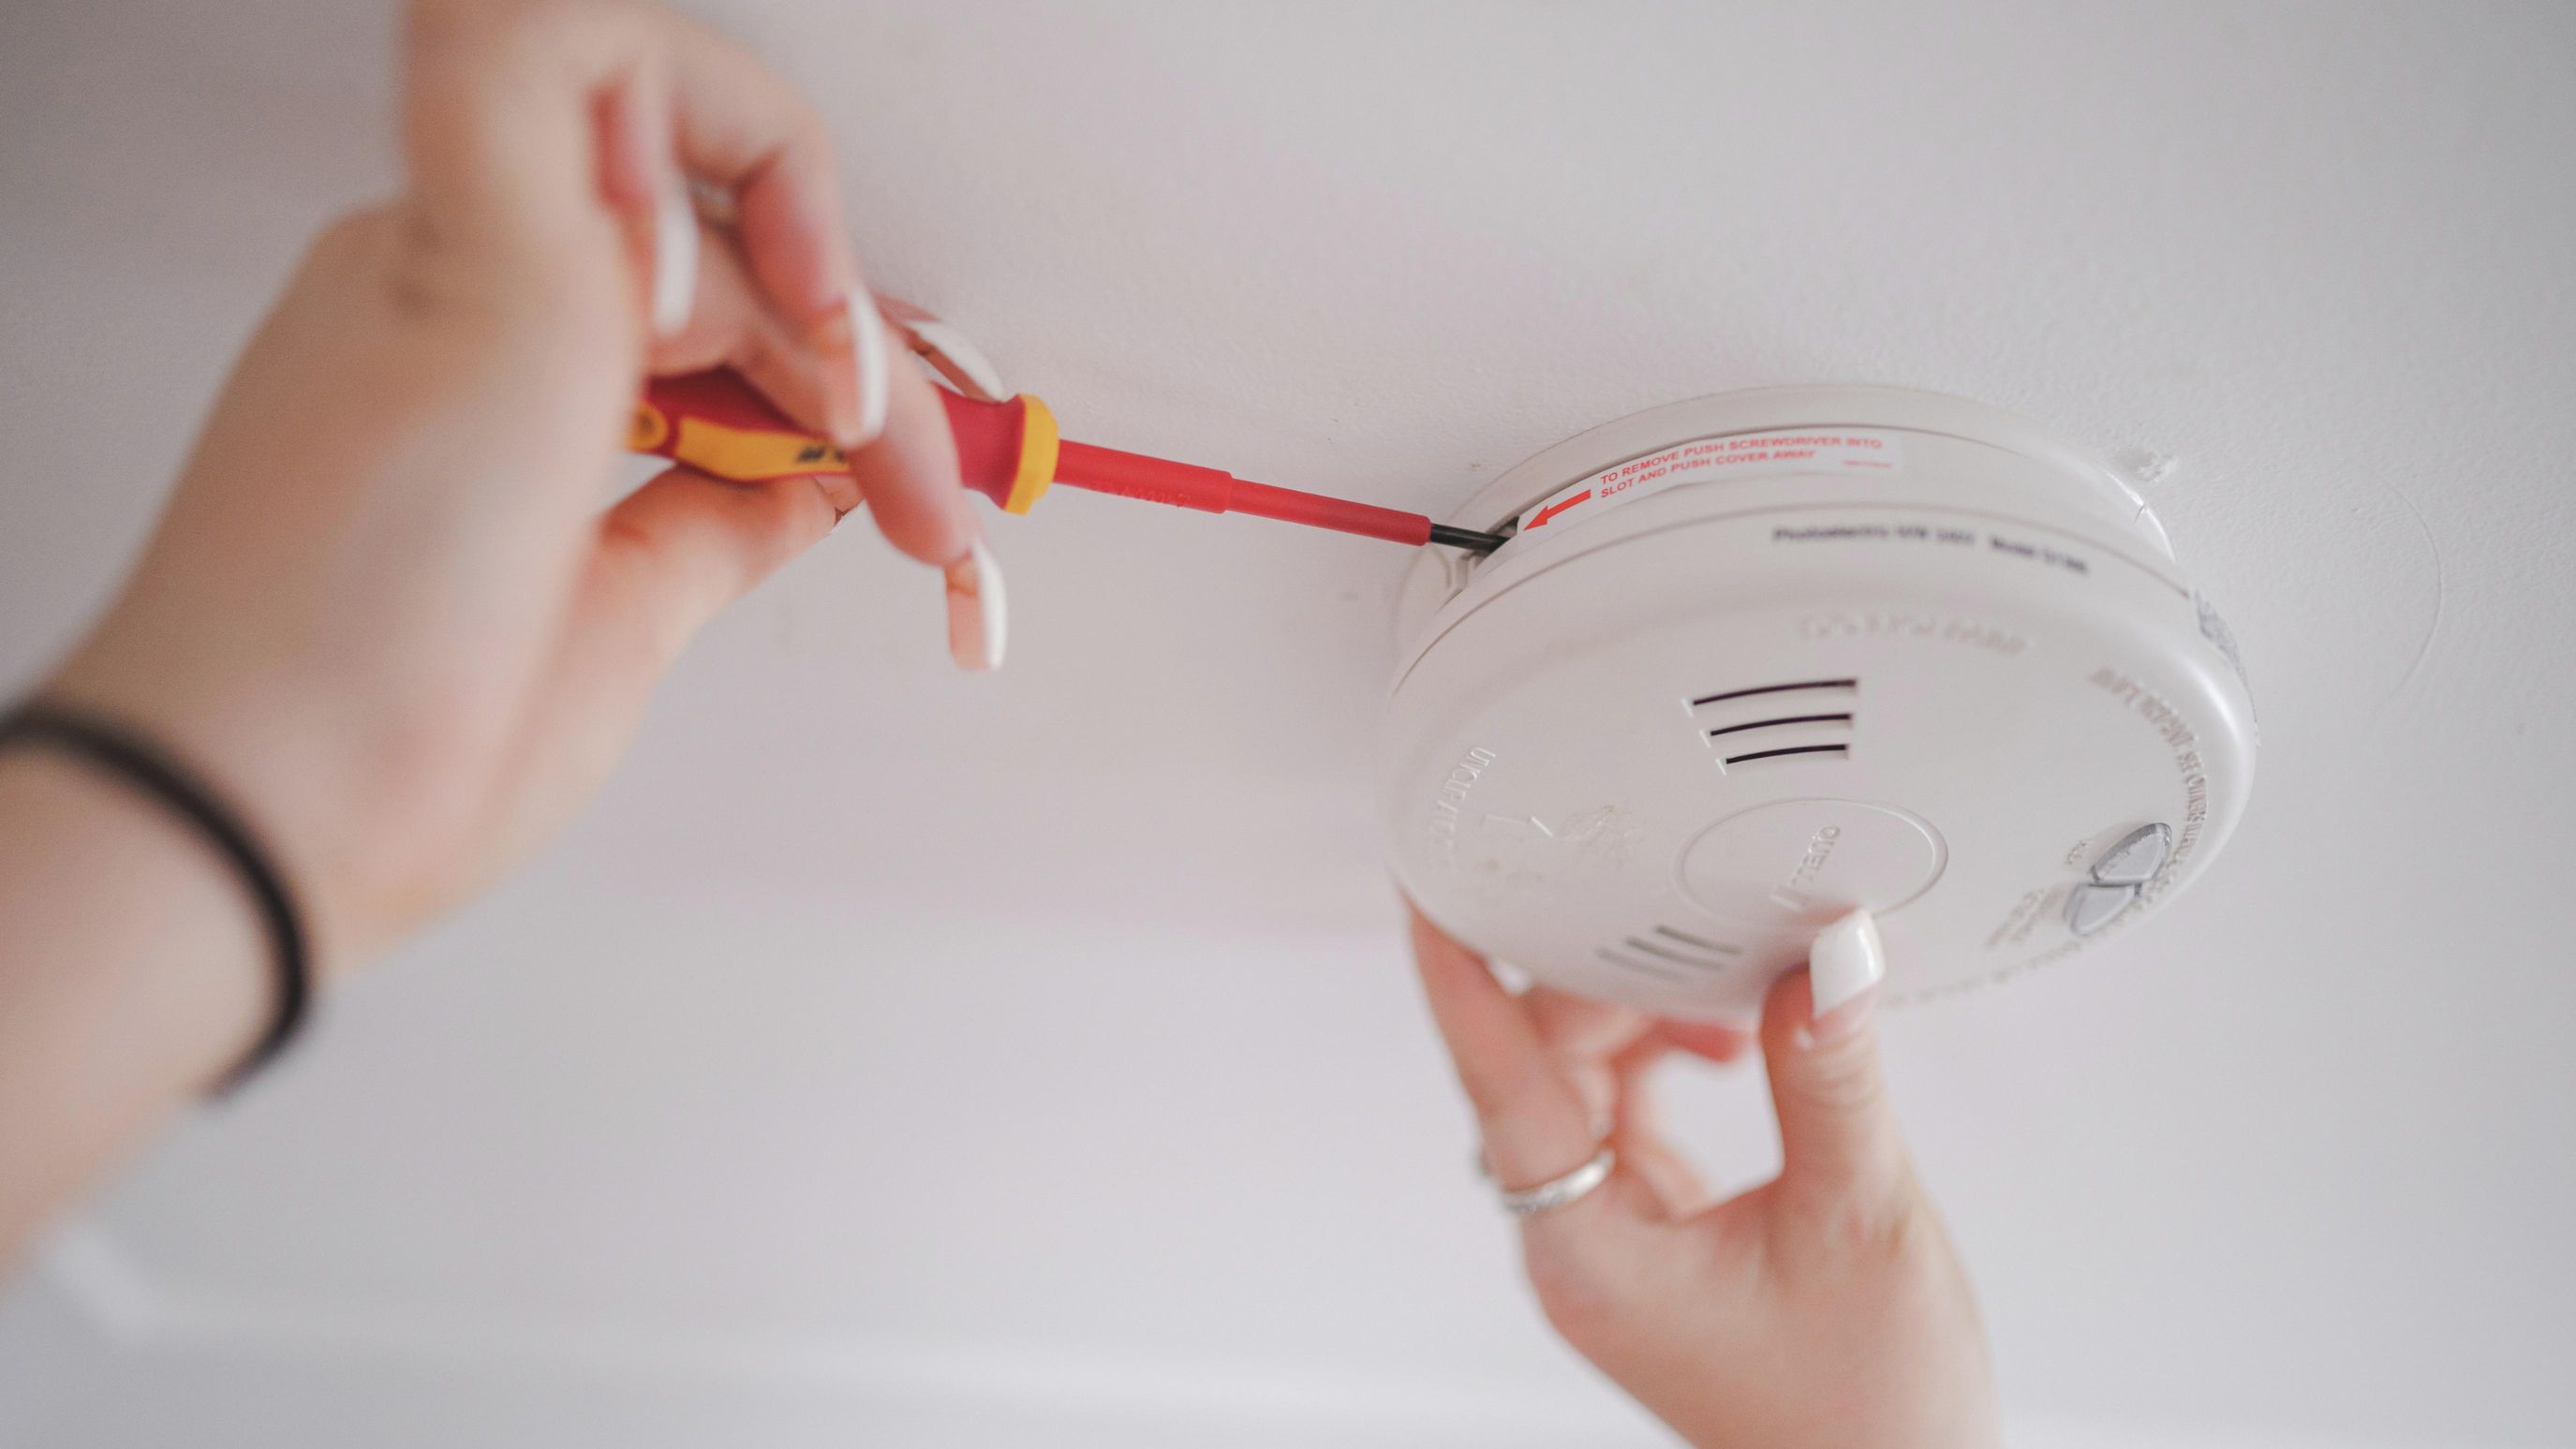
Step 6: Connect the wires to the smoke detector
Connecting the wires to the smoke detector is a crucial step in the process of hardwiring a smoke detector. This step ensures the proper power supply and functionality of the detector.
Follow these steps to connect the wires to the smoke detector:
- Turn off the power: Before working with the wires, ensure that the power to the area is turned off at the electrical panel.
- Locate the wire terminals: On the back or side of the smoke detector, you will find a set of wire terminals labeled “Line”, “Neutral”, and “Interconnect” (if applicable). Consult the manufacturer’s instructions to identify the specific terminals.
- Make the connections: Take the wires that you ran from the junction box and connect them to the corresponding terminals on the smoke detector. Typically, the black wire connects to the “Line” terminal, the white wire connects to the “Neutral” terminal, and the green (or bare copper) wire connects to the “Ground” terminal. If your smoke detector supports interconnection with other detectors, connect the appropriate wire to the “Interconnect” terminal.
- Secure the connections: Use wire nuts or any provided wire connectors to securely fasten the wires to their respective terminals. Ensure the connections are tight and free of any exposed wires.
- Double-check the connections: Once the connections are made, double-check to ensure they are properly secured and that there are no loose wires. Loose connections can lead to poor electrical contact and unreliable operation.
With the wires securely connected, you can move on to the next step of mounting the smoke detector in place.
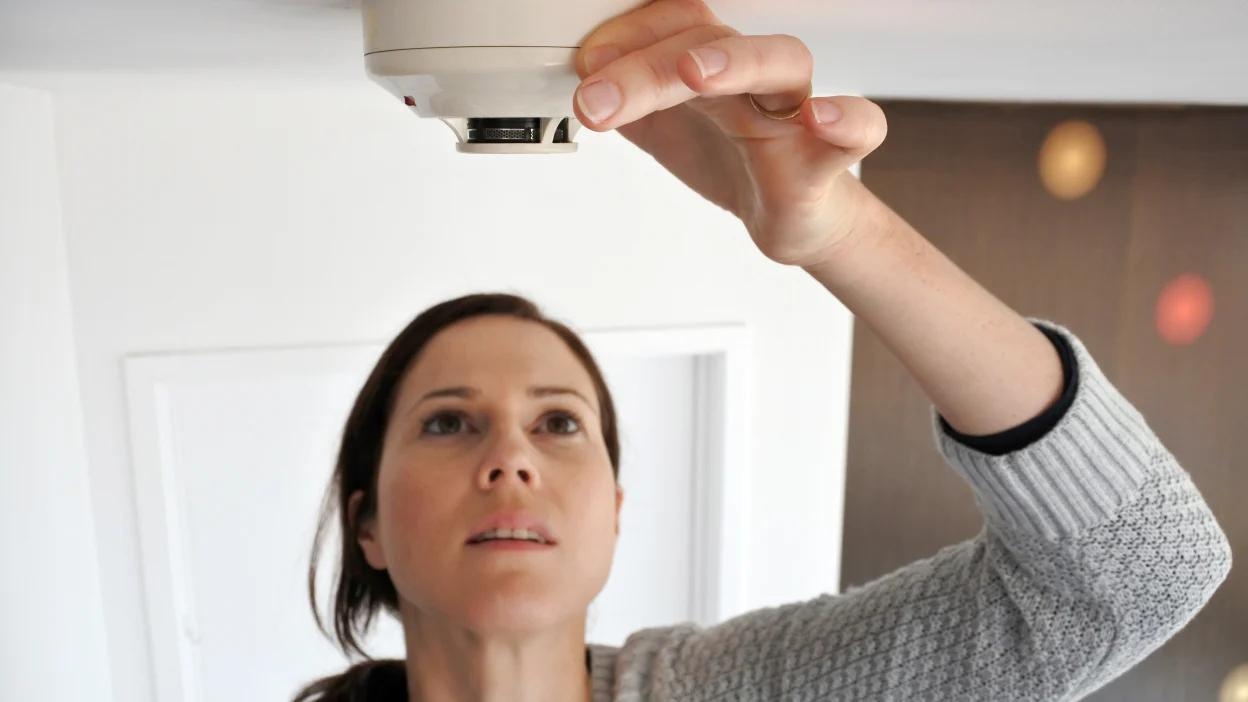
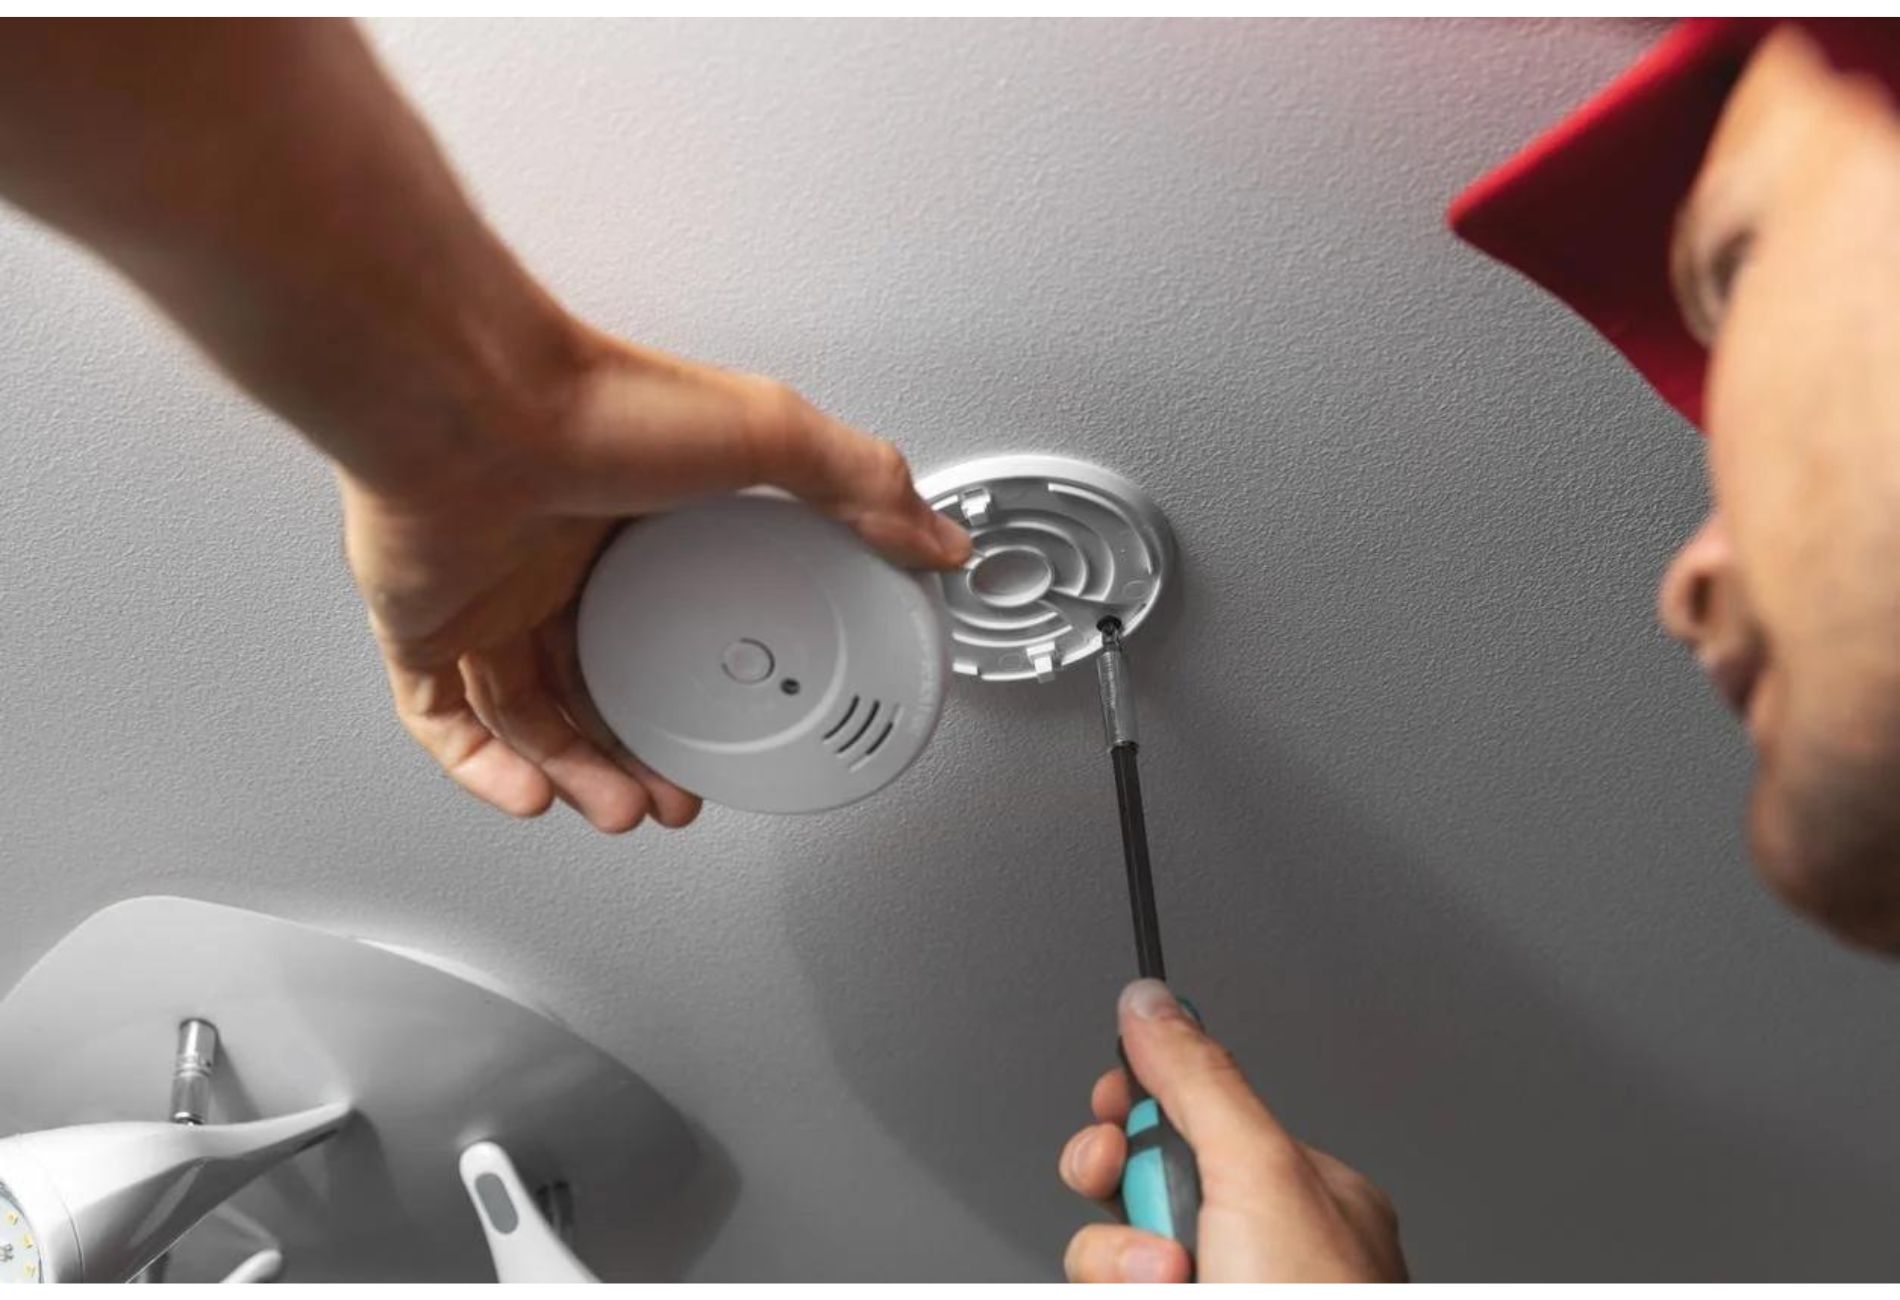
Step 7: Mount the smoke detector
Mounting the smoke detector is the final step in the installation process. Proper mounting ensures that the detector is securely fixed in place and able to detect smoke or fire effectively.
Follow these steps to mount the smoke detector:
- Choose the mounting method: Depending on the type of smoke detector you have, there are different mounting methods available. You can either use screws to mount it directly to the ceiling or wall, or you can use adhesive pads or brackets for a simpler installation.
- Position the smoke detector: Align the smoke detector with the mounting location. If you’ve chosen a ceiling mount, position it near the center of the room or hallway. If you’ve chosen a wall mount, ensure it is positioned at the recommended height and away from any obstructions.
- Mark the mounting holes: Use a pencil or marker to mark the spots where you will be drilling or inserting screws for the mounting. Ensure the markings are accurate and aligned with the holes on the smoke detector or mounting bracket.
- Drill or insert screws: If you are using screws for mounting, use an appropriate drill bit to create pilot holes at the marked spots. Then, insert the screws firmly into the holes, leaving a bit of space between the screw head and the surface for the smoke detector to be mounted.
- Mount the smoke detector: Align the holes on the smoke detector or mounting bracket with the screws you’ve inserted. Slide the smoke detector onto the screws or attach it to the adhesive pads/bracket, depending on the mounting method you’ve chosen. Ensure it is securely fastened in place.
Once the smoke detector is mounted, give it a gentle tug to ensure it is stable and won’t come loose easily. Take the time to clean the detector’s exterior and remove any protective film from the device if applicable.
With the smoke detector securely mounted, you can move on to the final step of restoring power and testing the smoke detector.
Step 8: Restore power and test the smoke detector
Now that the hardwired smoke detector is installed and mounted, it’s time to restore power to the area and test the functionality of the detector. This step ensures that the smoke detector is properly connected and ready to alert you in case of a fire.
Follow these steps to restore power and test the smoke detector:
- Go to the electrical panel: Locate the circuit breaker or fuse that controls the area where you installed the smoke detector.
- Turn on the power: Flip the circuit breaker switch back to the “ON” position or insert the fuse back into its designated slot. This will restore power to the area.
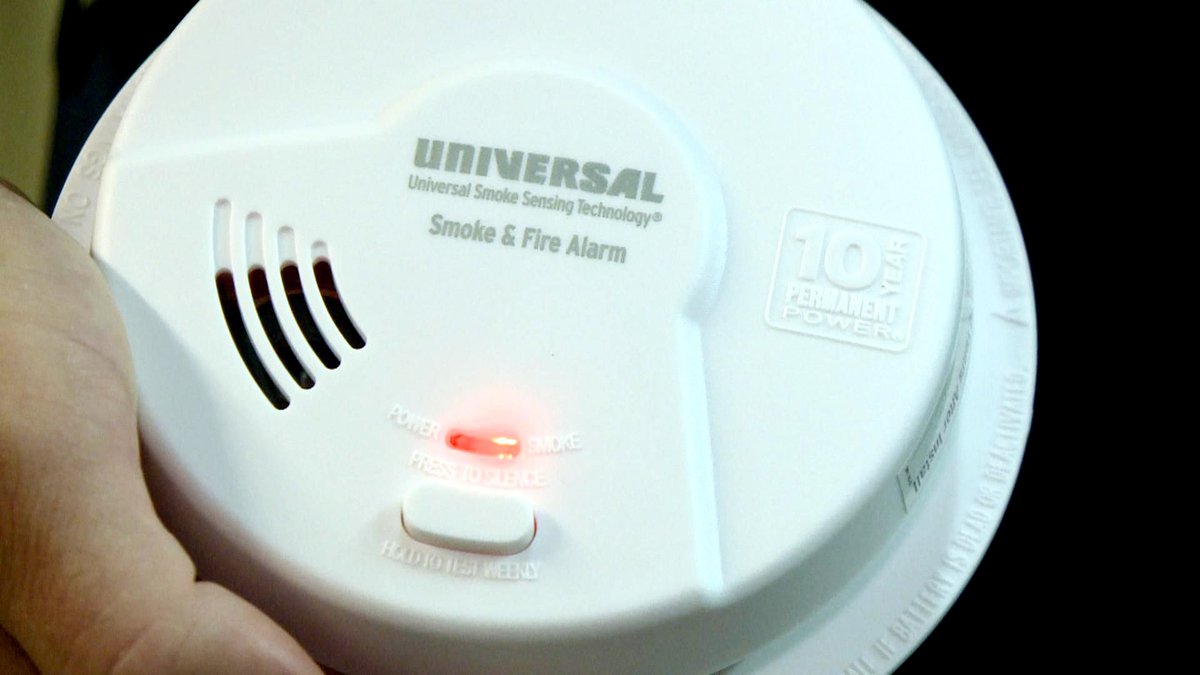
- Check the smoke detector: Verify that the smoke detector is receiving power by checking for any indicator lights or audible beeps. Different smoke detectors have different ways of indicating power, so consult the manufacturer’s instructions for guidance.
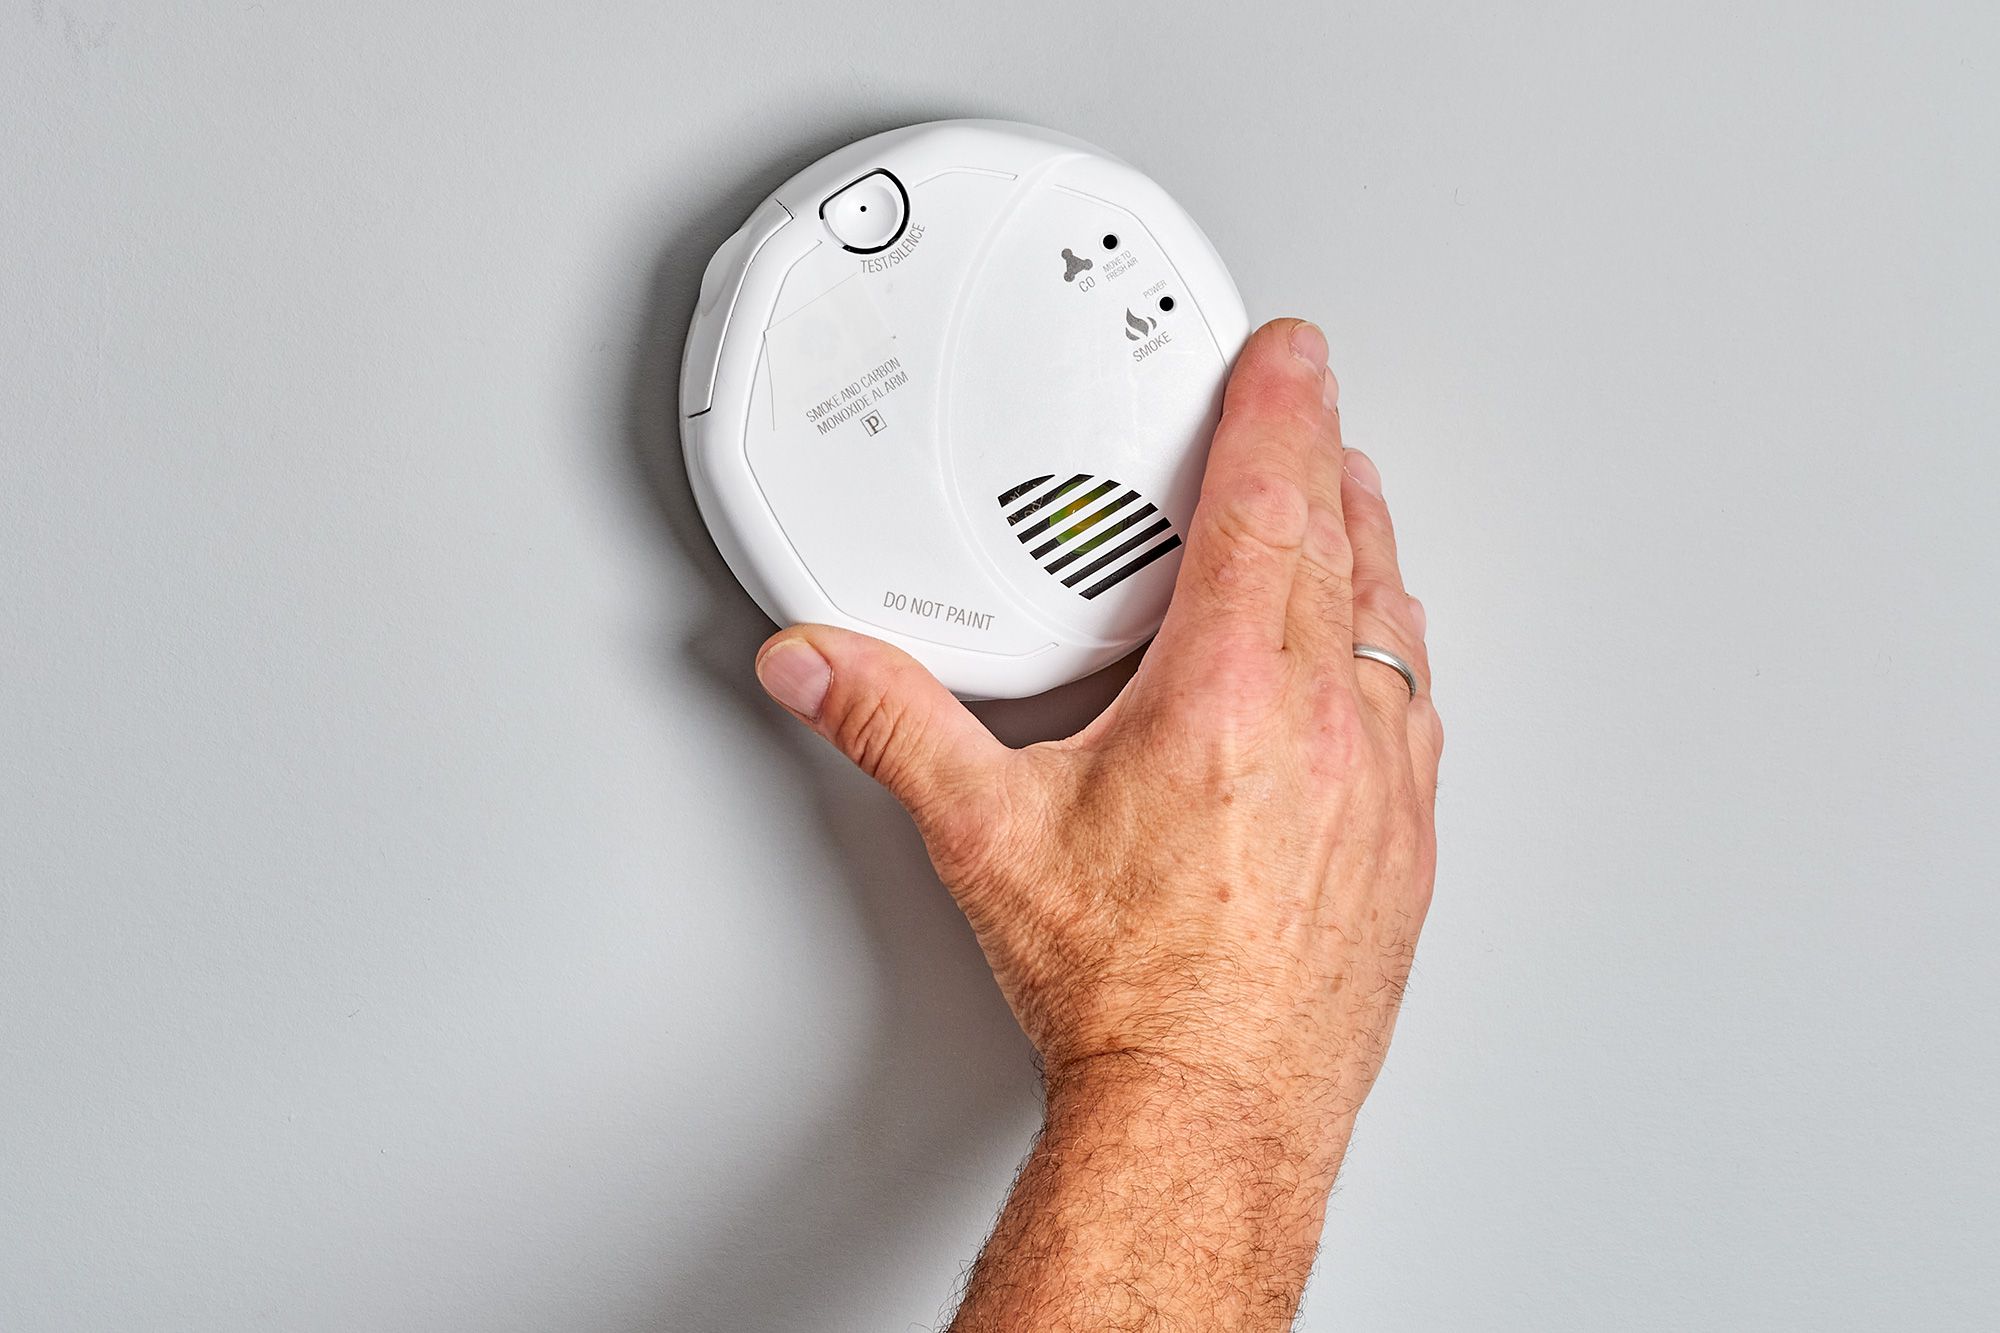
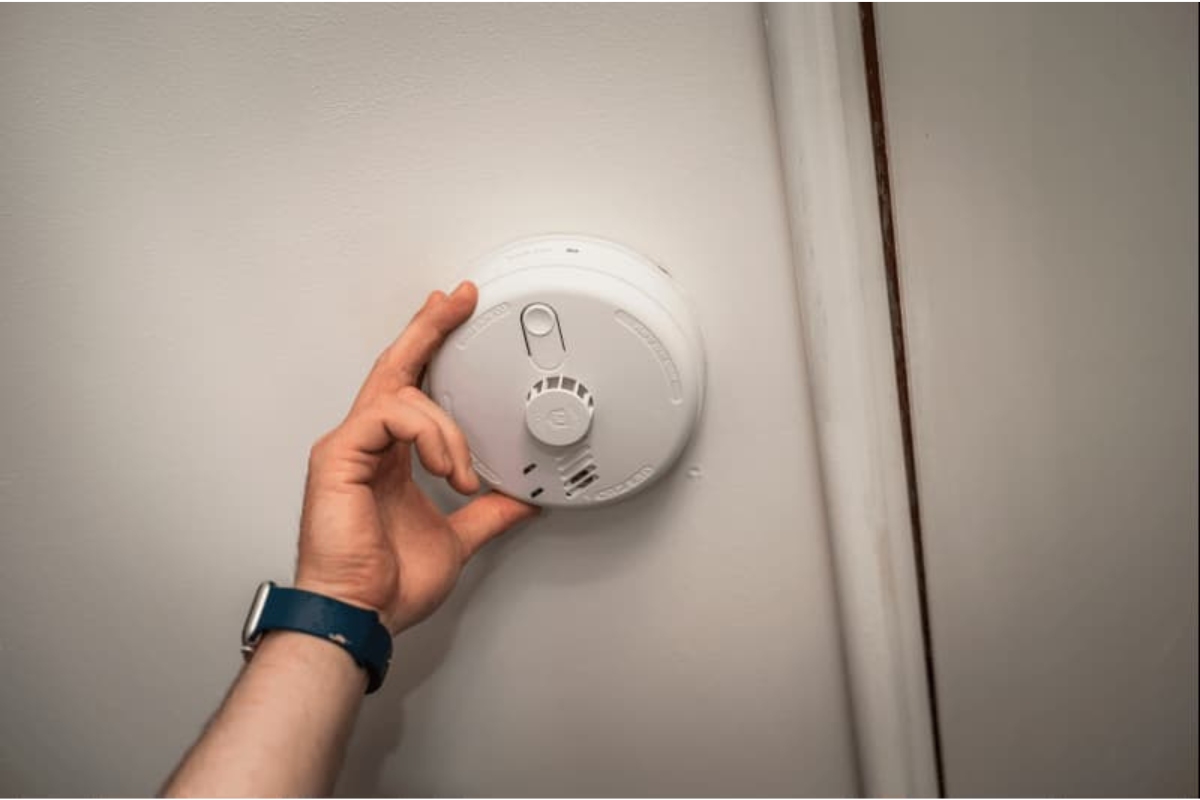
- Test the smoke detector: Press and hold the “Test” button on the smoke detector for a few seconds. The detector should emit a loud alarm sound to simulate a smoke or fire event. If you hear the alarm, it means the smoke detector is working correctly.
- Monitor for false alarms: After testing the smoke detector, keep an eye out for any false alarms triggered by cooking or steam. If the smoke detector repeatedly goes off without a legitimate smoke or fire event, adjust its location or consider installing a different model that is more suited for your environment.
Regularly test your smoke detector according to the manufacturer’s recommendations, typically once a month, to ensure ongoing functionality. Additionally, remember to replace the batteries in battery backup smoke detectors as needed.
Congratulations! You have successfully installed and tested a hardwired smoke detector. Your commitment to safety will provide you and your loved ones with peace of mind and greater protection against the dangers of smoke and fire.
If you encounter any issues or difficulties during the installation process, consult a professional electrician for assistance.
Conclusion
Installing a hardwired smoke detector is a crucial step in safeguarding your home and protecting your family from potential fire hazards. With the proper tools, materials, and guidance, you can successfully complete the installation process.
In this article, we covered the step-by-step process of installing a hardwired smoke detector. We began by gathering the necessary tools and materials, followed by turning off the power to the area. Then, we discussed how to choose the appropriate location for the smoke detector and install the junction box. Next, we went through running the electrical wires and connecting them to the smoke detector. We then covered how to mount the smoke detector securely and finished with restoring power and testing the detector.
Remember, safety should always be the top priority when working with electrical systems. If you feel uncertain or uncomfortable with any step of the installation process, it’s best to consult a professional electrician for assistance. They have the expertise and knowledge to ensure a safe and proper installation.
By installing a hardwired smoke detector, you have taken a proactive step towards creating a safer living environment for you and your loved ones. Ensure that you regularly test and maintain the smoke detector to keep it in optimal working condition. Stay vigilant and be prepared by having a fire safety plan in place, including an evacuation route and designated meeting place.
Remember, early detection is key in preventing the devastating effects of fires. By taking the time to install a hardwired smoke detector, you are prioritizing the safety and well-being of your home and those who live in it.
Stay safe, stay alert, and protect what matters most.
Frequently Asked Questions about How To Install A Hardwired Smoke Detector
Was this page helpful?
At Storables.com, we guarantee accurate and reliable information. Our content, validated by Expert Board Contributors, is crafted following stringent Editorial Policies. We're committed to providing you with well-researched, expert-backed insights for all your informational needs.

0 thoughts on “How To Install A Hardwired Smoke Detector”