Home>Articles>How To Install A Pocket Door That Stylishly Saves Space
Articles
How To Install A Pocket Door That Stylishly Saves Space
Modified: August 27, 2024
Learn how to install a space-saving pocket door in your home with our informative articles. Discover stylish tips and tricks for maximizing your space.
(Many of the links in this article redirect to a specific reviewed product. Your purchase of these products through affiliate links helps to generate commission for Storables.com, at no extra cost. Learn more)
Introduction
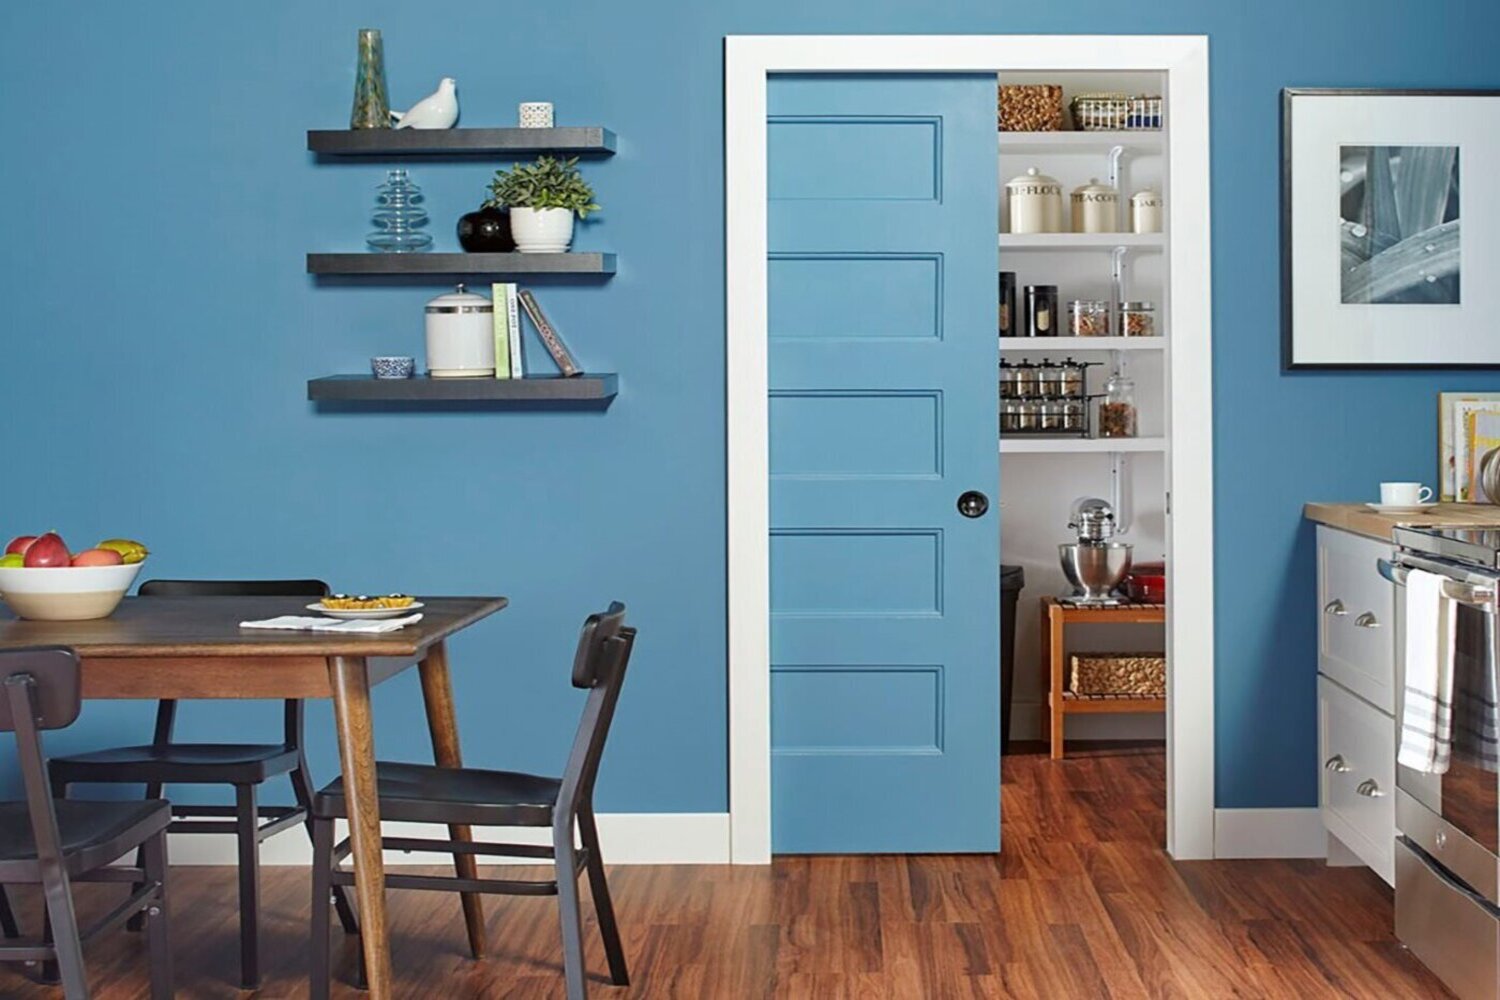
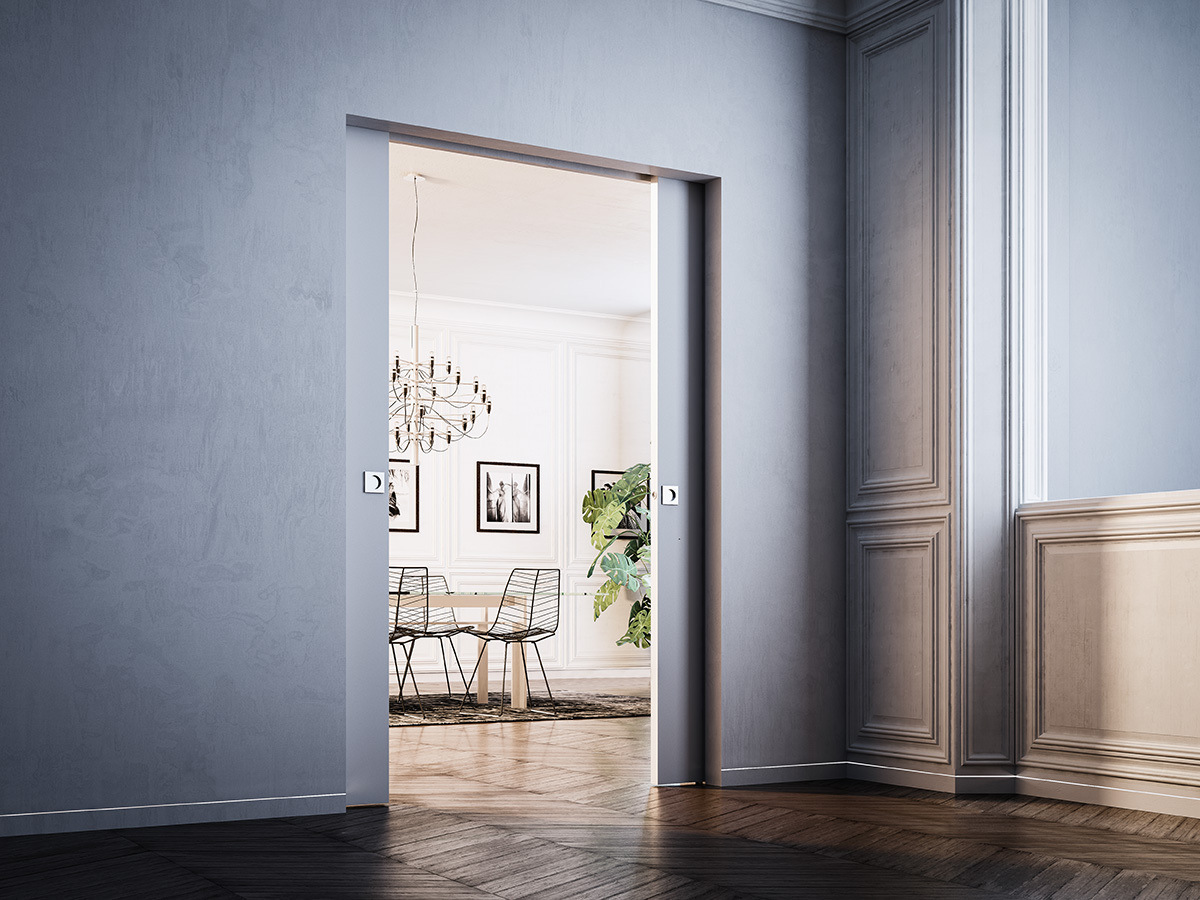
Installing a pocket door is a smart choice for homeowners who want to maximize space utilization and add a touch of style to their living spaces. Unlike traditional swinging doors, pocket doors slide smoothly and disappear into the wall when open, allowing for more room and a cleaner aesthetic. Whether you’re renovating a small apartment, creating a functional office space, or simply looking for a unique design feature, installing a pocket door can be a game-changer.
In this comprehensive guide, we will walk you through the step-by-step process of installing a pocket door. From gathering the necessary tools and materials to adjusting and testing the door’s operation, we’ll cover everything you need to know to ensure a successful installation.
But before we jump into the installation process, let’s briefly explore the benefits of installing a pocket door. First and foremost, pocket doors save valuable floor space. By sliding into the wall, they eliminate the need for a swinging door that can impede movement and limit furniture placement. This is especially beneficial in small rooms or areas where every square foot counts.
Additionally, pocket doors can improve the overall aesthetics of a space. With their sleek and minimalistic design, they provide a clean and streamlined look that can complement any interior style. From modern and contemporary to rustic and traditional, pocket doors can seamlessly blend into the overall design scheme of a room.
Lastly, pocket doors offer enhanced privacy and noise reduction. When closed, they create a secure barrier that effectively separates different areas of a home or office. This is particularly advantageous in rooms where privacy and sound isolation are essential, such as bedrooms, bathrooms, or conference rooms.
Now that you understand the benefits of installing a pocket door, let’s dive into the step-by-step process to bring this space-saving and stylish feature to your home or office.
Key Takeaways:
- Maximize space and add style with a pocket door that slides smoothly into the wall, offering privacy, noise reduction, and a sleek, minimalistic look to complement any interior design.
- Follow a step-by-step guide to gather tools, measure and prepare the opening, install the frame, hang the door, and adjust for smooth operation, ensuring a successful and rewarding pocket door installation.
Step 1: Gather the Necessary Tools and Materials
Before you begin the installation process, it’s important to gather all the tools and materials you’ll need. This will ensure a smooth and efficient installation without any unnecessary interruptions. Here’s a list of the essential tools and materials you’ll need:
- Measuring Tape: Accurate measurements are crucial for a successful installation, so make sure to have a measuring tape handy.
- Screwdriver: You’ll need a screwdriver to secure the door frame and other components.
- Level: A level is necessary to ensure that the door frame is properly aligned and plumbed.
- Saw: Depending on your specific needs, you may need a circular saw or a reciprocating saw to cut through walls and trim.
- Chisel: A chisel will come in handy for removing excess wood or adjusting the door frame’s fit.
- Drill: A drill is needed for creating pilot holes and installing screws.
- Screws: Make sure to have an assortment of screws of various sizes to accommodate different components.
- Wood Shims: Wood shims are used to adjust and level the door frame, ensuring a proper fit.
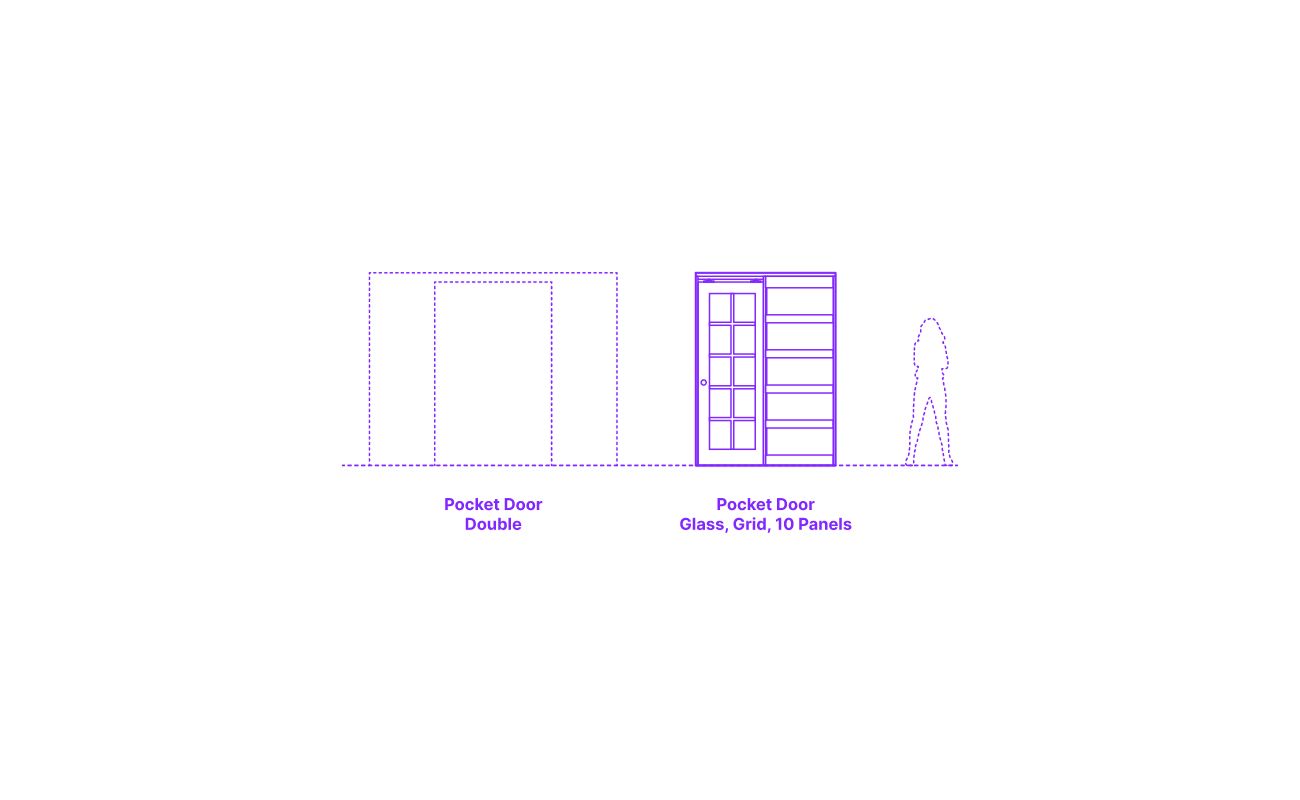
- Pocket Door Kit: Purchase a pocket door kit, which typically includes the door frame, track, rollers, and necessary hardware.
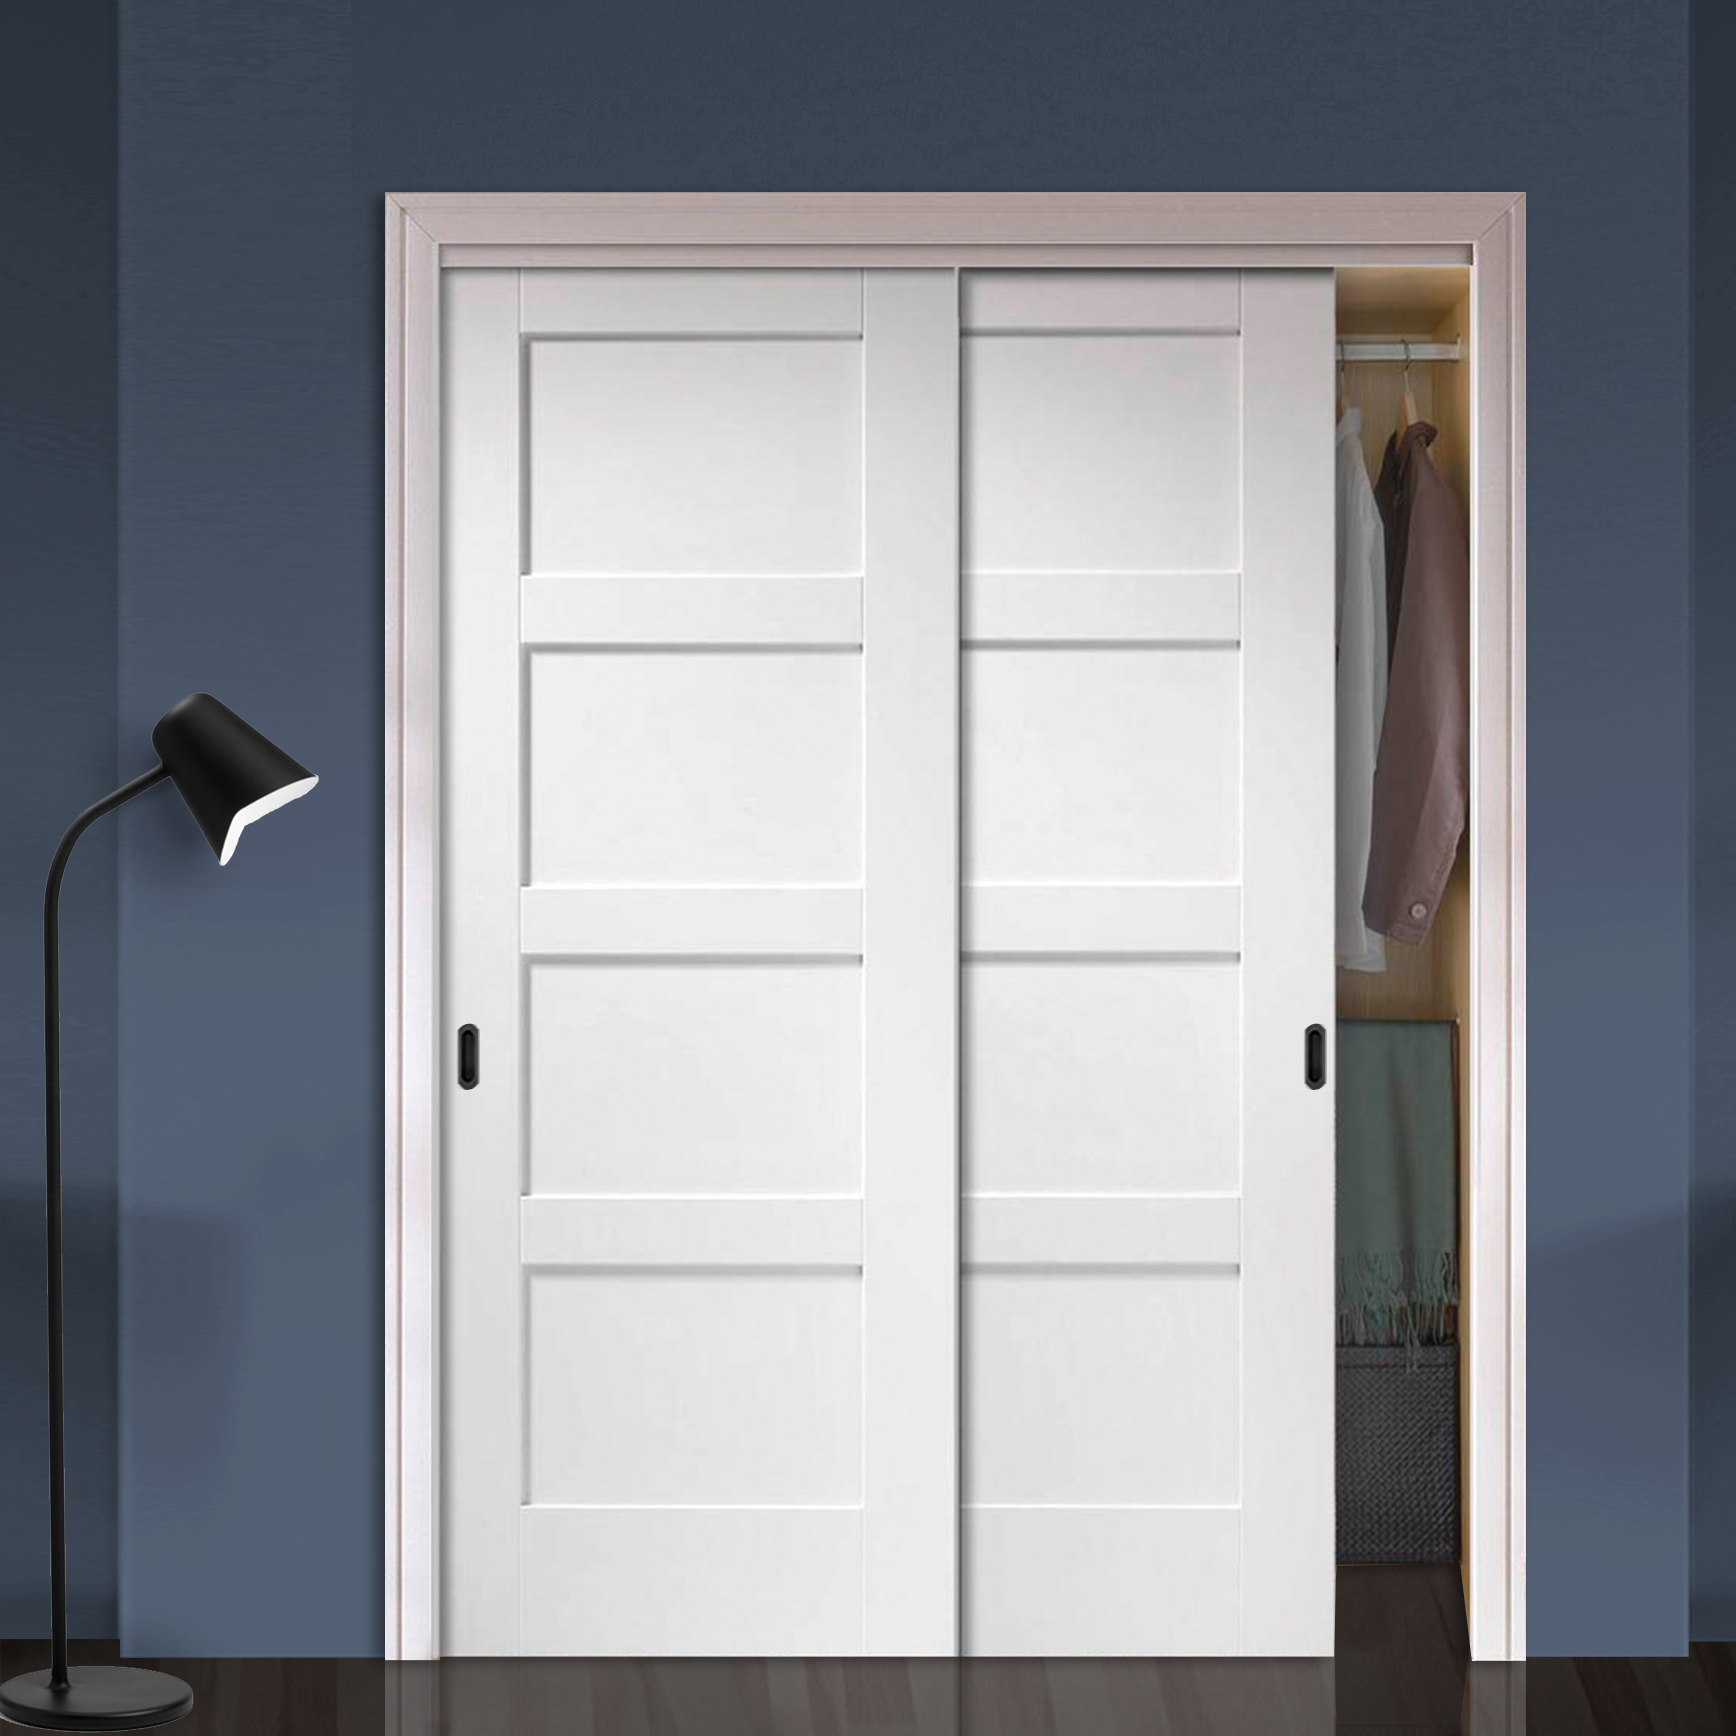
- Door: Choose a pocket door that suits your style and fits the dimensions of the opening. Pocket doors are available in various materials, finishes, and designs.
- Paint or Stain: If desired, have paint or stain ready to finish the door and frame.
Once you have gathered all the tools and materials, you’ll be well-prepared to start the installation process. Having everything on hand will save you time and allow for a more efficient workflow. Now that you’re equipped, let’s move on to measuring and preparing the opening for the pocket door.
Step 2: Measure and Prepare the Opening
Before you can install the pocket door, you need to accurately measure and prepare the opening where the door will be placed. Follow these steps to ensure proper measurements and preparation:
- Start by removing any existing door or trim from the opening. This will provide a clear space for taking measurements and installing the pocket door frame.
- Using a measuring tape, measure the width and height of the opening. Take measurements at several points to account for any irregularities in the wall. Record the largest width and height measurements to ensure the pocket door frame will fit properly.
- Next, check for any obstructions within the wall cavity, such as electrical wires or pipes. If you encounter any obstructions, take note of their location and plan accordingly to work around them during the installation process.
- Based on the measurements you’ve taken, mark the dimensions of the pocket door frame on the wall. Use a level to ensure that the lines are straight and plumbed.
- Now, it’s time to prepare the opening for the pocket door frame. Use a saw to carefully cut along the marked lines, following the manufacturer’s instructions for cutting depth and technique. Be sure to wear safety goggles and gloves during this step.
- Once the opening has been cut, check the dimensions again to ensure they match the size of the pocket door frame. Make any necessary adjustments using a chisel or saw, taking care not to remove too much material.
- Lastly, inspect the opening for any uneven or rough surfaces. Use sandpaper or a sanding block to smooth out any imperfections, ensuring a clean and even surface for installing the pocket door frame.
By carefully measuring and preparing the opening, you’ll create an ideal environment for installing the pocket door frame. Taking the time to ensure accurate measurements and a well-prepared opening will help facilitate a smooth installation process and ensure a perfect fit for your pocket door. With the opening ready, it’s time to move on to the next step: installing the pocket door frame.
Step 3: Install the Pocket Door Frame
With the opening measured and prepared, you can now move on to installing the pocket door frame. Follow these steps to properly install the frame:
- Begin by positioning the pocket door frame into the opening. Make sure the frame fits flush with the wall and aligns with the marks you made during the preparation step. Use a level to check that the frame is plumb and adjust as needed.
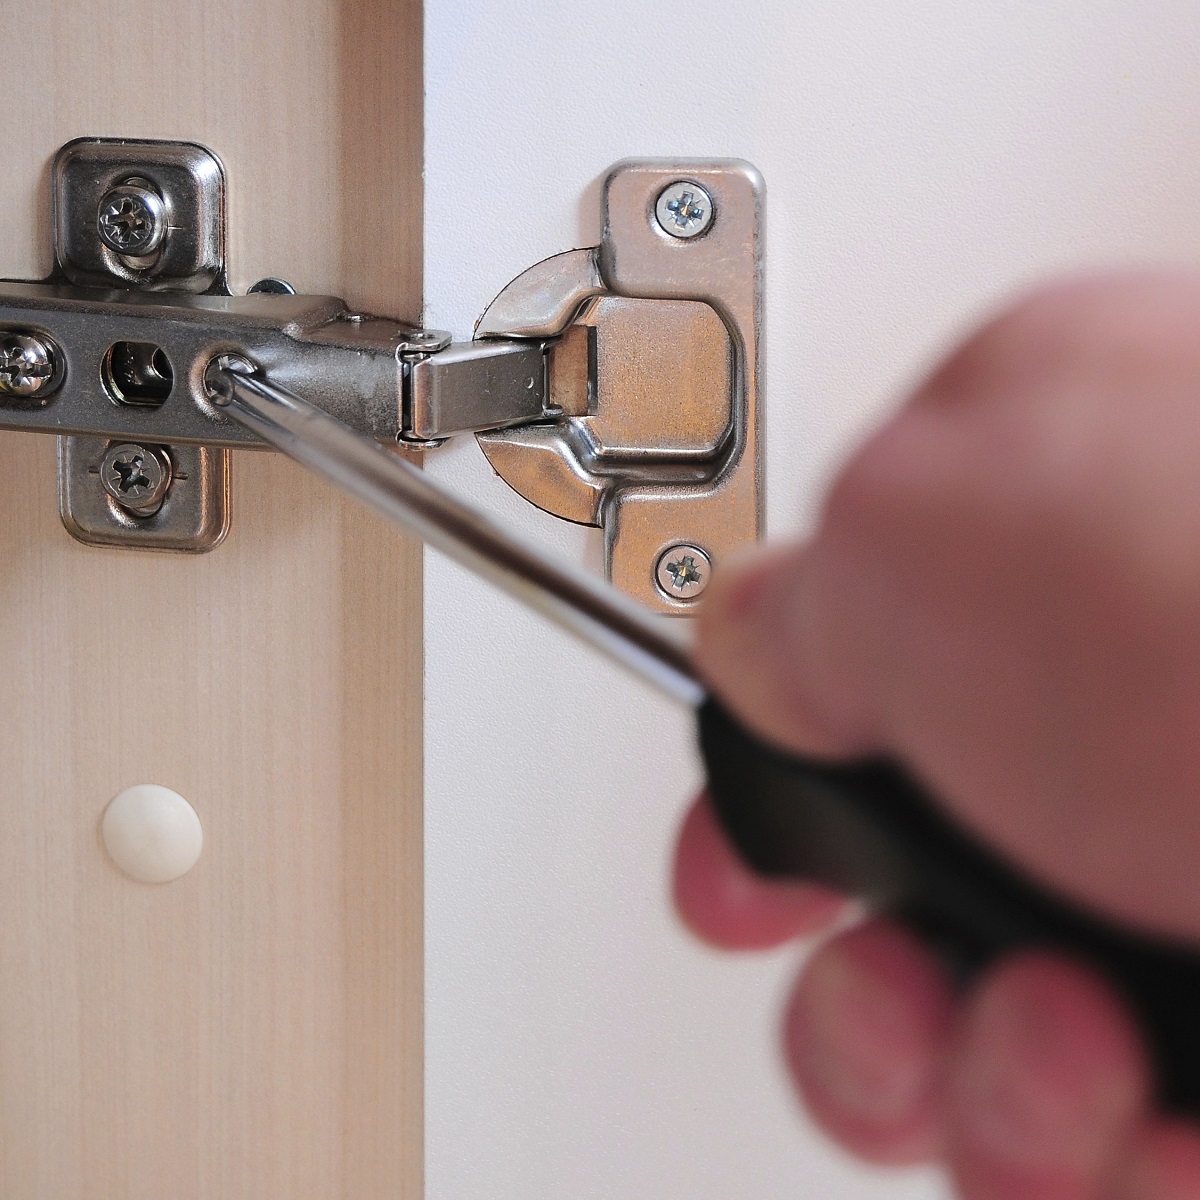
- Once the frame is properly aligned, secure it in place using screws or the recommended installation method specified by the manufacturer. Start by attaching the top track of the frame, securing it to the header or overhead structure. Then, move on to the side jambs, ensuring they are firmly anchored to the wall.
- Next, install the door guides or floor brackets as instructed. These components help keep the pocket door aligned and prevent it from swinging or shifting when in use.
- After securing the frame and guides, check that the door slides smoothly within the pocket. Test the door’s movement and make any adjustments as necessary to ensure it operates smoothly and without any obstructions.
- Once the frame and door operation are properly installed and adjusted, reinforce the frame’s stability by adding additional screws or fasteners as needed. This will ensure that the pocket door remains secure and functions properly.
- Finally, inspect the installed pocket door frame for any gaps or uneven areas. Use wood shims or a similar material to fill in any gaps and create a tight and sturdy frame installation.
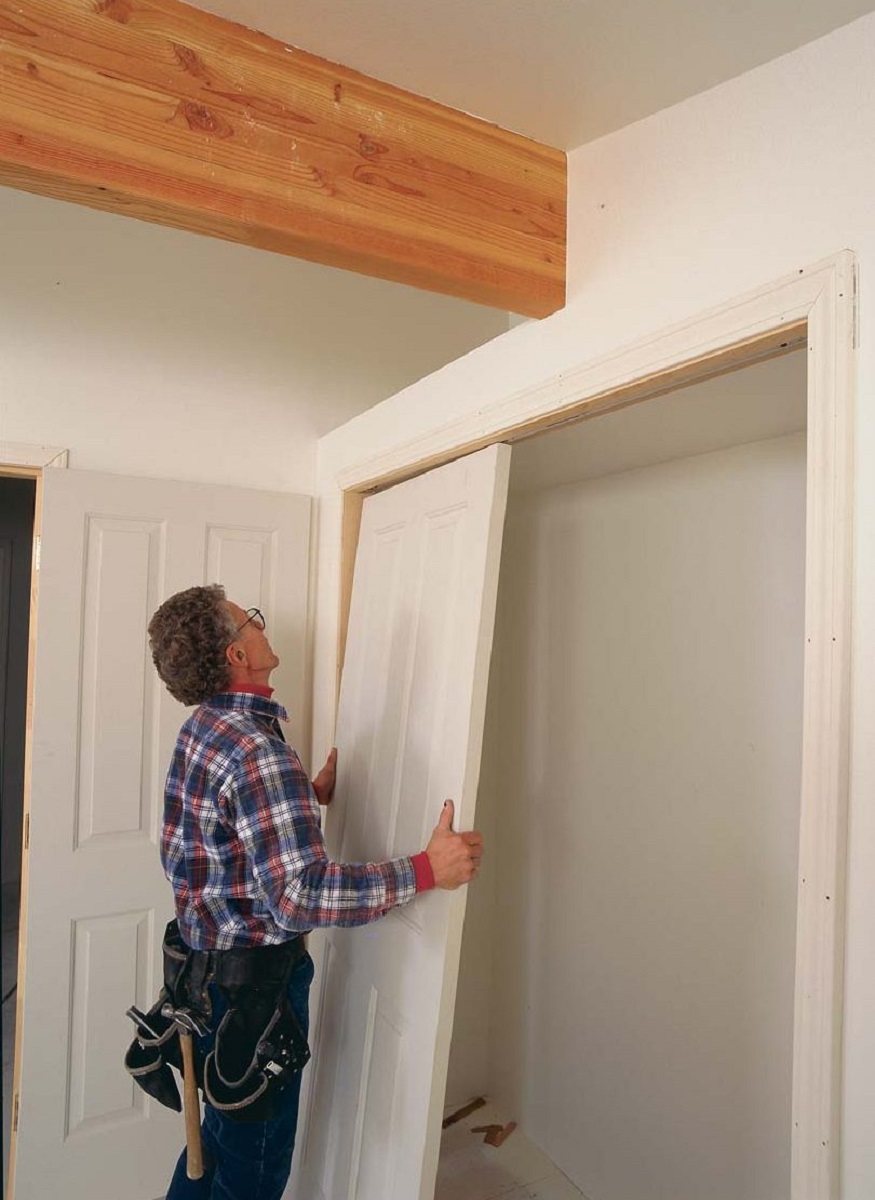
Properly installing the pocket door frame is crucial for a smooth and functional operation of the door. Take your time during this step to ensure the frame is level, plumb, and securely anchored to the wall. With the frame in place, you’re now ready to hang the pocket door itself, which we’ll explore in the next step of the installation process.
When installing a pocket door, make sure to carefully measure the space and choose a door that complements the style of the room. Consider using a professional installation kit for a smooth and stylish finish.
Step 4: Hang the Pocket Door
With the pocket door frame securely installed, it’s time to hang the pocket door. Follow these steps to properly hang the door:
- Start by placing the pocket door onto the track of the frame. Ensure that the rollers on the top of the door align with the track and that the door hangs freely.
- Next, adjust the height of the door using the adjustable guides or brackets located at the top of the door. This will ensure the door is level and properly aligned within the frame.
- With the door in place, check that it slides smoothly along the track. Open and close the door multiple times to ensure it operates effortlessly. If the door is sticking or rubbing against the frame, make any necessary adjustments to the rollers or guides to correct the issue.
- Once the door is hanging and operating smoothly, check for any gaps around the edges of the door. Use shims or weatherstripping to fill in any gaps and ensure a proper seal when the door is closed.
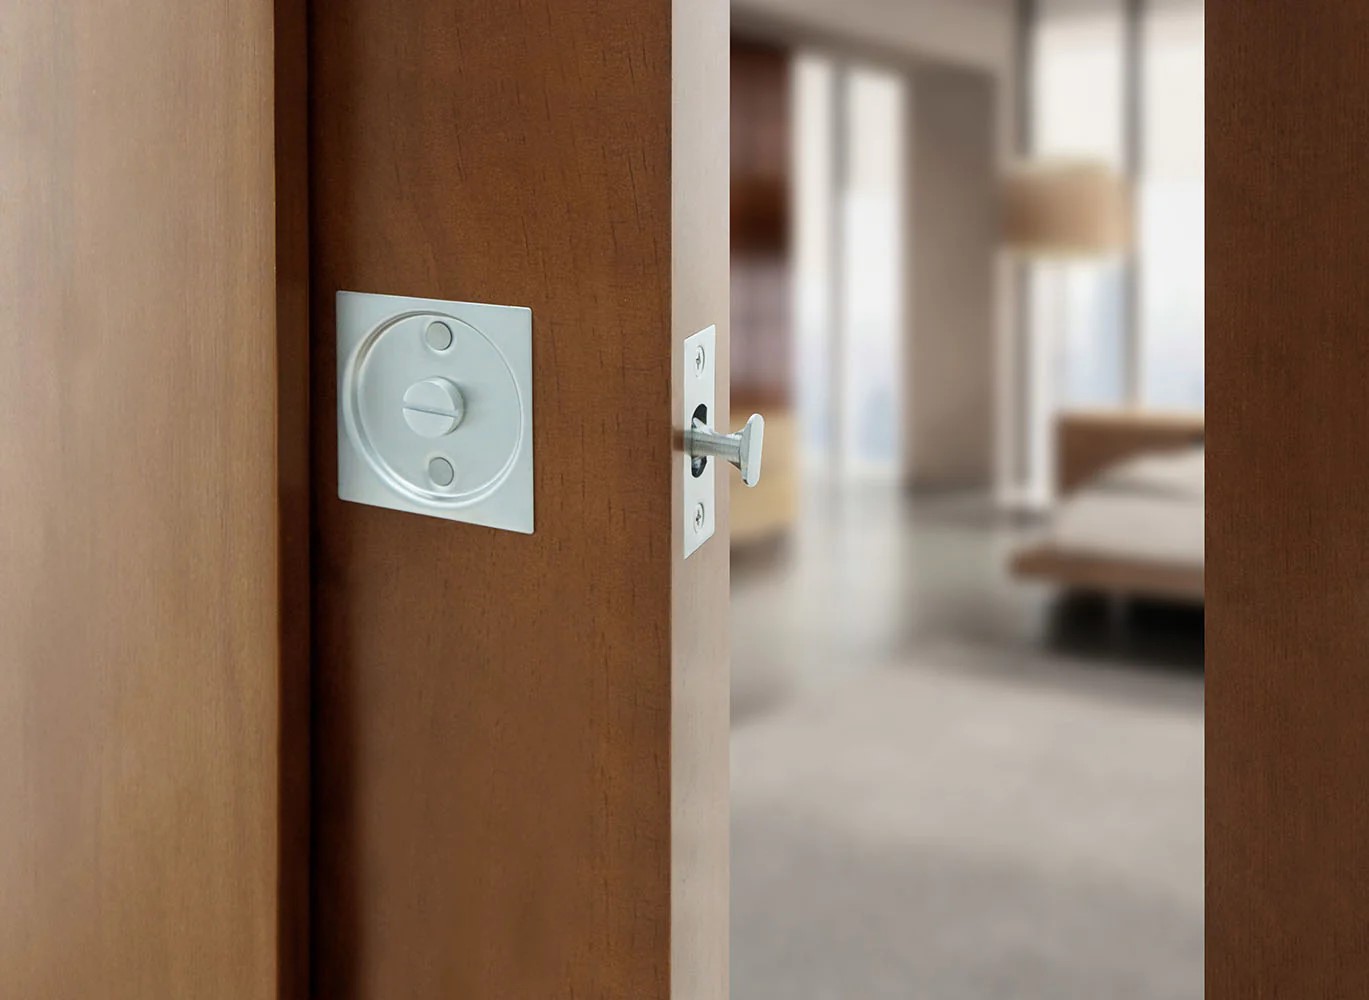
- With the door aligned and sealed, secure it to the frame using the recommended screws or fasteners provided by the manufacturer. Follow the instructions carefully to ensure the door is securely attached and won’t come off the track during use.
- Finally, give the door a thorough inspection to ensure everything is functioning properly. Open and close the door several times to test its operation and check that it remains securely in place.
Hanging the pocket door requires attention to detail to ensure it operates smoothly and remains secure within the frame. Take the time to make any necessary adjustments and ensure a proper fit. With the pocket door hung, it’s time to move on to the final step: adjusting and testing the door’s operation.
Step 5: Adjust and Test the Operation
Once the pocket door is hung, it’s important to make any necessary adjustments and thoroughly test its operation. Follow these steps to ensure the door is properly adjusted and functions smoothly:
- First, check the alignment of the door within the frame. Ensure it is level and plumb by using a level along the top and sides of the door. Make any necessary adjustments to the height or alignment of the door to ensure it operates smoothly.
- Next, test the door’s movement along the track. Open and close the door multiple times to check for any sticking or rubbing. If the door is not sliding smoothly, adjust the rollers or guides as needed for proper alignment.
- Check the door’s clearance within the pocket. Ensure there is enough space for the door to slide fully into the wall without any obstructions. Make any adjustments to the frame or guides to create adequate clearance.
- If desired, add additional trim or molding around the opening to enhance the appearance and conceal any gaps or rough edges. Paint or stain the door and frame, if necessary, to complete the installation.
- Once all adjustments and finishes are complete, thoroughly test the door’s operation. Open and close it multiple times to ensure it slides smoothly within the pocket and locks securely when closed.
- Finally, perform a final inspection of the installation. Check for any loose screws or components and tighten them as needed. Ensure the door is properly aligned, operates smoothly, and has a tight seal when closed.
Adjusting and testing the operation of the pocket door is crucial for its functionality and longevity. Take your time during this step to fine-tune the door’s alignment and make any necessary adjustments. With the door properly adjusted and tested, you can now enjoy the space-saving benefits and stylish appeal of your newly installed pocket door.
Conclusion
Installing a pocket door is a rewarding project that can transform your living space by saving valuable floor space and adding a touch of style. By following the step-by-step guide outlined in this article, you can successfully install a pocket door and enjoy its many benefits.
Throughout the installation process, we covered several key steps. Starting with gathering the necessary tools and materials, you ensured that you have everything you need for a smooth installation. Then, you measured and prepared the opening, ensuring that the pocket door frame would fit perfectly. Following that, you installed the pocket door frame, securing it properly and adjusting it for smooth operation. Next, you hung the pocket door itself, making sure it was aligned and functioning smoothly. Finally, you made necessary adjustments and thoroughly tested the operation of the door.
A well-installed pocket door not only saves space but also enhances the aesthetics and functionality of your home or office. It offers privacy, noise reduction, and a sleek, streamlined look that can suit any interior design style. Whether you’re maximizing space in a small apartment or adding a convenient feature to your office, a pocket door is a stylish solution.
Remember to follow the manufacturer’s instructions and consult a professional if needed during the installation process. Take your time, pay attention to detail, and make any necessary adjustments to ensure a successful installation.
Now that you have completed the installation of your pocket door, sit back, and admire your handiwork. Enjoy the newfound space and convenience that the pocket door provides. It’s time to embrace the benefits of a functional and stylish door that elegantly disappears into the wall.
Frequently Asked Questions about How To Install A Pocket Door That Stylishly Saves Space
Was this page helpful?
At Storables.com, we guarantee accurate and reliable information. Our content, validated by Expert Board Contributors, is crafted following stringent Editorial Policies. We're committed to providing you with well-researched, expert-backed insights for all your informational needs.


0 thoughts on “How To Install A Pocket Door That Stylishly Saves Space”