
Articles
How To Install A Pot Filler Faucet
Modified: August 28, 2024
Learn the step-by-step process of installing a pot filler faucet with our informative articles. Find expert tips and tricks to make the installation easier and smoother.
(Many of the links in this article redirect to a specific reviewed product. Your purchase of these products through affiliate links helps to generate commission for Storables.com, at no extra cost. Learn more)
Introduction
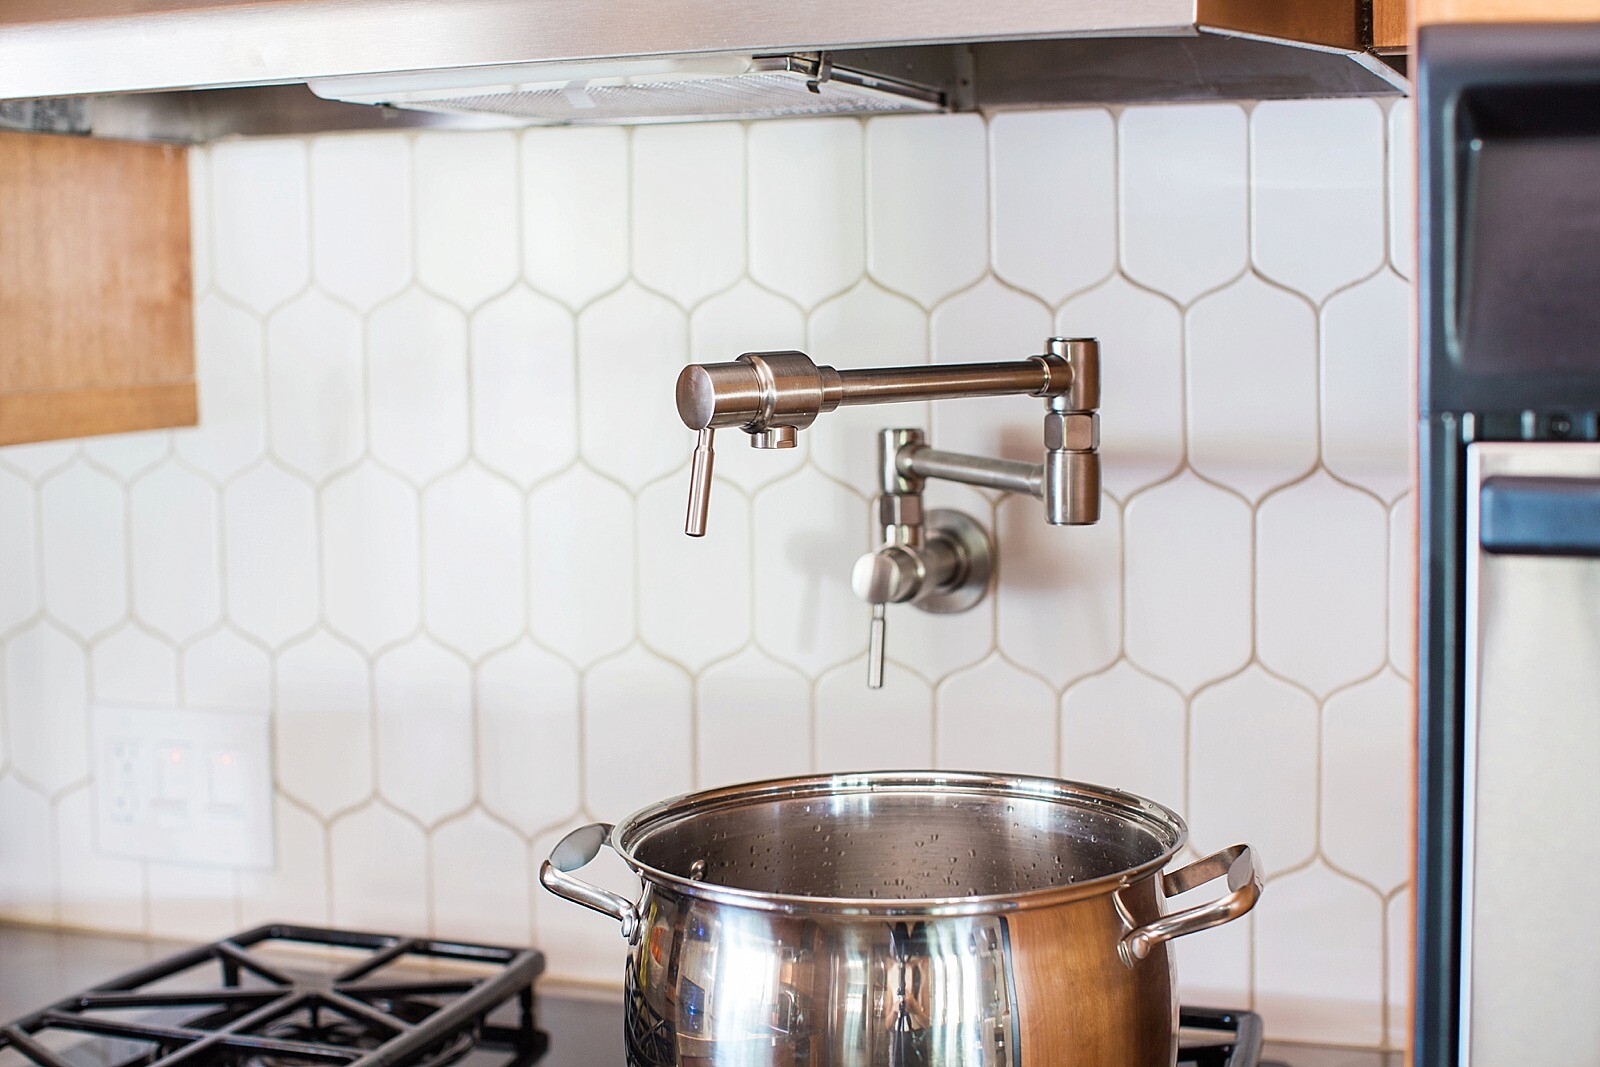
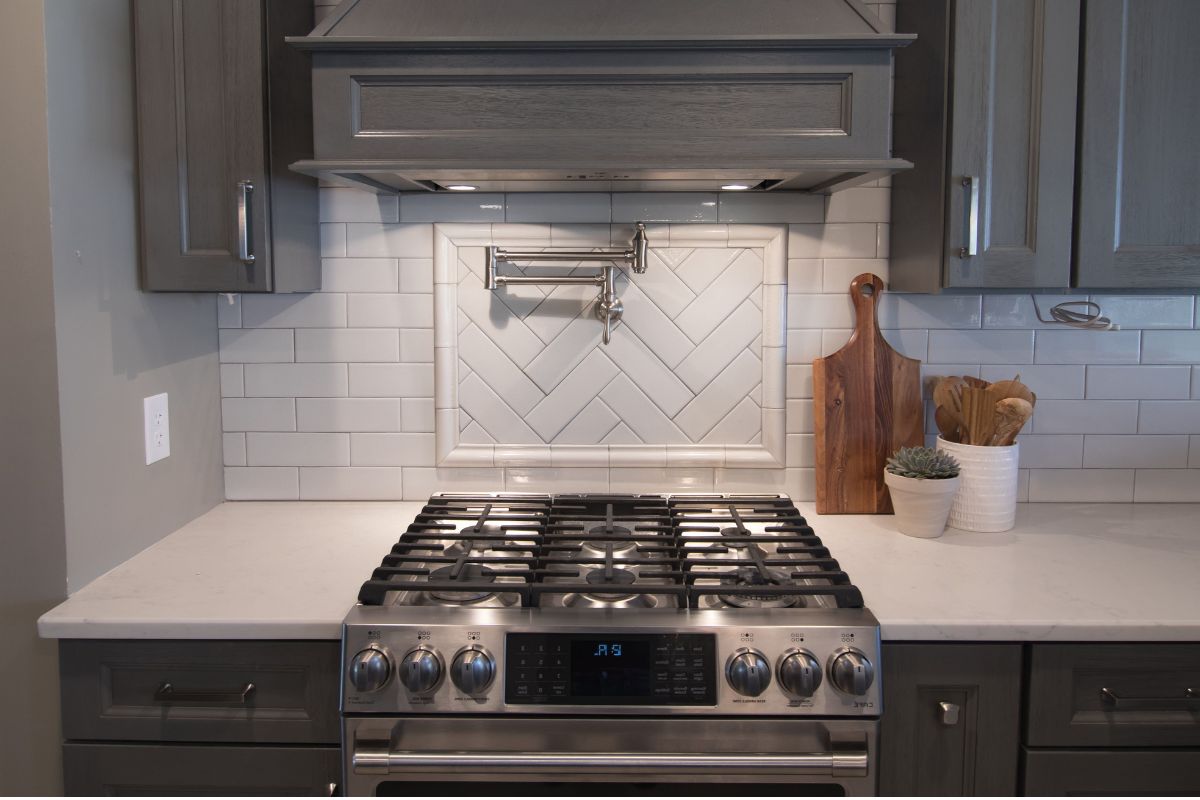
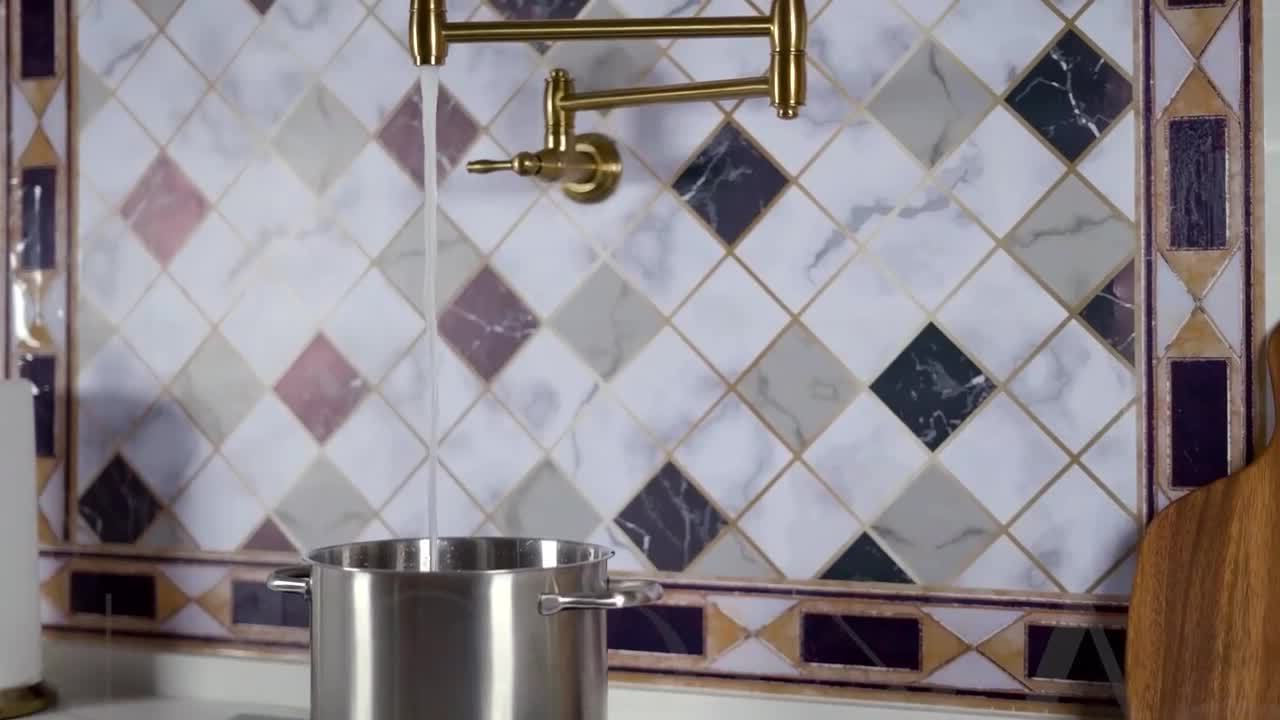
Installing a pot filler faucet in your kitchen can be a game-changer. Not only does it add a touch of luxury and convenience to your cooking space, but it also makes filling heavy pots and pans with water a breeze. Gone are the days of carrying a heavy pot from the sink to the stove; with a pot filler faucet, you can fill your pots right at the cooking area.
In this comprehensive guide, we will walk you through the step-by-step process of installing a pot filler faucet. Whether you are a seasoned DIY enthusiast or a novice, by following these instructions, you will be able to successfully complete the installation and enjoy the benefits of a pot filler faucet in your own kitchen.
Before we dive into the installation process, it’s important to note that this guide assumes you have basic plumbing knowledge and experience. If you are not comfortable working with plumbing fixtures, we recommend hiring a professional plumber to assist with the installation.
Ready to get started? Let’s gather the necessary tools and materials to ensure a smooth installation process.
Key Takeaways:
- Installing a pot filler faucet can revolutionize your kitchen experience, providing convenience and efficiency. Follow the step-by-step guide to ensure a safe and functional installation, and enjoy the benefits it brings to your cooking space.
- Remember to gather the necessary tools and materials, determine the ideal location, and carefully connect the water supply lines. Thoroughly test for leaks and maintain your pot filler faucet to prolong its functionality and enhance your kitchen experience.
Step 1: Gather the Necessary Tools and Materials
Before you begin the installation process, it’s important to gather all the tools and materials you’ll need. This will help you work efficiently and ensure that you have everything on hand.
Here is a list of the tools and materials you will need for installing a pot filler faucet:
- Adjustable wrench
- Plumber’s tape
- Bucket or towels (to catch any water)
- Screwdrivers (flathead and Phillips)
- Drill
- Tile drill bit (if installing on tiled walls)
- Appropriate fasteners (depending on your wall type)
- Level
- Plumbing tape
- Measuring tape
- Utility knife
- Pipe cutter or hacksaw
- Penetrating oil (in case of stuck connections)
- Pot filler faucet kit (including the faucet, mounting bracket, and water supply lines)
Make sure you have all these tools and materials readily available before starting the installation process. It’s always better to be prepared and have everything you need within arm’s reach. Once you have everything, you are ready to move on to the next step: determining the location for your pot filler faucet.
Step 2: Determine the Location for the Pot Filler Faucet
Choosing the right location for your pot filler faucet is crucial to ensure its functionality and aesthetic appeal. Here are some factors to consider when determining the location:
- Convenience: The pot filler faucet should be installed near your stovetop or cooking area for easy access. Consider the height of your tallest pot and ensure that the faucet will be able to reach over it.
- Wall Space: Look for a suitable spot on your kitchen wall where there is enough space to accommodate the pot filler faucet. It should be ideally located between the stove and sink.
- Plumbing Accessibility: Check the proximity of existing plumbing lines to determine if it is feasible to connect the pot filler faucet to the water supply. If needed, consult a professional plumber to assess the plumbing situation and provide recommendations.
- Tiling: If you have tiled walls, take into account the positioning of the tiles. You may need to drill through the tiles to install the pot filler faucet, so choose a spot that aligns with the gaps between tiles or plan on making necessary adjustments.
Once you have selected the location, use a measuring tape to mark the exact spot where the pot filler faucet will be installed. Double-check the measurements to ensure accuracy. Keep in mind that the faucet height should be high enough to accommodate your tallest pot without any issues.
Now that you have determined the location for your pot filler faucet, it’s time to prepare the wall for installation in the next step.
Step 3: Prepare the Wall for Installation
Before you can install the pot filler faucet, it is important to prepare the wall to ensure a secure and stable mounting surface. Follow these steps to prepare the wall:
- Locate and turn off the water supply: Before beginning any work, locate the water supply valve for the area where you will be installing the pot filler faucet. Turn off the water supply to prevent any accidental leaks or water damage during the installation process.
- Clear the area: Remove any objects, decorations, or accessories from the wall to create an unobstructed workspace. This will allow you to work more efficiently and avoid any potential damage to these items.
- Mark the hole position: Use a level to ensure that the hole for the pot filler faucet is straight. Mark the center of the hole by measuring the distance from the floor or countertop to the desired height of the faucet, and make a small mark using a pencil or marker.
- Protect the surrounding area: Place a protective covering, such as a drop cloth or old towels, on the floor and countertops to prevent any damage from dust, debris, or accidental spills. This will make cleaning up easier once the installation is complete.
- Prepare the wall surface: If you have tiled walls, use a tile drill bit to carefully drill through the tiles at the marked location. You may need to remove grout or cut a small section of the tile to create a clean hole. If you have a drywall or other wall surface, use an appropriate drill bit to create the hole.
- Clean the hole area: After drilling the hole, remove any debris or excess material from the area. Use a vacuum or a damp cloth to clean the hole and ensure a smooth surface for mounting.
By following these steps to prepare the wall, you will create a solid foundation for the pot filler faucet installation. With the wall prepped, you can now move on to the next step: installing the mounting bracket.
Step 4: Install the Mounting Bracket
Installing the mounting bracket is a crucial step in securing the pot filler faucet to the wall. Follow these steps to install the bracket:
- Position the bracket: Hold the mounting bracket against the wall, aligning it with the hole you drilled in the previous step. Ensure that it is centered and level.
- Mark the screw hole positions: Use a pencil or marker to mark the screw hole positions on the wall through the holes in the mounting bracket. This will serve as a guide when drilling the holes for the screws.
- Drill pilot holes: Use an appropriate drill bit to drill pilot holes at the marked screw hole positions. Be sure to choose a bit that matches the size of the screws provided with the pot filler faucet.
- Attach the bracket: Place the mounting bracket back against the wall, aligning the screw holes with the pilot holes you drilled. Insert the screws provided with the pot filler faucet into the holes and tighten them securely using a screwdriver or drill.
- Check the bracket stability: Once the bracket is securely attached, give it a gentle tug to ensure it is stable and properly fastened to the wall. If there is any wobbling or looseness, double-check the screw tightness and make any necessary adjustments.
By following these steps, you will have successfully installed the mounting bracket for your pot filler faucet. The bracket provides a solid foundation for the faucet, ensuring its stability during use. With the mounting bracket in place, you can proceed to the next step: connecting the water supply lines.
When installing a pot filler faucet, make sure to shut off the water supply to the area where you will be working to avoid any leaks or accidents.
Step 5: Connect the Water Supply Lines
Connecting the water supply lines is a crucial step in the installation process. Follow these steps to ensure a proper connection:
- Locate the shut-off valve: Before connecting the water supply lines, locate the shut-off valve for the area where the pot filler faucet will be installed. Turn off the water supply by rotating the valve clockwise.
- Prepare the connections: Wrap plumber’s tape around the male threads of the water supply pipes. This will help create a tight seal and prevent any leaks.
- Connect the supply lines: Attach one end of the supply lines to the female threads on the pot filler faucet. Use an adjustable wrench to tighten the connections, ensuring a secure fit. Make sure not to overtighten the connections, as this can lead to damage or leaks.
- Connect to the water supply: Attach the other end of the supply lines to the shut-off valve. Again, use an adjustable wrench to secure the connections.
- Turn on the water supply: Slowly turn on the water supply by rotating the shut-off valve counterclockwise. Monitor the connections for any signs of leaks. If you notice any leaks, turn off the water supply immediately and tighten the connections as needed.
It is important to take your time during this step and ensure that all connections are properly tightened. A secure and leak-free connection will ensure the proper functioning of your pot filler faucet. Once you have connected the water supply lines, you can move on to the next step: installing the pot filler faucet.
Step 6: Install the Pot Filler Faucet
Now that the water supply lines are connected, it’s time to install the pot filler faucet onto the mounting bracket. Follow these steps to properly install the faucet:
- Align the faucet: Position the pot filler faucet so that it aligns with the mounting bracket. Carefully slide the faucet onto the bracket, ensuring that it is securely seated.
- Secure the faucet: Depending on the design of your pot filler faucet, it may have screws or locking mechanisms to secure it in place. Follow the manufacturer’s instructions to secure the faucet onto the mounting bracket. Use an adjustable wrench or screwdriver, if necessary.
- Check the alignment: Double-check the alignment of the pot filler faucet to ensure it is straight and level. Adjust the positioning, if needed, before moving on to the next step.
- Tighten the connections: Once the pot filler faucet is properly aligned, use an adjustable wrench to tighten the connections between the faucet and the water supply lines. Ensure that the connections are secure but be careful not to overtighten and cause damage.
- Test the functionality: With the pot filler faucet securely installed, turn on the water supply and test the functionality of the faucet. Check for any leaks or drips. Adjust the handles or knobs as needed to control the flow of water.
By following these steps, you will have successfully installed the pot filler faucet onto the mounting bracket. Take the time to ensure everything is tightly secured and aligned before moving on to the next step: testing for leaks.
Step 7: Test for Leaks
After installing the pot filler faucet, it is important to thoroughly test for any leaks to ensure that the installation was successful. Follow these steps to test for leaks:
- Turn on the water supply: Slowly turn on the water supply by rotating the shut-off valve counterclockwise. Allow the water to flow through the pot filler faucet.
- Inspect the connections: Carefully inspect the connections between the pot filler faucet and the water supply lines. Look for any signs of leakage, such as dripping water or moist areas around the connections.
- Check the joints: Examine the joints and the areas where the pot filler faucet is mounted on the wall. Look for any signs of water pooling or dripping. Pay close attention to the areas around the mounting bracket and the faucet handles or knobs.
- Listen for unusual sounds: While the water is flowing, listen for any unusual sounds, such as hissing or vibration. These sounds can indicate a potential issue with the water flow or a loose connection.
- Monitor for a few minutes: Allow the water to flow for a few minutes and continue to observe the connections and the surrounding area. Look for any slow drips or gradual increases in water leakage.
- Fix any leaks: If you notice any leaks during the testing phase, turn off the water supply immediately and address the issue. Tighten any loose connections or use plumber’s tape to create a better seal. If the problem persists, consider consulting a professional plumber for assistance.
Testing for leaks is an essential step to ensure the proper functioning of your pot filler faucet. By identifying and addressing any leaks early on, you can prevent water damage and achieve a successful installation. Once you have confirmed that there are no leaks, you can move on to the final step: cleaning and finishing the installation.
Step 8: Clean and Finish the Installation
Once you have successfully installed the pot filler faucet and tested for leaks, it’s time to clean up and put the finishing touches on the installation. Follow these steps to complete the process:
- Turn off the water supply: Before proceeding with the cleaning and finishing, turn off the water supply by rotating the shut-off valve clockwise.
- Wipe down the faucet: Use a clean, damp cloth to wipe down the pot filler faucet and remove any fingerprints, dirt, or debris that may have accumulated during the installation. Dry the faucet thoroughly to prevent water spots.
- Clean the surrounding area: Clean the surrounding area, including the countertop or backsplash, to remove any dust, debris, or excess plumber’s tape. Use a gentle cleaner or mild soap and water to ensure a clean surface.
- Reposition any furniture or objects: If you had to move any furniture, appliances, or other objects during the installation process, now is the time to reposition them back to their original places. Ensure that everything is properly aligned and secure.
- Inspect the installation: Take a final look at the pot filler faucet installation to ensure that everything is in order. Check the alignment of the faucet, the stability of the mounting bracket, and the proper functioning of the handles or knobs.
- Enjoy your new pot filler faucet: With the installation complete, you can now enjoy the convenience and functionality of your pot filler faucet. Fill pots and pans directly at the cooking area without the need to carry them to the sink.
Congratulations! You have successfully installed a pot filler faucet in your kitchen. By following these steps and taking the time to ensure a proper installation, you can enjoy the benefits of easy access to water while cooking.
If you encounter any issues or concerns during or after the installation, it is always recommended to consult a professional plumber for assistance. They can provide expert guidance and ensure that your pot filler faucet is installed correctly and safely.
Remember to inspect and maintain your pot filler faucet periodically to ensure its continued functionality. Regular cleaning and routine checks for leaks will help prolong the life of your faucet and keep it in optimal condition.
Now, go ahead and make use of your new pot filler faucet to simplify your cooking tasks and enhance your kitchen experience!
Conclusion
Installing a pot filler faucet in your kitchen can greatly enhance your cooking experience by providing convenience and efficiency. By following the step-by-step process outlined in this guide, you can successfully install a pot filler faucet and enjoy the benefits it brings.
From gathering the necessary tools and materials to determining the location, preparing the wall, connecting the water supply lines, and finally installing and testing for leaks, each step is crucial to ensure a safe and functional installation.
Remember to take your time, follow the manufacturer’s instructions, and exercise caution when working with plumbing fixtures. If you are unsure or uncomfortable with any aspect of the installation, it is always wise to seek the assistance of a professional plumber.
Once your pot filler faucet is installed, don’t forget to regularly inspect and maintain it to ensure its longevity. Clean the faucet and surrounding area, check for leaks, and make any necessary adjustments to keep it in optimal working condition.
Now that you have completed the installation, you can enjoy the convenience of filling pots and pans directly at your cooking area. No more carrying heavy pots from the sink to the stove or dealing with splashing water.
We hope this guide has been helpful in guiding you through the process of installing a pot filler faucet. With your new kitchen addition, you can elevate your cooking experience and make your time in the kitchen more enjoyable.
Happy cooking with your new pot filler faucet!
Finished mastering the installation of your pot filler faucet? Why stop there? Dive into our next guide on upgrading your kitchen's functionality with a practical and stylish addition. Our detailed walkthrough on installing a kitchen faucet with a sprayer ensures you won't miss a beat. With clear steps and helpful tips, you'll enhance your kitchen's capabilities in no time.
Frequently Asked Questions about How To Install A Pot Filler Faucet
Was this page helpful?
At Storables.com, we guarantee accurate and reliable information. Our content, validated by Expert Board Contributors, is crafted following stringent Editorial Policies. We're committed to providing you with well-researched, expert-backed insights for all your informational needs.


0 thoughts on “How To Install A Pot Filler Faucet”