Articles
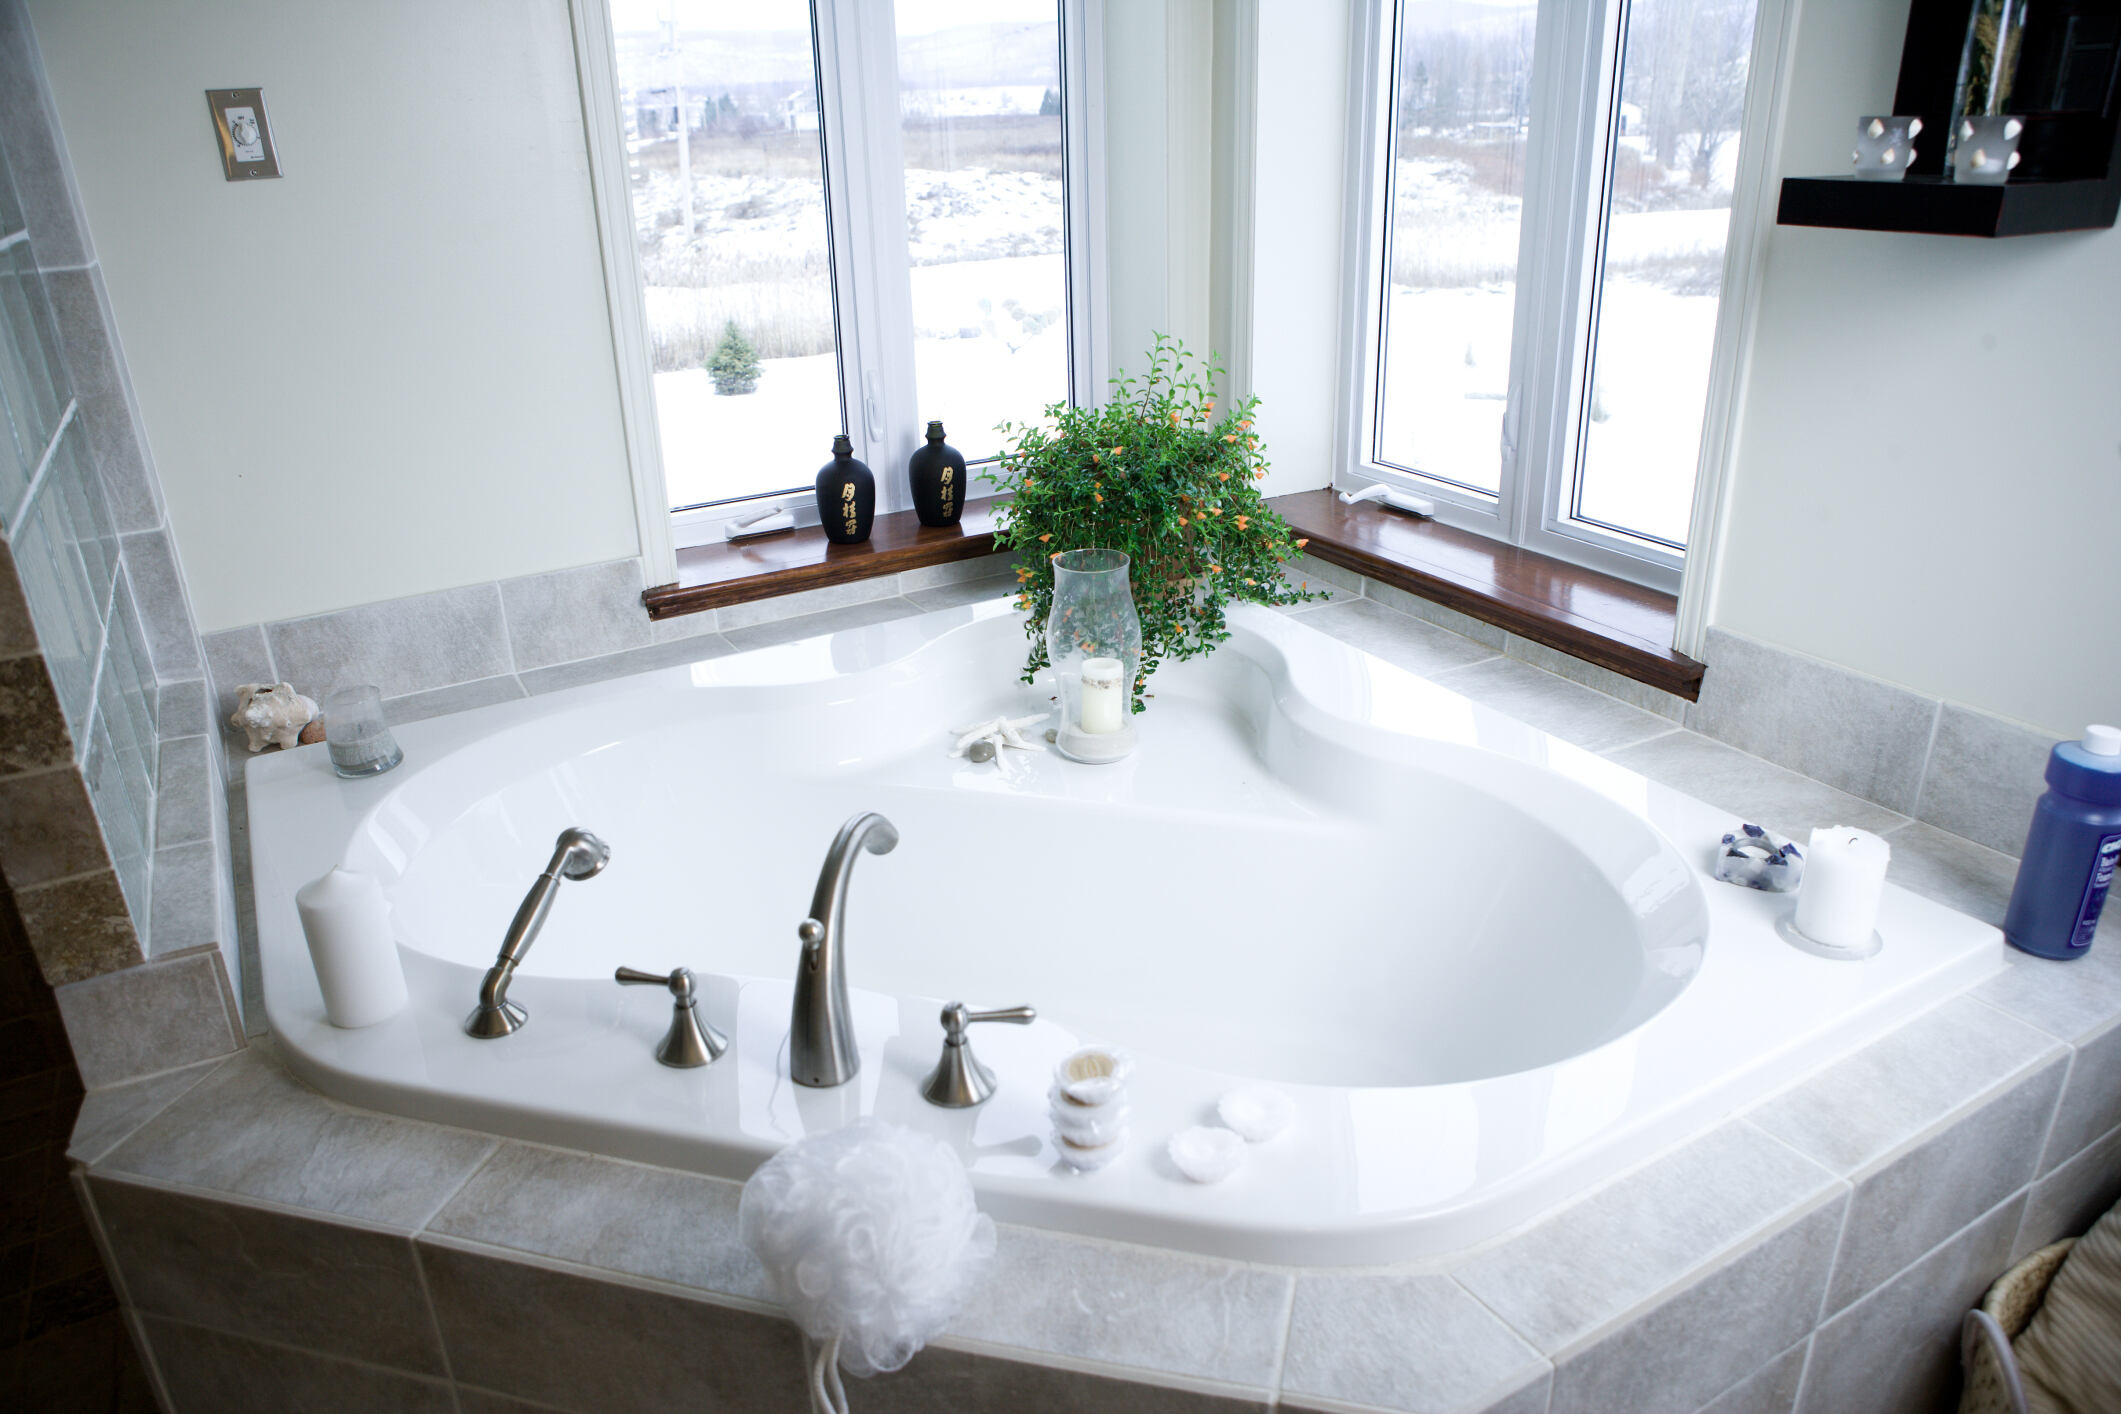
How To Install A Bathtub Faucet
Modified: October 21, 2024
Learn the step-by-step process of installing a bathtub faucet with our comprehensive articles. Gain the knowledge and confidence to tackle this DIY home improvement project.
(Many of the links in this article redirect to a specific reviewed product. Your purchase of these products through affiliate links helps to generate commission for Storables.com, at no extra cost. Learn more)
Introduction
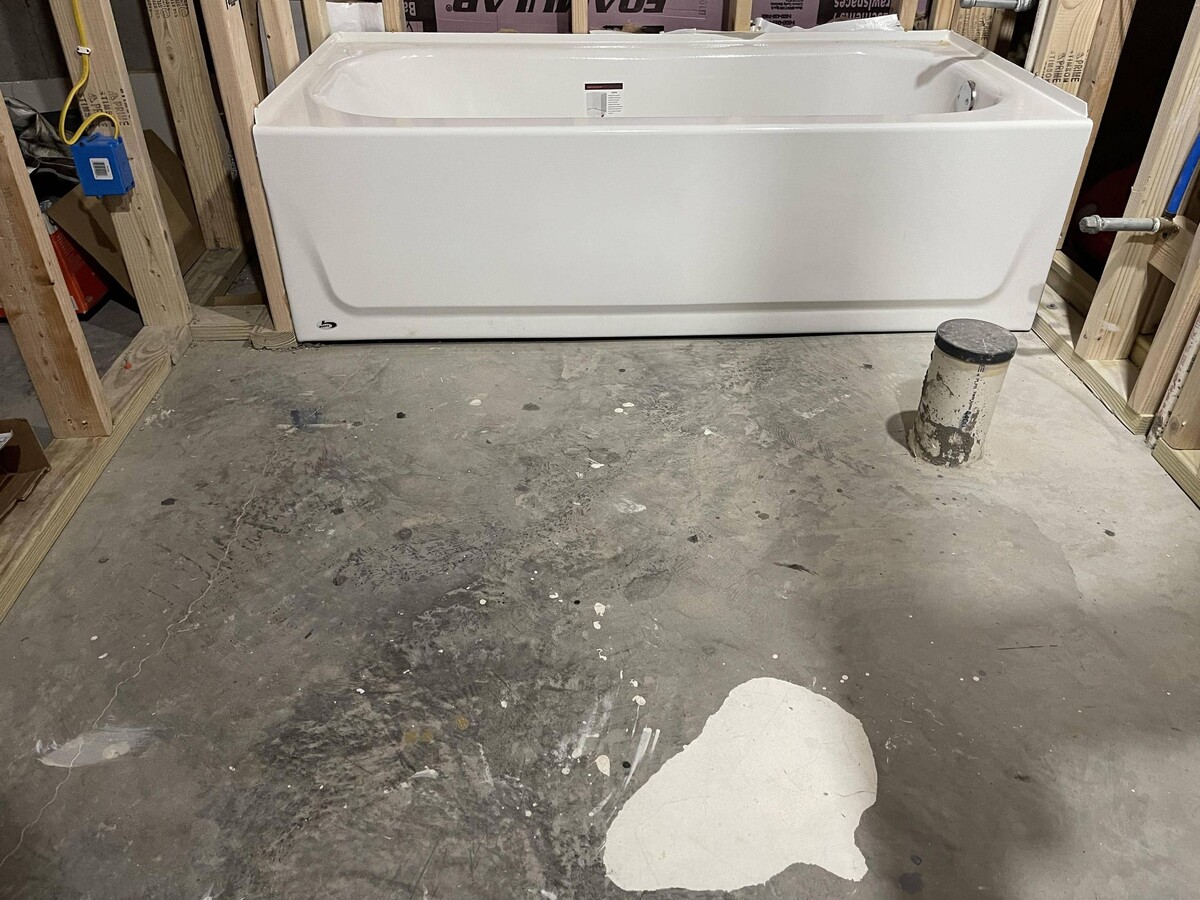
Installing a new bathtub faucet can greatly enhance the look and functionality of your bathroom. Whether you are replacing an old, outdated faucet or simply upgrading to a more modern style, this step-by-step guide will walk you through the process. With a few basic tools and some patience, you can have a new bathtub faucet installed and ready to use in no time.
Before getting started, it’s important to note that the specific steps outlined in this guide may vary depending on the type of bathtub faucet you are installing. Be sure to consult the manufacturer’s instructions for your specific faucet model for any additional or alternative steps.
Now, let’s dive into the process of installing a bathtub faucet.
Key Takeaways:
- Upgrade your bathroom with a new bathtub faucet to enhance functionality and aesthetics. Follow the step-by-step guide for a rewarding DIY project.
- Ensure a successful installation by carefully removing the old faucet, preparing the new one, and testing for leaks. Enjoy the improved functionality and fresh look!
Read more: How To Install Bathtub Plumbing
Step 1: Gathering the necessary tools and materials
Before you begin the installation process, it’s important to gather all the necessary tools and materials. Here’s a list of items you’ll need:
- Adjustable wrench
- Plumber’s tape
- Screwdriver
- Putty knife
- Plumbers’ putty
- New bathtub faucet
- Flexibility and adaptability
The adjustable wrench will be used to loosen and tighten the connections of the old and new faucet. Plumber’s tape is essential for creating a watertight seal on the threaded connections. A screwdriver may be needed to remove any screws securing the old faucet in place. The putty knife will come in handy for removing any old caulk or putty from around the faucet area. Plumbers’ putty is used to create a watertight seal between the faucet and the bathtub surface. And of course, you’ll need a new bathtub faucet to install.
Make sure to check the instructions provided with the new faucet for any specific tools or materials that may be required.
Once you have gathered all the necessary tools and materials, you’ll be ready to move on to the next step: removing the old faucet.
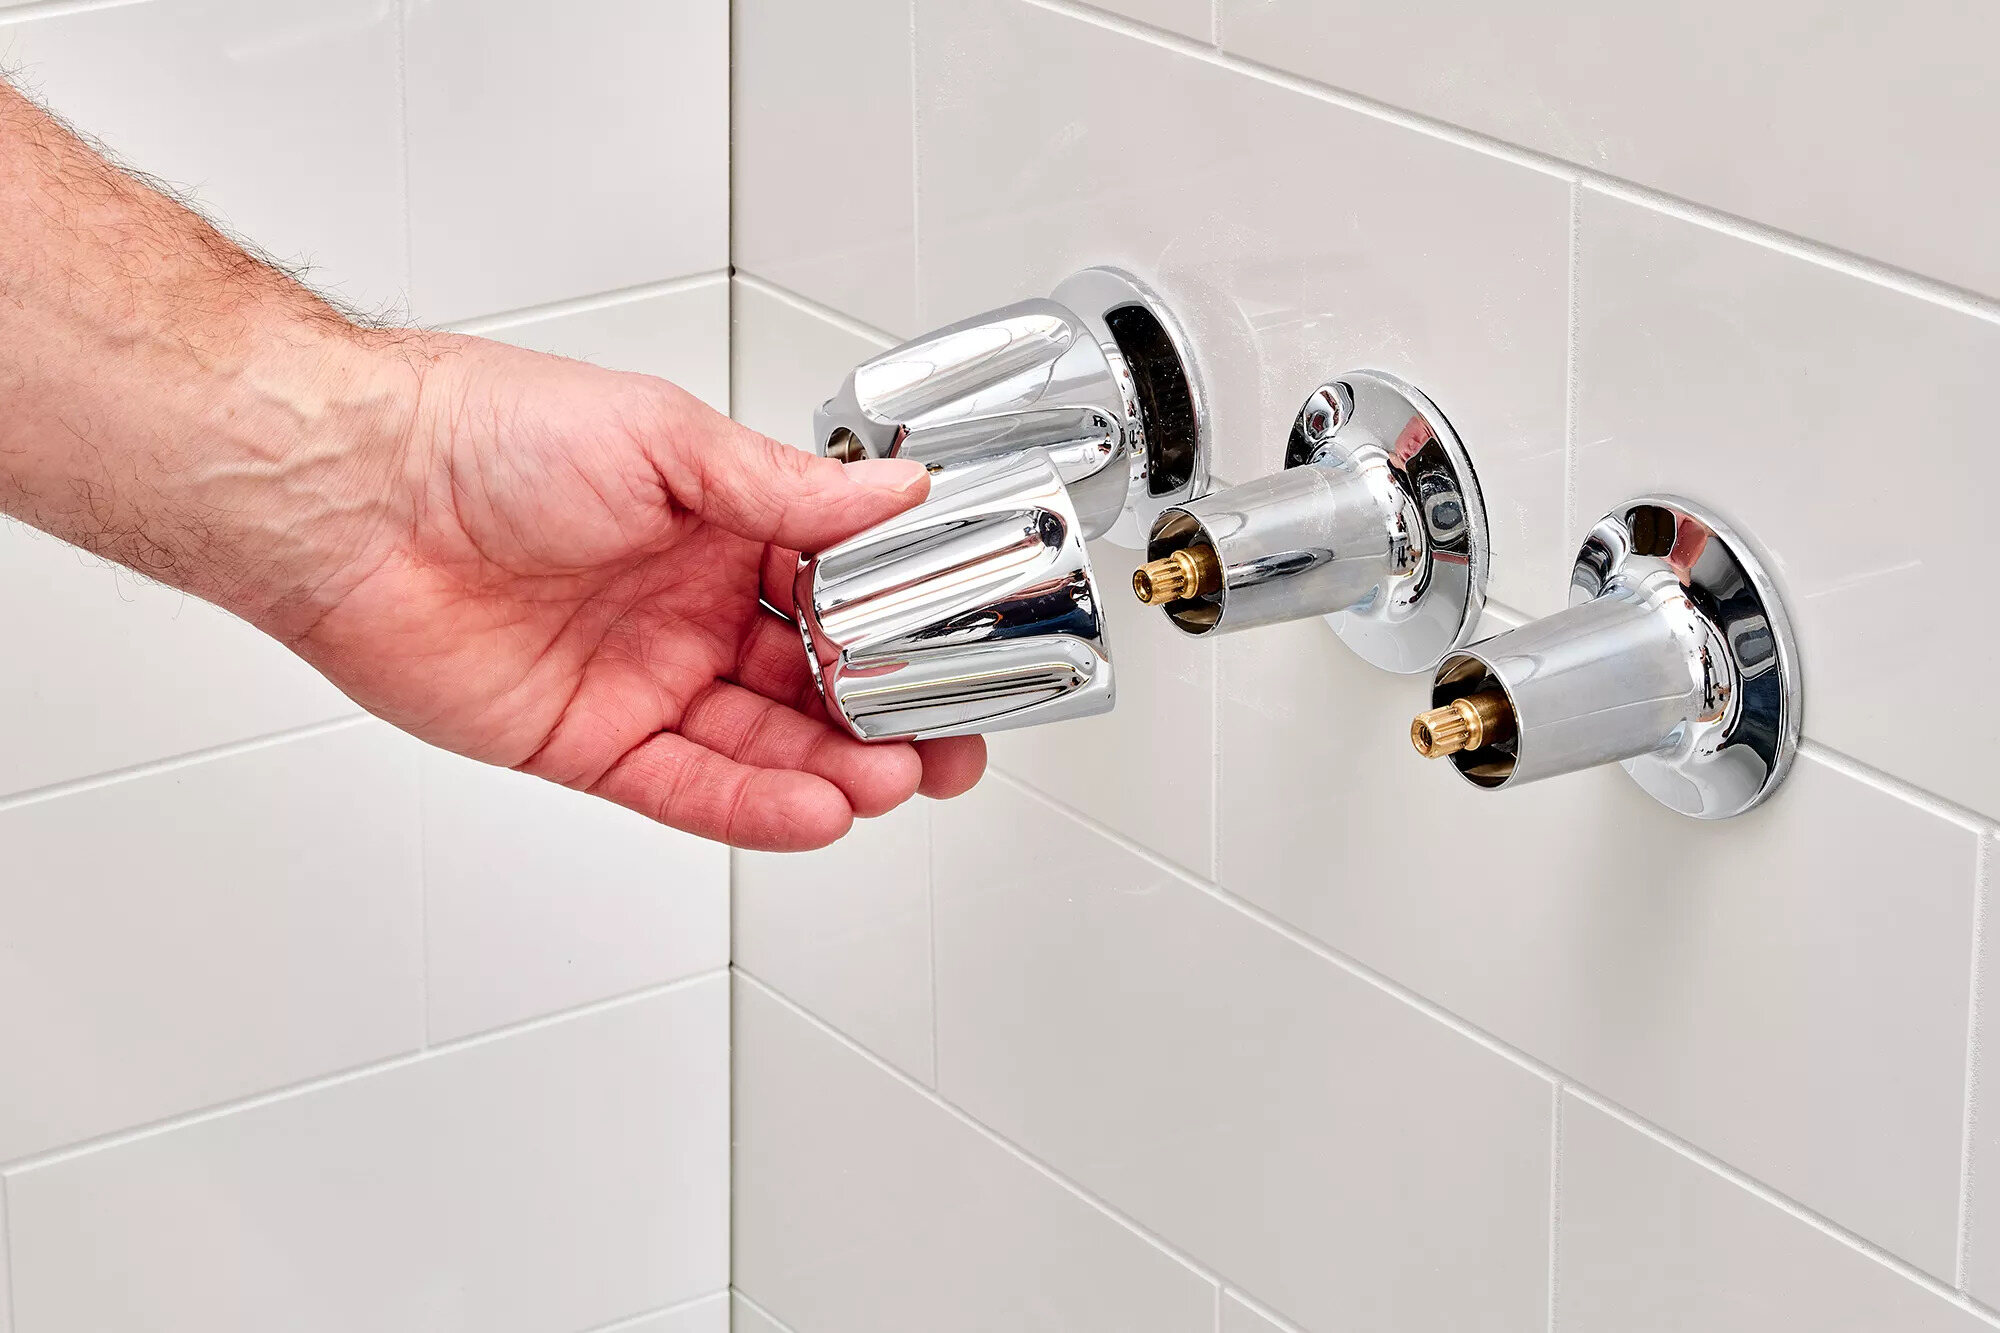
Step 2: Removing the old faucet
Before you can install a new bathtub faucet, you’ll need to remove the old one. Follow these steps to remove the old faucet:
- Turn off the water supply: Locate the shut-off valves for the bathtub and turn them clockwise to shut off the water supply. If there are no shut-off valves, you may need to shut off the main water supply to your home.
- Release any pressure: Turn on the faucet to release any remaining water pressure.
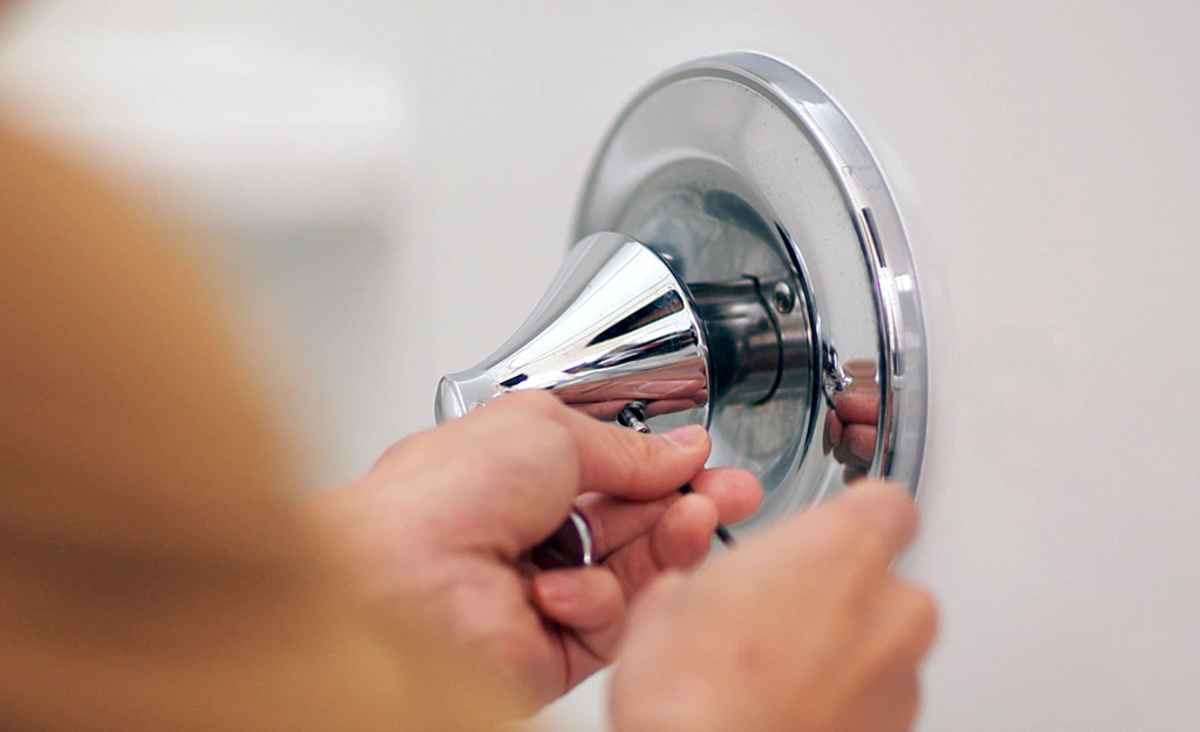
- Remove the handle and trim: Use a screwdriver to remove any screws holding the handle and trim plate in place. Once the screws are removed, carefully pull off the handle and trim plate.
- Disconnect the supply lines: Use an adjustable wrench to disconnect the supply lines from the faucet. Place a small bucket or towel under the connections to catch any water that may still be in the lines.
- Remove the retaining nuts: Locate the retaining nuts that hold the faucet in place and use an adjustable wrench to loosen and remove them.
- Detach the faucet: With the retaining nuts removed, you should be able to pull the old faucet away from the bathtub surface. If it’s stuck, gently use a putty knife or pry bar to carefully separate it.
- Clean the area: Once the old faucet is removed, use a putty knife to scrape away any old caulk or putty residue from the bathtub surface. Wipe the area clean with a damp cloth.
With the old faucet successfully removed, you’re now ready to move on to the next step: preparing the new faucet for installation.
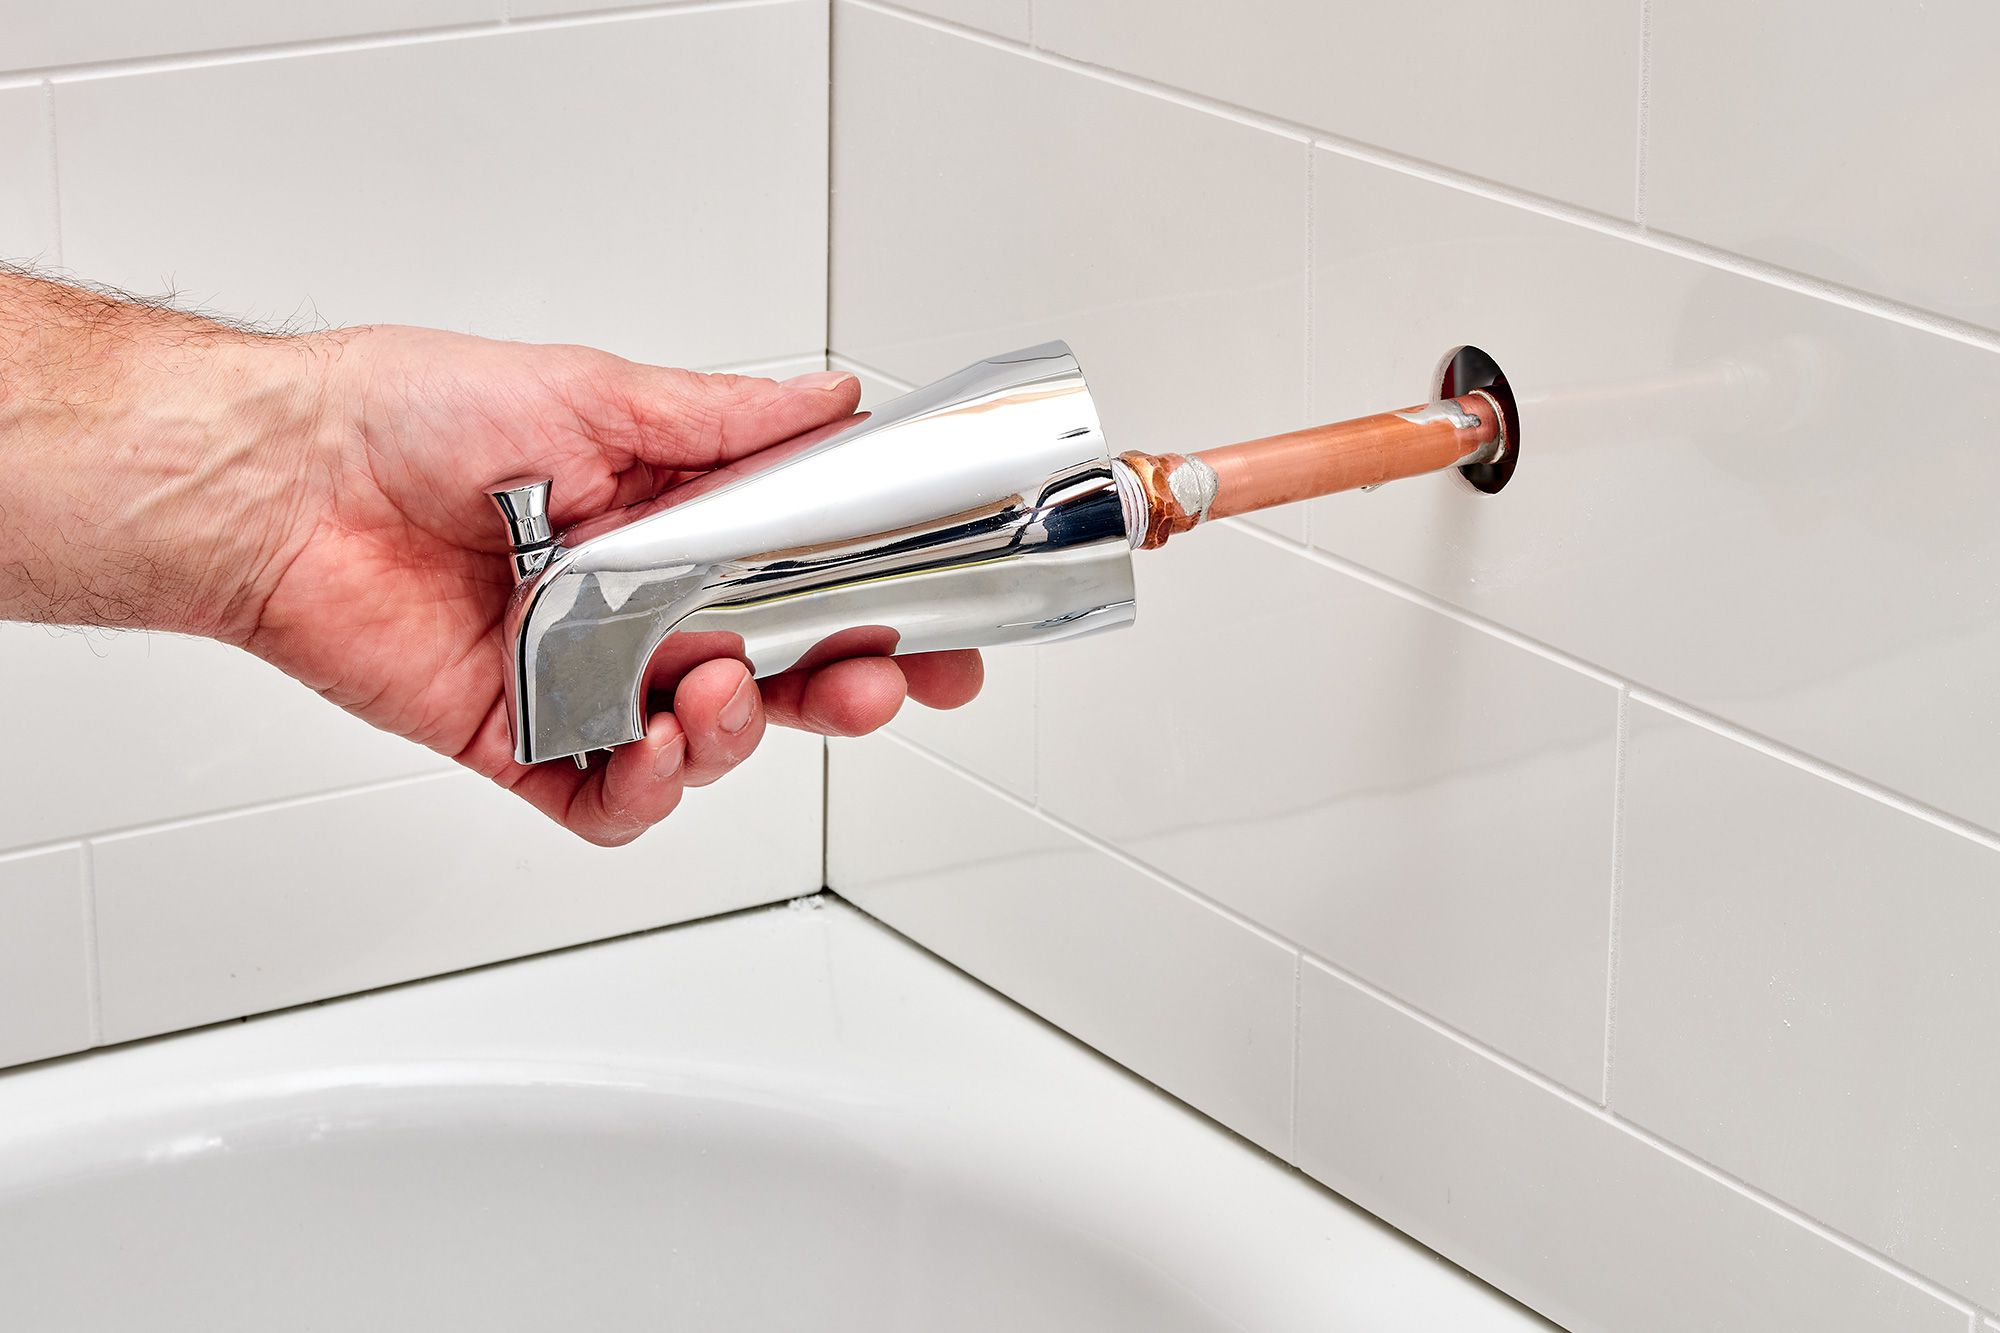
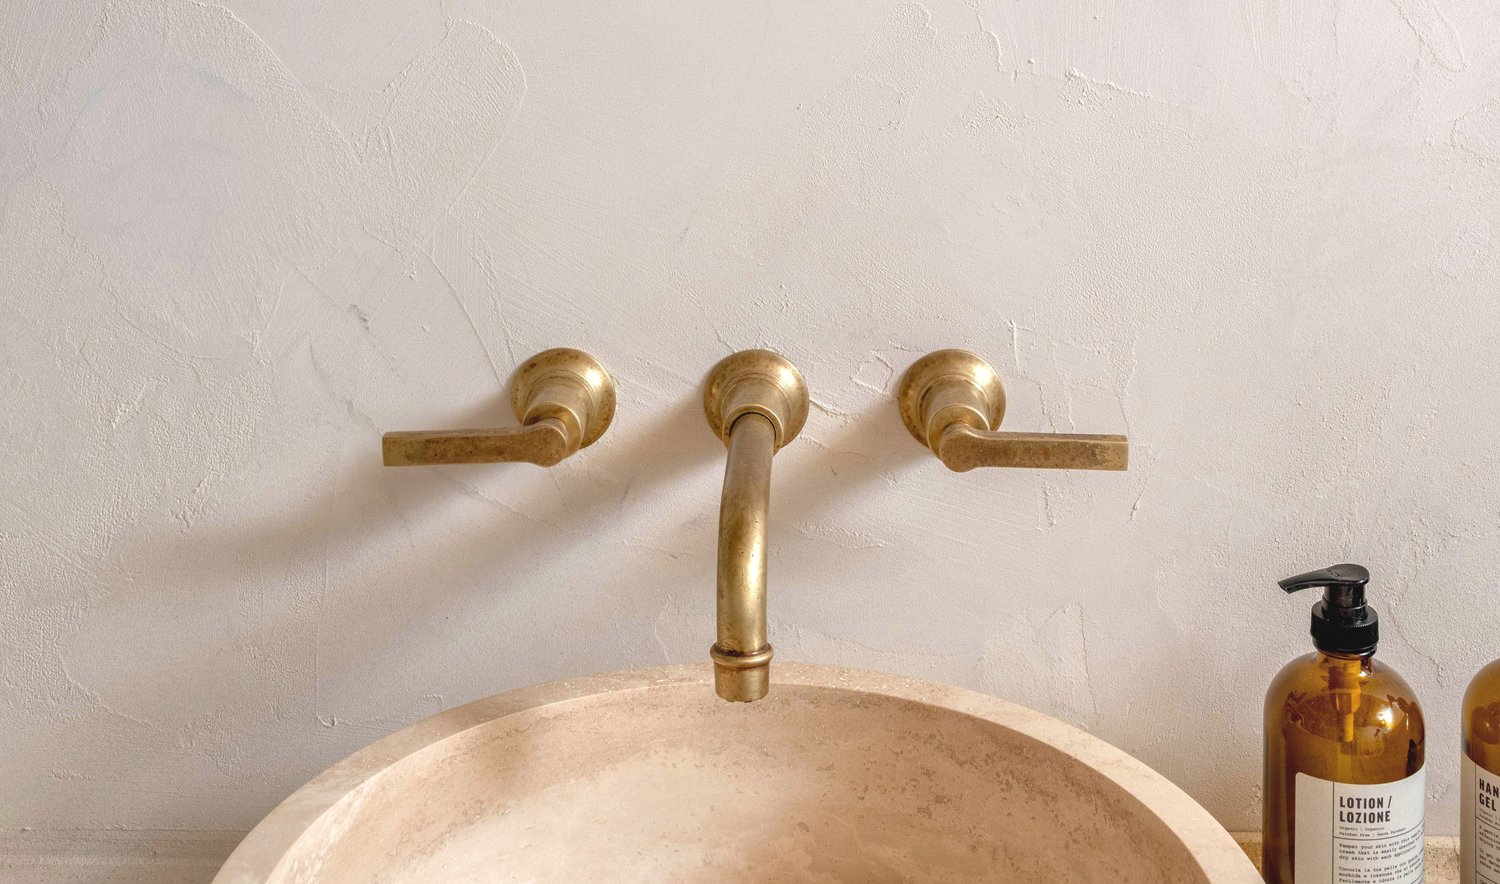
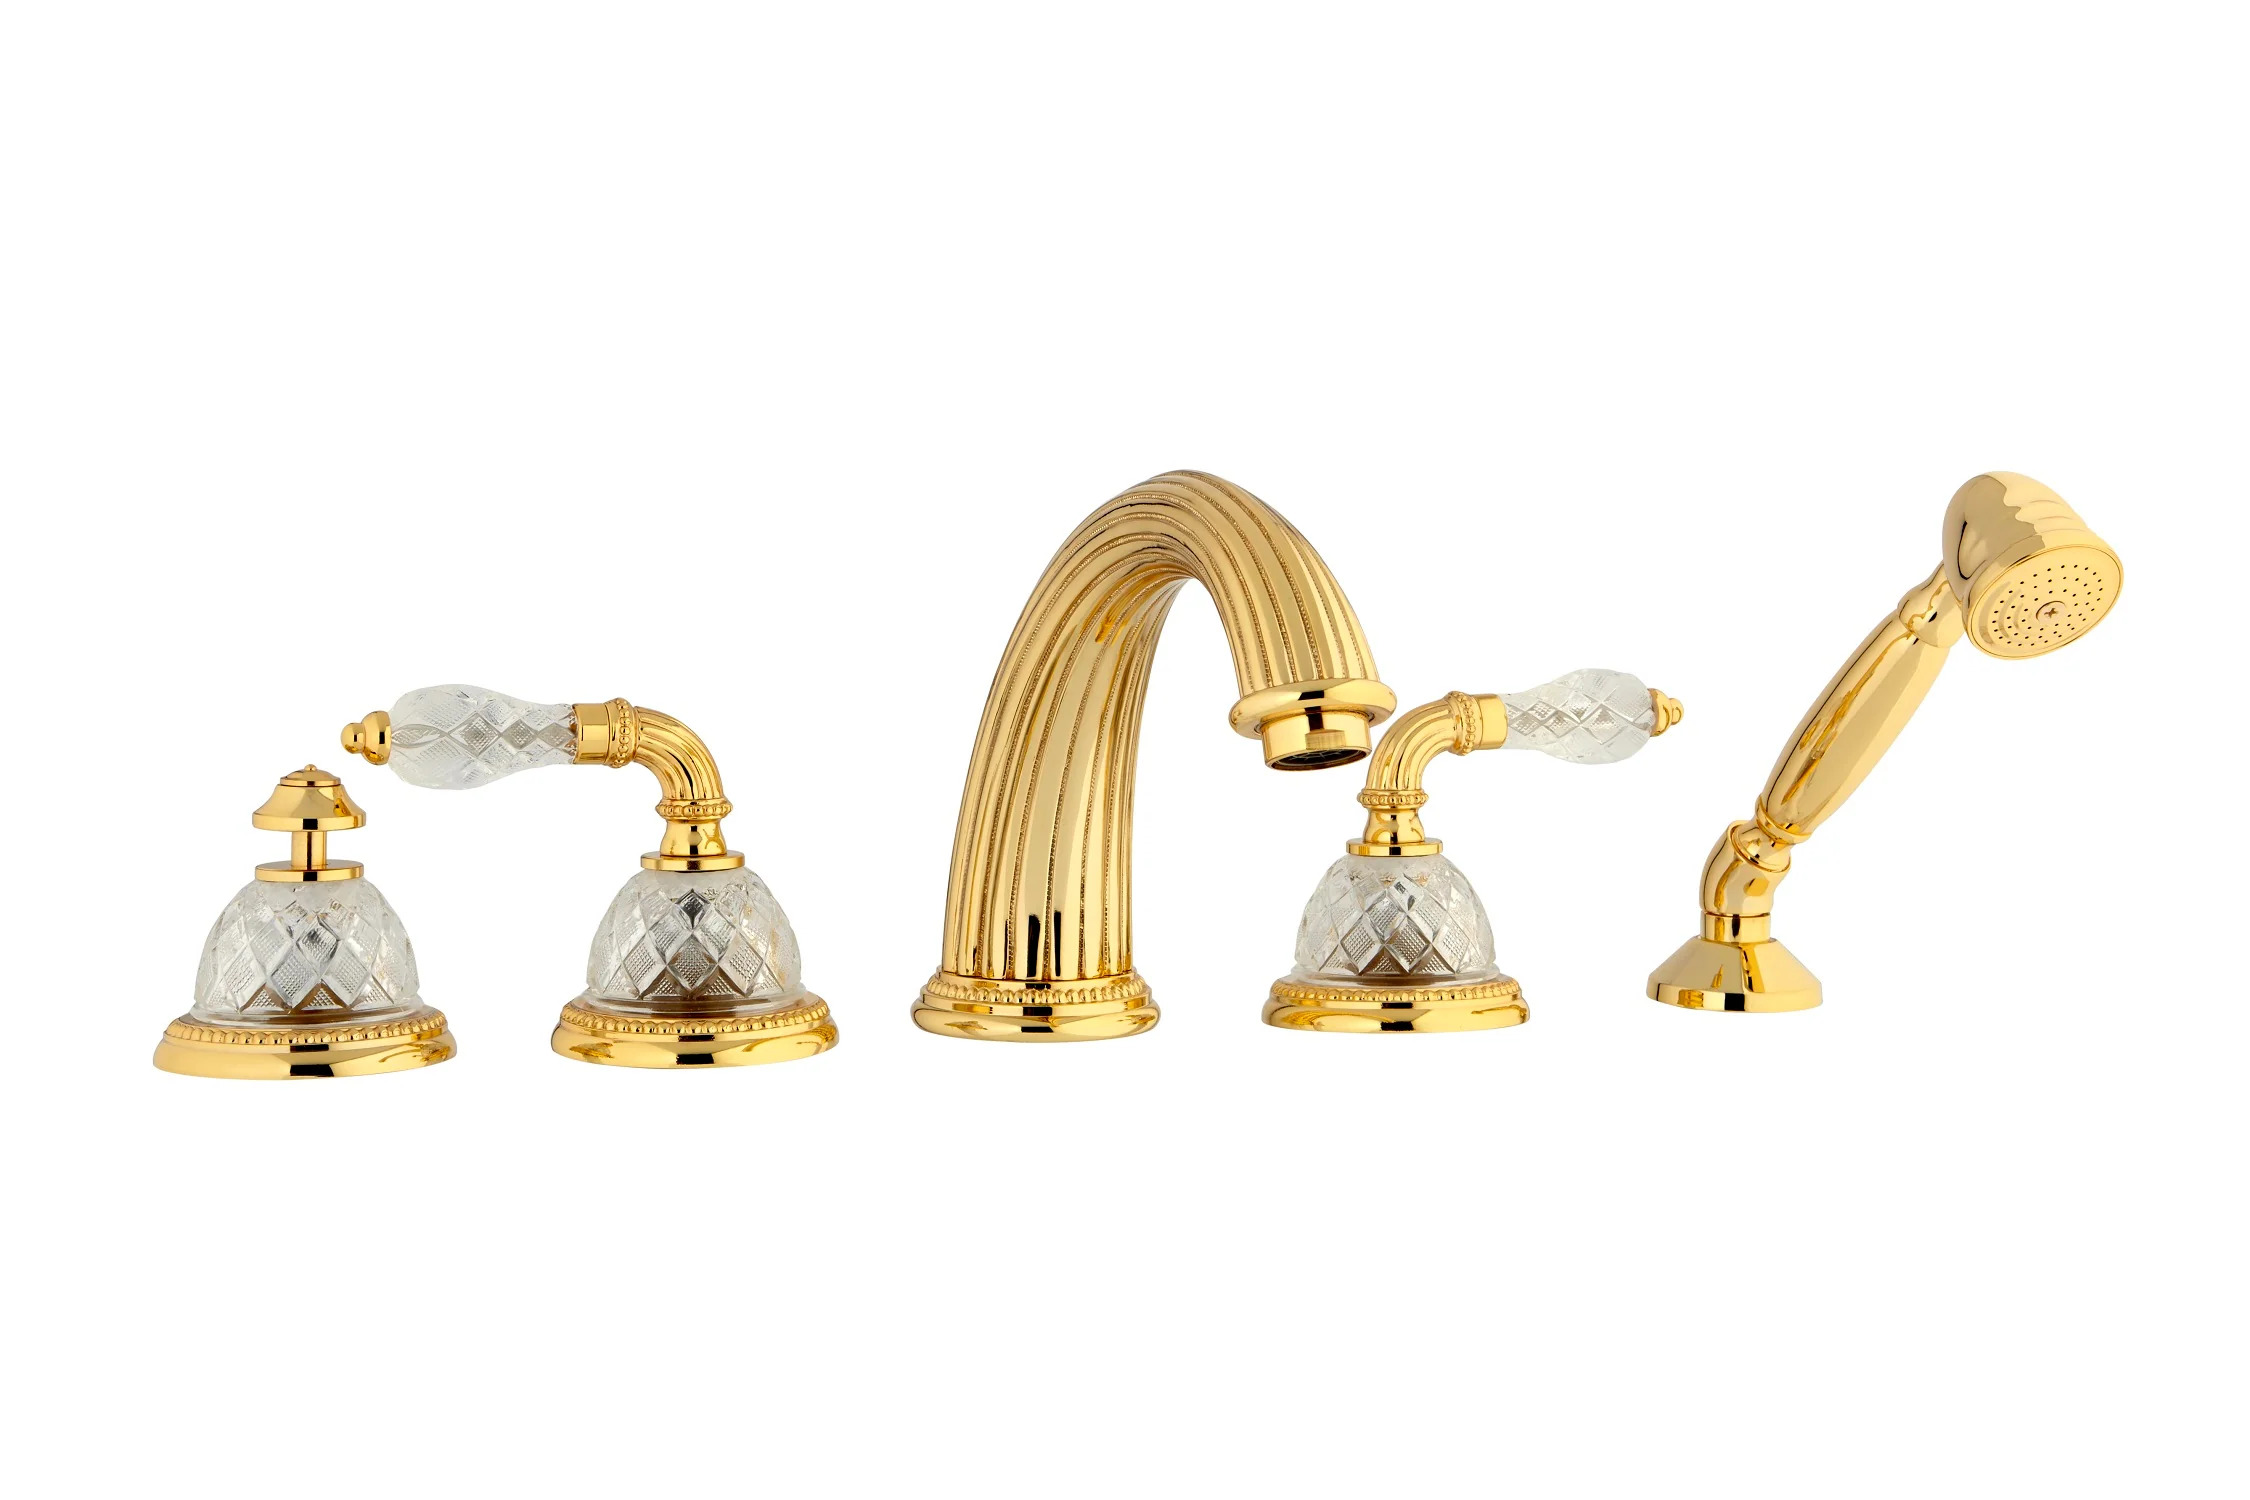
Step 3: Preparing the new faucet for installation
Now that you have removed the old faucet, it’s time to prepare the new faucet for installation. Follow these steps to ensure that the new faucet is ready to be installed:
- Read the manufacturer’s instructions: Before proceeding, carefully read the instructions provided by the manufacturer for your specific faucet model. This will ensure that you follow any specific guidelines or recommendations.
- Apply plumber’s tape: Take a roll of plumber’s tape and wrap it clockwise around the threads of the faucet connections. This will create a watertight seal between the faucet and the plumbing.
- Attach any necessary adapters: Depending on your specific faucet and plumbing configuration, you may need to attach adapters or fittings before installing the faucet. Follow the manufacturer’s instructions for this step.
- Apply plumbers’ putty: Take a small amount of plumbers’ putty in your hands and roll it into a thin rope. Press the putty around the base of the faucet, ensuring that it forms a tight seal against the bathtub surface.
- Place the new faucet: Carefully position the new faucet over the mounting holes on the bathtub surface. Make sure that the faucet is aligned properly and level.
- Tighten the retaining nuts: Underneath the bathtub, use an adjustable wrench to tighten the retaining nuts onto the faucet connections. This will secure the faucet in place.
- Clean up any excess putty: Wipe away any excess plumbers’ putty that may have squeezed out during the installation process.
With the new faucet properly prepared, it’s time to move on to the next step: installing the new faucet.
When installing a bathtub faucet, make sure to use plumber’s tape on the threads to prevent leaks. Tighten the faucet securely, but be careful not to over-tighten and damage the fittings.
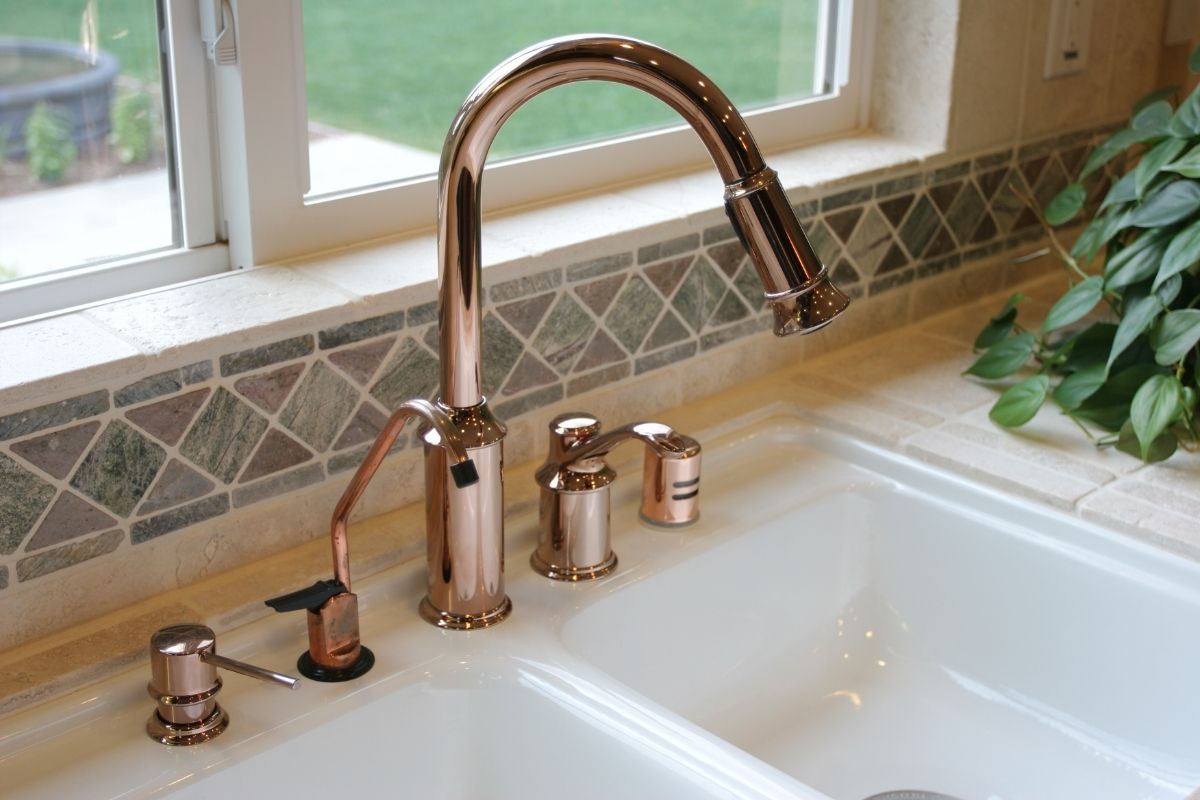
Step 4: Installing the new faucet
With the new faucet prepared and ready to go, it’s time to install it in your bathtub. Follow these steps to ensure a successful installation:
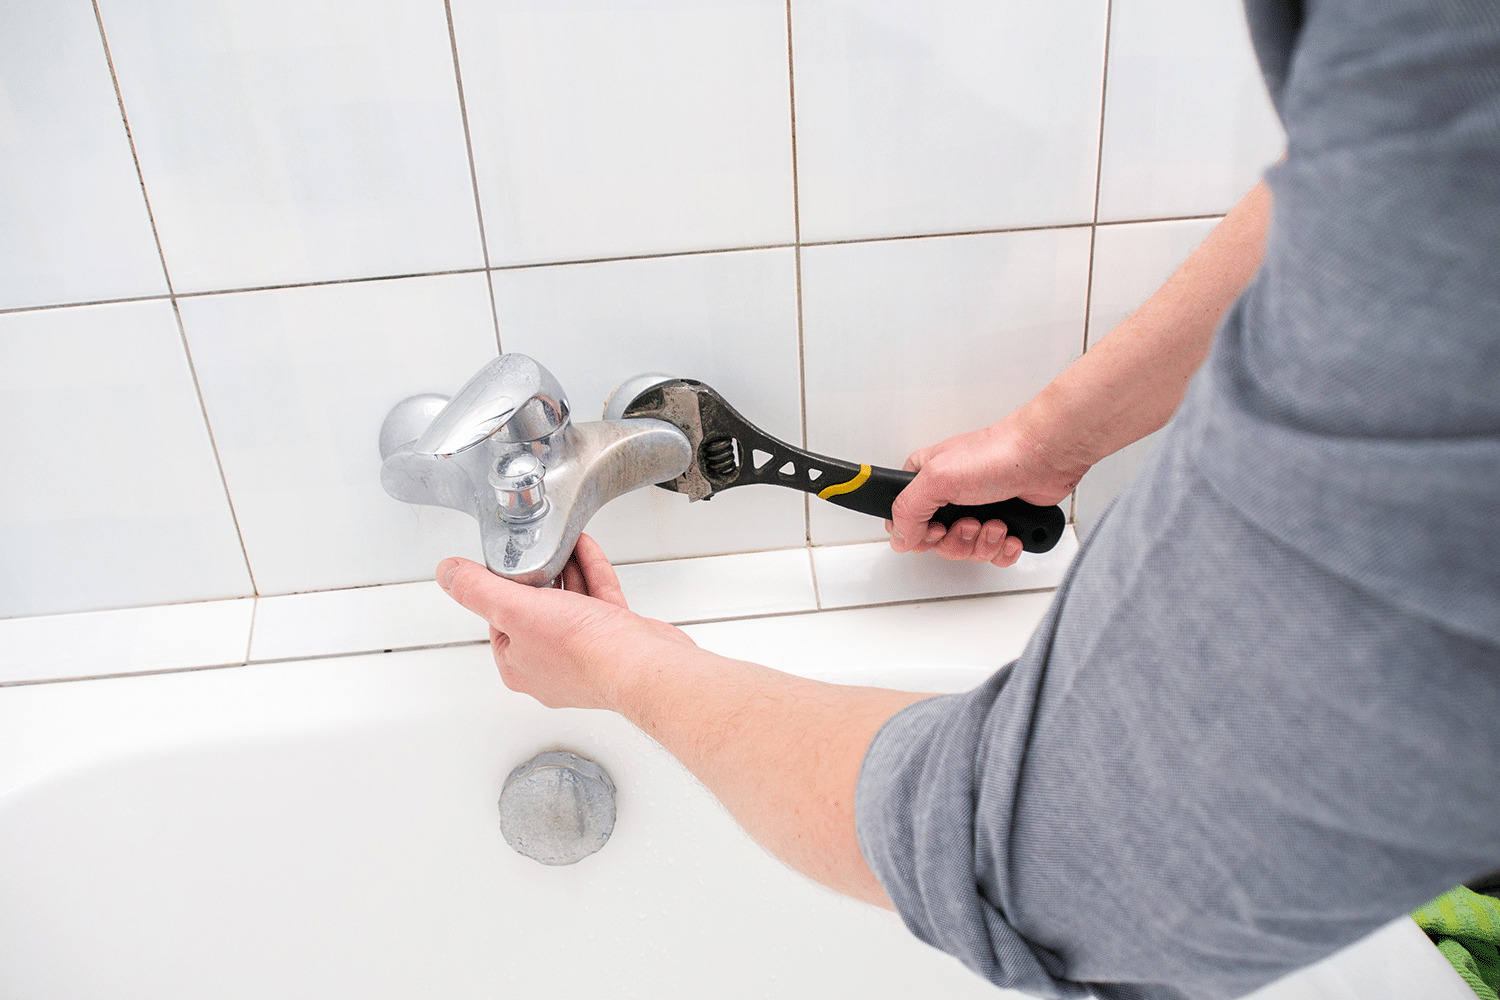
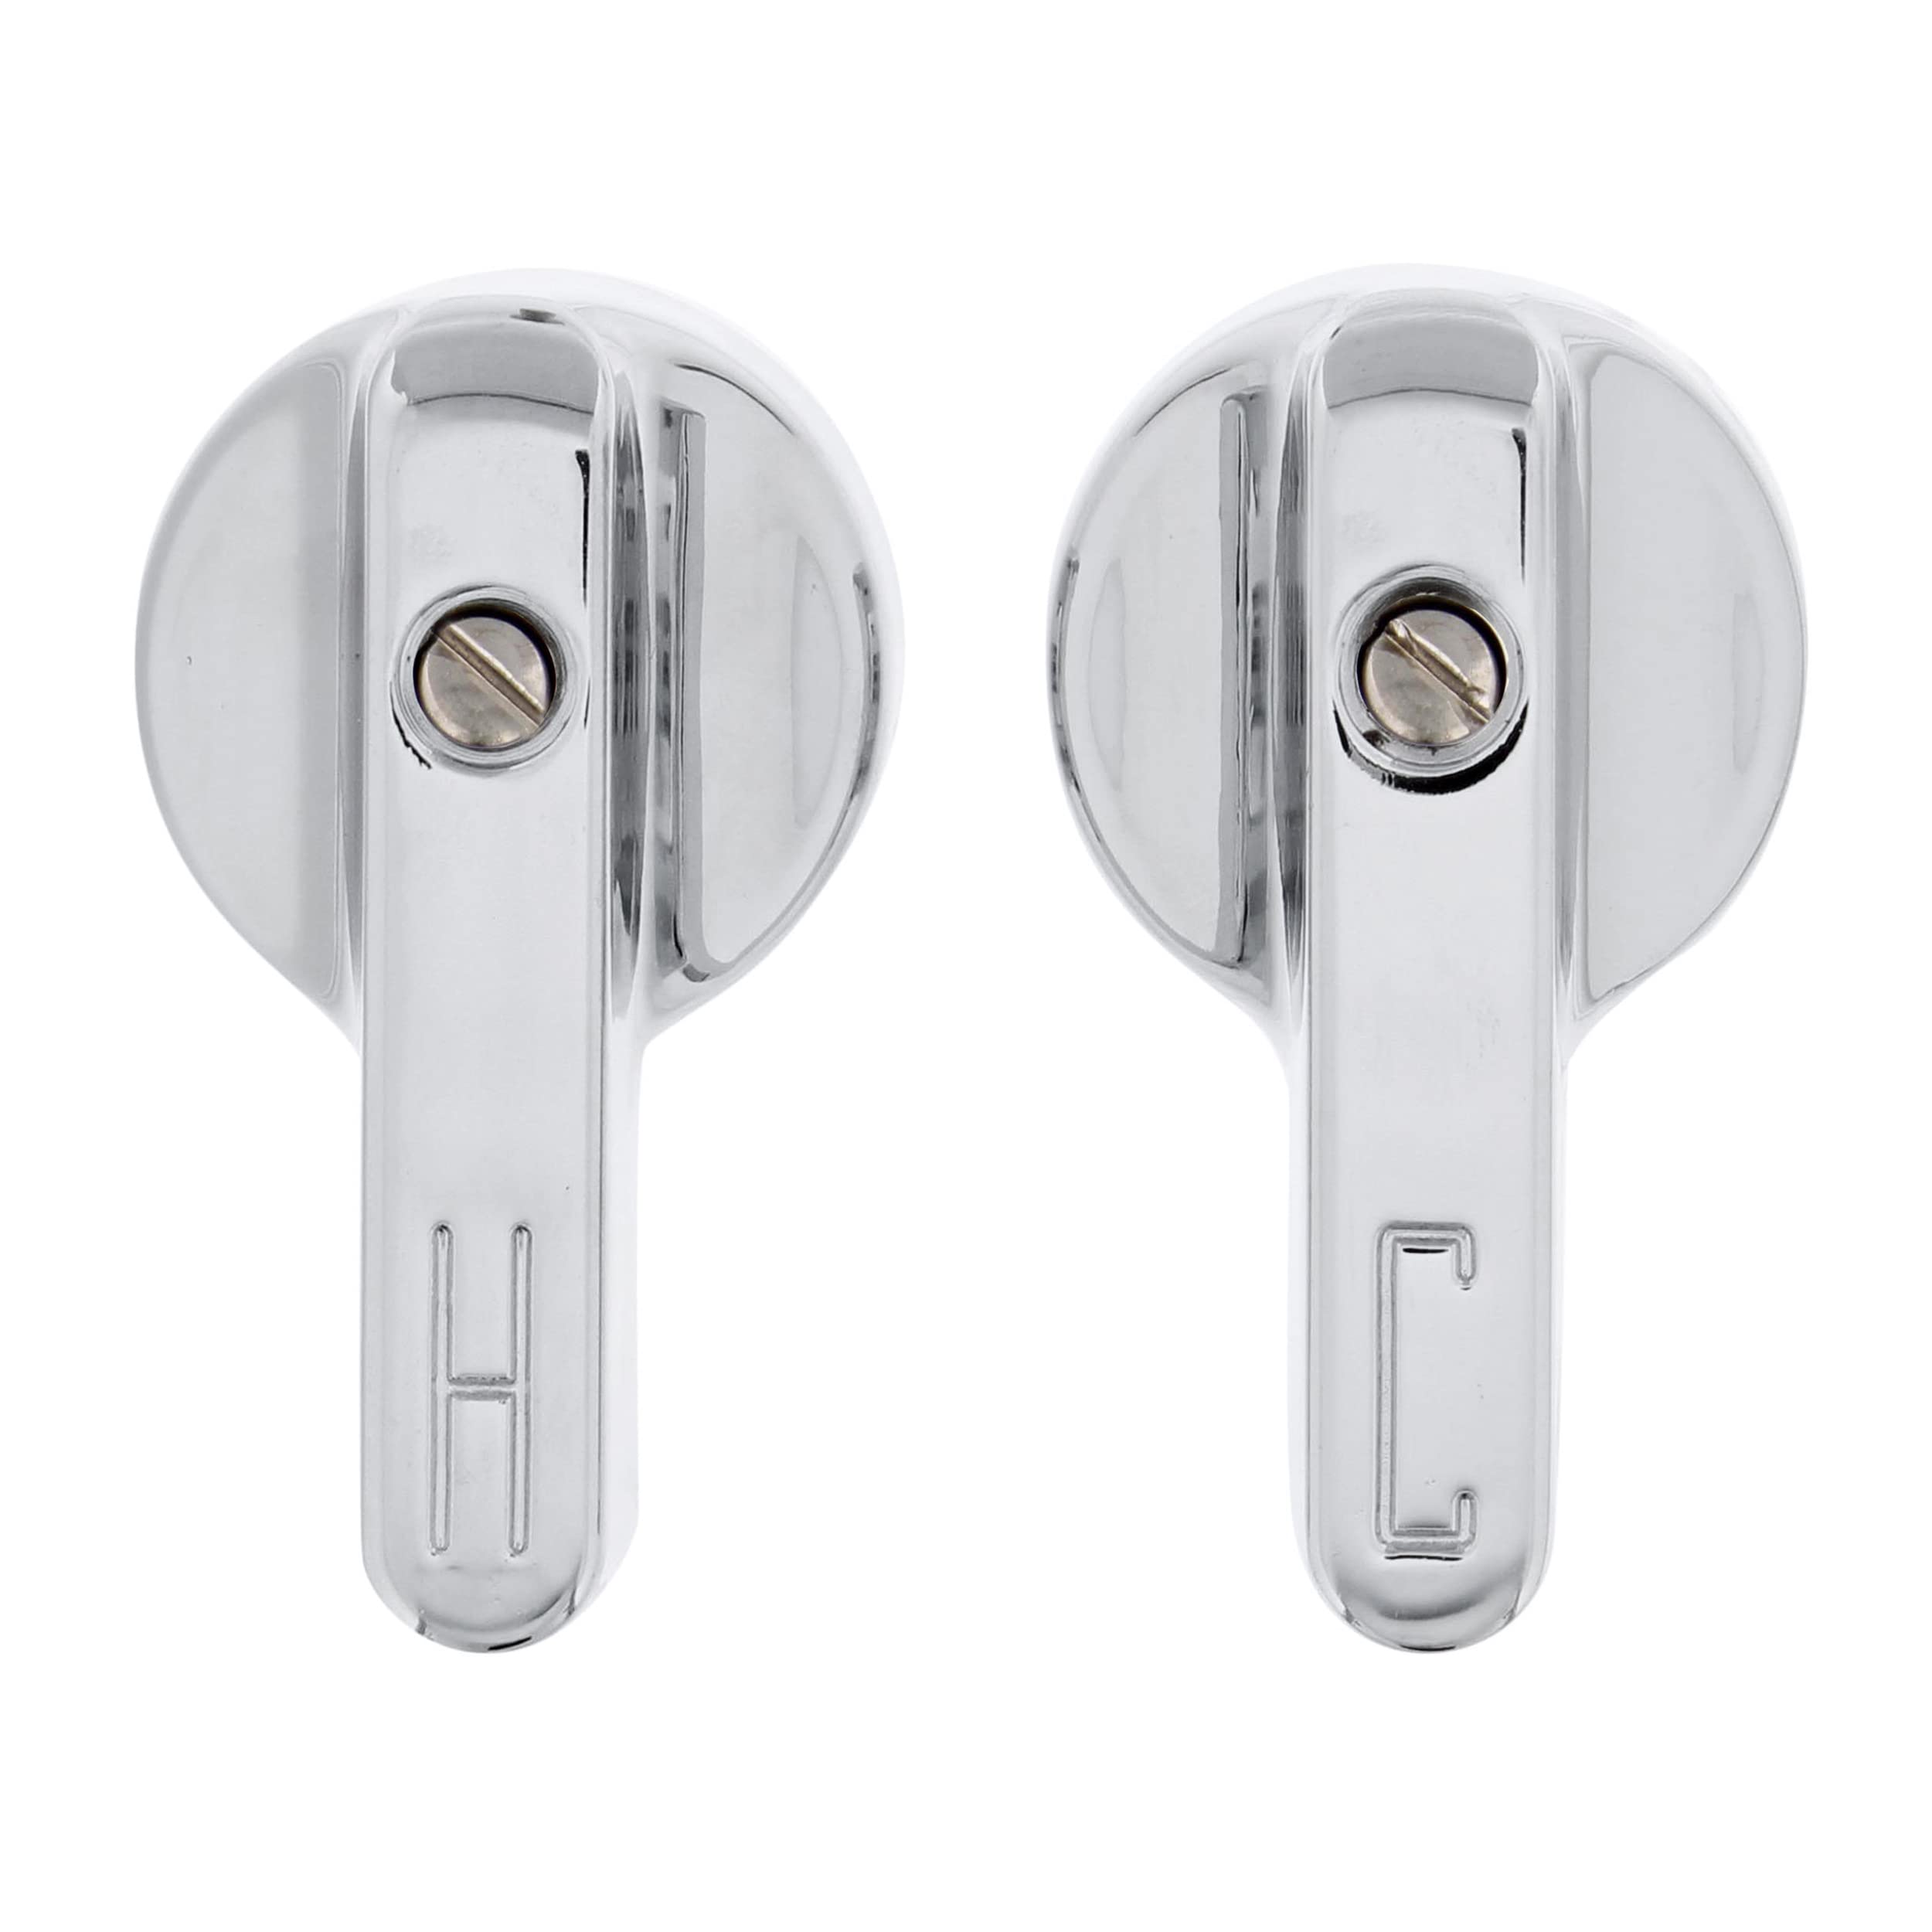
- Connect the supply lines: Attach the supply lines from your plumbing to the corresponding hot and cold water connections on the faucet. Use an adjustable wrench to tighten the connections, but be careful not to overtighten.
- Secure the faucet trim: If your faucet has a separate trim plate or escutcheon, align it with the faucet and secure it in place using any screws provided.
- Check the alignment: Ensure that the faucet is properly centered and aligned with the bathtub. Adjust as necessary.
- Tighten the mounting nuts: Underneath the bathtub, use an adjustable wrench to tighten the mounting nuts onto the faucet connections. Be careful not to overtighten, as this could damage the faucet or the bathtub surface.
- Check for leaks: Turn on the water supply and slowly open the faucet handles. Check for any leaks around the connections or the faucet itself. If you notice any leaks, turn off the water supply and tighten the connections further.
- Test the functionality: Once you have confirmed that there are no leaks, fully open and close the faucet handles to ensure proper functionality. Check for any issues such as dripping or difficulty in turning the handles.
With the new faucet securely installed and functioning correctly, you’re almost done. Just one more step remains: testing the faucet for leaks.
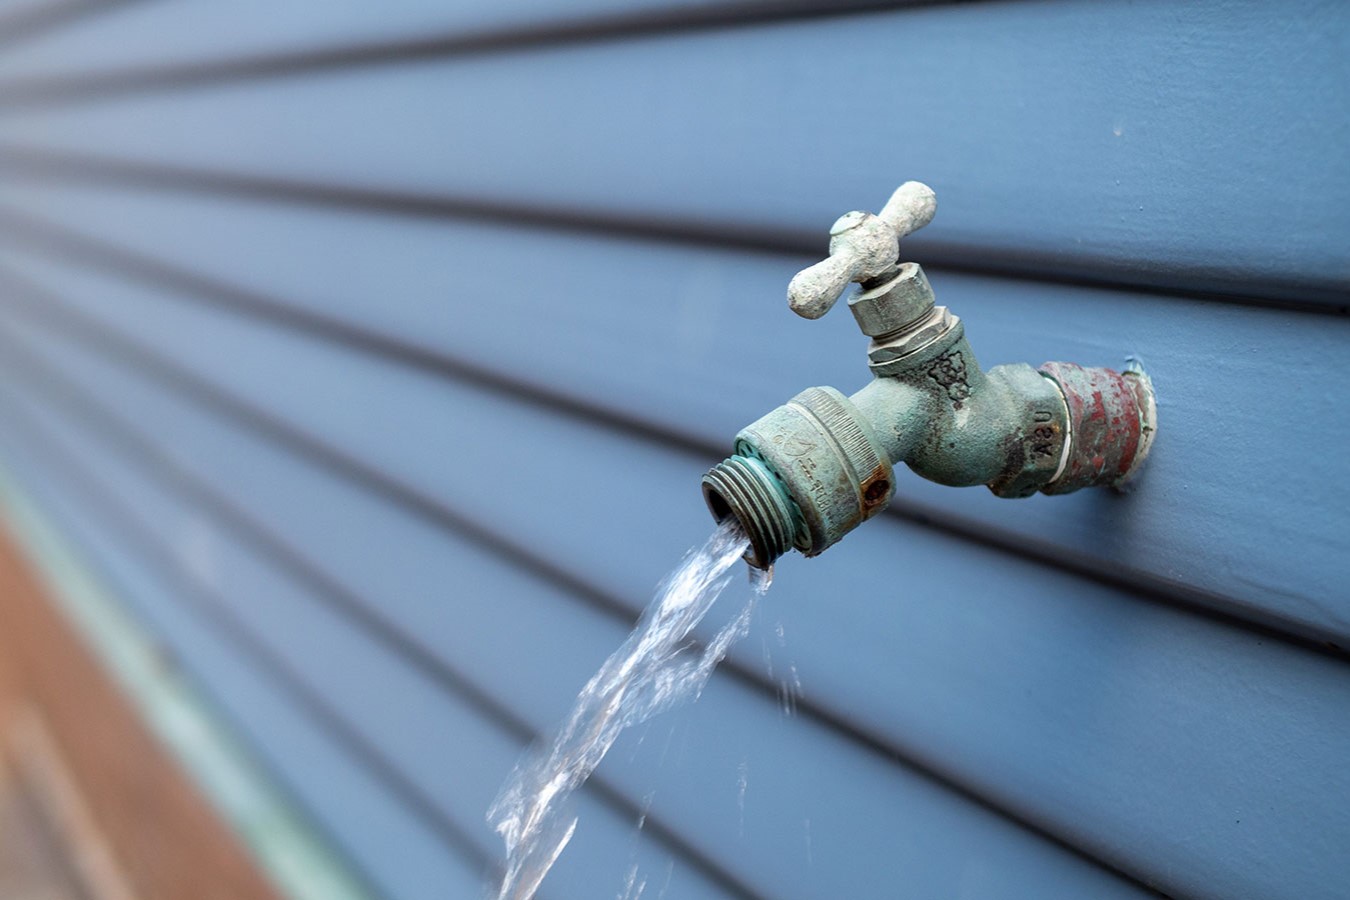
Read more: How To Install An Outdoor Faucet
Step 5: Testing the faucet for leaks
After installing a new bathtub faucet, it’s crucial to test it for any potential leaks before considering the job complete. Follow these steps to ensure your faucet is leak-free:
- Turn on the water supply: Make sure the shut-off valves under the bathtub are fully open to allow water to flow into the faucet.
- Inspect the connections: Carefully examine the connections between the supply lines and the faucet to check for any signs of leaks. Pay close attention to the areas where the connections were tightened.
- Check for drips or water accumulation: Look for any dripping water or water pooling around the base of the faucet. Even a small leak can lead to bigger problems if left unaddressed.
- Inspect the faucet handles and spout: Turn the faucet handles on and off to ensure they operate smoothly without any leaks. Also, check the spout for any signs of water leakage.
- Test the showerhead (if applicable): If your bathtub faucet includes a showerhead, turn it on to check for any leaks or irregular water flow.
- Make necessary adjustments: If you notice any leaks or issues, turn off the water supply and use an adjustable wrench to tighten the connections as needed. Avoid overtightening, as it can damage the faucet or cause leaks later.
- Recheck for leaks: Once you’ve made adjustments, repeat the previous steps to ensure the faucet is entirely leak-free.
By conducting a thorough leak test, you can prevent potential water damage and ensure the longevity of your new faucet. If you encounter persistent leaks or other issues, it may be worthwhile to consult a professional plumber for assistance.
Congratulations! You have now successfully installed and tested your new bathtub faucet. Enjoy the improved functionality and aesthetic appeal it brings to your bathroom.
Conclusion
Installing a new bathtub faucet can be a rewarding and relatively straightforward project that can instantly transform the look and usability of your bathroom. By following the steps outlined in this guide, you can successfully remove the old faucet, prepare the new faucet, install it properly, and test it for leaks.
Remember to always consult the manufacturer’s instructions specific to your faucet model and take the necessary safety precautions throughout the installation process. Don’t rush the job – take your time to ensure each step is carried out accurately and securely.
Aside from the practical benefits of installing a new faucet, such as improved water flow and functionality, a new faucet can also enhance the aesthetic appeal of your bathroom. Choose a style that complements your existing decor and personal preferences, and enjoy the fresh and updated look it brings to your space.
If at any point you feel unsure or overwhelmed, it’s always a good idea to seek the guidance of a professional plumber. They can provide expert advice, ensure proper installation, and troubleshoot any issues that may arise during the process.
Now that you have the knowledge and the confidence to install a new bathtub faucet, it’s time to get started and create the bathroom of your dreams.
Frequently Asked Questions about How To Install A Bathtub Faucet
Was this page helpful?
At Storables.com, we guarantee accurate and reliable information. Our content, validated by Expert Board Contributors, is crafted following stringent Editorial Policies. We're committed to providing you with well-researched, expert-backed insights for all your informational needs.


0 thoughts on “How To Install A Bathtub Faucet”