Home>Home Maintenance>How To Install Dryer Vent In Wall
Home Maintenance
How To Install Dryer Vent In Wall
Modified: October 20, 2024
Learn how to properly install a dryer vent in your wall with our step-by-step guide. Ensure your home maintenance is done correctly.
(Many of the links in this article redirect to a specific reviewed product. Your purchase of these products through affiliate links helps to generate commission for Storables.com, at no extra cost. Learn more)
Introduction
Welcome to our comprehensive guide on how to install a dryer vent in a wall. Proper ventilation is crucial for the maintenance of your dryer’s efficiency and safety. By directing hot air and lint to the exterior of your home, a dryer vent prevents potential fire hazards and helps your dryer perform optimally. Installing a dryer vent in the wall not only saves space but also ensures a clean and seamless appearance in your laundry area.
In this step-by-step guide, we will walk you through the process of installing a dryer vent in a wall, from gathering the necessary materials to testing the vent for proper functioning. By following these steps, you can ensure a successful installation and enjoy the benefits of a well-ventilated and efficient dryer.
Key Takeaways:
- Proper dryer vent installation ensures safety, efficiency, and space-saving. Gather materials, choose the right location, and test the vent for optimal functionality to enjoy a well-ventilated and efficient dryer.
- Installing a dryer vent in the wall prevents fire hazards and maintains dryer performance. Follow step-by-step instructions, secure ductwork, and test for proper functioning to ensure safety and longevity.
Read more: How To Install A Recessed Dryer Vent
Step 1: Gather the necessary materials
The first step in installing a dryer vent in a wall is to gather all the materials you will need for the installation process. Having the right tools and equipment on hand will ensure a smooth and efficient installation. Here is a list of the materials you will need:
- Dryer vent kit: This typically includes a vent cover, ductwork, clamps, and screws.
- Cordless drill: You will need this to create the opening in the wall and secure the vent cover.
- Hole saw: Choose a hole saw that matches the diameter of your vent cover.
- Measuring tape: Use a measuring tape to determine the exact location and dimensions for the vent opening.
- Pencil: A pencil will come in handy for marking the measurements on the wall.
- Level: Ensure that your vent opening is level to maintain proper ventilation.
- Safety goggles and gloves: Protect your eyes and hands while working with tools.
- Ladder or step stool: Depending on the height of your wall, a ladder or step stool will help you reach the installation area.
Before you begin the installation process, double-check that you have all the necessary materials. It is important to use high-quality materials to ensure the durability and longevity of your dryer vent.
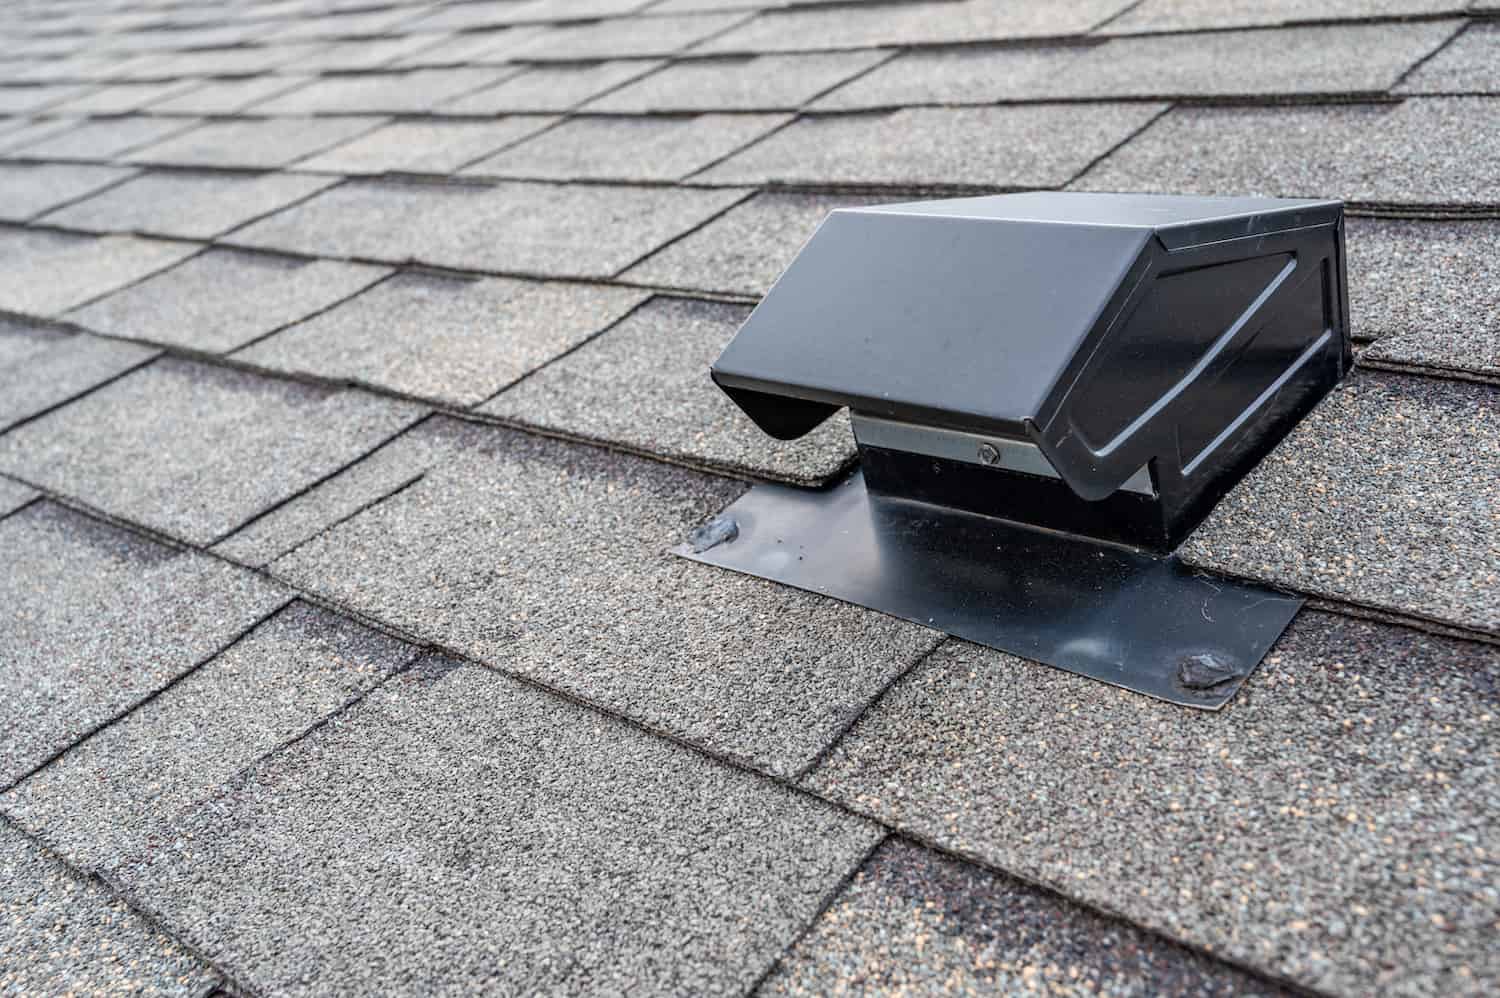
Step 2: Determine the best location for the dryer vent
Choosing the right location for your dryer vent is essential for its efficient operation and aesthetic appeal. Take the following factors into consideration when deciding on the placement:
- Proximity to the dryer: The location of the vent should be as close to the dryer as possible to minimize the length of the ductwork needed. This helps improve the efficiency and effectiveness of the venting process.
- Safety precautions: Select a location away from flammable materials, such as curtains or wooden structures, to prevent potential fire hazards. Also, ensure that the vent is positioned at least several feet above the ground to prevent water from entering during heavy rains or floods.
- Exterior accessibility: The chosen location should be easily accessible from the exterior of your home, as this is where the vent cover will be installed. Avoid areas with obstructions or difficult access points.
- Avoiding obstructions: Check for any pre-existing obstructions, such as electrical wiring, plumbing, or structural elements, in the chosen location. Altering or compromising these elements can cause additional problems and complications during the installation process.
- Structural considerations: Take into account the wall’s construction material, such as wood, drywall, or brick, when selecting the location. Different materials may require specific tools and techniques for installation.
Once you have assessed these factors, carefully choose a location that meets your requirements. Mark the spot on the wall using a pencil to indicate where the vent will be installed. This will serve as your guide during the installation process.
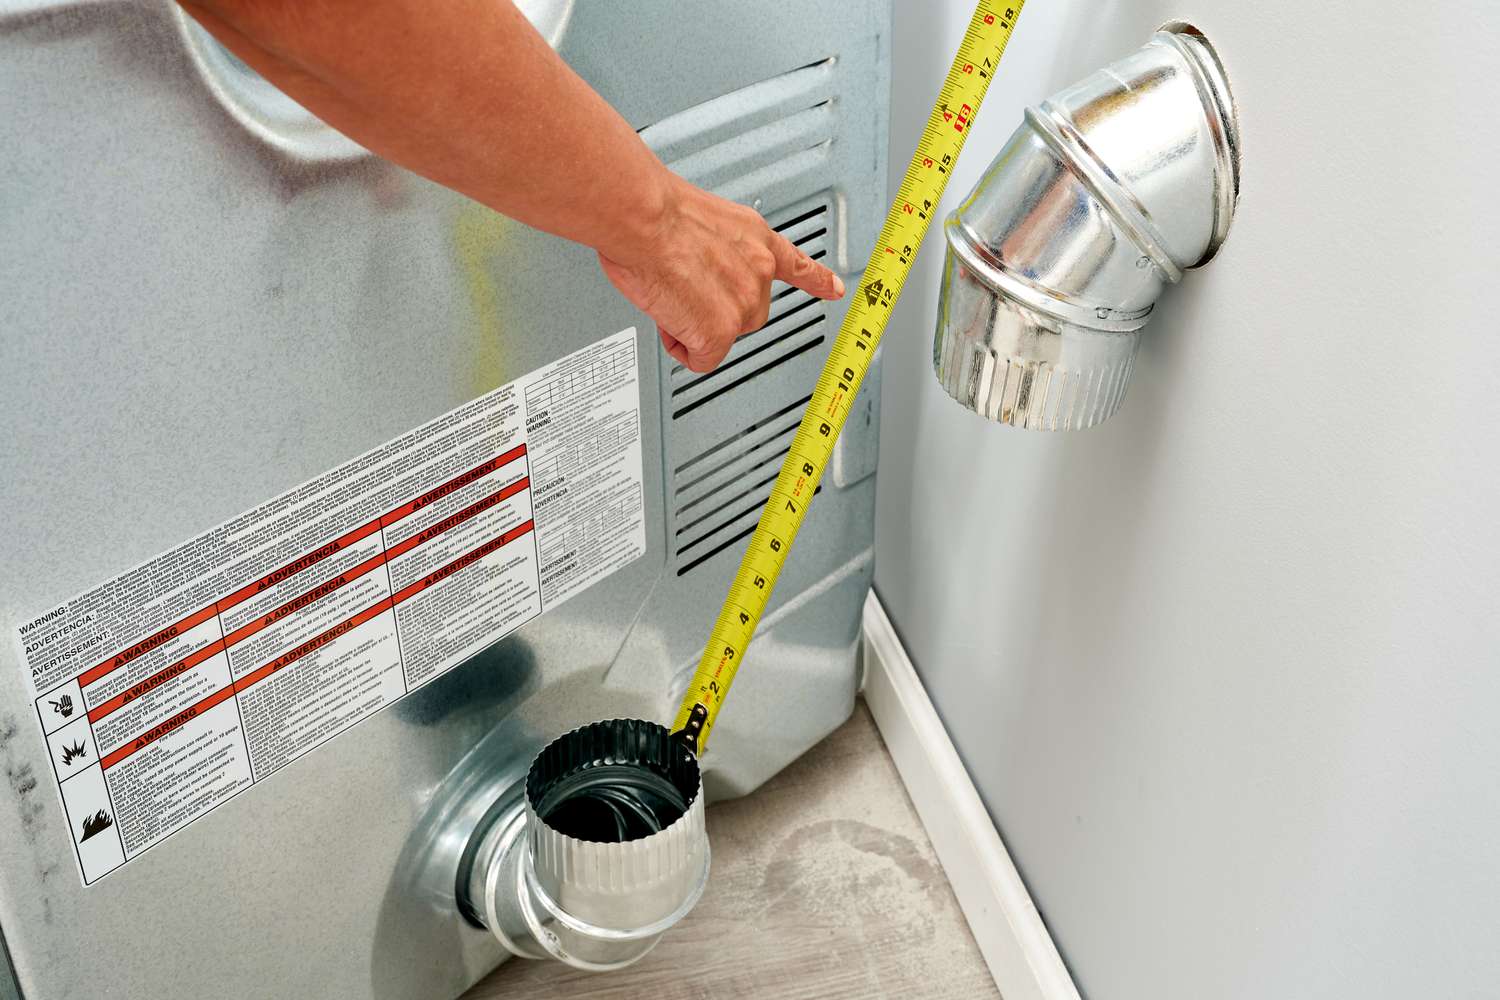
Step 3: Measure and mark the opening for the vent
With the location of the dryer vent determined, it’s time to measure and mark the opening on the wall. Follow these steps to ensure accurate measurements:
- Measurements: Using a measuring tape, measure the dimensions of the vent cover. Take note of the width and height of the cover.
- Marking: On the chosen location, use a pencil to mark the center of the vent opening. To do this, divide the width and height measurements of the vent cover in half and make small marks accordingly.
- Outline: Using a level, draw a straight horizontal line through the center mark. Then, draw vertical lines from the top and bottom marks to form the outline of the vent opening.
- Double-check: After outlining the vent opening, double-check the measurements and ensure that the lines are straight and properly aligned. This will help you achieve a professional-looking installation.
Accurate measurements and marking are crucial in ensuring a precise and clean installation. Take your time during this step to avoid any errors that may affect the overall appearance and functionality of the dryer vent.
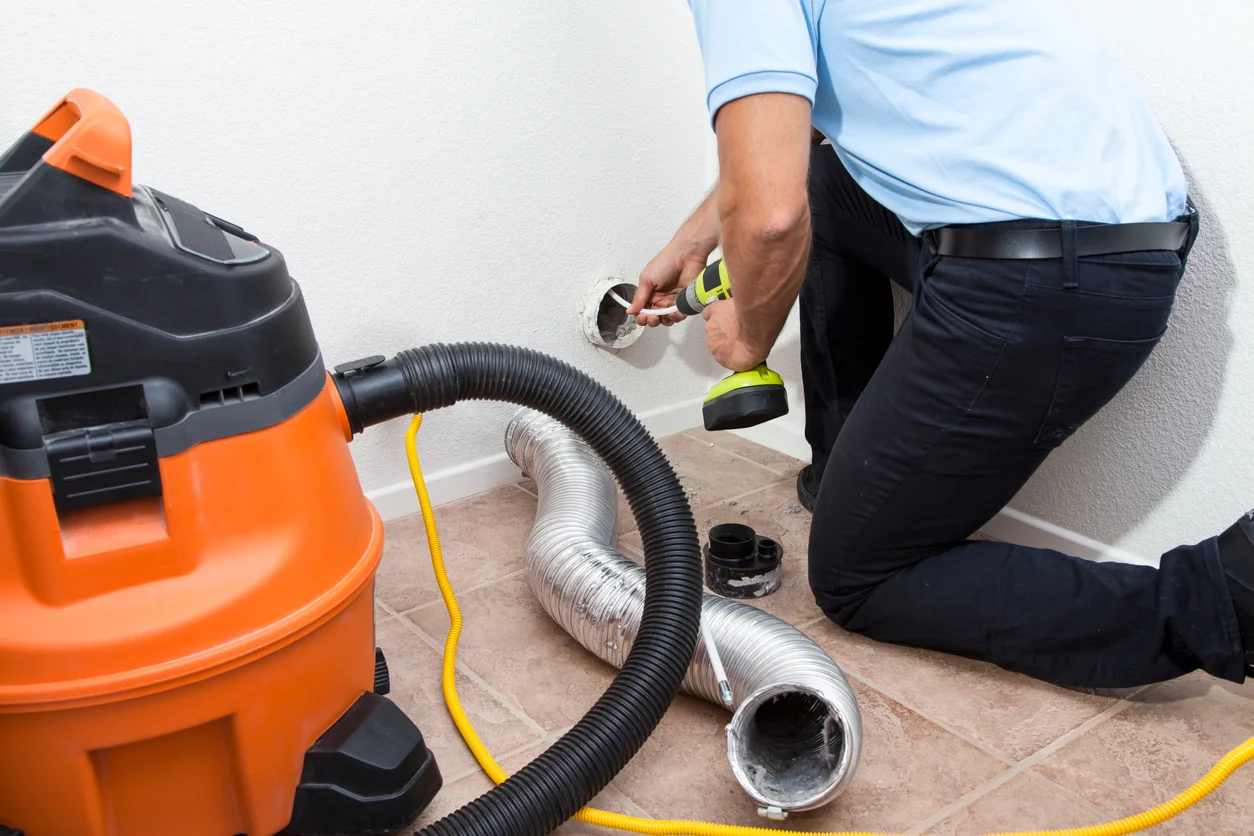
Step 4: Cut the hole in the wall
With the measurements and markings in place, it is time to cut the hole in the wall for the dryer vent. Follow these steps to safely and accurately create the opening:
- Prepare the area: Clear the surrounding area and ensure there are no obstacles or furniture that may interfere with the cutting process. Protect the floor with a drop cloth or old newspapers to catch any debris.
- Wear safety gear: Put on your safety goggles and gloves to protect yourself from any flying debris or sharp edges.
- Start cutting: Using a hole saw of the appropriate size, carefully cut along the marked outline of the vent opening. Apply gentle, steady pressure to avoid damaging the wall material. If you’re working with a brick wall, you may need to use a masonry bit or hire a professional to assist with the cutting process.
- Inspect the hole: Once the hole is cut, inspect it to ensure that it matches the dimensions of the vent cover. Make any necessary adjustments or fine-tune the edges of the hole to achieve a clean and precise fit.
Remember, safety should always be your top priority when cutting the hole in the wall. Take your time and proceed with caution to avoid any accidents or damage to the surrounding area.
Read more: How To Install Dryer Vent Hose
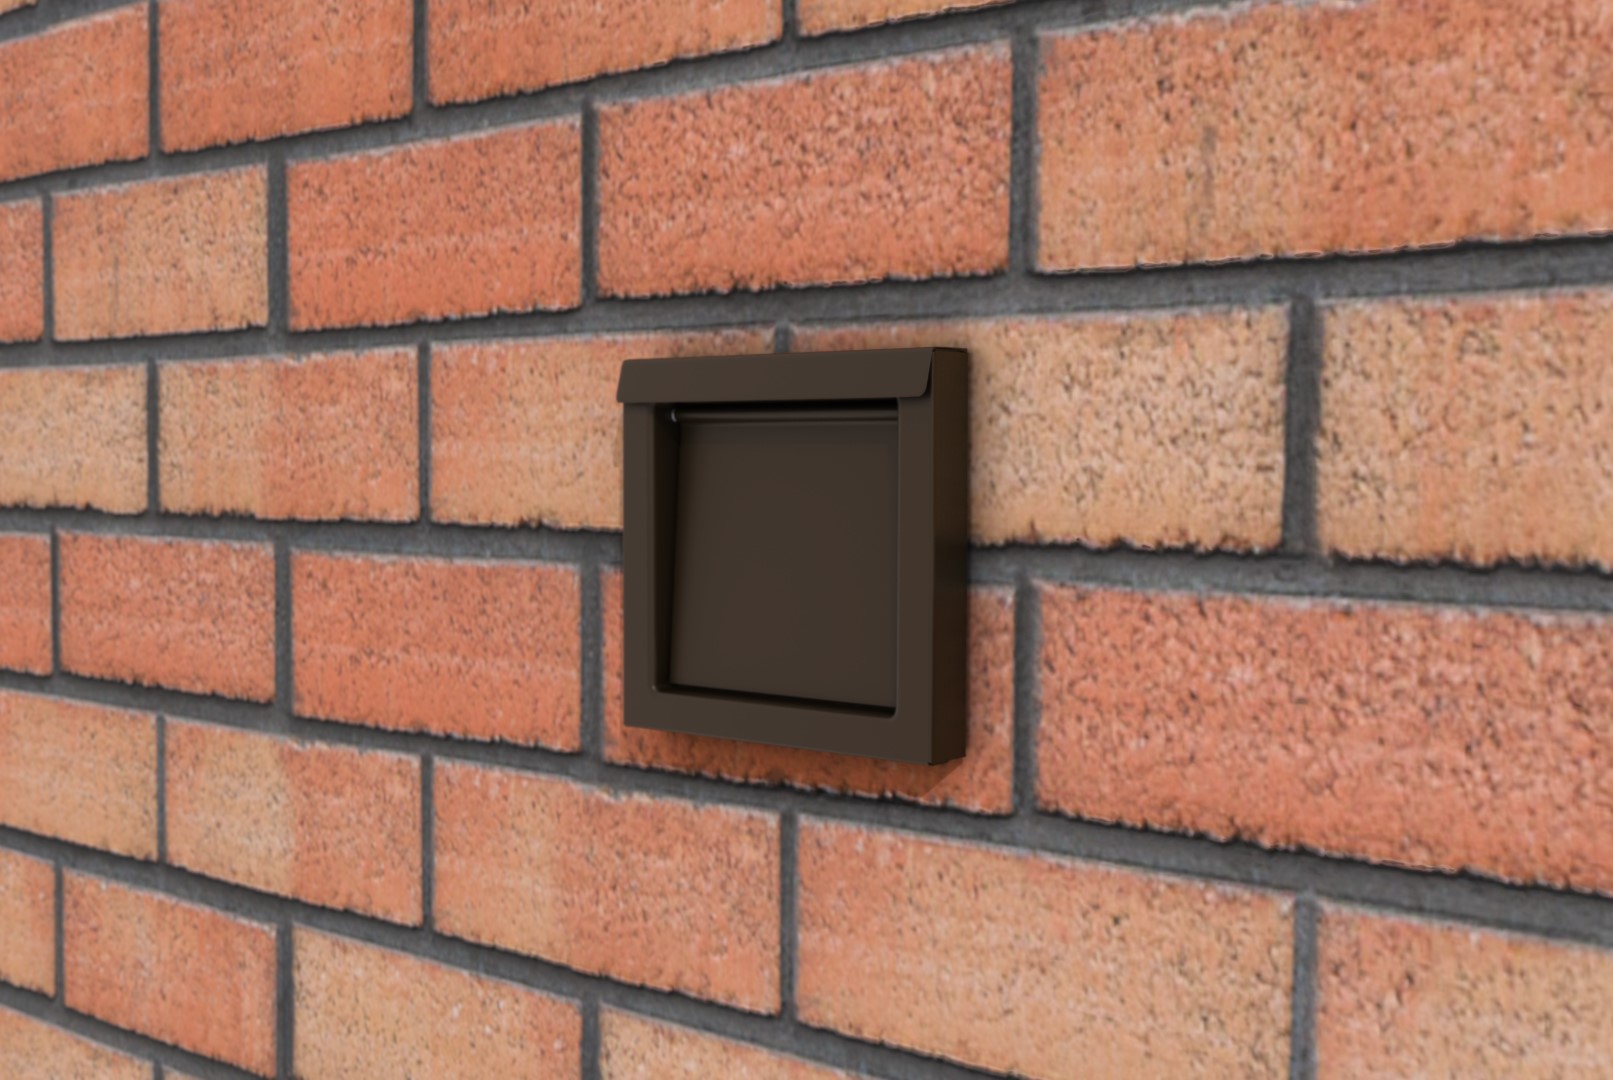
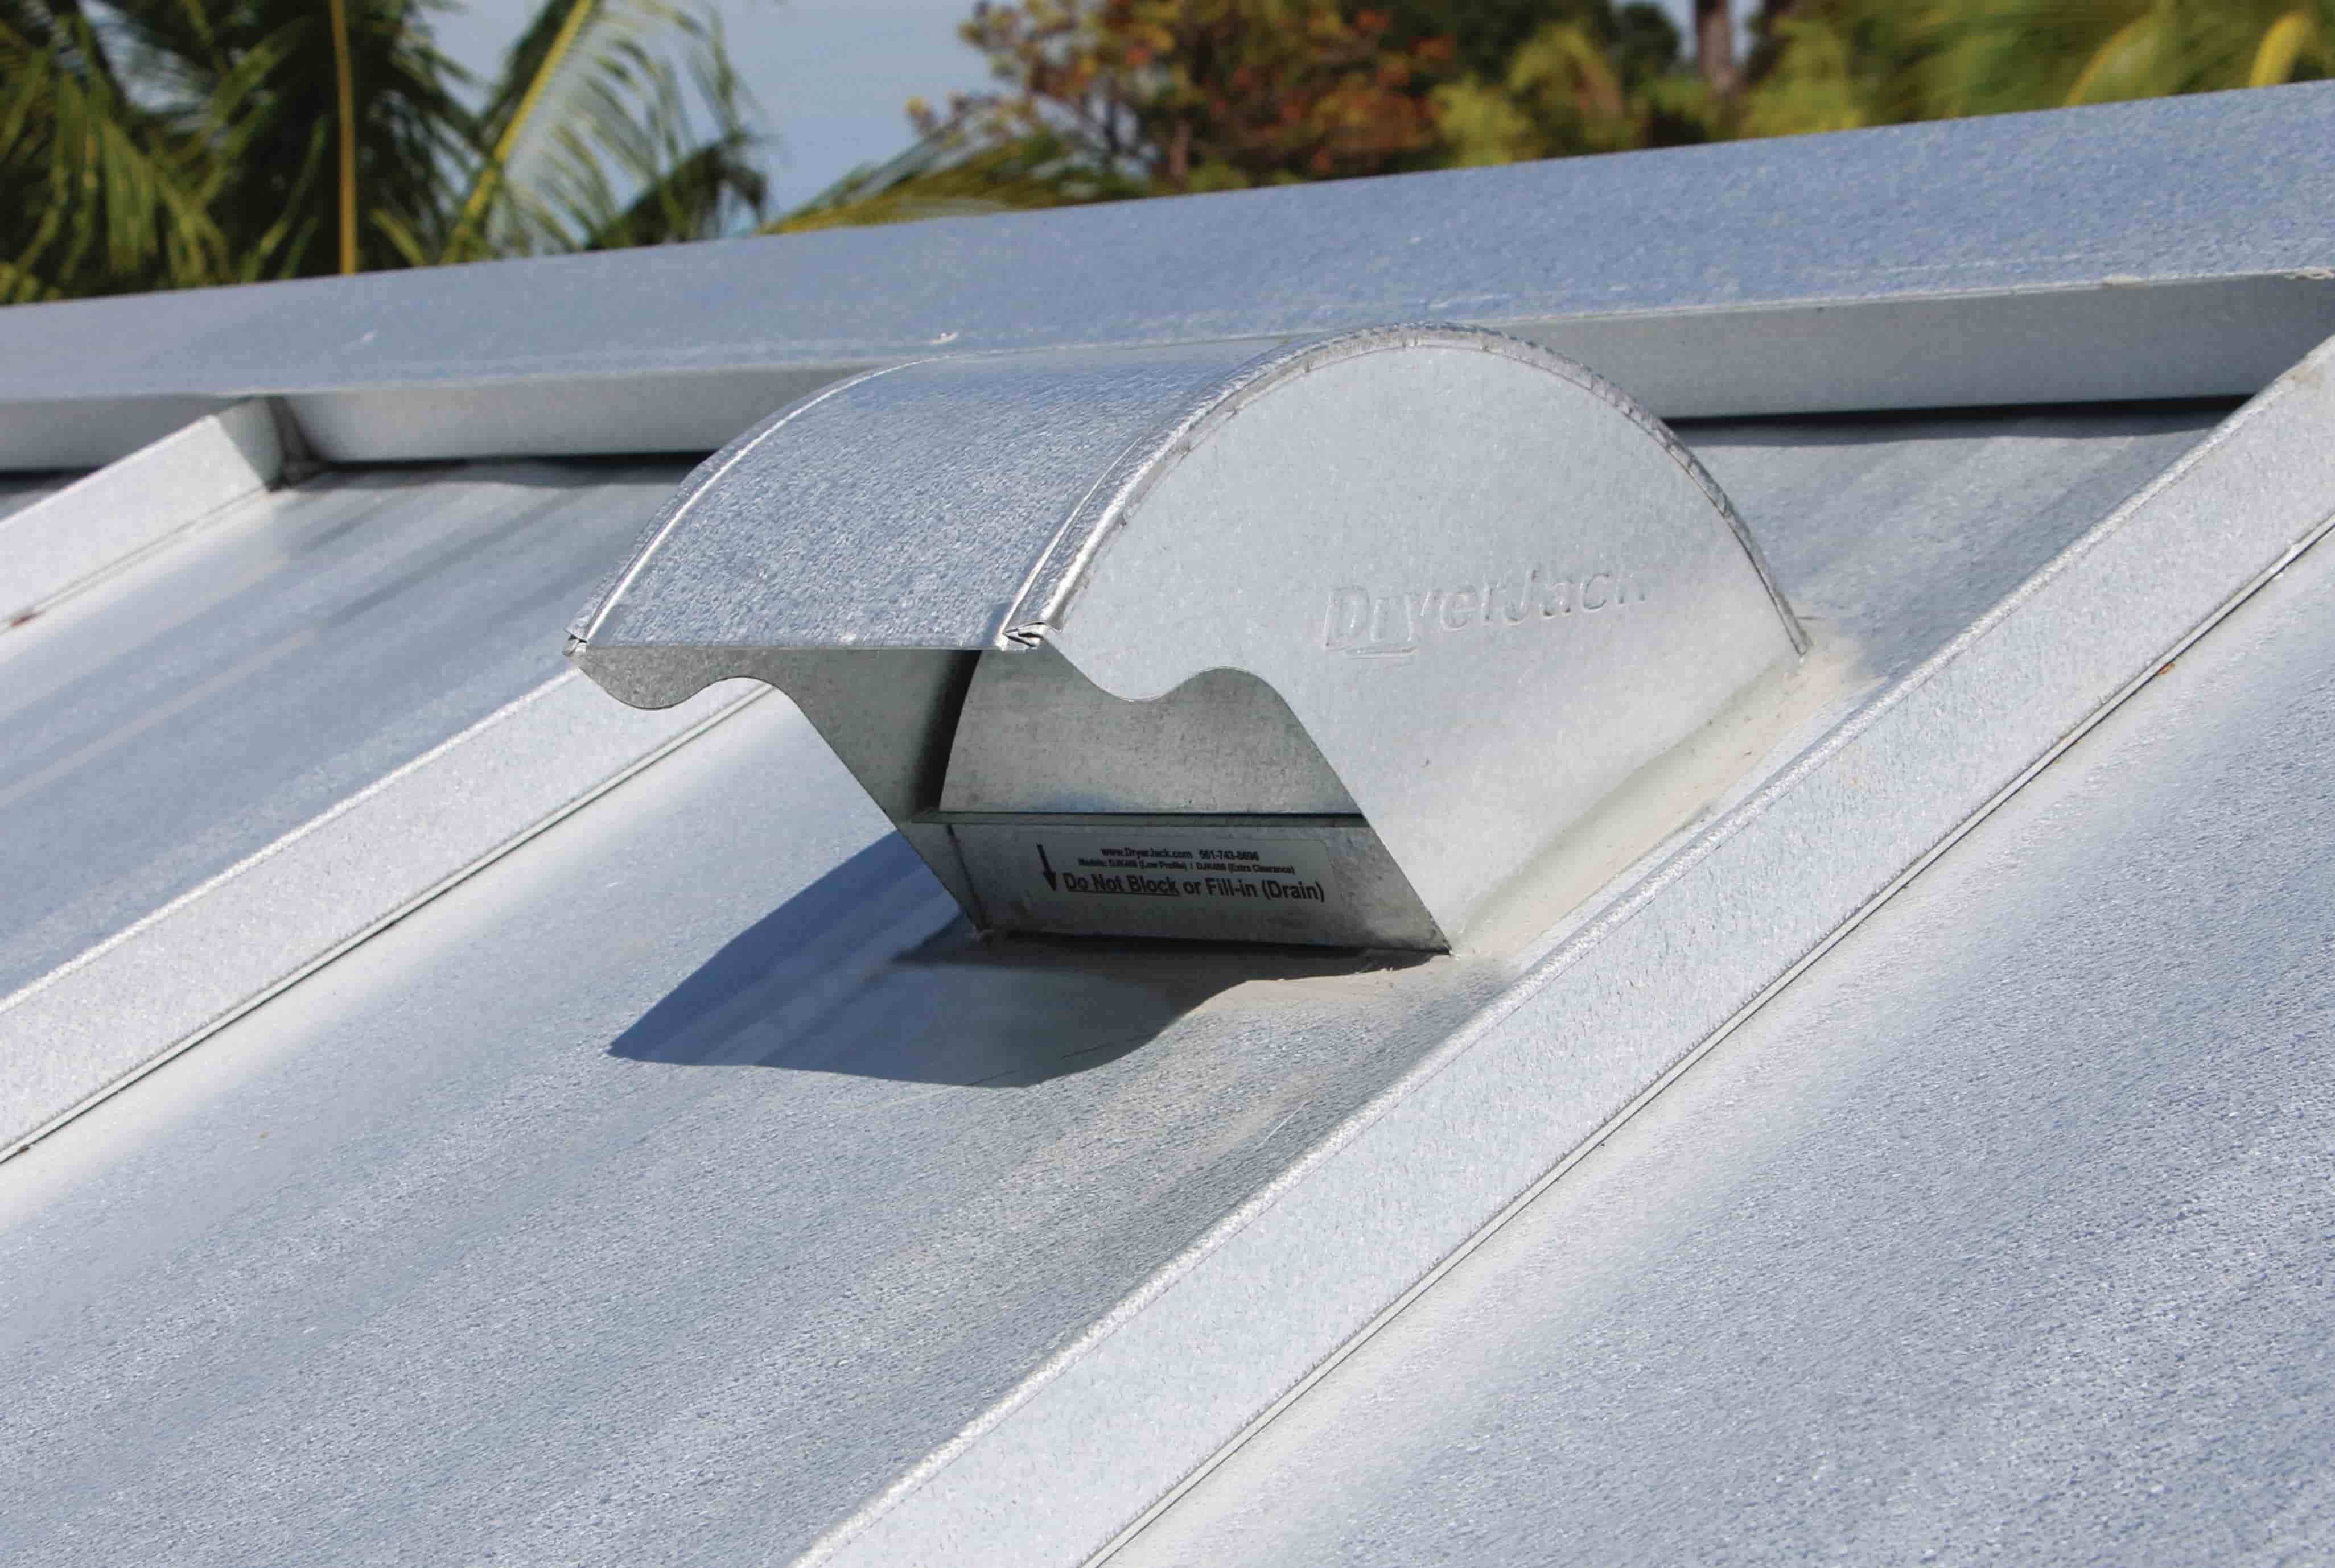
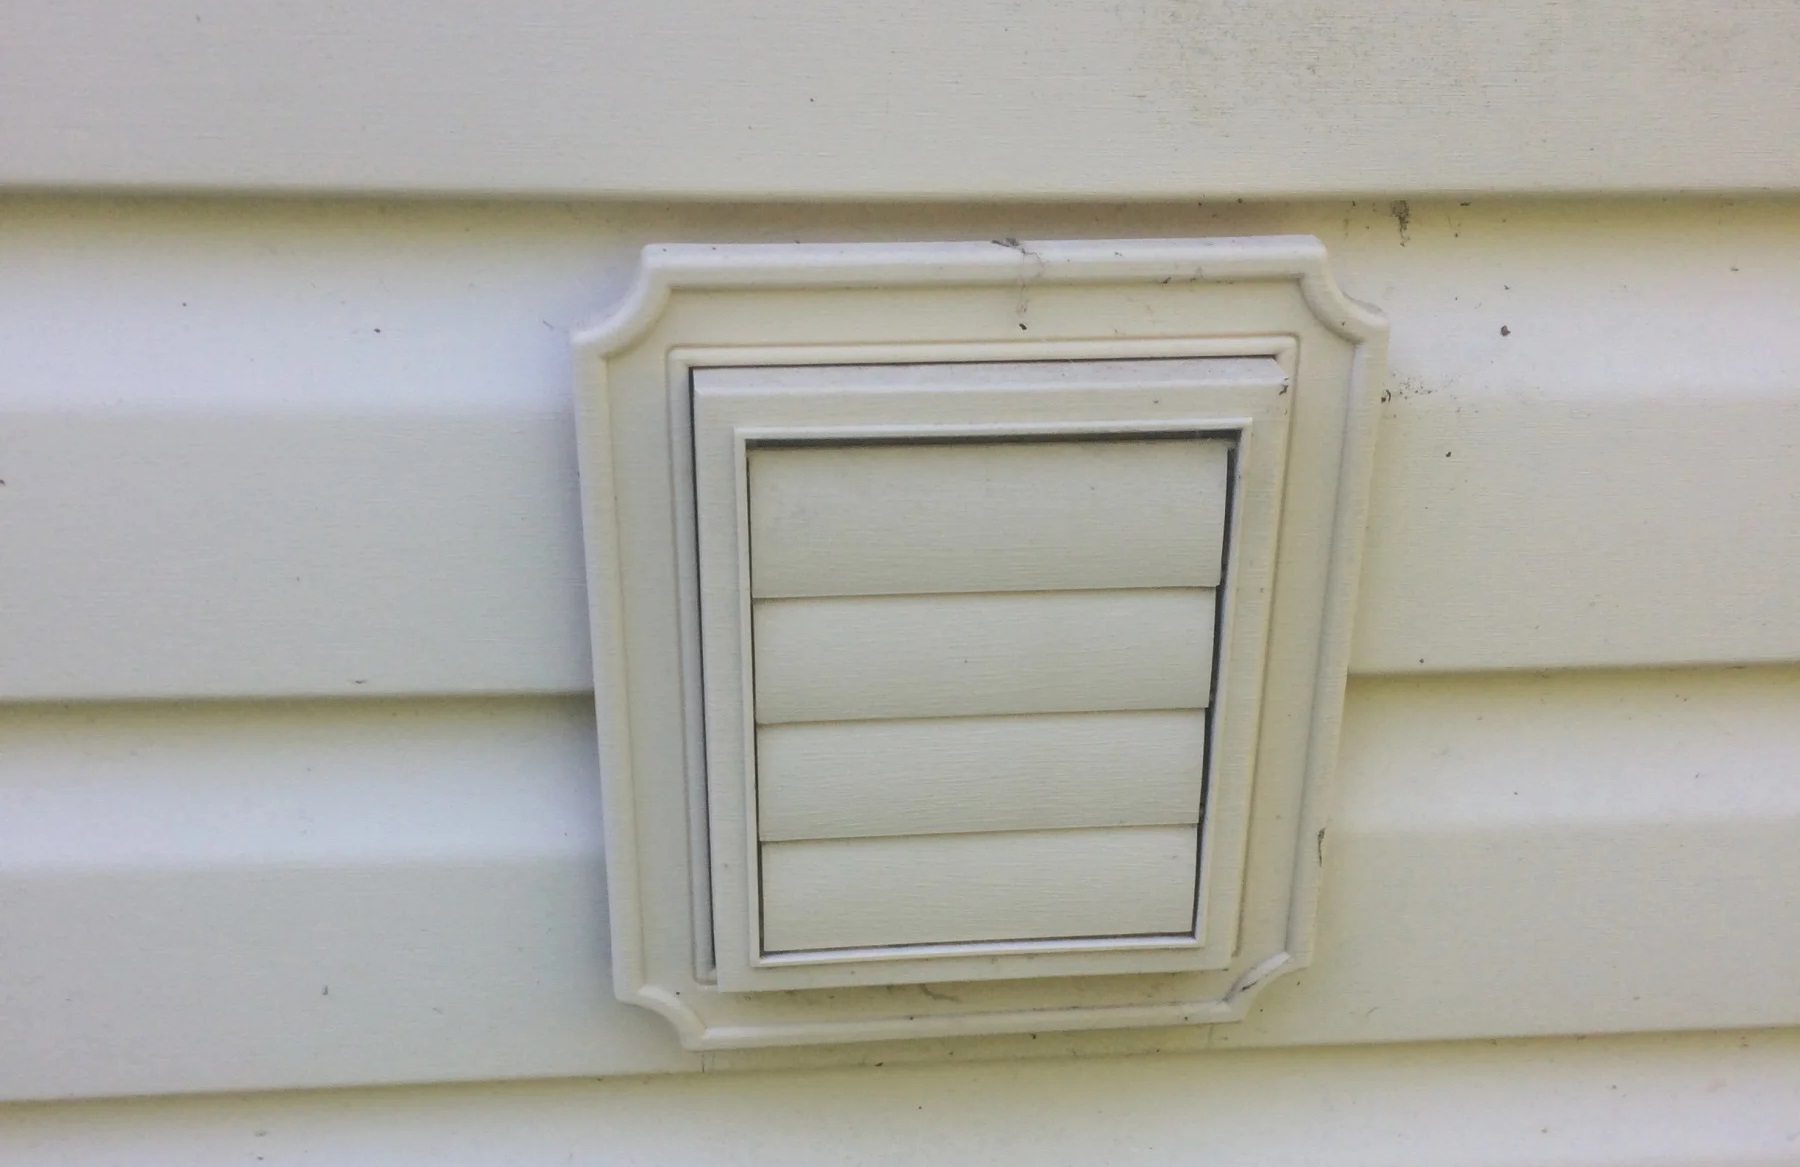
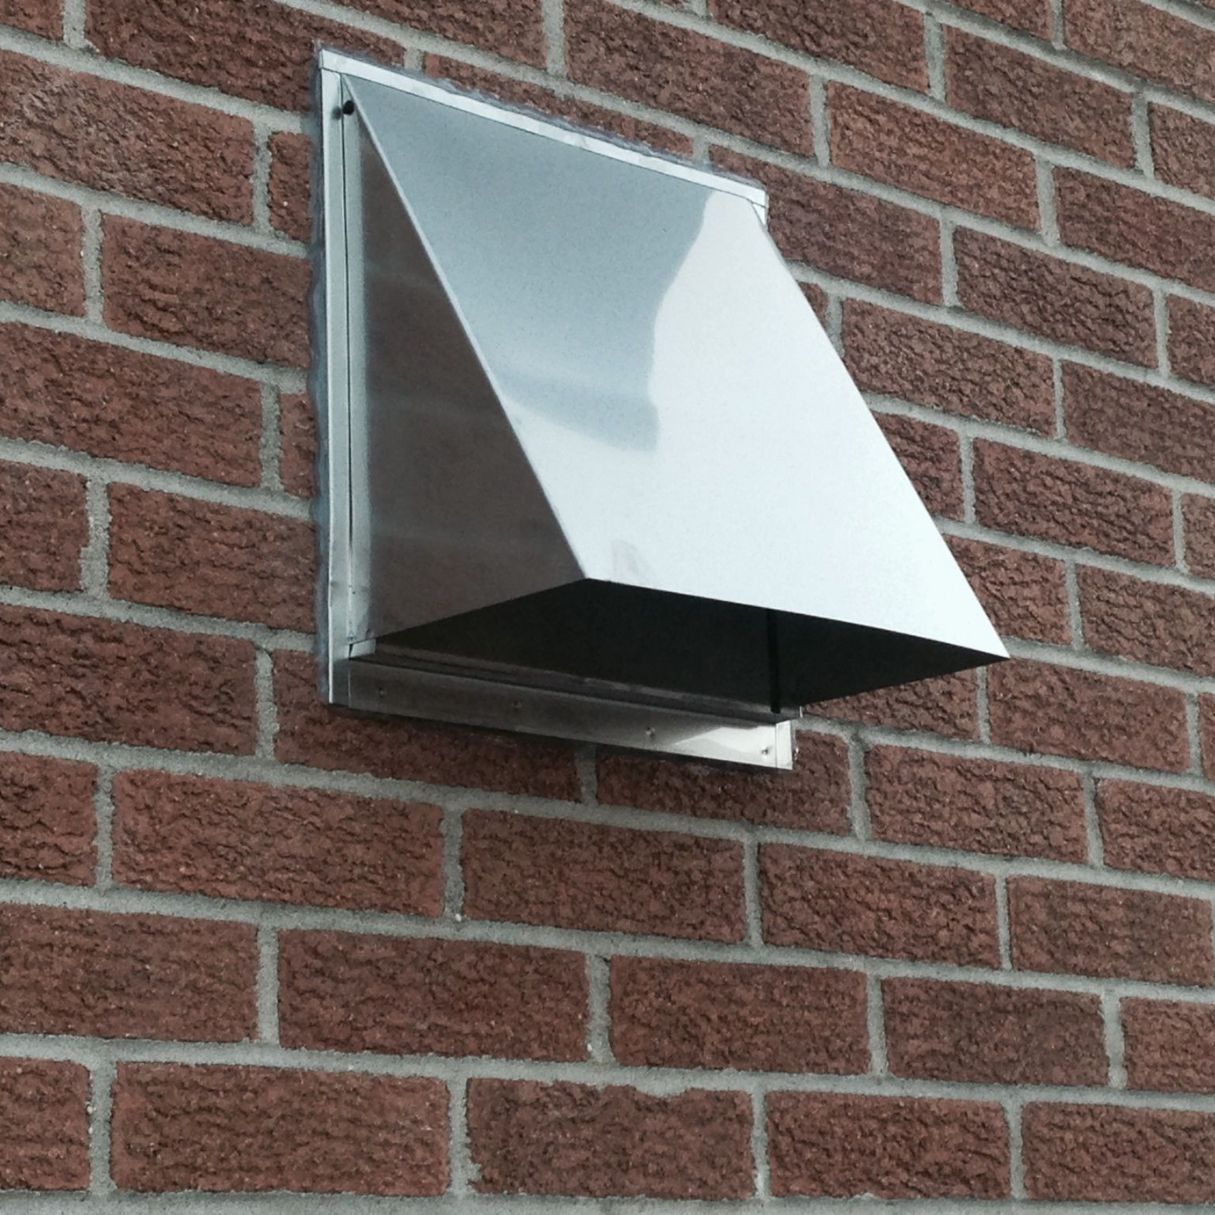
Step 5: Install the vent cover on the exterior wall
After cutting the hole in the wall, it’s time to install the vent cover on the exterior wall. This will serve as the exit point for the dryer’s hot air and lint. Follow these steps to properly install the vent cover:
- Inspect the vent cover: Before installation, check the vent cover for any defects or damage. Ensure that all necessary components such as screws, clamps, and flaps are present and in good condition.
- Position the vent cover: Place the vent cover over the hole on the exterior wall, aligning it with the opening. Ensure that it is level and centered both vertically and horizontally.
- Secure the vent cover: Using the provided screws, secure the vent cover to the wall. Be gentle to avoid over-tightening and damaging the vent cover or the wall. Follow the manufacturer’s instructions for the specific assembly and fastening process.
- Check for stability: Once the vent cover is securely attached, gently wiggle it to check for any movement or instability. It should be firmly fixed to the wall and not easily dislodged.
Properly installing the vent cover on the exterior wall is crucial for preventing the ingress of unwanted elements such as rainwater, pests, or debris. A well-fitted and secure vent cover will ensure the efficient and safe operation of your dryer vent.
When installing a dryer vent in a wall, make sure to use a vent kit that includes a wall sleeve and a vent cap. Follow the manufacturer’s instructions carefully to ensure proper installation and safety.
Step 6: Attach the ductwork to the dryer vent
With the vent cover securely installed on the exterior wall, it’s time to connect the ductwork to the dryer vent. This ductwork will serve as the conduit for directing hot air and lint from the dryer to the outside. Follow these steps to ensure a proper connection:
- Inspect the ductwork: Before installation, check the ductwork for any damages or obstructions. Ensure that it is clean, free of debris, and in good condition.
- Position the ductwork: Position the end of the ductwork over the opening of the dryer vent. Align the ductwork so that it fits securely and snugly into place.
- Secure with clamps: Using the provided clamps, fasten the ductwork to the dryer vent. Make sure the clamp is tightly secured to create a strong connection between the two components.
- Check for leaks or gaps: Once the ductwork is connected, inspect the junction between the ductwork and the dryer vent for any leaks or gaps. Ensure that the connection is airtight to prevent any escaping hot air or lint.
Connecting the ductwork to the dryer vent is an essential step in the installation process. A secure and leak-free connection will allow for efficient airflow and effective ventilation, ensuring the safety and performance of your dryer.
Step 7: Secure the ductwork in the wall cavity
After attaching the ductwork to the dryer vent, it’s important to secure it properly within the wall cavity. This step ensures that the ductwork remains stable and in place, allowing for efficient airflow. Follow these steps to secure the ductwork:
- Access the wall cavity: Carefully remove a section of the wall covering to gain access to the wall cavity. This can be done by cutting a hole or removing an existing access panel, depending on the construction of your wall.
- Position the ductwork: Place the ductwork into the wall cavity, ensuring that it runs straight and smoothly from the dryer vent to the exit point on the exterior wall.
- Secure with straps or brackets: Use metal straps or brackets to secure the ductwork to the surrounding studs or wall framing. These straps or brackets will hold the ductwork in place and prevent it from shifting or sagging over time.
- Adjust for proper alignment: Check that the ductwork is properly aligned and level within the wall cavity. Make any necessary adjustments to ensure a straight and unobstructed path for the airflow.
- Seal any gaps: Inspect the connections between the ductwork sections for any gaps or leaks. Use foil tape or duct sealant to seal any openings and ensure an airtight seal.
Securing the ductwork in the wall cavity is essential for maintaining the integrity and efficiency of the venting system. A properly secured ductwork will prevent obstructions and allow for smooth and uninterrupted airflow.
Step 8: Connect the other end of the ductwork to the dryer
With the ductwork secured in the wall cavity, the next step is to connect the other end of the ductwork to the dryer itself. This ensures that the hot air and lint from the dryer are properly directed out of your home. Follow these steps to make a secure connection:
- Access the back of the dryer: Move the dryer away from the wall to access the back. If necessary, you may need to disconnect the power source or seek assistance to safely move the appliance.
- Locate the dryer vent outlet: Locate the dryer vent outlet on the back of the dryer. It is usually a round or rectangular opening located near the bottom or on the back panel.
- Connect the ductwork: Position the end of the ductwork over the dryer vent outlet. Depending on the type of dryer and ductwork, you may need to use clamps or screws to secure the connection. Follow the manufacturer’s instructions for the specific installation process.
- Tighten the connection: Ensure that the connection between the ductwork and the dryer vent outlet is secure and tight. This will prevent any air leaks or disconnections that can affect the efficiency and performance of the dryer vent system.
It’s important to note that the connection between the ductwork and the dryer should be airtight to prevent any hot air or lint from leaking indoors. A proper connection will ensure that the dryer operates efficiently and safely.
Read more: How To Install A Periscope Dryer Vent
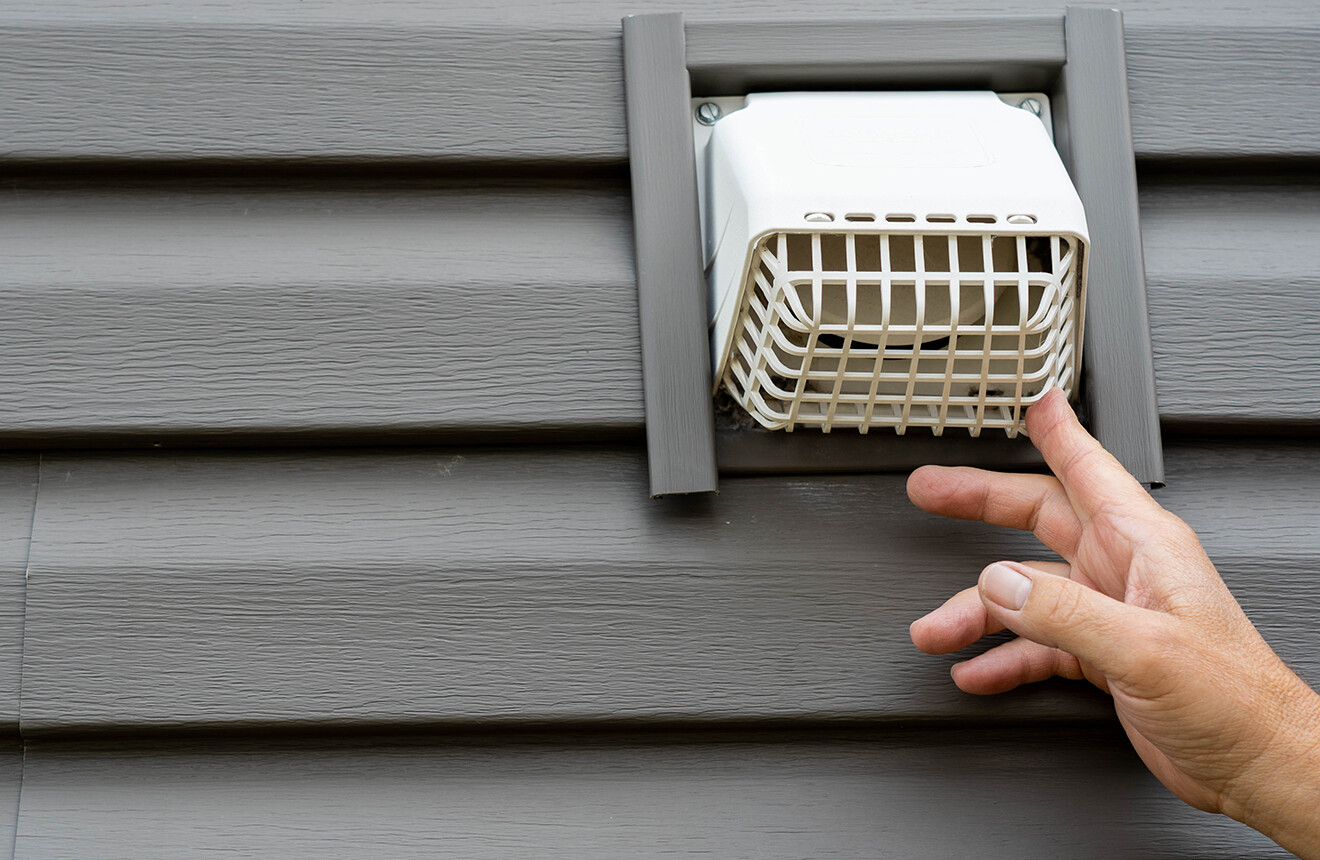
Step 9: Test the dryer vent for proper functioning
After completing the installation of the dryer vent, it’s crucial to test its functionality to ensure that it is working properly. Testing allows you to identify any potential issues and make necessary adjustments. Follow these steps to test the dryer vent:
- Reconnect the dryer: Move the dryer back into its original position and reconnect it to the power source.
- Clean the dryer and lint screen: Before running the test, make sure the dryer and lint screen are clean. This will help ensure accurate results and prevent any complications due to clogged filters or obstructions.
- Run the dryer: Turn on the dryer and run a regular drying cycle. Pay attention to the airflow and check for any signs of blockage or poor ventilation.
- Monitor the vent cover: While the dryer is running, go outside and inspect the vent cover on the exterior wall. Ensure that hot air is freely and consistently flowing out of the vent.
- Check for lint accumulation: After the drying cycle is complete, inspect the area around the dryer vent and the lint screen for any signs of lint accumulation. Excessive lint may indicate a clog or improper venting.
If you notice any issues during the test, such as weak airflow or excessive lint buildup, it’s important to address them promptly. This may involve cleaning out lint or making adjustments to the ductwork to improve ventilation. Regular maintenance and cleaning of the dryer vent will help ensure its ongoing proper functioning.
By following these steps and testing the dryer vent, you can ensure that it is operating efficiently and safely. Regularly monitoring the vent and addressing any issues will help prolong the life of your dryer, maintain optimal performance, and reduce the risk of fire hazards.
Conclusion
Congratulations! You have successfully completed the installation of a dryer vent in a wall. By following the step-by-step guide provided, you have ensured proper ventilation for your dryer, improving its efficiency and safety. Here’s a quick recap of the installation process:
- Gathered the necessary materials
- Determined the best location for the dryer vent
- Measured and marked the opening for the vent
- Cut the hole in the wall
- Installed the vent cover on the exterior wall
- Attached the ductwork to the dryer vent
- Secured the ductwork in the wall cavity
- Connected the other end of the ductwork to the dryer
- Tested the dryer vent for proper functioning
Through each step, you have acquired the necessary skills and knowledge to install a dryer vent in a wall with confidence. Remember, proper maintenance of your dryer vent is crucial to ensure its continued efficiency and safety. Regularly clean the vent and inspect it for any signs of blockage or damage.
Installing a dryer vent in the wall not only helps preserve the aesthetics of your laundry area but also prevents potential fire hazards and improves the overall performance of your dryer. By following the guidelines outlined in this guide, you can enjoy the benefits of a well-ventilated and efficient dryer for years to come.
We hope this comprehensive guide has been informative and helpful. If you have any further questions or concerns, don’t hesitate to consult with a professional or reach out to the manufacturer of your dryer or vent system. Happy drying!
Ready to tackle more home projects? If you enjoyed mastering dryer vent installation, don't miss our guide on DIY Home Improvement. Whether you're new to DIY or an experienced hand, this guide provides invaluable tips and tricks. Additionally, if your kitchen needs an upgrade, learning how to install a Range Hood Vent Through Roof could be your next big project. Both guides offer practical advice, ensuring your home improvements are both successful and satisfying.
Frequently Asked Questions about How To Install Dryer Vent In Wall
Was this page helpful?
At Storables.com, we guarantee accurate and reliable information. Our content, validated by Expert Board Contributors, is crafted following stringent Editorial Policies. We're committed to providing you with well-researched, expert-backed insights for all your informational needs.