Home>Home Maintenance>How To Install A Recessed Dryer Vent
Home Maintenance
How To Install A Recessed Dryer Vent
Modified: October 28, 2024
Learn how to properly install a recessed dryer vent in your home with our step-by-step guide. Ensure your home maintenance is done right!
(Many of the links in this article redirect to a specific reviewed product. Your purchase of these products through affiliate links helps to generate commission for Storables.com, at no extra cost. Learn more)
Introduction
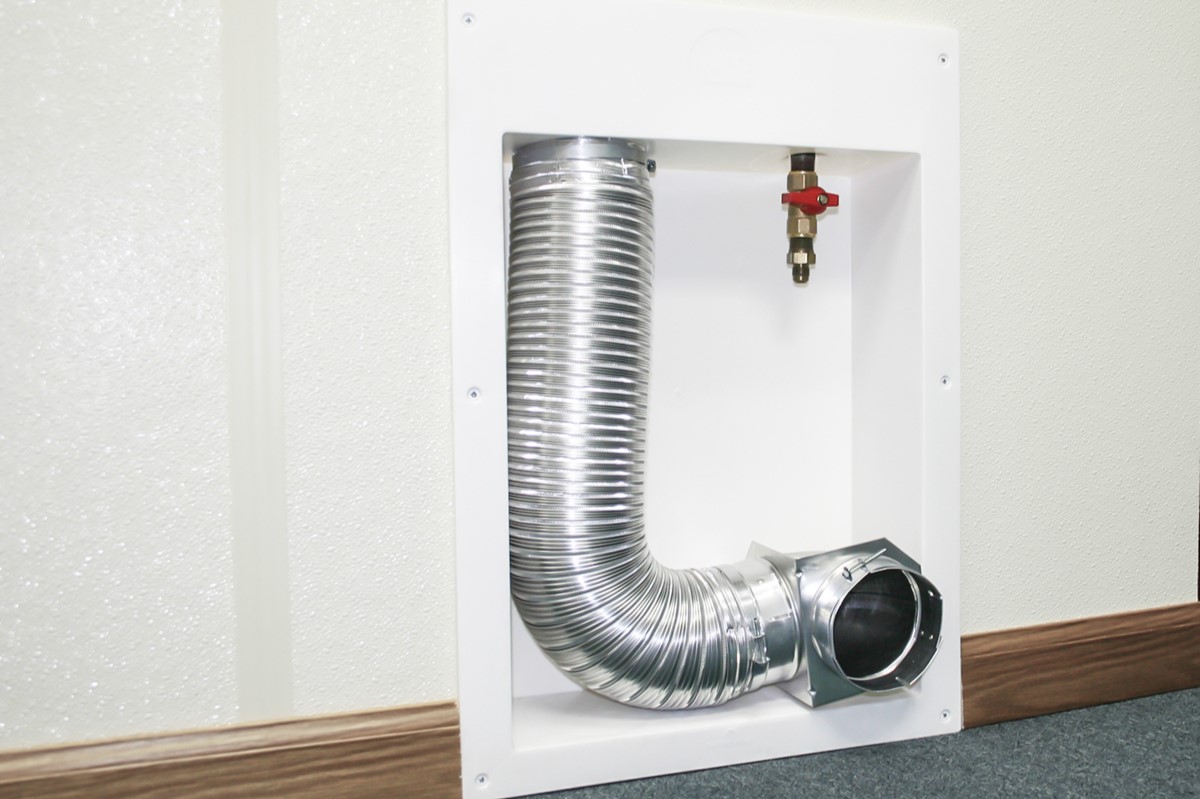
When it comes to home maintenance, one area that often gets overlooked is the dryer vent. A properly installed and maintained dryer vent is essential for efficient operation and safety in your home. One popular option for venting your dryer is a recessed dryer vent. This type of vent allows you to discreetly hide the dryer vent pipe behind the wall, creating a cleaner and more organized look in your laundry area.
In this article, we will guide you through the step-by-step process of installing a recessed dryer vent. Whether you are a seasoned DIYer or a beginner, this guide will provide you with all the information you need to successfully complete the installation.
Before we get started, let’s go over the materials you will need for this project.
Key Takeaways:
- Installing a recessed dryer vent improves the appearance and safety of your laundry area. It involves choosing a location, measuring and marking, cutting openings, and testing ventilation to ensure efficient operation.
- Regular maintenance and testing of the recessed dryer vent are crucial for safety. Keep the vent clean, check for blockages, and ensure steady airflow to prevent potential fire hazards.
Materials Needed
Before you begin the installation process, it’s important to gather all the necessary materials. Here’s a list of what you’ll need:
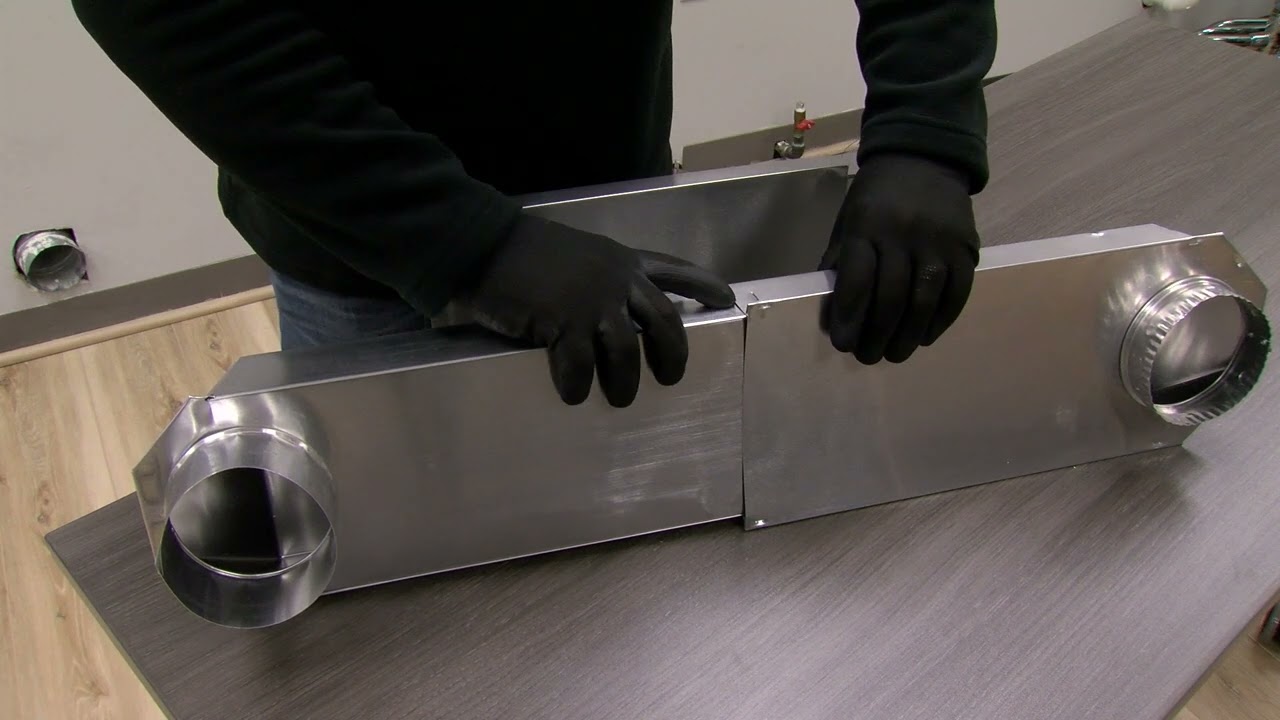
- Recessed dryer vent box
- Dryer vent pipe
- Measuring tape
- Pencil
- Hacksaw or reciprocating saw
- Screwdriver
- Sheet metal screws
- Drill (if necessary)
- Utility knife
- Caulk
- Vent cover
Make sure to gather all these materials before you begin the installation process. Having everything on hand will ensure a smooth and efficient installation.
Step 1: Choose a Location
The first step in installing a recessed dryer vent is to choose a suitable location. Keep in mind that the location should be easily accessible and provide enough space for the vent box.
Start by taking a look at your laundry area and identifying a wall where you can install the vent. It is important to consider the proximity to the dryer and the existing ductwork. Choose a location that allows for a direct and efficient path for the dryer exhaust to exit the house.
In addition, make sure there are no obstacles such as electrical wiring, plumbing, or structural elements behind the wall where you plan to install the vent. It’s also important to consider the aesthetics of your laundry area and choose a location that provides a clean and organized appearance.
Once you have identified a suitable location, mark it with a pencil so that you have a clear reference point for the rest of the installation process.
Now that you have chosen a location, it’s time to measure and mark for the vent opening. This will be covered in the next step.
Step 2: Measure and Mark
After choosing a location for your recessed dryer vent, the next step is to measure and mark the area where the vent opening will be located. This step is crucial to ensure that the vent box fits properly and provides the necessary clearance for the dryer exhaust.
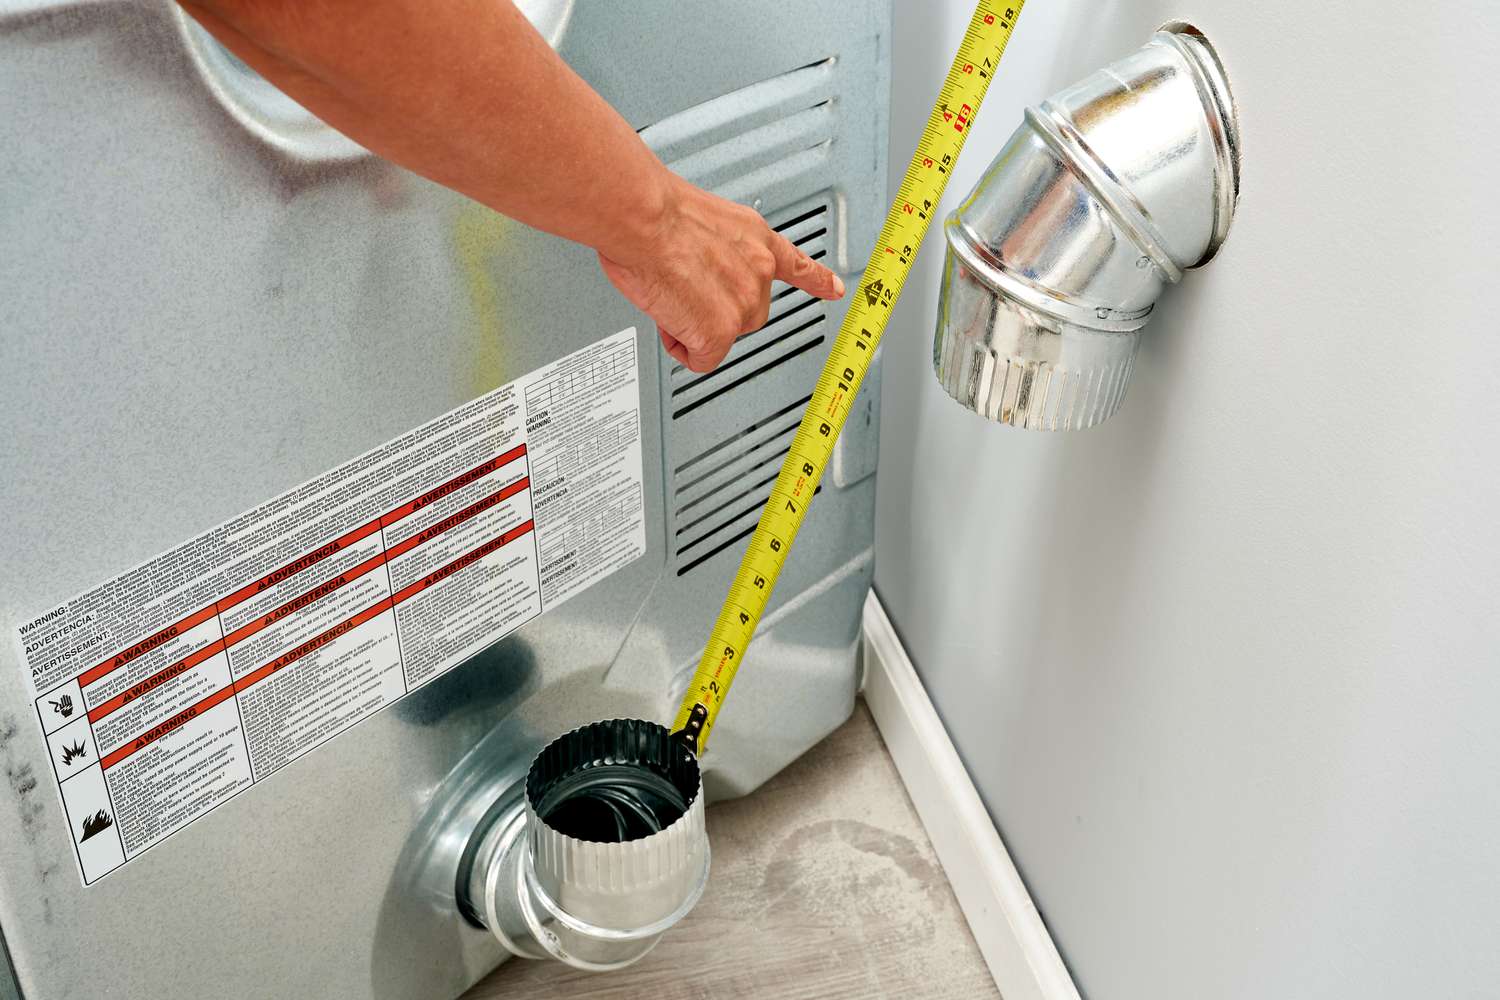
Start by measuring the dimensions of the recessed dryer vent box. Typically, these boxes are around 14 inches wide and 4 inches deep. Use a measuring tape to determine the exact dimensions.
Next, locate the center of the wall where the vent opening will be placed. Measure and mark the center height of the opening, typically around 12 inches from the floor. Use a level to ensure that the mark is straight and precise.
Now, using the dimensions of the vent box, measure and mark the width and height of the opening on the wall. Make sure to leave enough clearance on each side to accommodate the vent box. Double-check your measurements to ensure accuracy.
Once you have marked the dimensions of the vent opening, use a utility knife to carefully cut through the drywall along the marked lines. Take your time and make clean, precise cuts.
After cutting the opening, remove any excess drywall or debris to create a clean and smooth surface for the vent installation.
Now that the vent opening is ready, it’s time to move on to the next step: cutting an opening for the vent pipe.
Step 3: Cut an Opening
With the vent opening marked on the wall, it’s time to cut an opening for the vent pipe. This step will allow you to connect the dryer to the recessed vent box, ensuring proper ventilation and airflow.
Before you begin cutting, ensure that you have the necessary safety equipment, such as protective goggles and gloves, to protect yourself from any debris.
Start by measuring the diameter of the vent pipe you will be using. Common sizes for dryer vents are 4 inches or 6 inches in diameter. Use a pencil to mark the center of the vent opening for the pipe.
Next, use a hacksaw or reciprocating saw to carefully cut along the marked line. Take your time and make steady, controlled cuts to avoid any damage to the surrounding drywall.
Once the opening is cut, smooth out any rough edges with sandpaper or a file. This will ensure a clean and tight fit for the vent pipe.
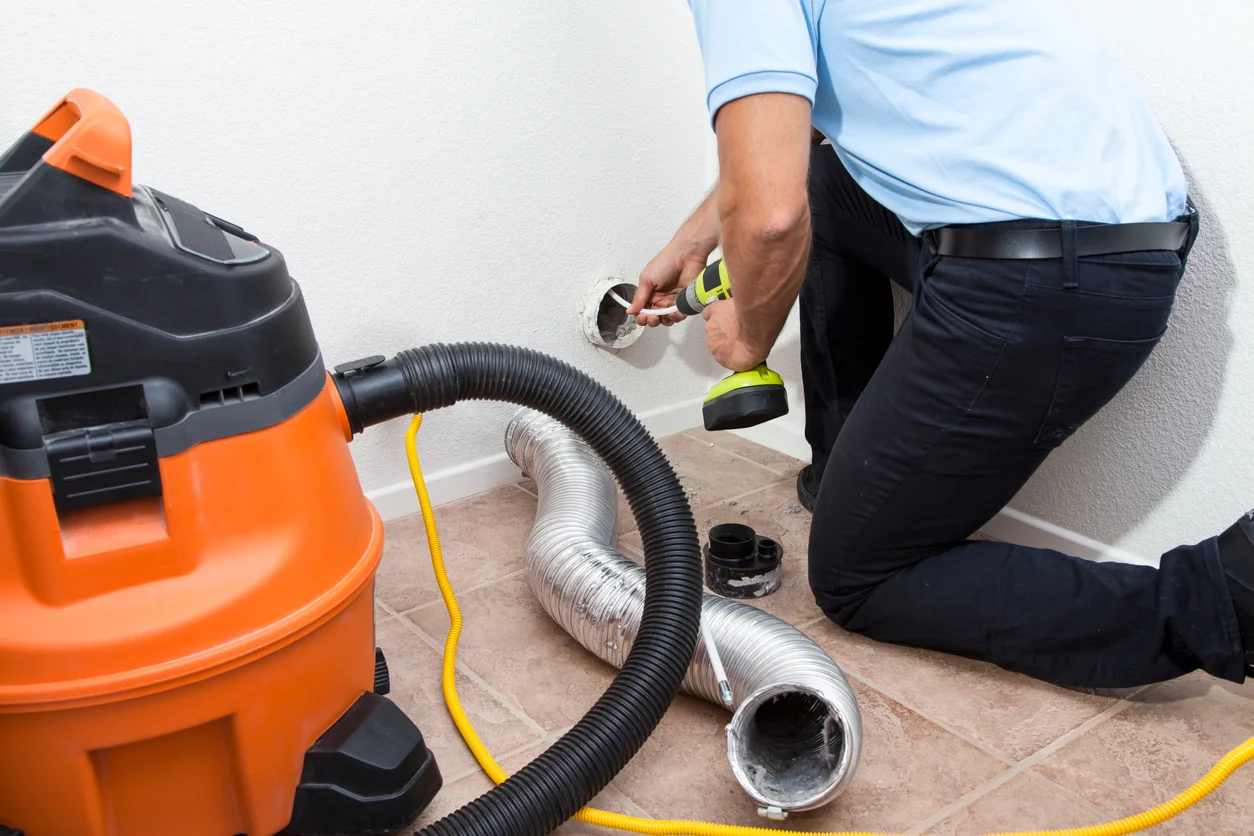
After cutting the opening, it’s important to clean up any debris or dust that may have accumulated. Use a vacuum or a damp cloth to remove any loose particles from the area.
Now that the opening is cut and cleaned, you can move on to the next step: installing the vent pipe.
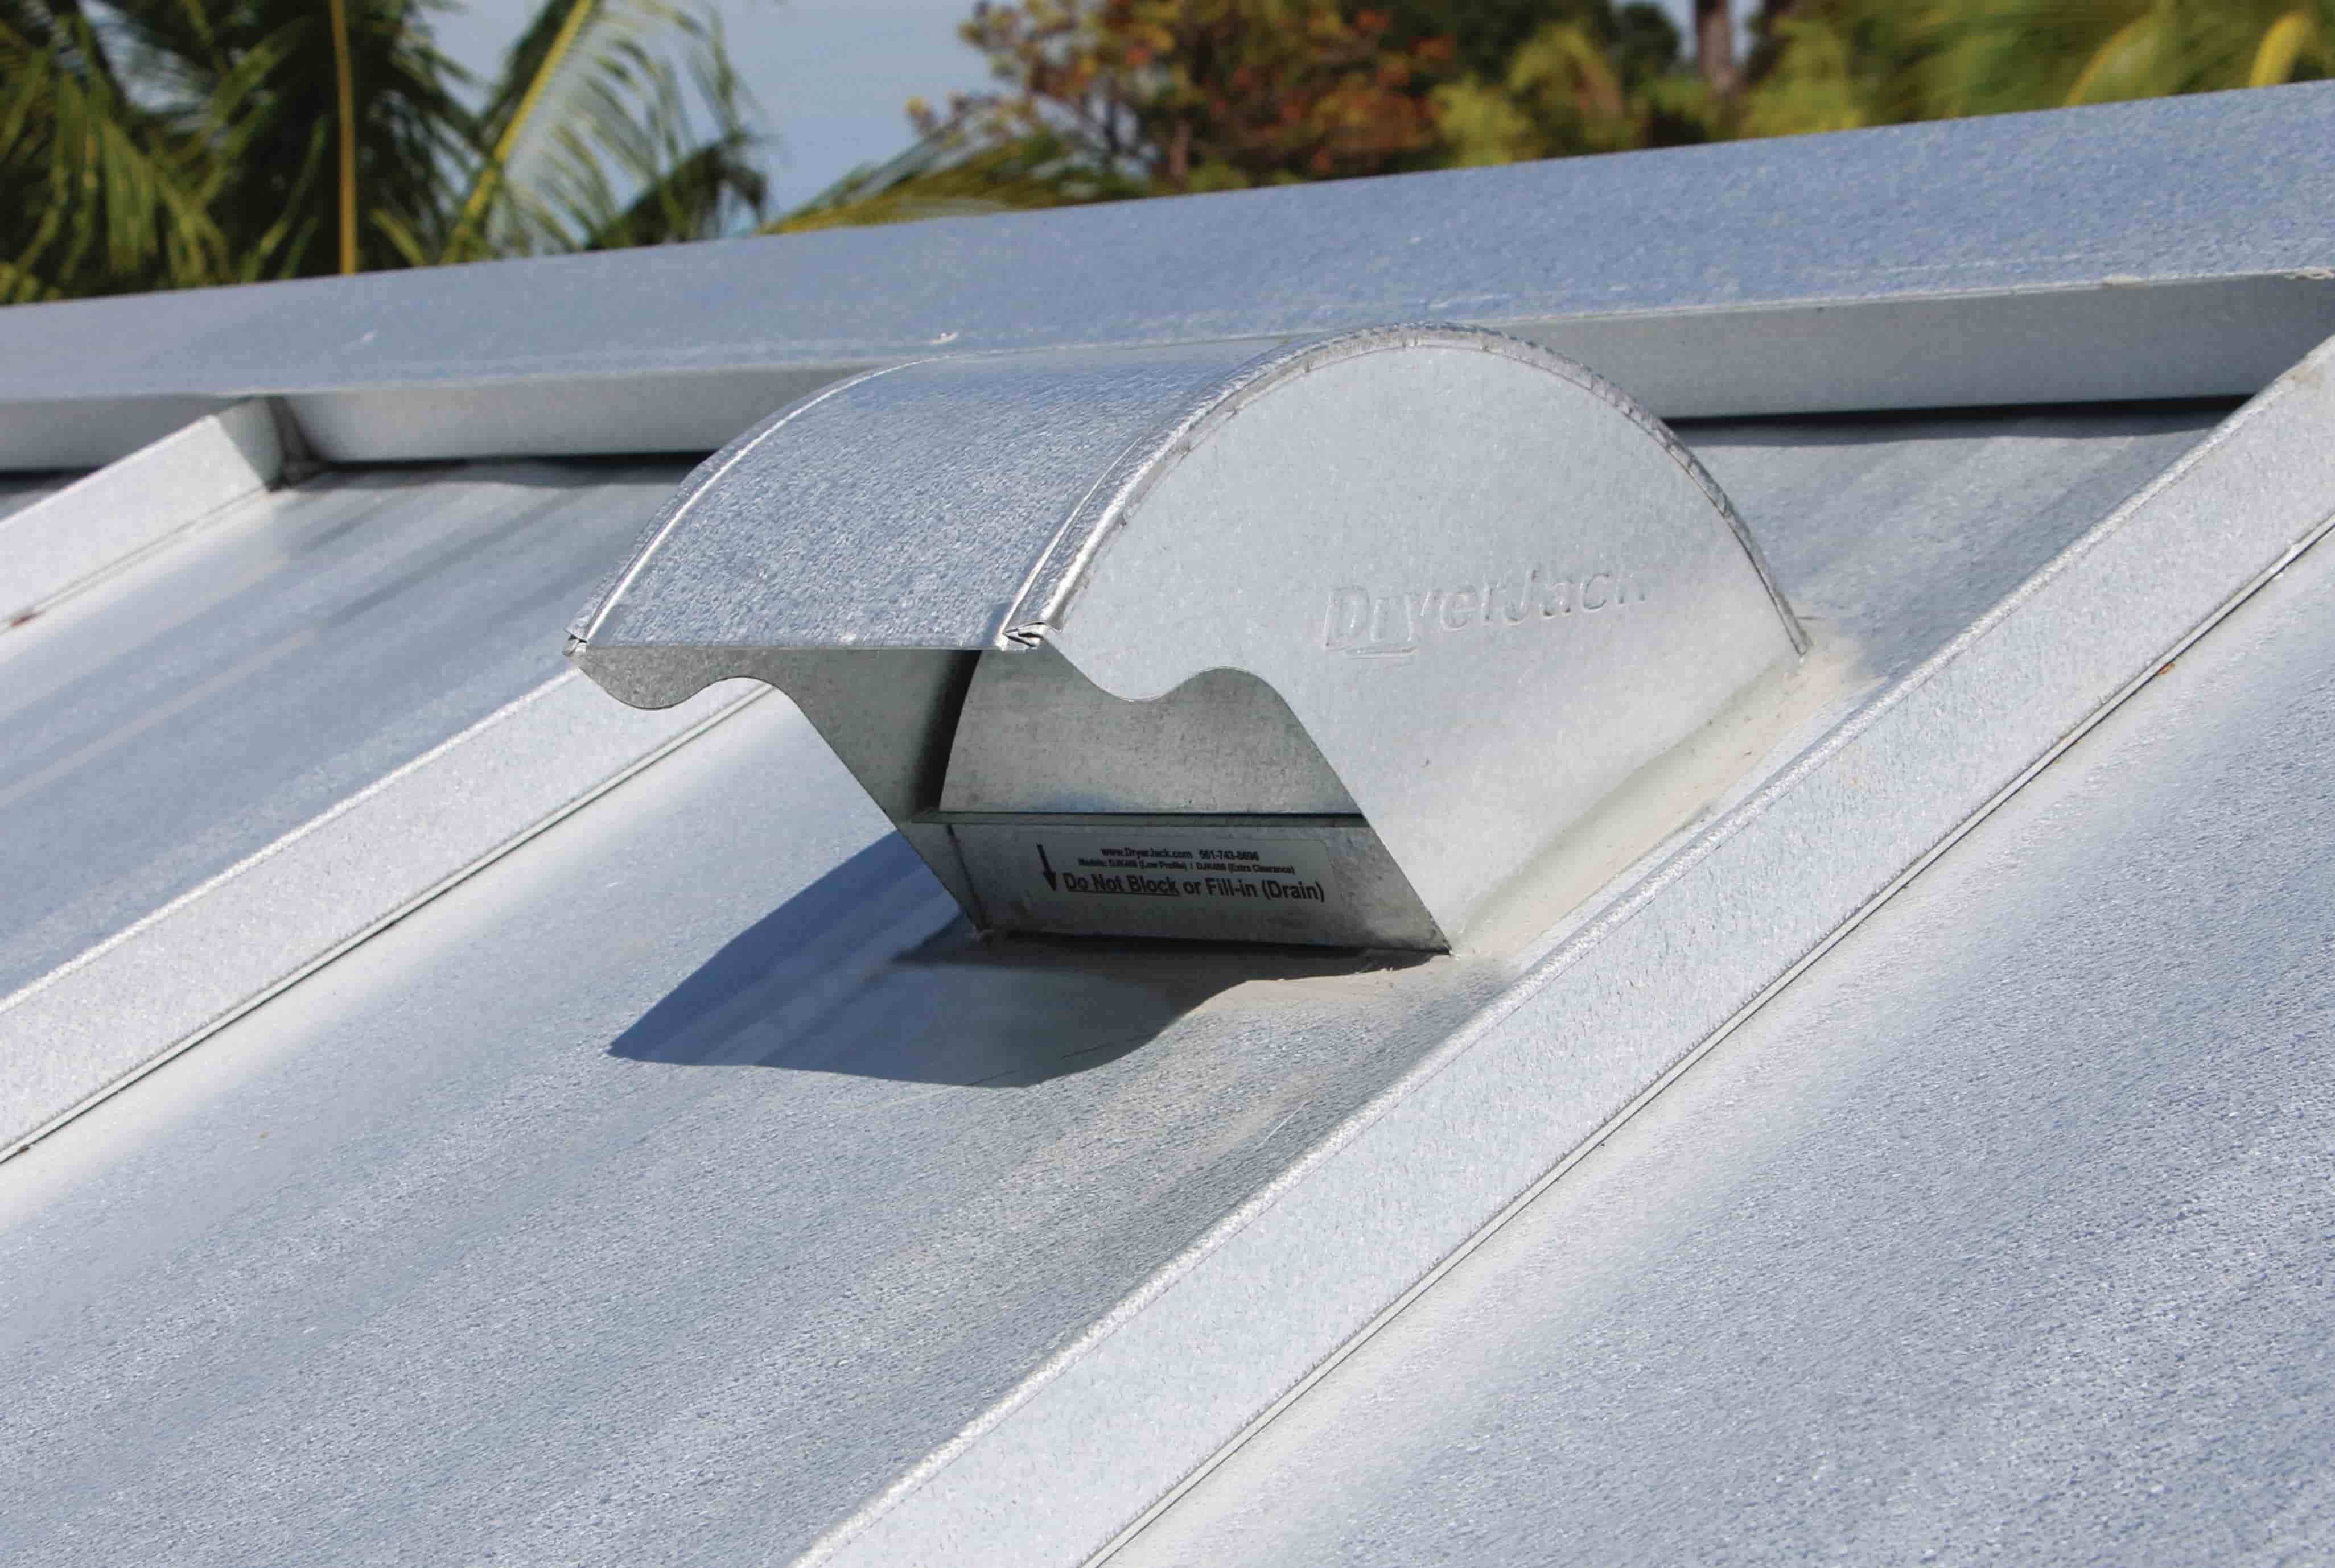
When installing a recessed dryer vent, make sure to use a vent hood that has a built-in damper to prevent drafts and pests from entering the vent. This will help maintain proper airflow and keep your dryer running efficiently.
Read more: How To Install Dryer Vent Hose
Step 4: Install the Vent Pipe
With the vent opening cut, it’s time to install the vent pipe. The vent pipe serves as a conduit for the dryer exhaust to safely exit your home. Proper installation of the vent pipe is crucial for efficient and safe operation.
Start by measuring the distance between the recessed vent box and the dryer. This will determine the length of the vent pipe you need. It’s important to choose a pipe that is the correct length and diameter for your specific setup.
Once you have the appropriate vent pipe, attach it to the back of the dryer using sheet metal screws. Make sure the connection is secure and tight to avoid any leaks or airflow restrictions.
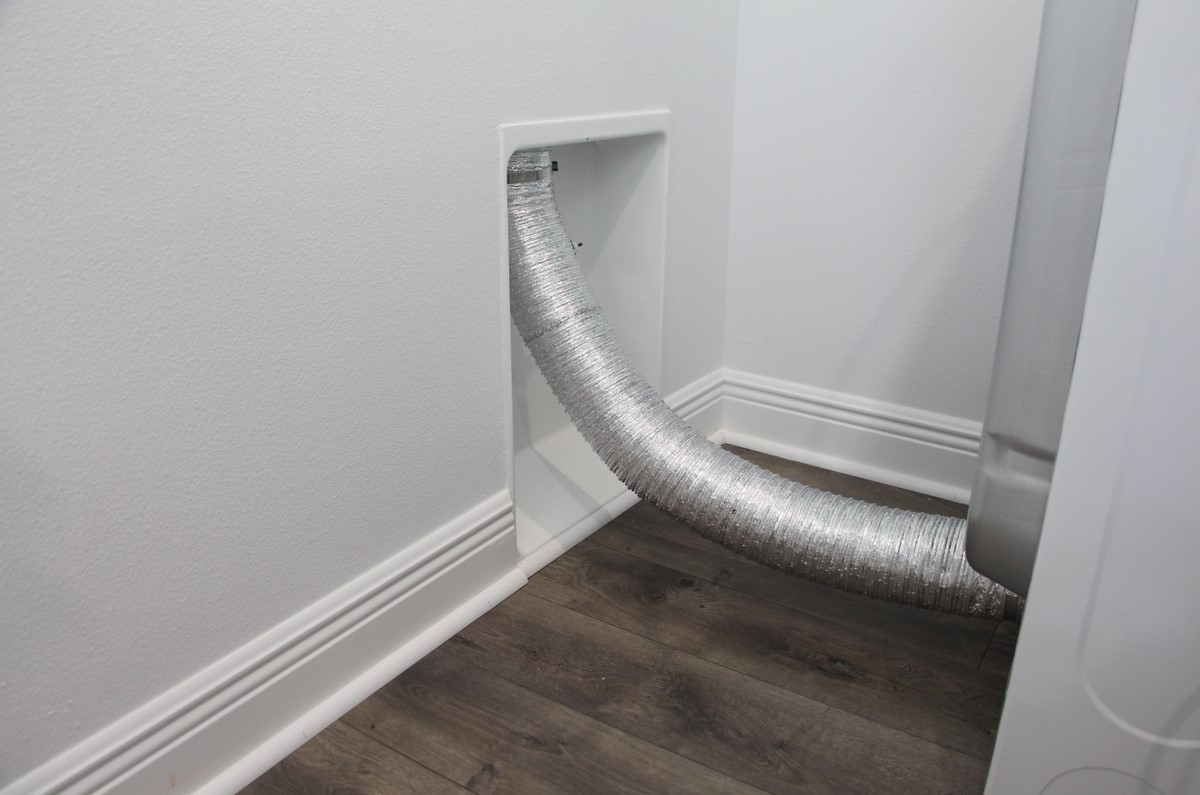
Next, insert the other end of the vent pipe into the opening you cut earlier. Slide the pipe through the wall until it reaches the recessed vent box.
Ensure that the vent pipe is properly aligned and centered within the opening. Use sheet metal screws to secure the pipe to the wall and create a tight connection.
If necessary, use a drill to create pilot holes before inserting the screws to prevent any damage to the vent pipe or the wall.
Once the vent pipe is securely installed, double-check all the connections to ensure there are no gaps or loose fittings. Properly sealing the connections is crucial to prevent any air leaks.
Now that the vent pipe is in place, it’s time to move on to the next step: attaching the vent cover.
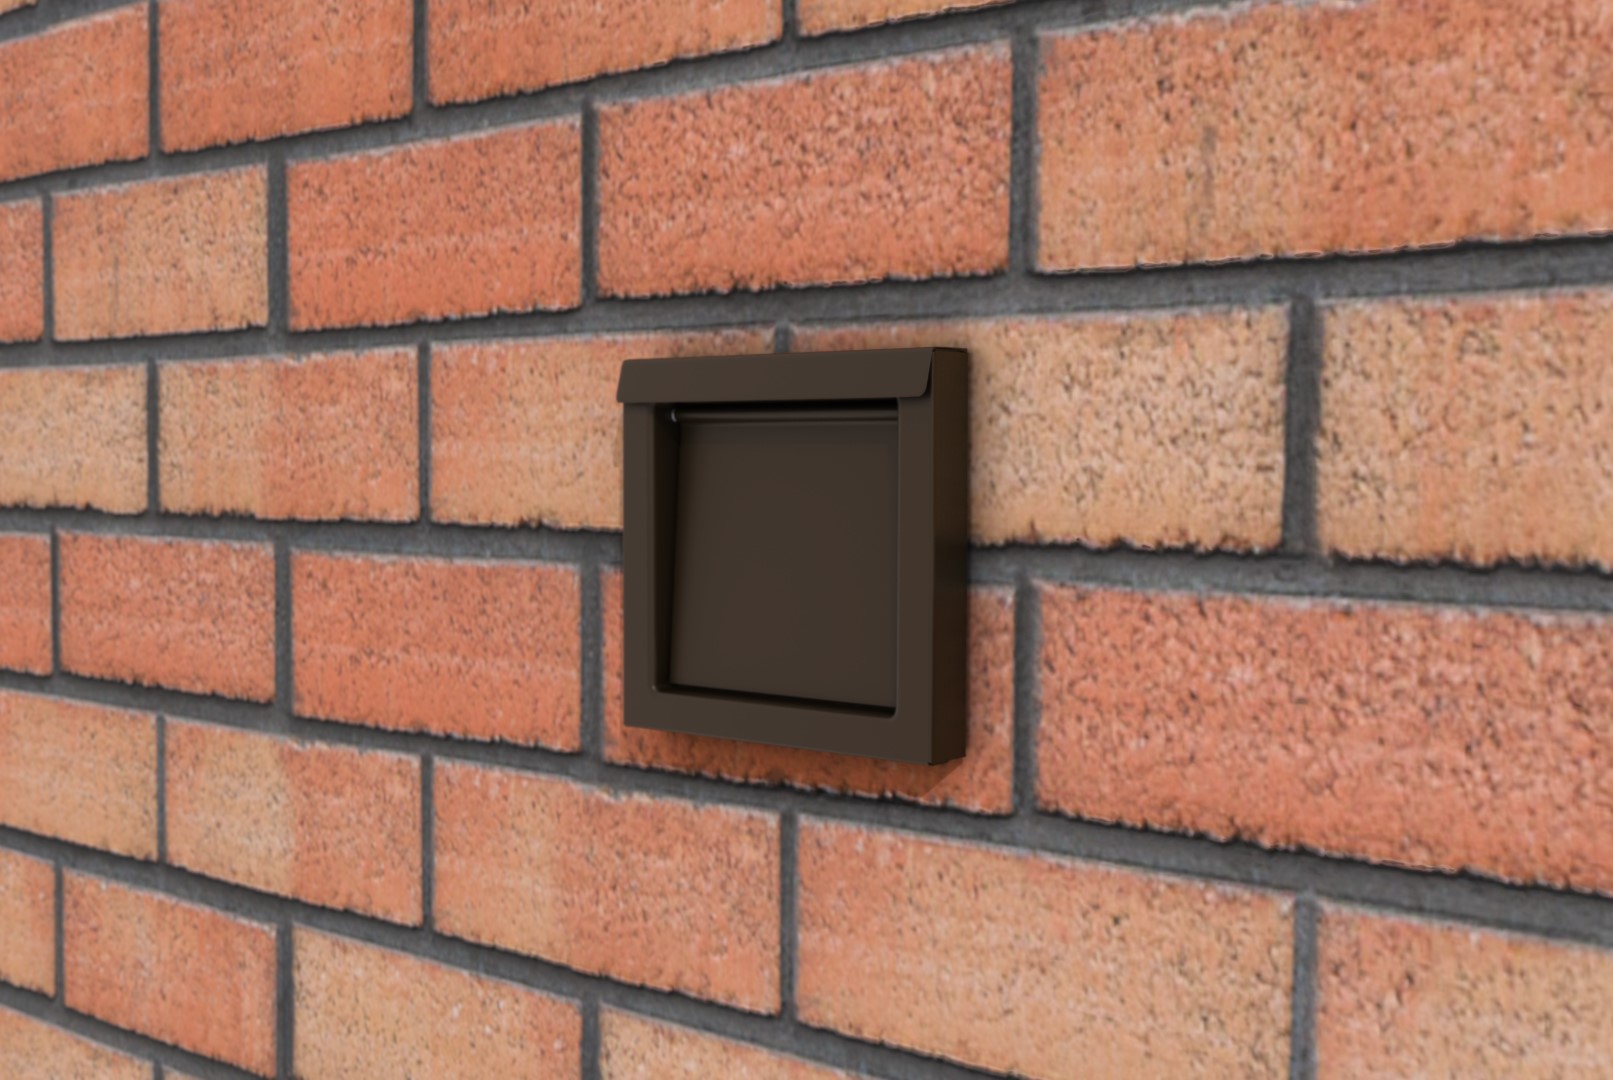
Step 5: Attach the Vent Cover
Attaching the vent cover is the final step of installing a recessed dryer vent. The vent cover not only provides a finished look to the installation but also helps to prevent pests and debris from entering the vent pipe.
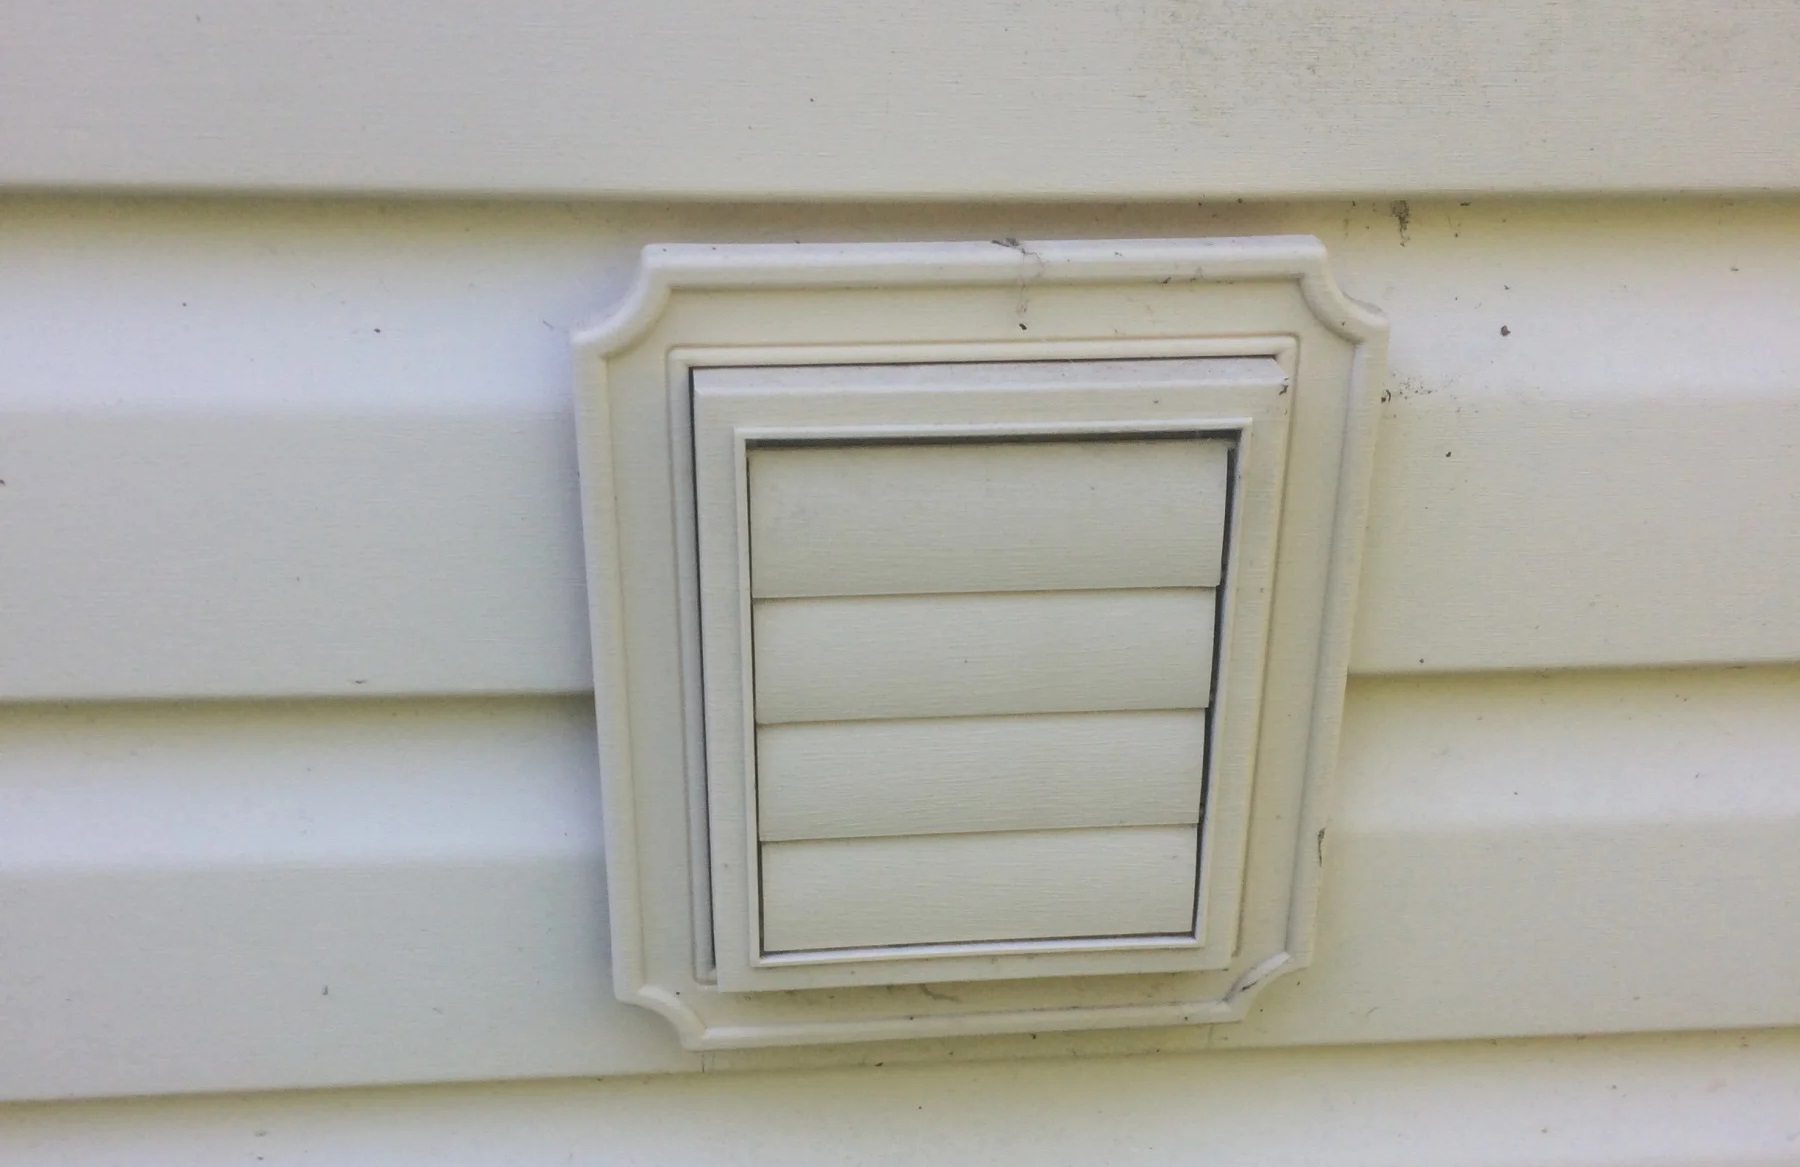
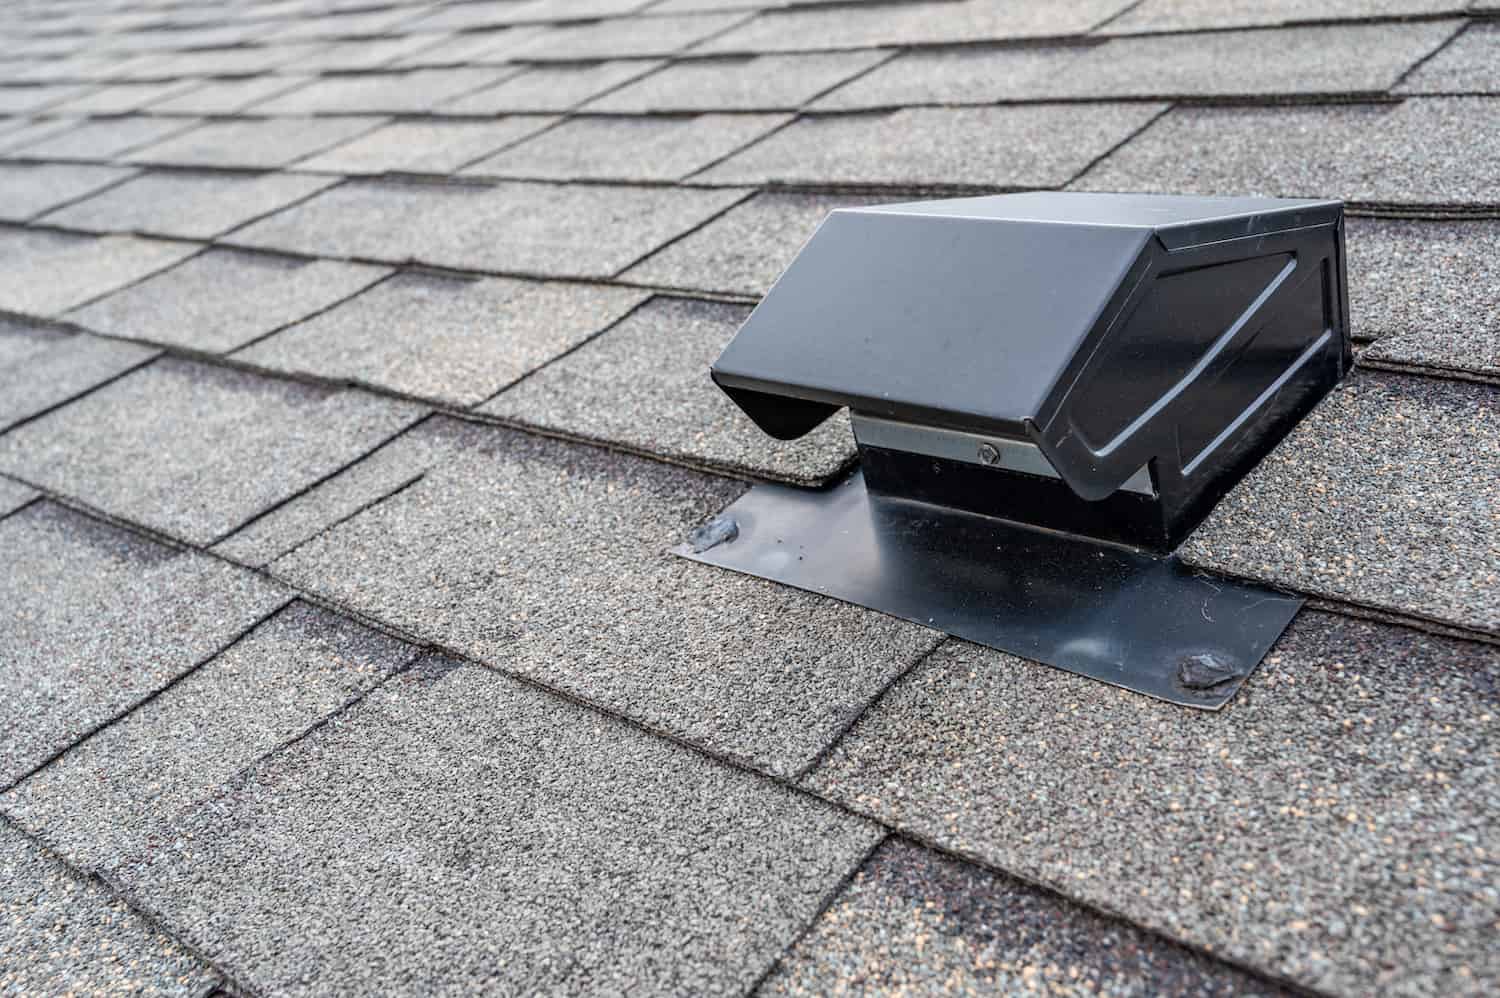
Start by selecting a vent cover that is compatible with your vent pipe diameter. Common vent cover options include louvered covers or gravity flaps that open when the dryer is in use and close to keep out unwanted elements when the dryer is off.
Position the vent cover over the opening on the exterior wall, ensuring that it aligns with the vent pipe. Use a pencil to mark the screw holes on the wall.
Remove the vent cover and use a drill to create pilot holes for the screws. This will prevent any damage to the wall and make it easier to secure the vent cover.
Once the pilot holes are drilled, reposition the vent cover over the opening and use screws to attach it securely to the wall. Make sure the vent cover is level and flush with the exterior surface.
Give the vent cover a gentle push to ensure it opens and closes properly. This will help to verify that the flaps or louvers are functioning correctly.
Finally, inspect the installed vent cover to ensure there are no visible gaps or loose connections. A properly installed and secured vent cover is essential to maintaining the integrity of the venting system.
Congratulations! You have successfully installed a recessed dryer vent. The next and final step is to test the ventilation to ensure everything is working properly.
Step 6: Test the Ventilation
After completing the installation of your recessed dryer vent, it’s important to test the ventilation to ensure that the dryer is expelling air efficiently and safely. Testing the ventilation will also help identify any potential issues that may need to be addressed.
To test the ventilation, follow these steps:
- Start by turning on your dryer and running it for a few minutes to allow it to generate airflow.
- While the dryer is running, go outside to where the vent cover is located.
- Feel for the airflow coming out of the vent cover. You should be able to feel a steady stream of warm air being expelled from the vent.
- If you don’t feel any airflow or it seems weak, there may be a restriction in the vent pipe. Check for any blockages or obstructions and clear them if necessary.
- Also, listen for any unusual noises or rattling sounds coming from the vent. These could indicate loose connections or a poorly installed vent pipe, which may need to be addressed.
- Once you have confirmed that there is a steady and strong airflow coming out of the vent, you can consider the ventilation test successful.
Regularly testing the ventilation of your recessed dryer vent is important to ensure the safe and efficient operation of your dryer. It also helps prevent the buildup of lint, which can pose a fire hazard in your home.
If you encounter any issues during the ventilation test or have concerns about the performance of your dryer vent, don’t hesitate to consult a professional for further assistance.
Congratulations! You have successfully installed and tested your recessed dryer vent. By taking the time to properly install and maintain your dryer vent, you are ensuring the safety and efficiency of your home’s ventilation system.
Remember to regularly clean the vent and check for any signs of damage or wear. A well-maintained dryer vent will prolong the lifespan of your dryer and help prevent any potential hazards.
Thank you for following this step-by-step guide. We hope this article has been helpful in guiding you through the installation process of a recessed dryer vent.
Conclusion
Installing a recessed dryer vent is a great way to improve the functionality and appearance of your laundry area. It allows you to hide the dryer vent pipe behind the wall, creating a cleaner and more organized space. This comprehensive guide has provided you with the step-by-step instructions to successfully install a recessed dryer vent.
Throughout the installation process, you have learned how to choose a suitable location, measure and mark for the vent opening, cut the opening, install the vent pipe, attach the vent cover, and test the ventilation. Following these steps will ensure that your dryer is properly ventilated, allowing for efficient and safe operation.
Remember to always prioritize safety during the installation process. Use protective equipment when necessary, follow manufacturer’s instructions, and consult a professional if you have any doubts or concerns.
Regular maintenance and cleaning of your dryer vent are also important to ensure optimal performance and reduce the risk of potential hazards. Remove any lint buildup regularly and inspect the vent for any signs of damage or blockage.
By properly installing and maintaining your recessed dryer vent, you are not only improving the functionality of your dryer but also promoting the safety of your home. Proper ventilation allows for better airflow, reducing the risk of lint buildup and the potential for fire hazards.
We hope this guide has been informative and helpful in your journey to install a recessed dryer vent. Enjoy the benefits of a clean and organized laundry area, and may your dryer continue to serve you efficiently for years to come.
Happy venting!
Frequently Asked Questions about How To Install A Recessed Dryer Vent
Was this page helpful?
At Storables.com, we guarantee accurate and reliable information. Our content, validated by Expert Board Contributors, is crafted following stringent Editorial Policies. We're committed to providing you with well-researched, expert-backed insights for all your informational needs.