Home>Home Maintenance>How To Install A Periscope Dryer Vent
Home Maintenance
How To Install A Periscope Dryer Vent
Modified: August 16, 2024
Learn how to properly install a periscope dryer vent in your home. Follow these home maintenance steps for improved ventilation and energy efficiency.
(Many of the links in this article redirect to a specific reviewed product. Your purchase of these products through affiliate links helps to generate commission for Storables.com, at no extra cost. Learn more)
Introduction
Welcome to our guide on how to install a periscope dryer vent! If you’re looking to improve the ventilation in your laundry room and ensure that your dryer operates efficiently, a periscope dryer vent is a great solution. This type of vent is designed to fit in tight spaces and allows for a more streamlined installation compared to traditional dryer vents.
In this article, we will walk you through the step-by-step process of installing a periscope dryer vent. We will cover everything you need to know, from measuring and marking the wall to connecting the dryer vent hose and ensuring proper ventilation. So let’s get started!
Key Takeaways:
- Installing a periscope dryer vent improves ventilation and dryer efficiency in tight spaces. Follow the step-by-step guide to ensure proper installation and optimal airflow for your dryer system.
- Regularly inspect and maintain your dryer vent system to prevent lint buildup and ensure safe and efficient operation. Test the ventilation and consult a professional if you encounter any issues.
Read also: 14 Incredible Periscope Dryer Vent For 2025
Materials Needed
Before we begin the installation process, it’s important to gather all the necessary materials. Here’s a list of what you’ll need:
- Periscope dryer vent kit
- Measuring tape
- Pencil
- Drywall saw or reciprocating saw
- Screwdriver
- Drill with a hole saw attachment
- Dryer vent hose
- Duct tape or metal clamps
- Level
Make sure you have all these materials on hand before you start the installation process. This will save you time and ensure a smooth installation.
Step 1: Measure and Mark
The first step in installing a periscope dryer vent is to measure and mark the area where the vent will be installed. This will help ensure that the vent is positioned correctly and allows for proper ventilation.
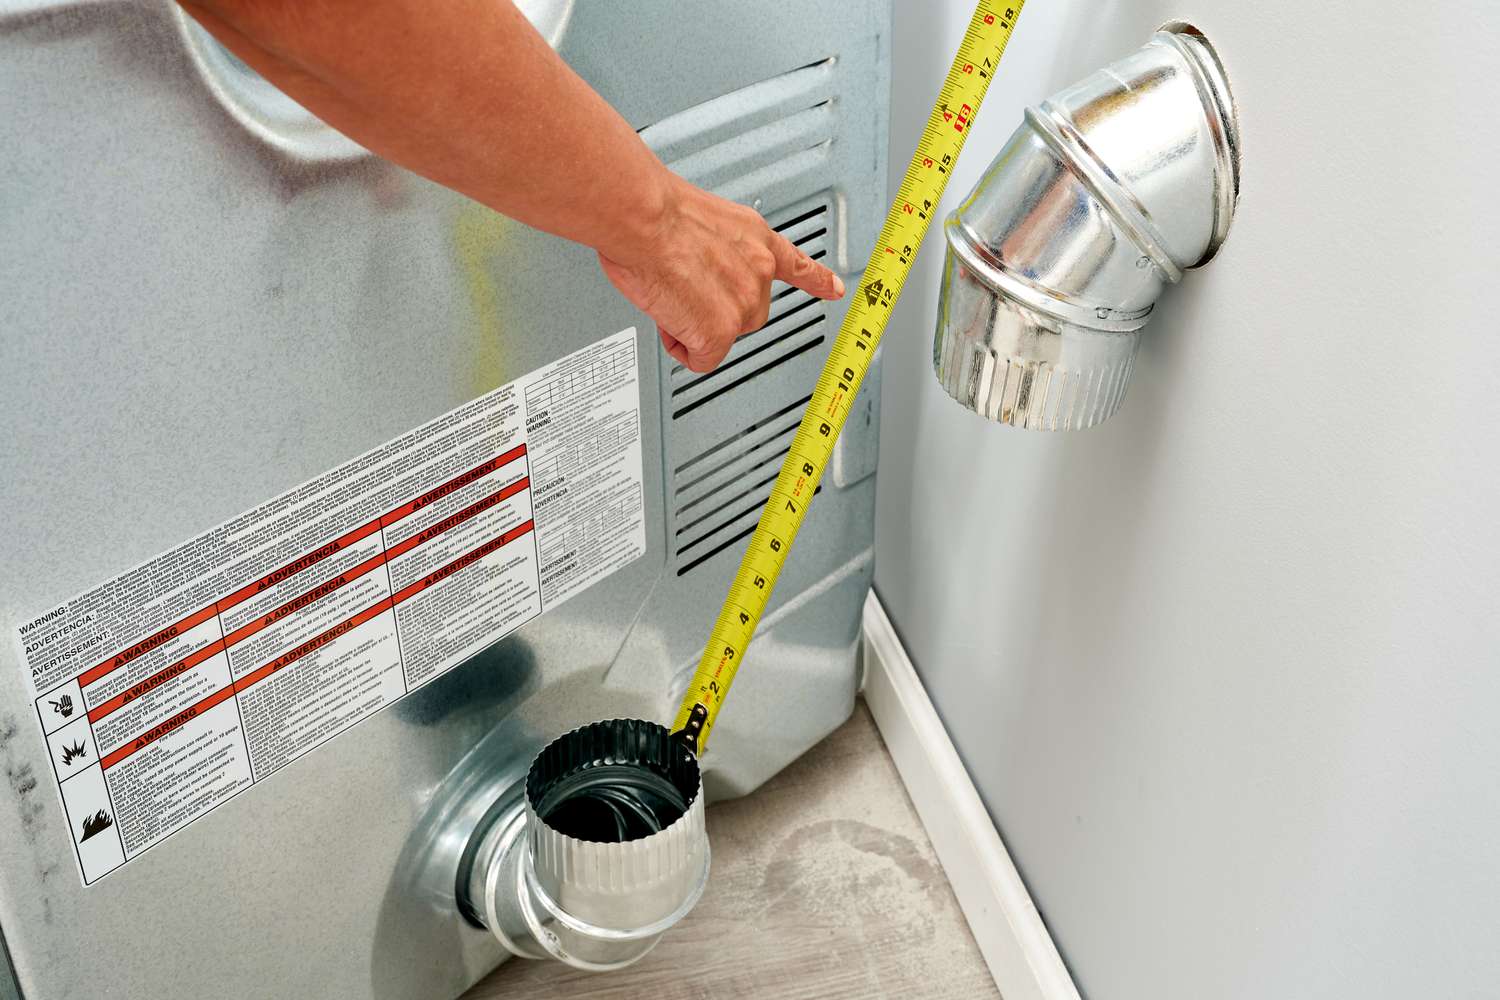
Start by locating the existing dryer vent opening on the wall. Measure the distance from the floor to the center of the vent opening and make a note of it. This measurement will serve as a reference point for installing the periscope vent.
Next, use a measuring tape to measure the depth of the space behind the dryer. This is the distance between the back of the dryer and the wall. It’s important to accurately measure this space in order to choose the appropriate size of the periscope vent.
Once you have these measurements, mark the center of the new vent opening on the wall. Use a level to ensure that the mark is straight and aligned with the existing vent opening. This will ensure that the periscope vent is installed properly and allows for a smooth connection to the dryer.
Using a pencil, mark the area where the new vent opening will be located, making sure to account for the size of the periscope vent. Double-check your measurements to ensure accuracy before moving on to the next step.
By accurately measuring and marking the area for the periscope dryer vent, you’ll ensure that the installation process goes smoothly and that the vent is properly positioned for efficient ventilation.
Step 2: Cut a Hole in the Wall
Now that you have measured and marked the area for the periscope dryer vent, it’s time to cut a hole in the wall. This will create the opening where the vent will be installed.
First, make sure the area is clear of any furniture or obstacles. This will give you the space to work and prevent any damage to surrounding objects.
Using a drywall saw or a reciprocating saw, carefully cut along the marked lines to create the hole for the periscope vent. Take your time and make precise cuts to ensure a clean and accurate opening.
As you cut through the wall, be cautious of any electrical wires or plumbing pipes that may be hidden behind the wall. If you encounter any, stop cutting and consult a professional to ensure their safety and proper rerouting if necessary.
Once you have cut through the wall, remove any excess drywall to create a clean opening for the periscope vent. You may need to use a utility knife or sandpaper to smooth the edges of the hole.
Remember to wear protective gear, such as safety goggles and a dust mask, to shield yourself from dust and debris while cutting through the wall.
With the hole cut in the wall, you’re now ready to move on to the next step: installing the periscope vent.
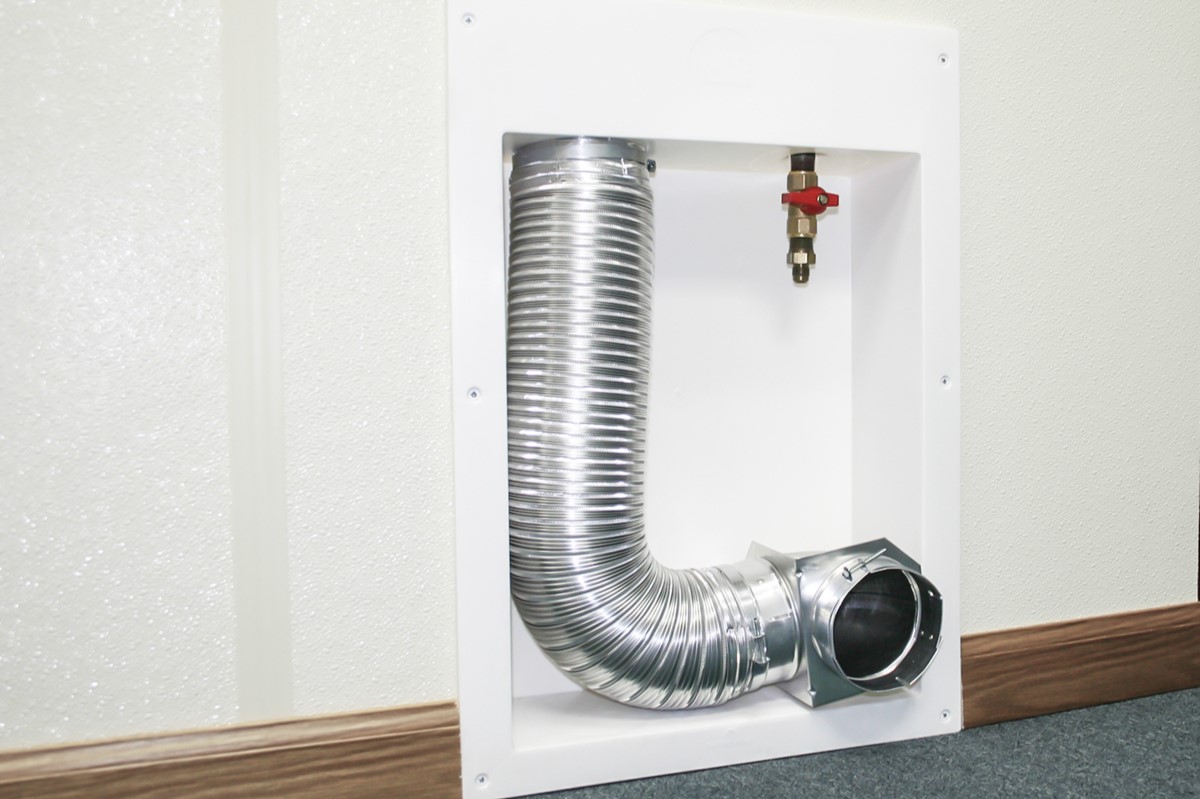
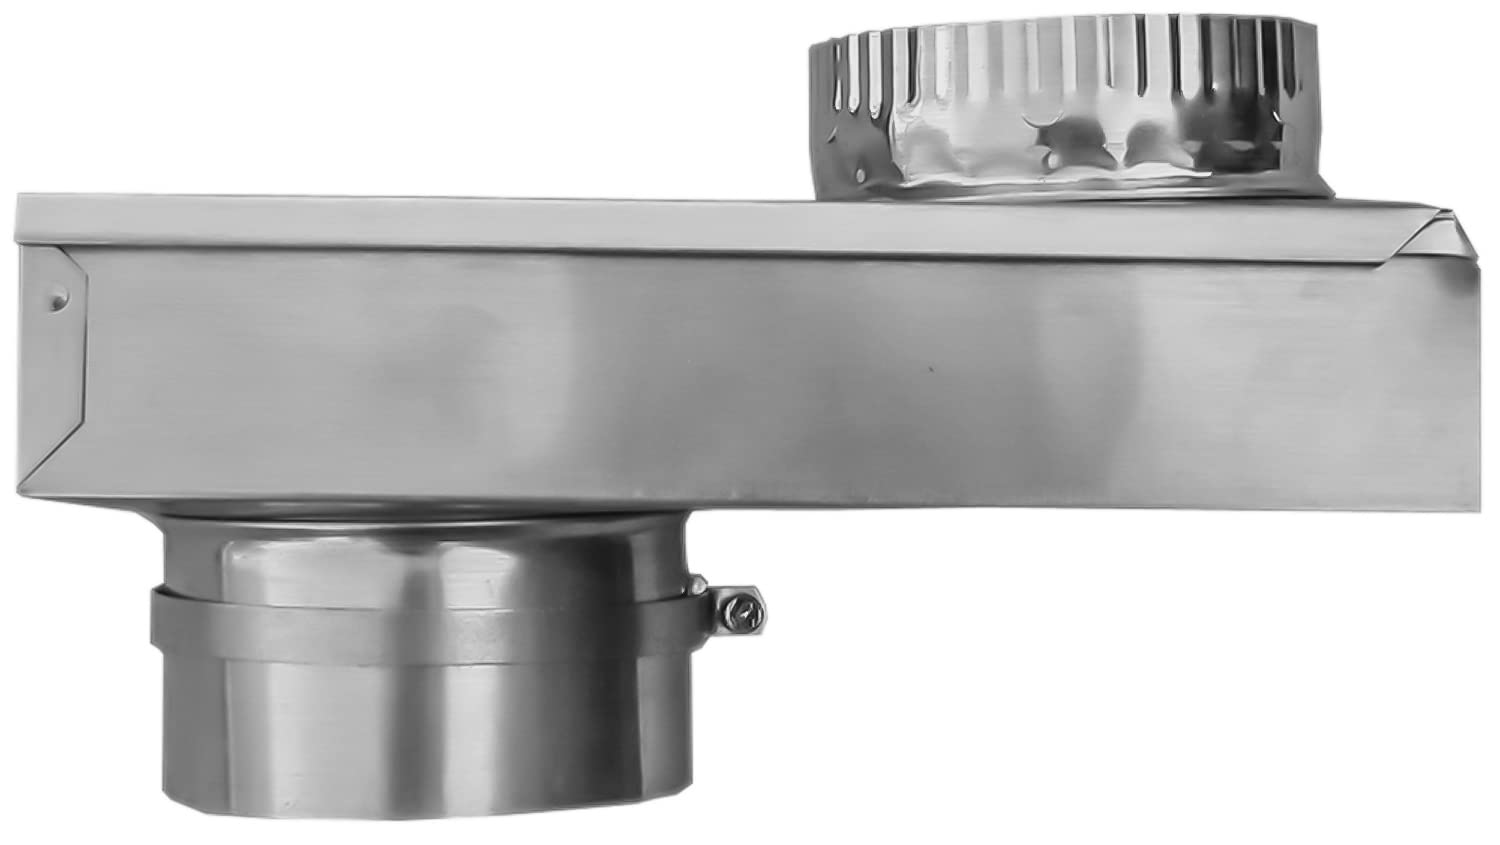
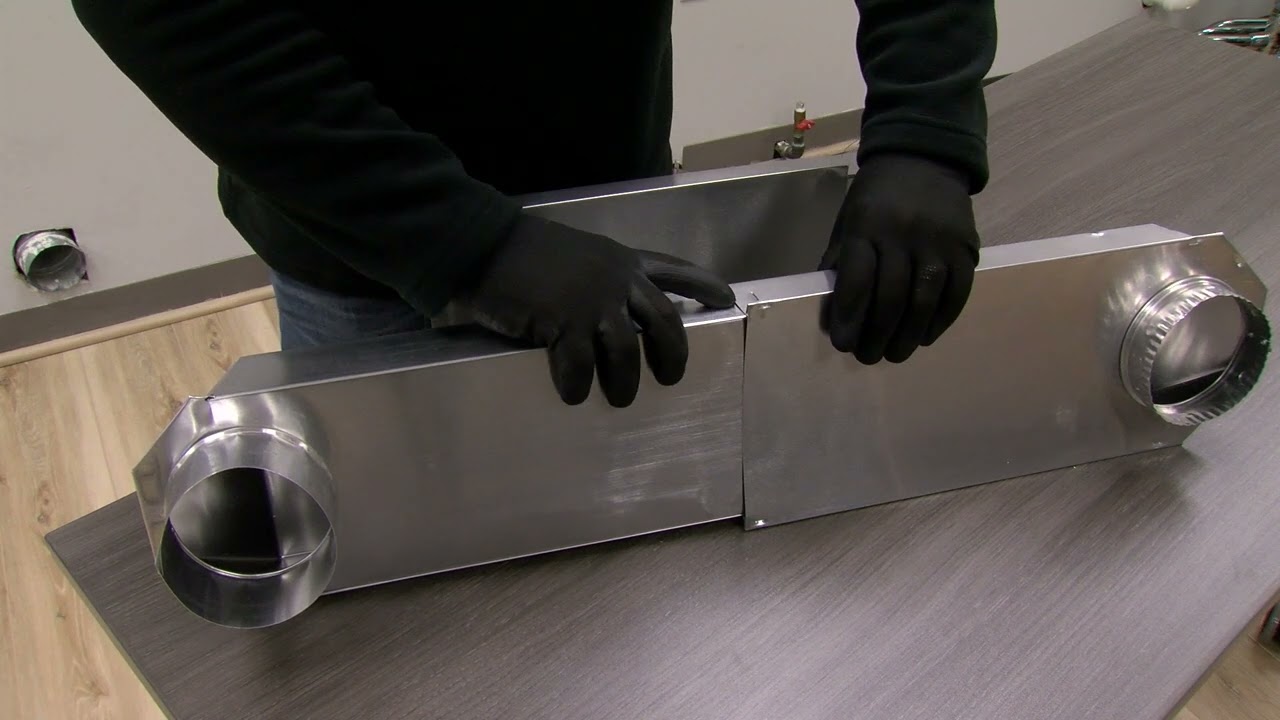
Step 3: Install the Periscope Vent
With the hole cut in the wall, it’s time to install the periscope vent. The periscope vent is designed to fit in tight spaces and provides a more efficient airflow compared to traditional dryer vents.
Start by inserting one end of the periscope vent into the hole you cut in the wall. Slide it in until it is securely positioned. Make sure the vent is aligned with the opening to ensure a proper connection with the dryer.
Next, extend the other end of the periscope vent towards the back of the dryer. Carefully maneuver it through the tight space between the dryer and the wall. If needed, adjust the length of the vent to fit properly.
Once the periscope vent is in place, secure it to the wall using screws or clamps provided with the vent kit. Make sure it is firmly anchored to prevent any movement or disconnection.
It’s important to note that the periscope vent should not be compressed or bent as this can restrict airflow and cause lint buildup. Ensure that the vent is straight and not kinked to allow for proper ventilation.
After installing the periscope vent, double-check that it is securely attached and aligned with both the wall opening and the dryer. This will ensure a proper connection and optimal airflow.
Now that the periscope vent is installed, we can move on to the next step: connecting the dryer vent hose.
When installing a periscope dryer vent, make sure to measure the space behind the dryer accurately to ensure the periscope vent will fit properly. Also, use foil tape to secure the connections and prevent any air leaks.
Read more: How To Install A Recessed Dryer Vent
Step 4: Connect the Dryer Vent Hose
Now that the periscope vent is securely installed, it’s time to connect the dryer vent hose. The dryer vent hose is responsible for carrying the hot air and lint from the dryer to the periscope vent and out of the house.
Start by locating the vent opening on the back of the dryer. It is typically located near the bottom of the dryer and is circular or oval-shaped. Remove any existing hose or clamp connected to the vent opening.
Take one end of the dryer vent hose and attach it to the vent opening on the back of the dryer. Ensure that it fits securely and that there are no gaps or leaks. You can use duct tape or metal clamps to secure the connection, depending on the type of hose and dryer.
Next, take the other end of the dryer vent hose and connect it to the opening on the periscope vent. Again, make sure the connection is tight and secure. If needed, use duct tape or clamps to hold it in place.
It’s important to ensure that the dryer vent hose is not kinked or bent. A straight or gently curved hose allows for optimal airflow and prevents lint buildup. Avoid compressing the hose as this can restrict airflow and lead to dryer inefficiency.
After connecting the dryer vent hose, gently move the dryer back into place, being careful not to damage the hose or disconnect the vent. Make sure there is enough space behind the dryer for proper ventilation.
Now that the dryer vent hose is properly connected, we can move on to the next step: securing the connections.
Step 5: Secure the Connections
Once the dryer vent hose is connected to both the dryer and the periscope vent, it’s crucial to secure the connections to ensure that they remain intact and prevent any air leaks.
First, check the connections between the dryer vent hose and the dryer and periscope vent. Make sure they are tightly attached and there are no gaps or loose fittings. Wiggle them slightly to confirm their stability.
For the connection between the dryer vent hose and the vent opening on the dryer, you can use metal clamps or duct tape. Slide the clamp over the hose and tighten it using a screwdriver. Alternatively, wrap duct tape around the connection to hold it securely in place.
When securing the connection between the dryer vent hose and the periscope vent, follow the instructions provided with the vent kit. It may involve screwing or clamping the hose to the vent. Ensure that the connection is snug and secure.
Inspect both connections again to verify the tightness and stability. Any loose connections can lead to air leaks, decreasing the efficiency of the dryer and potentially causing a fire hazard. Double-check that there are no signs of gaps or leaks.
It’s a good practice to periodically inspect and maintain the dryer vent hose and connections. Over time, lint can accumulate and obstruct airflow, leading to reduced dryer performance and increased risk of fire.
By securing the connections properly, you’ll ensure the efficiency and safety of your dryer system. With the connections secured, we can move on to the final step: testing the ventilation.
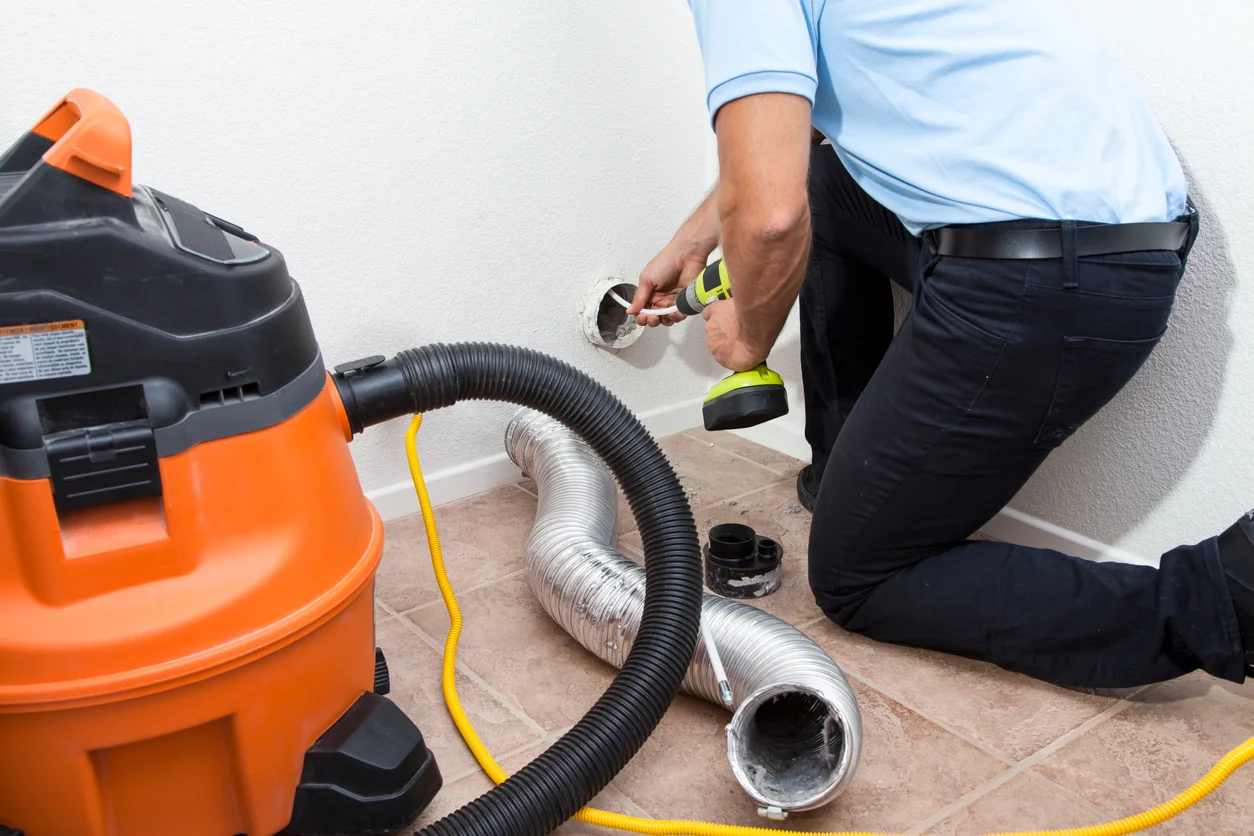
Step 6: Test the Ventilation
After completing the installation and securing the connections, it’s essential to test the ventilation to ensure proper airflow and functionality of the periscope dryer vent system.
Start by turning on the dryer and running it for a few minutes. Stand near the periscope vent and feel for the airflow. It should be strong and steady. If you notice weak airflow or no airflow at all, there may be a blockage or a problem with the vent connections.
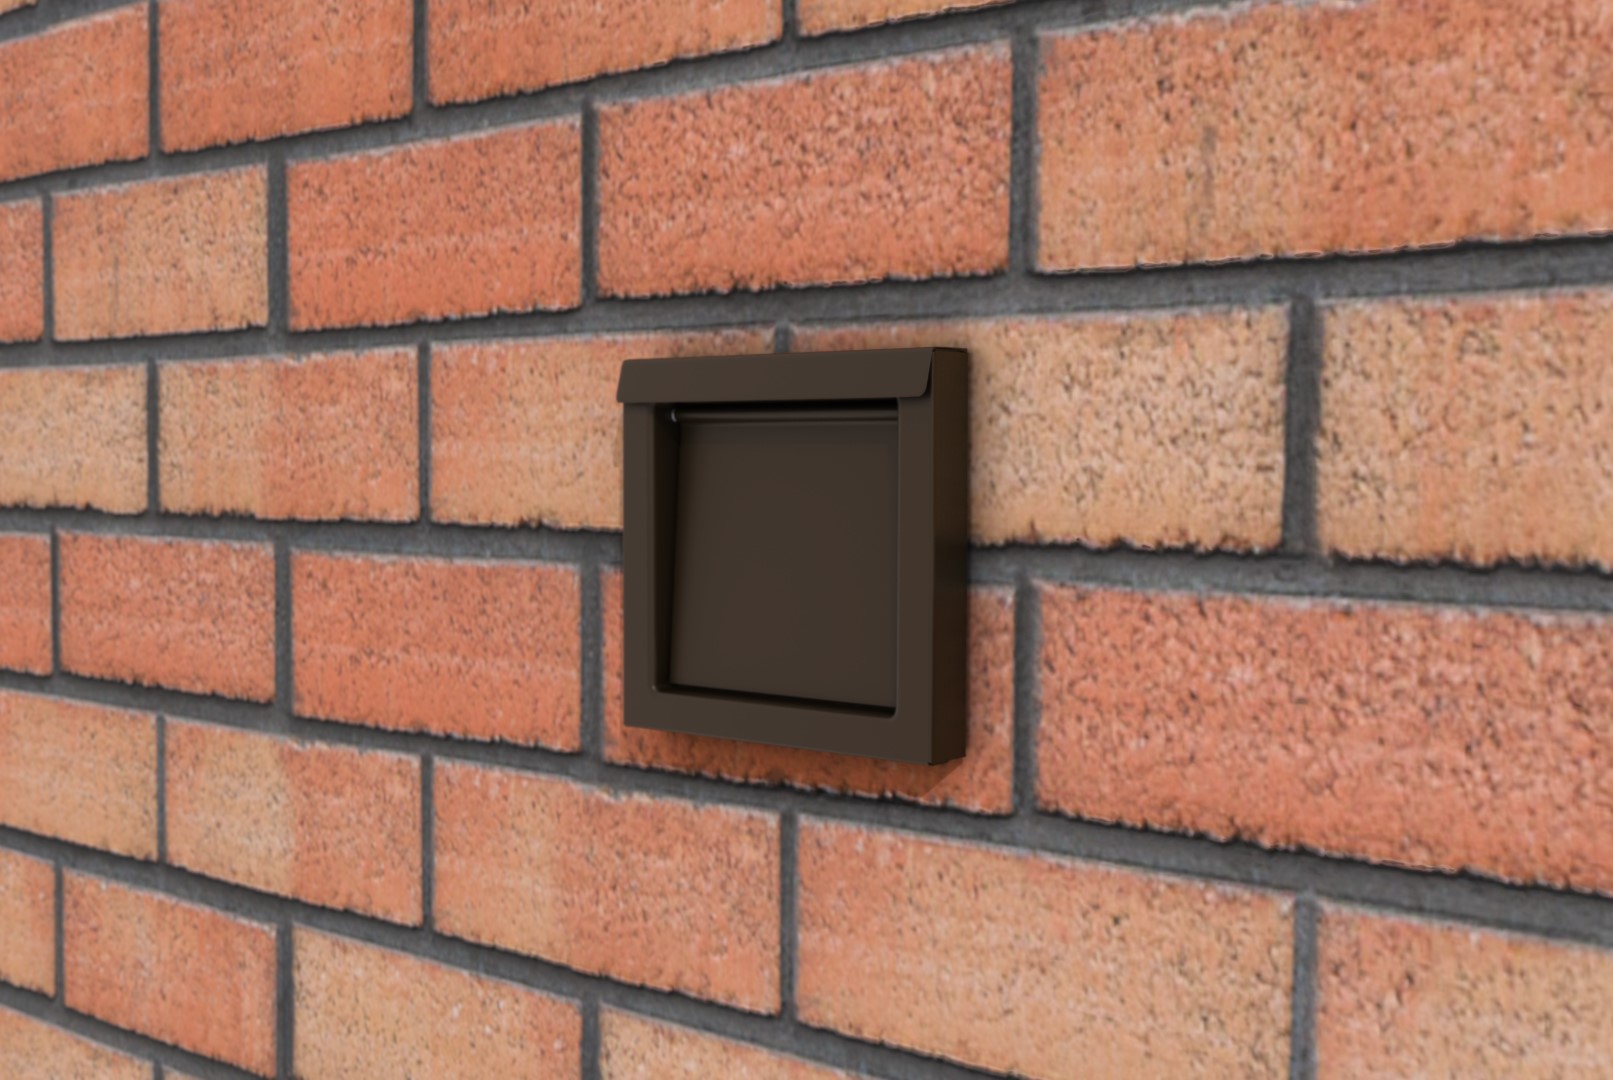
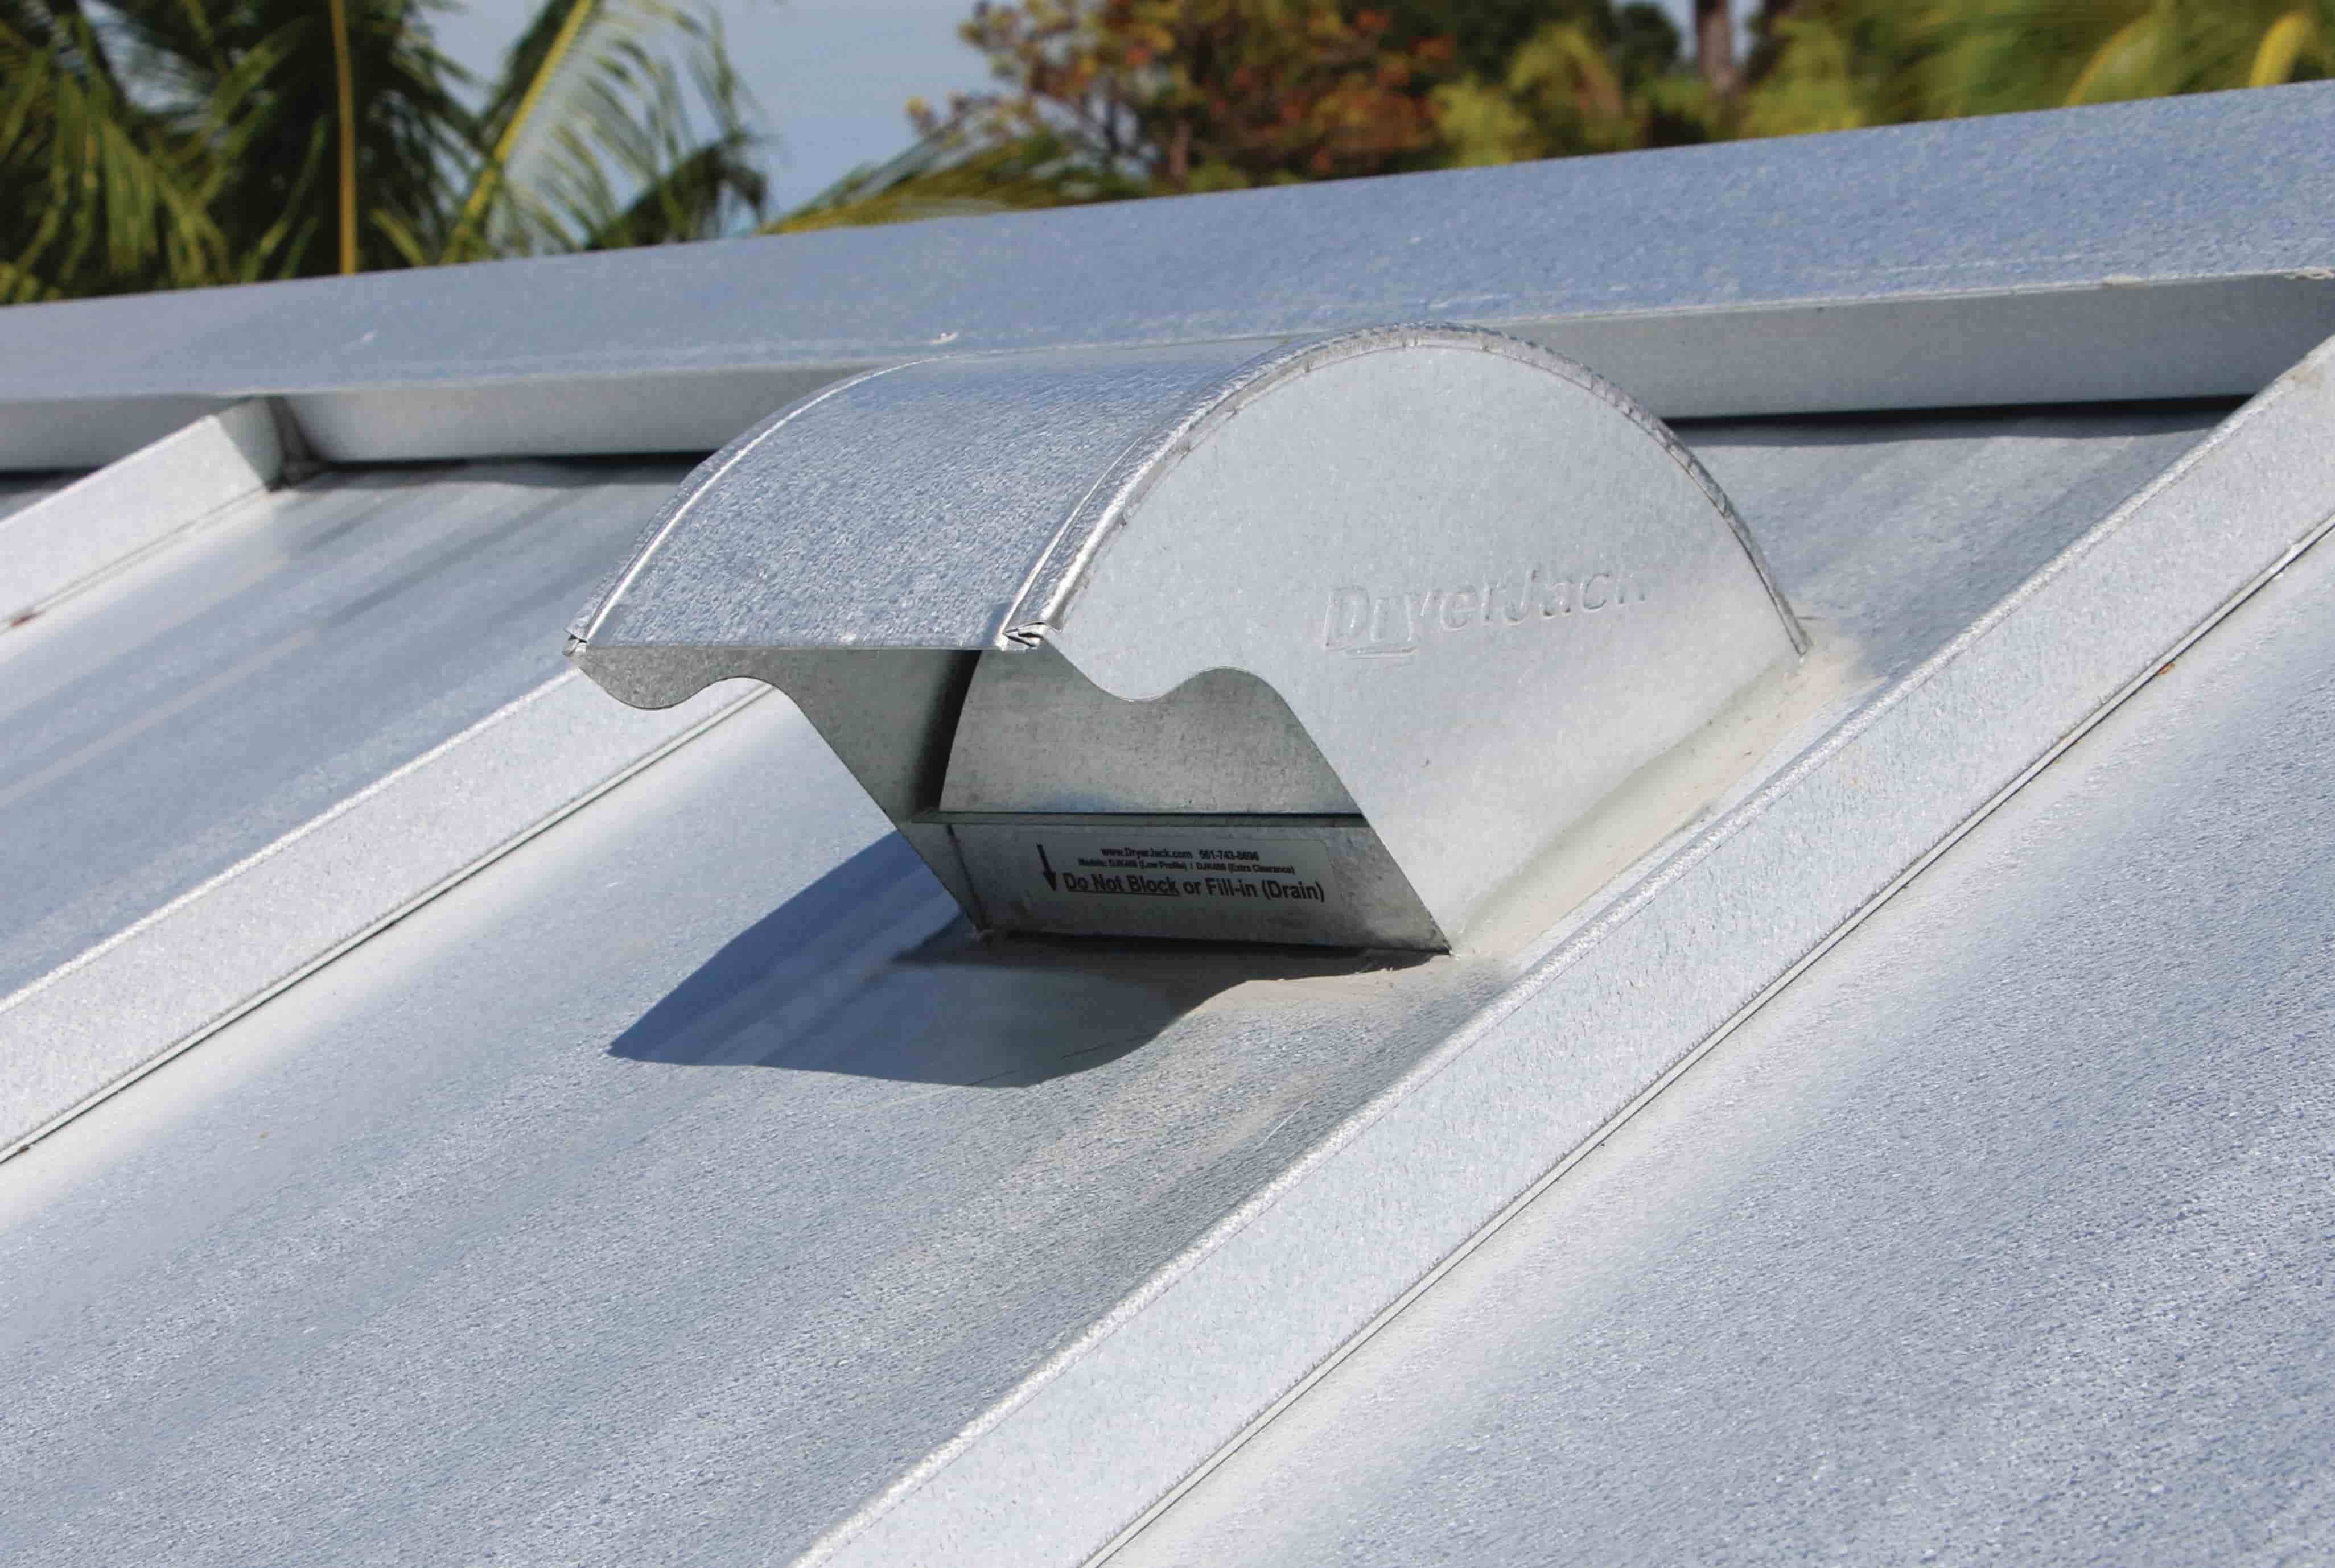
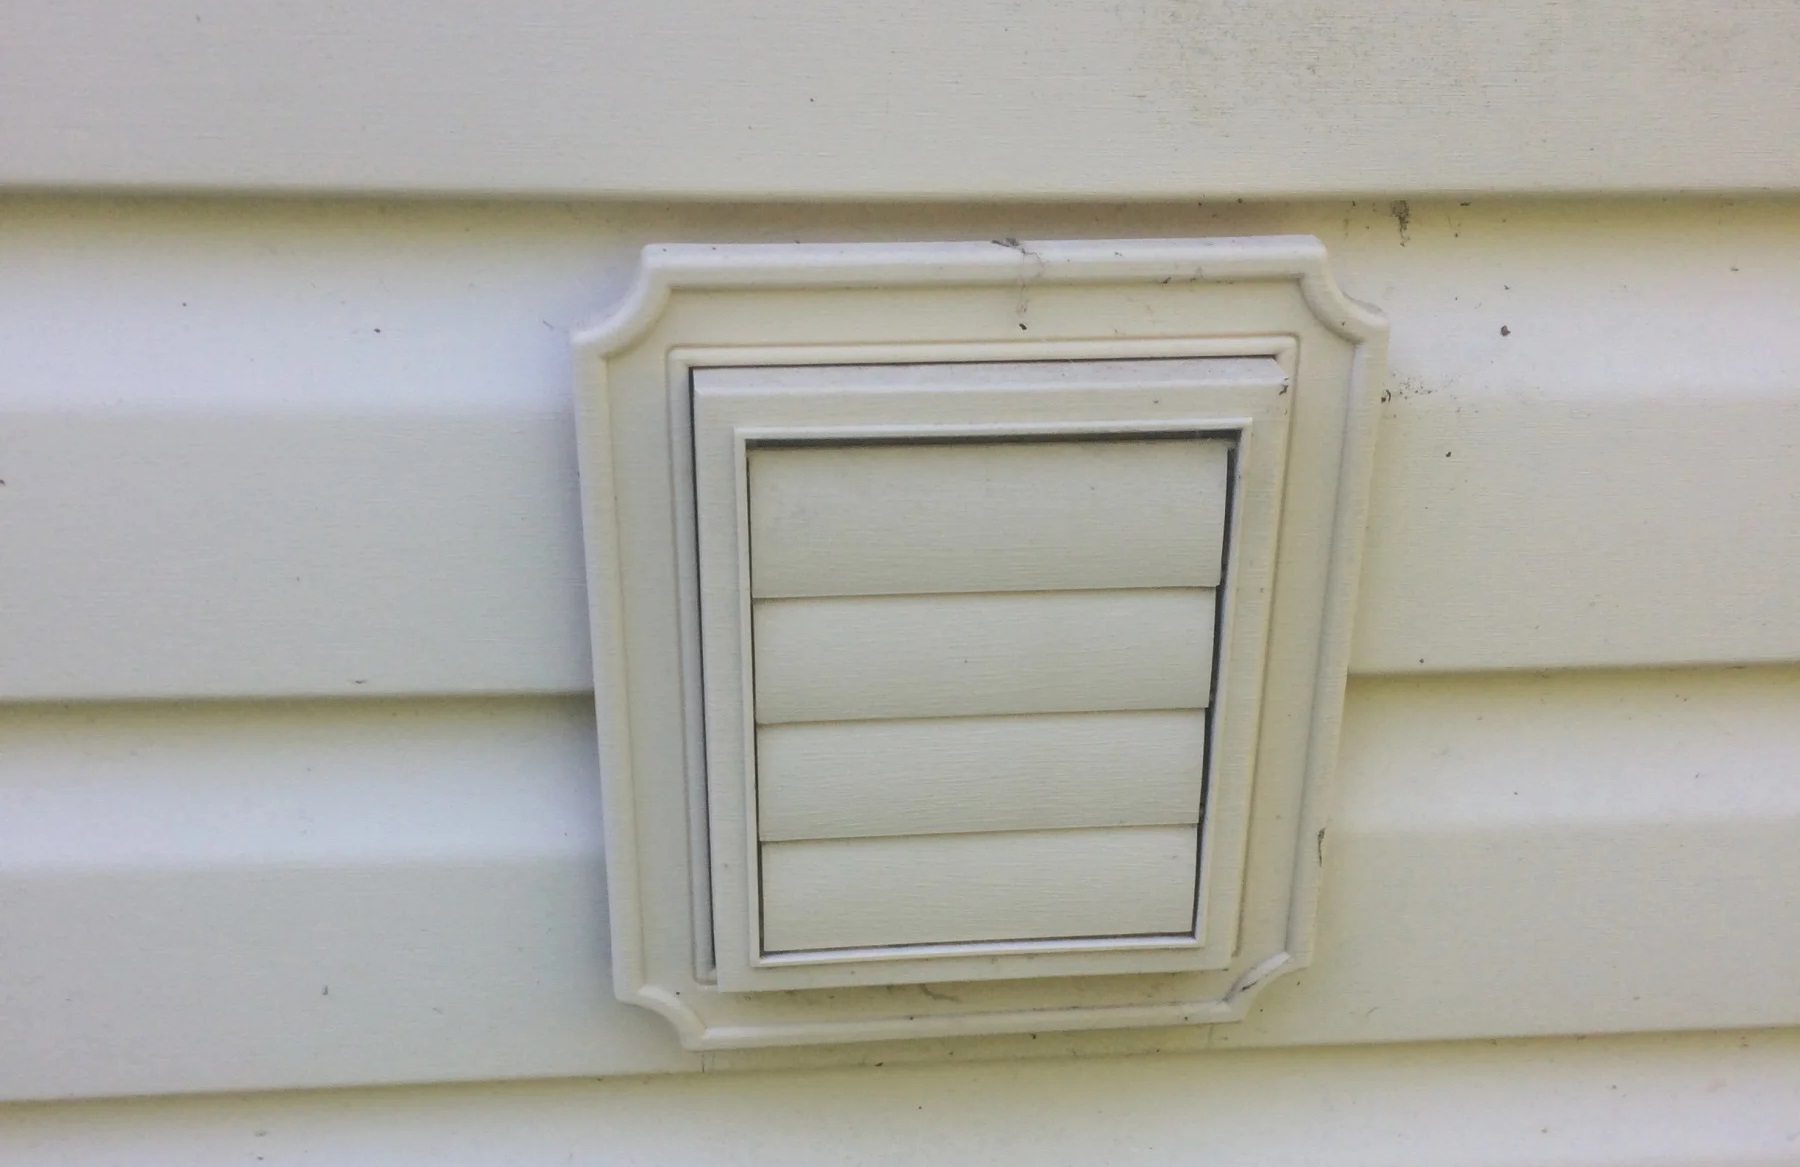
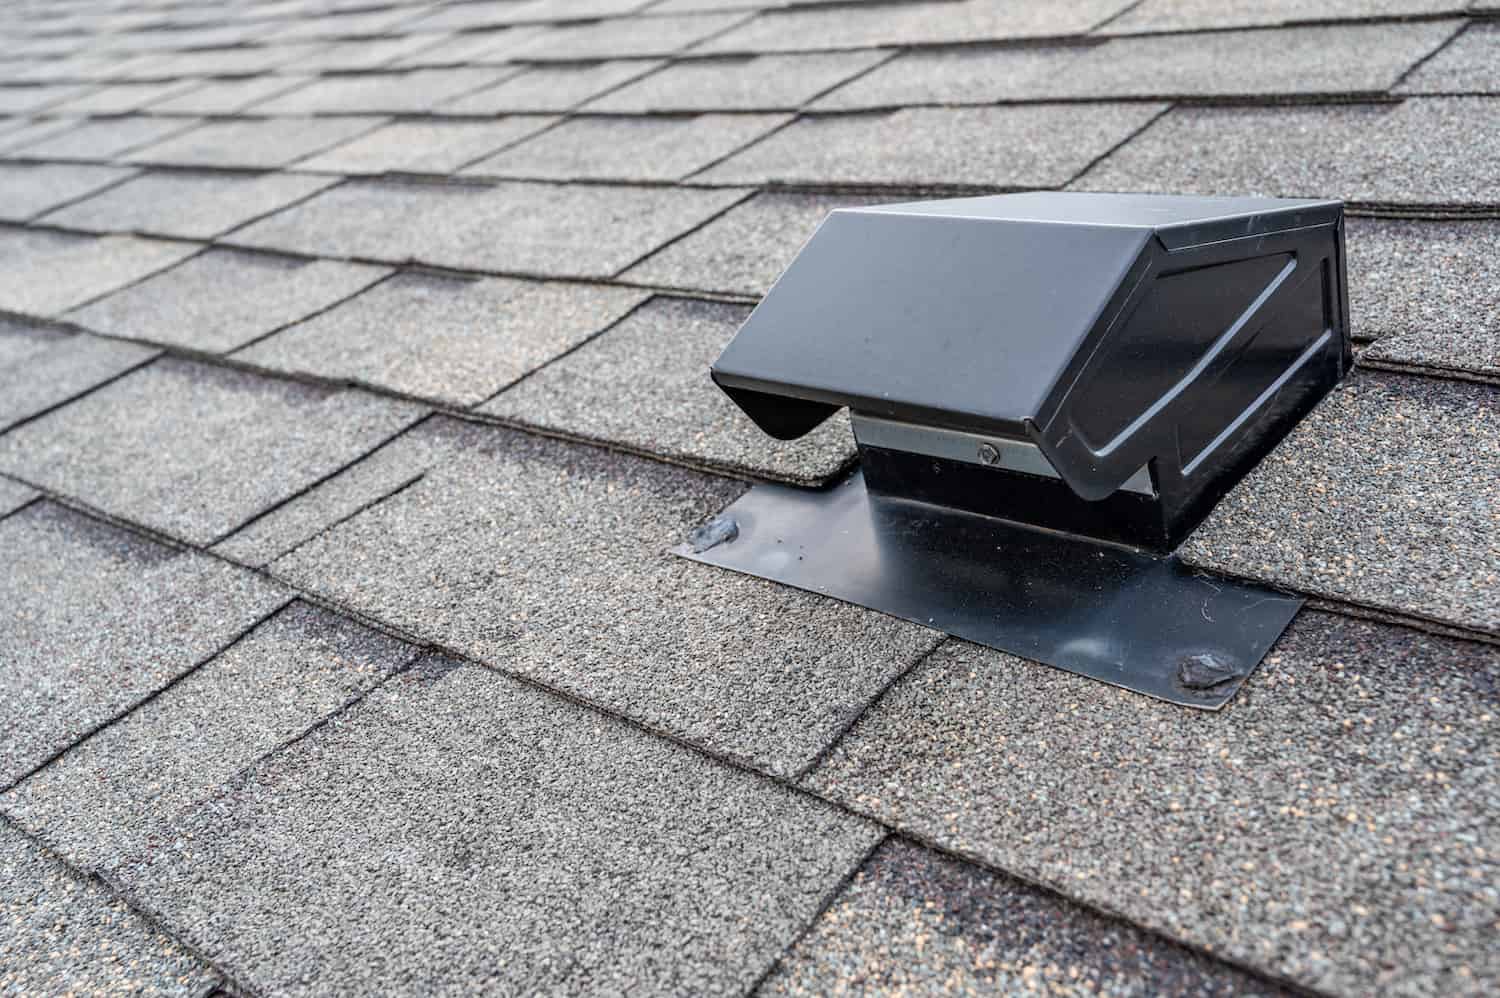
While the dryer is running, check the vent opening outside of your home. Make sure there is no lint or debris blocking the airflow. If you notice any obstructions, carefully remove them to allow for unrestricted ventilation.
Take note of any signs of overheating, unusual noises, or a burning smell during the testing. These can indicate potential issues with the dryer or the ventilation system and should be addressed promptly by a professional.
Additionally, keep an eye on the dryer’s performance. If you notice that it takes longer than usual for your clothes to dry or that they come out still damp, it may indicate a problem with the ventilation system.
Regularly monitoring the ventilation and maintaining a clean dryer vent system are crucial for optimal performance and safety. It is recommended to clean the dryer vent and periscope vent at least once a year to remove lint buildup and debris.
If you encounter any issues or suspect a problem with the ventilation, it’s best to consult a professional to inspect and address the situation. It’s better to be safe than sorry when it comes to the proper function of your dryer and the prevention of potential hazards.
With the ventilation successfully tested, you have completed the installation of a periscope dryer vent. Enjoy the improved efficiency and airflow, knowing that you have taken the necessary steps to maintain a safe and effective dryer system.
Conclusion
Congratulations! You have successfully completed the installation of a periscope dryer vent. By following the steps outlined in this guide, you have improved the ventilation in your laundry room and ensured that your dryer operates efficiently.
Proper ventilation is crucial for the efficient operation of your dryer, as it helps remove hot air and lint from the dryer drum, preventing overheating and reducing the risk of fire. The periscope dryer vent is a great solution for tight spaces, providing a more streamlined installation compared to traditional vents.
Throughout the installation process, we discussed important steps, such as measuring and marking, cutting a hole in the wall, installing the periscope vent, connecting the dryer vent hose, securing the connections, and testing the ventilation. These steps ensure that the periscope dryer vent is installed correctly and functions optimally.
Remember to periodically inspect and maintain your dryer vent system to prevent lint buildup, which can restrict airflow and reduce dryer efficiency. Regularly cleaning the vent and removing any obstructions will help maintain proper ventilation and extend the lifespan of your dryer.
If you encounter any issues or suspect a problem with the ventilation, it is always recommended to consult a professional. They can provide expert advice, troubleshoot any problems, and ensure the safety and functionality of your dryer system.
Thank you for using our guide. We hope this article has been helpful in guiding you through the installation of a periscope dryer vent. Enjoy improved dryer performance and peace of mind knowing that your laundry room is properly ventilated.
Frequently Asked Questions about How To Install A Periscope Dryer Vent
Was this page helpful?
At Storables.com, we guarantee accurate and reliable information. Our content, validated by Expert Board Contributors, is crafted following stringent Editorial Policies. We're committed to providing you with well-researched, expert-backed insights for all your informational needs.