Articles
How To Install Velux Skylight Blinds
Modified: January 9, 2024
Learn how to properly install Velux skylight blinds with our informative articles. Get expert tips and step-by-step instructions for seamless installation.
(Many of the links in this article redirect to a specific reviewed product. Your purchase of these products through affiliate links helps to generate commission for Storables.com, at no extra cost. Learn more)
Introduction
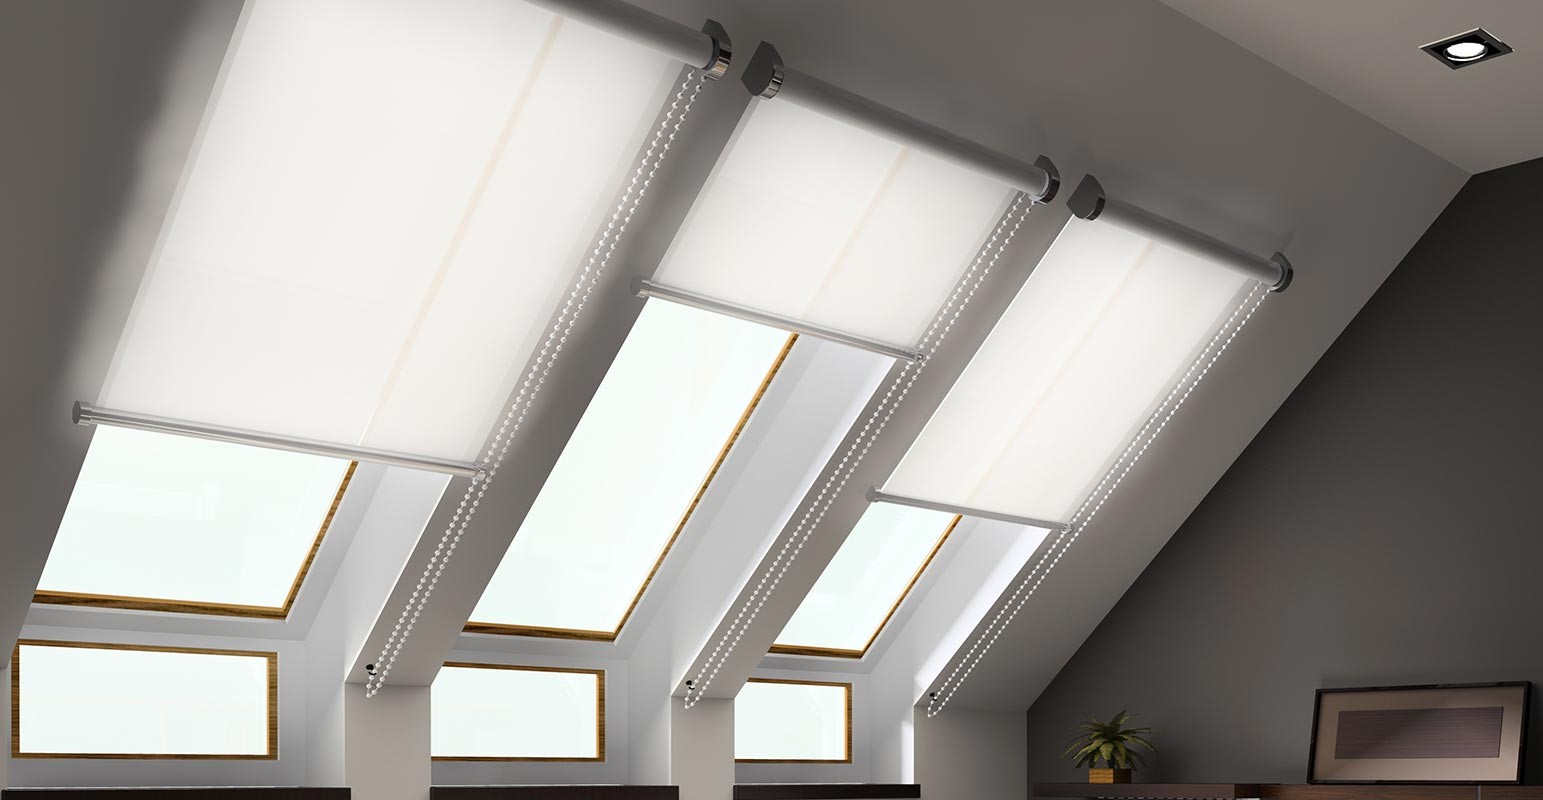
Installing Velux Skylight Blinds not only adds a touch of elegance to your home, but also provides practical benefits such as privacy, light control, and insulation. Whether you’re looking to block out the sun during the hottest hours of the day or add a pop of color to your living space, Velux Skylight Blinds are a perfect solution. In this article, we will guide you through the step-by-step process of installing Velux Skylight Blinds, ensuring a seamless installation that will enhance the beauty and functionality of your skylights.
Before we begin, make sure you have all the necessary materials and tools handy. This will ensure a smooth installation process without any interruptions. Let’s dive in and get started!
Key Takeaways:
- Enhance your skylight with Velux Skylight Blinds for improved light control, privacy, and insulation. Follow our step-by-step guide for a seamless installation process and enjoy the benefits of a stylish and functional addition to your home.
- Carefully measure, choose, prepare, and install Velux Skylight Blinds to elevate the ambiance and functionality of your skylight. Test and adjust for optimal performance, and revel in the elegance and convenience they bring to your living space.
Read more: How To Install A Velux Skylight
Materials Needed
Before you begin installing Velux Skylight Blinds, gather the following materials:
- Velux Skylight Blinds kit (includes blinds, mounting brackets, screws, and instructions)
- Tape measure
- Drill
- Phillips head screwdriver
- Pencil or marker
- Step ladder or platform
Having these materials at hand will ensure that you have everything you need to complete the installation process efficiently.
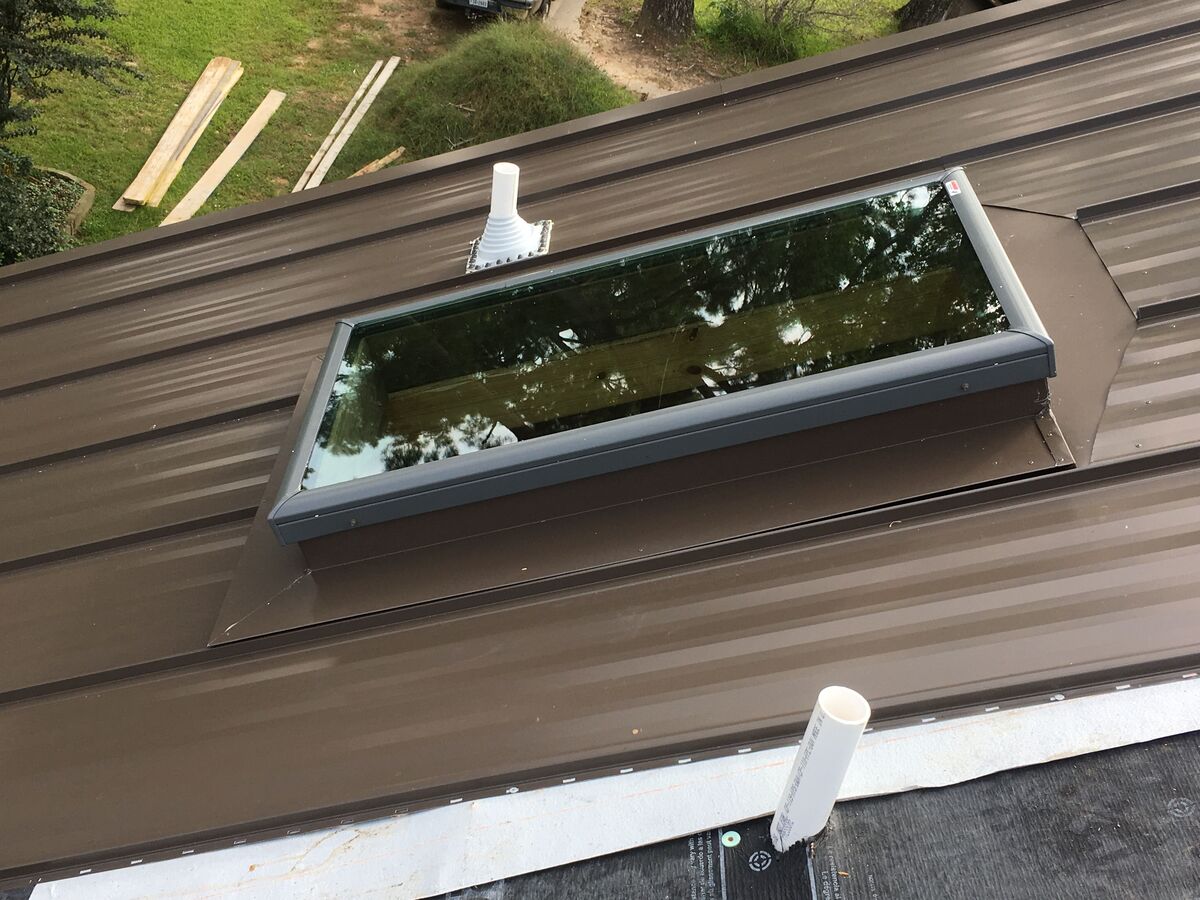
Step 1: Measure the Skylight
The first step in installing Velux Skylight Blinds is to accurately measure the dimensions of your skylight. This will ensure that you purchase the correct size blinds and have an accurate fit.
Here’s how to measure your skylight:
- Position your ladder or platform in a sturdy and safe location for easy access to the skylight.
- Using a tape measure, measure the width and height of the visible glass area of the skylight.
- Record the measurements carefully, as they will be used to select the appropriate size of Velux Skylight Blinds.
It’s important to note that Velux Skylight Blinds are available in various sizes to accommodate different skylight dimensions. Refer to the measurements you have taken when purchasing the blinds to ensure a precise fit.
Step 2: Choose the Blinds
Once you have measured your skylight, it’s time to choose the Velux Skylight Blinds that best suit your needs and preferences. Velux offers a wide range of blinds with different colors and materials, allowing you to customize the look and functionality of your skylight.
Consider the following factors when selecting your blinds:
- Light control: Determine the level of light control you desire. If you want to block out the sunlight completely, consider blackout blinds. If you prefer some natural light to filter through, consider light-filtering or roller blinds.
- Privacy: If privacy is a concern, choose blinds that completely cover the skylight and prevent visibility from the outside.
- Insulation: If you want to improve insulation and energy efficiency, opt for blinds that have thermal properties to help regulate the temperature in the room.
- Aesthetics: Choose blinds that complement the overall style and decor of your room. Consider factors such as color, pattern, and texture to achieve the desired visual impact.
Once you have decided on the type of blinds you want, proceed to purchase the appropriate size based on the measurements you took in Step 1. Velux Skylight Blinds are designed to fit specific skylight sizes, ensuring a proper and seamless installation.
By carefully considering your preferences and needs, you can select the perfect Velux Skylight Blinds that will enhance both the functionality and aesthetics of your skylight.
Step 3: Prepare the Blinds
Before installing the Velux Skylight Blinds, it’s important to prepare them by following these steps:
- Inspect the Blinds: Carefully examine the blinds for any signs of damage or defects. Make sure all the components, such as the fabric, cords, and brackets, are in good condition.
- Read the Instructions: Familiarize yourself with the installation instructions provided by Velux. Pay attention to any specific guidelines or safety precautions mentioned.
- Assemble the Brackets: Most Velux Skylight Blinds come with mounting brackets that need to be attached to the skylight frame. Follow the instructions to assemble the brackets and ensure they are ready for installation.
- Test the Operation: Test the blinds to ensure they are functioning smoothly. Open and close them a few times to make sure there are no obstructions or issues with the mechanism.
By taking these steps to prepare the blinds, you can ensure a hassle-free installation process and ensure that your Velux Skylight Blinds are in optimal condition before mounting them on your skylight.
When installing Velux skylight blinds, make sure to carefully measure the dimensions of your skylight to ensure a proper fit. It’s also important to follow the manufacturer’s instructions for installation to ensure the blinds are securely and safely in place.
Read more: How To Reset Velux Skylight
Step 4: Install the Mounting Brackets
Once you have prepared the Velux Skylight Blinds, it’s time to install the mounting brackets that will hold the blinds in place. Follow these steps to properly install the brackets:
- Position the Ladder: Set up a secure and stable ladder or platform to reach the skylight. Ensure that the ladder is positioned safely and that you have someone to assist you if needed.
- Mark the Bracket Placement: Place the blinds on the skylight frame in the desired position. Use a pencil or marker to mark the locations of the mounting brackets on the frame. Make sure the brackets align with the edge of the skylight.
- Pre-Drill Holes: Use a drill with an appropriate-sized drill bit to pre-drill holes at the marked locations on the skylight frame. This will make it easier to insert the screws and secure the brackets.
- Attach the Brackets: Place the brackets over the pre-drilled holes and align them with the marks on the skylight frame. Use a Phillips head screwdriver to insert the screws into the pre-drilled holes and secure the brackets firmly to the frame. Repeat this step for all the required brackets.
It’s important to ensure that the brackets are securely attached to the skylight frame to prevent any wobbling or instability.
Once the mounting brackets are properly installed, you are ready to move on to the next step of attaching the blinds to the brackets.
Step 5: Attach the Blinds to the Brackets
Now that the mounting brackets are securely in place, it’s time to attach the Velux Skylight Blinds to the brackets. Follow these steps to ensure a proper and secure attachment:
- Hold the Blinds: Hold the blinds in the open position, ensuring that they are parallel to the skylight frame.
- Insert the Blinds into the Brackets: Carefully slide the blinds into the brackets, making sure they fit snugly. You may need to tilt the blinds slightly to align them with the brackets.
- Lock the Blinds in Place: Once the blinds are inserted into the brackets, they should lock into place. Give them a gentle tug to confirm that they are securely attached and won’t come loose.
If you have multiple blinds for your skylight, repeat these steps for each blind, ensuring that they are all properly attached to their respective brackets.
Once the blinds are attached, take a moment to admire the sleek and functional addition they bring to your skylight. You are now one step closer to enjoying the benefits of Velux Skylight Blinds!
Step 6: Test and Adjust the Blinds
After attaching the Velux Skylight Blinds to the brackets, it’s important to test and adjust them to ensure they are functioning properly. Follow these steps to test and make any necessary adjustments:
- Open and Close the Blinds: Test the blinds by opening and closing them to confirm that they move smoothly along the skylight frame. Pay attention to any resistance or uneven movement.
- Check for Levelness: Use a level tool to check if the blinds are properly aligned and level. Adjust the positioning of the blinds by gently shifting them within the brackets if needed.
- Test the Cord Control: If your blinds have cords or controls, ensure that they are working correctly. Pull the cords to raise and lower the blinds, and check for any snags or tangles.
- Inspect for Light Gaps: Close the blinds completely and observe for any light gaps or areas where light may be seeping through. Adjust the blinds or brackets to minimize any unwanted light intrusion.
By testing and adjusting the blinds, you can ensure that they are functioning optimally and providing the desired light control and privacy. Take the time to make any necessary adjustments to achieve the perfect fit and positioning of the blinds.
Once you are satisfied with the functionality and appearance of the Velux Skylight Blinds, congratulate yourself on a successful installation!
Conclusion
Installing Velux Skylight Blinds is a relatively straightforward process that can greatly enhance the functionality and aesthetics of your skylight. By following the steps outlined in this article, you can successfully install and enjoy the benefits of Velux Skylight Blinds.
Remember to start by measuring your skylight accurately and choosing the blinds that best suit your needs and preferences. Prepare the blinds by inspecting them and familiarizing yourself with the installation instructions. Install the mounting brackets securely on the skylight frame and then attach the blinds to the brackets. Finally, test and adjust the blinds to ensure they are functioning properly and aligned correctly.
Velux Skylight Blinds offer a multitude of advantages, including light control, privacy, and insulation. They also add a touch of elegance and style to any room with a skylight. By carefully following the installation process, you can enjoy the convenience and beauty of these blinds for years to come.
If you encounter any difficulties or have questions during the installation process, consult the detailed instructions provided by Velux or seek professional assistance. Safety should always be a priority when working with ladders or tools.
We hope this guide has been helpful in guiding you through the installation of Velux Skylight Blinds. Enjoy the benefits of your newly installed blinds and bask in the ambiance they create in your space!
Frequently Asked Questions about How To Install Velux Skylight Blinds
Was this page helpful?
At Storables.com, we guarantee accurate and reliable information. Our content, validated by Expert Board Contributors, is crafted following stringent Editorial Policies. We're committed to providing you with well-researched, expert-backed insights for all your informational needs.


0 thoughts on “How To Install Velux Skylight Blinds”