Articles
How To Install Wooden Blinds
Modified: January 19, 2024
Learn how to properly install wooden blinds with our informative articles. Find step-by-step instructions and expert tips for a flawless installation.
(Many of the links in this article redirect to a specific reviewed product. Your purchase of these products through affiliate links helps to generate commission for Storables.com, at no extra cost. Learn more)
Introduction
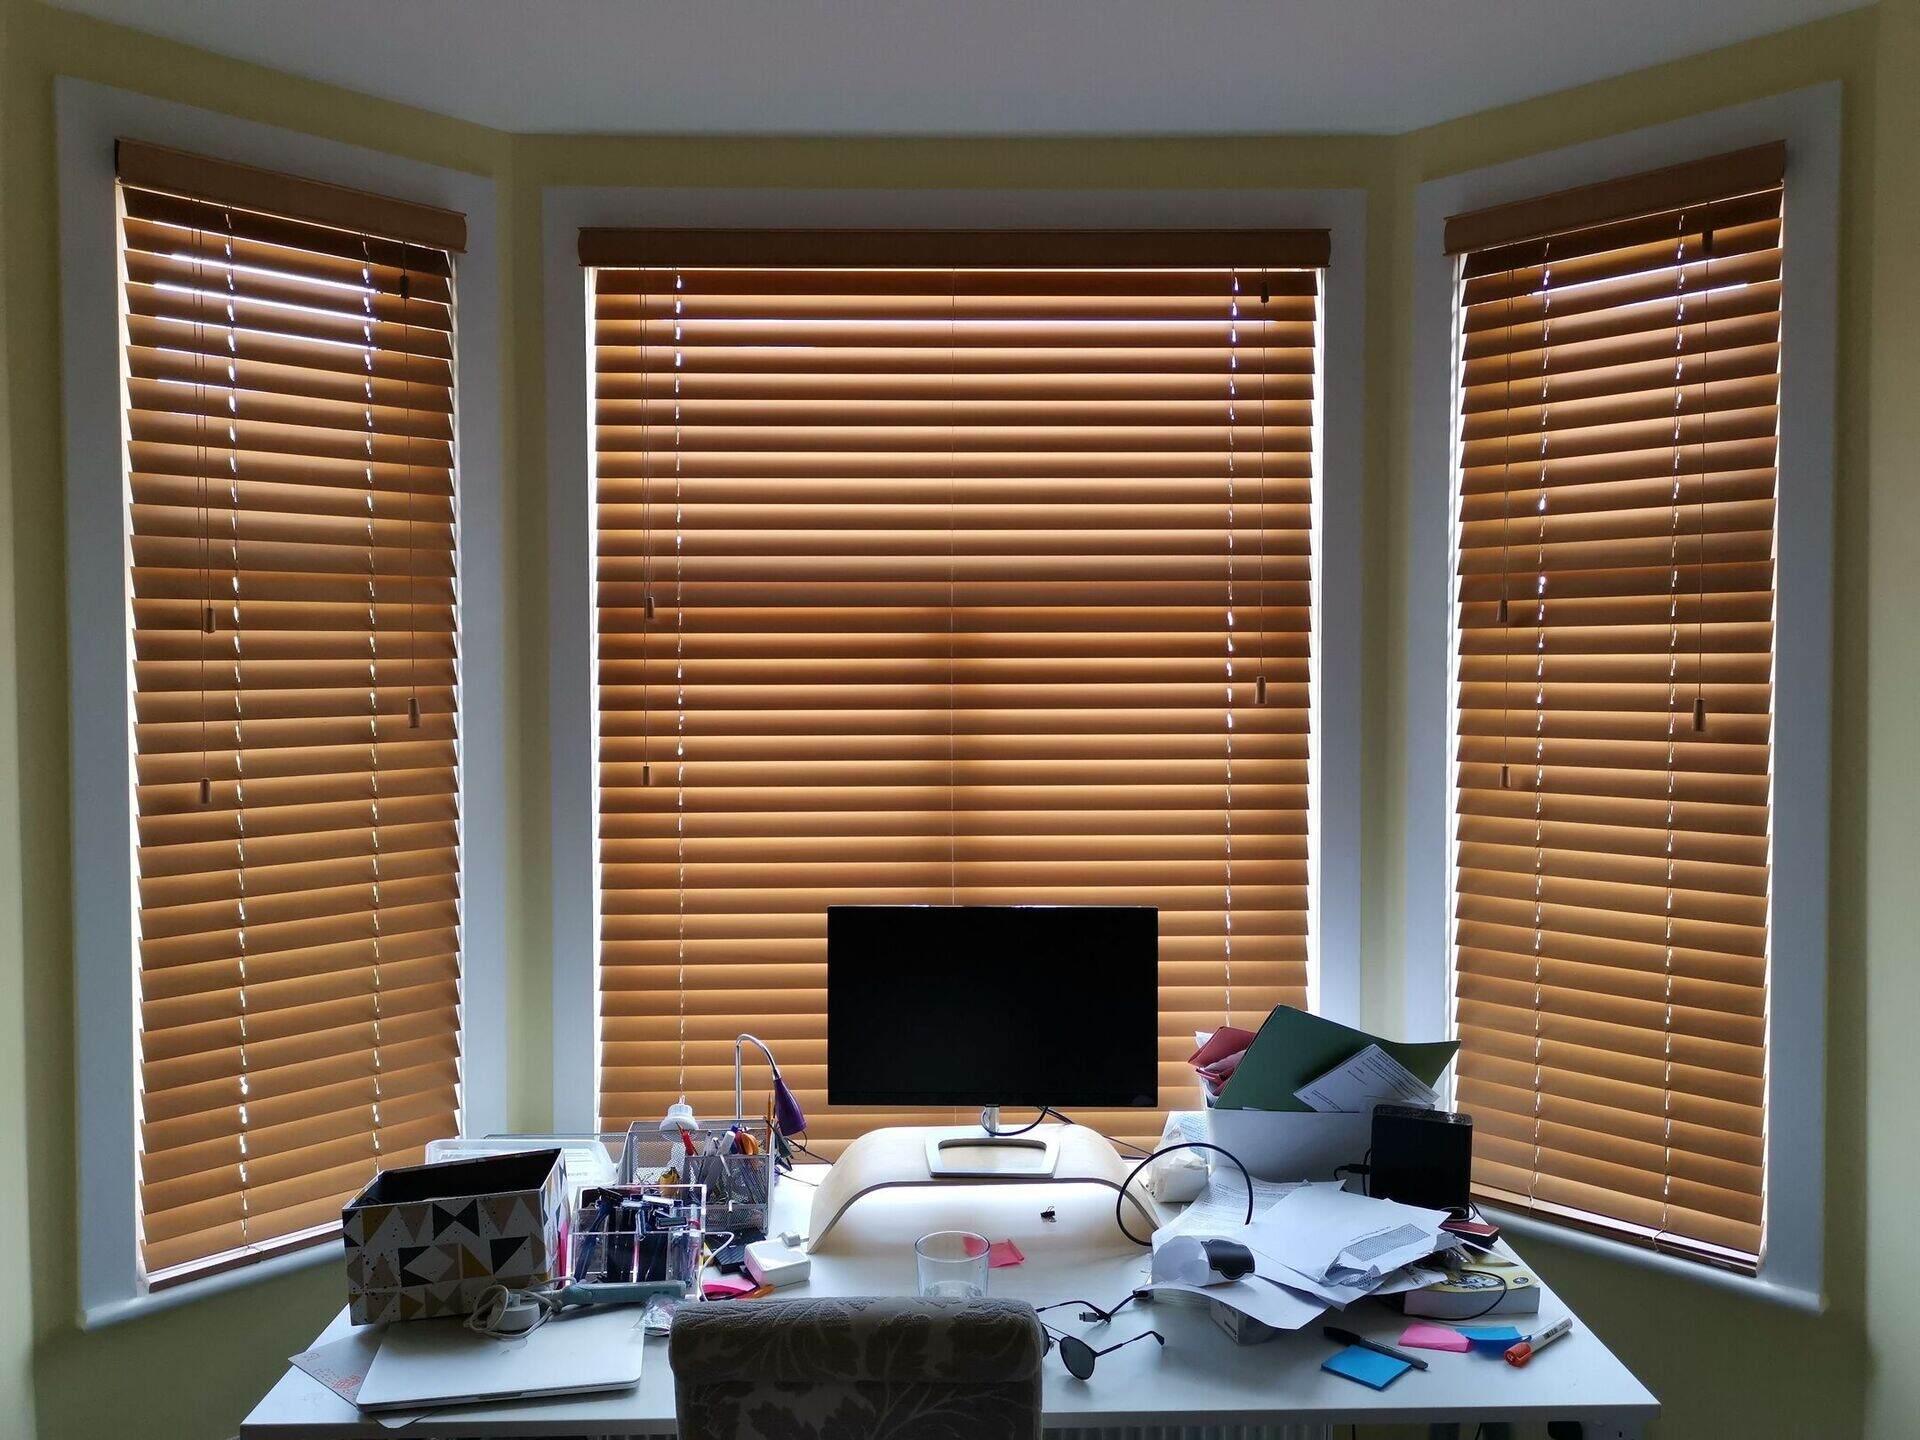
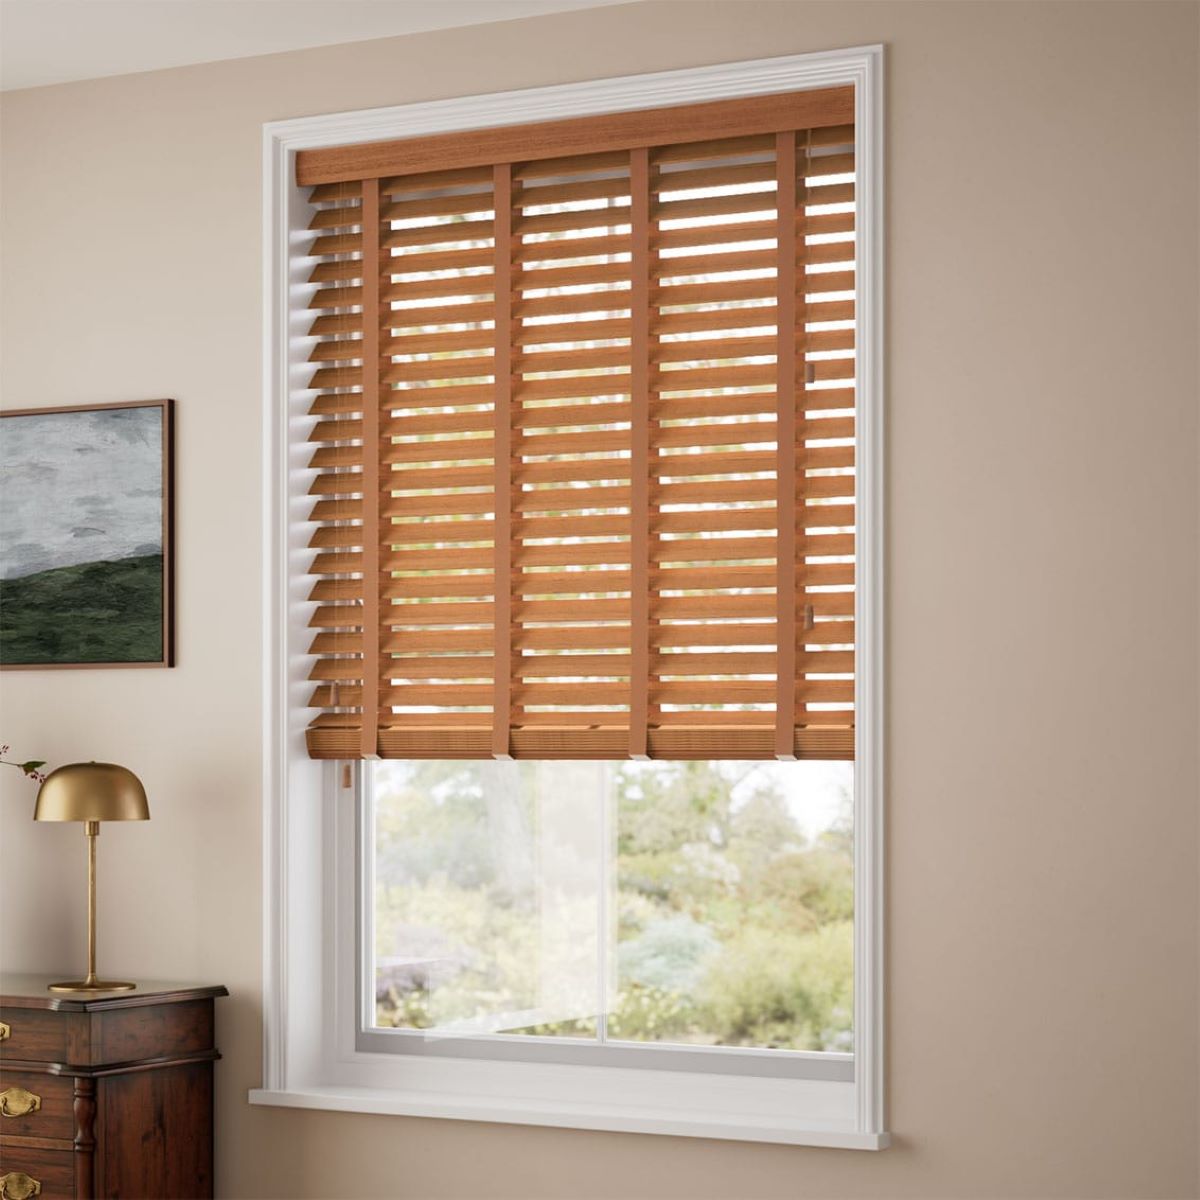
Wooden blinds are a popular choice for homeowners looking to add warmth and elegance to their windows. They provide a timeless and natural look that complements various interior styles. Installing wooden blinds may seem like a daunting task, but with the right tools and steps, it can be a relatively straightforward process.
In this article, we will guide you through the step-by-step process of installing wooden blinds. From measuring the window to hanging the blinds, we will cover all the essential aspects to ensure a successful installation. So, let’s get started!
Before we jump into the installation process, there are a few materials you will need:
Key Takeaways:
- Installing wooden blinds is a straightforward process that begins with accurate window measurements and selecting the right mounting method. Proper preparation, secure installation, and thorough testing ensure a successful outcome.
- Attention to detail, from attaching valance clips to testing the lift and tilt mechanisms, is crucial for a seamless installation. Following the manufacturer’s instructions and taking time for adjustments will result in beautifully functional wooden blinds.
Read more: How To Cut Wooden Blinds
Materials Needed:
- Wooden blinds
- Tape measure
- Pencil
- Drill
- Screwdriver
- Mounting brackets
- Valance clips (if applicable)
Key Takeaways:
- Installing wooden blinds is a straightforward process that begins with accurate window measurements and selecting the right mounting method. Proper preparation, secure installation, and thorough testing ensure a successful outcome.
- Attention to detail, from attaching valance clips to testing the lift and tilt mechanisms, is crucial for a seamless installation. Following the manufacturer’s instructions and taking time for adjustments will result in beautifully functional wooden blinds.
Read more: How To Cut Wooden Blinds
Materials Needed:
Before you begin the installation process, it’s important to gather all the necessary materials. Here’s a list of what you’ll need:
- Wooden blinds: Choose the style and size of wooden blinds that best fit your windows. Measure your windows beforehand to ensure you purchase the correct size.
- Tape measure: This will be used to accurately measure the dimensions of your windows and blinds.
- Pencil: You’ll need a pencil to mark the measurements on the window frame.
- Drill: A drill will be needed to create pilot holes for the screws that will secure the mounting brackets.
- Screwdriver: Depending on the type of screws included with your blinds, you may need a screwdriver to tighten them.
- Mounting brackets: These brackets will be used to secure the blinds to the window frame. Make sure you have the correct number of brackets for your specific blinds.
- Valance clips (if applicable): If your wooden blinds come with a valance, you’ll need valance clips to attach it to the headrail.
Having all these materials ready beforehand will make the installation process smoother and more efficient. Once you have gathered everything you need, you can move on to the next step of measuring your window.
Step 1: Measure the Window
Before you can install your wooden blinds, it’s crucial to accurately measure your window. This ensures that you purchase the correct size of blinds and helps you determine the placement of the mounting brackets.
Here’s how you can measure your window:
- Using a tape measure, measure the width of the window opening from one side to the other. Take the measurement at three different points – the top, middle, and bottom – and record the narrowest width. This is the measurement you will use when purchasing your blinds.
- Next, measure the height of the window opening from the top to the bottom. Again, measure at three points – the left side, middle, and right side – and note the longest measurement. This is the height you will use for your blinds.
- If you plan to install the blinds inside the window frame, subtract about 1/2 inch from both the width and height measurements to provide some clearance. This ensures that the blinds fit properly and can move freely within the window frame.
- If you prefer an outside mount, where the blinds will hang outside the window frame, add at least 3 inches to both the width and height measurements. This allows the blinds to fully cover the window, offering better light control and privacy.
Once you have determined the exact measurements of your window, you can proceed to the next step: selecting the proper mounting method for your blinds.
Step 2: Select the Proper Mounting Method
After measuring your window, the next step is to choose the appropriate mounting method for your wooden blinds. The mounting method refers to how the blinds will be attached to the window frame.
There are two common mounting methods for wooden blinds:
- Inside mount: This method involves installing the blinds within the window frame. The blinds will fit snugly inside the frame, providing a clean and streamlined look. To determine if the inside mount method is suitable for your window, make sure you have enough depth within the window frame to accommodate the blinds.
- Outside mount: With this method, the blinds are mounted on the wall or above the window frame. They will cover the entire window, including the frame. Outside mount installation is ideal in situations where there is limited depth within the window frame or if you want to achieve maximum light control and privacy.
Consider the style of your window, the overall look you want to achieve, and any practical limitations (such as window depth) when selecting the mounting method. Once you have decided on the appropriate mounting method, you can move on to the next step of preparing the blinds for installation.
Read more: How To Measure For Wooden Blinds
Step 3: Prepare the Blinds
Now that you have chosen the proper mounting method for your wooden blinds, it’s time to prepare them for installation. Preparing the blinds involves a few important steps to ensure they are ready to be attached to the window frame.
Follow these steps to prepare your blinds:
- If your wooden blinds came with a valance, attach the valance clips to the headrail of the blinds. The valance clips will secure the valance in place and provide a finished look.
- Inspect the blinds for any defects or damages. Check that the slats are aligned properly, and the mechanism for adjusting the slats is in good working condition.
- If necessary, trim the blinds to fit the width of your window. Most wooden blinds can be easily trimmed using a saw or sharp scissors. Be sure to follow the manufacturer’s instructions for trimming the blinds.
- If your blinds have decorative tapes, attach them to the front side of the slats. The tapes add a touch of style and can help to block out light between the slats.
- Test the blinds to ensure they open and close smoothly. Make any adjustments or repairs as needed.
By properly preparing your blinds before installation, you will ensure that they are in optimal condition and ready for a seamless installation process. Once you have completed these steps, it’s time to move on to attaching the mounting brackets.
When installing wooden blinds, make sure to measure the window accurately before purchasing the blinds. This will ensure a proper fit and smooth installation process.
Step 4: Attach the Mounting Brackets
With your wooden blinds prepared and ready, it’s time to attach the mounting brackets to the window frame. The mounting brackets are essential for securely holding the blinds in place.
Follow these steps to attach the mounting brackets:
- Hold one of the mounting brackets against the top left corner of the window frame (or the desired installation location). Ensure that the bracket is level.
- Using a pencil, mark the screw holes on the window frame through the bracket’s pre-drilled holes.
- Remove the bracket and, using a drill, create pilot holes at the marked locations. Make sure the drill bit is smaller than the screws that came with your brackets.
- Align the bracket over the pilot holes and secure it to the window frame using screws. Repeat this process for the remaining brackets, evenly spacing them apart.
- Once all the brackets are installed, double-check to ensure they are level and tightly secured.
It’s important to follow the manufacturer’s instructions when attaching the mounting brackets, as different blinds may have specific requirements. Also, take extra caution to avoid damaging the window frame or surrounding areas during this process.
With the mounting brackets securely in place, you’re ready to move on to the next step of installing the valance (if applicable).
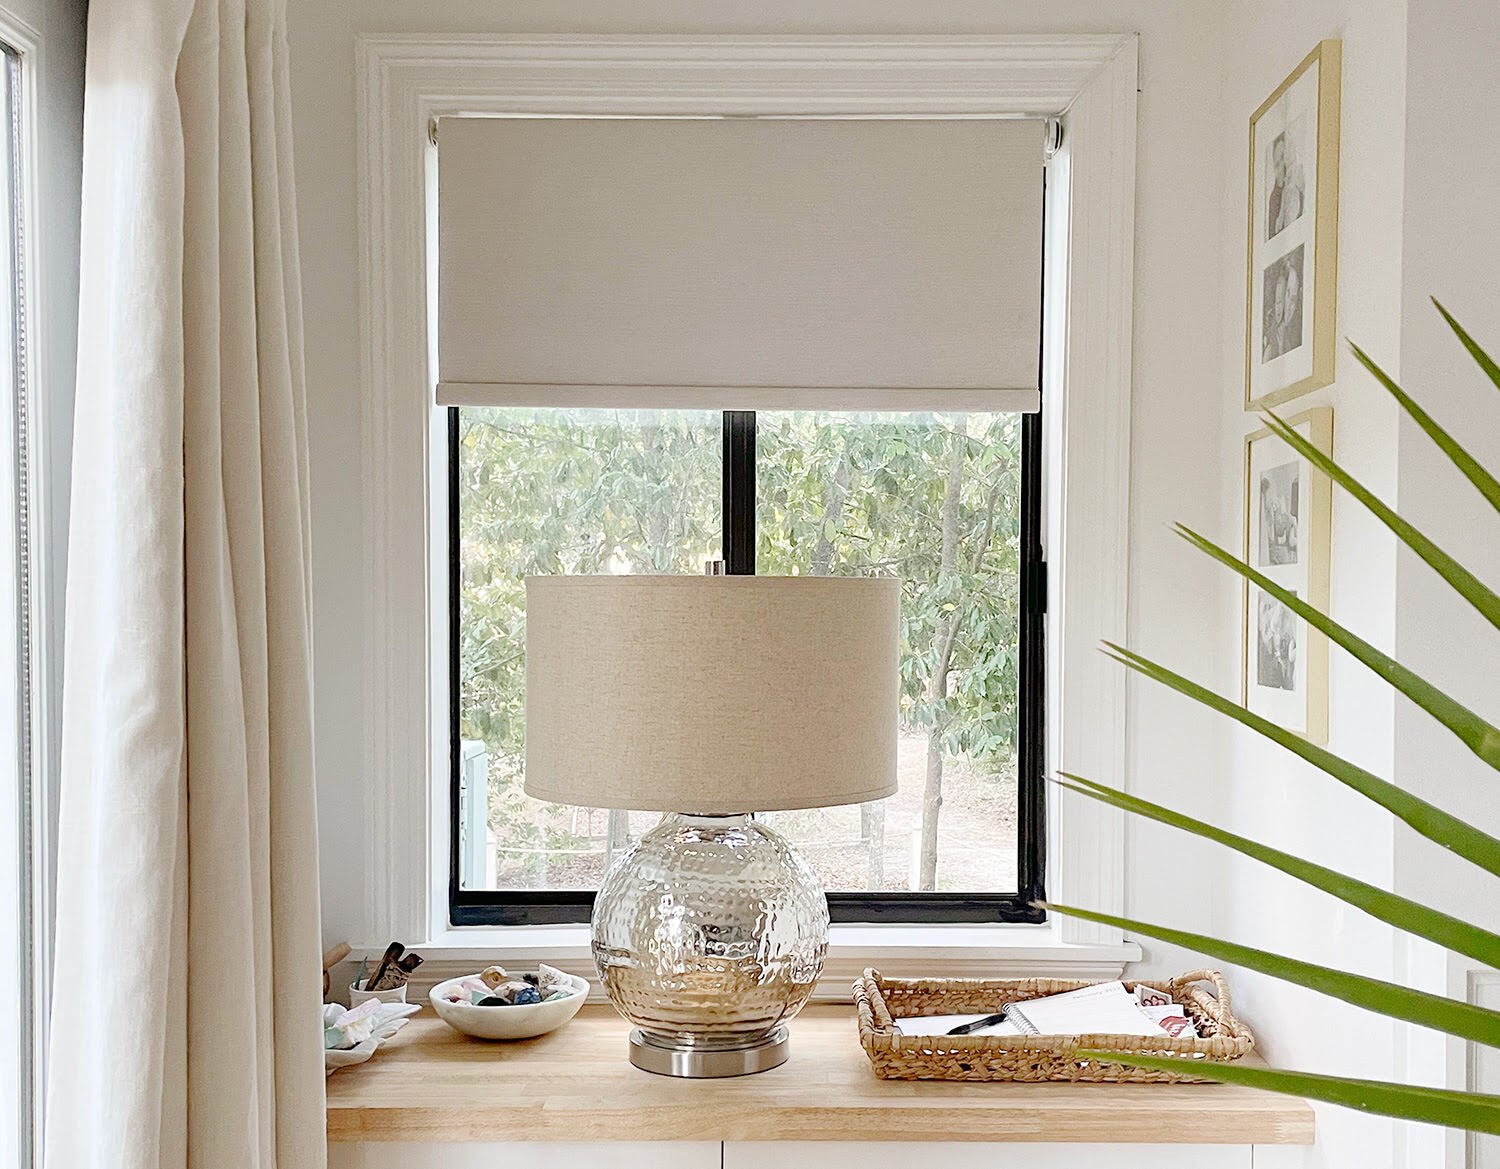
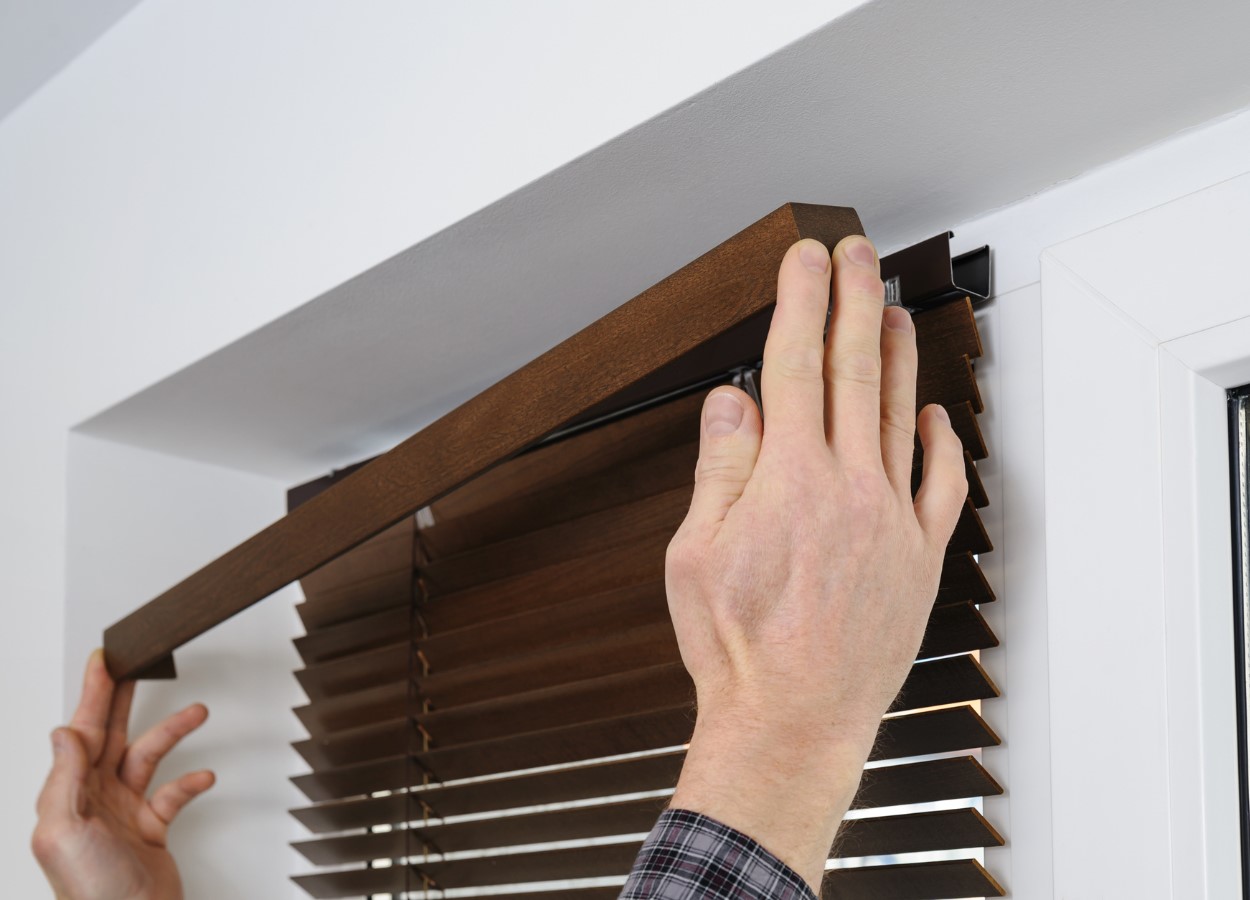
Step 5: Install the Valance
If your wooden blinds come with a valance, installing it is the next step in the process. The valance is a decorative piece that covers the headrail and adds a polished look to your blinds.
Follow these steps to install the valance:
- Align the valance with the headrail of the blinds. Make sure it is centered and level.
- If the valance clips are not already attached, slide the valance clips onto the headrail, positioning them at regular intervals.
- Carefully lift the valance and hook the valance clips onto the headrail. Be sure that the valance is securely attached.
- Check that the valance is straight and aligned properly. Adjust as needed.
Installing the valance adds the final touch to your wooden blinds, giving them a clean and finished appearance. Once the valance is securely in place, you can proceed to the next step of hanging the blinds.
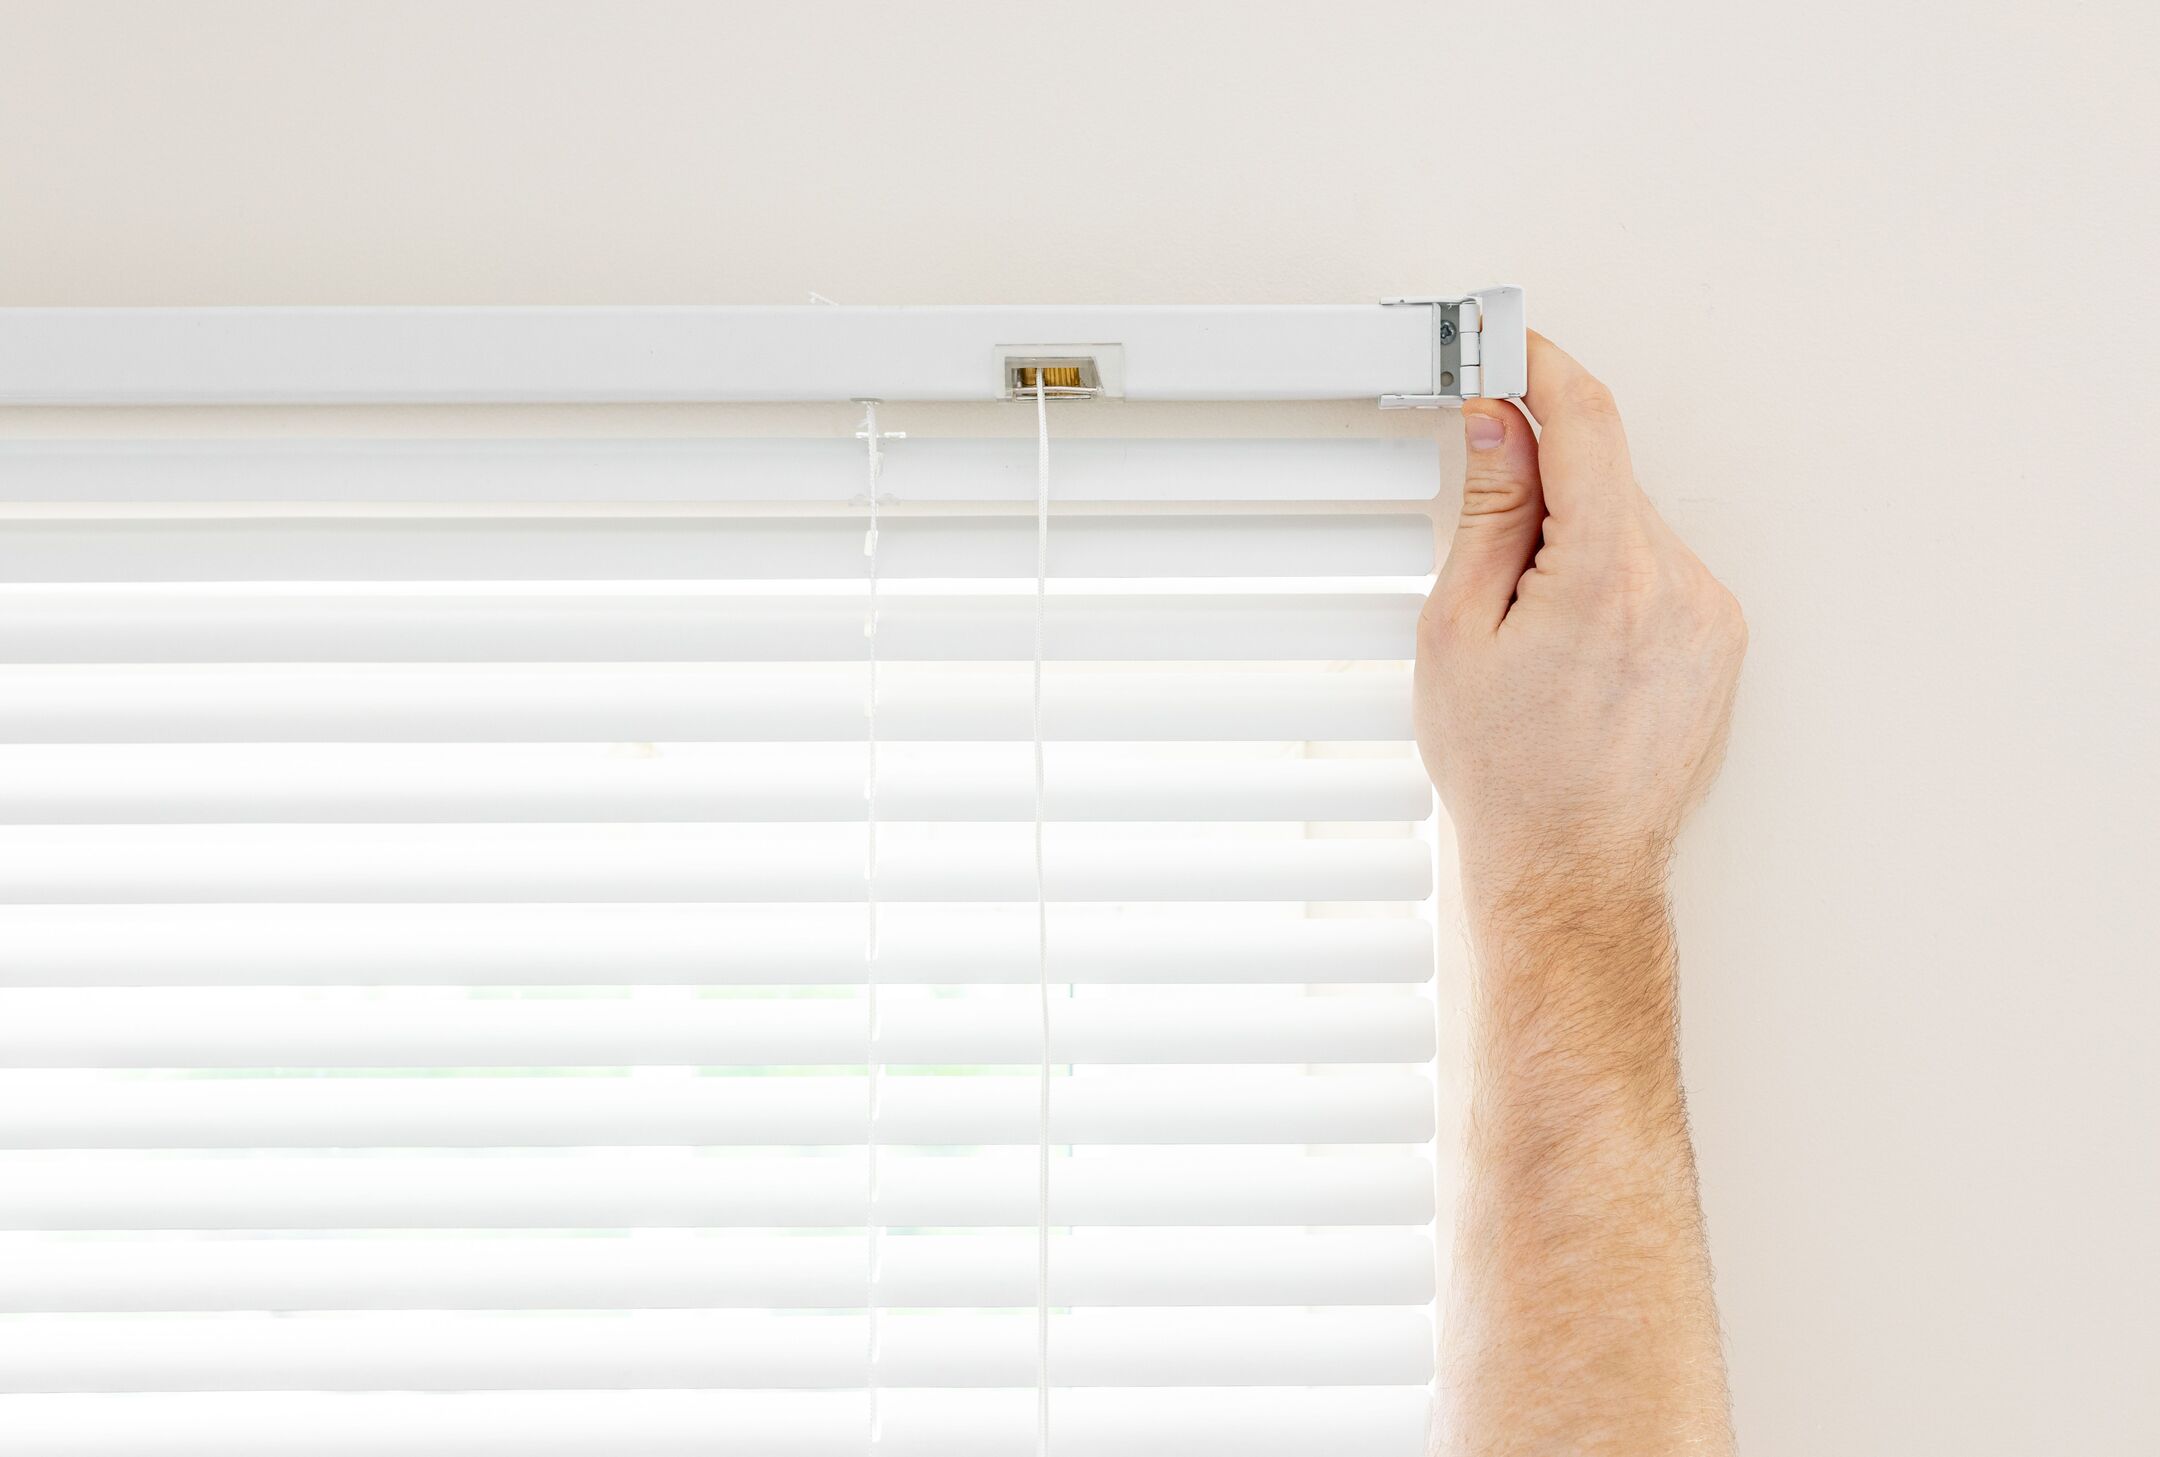
Step 6: Hang the Blinds
Now that the mounting brackets and valance are installed, it’s time to hang the wooden blinds on the window frame. This step requires careful positioning and securing of the blinds to ensure they fit properly and operate smoothly.
Follow these steps to hang your blinds:
- Position the headrail of the blinds into the brackets, making sure it slides in smoothly.
- Once the headrail is in place, test the blinds by pulling on the lift cord or operating the wand. Ensure that the blinds raise, lower, and tilt open and close without any issues.
- Check that the blinds are level. Use a level tool to confirm that the slats are horizontally aligned.
- If necessary, make adjustments to the position of the blinds within the brackets to ensure an even appearance.
During the hanging process, pay attention to any specific instructions provided by the manufacturer regarding assembly and alignment. By properly hanging the blinds, you’ll ensure that they function effectively and look visually appealing.
Once the blinds are securely hung, you can proceed to the final step: testing and adjusting the blinds.
Read more: How To Make Wooden Shutter Blinds
Step 7: Test and Adjust the Blinds
After hanging the wooden blinds, it’s important to thoroughly test and adjust them to ensure they are functioning correctly and aligned properly. This final step will ensure that your blinds operate smoothly and provide the desired level of light control and privacy.
Here’s what you should do to test and adjust the blinds:
- Test the lift mechanism: Gently pull on the lift cord or operate the wand to raise and lower the blinds. Make sure they move up and down smoothly without any obstructions or resistance. If there are any issues, check for tangled cords or misaligned slats.
- Test the tilt mechanism: Use the tilt control to open and close the slats. Ensure that the slats move smoothly and evenly, allowing for the desired amount of light to enter the room. Adjust the tension of the tilt control, if necessary, to make it easier or firmer to tilt the slats.
- Check for alignment: Step back and inspect the blinds to ensure that the slats are level and evenly spaced. If adjustments are needed, gently manipulate the slats or use a flat object (like a ruler) to align them properly.
- Ensure proper clearance: Test the blinds to ensure that they clear any window handles, locks, or other obstructions when opening and closing. Adjust the positioning of the blinds within the brackets, if needed, to provide adequate clearance.
By taking the time to thoroughly test and adjust your blinds, you can ensure that they are fully functional and provide the desired aesthetic appeal. It’s important to note that periodic maintenance and adjustments may be necessary as the blinds settle and experience regular use over time.
With the blinds successfully tested and adjusted, you have completed the installation process of your wooden blinds. Admire your work and enjoy the beauty and functionality they bring to your windows!
Conclusion
Installing wooden blinds is a rewarding home improvement project that adds elegance and functionality to your windows. By following the step-by-step process outlined in this article, you can successfully install wooden blinds with ease.
Remember to begin the installation process by measuring your window accurately to ensure you purchase the correct size blinds. Then, select the appropriate mounting method based on your preferences and window characteristics.
Preparing the blinds by attaching the valance clips (if applicable) and checking for any defects or damage is crucial for a seamless installation. Taking the time to trim the blinds or attach decorative tapes can also enhance their appearance.
Attaching the mounting brackets securely to the window frame and installing the valance for a finished look are important steps in the process. Finally, hanging the blinds and testing and adjusting them ensure they operate smoothly and provide the desired light control and privacy.
By following these steps and paying attention to the manufacturer’s instructions, you can transform your windows with the timeless beauty of wooden blinds.
Remember, each window installation may have unique factors to consider, so it’s recommended to consult the specific instructions provided by the manufacturer of your wooden blinds.
Enjoy the warmth, elegance, and functionality that wooden blinds bring to your home. Sit back, relax, and admire the beauty of your newly installed window treatments!
Frequently Asked Questions about How To Install Wooden Blinds
Was this page helpful?
At Storables.com, we guarantee accurate and reliable information. Our content, validated by Expert Board Contributors, is crafted following stringent Editorial Policies. We're committed to providing you with well-researched, expert-backed insights for all your informational needs.