Articles
How To Install Plantation Blinds
Modified: January 18, 2024
Learn step-by-step instructions and tips for installing plantation blinds with our comprehensive articles. Enhance your home's aesthetic appeal today.
(Many of the links in this article redirect to a specific reviewed product. Your purchase of these products through affiliate links helps to generate commission for Storables.com, at no extra cost. Learn more)
Introduction
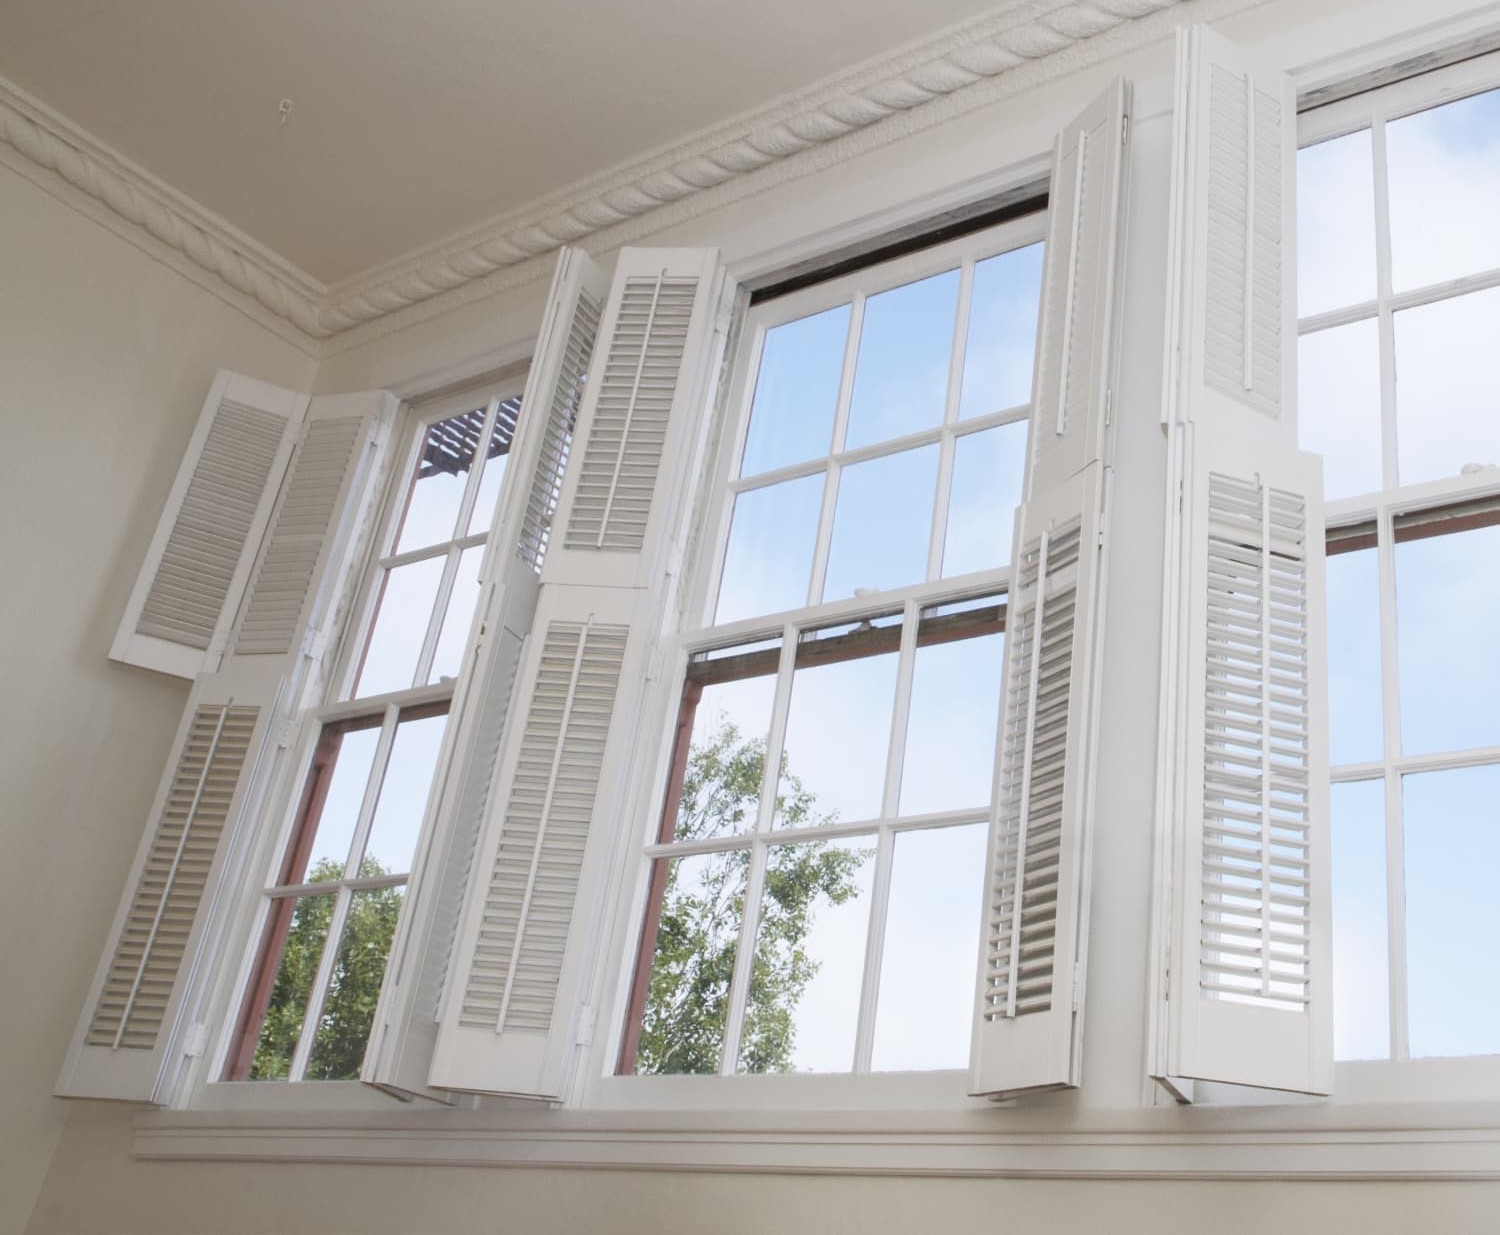
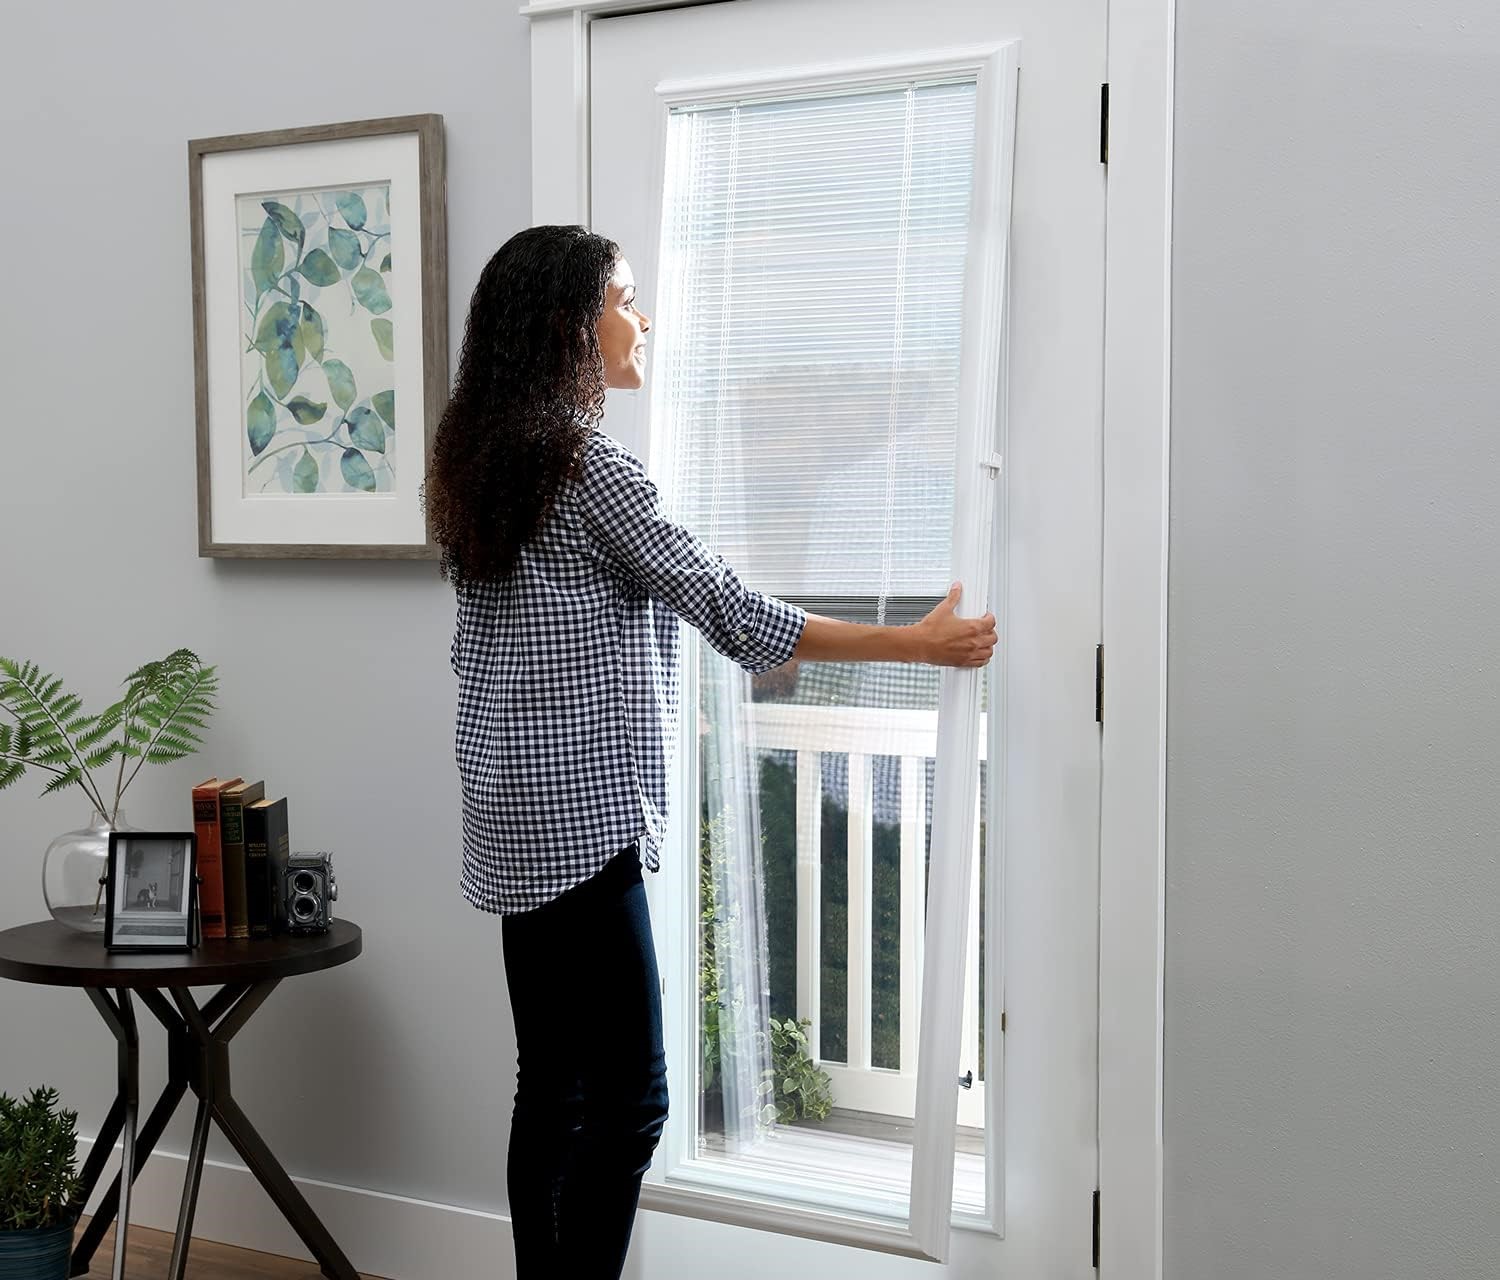
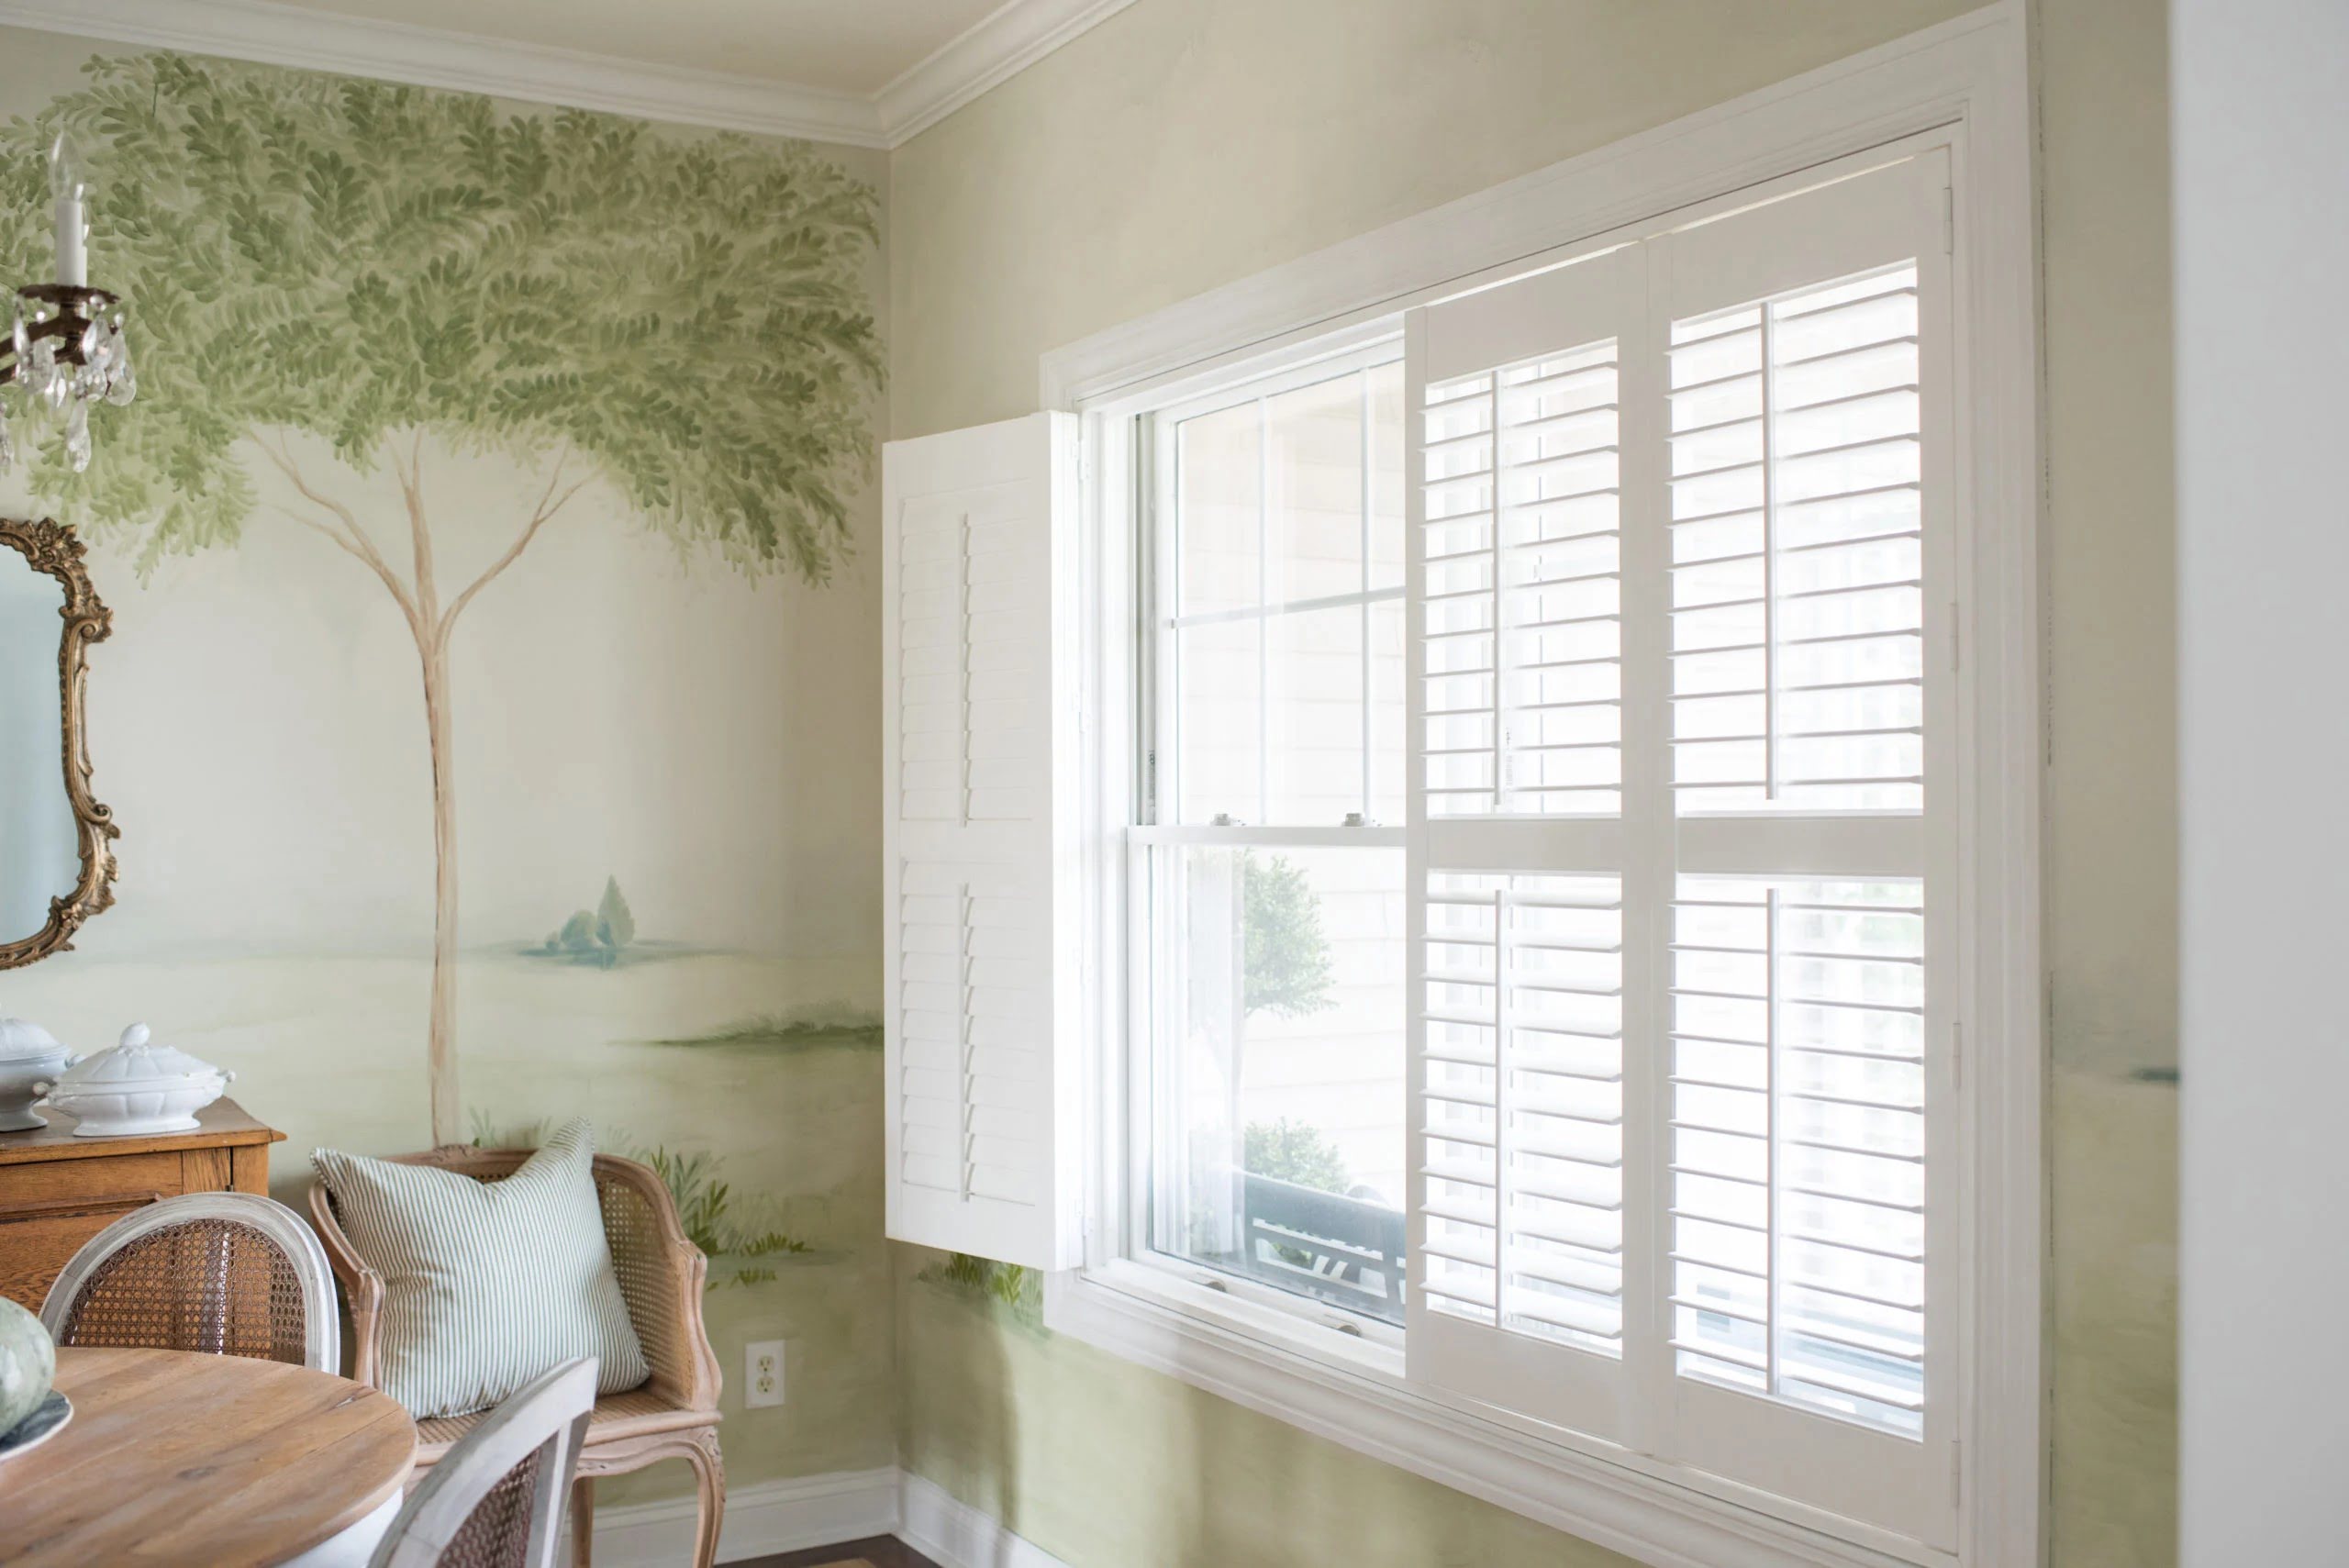
Plantation blinds are a popular window treatment option that combines both style and functionality. With their elegant design and versatility, plantation blinds can enhance the aesthetics of any room while providing privacy and light control. Whether you are looking to upgrade your windows or simply want to add a touch of sophistication to your living space, installing plantation blinds can be a great investment.
In this article, we will guide you through the step-by-step process of installing plantation blinds. We will cover everything from gathering the necessary tools and materials to adjusting and testing the blinds once they are installed. So, let’s get started and transform your windows with beautiful plantation blinds!
Key Takeaways:
- Transform your windows with elegant plantation blinds by following our step-by-step installation guide. Achieve style, privacy, and light control with the perfect blend of functionality and sophistication.
- Ensure a successful installation by measuring accurately, selecting the right blinds, and securely mounting them. Test and adjust for optimal functionality, and enjoy the timeless appeal of plantation blinds in your home.
Read more: What Are Plantation Blinds
Step 1: Gather the Necessary Tools and Materials
Before you begin the installation process, it is important to ensure that you have all the required tools and materials at hand. Here is a list of what you will need:
- Measuring tape
- Pencil or marker
- Drill
- Screwdriver
- Level
- Installation brackets
- Screws
- Valance clips
- Valance
- Plantation blinds
Having these tools and materials ready will streamline the installation process and make it easier for you to complete the task. Take a moment to gather everything you need before moving on to the next step.
Step 2: Measure the Window Opening
Accurate measurements are crucial for a proper fit when installing plantation blinds. Before you purchase the blinds, you need to measure the window opening. Here’s how to do it:
- Use a measuring tape to measure the width of the window opening at three different points: the top, middle, and bottom. Take note of the smallest measurement.
- Next, measure the height of the window opening at three different points: the left side, middle, and right side. Again, record the smallest measurement.
- Once you have the width and height measurements, double-check the accuracy to ensure accuracy.
It’s important to consider any obstructions such as window handles or trim that may affect the fit of the blinds. Make a note of these measurements as well. Additionally, if you plan to mount the blinds inside the window frame, measure the inside dimensions. If you prefer to mount them outside the frame, measure the exact width and height you desire. These measurements will guide you when selecting the appropriate size of plantation blinds for your window.
Step 3: Select the Perfect Plantation Blinds
Now that you have accurate measurements of your window opening, it’s time to select the perfect plantation blinds. There are a few factors to consider when making your selection:
- Material: Plantation blinds are available in various materials, including wood, faux wood, and vinyl. Each material offers its own unique benefits and aesthetic appeal. Wood blinds provide a natural and elegant look, while faux wood and vinyl blinds are more durable and versatile, making them suitable for humid environments like bathrooms and kitchens.
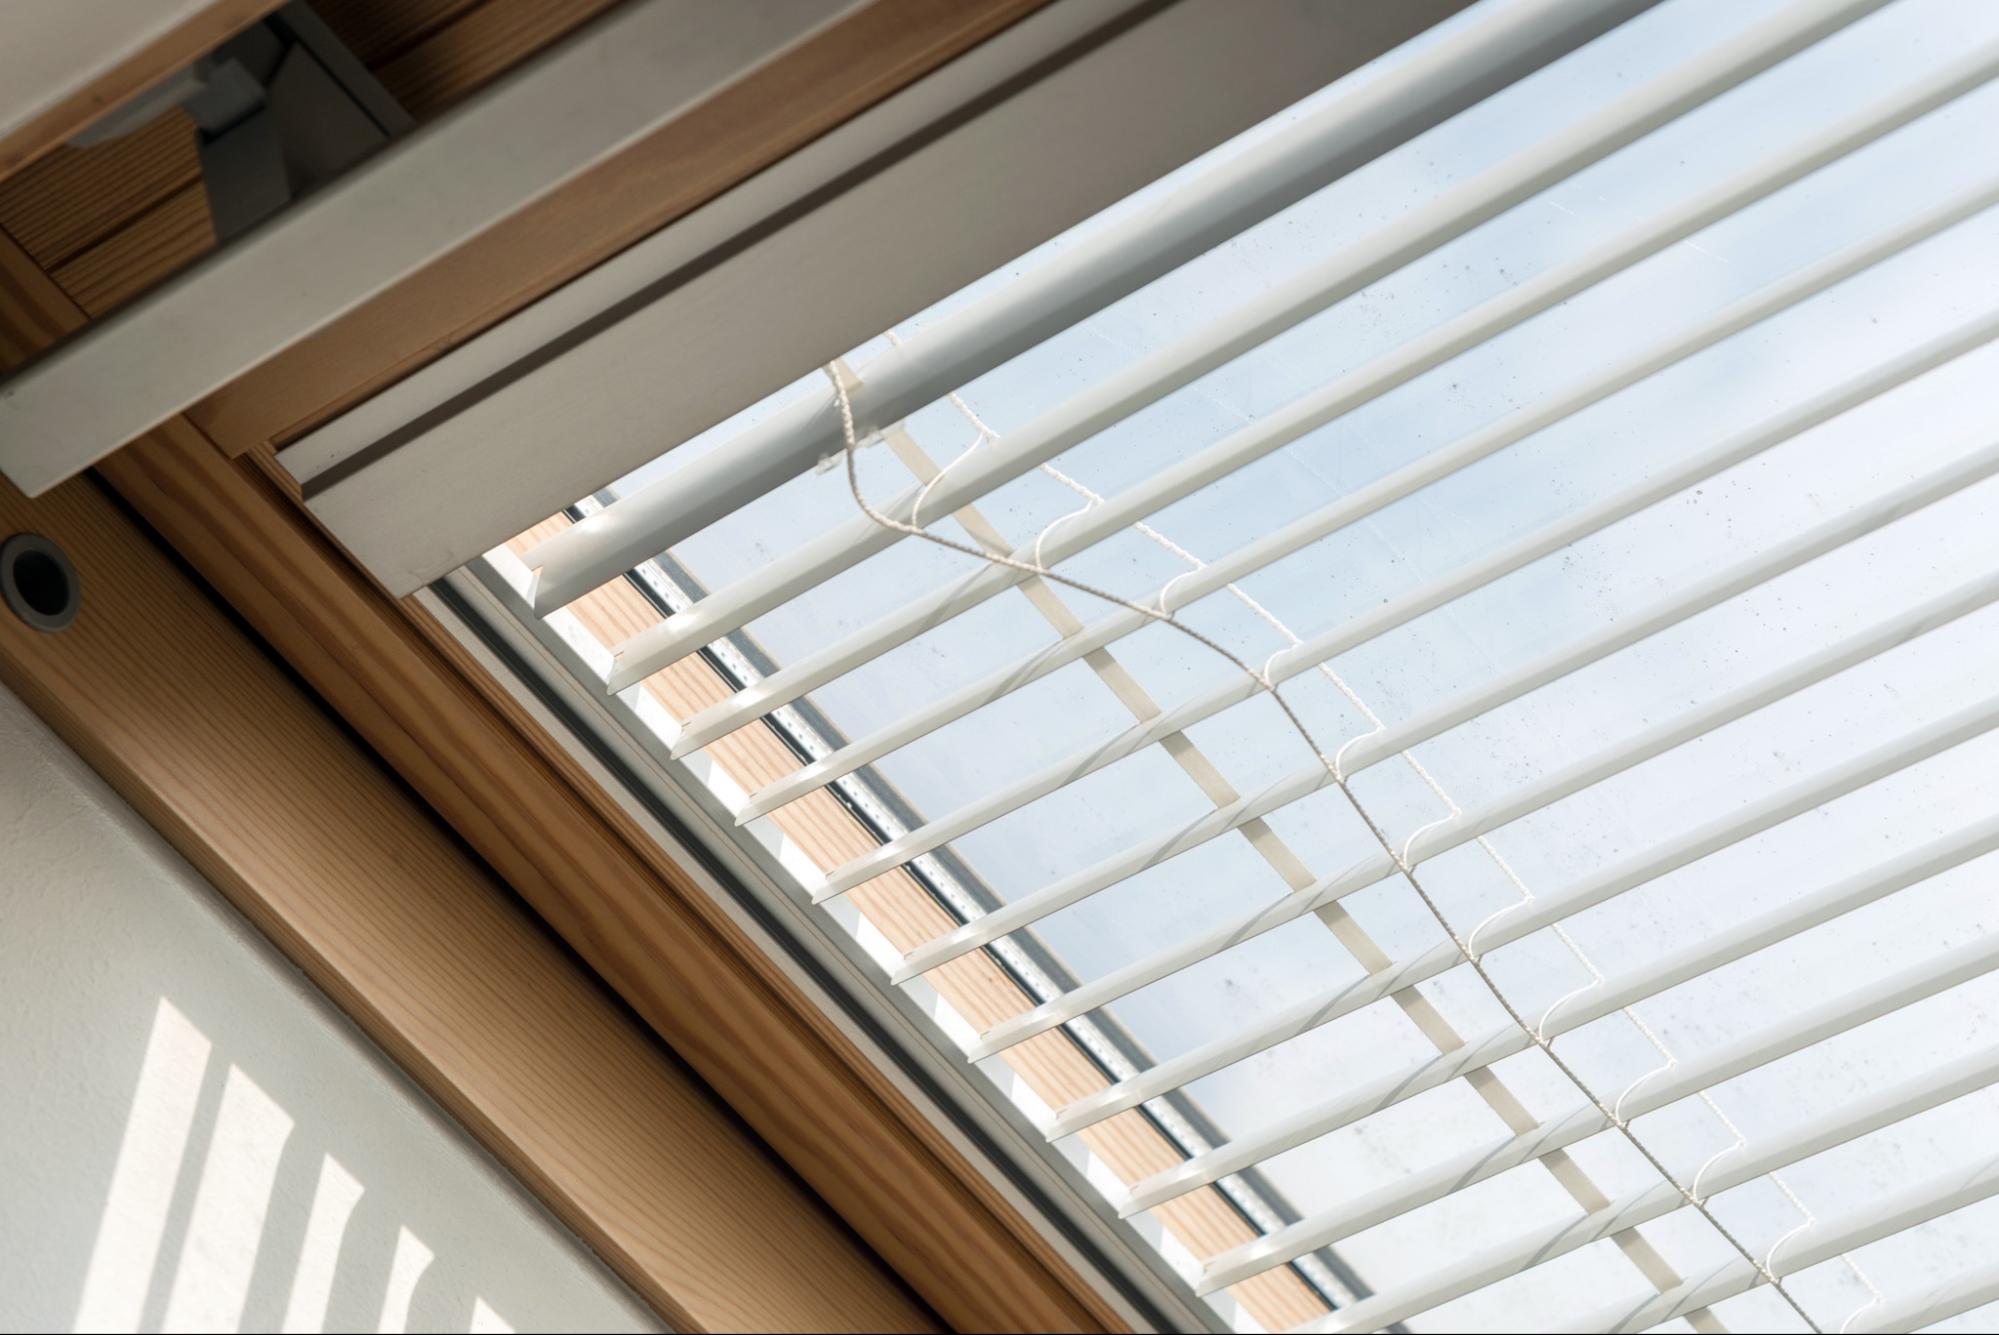
- Slat Size: The slat size is another important consideration. Plantation blinds typically come in different slat widths, ranging from 2.5 inches to 4.5 inches. Larger slats allow for more light control and a better view when the blinds are open, while smaller slats provide a more traditional and classic look.
- Color and Finish: Consider the color and finish of the blinds that will complement your interior décor. Select a color that will blend seamlessly with your existing color scheme or opt for a contrasting shade to make a bold statement.
- Operating System: Decide on the type of operating system you prefer. Plantation blinds can be operated manually with cords or a wand, or you can choose motorized blinds for added convenience and luxury.
Once you have determined your preferences, visit a reputable window treatment store or browse online to explore the wide range of options available. Be sure to take your measurements with you to ensure you select the correct size for your window opening.
Step 4: Mount the Installation Brackets
With your selected plantation blinds in hand, it’s time to mount the installation brackets. These brackets will hold the blinds securely in place. Follow these steps to properly mount the brackets:
- Positioning: Based on your measurement and placement preference, determine the exact location where you want to mount the blinds. Mark the bracket positions with a pencil or marker.
- Leveling: Use a level to ensure that the bracket positions are straight and level. This is important for the blinds to hang properly.
- Pre-drilling: Before attaching the brackets, pre-drill the marked positions using a drill bit that matches the size of the screws provided with the installation brackets. This will help prevent splitting or damaging the window frame during installation.
- Attaching the Brackets: Align the brackets with the pre-drilled holes and secure them in place using the screws provided. Make sure the brackets are firmly attached to ensure stability.
- Repeat for Multiple Brackets: Depending on the size of your window and the specific guidelines provided by the manufacturer, you may need multiple brackets. Repeat the above steps for all the brackets required for your blinds.
Once you have mounted the installation brackets, give them a final inspection to ensure they are level and secure. The brackets will serve as the foundation for your plantation blinds, so it’s important to take the time to install them correctly.
When installing plantation blinds, make sure to measure the window accurately before purchasing the blinds to ensure a proper fit.
Read also: 11 Incredible Plantation Blinds for 2024
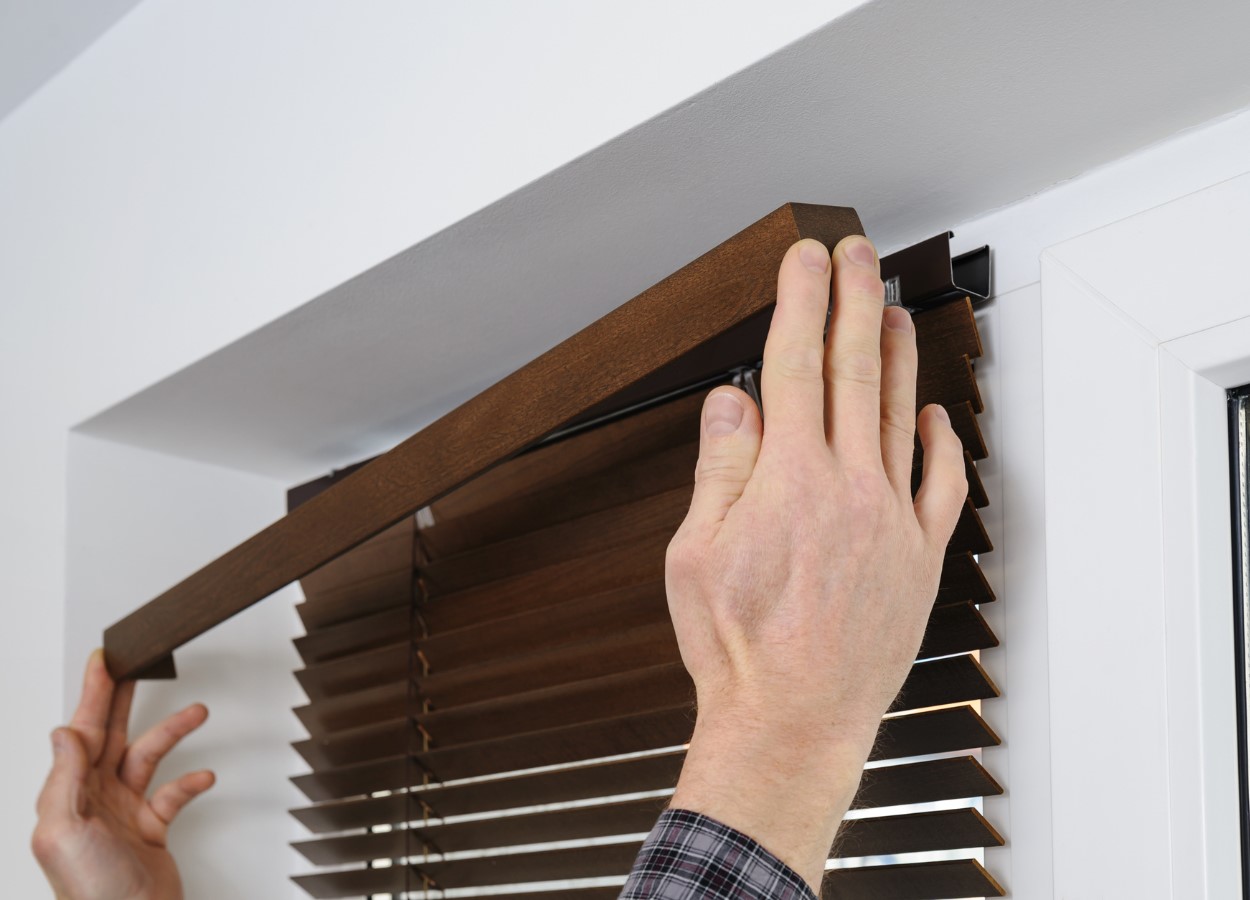
Step 5: Attach the Valance
The valance is the decorative piece that covers the headrail of the plantation blinds, giving them a finished and polished look. Attaching the valance is a simple yet important step in the installation process. Here’s how to do it:
- Prepare the Valance: Before attaching the valance, make sure it is the correct size and style for your blinds. If needed, trim or adjust the valance to fit your window properly.
- Align the Valance Clips: Locate the valance clips provided with your blinds. They are designed to hold the valance in place. Align the clips evenly along the top front of the headrail. Typically, there are multiple slots available on the headrail to accommodate different valance sizes.
- Attach the Valance Clips: Insert the valance clips into the slots, ensuring they are securely fastened. The clips should slide in easily but should also hold the valance firmly in place.
- Slide and Lock the Valance: Place the valance onto the installed clips, making sure it is aligned properly. Slide the valance toward the clips and press it firmly to lock it into place. The valance should fit snugly and cover the headrail completely.
- Adjust and Level: If necessary, adjust the valance slightly to ensure it is level and straight. Use a level to check its alignment and make any necessary corrections.
Once you have attached the valance, step back and admire the enhanced appearance of your plantation blinds. The valance adds a sophisticated touch and completes the overall look of your window treatment.
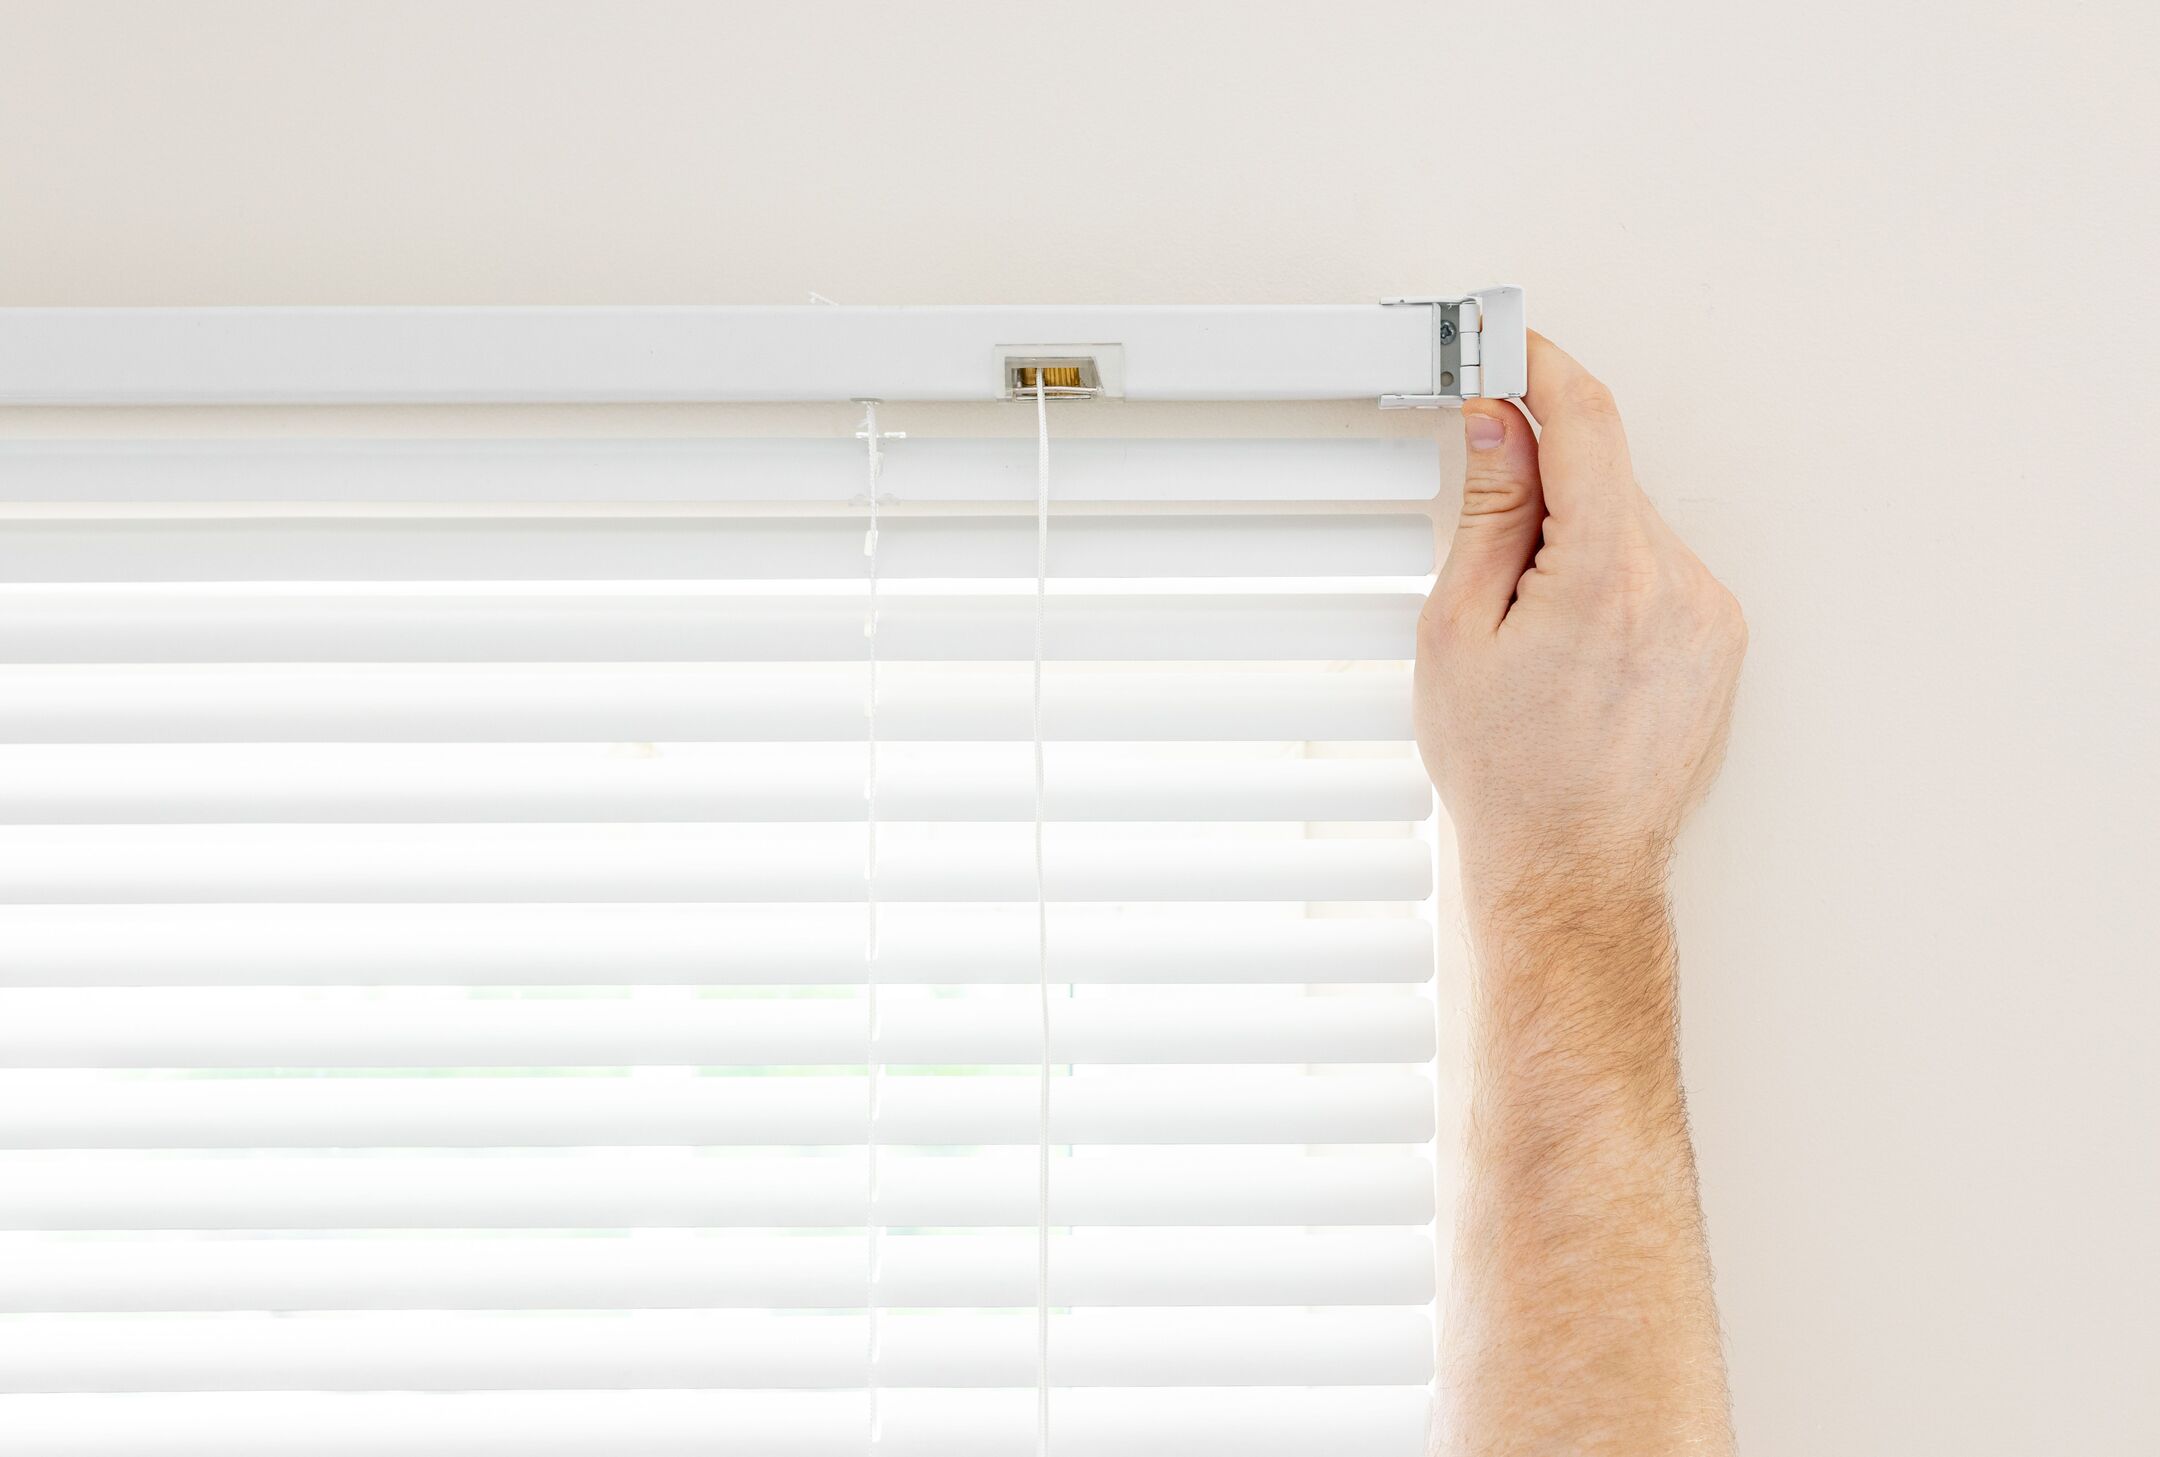
Step 6: Install the Plantation Blinds
Now that the valance is securely in place, it’s time to install the plantation blinds themselves. Follow these steps to ensure a successful installation:
- Prepare the Blinds: Before installing the blinds, remove any packaging or protective coverings. Make sure the blinds are in the fully closed position.
- Insert the Blinds into the Brackets: Hold the blinds at a slight angle and insert the headrail into the brackets. Ensure that the blinds are properly aligned with the brackets before releasing them.
- Secure the Blinds: Once inserted into the brackets, check that the blinds are securely held in place. Gently tug on the blinds to confirm that they are stable and won’t come loose.
- Test the Blinds: With the blinds installed, test their functionality by tilting the slats open and closed. Also, raise and lower the blinds to ensure smooth operation. If any adjustments are needed, refer to the manufacturer’s instructions for troubleshooting and fine-tuning.
It’s important to take your time and ensure that the blinds are properly installed. Pay attention to any specific instructions provided by the manufacturer for your particular blinds model.
Step 7: Adjust and Test the Blinds
After installing the plantation blinds, it’s essential to make any necessary adjustments to ensure they are functioning correctly and provide the desired amount of light control and privacy. Here are a few steps to guide you through this process:
- Leveling the Blinds: Use a level to check the horizontal alignment of the blinds. Adjust the brackets if needed to ensure that the blinds hang level and straight.
- Slat Angles: Adjust the tilt angle of the blinds by using the tilt rod or control mechanism provided. Open and close the slats to your desired position, allowing for optimal light and privacy control.
- Repositioning the Blinds: If the blinds are not sitting within the window opening as desired, you can adjust their positioning. Gently tilt the blinds out of the brackets, reposition them, and then reinsert them into the brackets.
- Testing Operation: Test the functionality of the blinds by opening, closing, raising, and lowering them. Ensure that they operate smoothly and without any obstructions or resistance.
- Final Adjustments: Make any final adjustments to ensure that the blinds are aligned properly and functioning smoothly. Take your time to achieve the desired aesthetics and functionality.
By adjusting and testing the blinds, you can fine-tune their position and operation to meet your specific preferences. This step is crucial for optimizing the functionality and overall appeal of your plantation blinds.
Conclusion
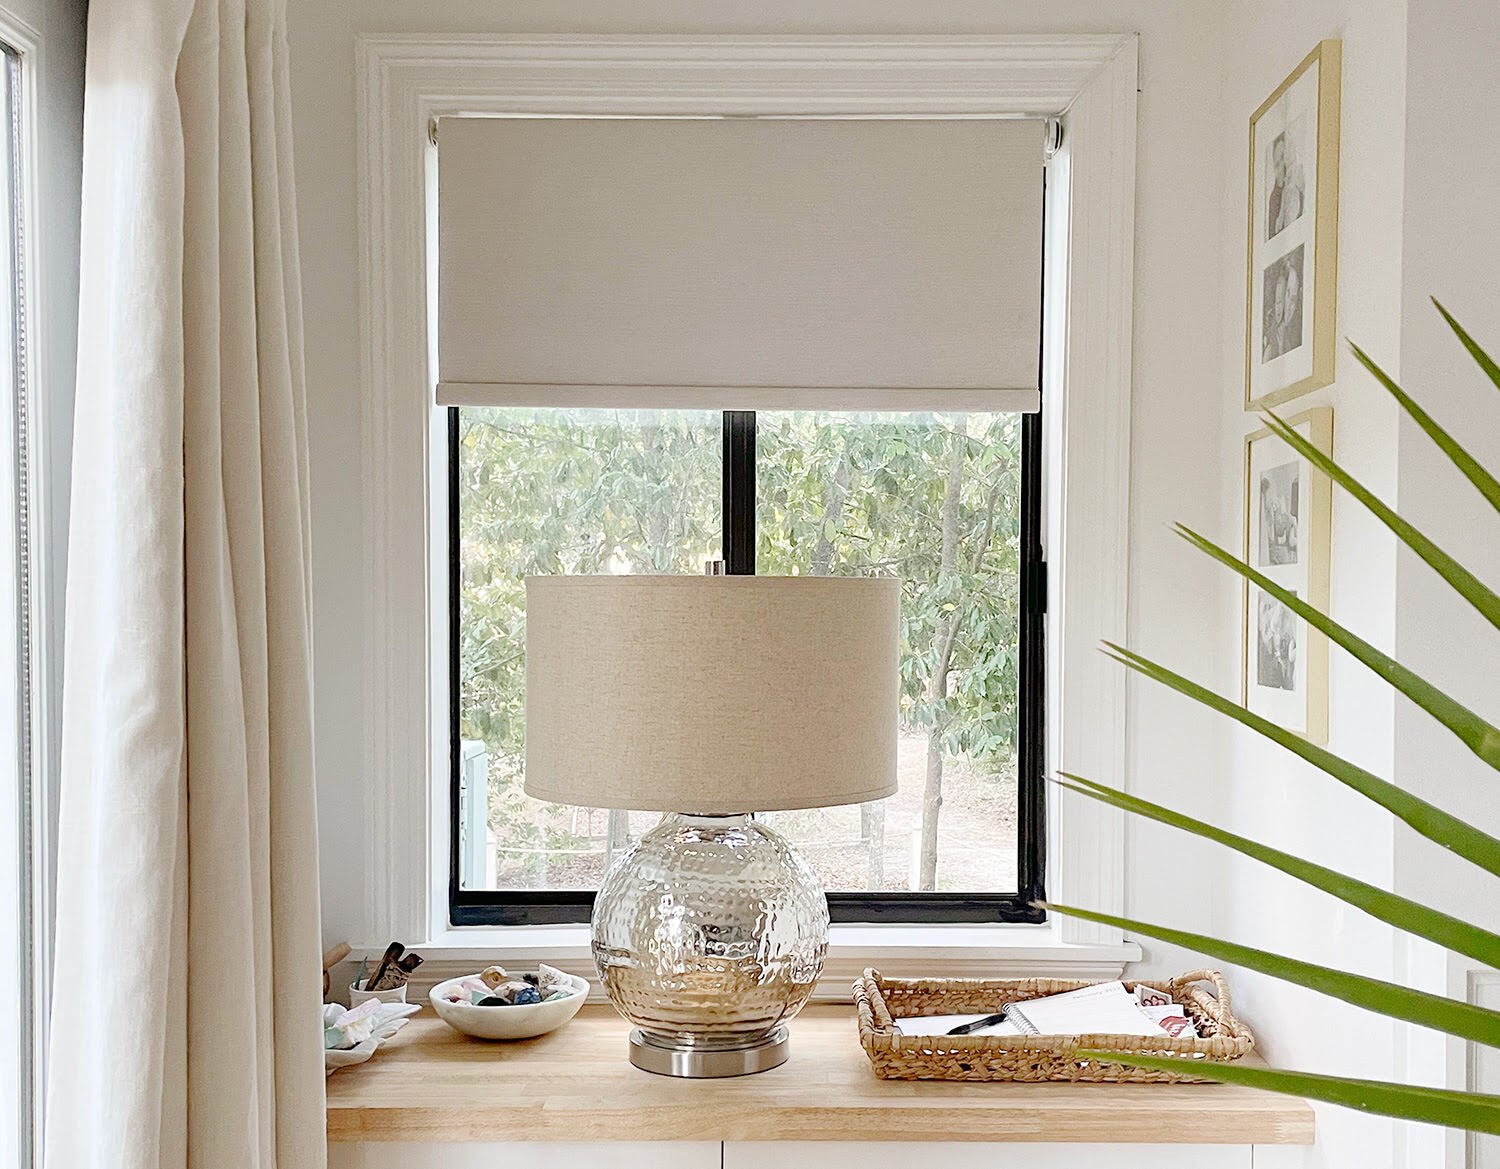
Congratulations! You have successfully installed your plantation blinds and transformed your windows into beautiful and functional focal points. By following these step-by-step instructions, you have gained the skills and knowledge to complete the installation process with confidence.
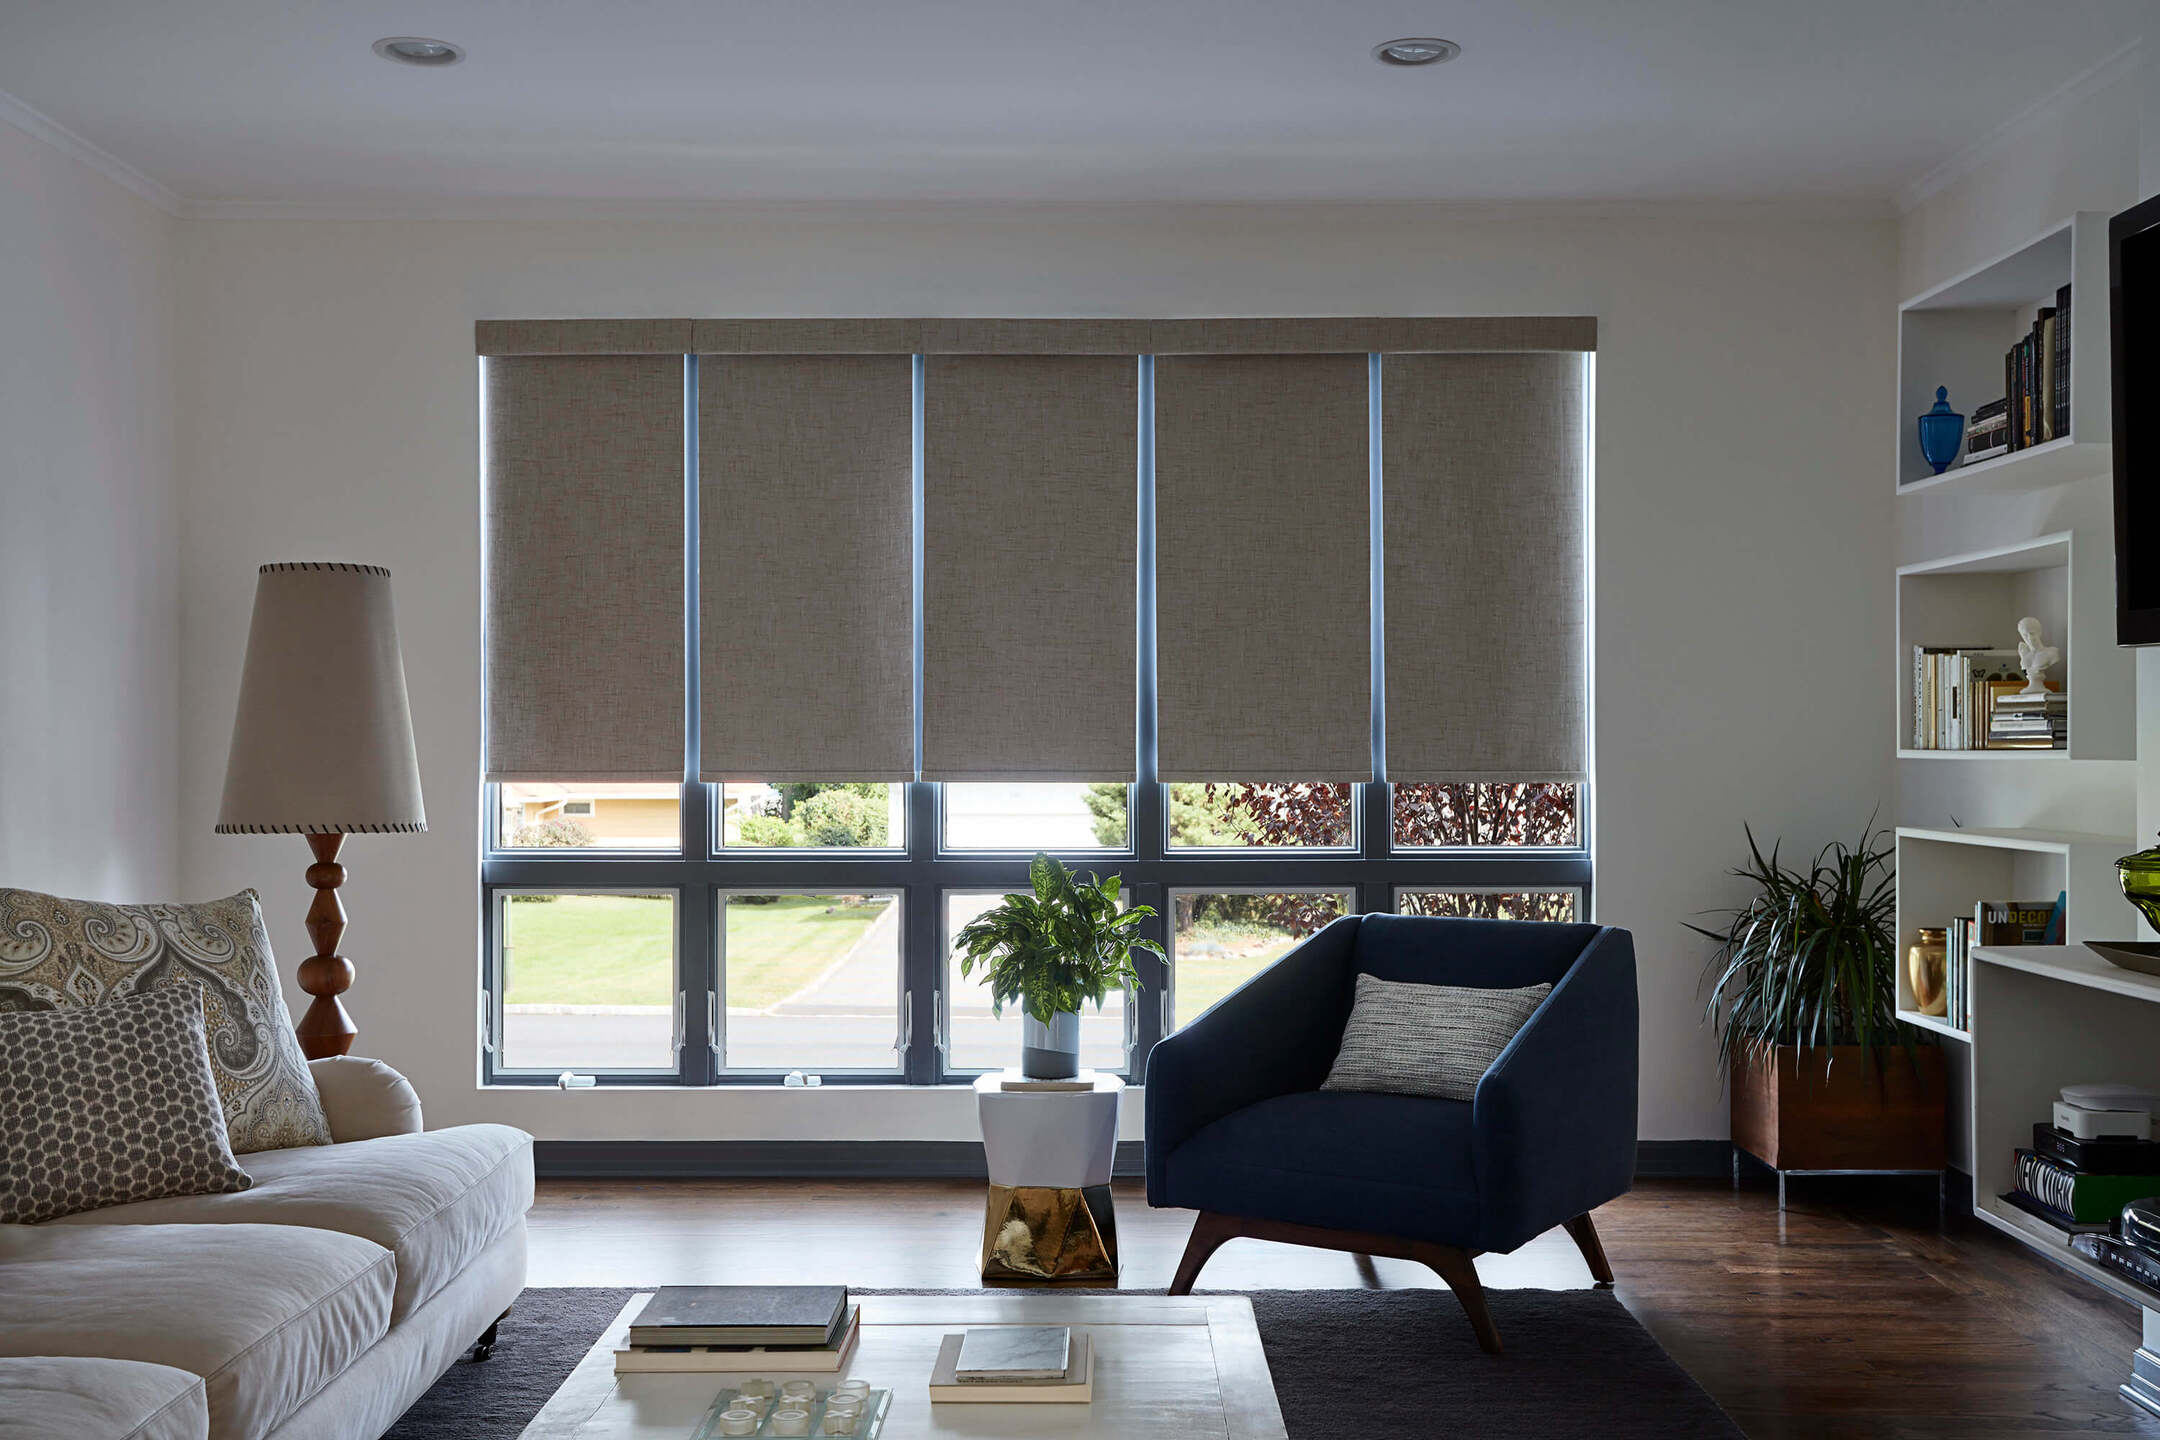
Plantation blinds offer a perfect blend of style, privacy, and light control for any room in your home. With their wide slats and elegant design, they provide a timeless and sophisticated look that complements various décor styles. Whether you choose wood, faux wood, or vinyl materials, plantation blinds will enhance the aesthetics and functionality of your windows.
Remember to carefully measure your window opening, select the right blinds for your space, and mount the installation brackets securely. By attaching the valance and ensuring the blinds are properly installed and adjusted, you achieve a polished and finished look.
Take the time to test the blinds’ functionality and make any necessary adjustments to ensure they meet your specific needs. With proper maintenance and care, your plantation blinds will continue to add style and functionality to your home for years to come.
Thank you for choosing plantation blinds as your window treatment option. Enjoy the beauty, privacy, and control they bring to your living space!
Frequently Asked Questions about How To Install Plantation Blinds
Was this page helpful?
At Storables.com, we guarantee accurate and reliable information. Our content, validated by Expert Board Contributors, is crafted following stringent Editorial Policies. We're committed to providing you with well-researched, expert-backed insights for all your informational needs.