Home>Furniture & Design>Interior Design Trends>How To Add Glass To Cabinet Doors
Interior Design Trends
How To Add Glass To Cabinet Doors
Modified: March 19, 2024
Learn how to incorporate the latest interior design trend of adding glass to cabinet doors. Enhance your space with this stylish and functional update.
(Many of the links in this article redirect to a specific reviewed product. Your purchase of these products through affiliate links helps to generate commission for Storables.com, at no extra cost. Learn more)
Introduction
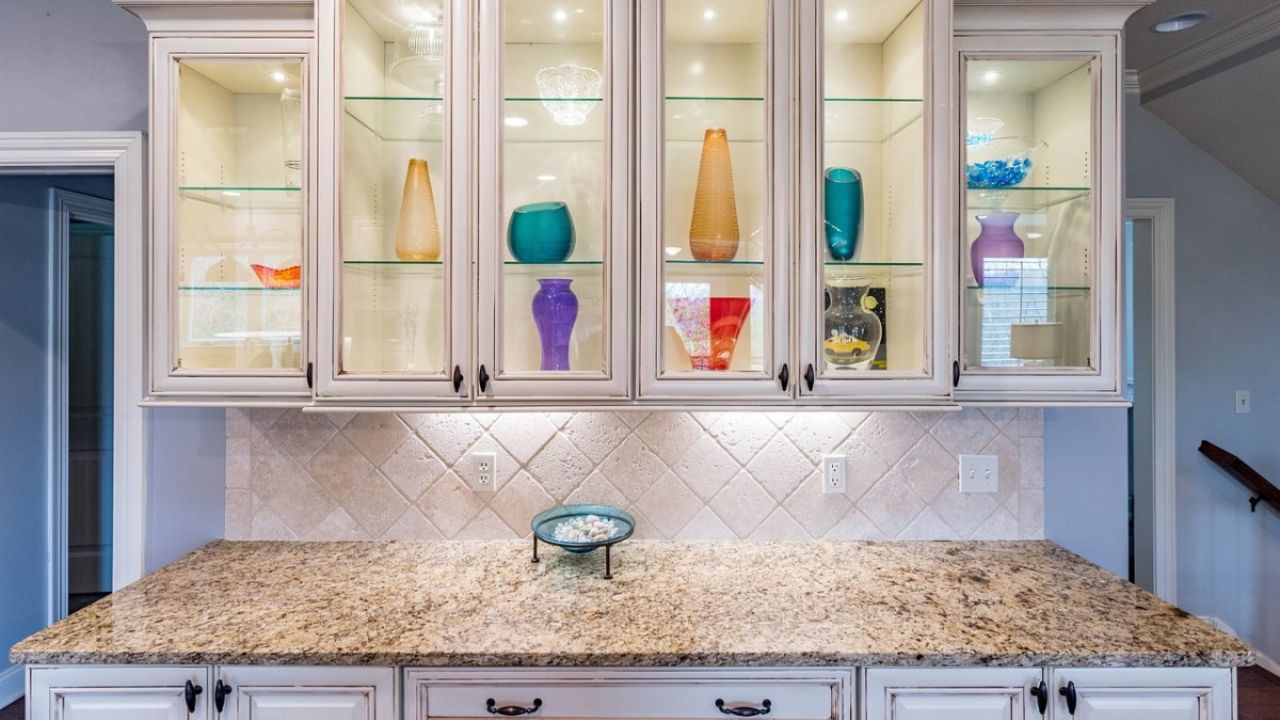
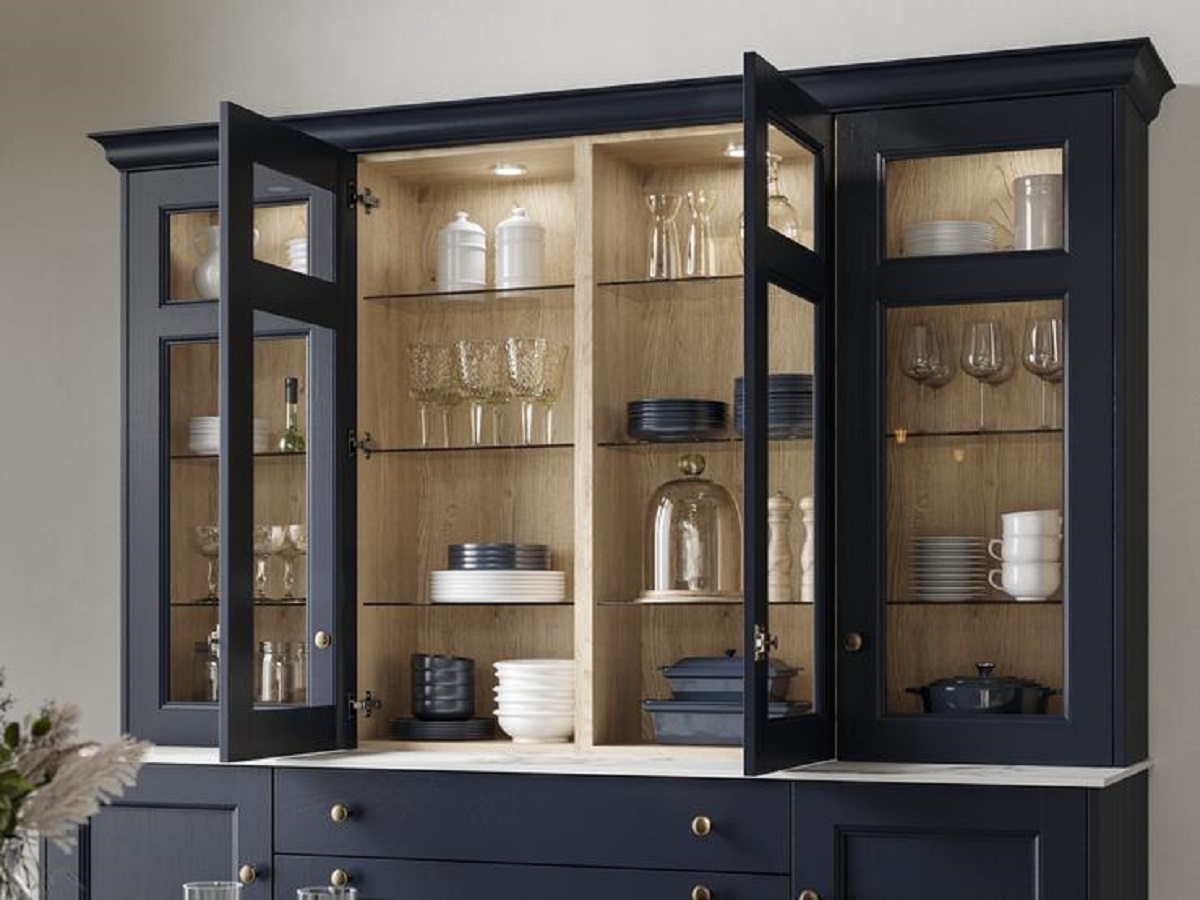
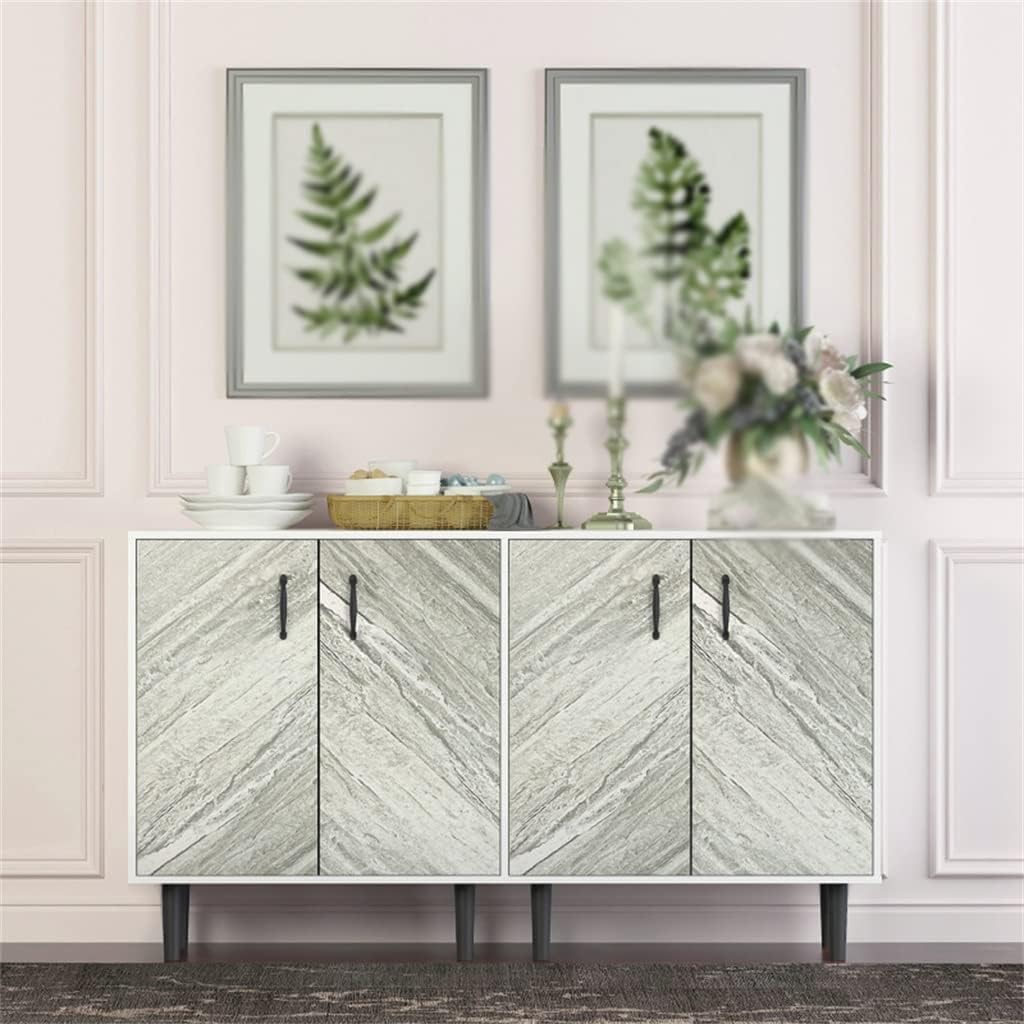
Adding glass to cabinet doors is a fantastic way to elevate the aesthetic appeal of your kitchen or living space. It not only creates a sense of openness and brightness but also allows you to showcase your favorite dishware or decorative items. Whether you're aiming for a modern, sleek look or a more traditional and timeless feel, incorporating glass into your cabinet doors can transform the entire room.
By following a few simple steps and using the right materials, you can easily achieve this stylish upgrade. In this guide, we will walk you through the process of adding glass to your cabinet doors, providing you with the knowledge and confidence to tackle this project with ease.
Let's dive into the materials needed and the step-by-step instructions to bring a touch of elegance and sophistication to your living space.
Key Takeaways:
- Elevate your kitchen or living space by adding glass to cabinet doors. Choose the right type of glass to complement your style and showcase your items while creating a sense of openness and sophistication.
- Carefully measure, prepare, and install glass panels to transform your cabinet doors. With attention to detail and precision, achieve a visually stunning and functional upgrade for your living space.
Read more: How To Make A Glass Cabinet Door
Materials Needed
To successfully add glass to your cabinet doors, you will need a few essential materials. Here's a comprehensive list to ensure you have everything on hand before starting the project:
-
Measuring Tape: Accurate measurements are crucial for a precise fit, so having a reliable measuring tape is essential.
-
Safety Glasses and Gloves: When handling glass and working with tools, it's important to prioritize safety. Safety glasses and gloves will protect your eyes and hands throughout the process.
-
Screwdriver or Drill: Depending on the type of screws used in your cabinet doors, a screwdriver or drill will be necessary for removing and reattaching the doors.
-
Glass Panels: Select glass panels that complement the style of your cabinets. Options include clear, frosted, or decorative glass, each offering a unique aesthetic.
-
Glass Retainer Strips: These strips hold the glass in place within the cabinet doors, ensuring a secure and professional finish.
-
Adhesive Caulk or Glazing Compound: To secure the glass in position, you'll need adhesive caulk or glazing compound. This will prevent the glass from shifting and provide a clean, finished look.
-
Sandpaper: Sandpaper will be used to smooth any rough edges on the cabinet doors, creating a seamless surface for the glass installation.
-
Paint and Primer (Optional): If you plan to paint or refinish the cabinet doors, ensure you have the necessary paint and primer to complete the look.
-
Painter's Tape: This will help protect the surrounding areas of the cabinet doors during the painting or refinishing process.
-
Cleaning Supplies: Before installing the glass, thoroughly clean the cabinet doors to ensure a pristine surface for the new addition.
-
Level: A level will assist in ensuring the glass panels are installed perfectly straight and aligned with the cabinet doors.
By gathering these materials, you'll be well-prepared to embark on the project of adding glass to your cabinet doors. With the right tools and attention to detail, you can achieve a stunning transformation that enhances the overall ambiance of your space.
Step 1: Measure the Cabinet Doors
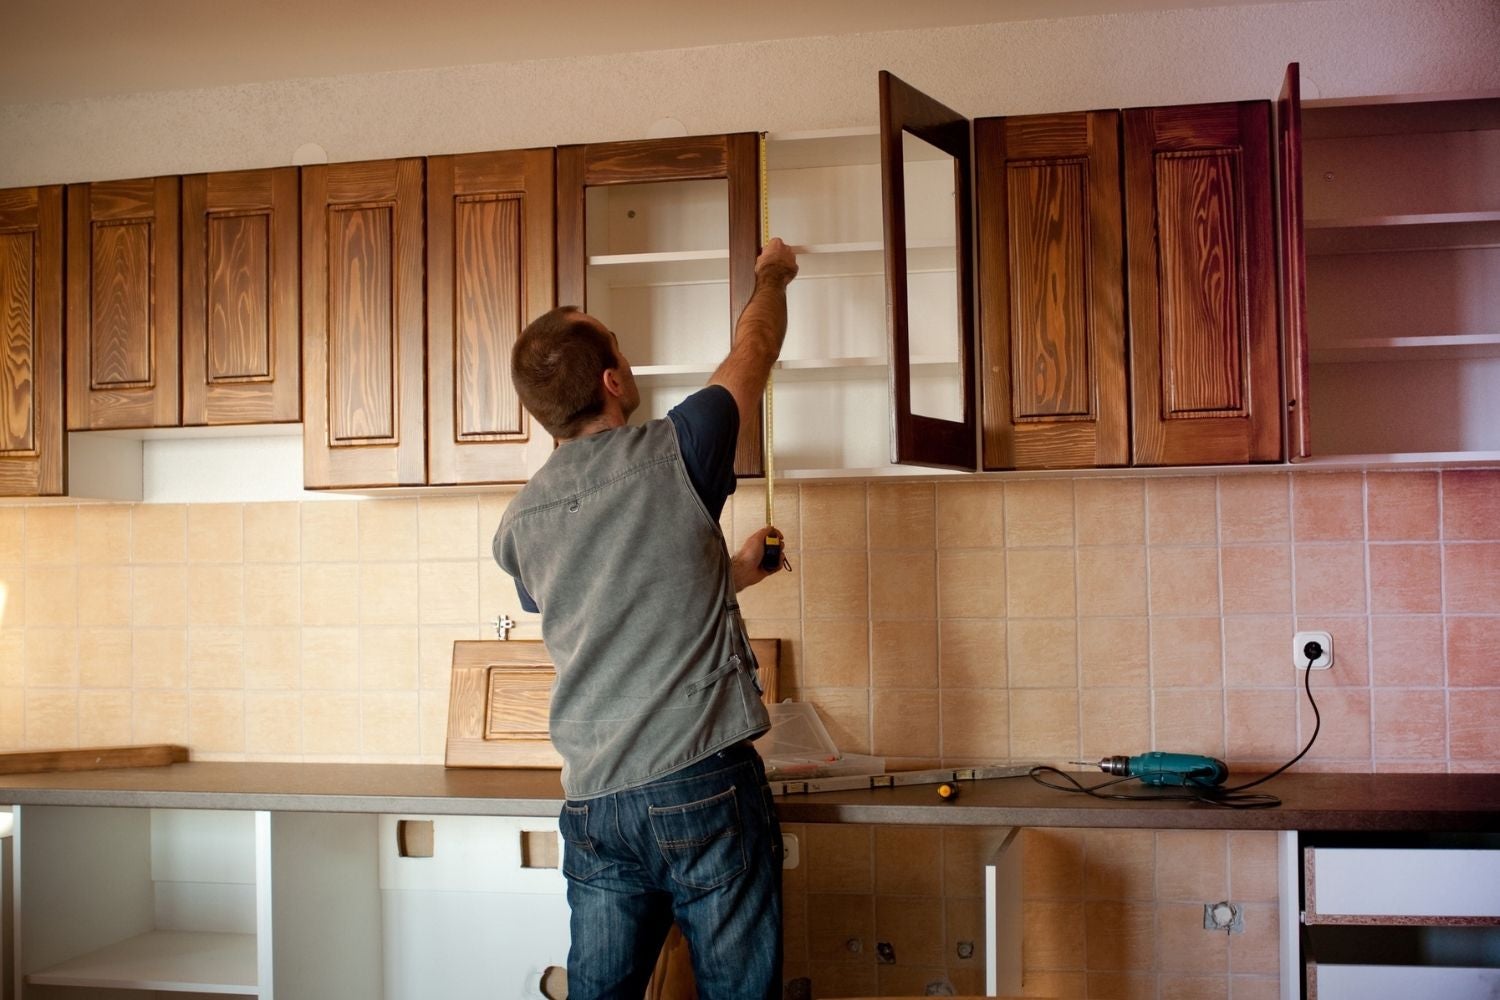
Accurate measurements are the foundation of a successful cabinet door glass installation. Before embarking on this project, it's crucial to measure the dimensions of each cabinet door with precision. This step sets the stage for a seamless and professional-looking glass addition.
Start by gathering a reliable measuring tape, preferably one with both imperial and metric units for versatility. Begin at one edge of the cabinet door and carefully extend the measuring tape to the opposite edge, noting the width. Repeat this process for the height of the door, ensuring that the measurements are taken from the top to the bottom.
It's essential to measure at multiple points along the width and height to account for any variations in the door's dimensions. This meticulous approach will help accommodate any irregularities and ensure a precise fit for the glass panels.
In cases where the cabinet doors are not perfectly square, measure the diagonals as well. If the diagonal measurements differ, adjustments may be necessary to ensure that the glass panels fit flawlessly.
When recording the measurements, it's advisable to label each door to avoid confusion during the installation process. Clearly mark which door each set of measurements corresponds to, as this will streamline the subsequent steps and minimize the potential for errors.
By meticulously measuring the cabinet doors, you establish a solid foundation for the rest of the project. These precise measurements will guide the selection of glass panels and the preparation of the cabinet doors, setting the stage for a successful and visually appealing glass installation.
With the measurements in hand, you're now ready to move on to the next step: choosing the type of glass that best suits your design preferences and practical needs.
Step 2: Choose the Type of Glass
Selecting the right type of glass for your cabinet doors is a pivotal decision that significantly influences the overall aesthetic and functionality of the space. The chosen glass not only complements the existing decor but also serves as a showcase for the items within the cabinets. When making this choice, consider the following factors to ensure a harmonious and practical integration:
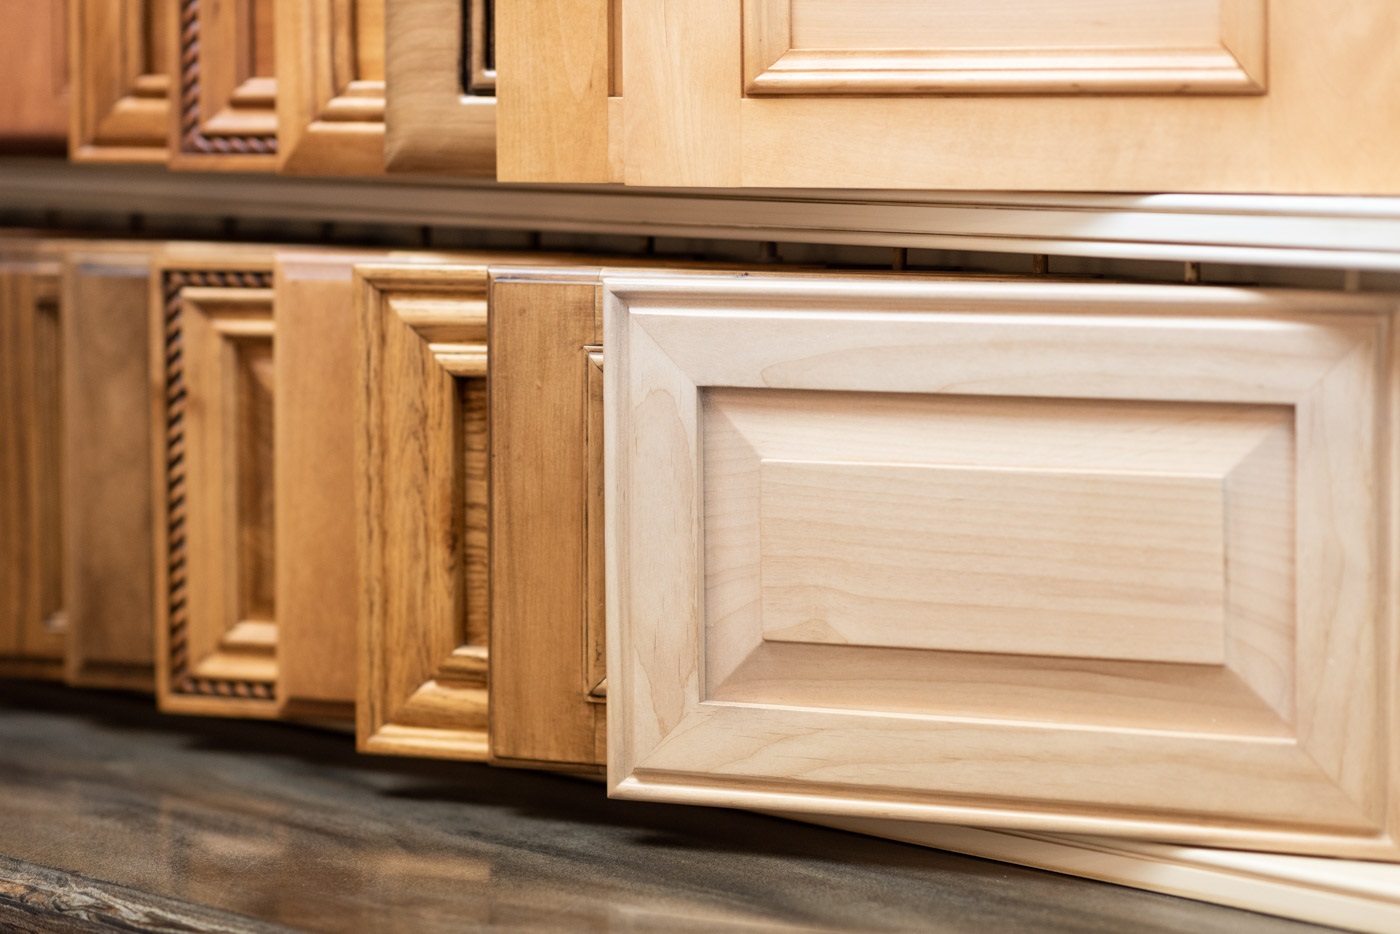
Style and Design
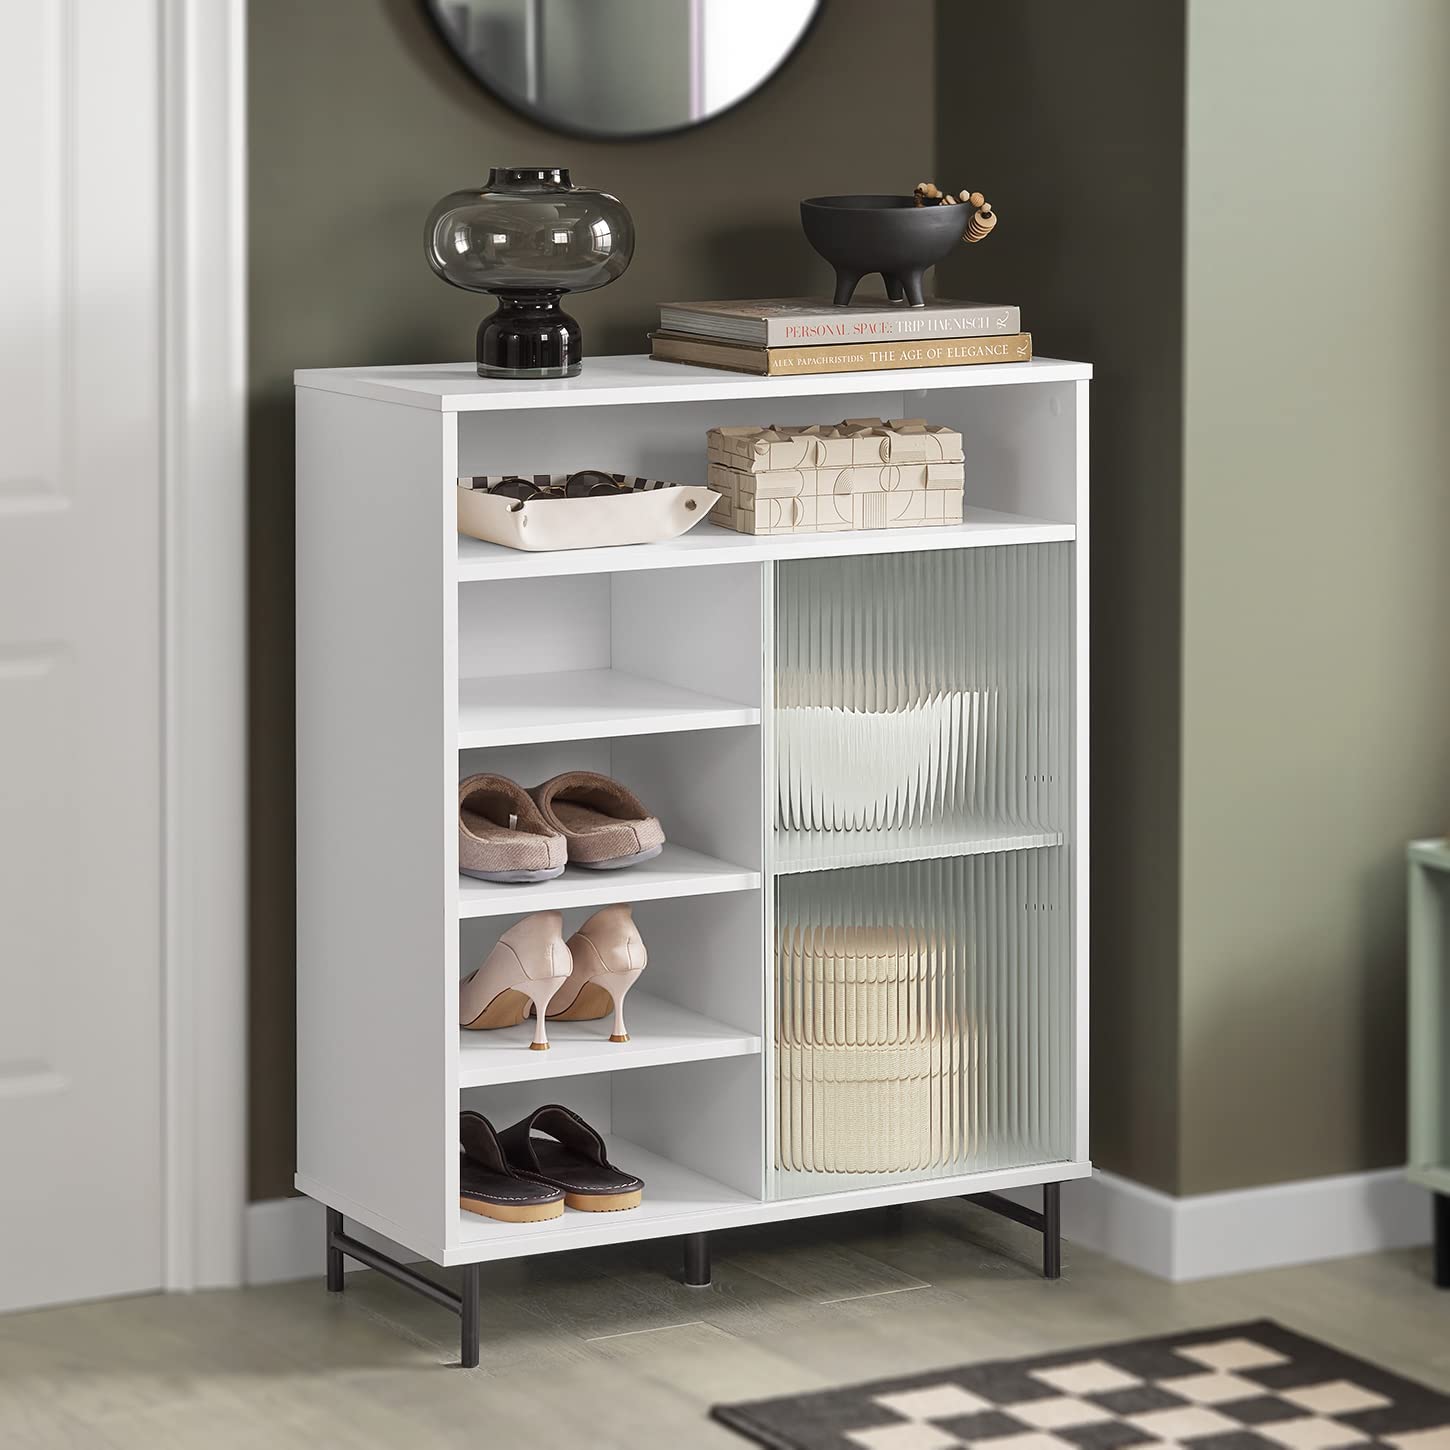
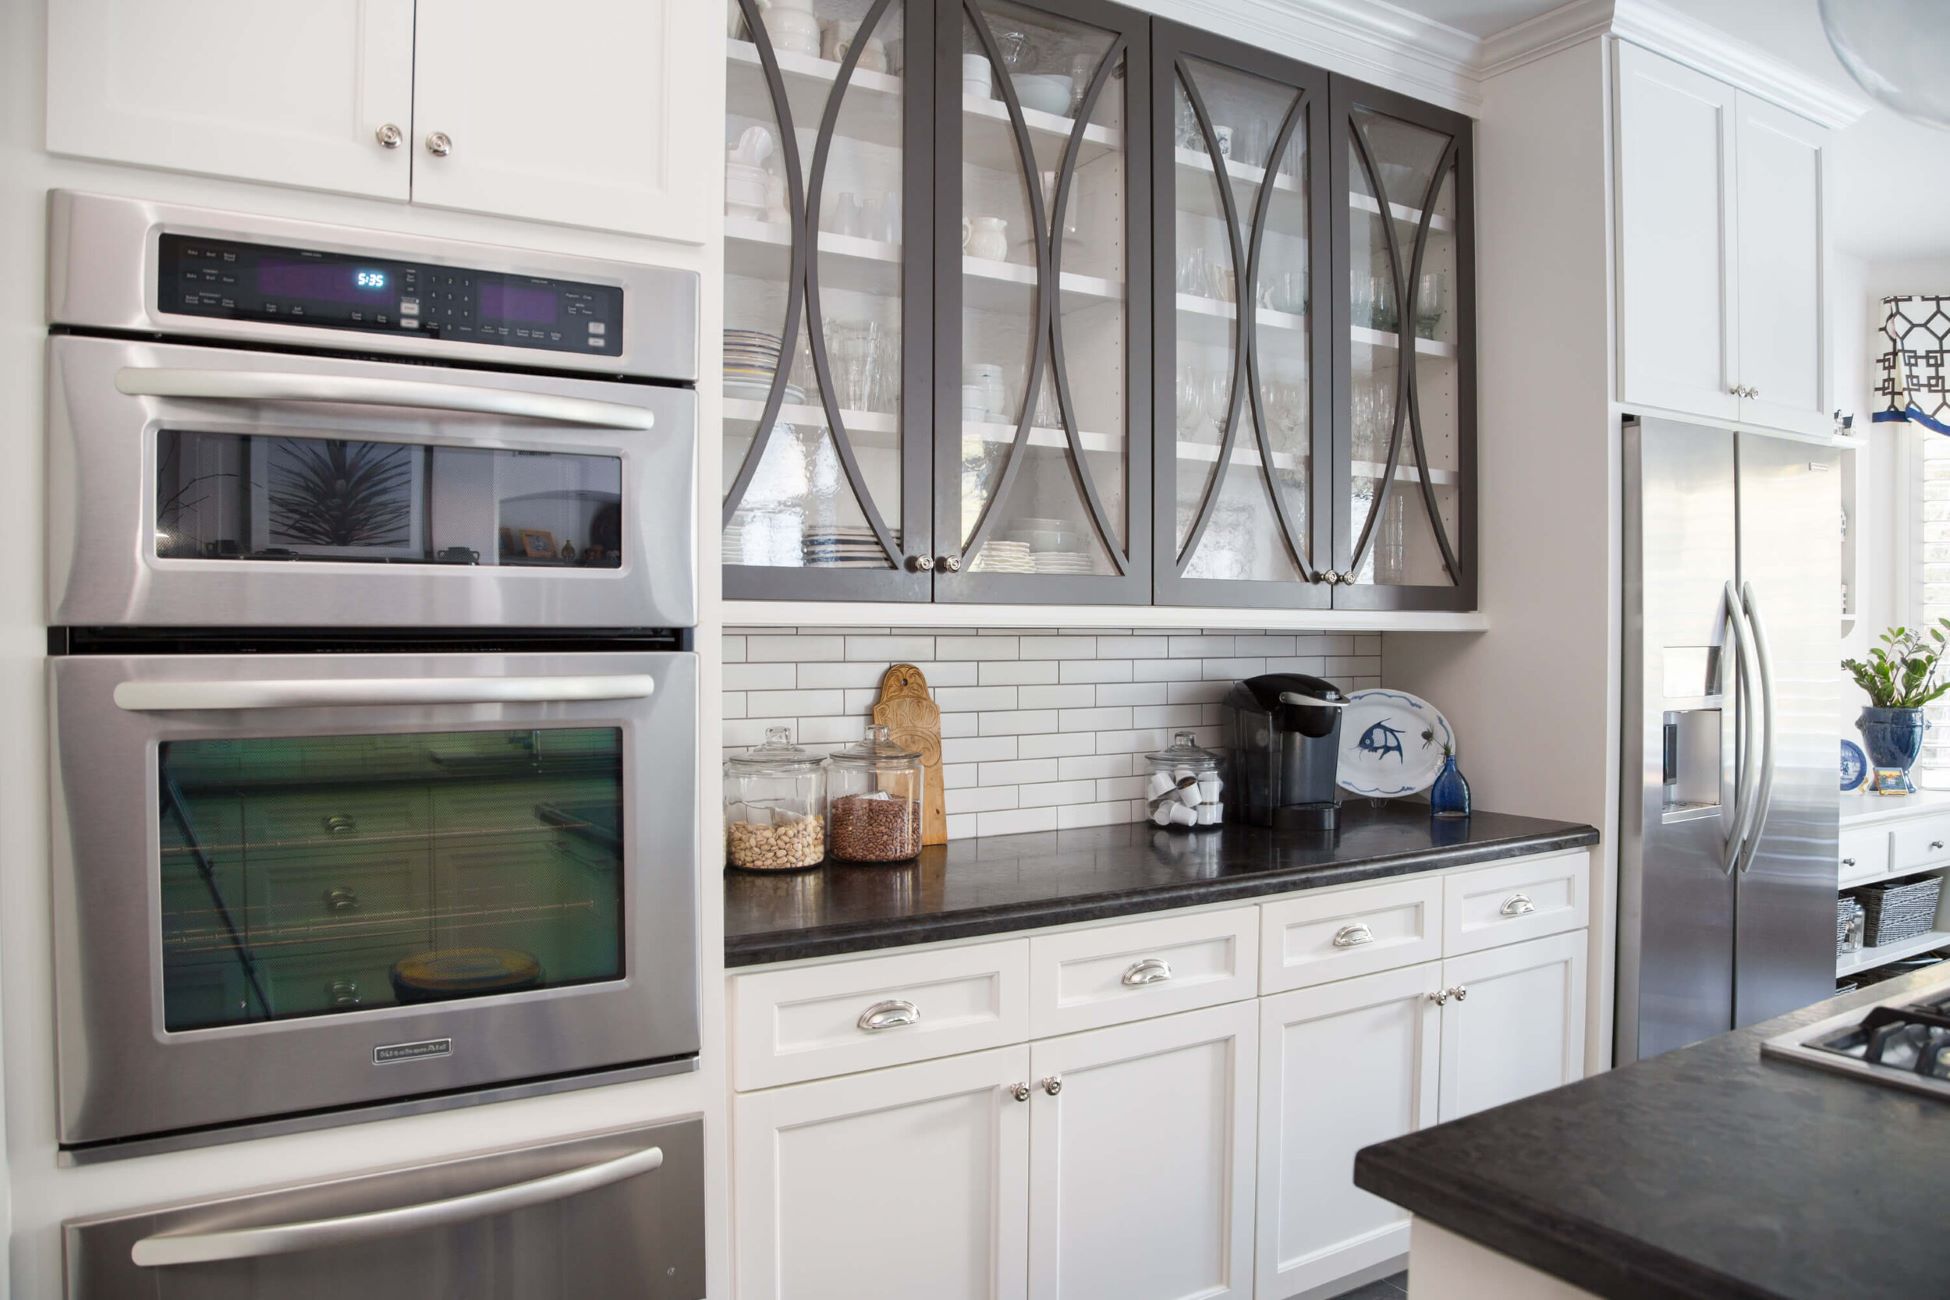
The style of your space plays a crucial role in determining the type of glass that best suits your cabinet doors. For a contemporary and modern ambiance, clear glass offers a sleek and minimalist look, allowing the contents of the cabinets to be prominently displayed. On the other hand, frosted or textured glass can impart a sense of elegance and subtlety, ideal for spaces with a more traditional or transitional design aesthetic. Consider the existing elements in the room, such as the cabinetry, countertops, and overall decor, to ensure that the chosen glass aligns with the established style.
Read more: How To Hold Glass In Cabinet Door
Privacy and Visibility
Assess the level of privacy and visibility you desire for the cabinet contents. Clear glass provides full visibility, making it an excellent choice for showcasing decorative dishware, glassware, or collectibles. However, if you prefer a degree of concealment while still allowing glimpses of the interior, frosted or textured glass can offer a balance between visibility and privacy. These options diffuse light and obscure the contents to a certain extent, adding an element of mystery and sophistication to the cabinet doors.
Durability and Maintenance
Consider the practical aspects of the glass, such as its durability and maintenance requirements. If the cabinet doors are frequently accessed or located in high-traffic areas, opt for tempered glass, known for its strength and resistance to impact. Tempered glass is also safer than standard glass, as it breaks into small, granular pieces rather than sharp shards. Additionally, assess the ease of cleaning and maintenance for the chosen glass type, ensuring that it aligns with your lifestyle and maintenance preferences.
Decorative Elements
Explore the opportunity to incorporate decorative elements within the glass panels. From intricate patterns to custom designs, decorative glass adds a unique and personalized touch to the cabinet doors. Whether you opt for etched designs, stained glass, or custom motifs, these decorative elements can infuse character and individuality into the space, becoming captivating focal points within the room.
By carefully considering these factors, you can confidently select the type of glass that harmonizes with your design vision and practical requirements. The chosen glass will not only enhance the visual appeal of the cabinet doors but also contribute to the overall ambiance of the space, creating a captivating and personalized environment.
Step 3: Remove the Cabinet Doors
Before proceeding with the installation of glass panels, the cabinet doors must be carefully removed to facilitate the preparation and installation process. This step requires attention to detail and a methodical approach to ensure the doors are safely detached without causing damage to the surrounding cabinetry or the doors themselves.
To begin, gather the necessary tools for removing the cabinet doors, including a screwdriver or drill, and prepare a clean and spacious area to work in. It's advisable to lay down a soft, protective surface, such as a blanket or foam pads, to prevent any scratches or dents during the removal process.
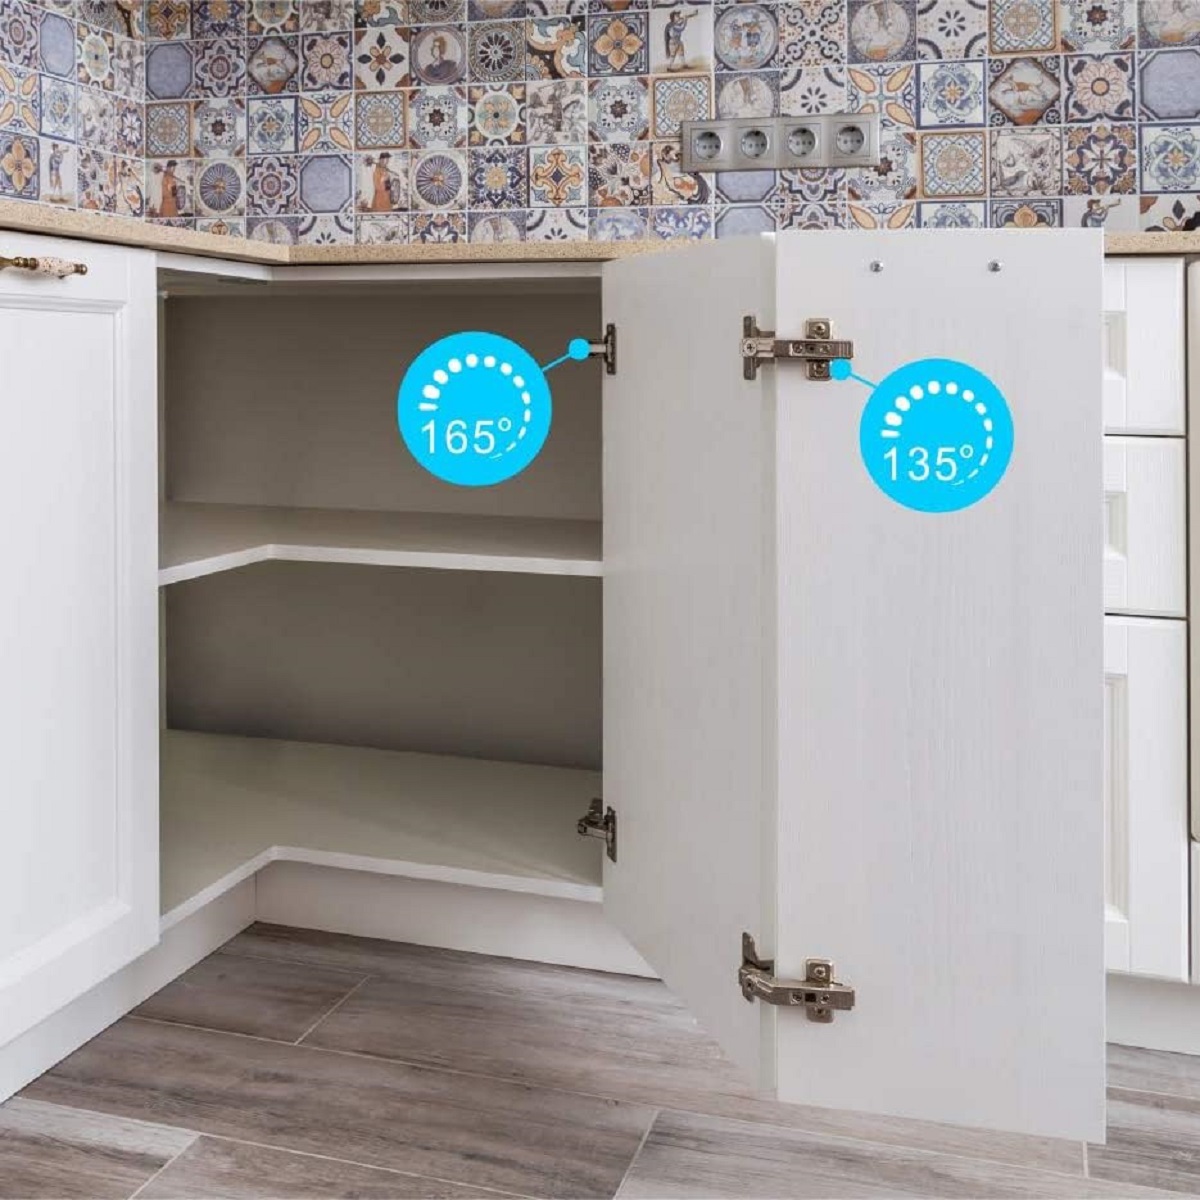
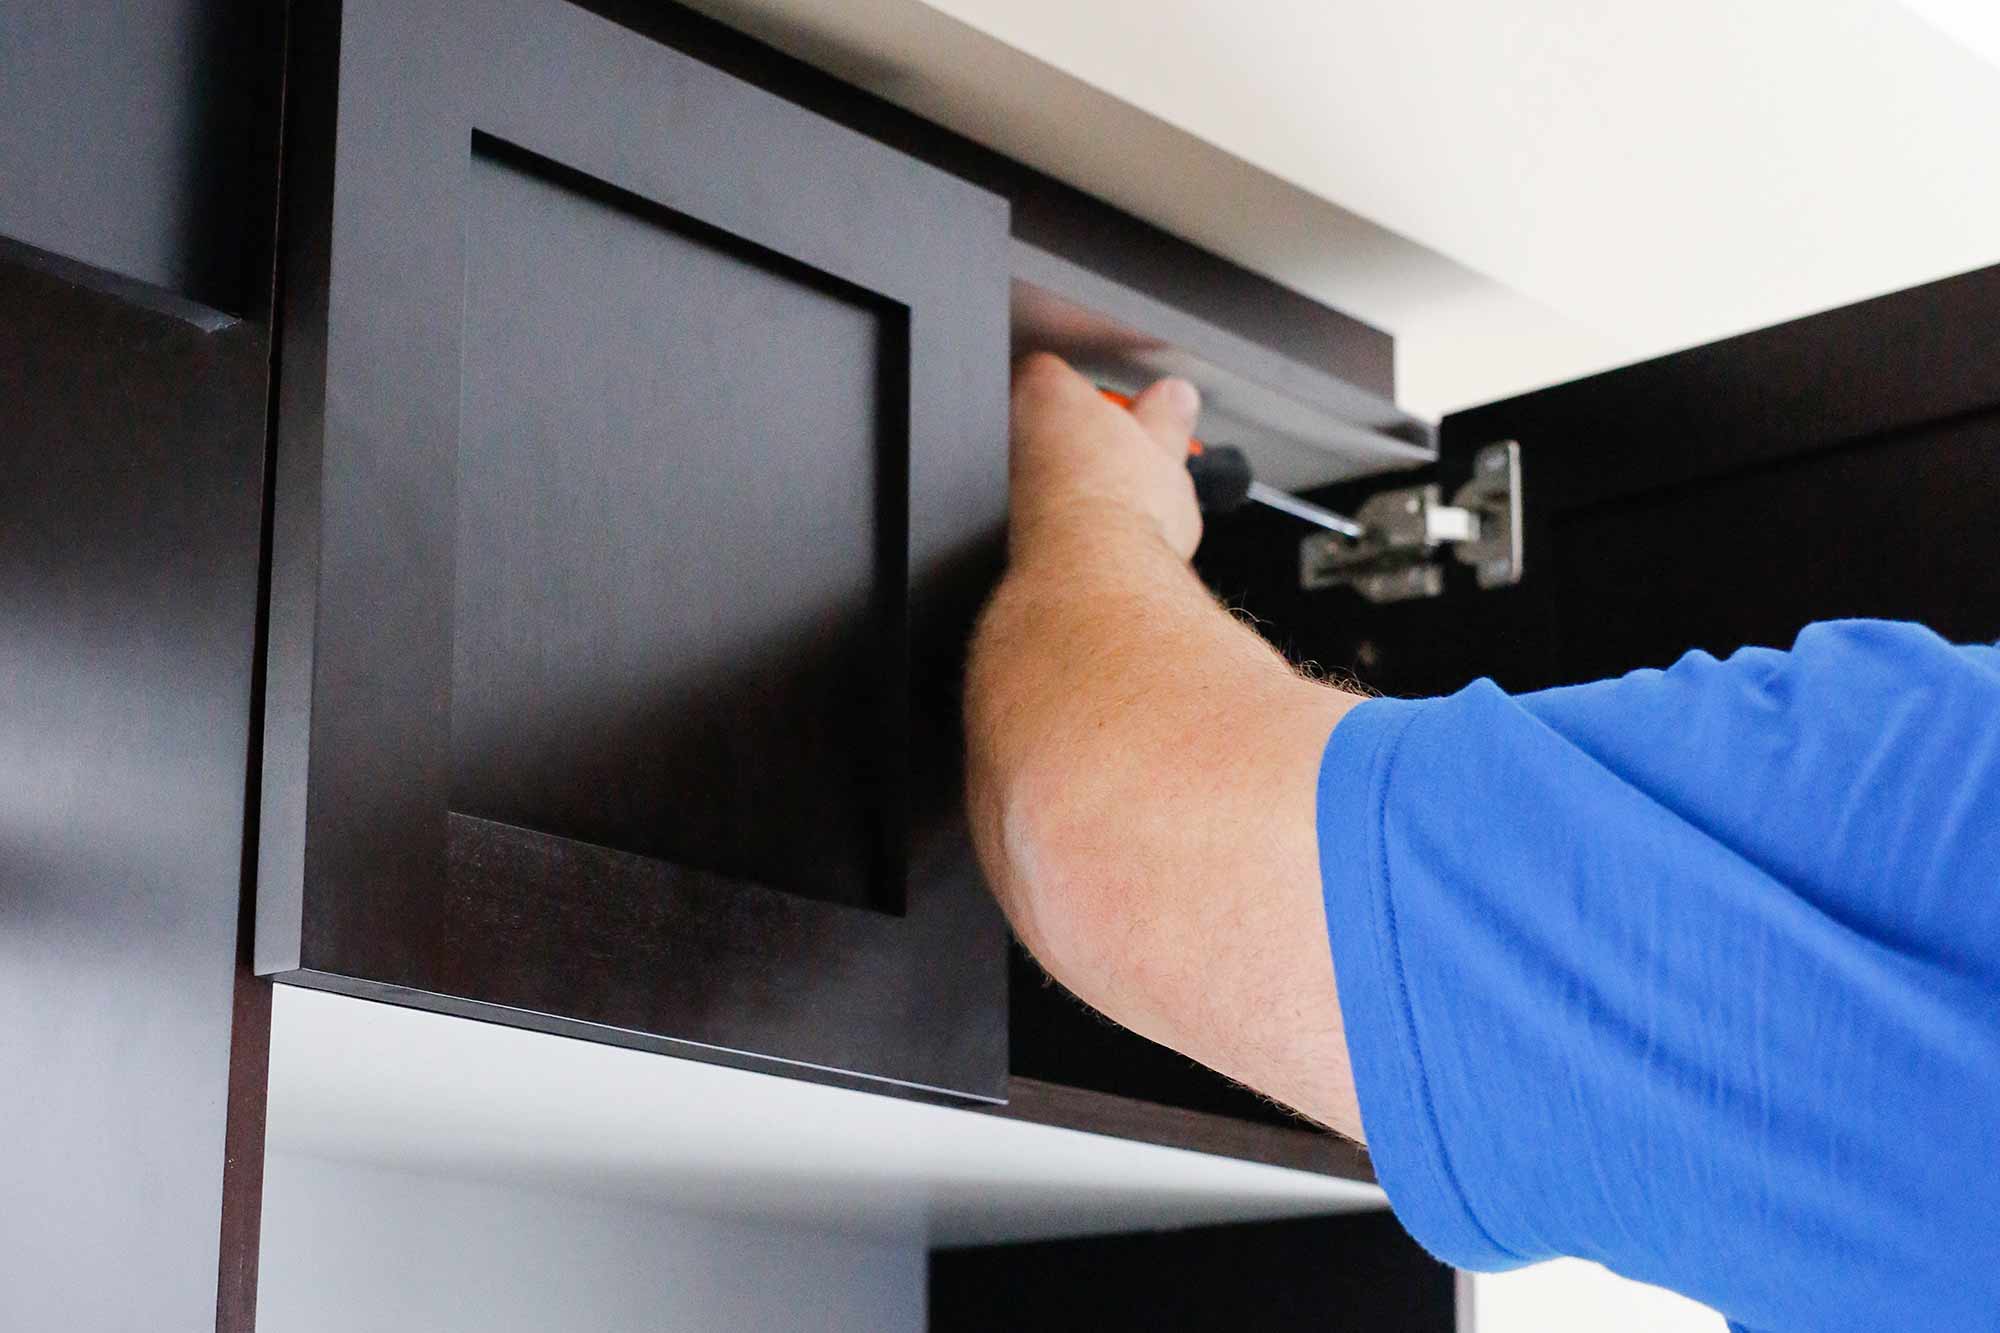
Start by opening the cabinet doors to access the hinges. Depending on the type of hinges used, you may need to locate and unscrew the mounting screws that secure the hinges to the cabinet frame. Use the appropriate screwdriver or drill bit to carefully remove the screws, ensuring that they are safely stored for reattachment later.
As each screw is removed, gently lift the cabinet door away from the frame, taking care to support its weight and maintain control throughout the process. It's recommended to have a helper assist with larger or heavier doors to prevent any accidental mishaps.
Once the doors are detached, place them in a designated area, ensuring that they are arranged in a manner that corresponds to their original orientation and position within the cabinetry. This organization will simplify the reinstallation process and minimize any potential confusion when it's time to reattach the doors.
With the cabinet doors removed, take a moment to inspect the hinges and hardware for any signs of wear or damage. This presents an opportune time to address any maintenance or replacement needs, ensuring that the hinges operate smoothly and securely when the doors are reinstalled.
By methodically removing the cabinet doors with care and attention to detail, you create a conducive environment for the subsequent steps of preparing and installing the glass panels. With the doors safely detached, you're now ready to move on to the next phase of the project, preparing the cabinet doors for the elegant addition of glass panels.
Read more: How To Cover Glass Cabinet Doors
Step 4: Prepare the Cabinet Doors
Preparing the cabinet doors for the installation of glass panels is a critical phase that sets the stage for a seamless and professional outcome. This step involves meticulous attention to detail and the application of precise techniques to ensure that the cabinet doors are primed for the elegant addition of glass. Here's a comprehensive guide to preparing the cabinet doors with precision and care.
Clean and Smooth the Surfaces
Begin by thoroughly cleaning the surfaces of the cabinet doors to remove any accumulated dust, grease, or residue. Using a mild detergent or a specialized wood cleaner, gently wipe down the doors, paying close attention to the edges and corners. This cleaning process not only ensures a pristine surface for the glass installation but also promotes adhesion and a polished finish.
Once the doors are clean and dry, inspect the edges and surfaces for any rough or uneven areas. Utilize fine-grit sandpaper to smooth out any imperfections, creating a uniform and level surface for the glass panels. Pay particular attention to the areas where the glass will be installed, ensuring that they are free from any irregularities that could affect the fit or appearance of the glass.
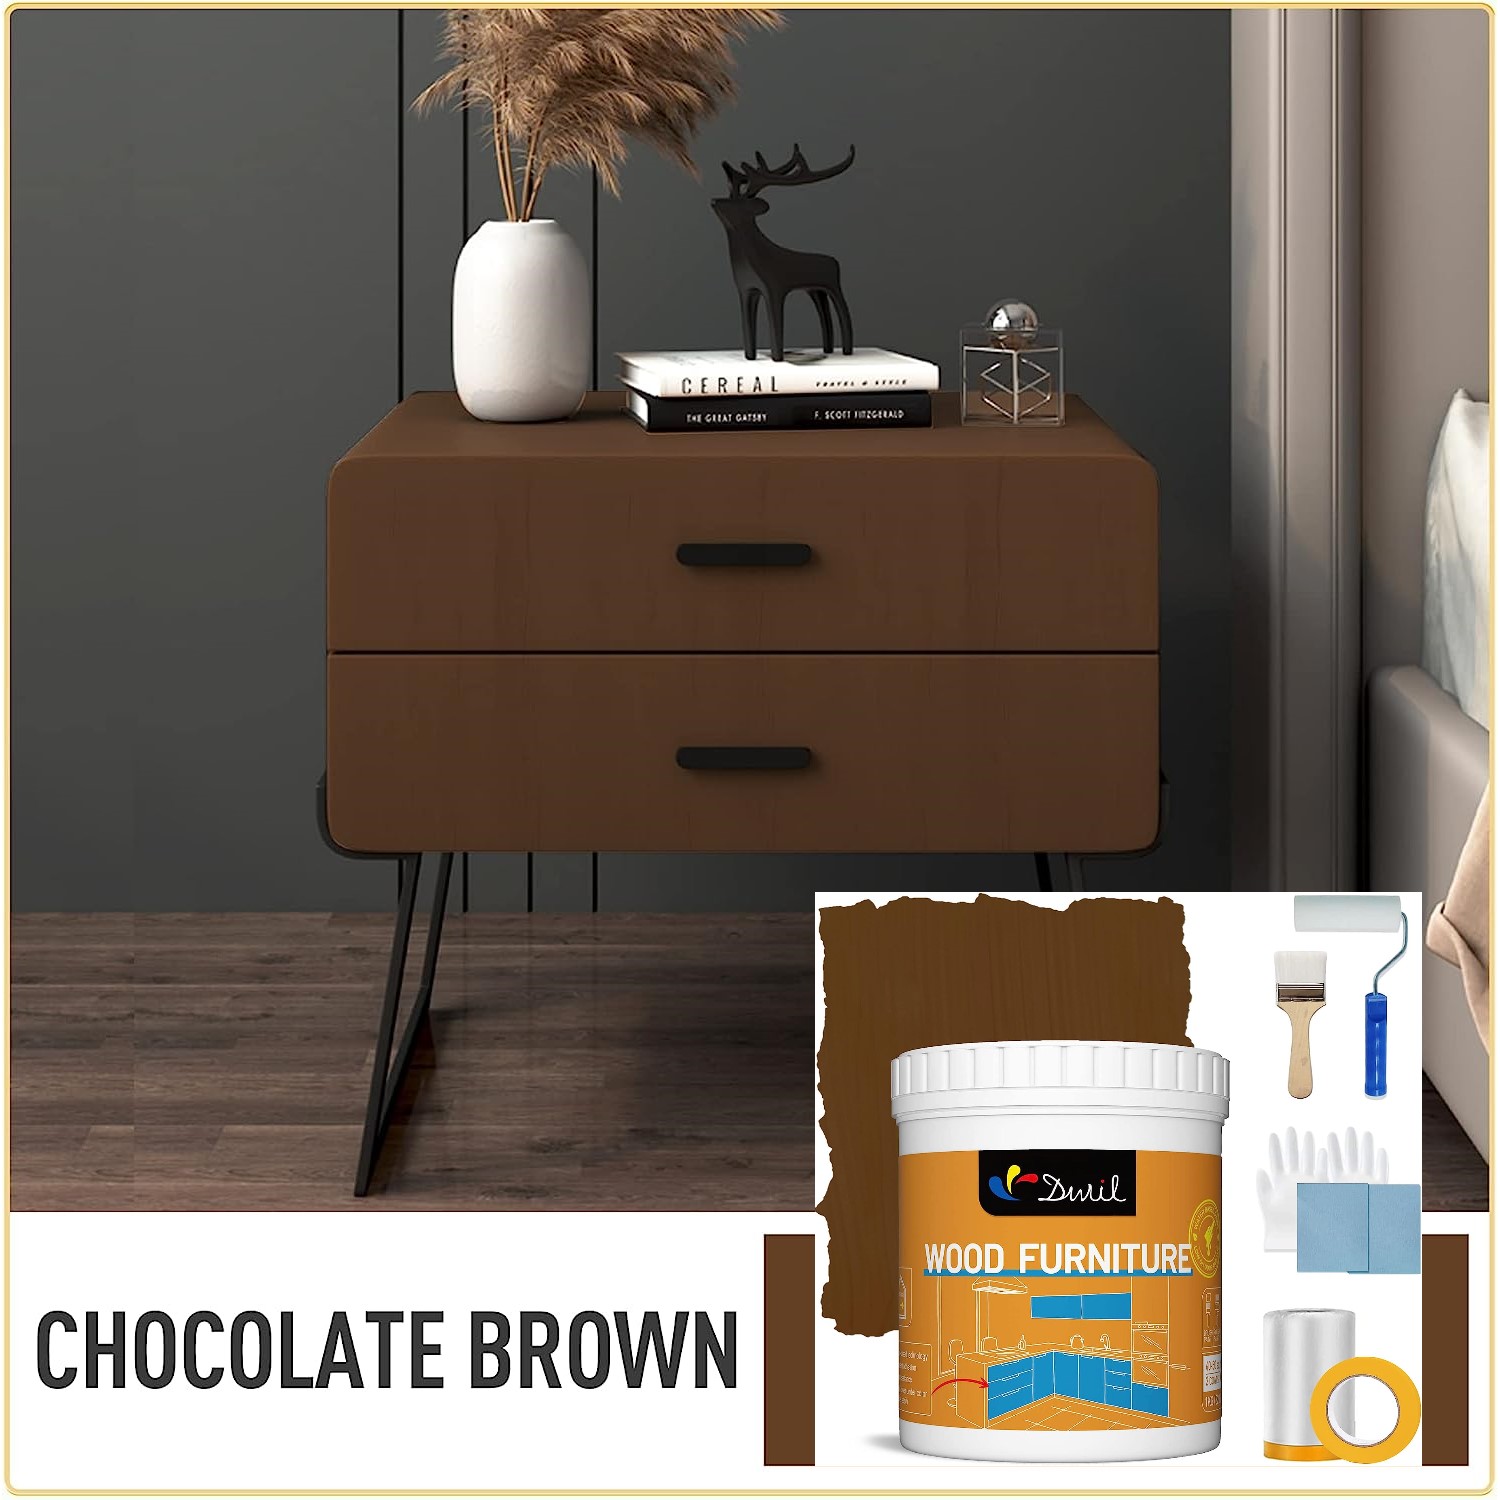
Prime and Paint (Optional)
If you intend to paint or refinish the cabinet doors, this is the opportune time to proceed with the preparation and application of primer and paint. Begin by applying a high-quality primer that is compatible with the type of paint you plan to use. The primer serves as a foundation for the paint, promoting adhesion and enhancing the durability of the finish.
Once the primer has dried according to the manufacturer's instructions, carefully apply the chosen paint color or finish, ensuring even coverage and a smooth, professional result. It's advisable to use painter's tape to protect the areas surrounding the glass openings, creating clean and defined edges for the paint application.
Install Glass Retainer Strips
To secure the glass panels within the cabinet doors, install glass retainer strips along the edges of the openings. These strips provide a secure and stable framework for the glass, ensuring that it remains in place and aligned with the doors. Carefully measure and cut the retainer strips to fit the dimensions of the glass openings, and secure them in position using appropriate fasteners or adhesive.
Read more: How To Make Glass Cabinet Doors
Verify Alignment and Stability
Before proceeding with the installation of the glass panels, verify the alignment and stability of the cabinet doors. Ensure that the doors are level, straight, and free from any structural issues that could impact the installation process. This assessment sets the stage for a seamless and successful integration of the glass panels, ensuring a professional and visually appealing result.
By meticulously preparing the cabinet doors with attention to cleanliness, smoothness, and stability, you establish a solid foundation for the installation of glass panels. This meticulous approach ensures that the glass addition is seamlessly integrated, enhancing the overall aesthetic and functionality of the cabinet doors. With the doors prepared for the next phase, you're now ready to proceed with the elegant installation of glass panels, bringing a touch of sophistication and style to your living space.
Step 5: Install the Glass
With the cabinet doors meticulously prepared, the time has come to embark on the elegant installation of glass panels, transforming the doors into captivating showcases for your cherished items. This step requires precision, patience, and attention to detail to ensure a flawless integration of the glass, elevating the visual appeal and functionality of the cabinet doors.
Begin by carefully placing the selected glass panels into the prepared openings on the cabinet doors. Align the edges of the glass with the retainer strips, ensuring a snug and secure fit within the designated space. Take the time to verify that the glass sits evenly and level within the doors, creating a seamless and professional appearance.
Once the glass panels are positioned correctly, it's time to secure them in place using adhesive caulk or glazing compound. Apply a thin, uniform bead of the chosen adhesive around the perimeter of the glass, ensuring that it forms a continuous and secure seal between the glass and the retainer strips. This step not only stabilizes the glass within the doors but also creates a polished and finished look, enhancing the overall aesthetic.
As you apply the adhesive, exercise caution and precision to prevent any excess from marring the appearance of the glass or the surrounding surfaces. A steady hand and deliberate movements will result in a clean and professional finish, showcasing the glass panels with elegance and sophistication.
Once the adhesive is applied, carefully inspect the glass panels to ensure that they are securely in place and that the adhesive has formed a tight seal. This thorough assessment guarantees that the glass is stable and aligned within the doors, ready to fulfill its role as a captivating display for your treasured items.
With the glass panels successfully installed, take a moment to appreciate the transformation they have brought to the cabinet doors. The seamless integration of glass elevates the visual appeal of the doors, infusing the space with a sense of openness and sophistication. The installation of glass panels represents a significant enhancement to the cabinet doors, creating a captivating focal point within the room.
By meticulously following these steps, you have successfully added glass to your cabinet doors, achieving a stunning upgrade that enriches the ambiance of your living space. The elegant installation of glass panels represents a testament to your attention to detail and dedication to creating a visually captivating and functional environment.
Step 6: Reattach the Cabinet Doors
Reattaching the cabinet doors marks the final phase of the glass installation process, bringing the project to its culmination with the seamless integration of the enhanced doors back into the cabinetry. This step requires precision, care, and attention to detail to ensure that the doors are securely and accurately reinstalled, completing the transformation of the space with a touch of elegance and sophistication.
Begin by positioning the first cabinet door in alignment with its corresponding hinges on the cabinet frame. With the assistance of a helper if needed, carefully align the hinges and ensure that they are positioned correctly for reattachment. Once aligned, secure the hinges in place using the original mounting screws, tightening them with a screwdriver or drill to establish a firm connection between the door and the frame.
As each door is reattached, take the time to verify that it operates smoothly and securely, ensuring that it opens and closes without any resistance or misalignment. This assessment guarantees that the doors are seamlessly integrated back into the cabinetry, functioning as intended while showcasing the elegant addition of glass panels.
Once all the cabinet doors are reattached, take a moment to admire the transformation they have brought to the space. The integration of glass has elevated the visual appeal of the doors, infusing the room with a sense of openness and sophistication. The reattachment of the doors represents the final touch in the comprehensive upgrade, solidifying the seamless integration of glass into the cabinetry.
With the cabinet doors securely reattached, the glass installation project reaches its culmination, leaving behind a space transformed by the elegant addition of glass panels. The reattachment of the doors signifies the successful completion of the project, showcasing your dedication to enhancing the aesthetic and functionality of your living space with a touch of timeless elegance.
Conclusion
In conclusion, the process of adding glass to cabinet doors represents a transformative endeavor that elevates the aesthetic appeal and functionality of the living space. By following the comprehensive steps outlined in this guide, you have embarked on a journey to infuse your environment with elegance, sophistication, and a touch of personalized style.
The meticulous measurements taken at the outset set the stage for a precise and seamless integration of glass panels, ensuring a flawless fit within the cabinet doors. The careful selection of the type of glass, considering factors such as style, privacy, durability, and decorative elements, has enabled you to harmonize the glass addition with the existing decor and practical needs of the space.
The methodical removal and preparation of the cabinet doors have facilitated a conducive environment for the elegant installation of glass panels. By meticulously cleaning, smoothing, and priming the surfaces, you have laid the groundwork for a polished and professional finish, ensuring that the glass addition seamlessly integrates with the doors.
The installation of glass panels represents the pinnacle of the project, where the captivating transformation of the cabinet doors comes to fruition. With precision and care, the glass has been securely positioned and sealed within the doors, creating a visually stunning showcase for your cherished items while infusing the space with a sense of openness and sophistication.
The reattachment of the cabinet doors signifies the successful completion of the glass installation project, solidifying the seamless integration of glass into the cabinetry. The doors now stand as captivating focal points within the room, showcasing your attention to detail and dedication to creating a visually captivating and functional environment.
As you admire the enhanced cabinet doors, adorned with the elegant addition of glass panels, take pride in the transformation you have brought to your living space. The infusion of glass represents a testament to your commitment to creating an environment that exudes timeless elegance and personalized style, enriching the ambiance of your home with a touch of sophistication and refinement.
Frequently Asked Questions about How To Add Glass To Cabinet Doors
Was this page helpful?
At Storables.com, we guarantee accurate and reliable information. Our content, validated by Expert Board Contributors, is crafted following stringent Editorial Policies. We're committed to providing you with well-researched, expert-backed insights for all your informational needs.

0 thoughts on “How To Add Glass To Cabinet Doors”