Home>Furniture>Outdoor Furniture>How To Install Patio Door Blinds
Outdoor Furniture
How To Install Patio Door Blinds
Modified: March 7, 2024
Learn how to effortlessly install patio door blinds for your outdoor furniture. Create a stylish and functional space with these easy installation steps.
(Many of the links in this article redirect to a specific reviewed product. Your purchase of these products through affiliate links helps to generate commission for Storables.com, at no extra cost. Learn more)
Introduction
Welcome to our comprehensive guide on how to install patio door blinds. Adding blinds to your patio doors not only enhances the aesthetics of your outdoor space but also provides privacy and controls the amount of sunlight entering your home. Whether you want to enjoy a lazy afternoon lounging on your patio or create a cozy ambiance for a family gathering, installing blinds is a great way to achieve both style and functionality.
In this article, we will walk you through each step of the installation process, ensuring that you have all the information you need to successfully install your patio door blinds. From measuring your patio door to choosing the right blinds, preparing the blinds, installing the mounting brackets, attaching the blinds, and finally adjusting and securing them, we’ve got you covered.
Before we dive into the installation process, it’s important to note that patience and attention to detail are key. By following these steps carefully, you’ll be able to install your patio door blinds smoothly and enjoy the benefits they provide for years to come.
So, let’s get started with step one: measuring your patio door.
Key Takeaways:
- Careful measurement, selecting the right blinds, and precise installation of mounting brackets are crucial for a smooth patio door blinds installation. Attention to detail and patience are key for a seamless outcome.
- Regular cleaning and maintenance of patio door blinds are essential to keep them in optimal condition and extend their lifespan. Understanding the warranty will help make the most of your investment.
Read more: How To Install Blinds On A Door
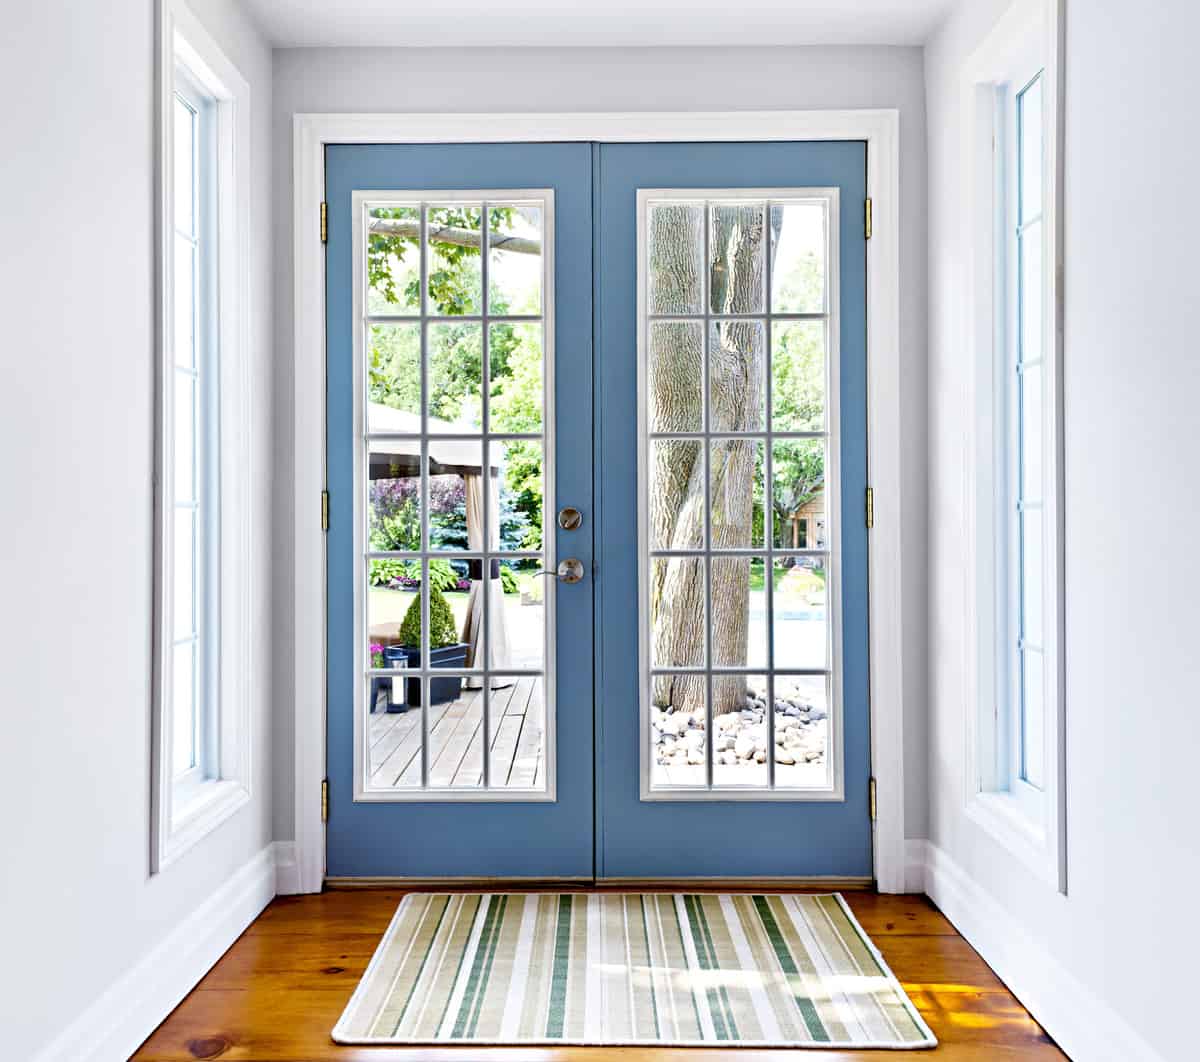
Step 1: Measure the Patio Door
Before you can choose the right blinds for your patio door, it’s crucial to accurately measure the dimensions of the door. This will ensure that the blinds fit properly and function effectively. Follow these steps to measure your patio door:
- Start by measuring the width of the door. Use a tape measure to measure the distance from one side of the door frame to the other. Take the measurement at three different points: the top, middle, and bottom of the door. Record the smallest measurement to ensure that the blinds have enough clearance to fit within the frame.
- Next, measure the height of the door. Again, take measurements at three different points: the left, center, and right side of the door. Record the smallest measurement to ensure that the blinds do not interfere with the door handle or any other obstructions.
- Once you have determined the width and height measurements, you can decide whether you want the blinds to fit inside or outside the door frame. Inside mount blinds are installed within the frame, while outside mount blinds are mounted above the frame and cover a larger area.
- If you have decided on an inside mount, subtract any necessary clearance from the width and height measurements to ensure a proper fit. For an outside mount, add additional width and height to create the desired coverage area.
- Finally, double-check your measurements to ensure accuracy. It’s a good idea to have a second person verify the measurements as well.
By taking precise measurements, you can be confident that the blinds you choose will fit perfectly and create a seamless look on your patio door. Now that you have the measurements, it’s time to move on to step two: choosing the right blinds for your patio door.
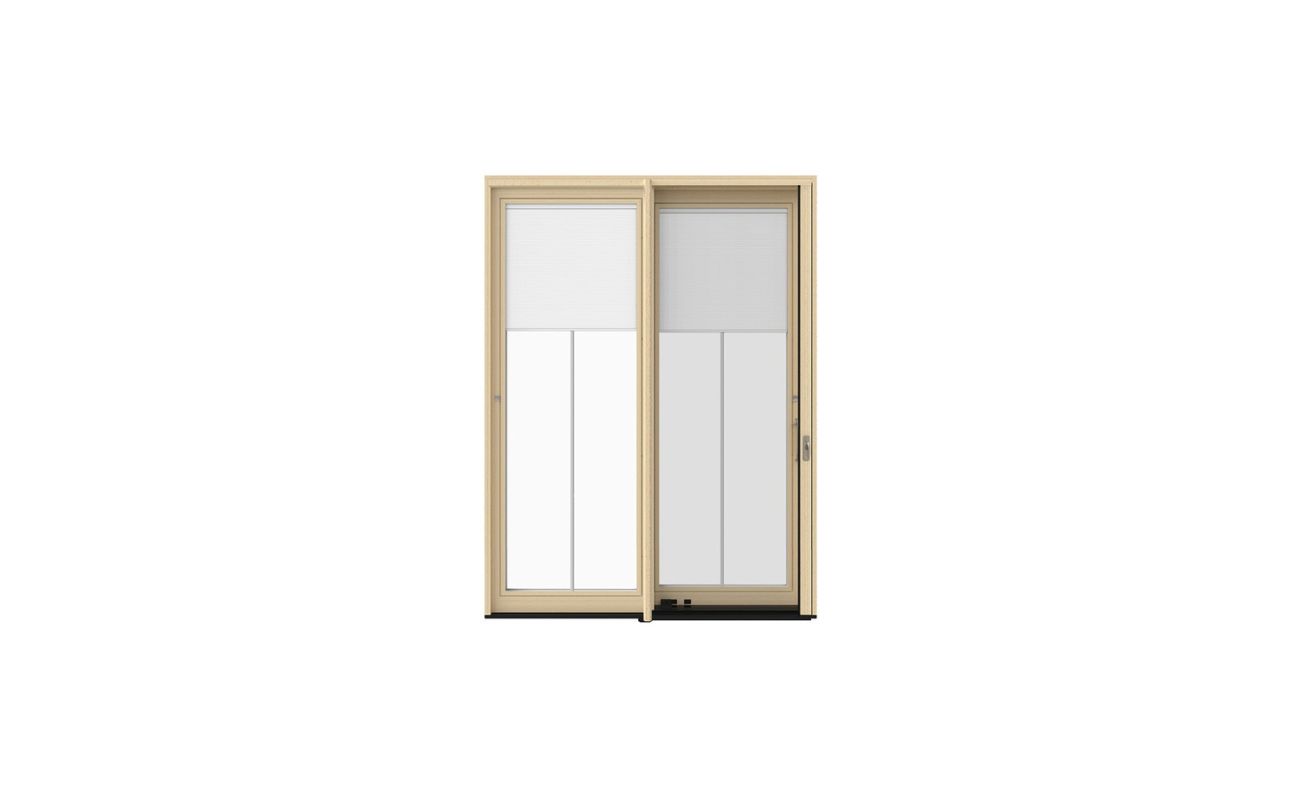
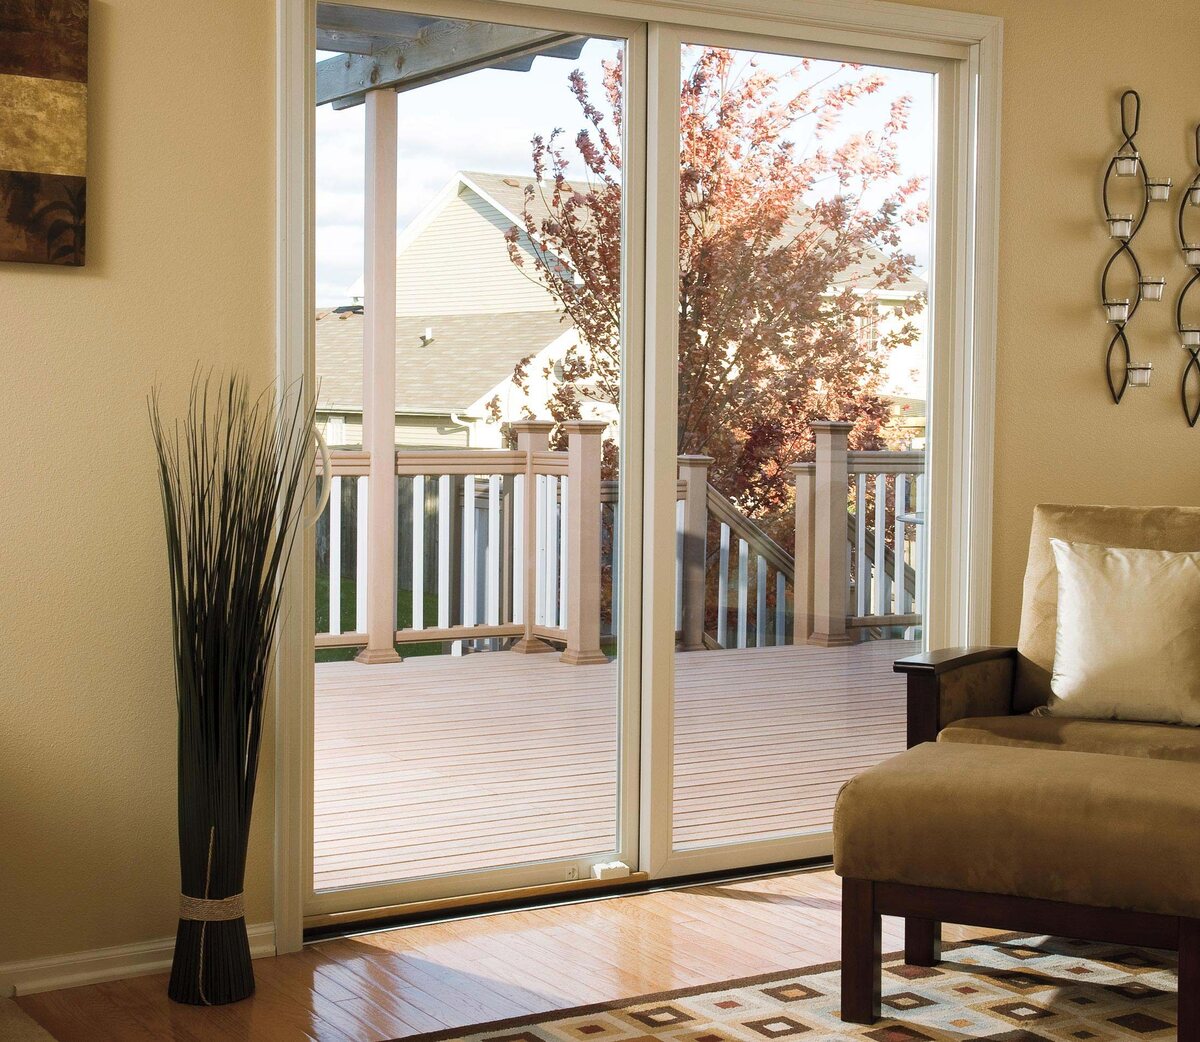
Step 2: Choose the Right Blinds
Selecting the right blinds for your patio door is crucial to ensure both functionality and aesthetics. There are several factors to consider when making your choice:
- Material: Blinds come in various materials such as fabric, vinyl, wood, or aluminum. Consider the climate in your area and the level of durability you require. Vinyl and aluminum blinds are moisture-resistant and ideal for humid or coastal areas, while fabric and wood blinds add a touch of warmth and elegance to the space.
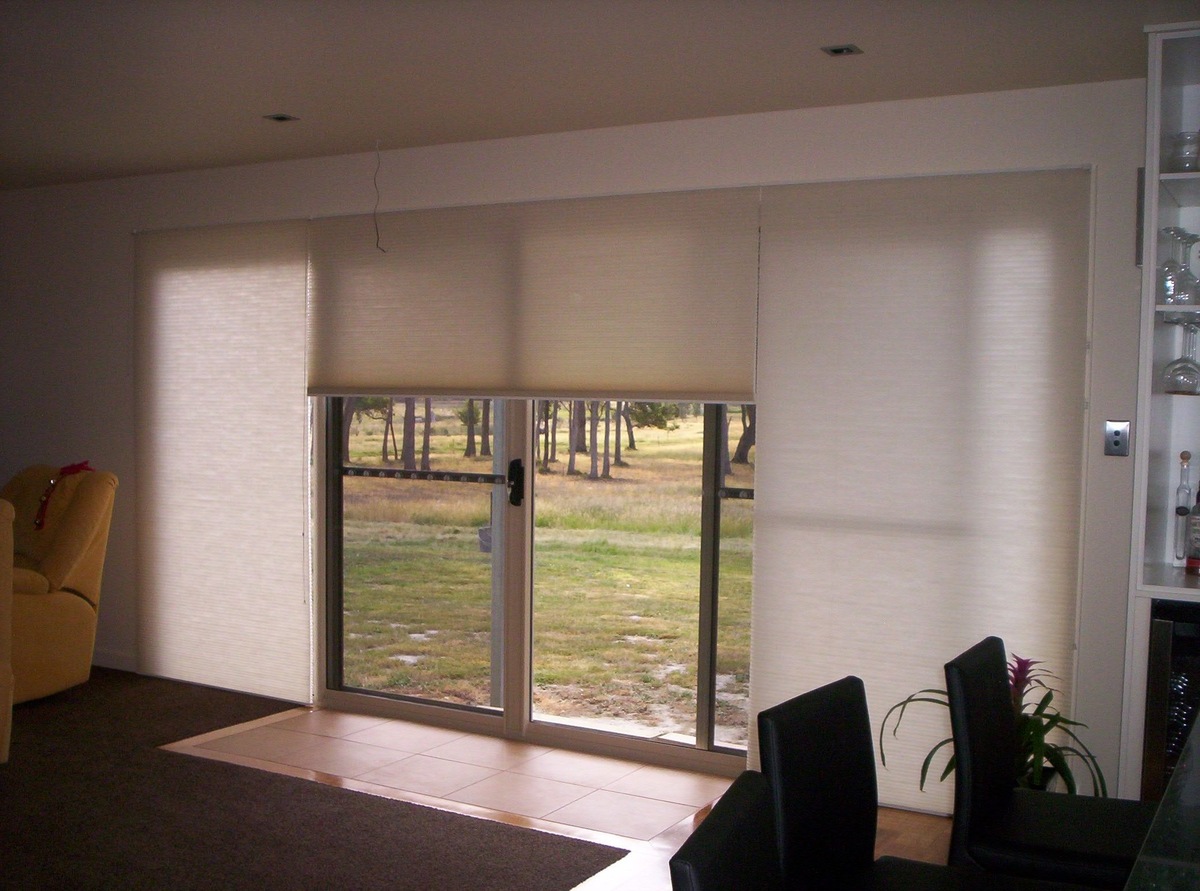
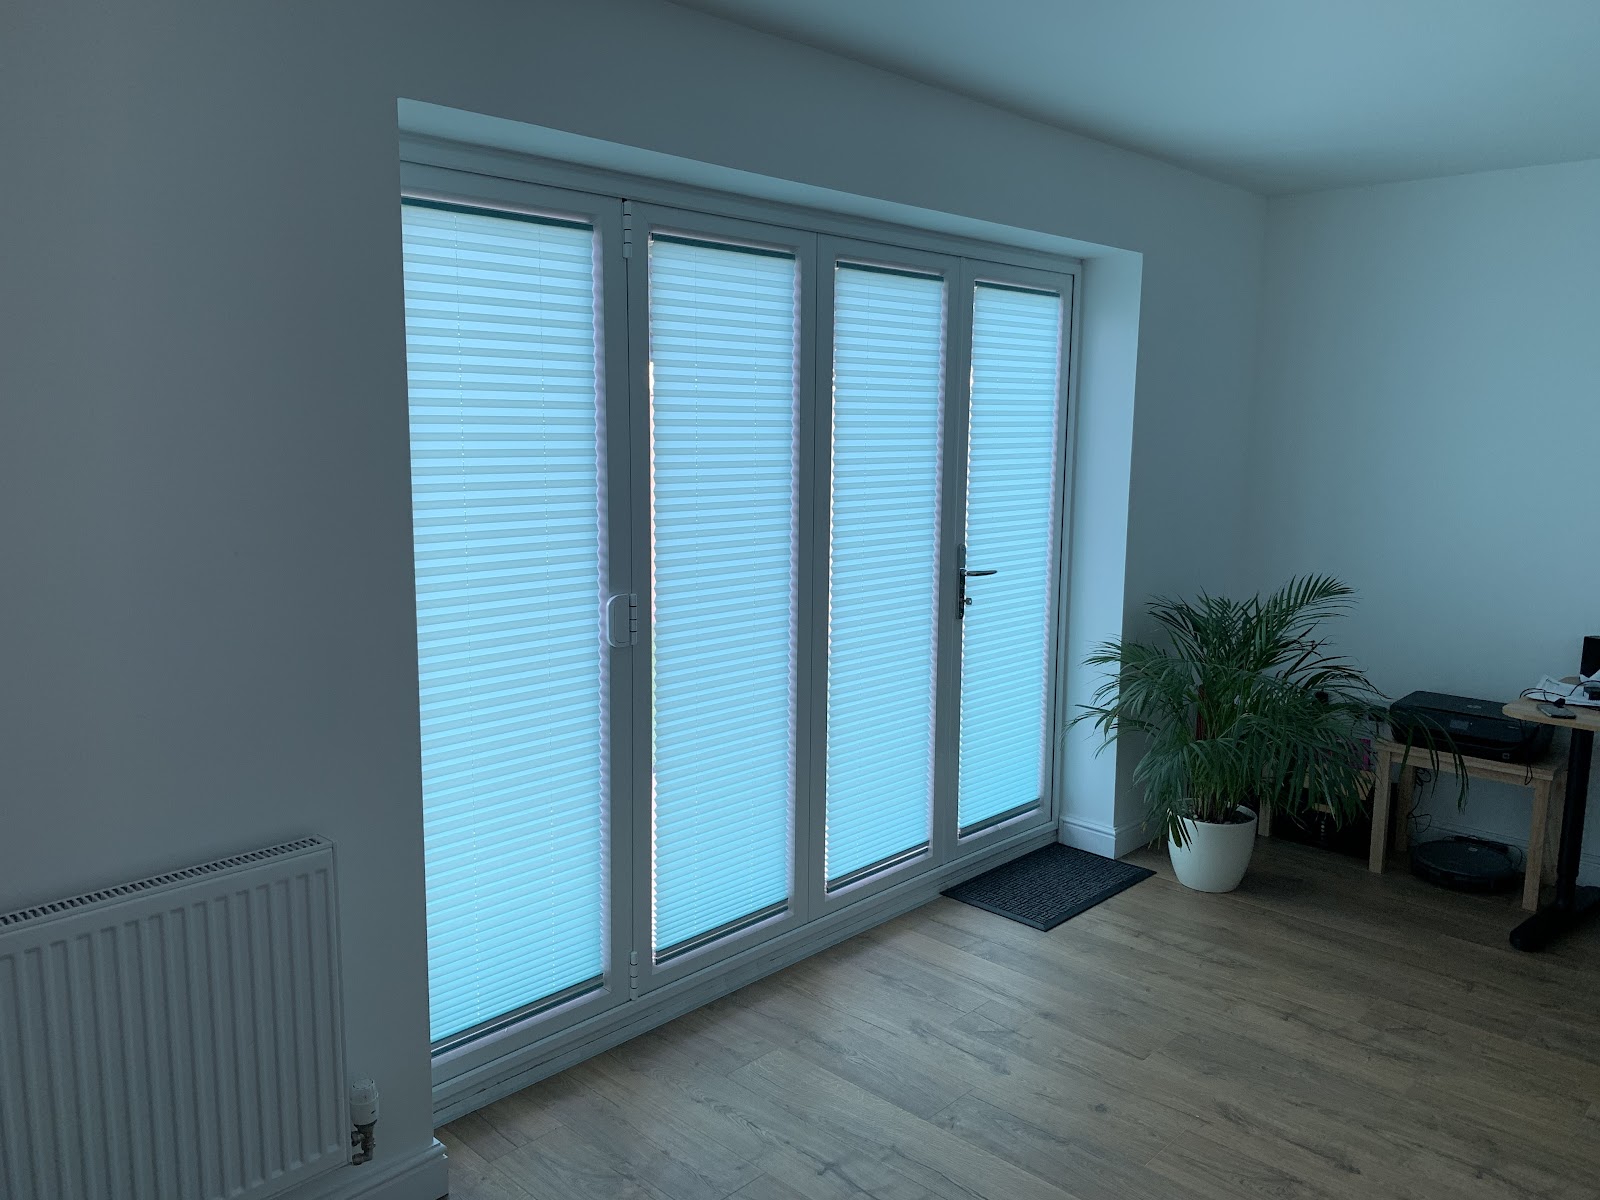
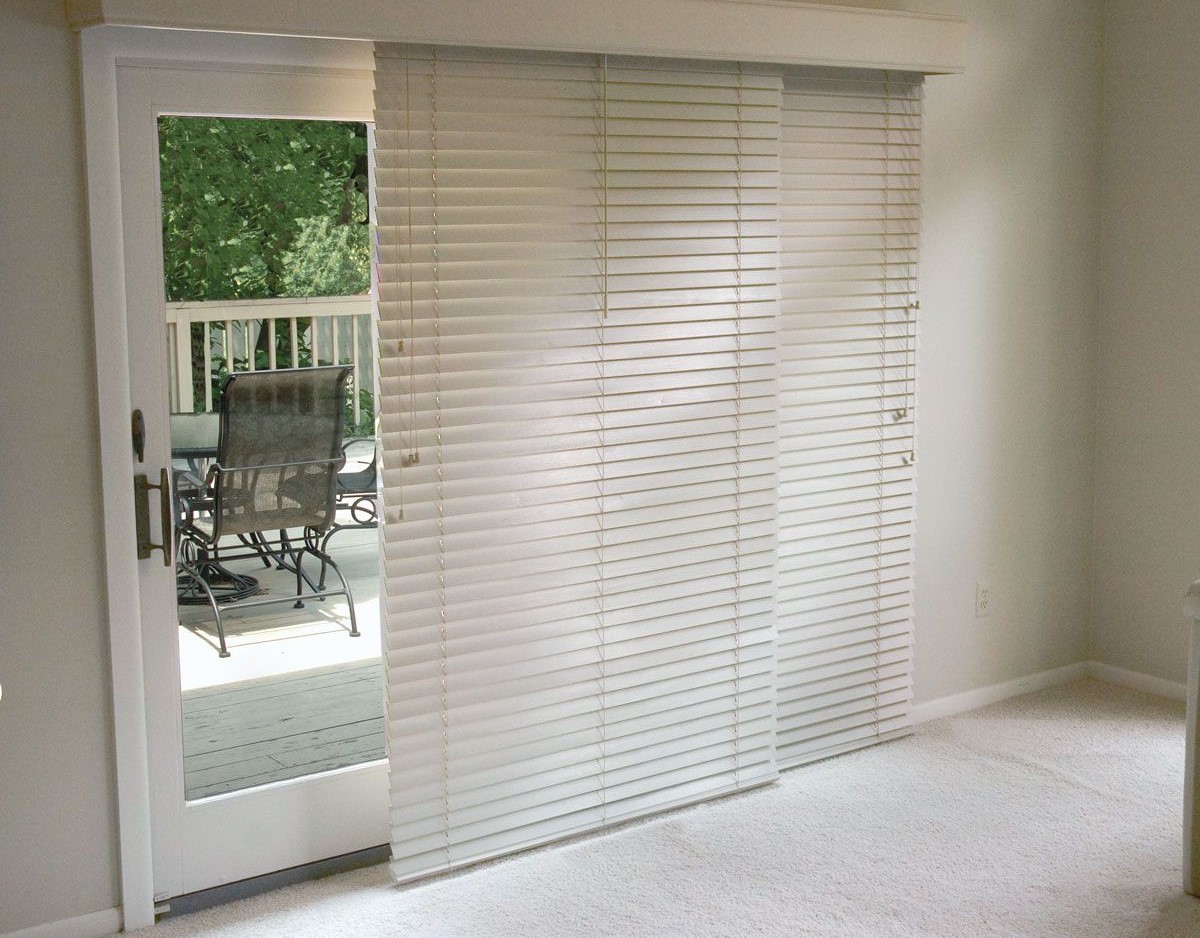
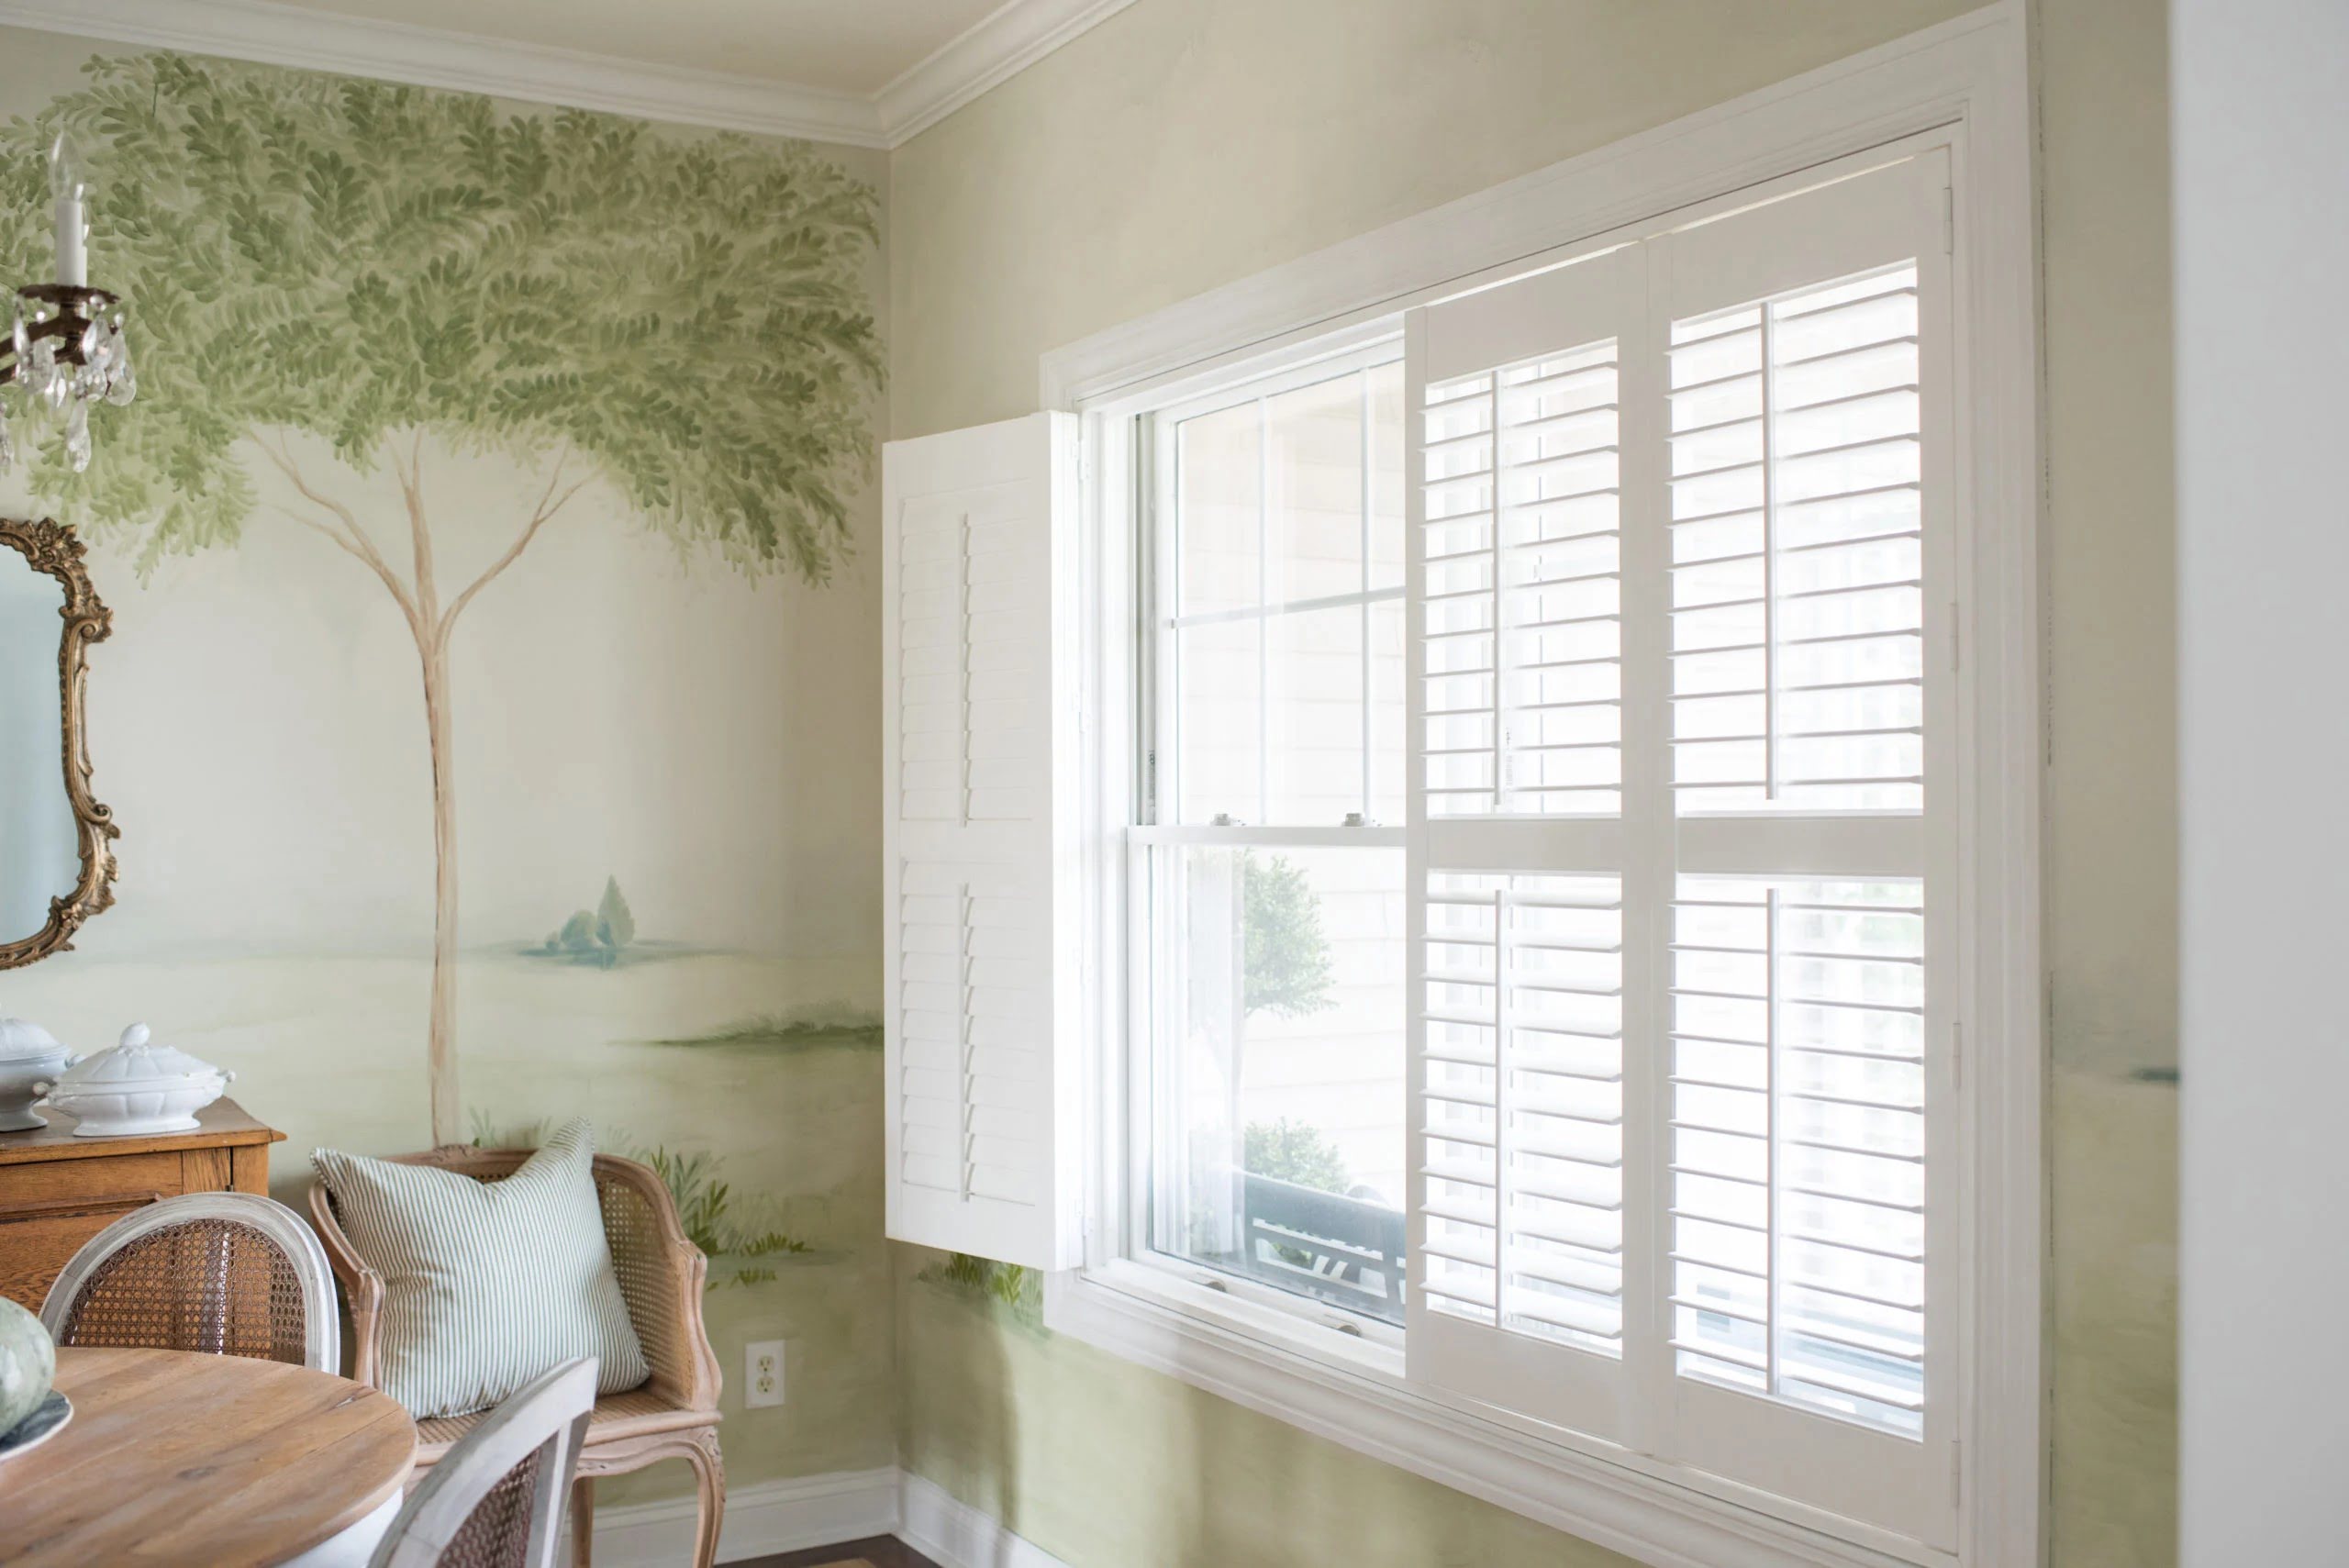
- Style: The style of blinds you choose will depend on your personal preference and the overall décor of your outdoor space. Common styles include vertical blinds, horizontal blinds, or cellular shades. Vertical blinds are often the go-to choice for patio doors as they provide easy access and light control. Horizontal blinds offer a more traditional look, while cellular shades provide excellent insulation and energy efficiency.
- Light Control: Consider how much light control you want in your space. If you want to block out most of the light, opt for room-darkening or blackout blinds. If you prefer a softer ambience and a view of the outdoors, sheer or light-filtering blinds will be a better fit. Some blinds also come with adjustable slats that allow you to control the amount of light entering the room.
- Privacy: Determine how much privacy you need for your patio space. If privacy is a concern, choose blinds with solid or opaque materials that prevent visibility from the outside. Alternatively, blinds with adjustable slats or sheer materials can provide privacy while still allowing some natural light to filter through.
- Maintenance: Consider the level of maintenance required for different types of blinds. Some materials are easier to clean, while others may require more regular care. Ensure that the blinds you choose align with your maintenance preferences and schedule.
Once you have considered these factors, take the measurements you obtained in step one and consult the manufacturer’s guidelines to determine the appropriate blind size for your patio door. With the right blinds selected, you are now ready to move on to step three: preparing the blinds for installation.
Step 3: Prepare the Blinds
Now that you have chosen the perfect blinds for your patio door, it’s time to prepare them for installation. This step involves unpacking the blinds and making any necessary adjustments or modifications to ensure a proper fit and smooth operation.
Here are the key tasks to complete during the preparation phase:
- Unpack the blinds: Carefully remove the blinds from their packaging, ensuring you don’t damage any components or hardware. Lay them out on a clean surface, ready for installation.
- Inspect the blinds: Thoroughly examine the blinds for any defects or damage. Check for any missing parts or accessories. If you notice any issues, contact the manufacturer or retailer to resolve the problem before proceeding with the installation.
- Adjust the blinds: Depending on the type of blinds you have chosen, you may need to make adjustments to fit the specific dimensions of your patio door. Follow the manufacturer’s instructions for adjusting the length, width, and slat positions, if applicable.
- Test the blinds: Before installing the blinds, test their operation to ensure they open, close, and tilt smoothly. This ensures that the blinds are functioning properly and allows you to identify any potential issues that need to be addressed before installation.
- Secure any loose cords or brackets: Check for any loose cords or brackets and secure them properly. Loose components can pose a safety hazard and may affect the functionality of the blinds. Fix any loose parts or consult the manufacturer for guidance.
By thoroughly preparing the blinds before installation, you can avoid any unexpected complications and ensure a seamless process. With the blinds ready, it’s time to move on to step four: installing the mounting brackets.
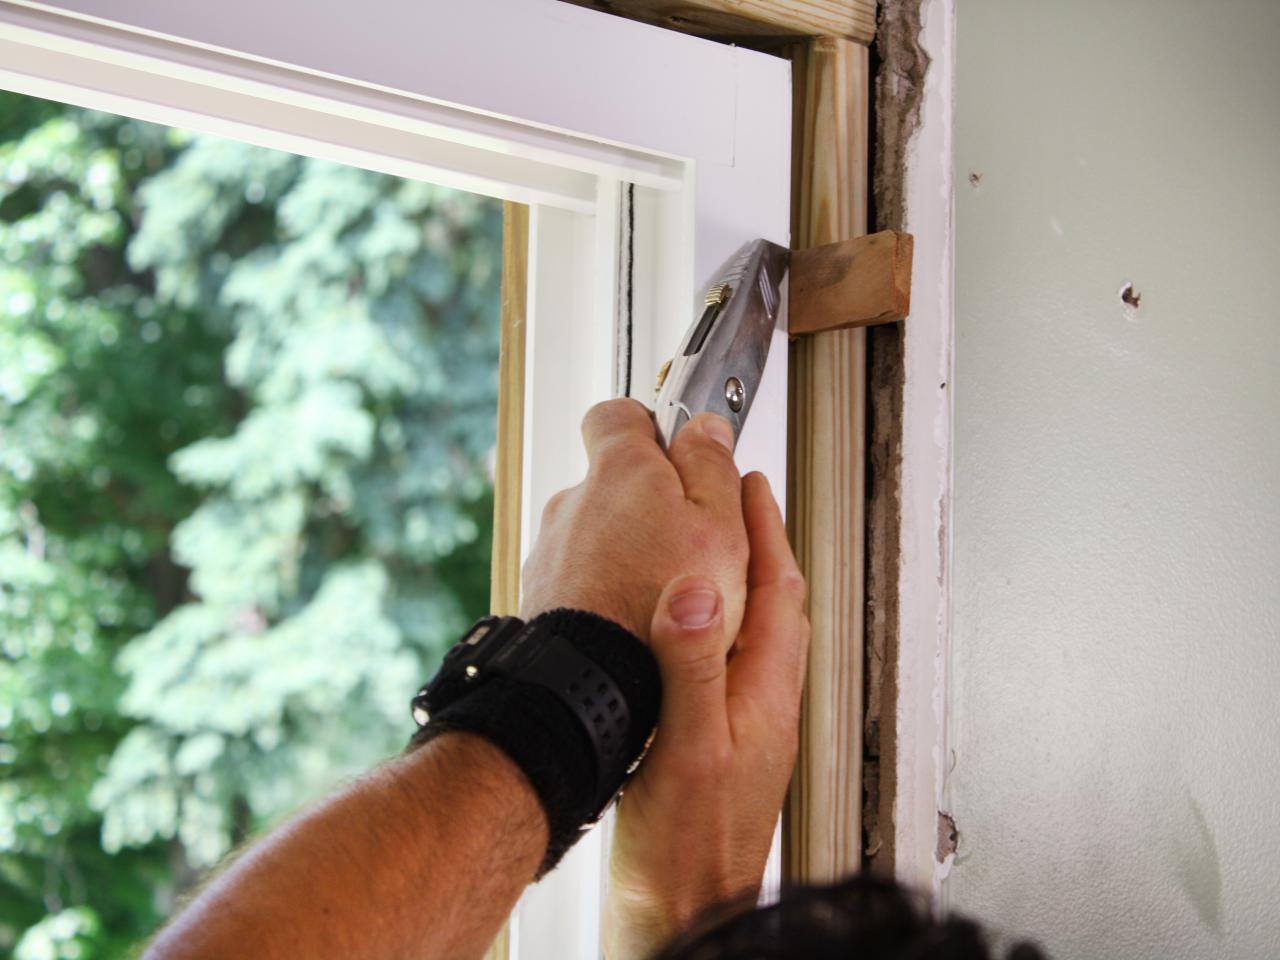
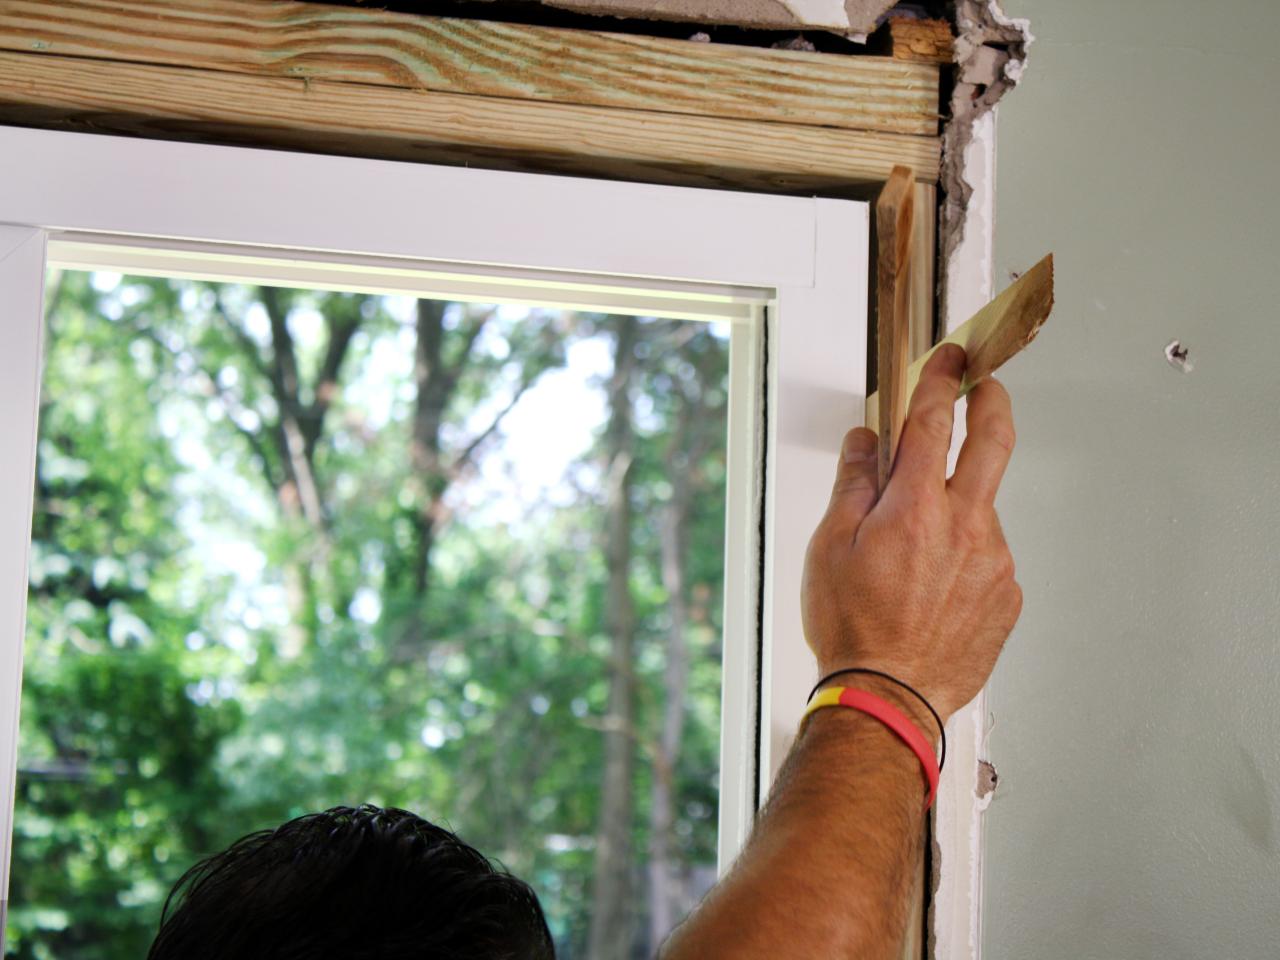
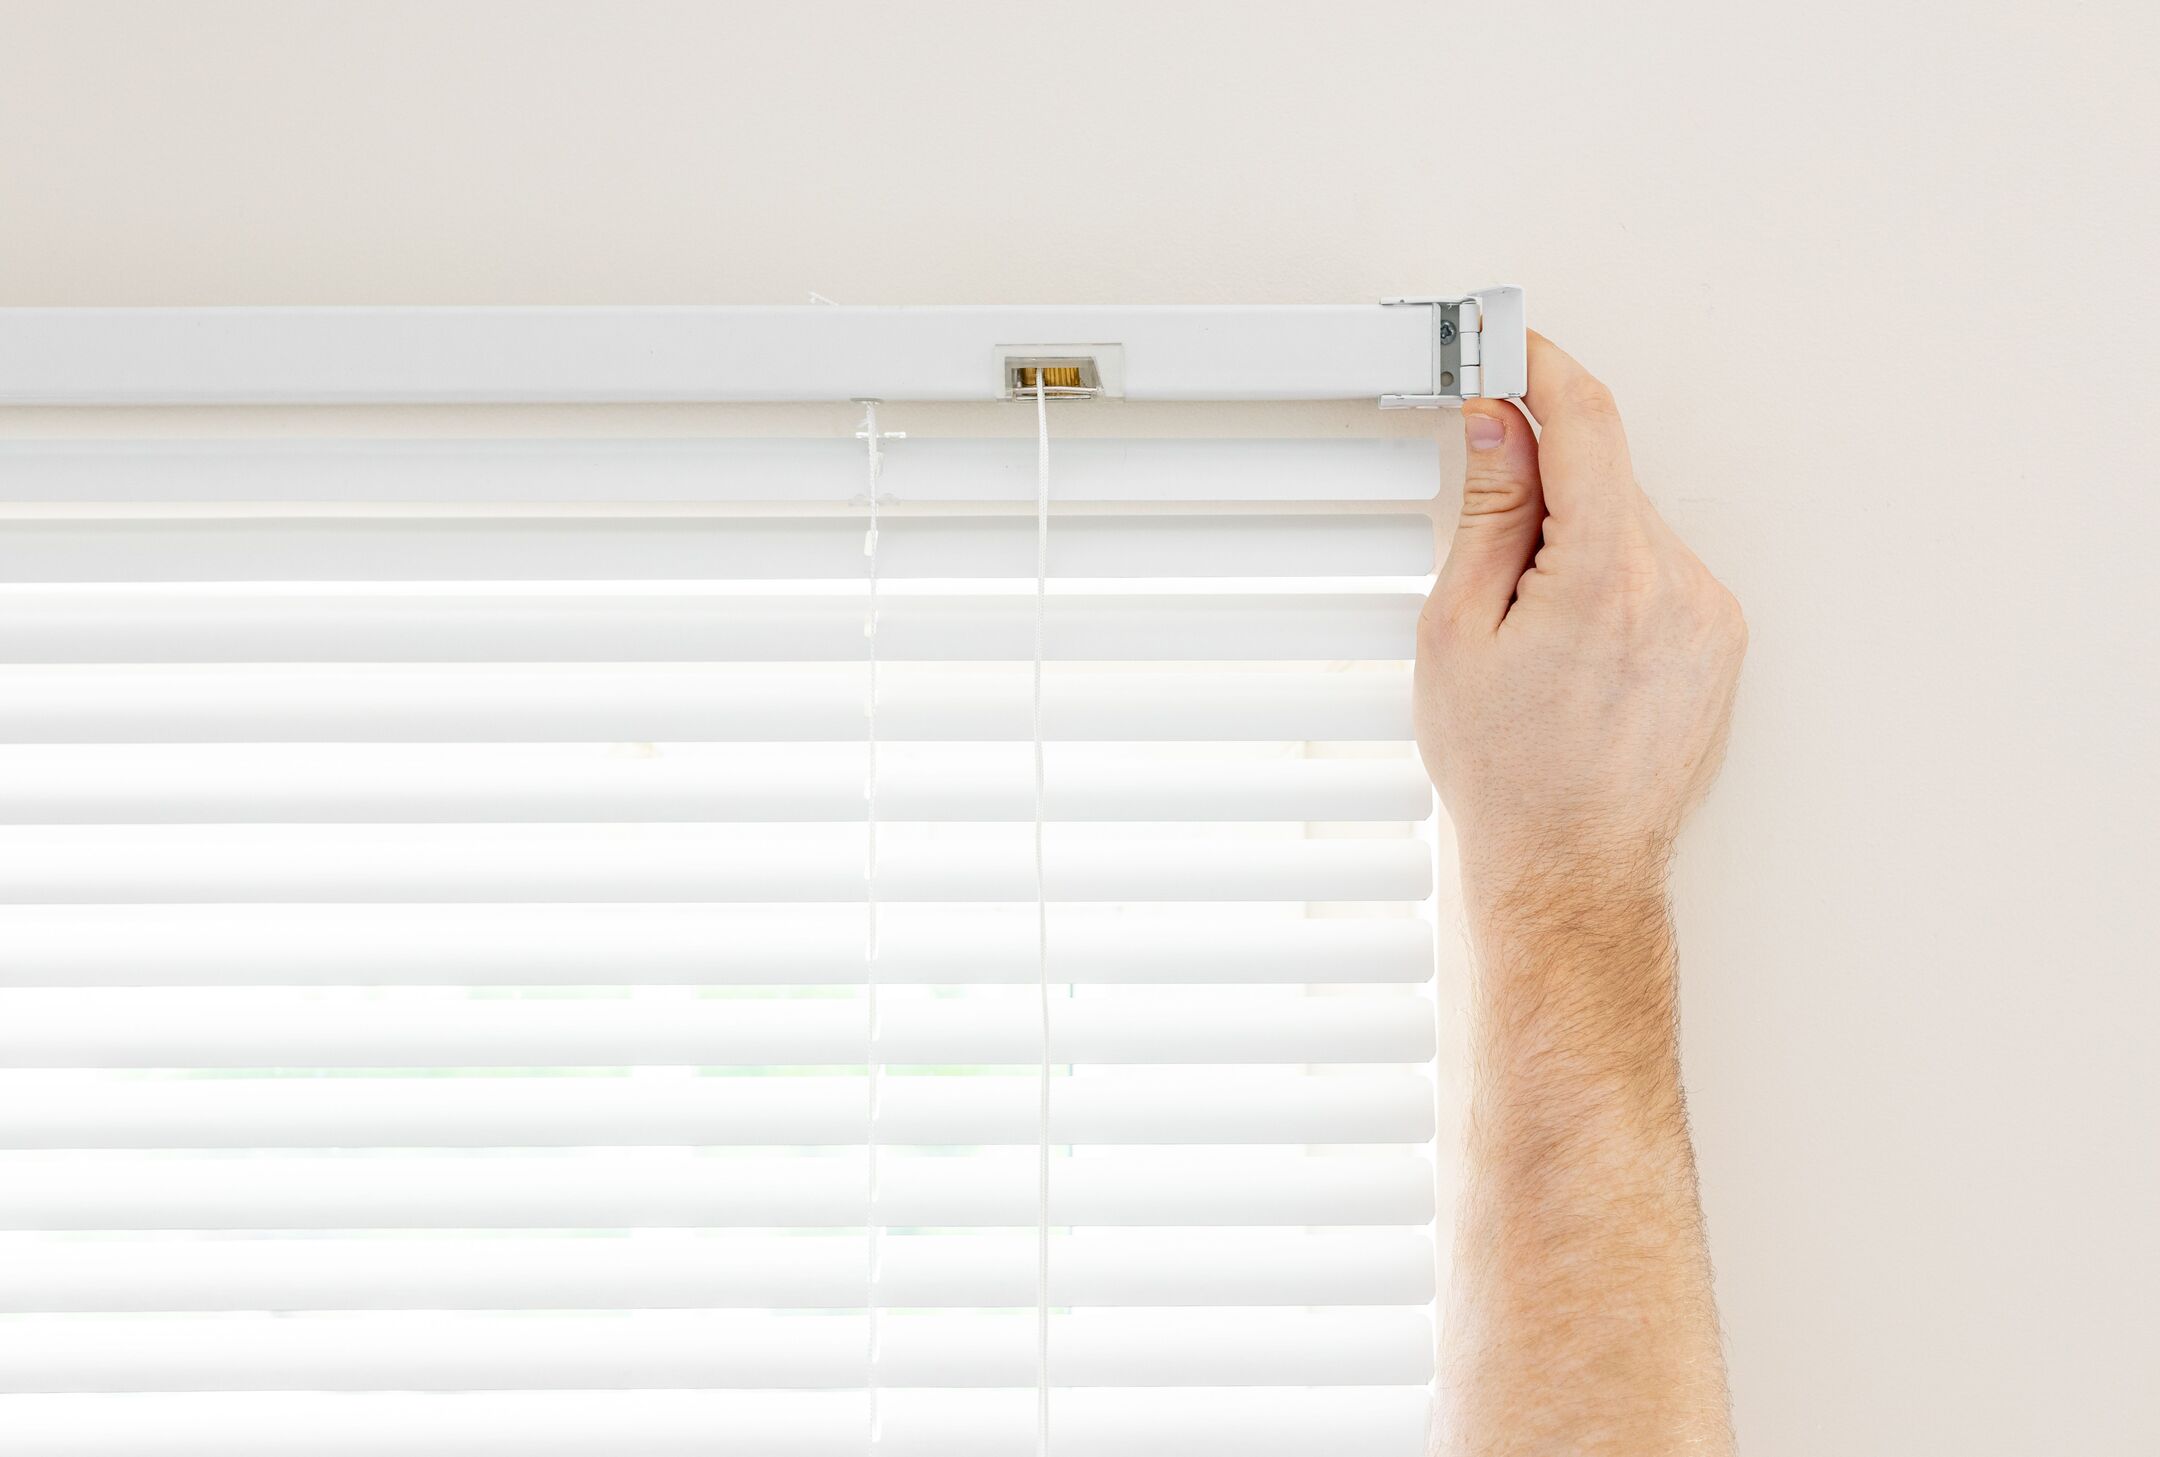
Step 4: Install the Mounting Brackets
Installing the mounting brackets is an essential step in securely attaching your patio door blinds. Mounting brackets provide stability and support for the blinds, ensuring they stay in place and function properly. Follow these steps to install the mounting brackets:
- Gather the necessary tools: Before you begin, gather the tools you’ll need for the installation. This typically includes a drill, screws, a level, measuring tape, and a pencil.
- Decide on the mounting location: Determine whether you will be mounting the blinds inside or outside the door frame based on your earlier decision. Mark the desired location for the brackets with a pencil.
- Measure and mark the bracket placement: Use a measuring tape to mark the exact placement of the brackets. Measure and mark the distance from the top of the door frame to ensure even alignment.
- Use a level: Place a level on top of the marked areas to ensure the brackets will be installed straight and level. Adjust the positioning if needed.
- Pre-drill the holes: With the bracket placement marked and confirmed, use a drill to pre-drill holes for the screws. This will help prevent any splitting or cracking of the door frame.
- Attach the brackets: With the holes pre-drilled, position the brackets on the marked locations. Use screws to fasten the brackets securely to the door frame or wall, depending on your mounting preference.
- Double-check the placement: Once the brackets are attached, double-check their alignment and stability. Ensure that the brackets are firmly secured and level with each other.
By properly installing the mounting brackets, you provide a strong foundation for your patio door blinds. With the brackets securely in place, it’s time to proceed to step five: attaching the blinds to the mounting brackets.
When installing patio door blinds, make sure to measure the width and length of the door frame accurately before purchasing the blinds. This will ensure a proper fit and easy installation.
Read more: How To Measure A Patio Door For Blinds
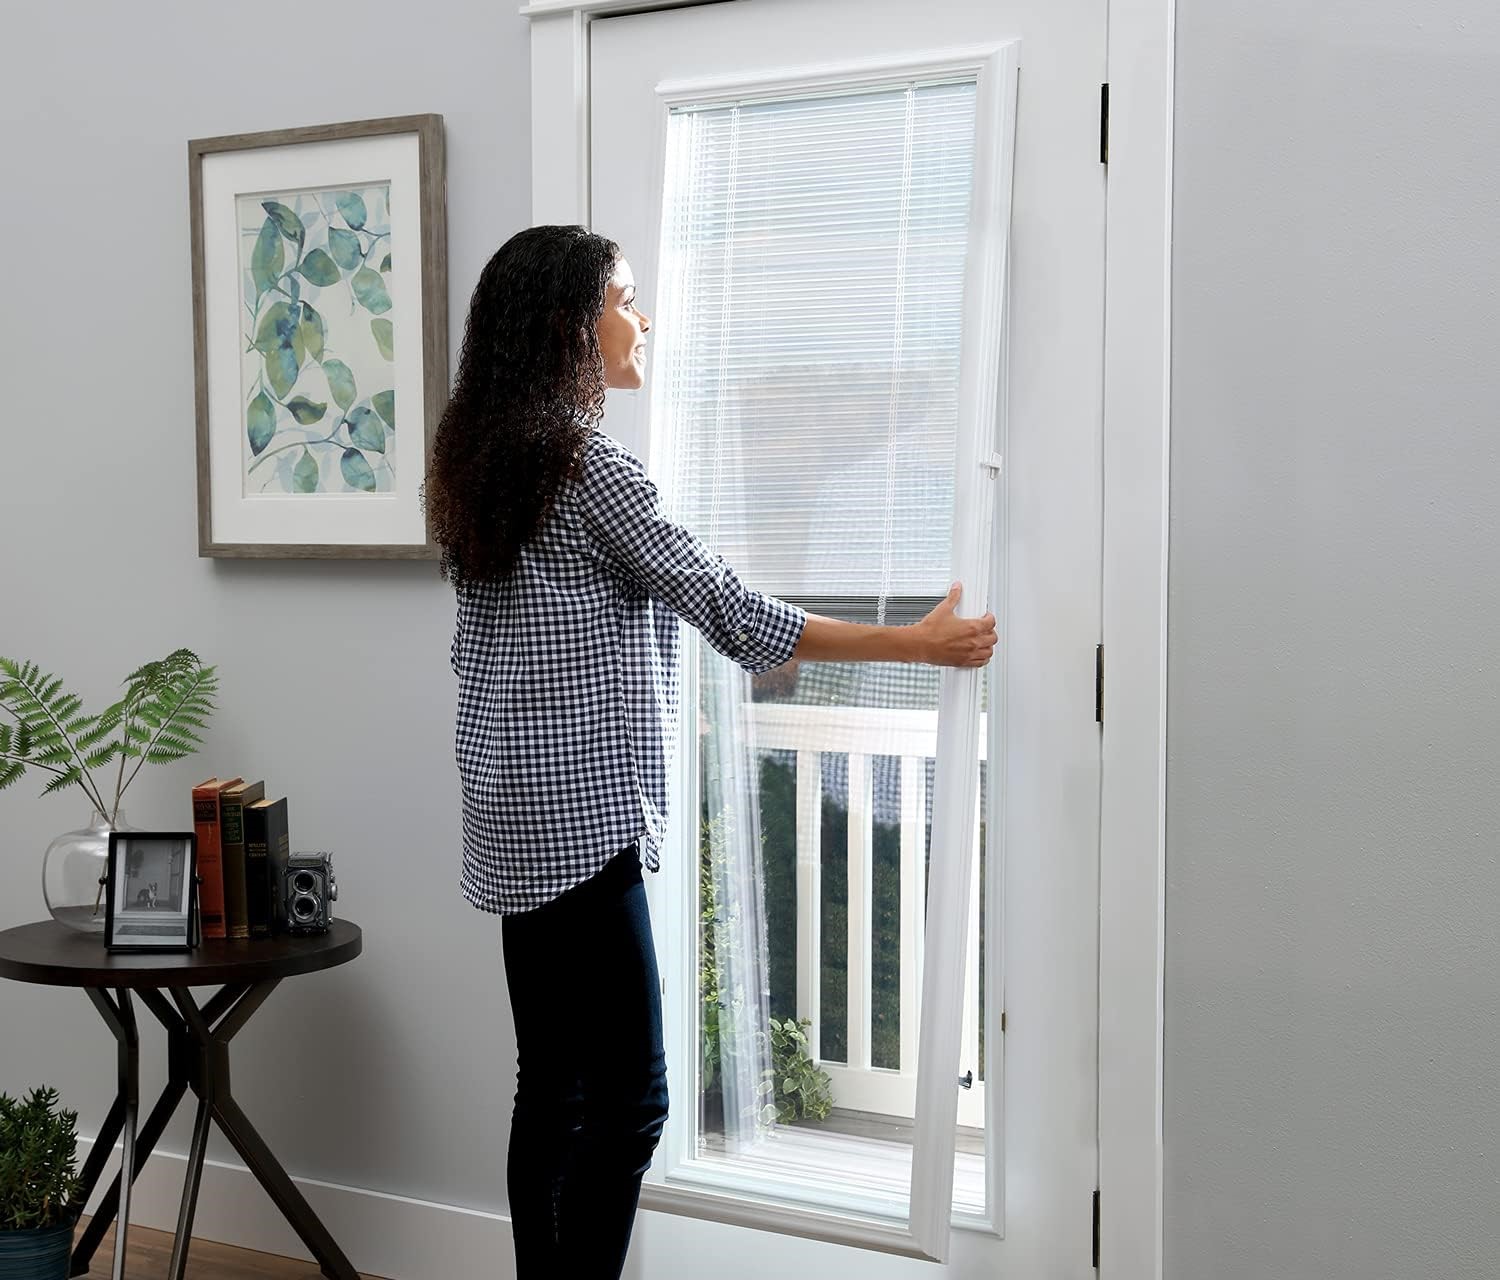
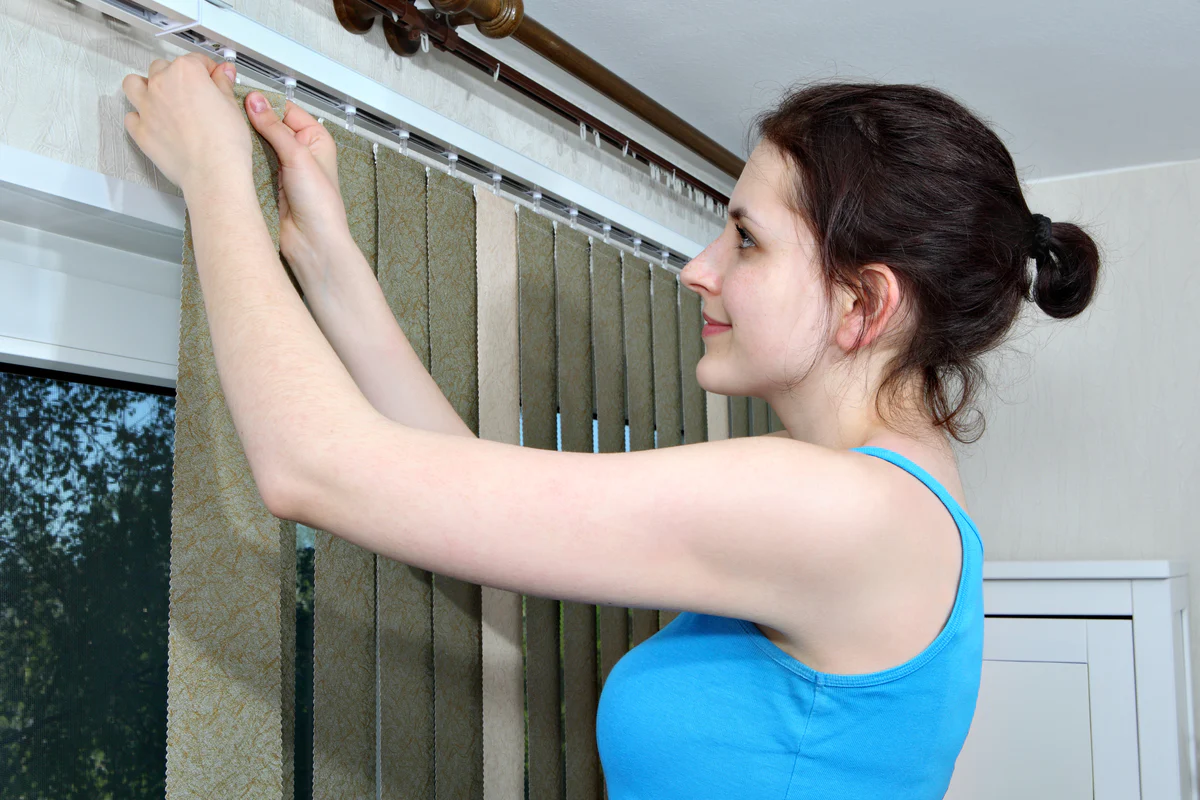
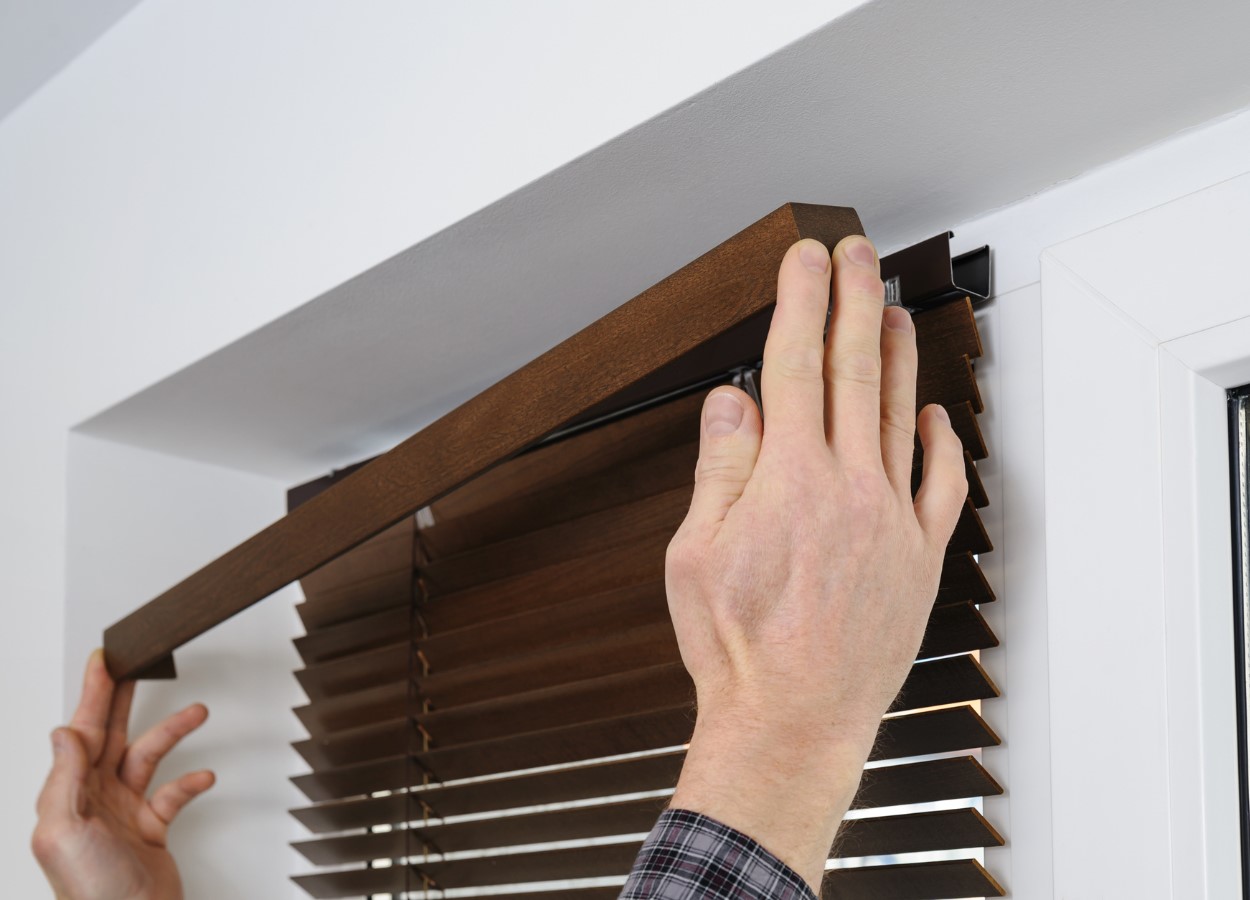
Step 5: Attach the Blinds to the Mounting Brackets
Now that the mounting brackets are securely installed, it’s time to attach the blinds to the brackets. This step will ensure that the blinds are properly aligned, functional, and ready to provide privacy and light control for your patio door. Follow these steps to attach the blinds:
- Prepare the blinds: If your blinds have a headrail or valance, make sure it is securely attached. Remove any packaging or protective materials from the blinds.
- Slide the headrail into the brackets: Carefully slide the headrail of the blinds into the brackets. The blinds should fit snugly into the brackets and rest securely in place. Ensure that the blinds are level and aligned with the brackets.
- Secure the blinds: Once the blinds are in position, use the provided screws or fasteners to secure them to the mounting brackets. Take care not to overtighten the screws, as this could damage the blinds or the brackets.
- Ensure smooth operation: Test the blinds to ensure they open, close, and tilt smoothly. Make any necessary adjustments to ensure proper functioning.
- Check for any remaining gaps or alignment issues: Once the blinds are attached, inspect the area around the blinds and the door frame for any gaps or alignment issues. If needed, make any necessary adjustments to ensure a seamless fit.
By carefully attaching the blinds to the mounting brackets, you ensure that they are securely in place and ready to provide privacy, light control, and style to your patio space. Now that the blinds are attached, it’s time to move on to step six: testing the blinds to ensure proper functionality.
Step 6: Test the Blinds
After attaching the blinds to the mounting brackets, it’s essential to test their functionality to ensure that they operate smoothly and meet your expectations. Testing the blinds will help you identify any issues or adjustments that need to be made before finalizing the installation. Follow these steps to test the blinds:
- Open and close the blinds: Operate the blinds by using the designated control mechanism, such as a cord, wand, or remote control. Check that the blinds open and close smoothly without any resistance or obstructions.
- Test the tilt mechanism: If your blinds have adjustable slats, test the tilt mechanism to ensure that the slats rotate smoothly and evenly. Make any necessary adjustments or repairs if the slats are not tilting correctly.
- Check for level alignment: Stand back and observe the blinds from a distance to ensure that they are level and aligned properly. Adjust the brackets or blinds if any alignment issues are noticeable.
- Assess light control and privacy: Test the blinds’ ability to control light and provide privacy. Close the blinds completely to block out light and ensure that they provide sufficient privacy, especially during the evening hours.
- Check for any other issues: During the testing phase, keep an eye out for any other issues or concerns, such as loose cords or uneven slats. Address these issues promptly to ensure optimal functionality and safety.
By thoroughly testing the blinds, you can identify any potential issues and address them before completing the installation. This enables you to enjoy the full benefits of your patio door blinds, including privacy, light control, and an enhanced outdoor living experience. With the blinds successfully tested, it’s time to move on to step seven: adjusting and securing the blinds.
Step 7: Adjust and Secure the Blinds
The final step in the installation process is to adjust and secure the blinds to ensure their proper functioning and longevity. This step involves fine-tuning any remaining alignment issues, securing loose components, and making any necessary adjustments. Follow these steps to complete the installation:
- Check for alignment: Stand back and observe the blinds to ensure they are aligned properly. If you notice any misalignment, adjust the brackets or blinds accordingly to create an even and seamless appearance.
- Secure any loose components: Check all components of the blinds, including cords, brackets, and valances, to ensure they are secure. Tighten any loose screws or fasteners to prevent the blinds from shifting or malfunctioning.
- Test the blinds again: Repeat the testing process from Step 6 to verify that the adjustments and securing have been successful. Open, close, and tilt the blinds to ensure smooth operation and proper light control.
- Clean and maintain the blinds: Take the time to clean the blinds according to the manufacturer’s recommendations. Regular maintenance will help prolong the life of the blinds and keep them in optimal condition.
- Review the warranty: Familiarize yourself with the warranty provided by the manufacturer. Understand the terms and conditions, as well as any recommended maintenance practices, to ensure that your blinds remain covered under warranty.
By completing these final adjustments and ensuring the proper functioning and security of your blinds, you can have peace of mind knowing that your patio door blinds are installed correctly and ready to enhance your outdoor space.
With the installation process now complete, you can sit back, relax, and enjoy the privacy, light control, and aesthetic appeal that your new patio door blinds provide. Congratulations on successfully installing your patio door blinds!
If you encounter any difficulties during the installation process or have any further questions, it’s always beneficial to consult the manufacturer’s instructions or seek assistance from a professional.
Conclusion
Installing patio door blinds can transform your outdoor space, providing privacy, light control, and a touch of elegance. With the comprehensive guide outlined in this article, you now have the knowledge and step-by-step instructions to successfully install your patio door blinds.
Remember, the key to a smooth installation is careful measurement, selecting the right blinds, proper preparation, precise installation of mounting brackets, attaching the blinds securely, testing their functionality, and making any necessary adjustments. Throughout the entire process, attention to detail and patience are essential for a seamless outcome.
By following each step and completing the necessary adjustments, you can ensure that your patio door blinds are aligned properly, function smoothly, and enhance the aesthetics of your outdoor space.
Furthermore, don’t forget to regularly clean and maintain your blinds to keep them in optimal condition and extend their lifespan. Following the manufacturer’s recommendations and understanding the warranty will also help you make the most of your investment.
Now that you have successfully installed your patio door blinds, it’s time to enjoy the benefits they bring. Whether you’re seeking privacy, controlling the amount of natural light, or adding a stylish touch to your outdoor furniture, your patio door blinds will play a vital role in creating the desired ambiance and functionality.
So, sit back, relax, and revel in the beauty and comfort of your upgraded outdoor space. Make the most of your patio door blinds and create unforgettable memories with family and friends.
Remember, if you encounter any challenges during the installation process or need further assistance, it’s always a good idea to consult the manufacturer’s instructions or seek professional help. Enjoy your newly installed patio door blinds!
Frequently Asked Questions about How To Install Patio Door Blinds
Was this page helpful?
At Storables.com, we guarantee accurate and reliable information. Our content, validated by Expert Board Contributors, is crafted following stringent Editorial Policies. We're committed to providing you with well-researched, expert-backed insights for all your informational needs.

0 thoughts on “How To Install Patio Door Blinds”