Articles
How To Install Panel Blinds
Modified: December 7, 2023
Learn how to install panel blinds with our comprehensive step-by-step articles. Enhance your home decor effortlessly.
(Many of the links in this article redirect to a specific reviewed product. Your purchase of these products through affiliate links helps to generate commission for Storables.com, at no extra cost. Learn more)
Introduction
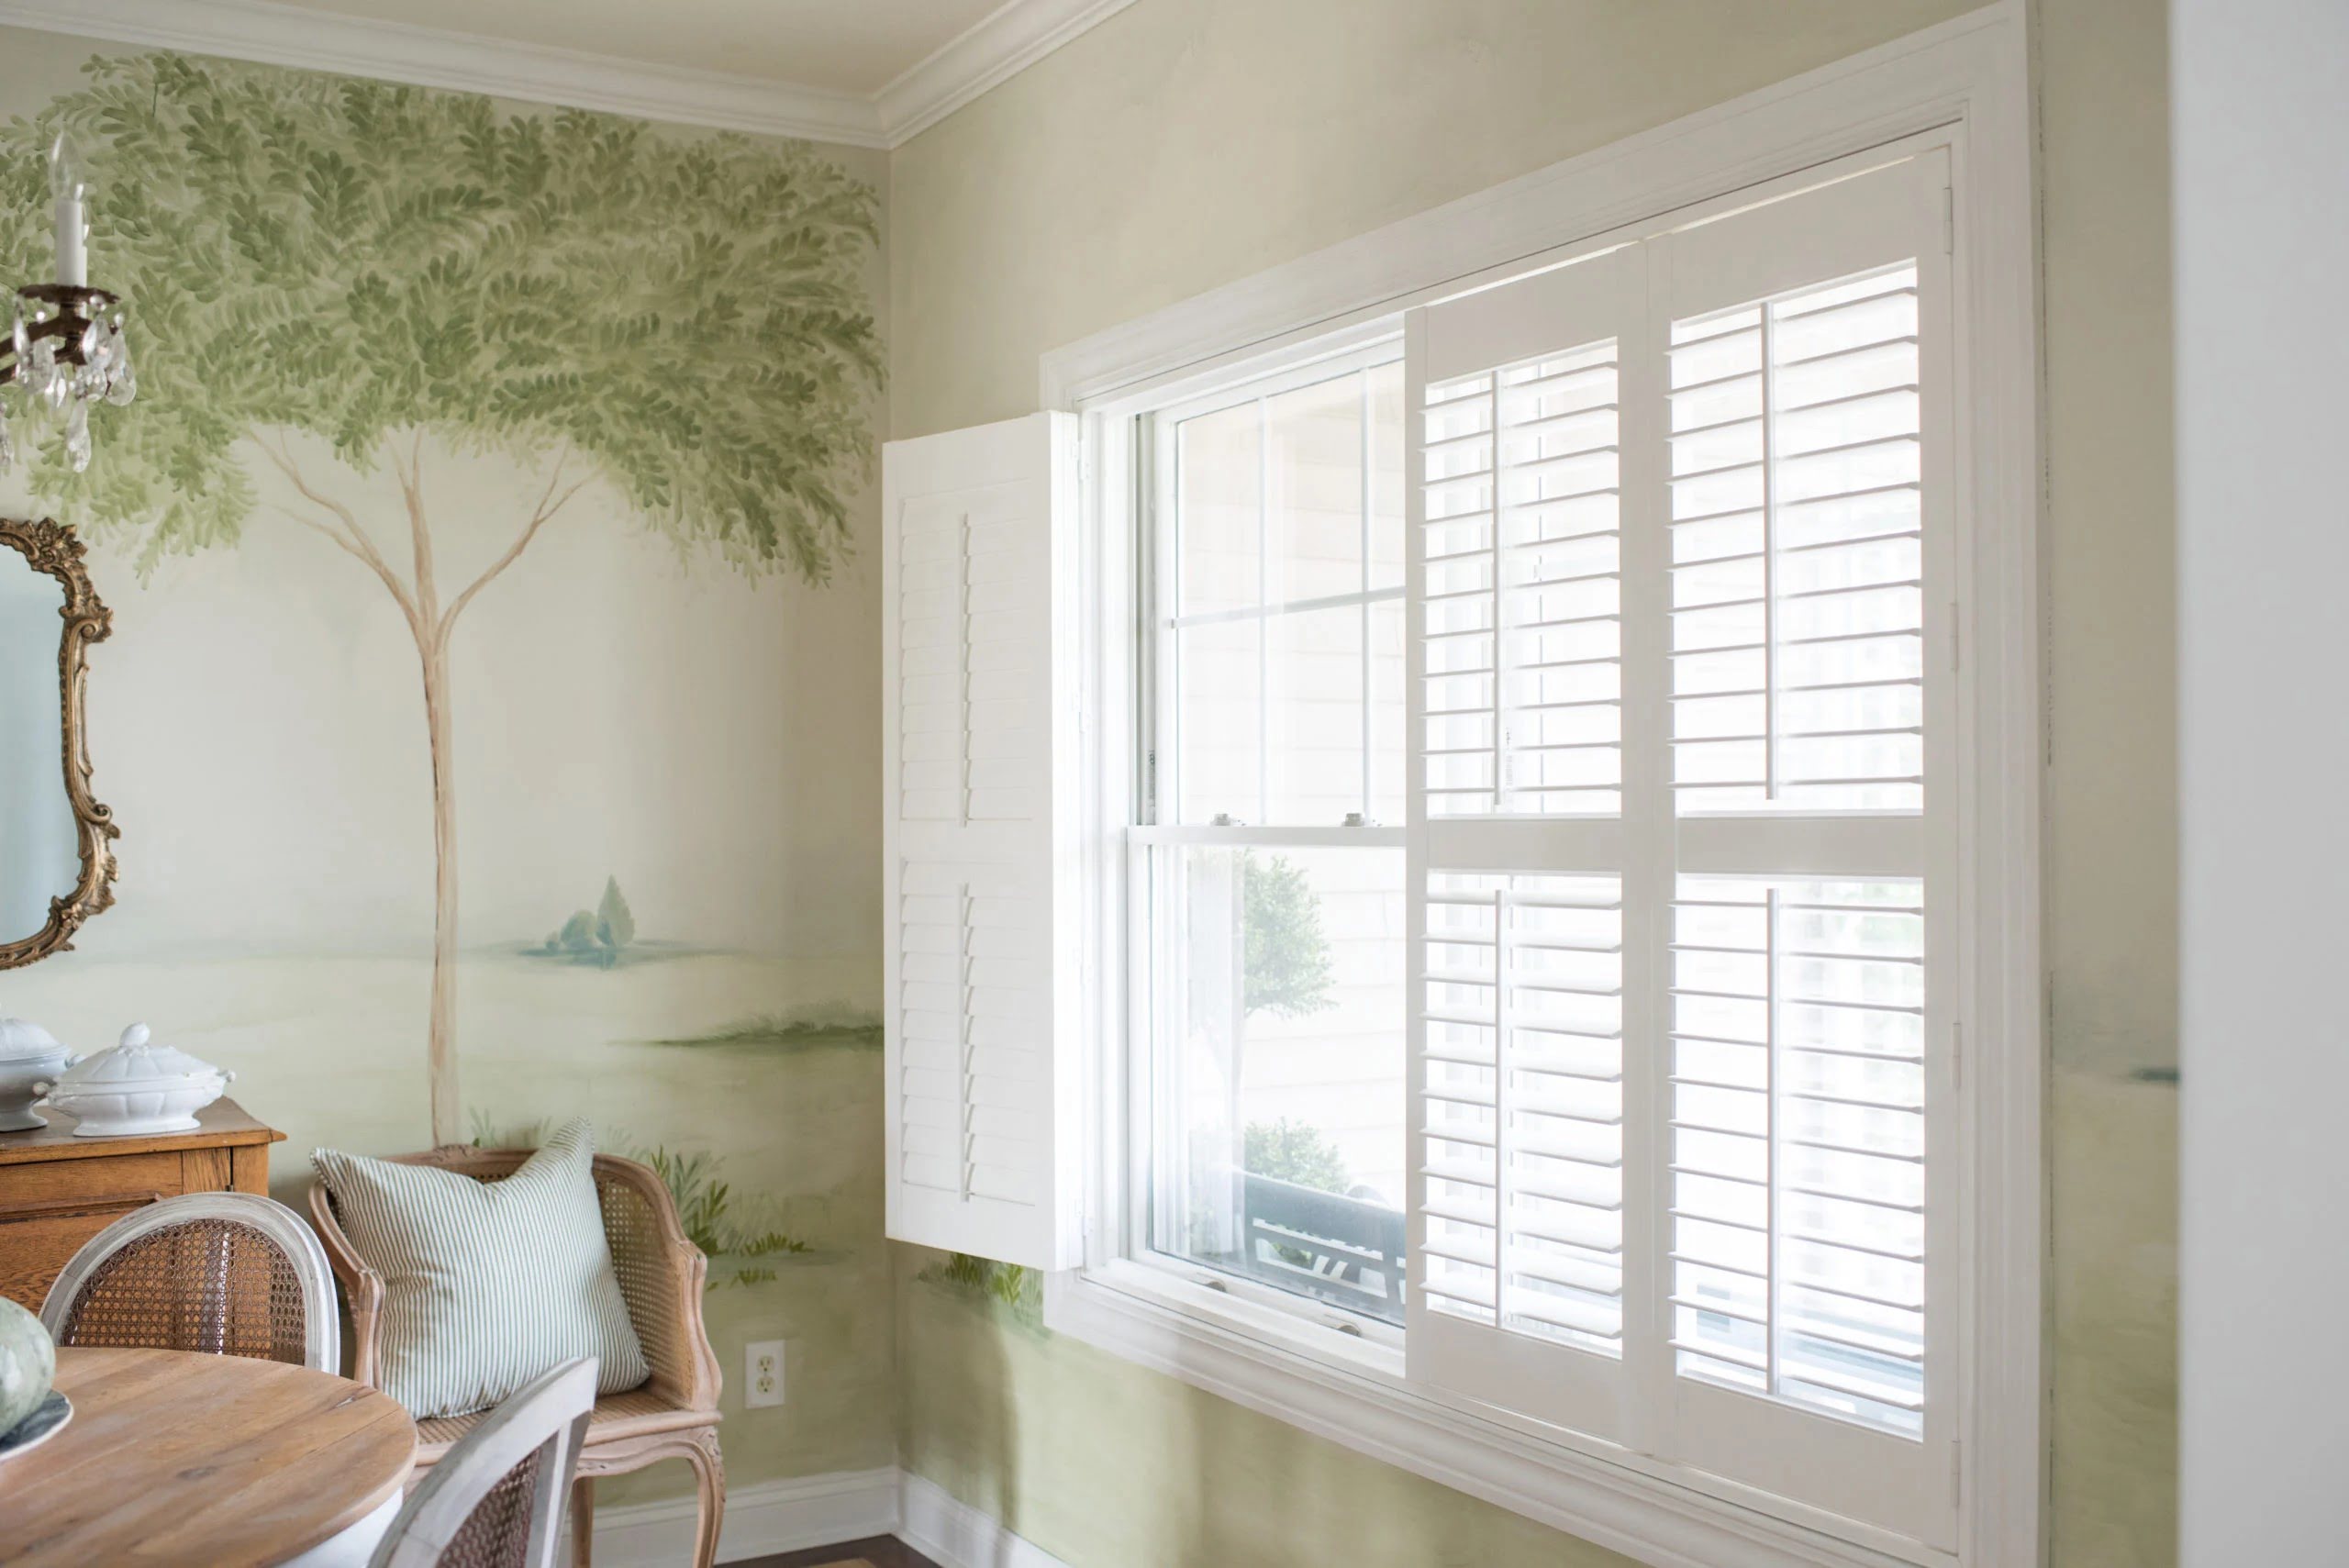
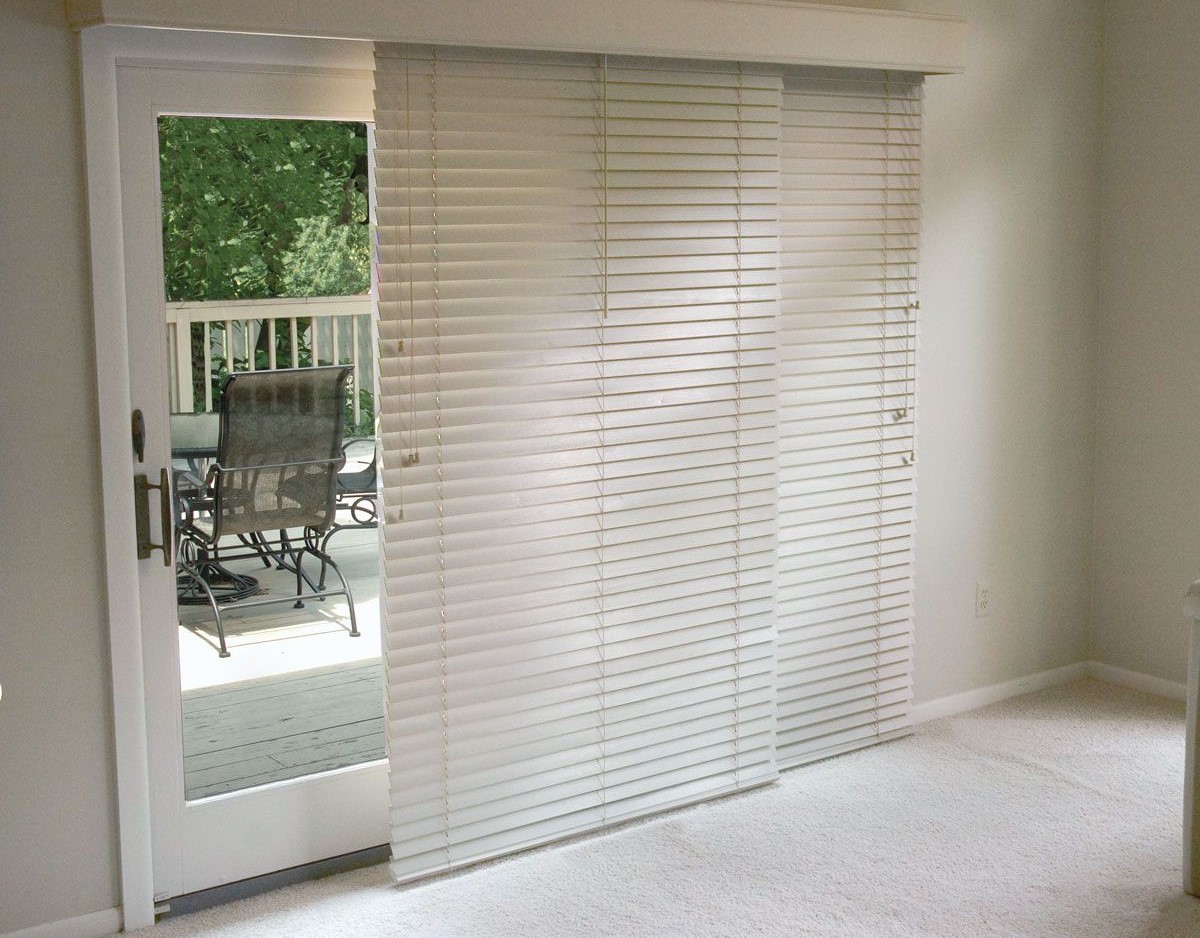
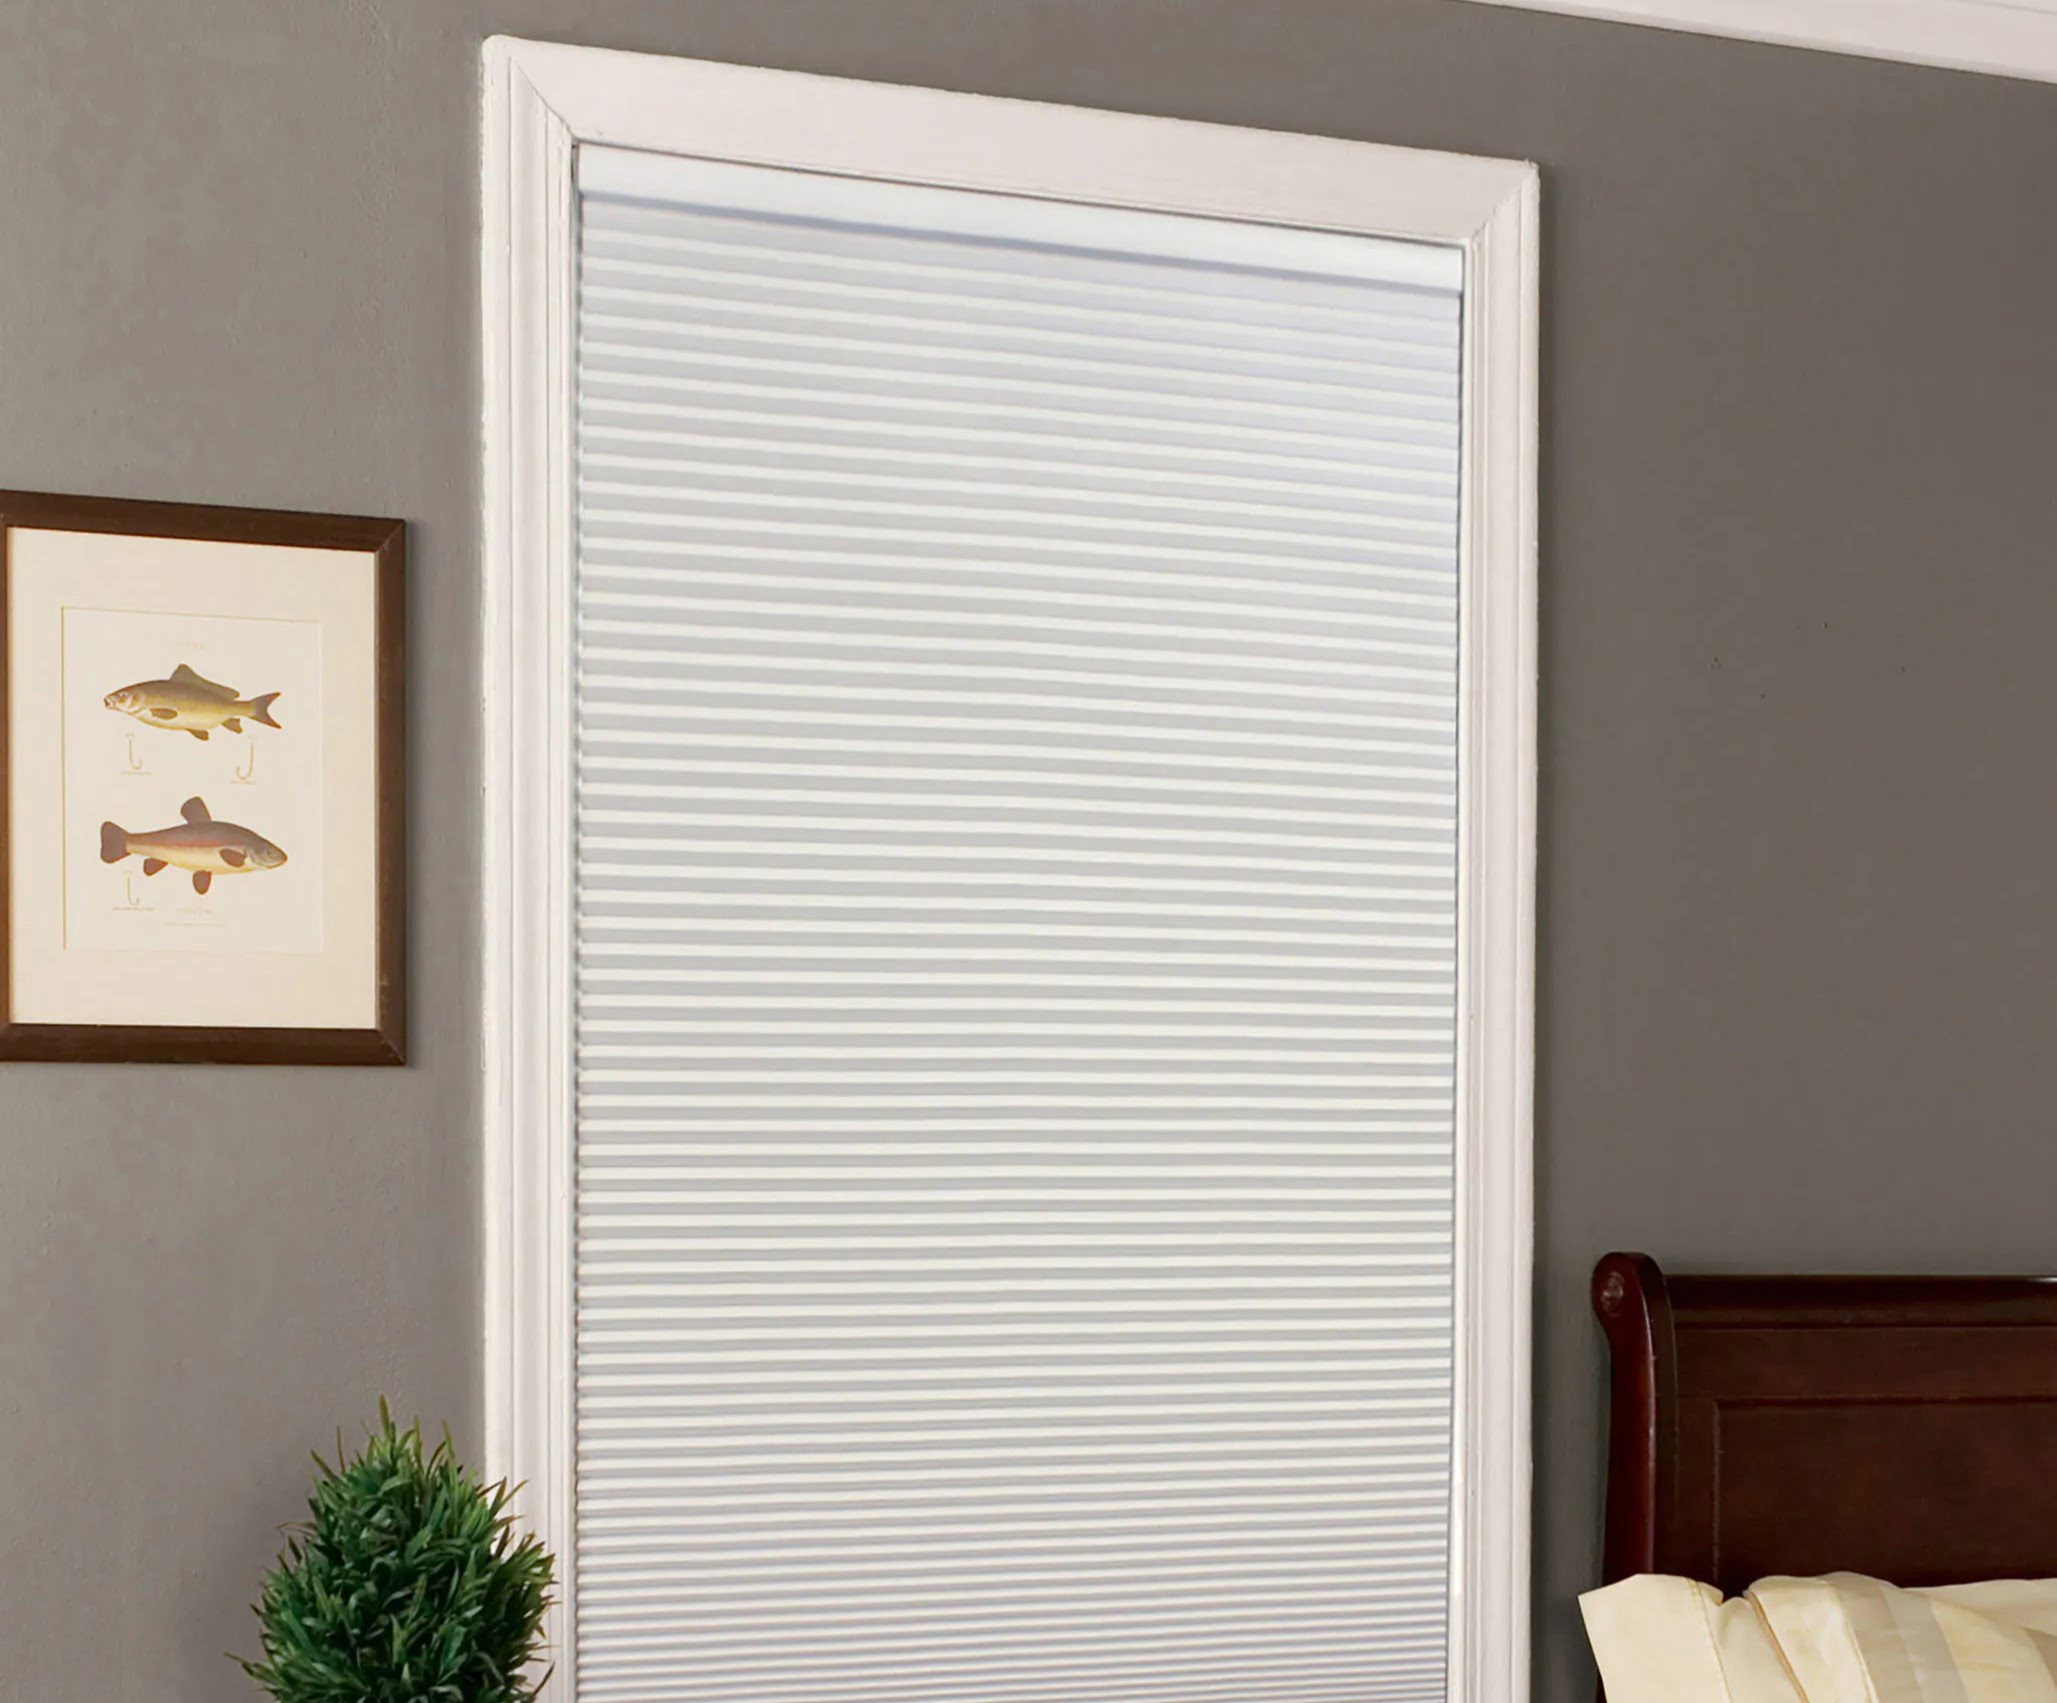
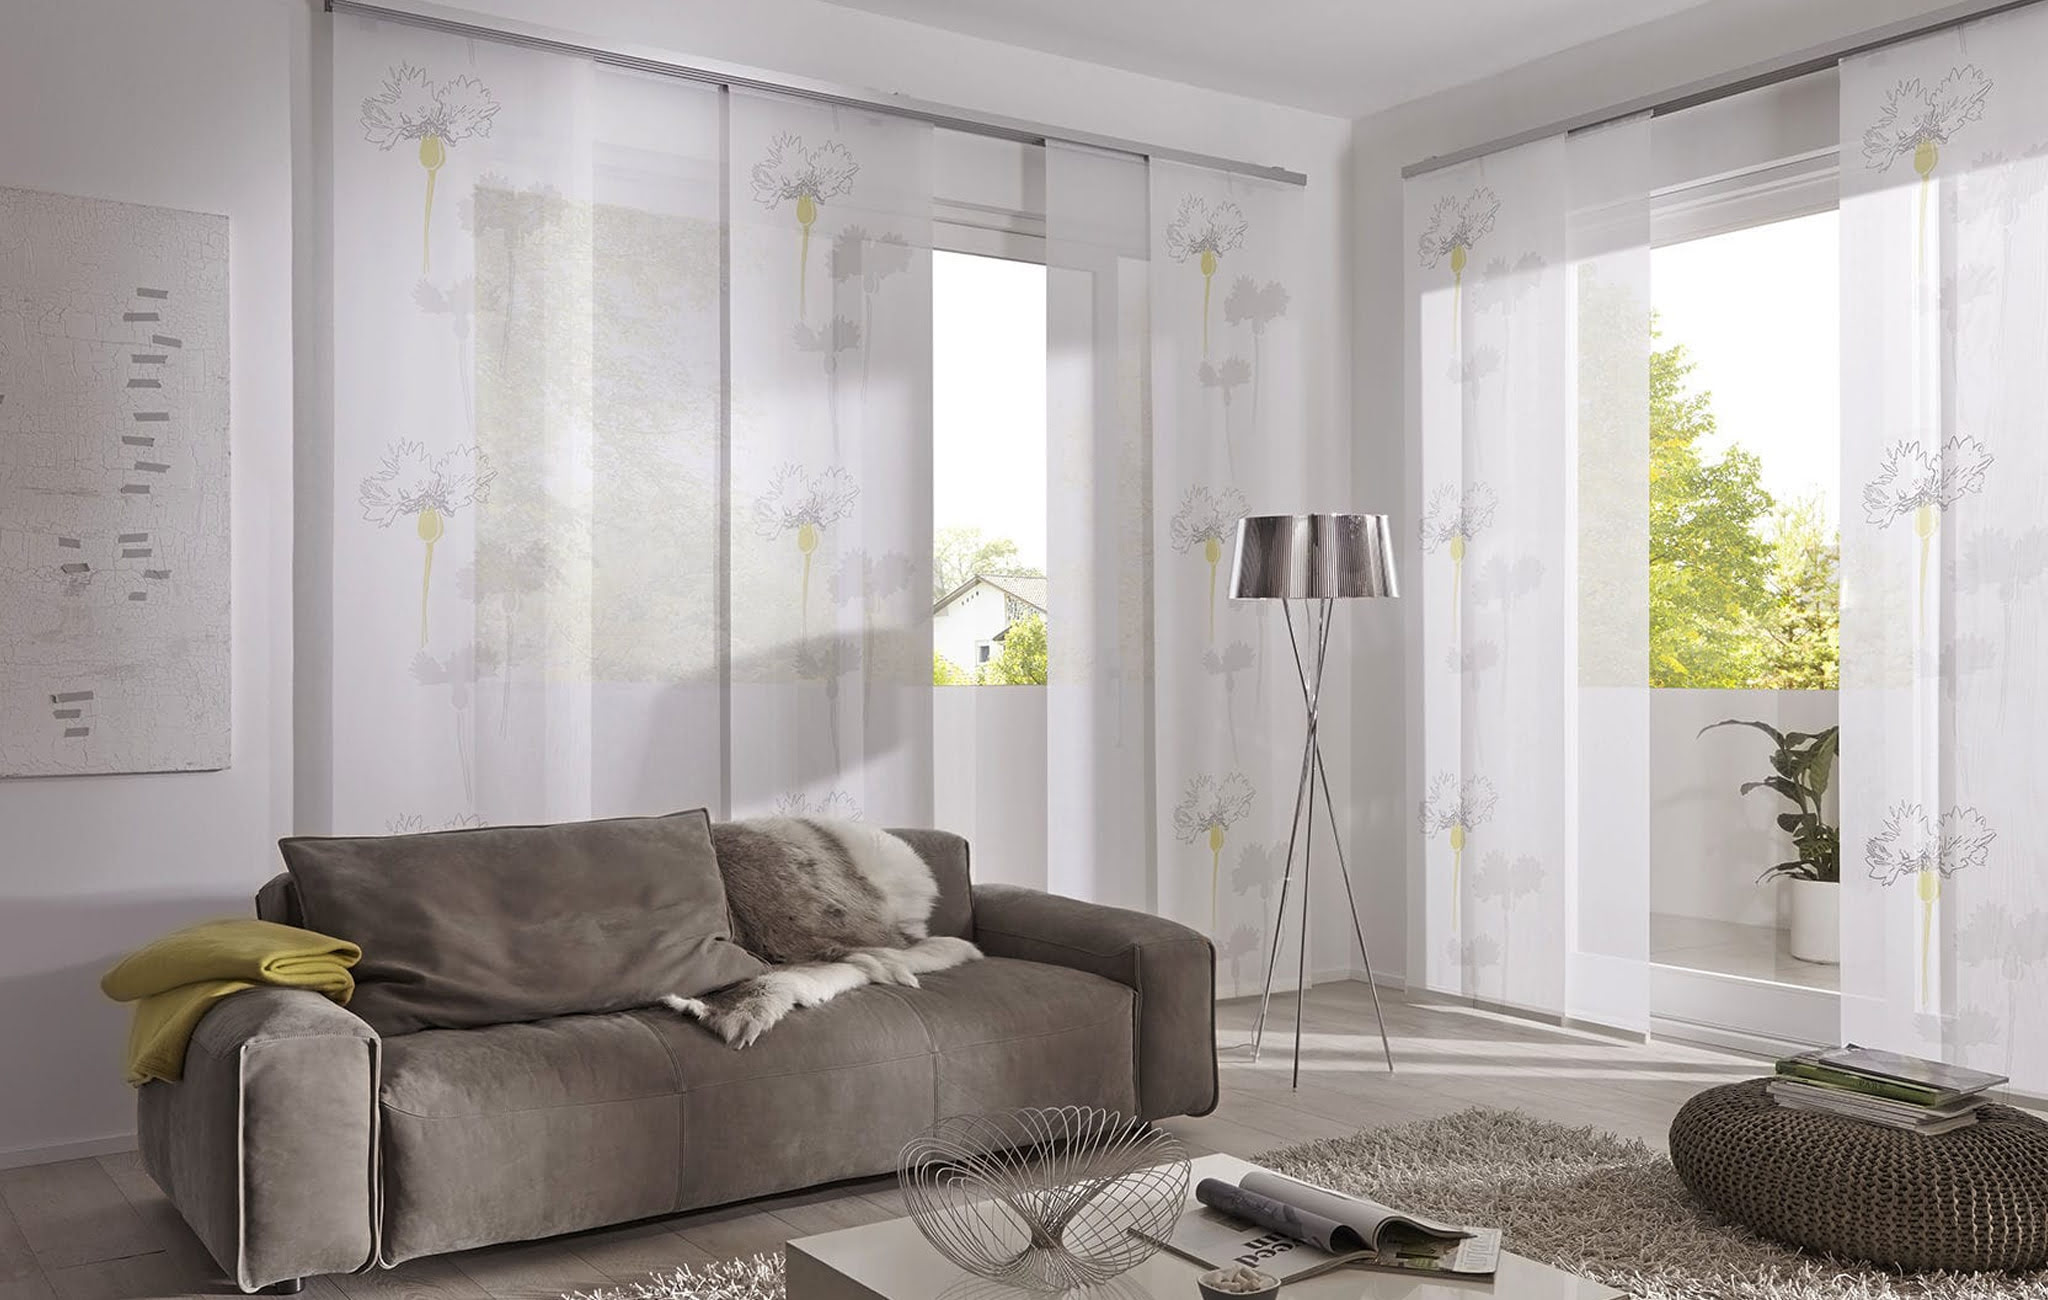
Panel blinds are a popular window treatment choice that adds style and functionality to any room. With their sleek design and ability to control light and privacy, panel blinds have become a preferred option for homeowners and interior designers alike.
Installing panel blinds may seem like a daunting task, but with the right tools and a step-by-step approach, you can easily have them up and functioning in no time. This guide will walk you through the installation process, providing you with the knowledge and confidence to tackle the job on your own.
Before we dive into the installation steps, it’s important to mention that panel blinds come in different types and sizes. The installation process may vary slightly depending on the specific brand and model you have chosen. It’s always a good idea to consult the manufacturer’s instructions that come with your specific panel blinds to ensure you follow the recommended installation steps.
Now, let’s get started with the installation process by first measuring and preparing the blinds.
Key Takeaways:
- Easily install panel blinds by measuring, mounting brackets, attaching head rail, hanging panel tracks, and testing operation. Enjoy enhanced light control, privacy, and stylish window treatment in your home.
- Follow step-by-step instructions to install panel blinds, ensuring proper measurements, alignment, and testing for smooth operation. Transform your windows with a professional-looking and functional window treatment solution.
Read more: What Are Panel Track Blinds
Step 1: Measure and prepare the blinds
Before you begin the installation process, it’s crucial to accurately measure your windows to ensure a proper fit for your panel blinds. Here’s how you can do it:
- Measure the width: Use a measuring tape to determine the width of your window opening. Measure from the inside of the window frame on one side to the inside of the frame on the other side. Take three measurements: one at the top, one in the middle, and one at the bottom. Take note of the smallest measurement as this will be the width of your panel blinds.
- Measure the height: Again, use a measuring tape to measure the height of your window opening. Measure from the top inside of the window frame to the bottom inside of the frame. Take note of the measurement.
- Prepare the blinds: Once you have your measurements, you can now prepare your panel blinds for installation. Unpack the blinds and remove any packaging materials. Identify the head rail, the panel tracks, and the panels themselves. Make sure all the necessary components are present and in good condition.
- Attach any required brackets: Some panel blinds may require installation brackets to be attached to the wall or ceiling. Refer to the manufacturer’s instructions to determine if your blinds require brackets and where they should be positioned. Use a pencil or a level to mark the spots where the brackets will be mounted.
- Gather the necessary tools: To ensure a smooth installation process, gather all the tools you will need, including a drill, screws, screwdriver, measuring tape, pencil, level, and a step ladder.
By accurately measuring your windows and preparing the blinds beforehand, you’ll be setting yourself up for a successful installation.
Step 2: Mount the installation brackets
Mounting the installation brackets is an essential step in the panel blinds installation process. The brackets will provide stability and support for the head rail and ensure that your blinds are securely attached to the wall or ceiling. Follow these steps to mount the brackets:
- Position the brackets: Using the pencil or level, mark the spots where the installation brackets will be mounted. Measure the distance from the edge of the window frame to ensure that the brackets are evenly spaced.
- Pre-drill holes: Once you have marked the spots for the brackets, use a drill to pre-drill holes at each marked location. This will make it easier to screw in the brackets and prevent any splitting or damage to the wall or ceiling.
- Attach the brackets: Take one of the installation brackets and align it with the pre-drilled holes. Insert the screws provided with the panel blinds into the holes and screw them in securely. Repeat this process for each of the remaining installation brackets.
- Check for stability: After attaching all the brackets, give them a gentle shake to ensure that they are securely mounted. If any brackets feel loose, tighten the screws further to ensure stability.
It’s important to follow the manufacturer’s instructions when it comes to the specific placement and number of installation brackets required for your panel blinds. Some blinds may require additional support brackets, especially for larger window openings or heavy fabrics.
Once the installation brackets are securely mounted, you’re ready to move on to the next step of attaching the head rail.
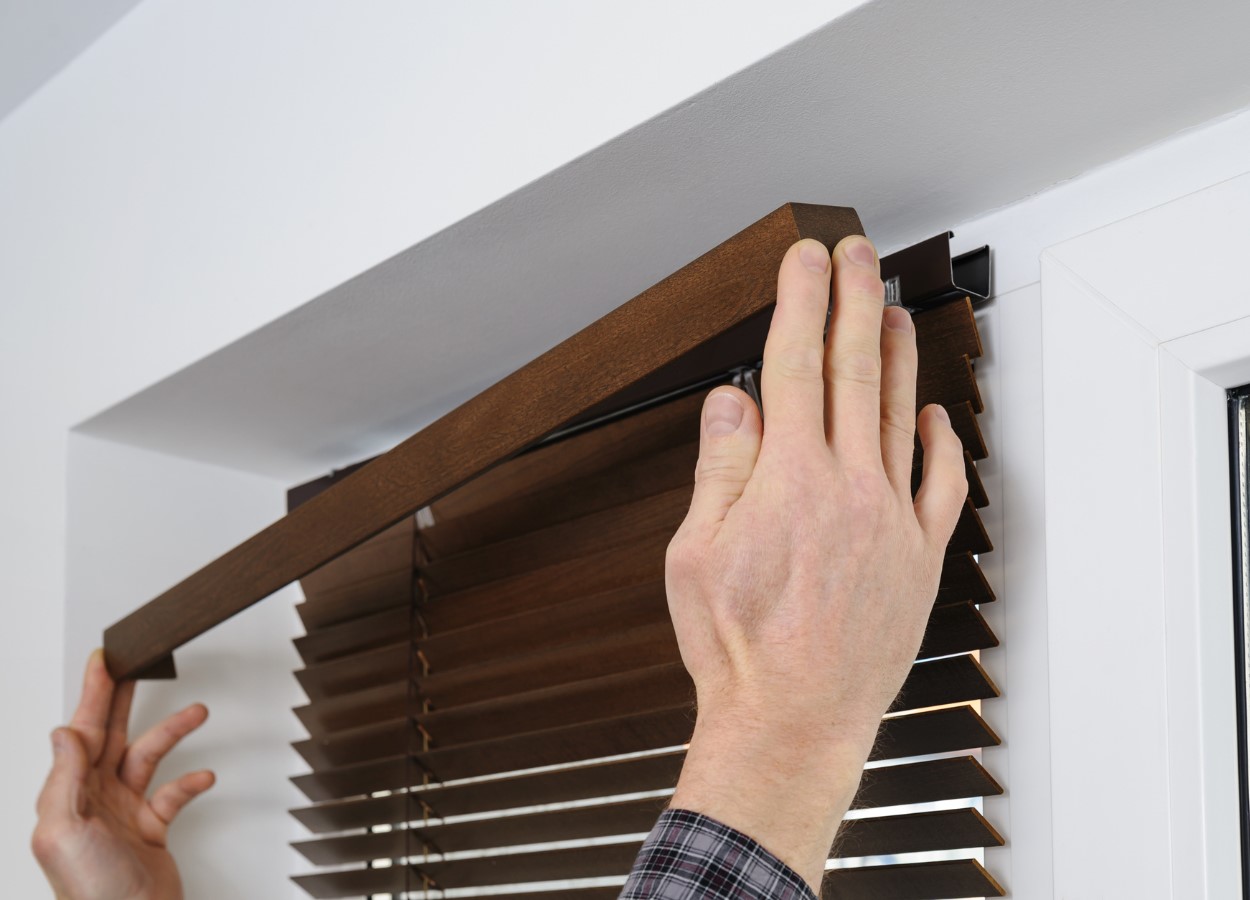
Step 3: Attach the head rail
Attaching the head rail is a crucial step in the installation process, as it acts as the main support structure for the panel blinds. Follow these steps to attach the head rail:
- Position the head rail: Place the head rail on top of the installation brackets, ensuring that it is centered and aligned with the brackets.
- Secure the head rail: Depending on the type of panel blinds you have, there may be different methods for securing the head rail. Some blinds use a clip system, while others require screws or other fasteners. Refer to the manufacturer’s instructions to determine the appropriate method for securing the head rail.
- Attach the head rail to the brackets: Using the appropriate method, attach the head rail to the installation brackets. Make sure it is firmly secured and doesn’t wobble or move when touched.
- Double-check for alignment: Take a step back and check if the head rail is level and aligned with the window frame. Adjust if necessary by loosening the brackets and repositioning the head rail.
It’s important to note that some panel blinds may have additional components attached to the head rail, such as valances or decorative elements. Follow the manufacturer’s instructions to properly install these components if they are included with your blinds.
Once the head rail is securely attached, you’re ready to move on to the next step of hanging the panel tracks.
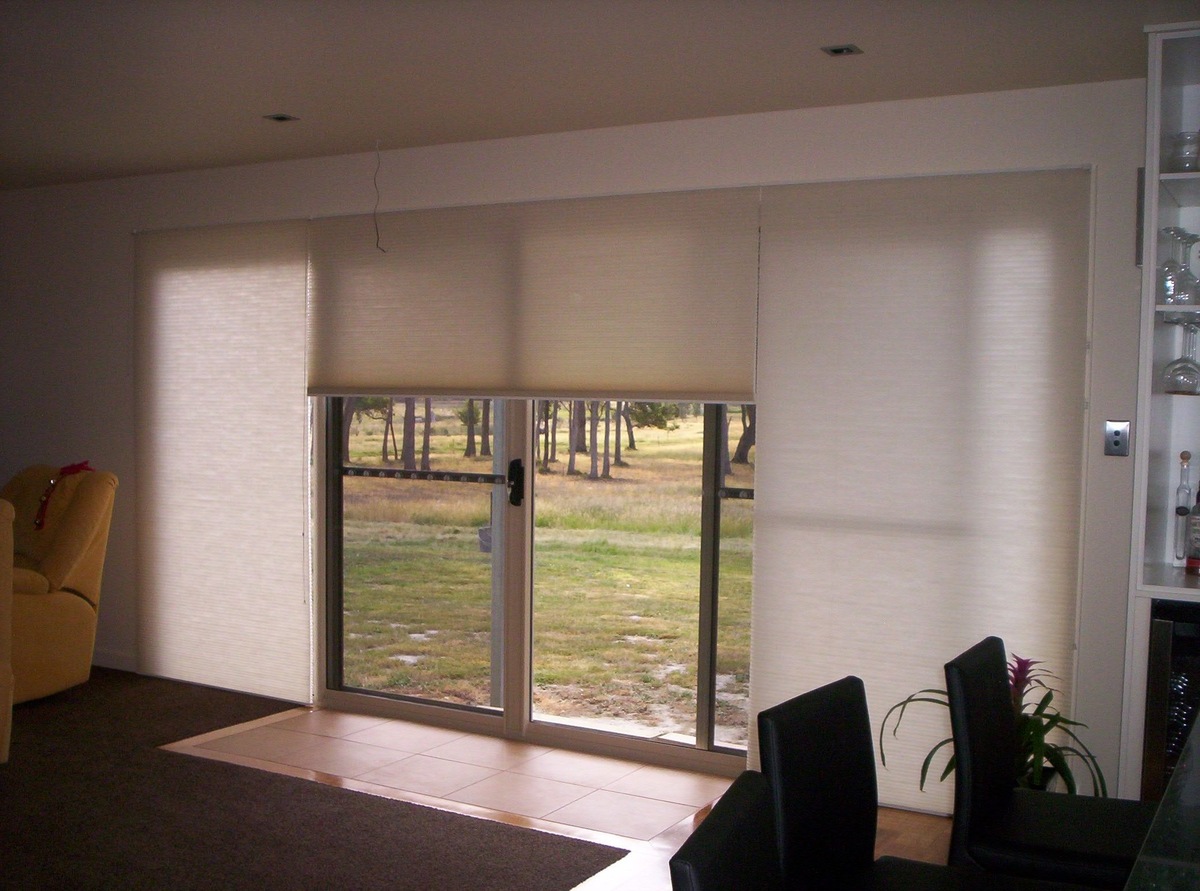
Step 4: Hang the panel tracks
Now that the head rail is securely attached, it’s time to hang the panel tracks, which will hold the individual panels of your blinds. Follow these steps to hang the panel tracks:
- Prepare the panel tracks: Lay out the panel tracks on a flat surface and ensure they are in the correct order according to your desired configuration. Each panel track will have a designated position for the panels to slide into.
- Align the panel tracks: Lift the first panel track and align it with the corresponding track on the head rail. Use the manufacturer’s instructions as a guide to ensure proper alignment.
- Insert the panel track: Once aligned, gently push or slide the panel track into the designated position on the head rail. It should fit snugly and securely.
- Repeat for additional tracks: Repeat the process for each additional panel track, ensuring they are aligned and securely inserted into their respective positions on the head rail.
- Test the sliding motion: Once all the panel tracks are hung, test the sliding motion by moving the panels back and forth. They should slide smoothly and without any obstruction. Make any necessary adjustments to ensure optimal functionality.
It’s important to note that the number of panel tracks and panels will depend on the size and configuration of your panel blinds. Ensure that you have the correct number of tracks and panels as specified by the manufacturer.
Once the panel tracks are hung and the sliding motion is working smoothly, you’re ready to move on to the next step of installing the wand control.
When installing panel blinds, make sure to measure the space accurately before ordering the blinds. This will ensure a perfect fit and a professional-looking installation.
Read more: How To Install Siding Panels
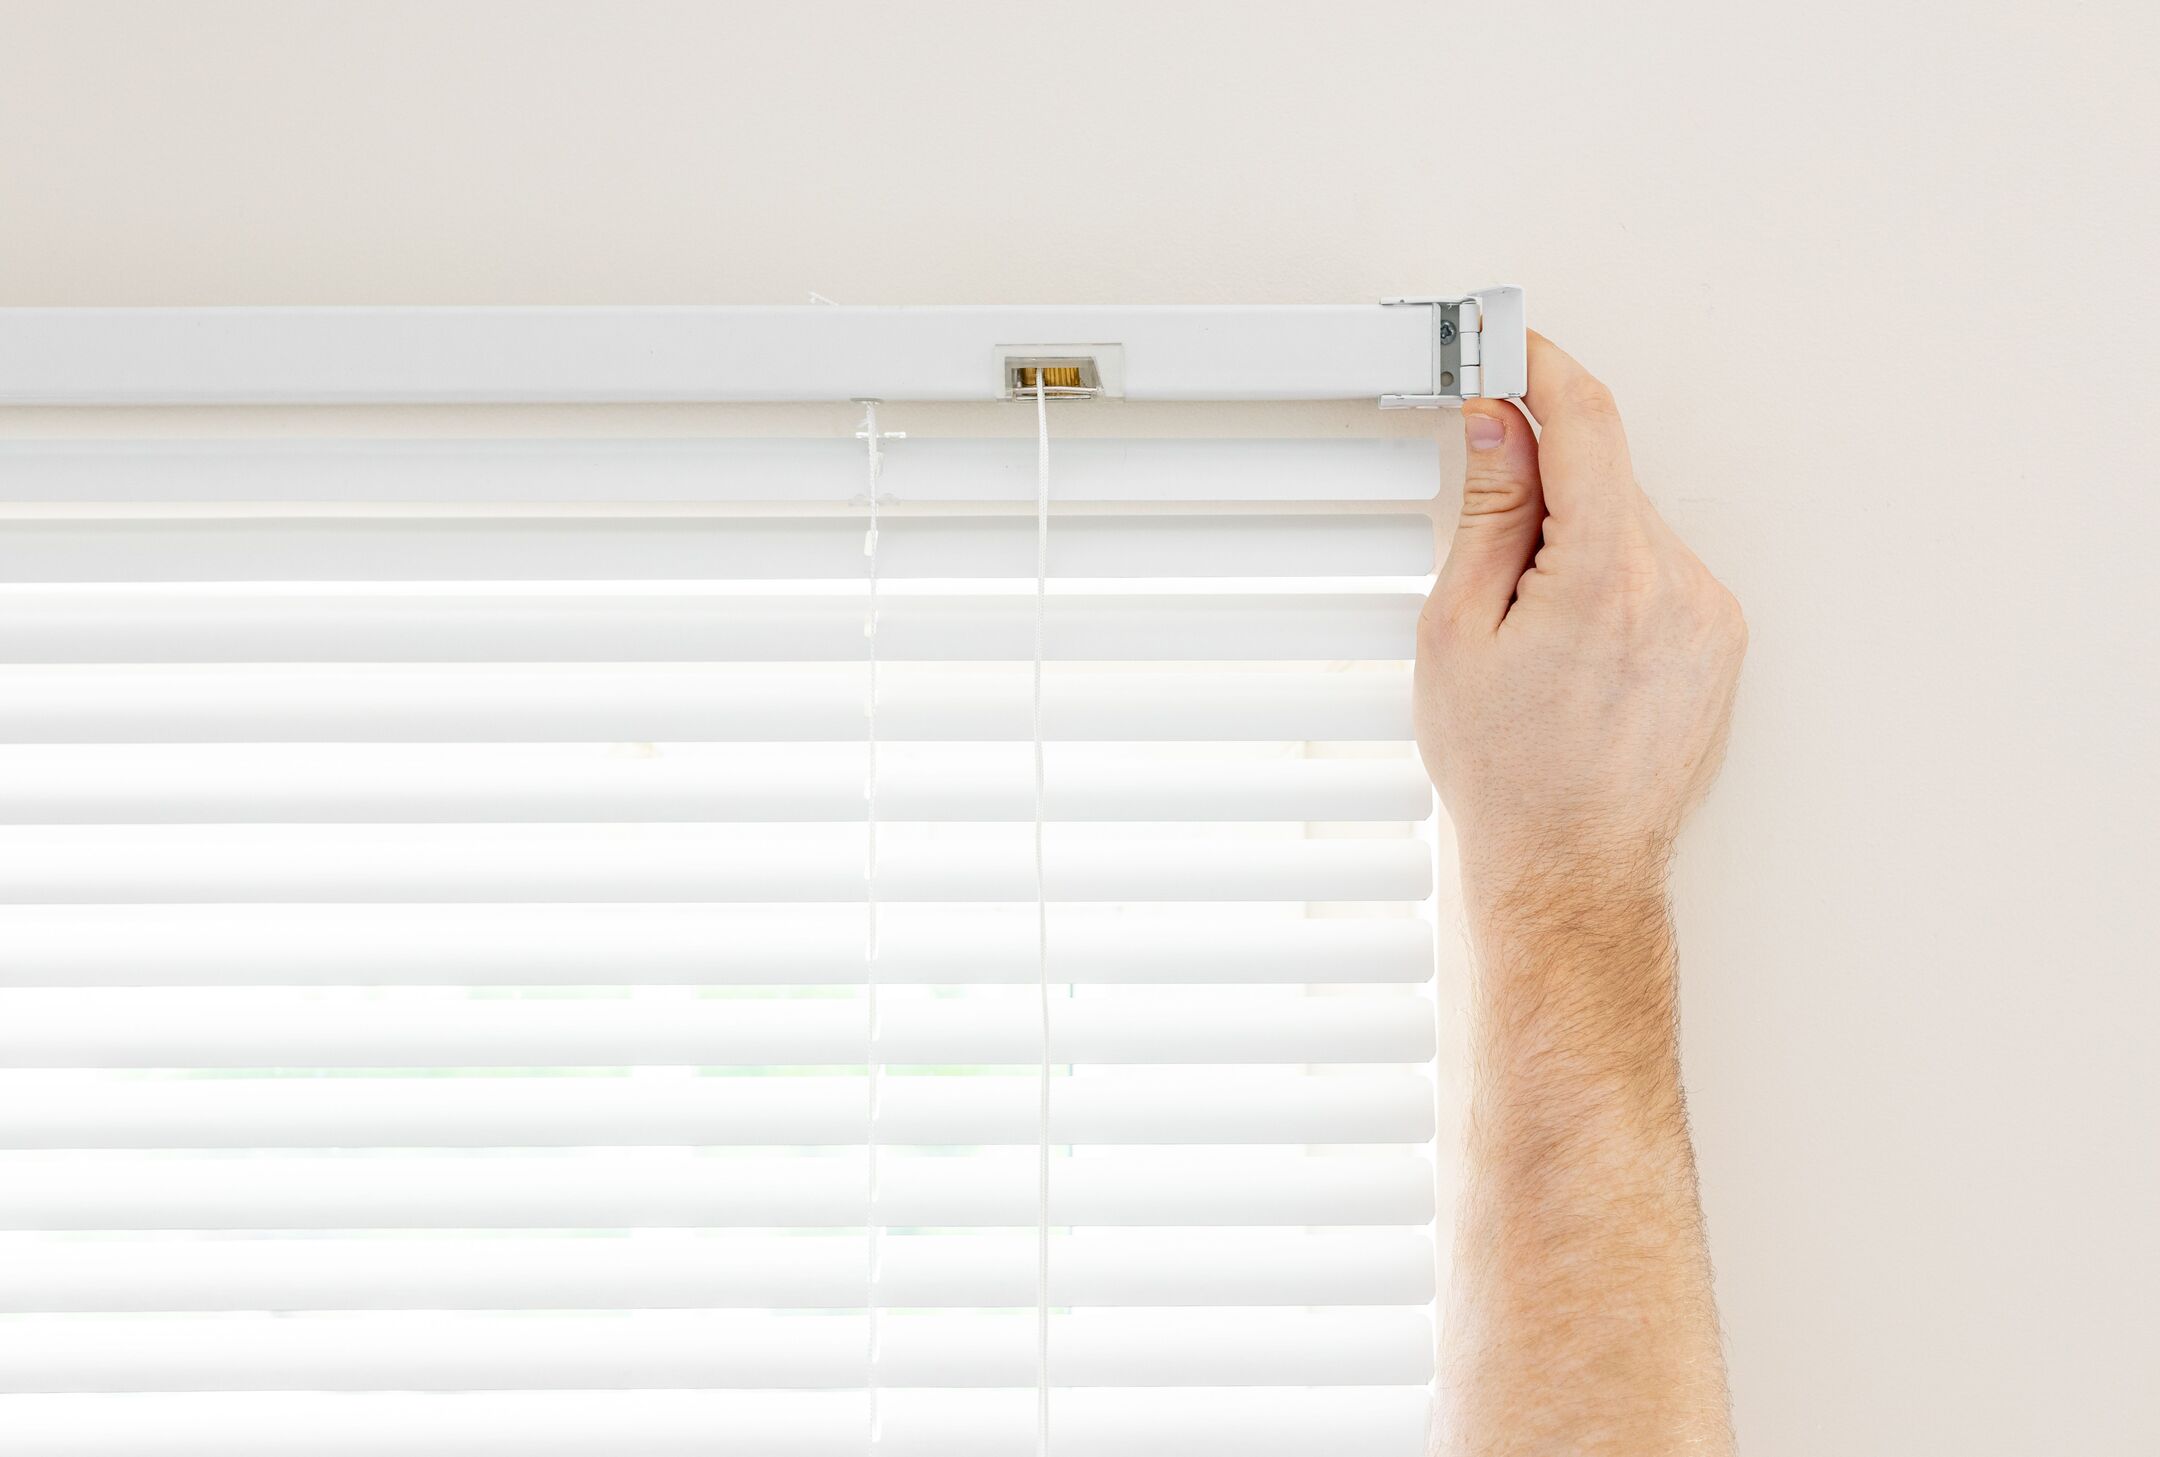
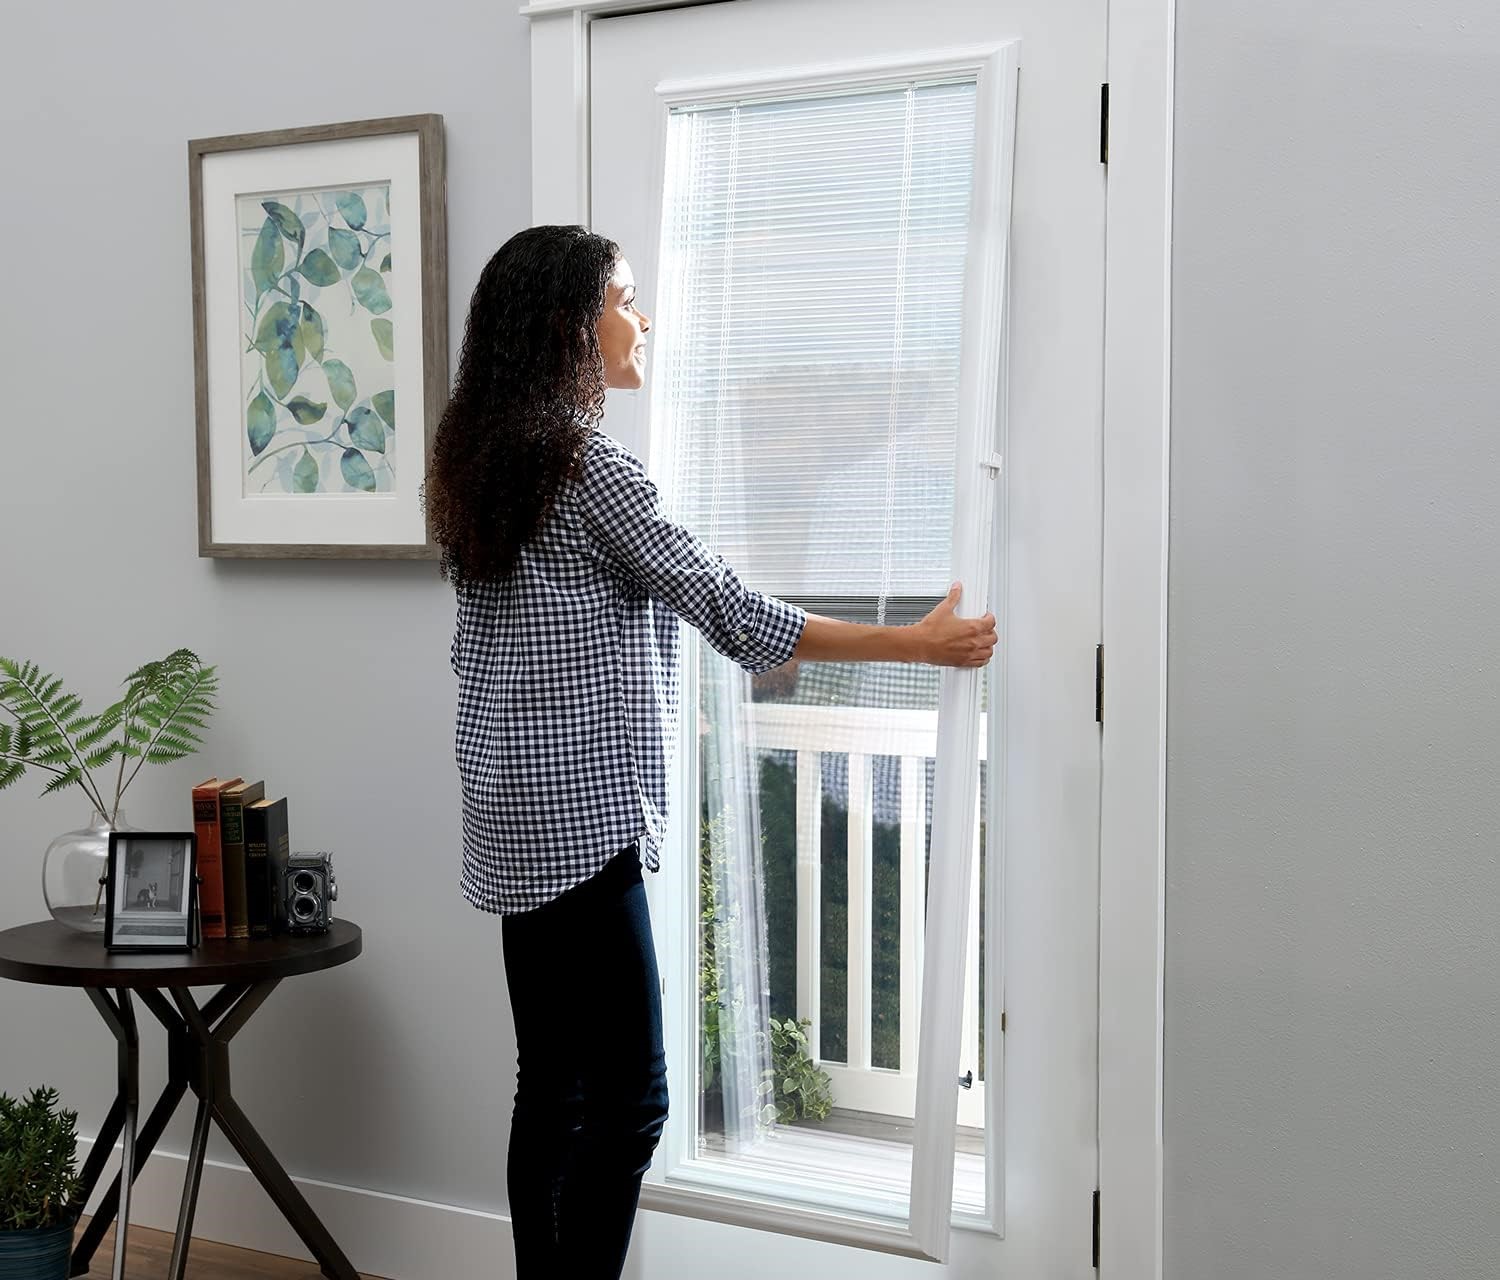
Step 5: Install the wand control
The wand control is an essential component that allows you to easily control the movement of the panel blinds. Follow these steps to install the wand control:
- Locate the wand control: The wand control is typically included with your panel blinds and can be found in the packaging. It consists of a wand and a hook or attachment piece.
- Attach the wand control: Take the wand control and align the hook or attachment piece with the designated slot on the head rail. Slide or snap the wand control into place, ensuring it is securely attached.
- Test the wand control: Give the wand a gentle tug to ensure that it is properly attached and functioning correctly. The wand should smoothly operate the blinds, allowing you to easily open and close them.
It’s important to note that some panel blinds may have alternative control mechanisms, such as a cord or chain control. If your blinds have a different control system, follow the manufacturer’s instructions to properly install and configure it.
Once the wand control is securely installed and functioning as expected, you’re ready to move on to the next step of adjusting and aligning the blinds.
Step 6: Adjust and align the blinds
After installing the panel tracks and the wand control, the next step is to adjust and align the blinds to ensure they are level and properly aligned. Follow these steps to adjust and align your panel blinds:
- Check for levelness: Use a level to check if the panel tracks and the head rail are level. Adjust the brackets if needed to ensure that the blinds are straight and in line with the window frame.
- Adjust the panel length: Some panel blinds allow you to adjust the length of the panels. If necessary, use the provided mechanisms or instructions to adjust the length of each panel to ensure they are even and in line with each other.
- Correct any misalignments: If you notice any gaps or misalignments between the panels, gently adjust their position within the panel tracks so that they sit flush and create a cohesive appearance.
- Test the sliding motion: Slide the panels back and forth to ensure they move smoothly and without any obstruction. If you encounter any difficulties, check for any misalignments or obstructions and make the necessary adjustments.
Take your time during this step to ensure that your panel blinds are properly adjusted and aligned. A well-aligned installation will not only enhance the aesthetic appeal of your blinds but also contribute to their functionality and longevity.
Once you have adjusted and aligned the blinds, you’re ready to move on to the final step of the installation process: testing the operation of the blinds.
Step 7: Test the operation of the blinds
Testing the operation of your newly installed panel blinds is the final step to ensure that they are functioning properly. Follow these steps to test the operation of the blinds:
- Open the blinds: Use the wand control or the designated mechanism to open the blinds fully. The panels should smoothly slide apart, allowing maximum light to enter the room.
- Close the blinds: Close the blinds by gently pulling the wand control or using the designated mechanism. The panels should effortlessly slide back into place, providing privacy and blocking out light.
- Test the intermediate positions: If your panel blinds offer intermediate positions, test them by partially opening or closing the blinds to choose the desired amount of light and privacy.
- Check for smooth operation: Pay attention to the movement of the blinds during opening and closing. They should glide smoothly without any snagging or resistance. If you encounter any issues, inspect the tracks, panels, and mechanisms for any obstructions or misalignments that may need adjustment.
- Ensure proper alignment: While operating the blinds, ensure that the panels maintain their alignment and evenly spaced configuration. Adjust and align them if necessary to achieve a seamless and visually pleasing appearance.
By thoroughly testing the operation of your panel blinds, you can identify and address any potential issues before they become more significant problems. This will help ensure that your blinds function properly and continue to provide the desired light control and privacy for years to come.
Congratulations! You have successfully completed the installation of your panel blinds and tested their operation.
Conclusion
Installing panel blinds can be a rewarding and cost-effective way to enhance the look and functionality of your windows. By following the step-by-step process outlined in this guide, you can confidently install panel blinds in your home and enjoy the benefits they provide.
Throughout the installation process, it is important to carefully measure your windows, mount the installation brackets securely, attach the head rail, hang the panel tracks, install the wand control, adjust and align the blinds, and finally, test their operation.
With proper measurements and preparation, along with the right tools and attention to detail, you can achieve a professional-looking installation that perfectly fits your windows and complements your interior design. Remember to consult the manufacturer’s instructions specific to your panel blinds to ensure you follow the recommended installation guidelines.
Once your panel blinds are installed, take the time to regularly clean and maintain them so that they continue to look their best and operate smoothly. Regular dusting and occasional spot cleaning will help keep them in top condition and extend their lifespan.
Now that you have learned how to install panel blinds, you can enjoy the benefits they bring, such as light control, privacy, and a stylish aesthetic. So go ahead and transform your windows with panel blinds and create a comfortable and inviting space.
Happy installing!
Frequently Asked Questions about How To Install Panel Blinds
Was this page helpful?
At Storables.com, we guarantee accurate and reliable information. Our content, validated by Expert Board Contributors, is crafted following stringent Editorial Policies. We're committed to providing you with well-researched, expert-backed insights for all your informational needs.