
Articles
How To Install A Wood Burner With A Chimney
Modified: January 8, 2024
Learn how to install a wood burner with a chimney through our informative articles. Enhance your knowledge and ensure a safe and efficient installation.
(Many of the links in this article redirect to a specific reviewed product. Your purchase of these products through affiliate links helps to generate commission for Storables.com, at no extra cost. Learn more)
Introduction
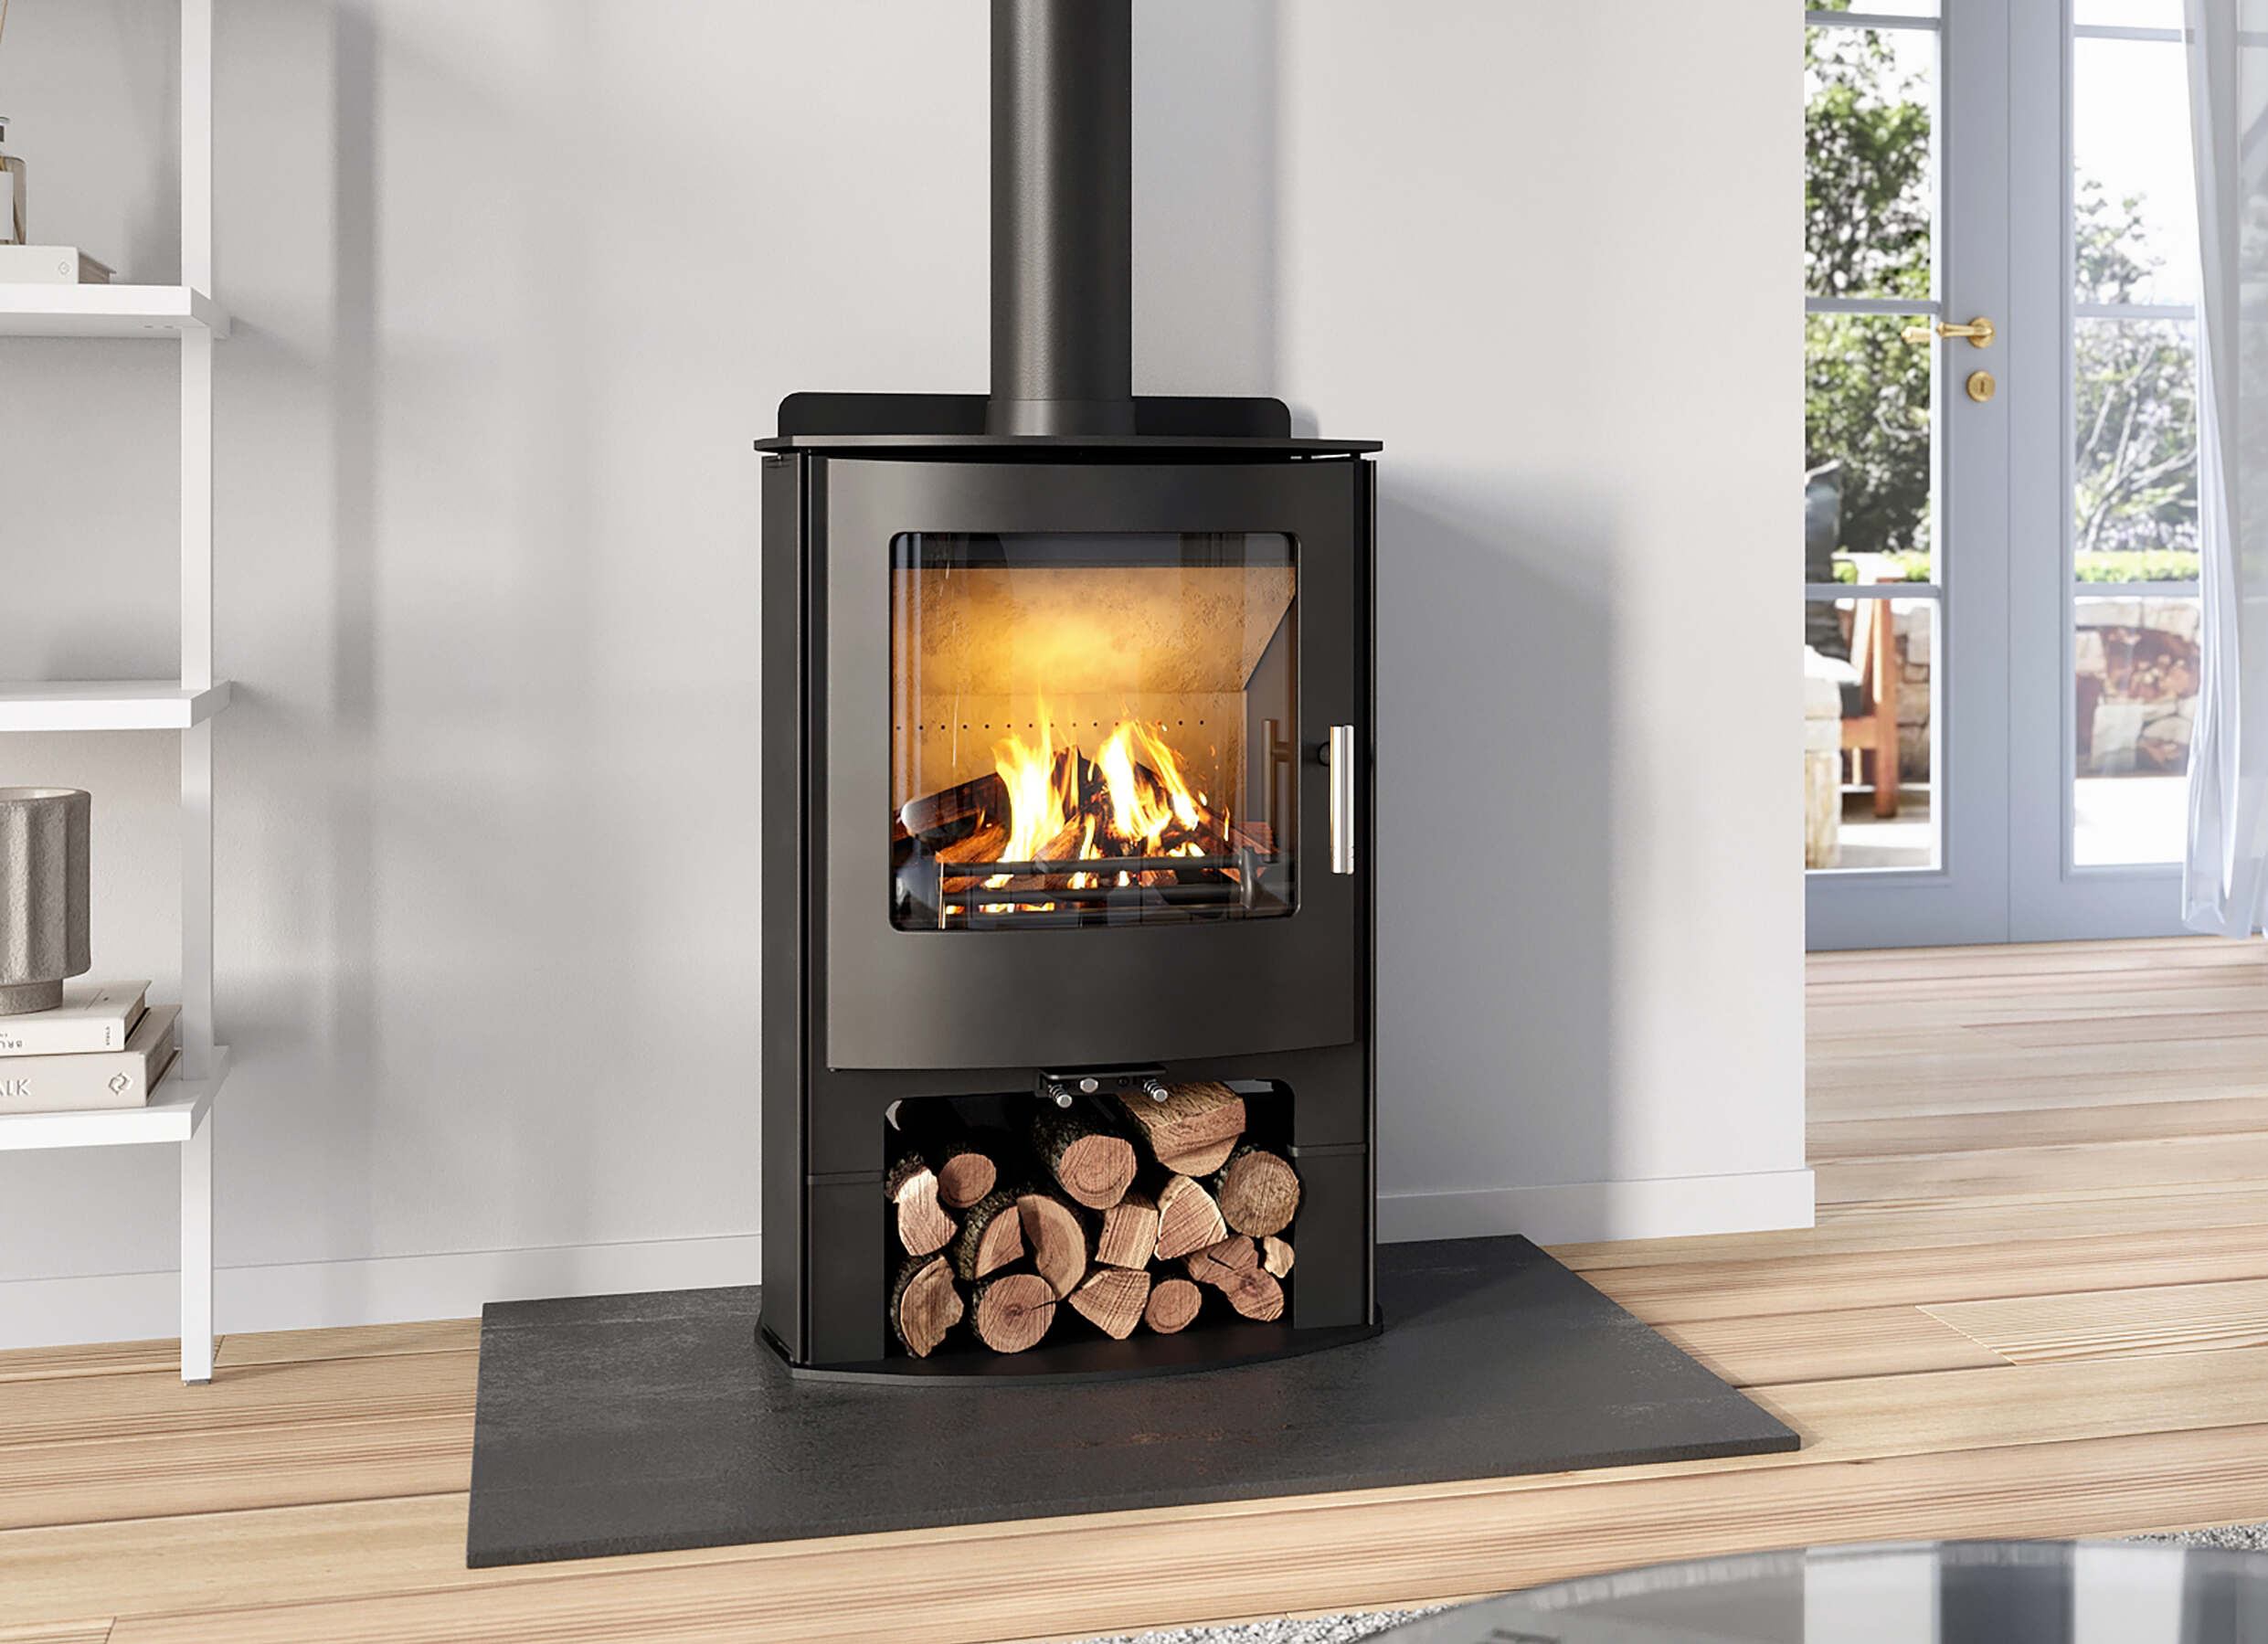
Welcome to our comprehensive guide on how to install a wood burner with a chimney. Wood burners, also known as wood-burning stoves or wood stoves, have become increasingly popular in recent years. They not only provide a cozy and inviting atmosphere but also offer a cost-effective and efficient heating solution for your home.
Installing a wood burner may seem like a daunting task, but with the right guidance and preparation, you can successfully complete the process. This guide will walk you through the necessary steps, from assessing the installation area to testing the wood burner for functionality.
Before diving into the installation process, it’s important to note that certain building codes and regulations may apply in your area. It’s always wise to consult with a professional or local authorities to ensure that you comply with all safety and legal requirements.
Now, without further ado, let’s delve into the step-by-step process of installing a wood burner with a chimney.
Key Takeaways:
- Carefully assess the installation area, gather necessary tools and materials, and follow manufacturer’s instructions to ensure a safe and efficient wood burner installation. Regular maintenance and inspections are crucial for optimal performance.
- Position and secure the wood burner properly, connect the chimney pipe, and assemble the chimney system with attention to detail. Thoroughly inspect and test the installation for safety and functionality before regular use.
Step 1: Assessing the Installation Area
Before installing a wood burner, it’s crucial to carefully assess the installation area. This step involves choosing the right location for the wood burner and ensuring proper clearance and safety protocols.
When selecting the location for your wood burner, consider factors such as heat distribution, convenience, and aesthetic appeal. Ideally, you should choose a central location within your home to maximize the heat distribution. It’s also important to place the wood burner away from combustible materials such as furniture, curtains, or walls. Ensuring sufficient clearance around the stove will reduce the risk of fire.
Next, you need to check whether your home has any specific safety protocols or building codes in place for wood burner installations. These regulations may include guidelines for chimney height, clearances, and ventilation requirements. It’s crucial to adhere to these rules to ensure the safe and efficient operation of your wood burner.
In addition, consider the structural integrity of the installation area. Ensure that the floor or wall where you plan to install the wood burner is strong enough to support its weight. If necessary, you may need to reinforce the floor or wall to provide adequate support and prevent any potential safety hazards.
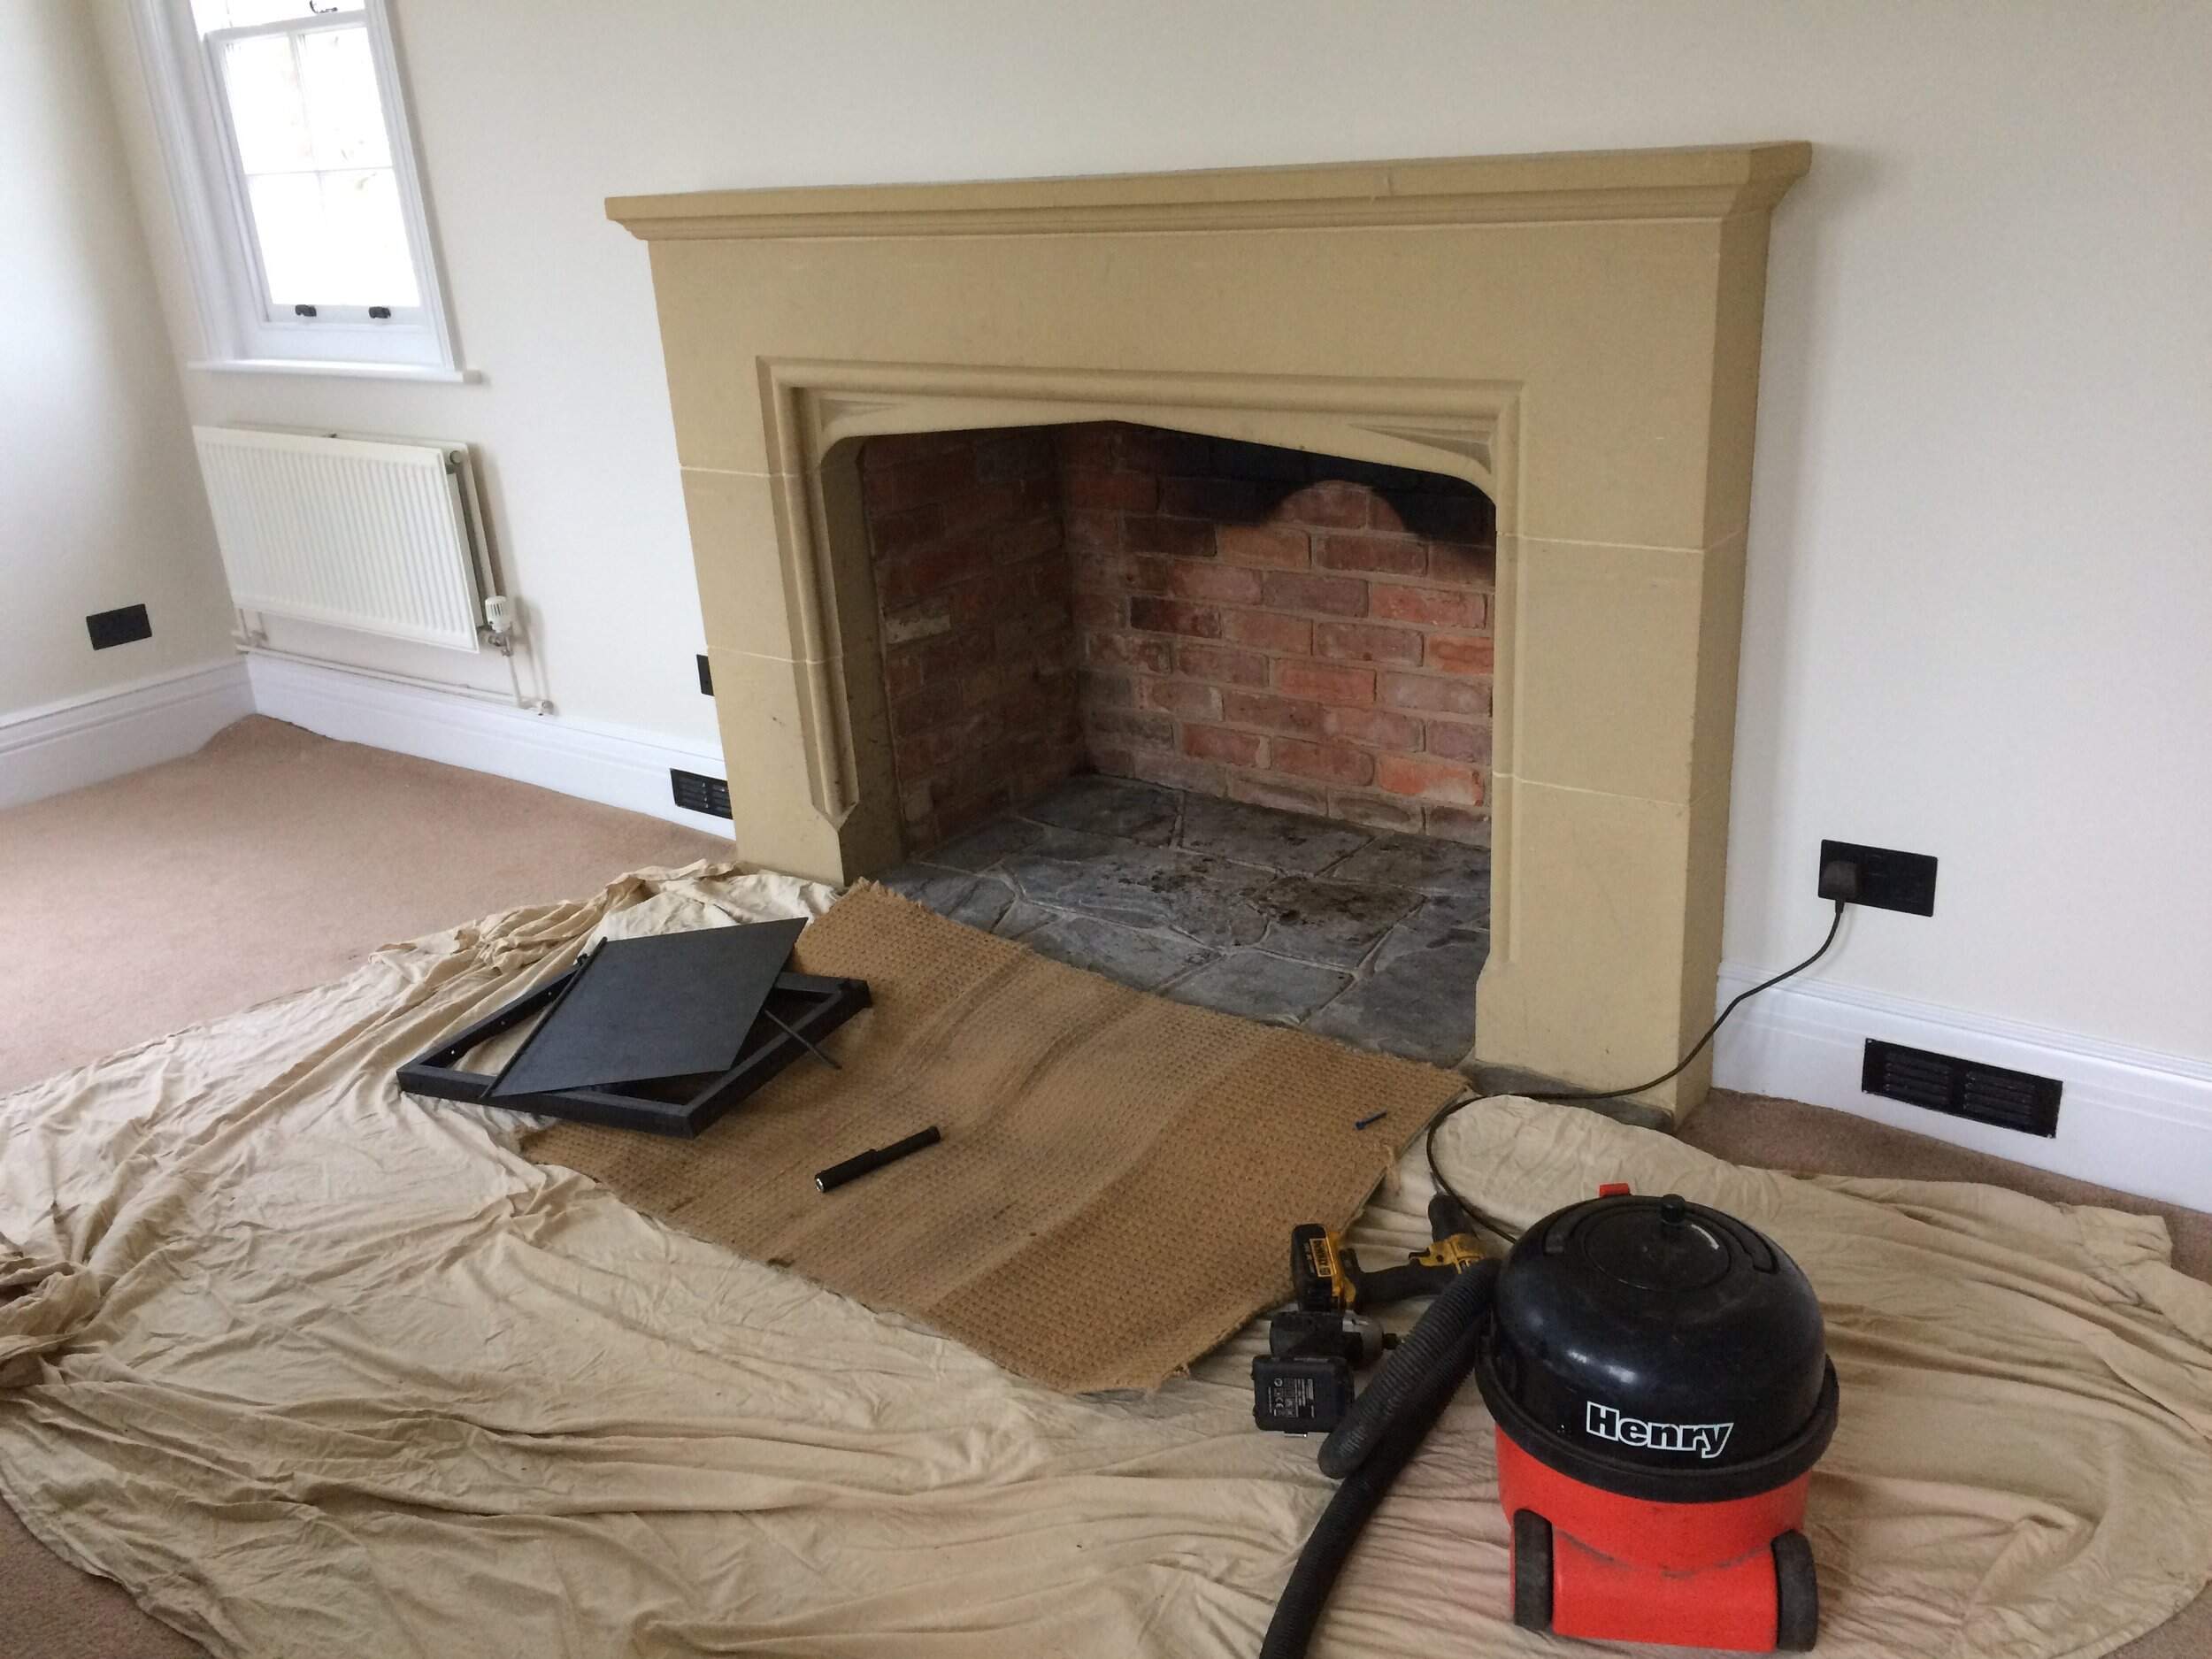
Lastly, it’s important to check for any existing chimneys or flue systems in your home. If you have an existing chimney, it may require cleaning or repairs before installing the wood burner. Alternatively, you may need to install a new chimney system if your home doesn’t have one. Consulting with a professional chimney sweep or installer can help you determine the best course of action.
By carefully assessing the installation area, choosing the right location, and ensuring proper clearance and safety protocols, you’ll create a solid foundation for the successful installation of your wood burner.
Step 2: Gathering the Necessary Tools and Materials
Before you begin the installation process, it’s essential to gather all the necessary tools and materials. Having everything you need on hand will make the installation process more efficient and ensure a smooth workflow.
Here is a list of tools that you may need for installing a wood burner with a chimney:
- Screwdriver
- Adjustable wrench
- Drill
- Hole saw
- Tape measure
- Level
- Chimney brush
- Trowel
- Wire brush
In addition to the tools, you will also need the following materials for the chimney installation:
- Chimney pipe
- Stove collar
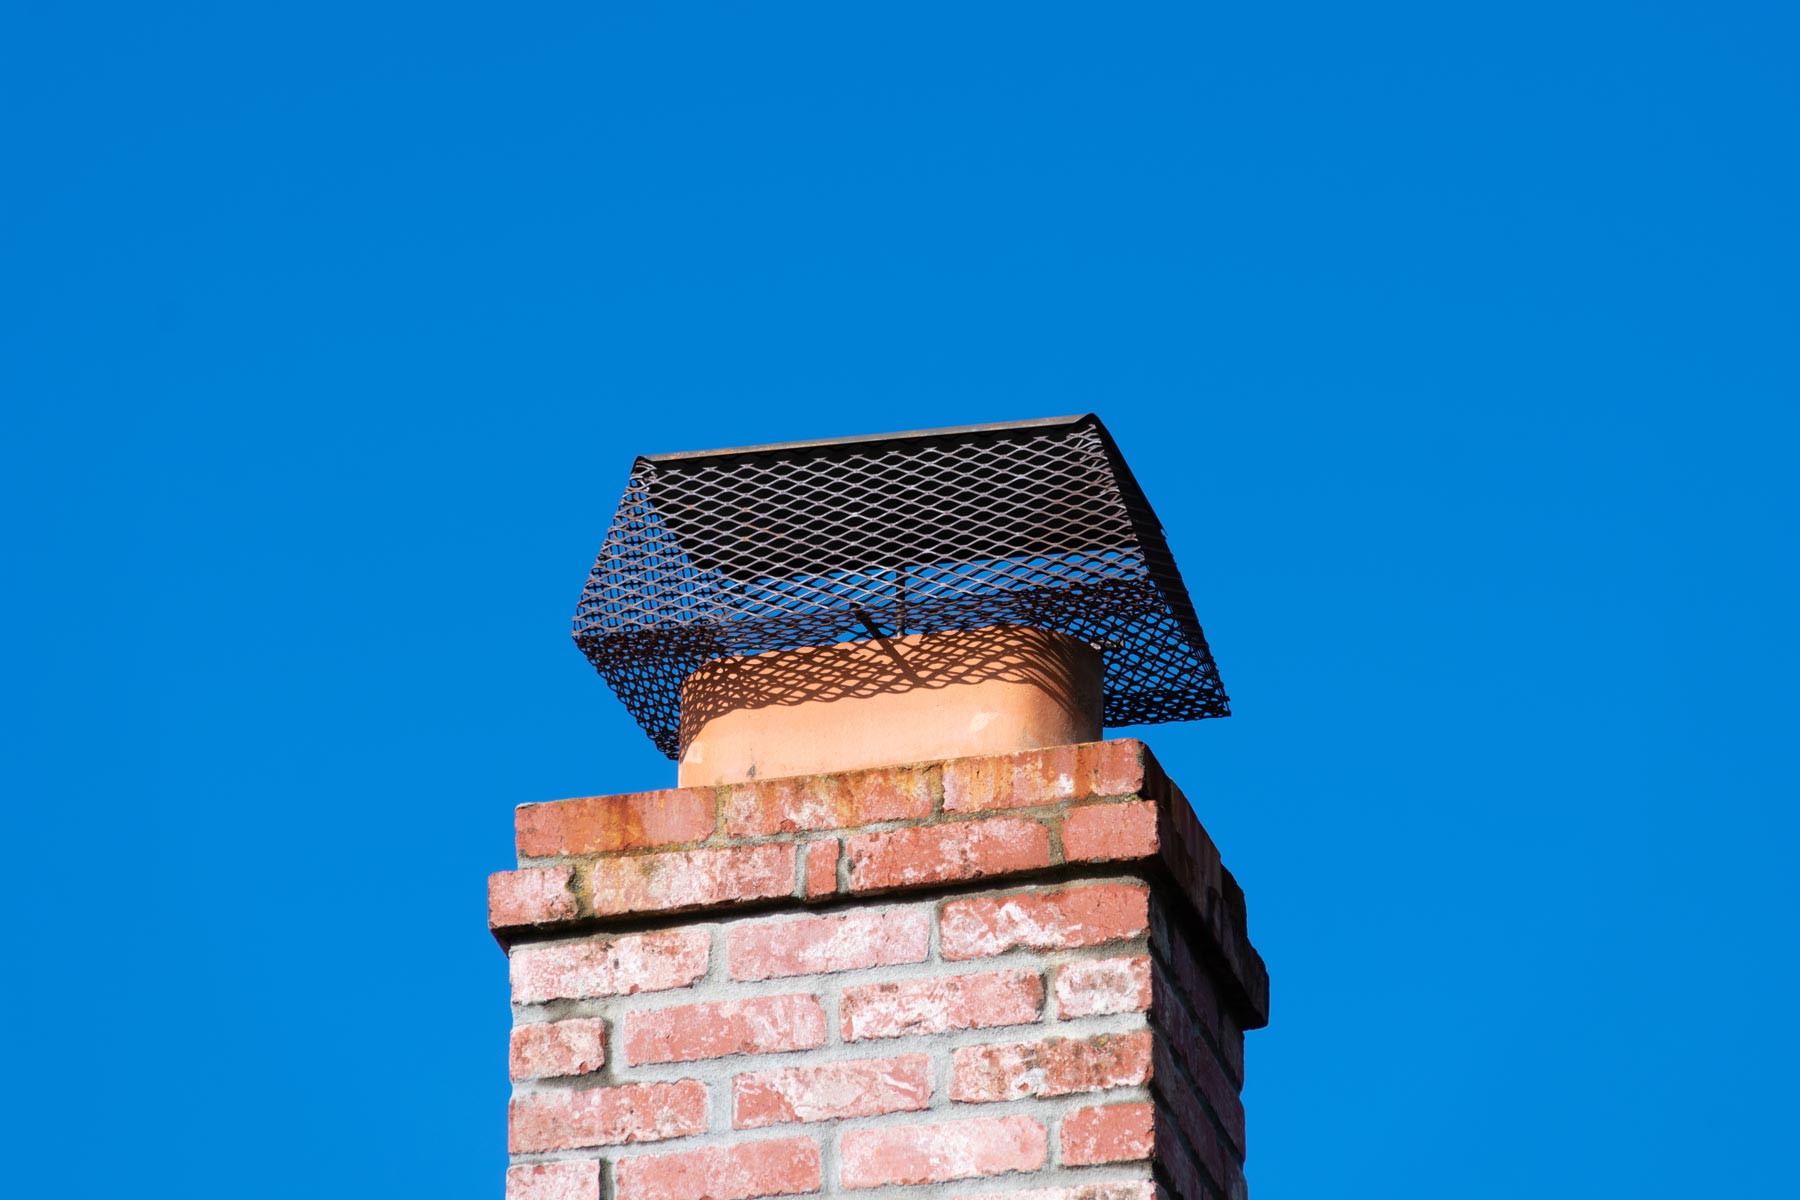
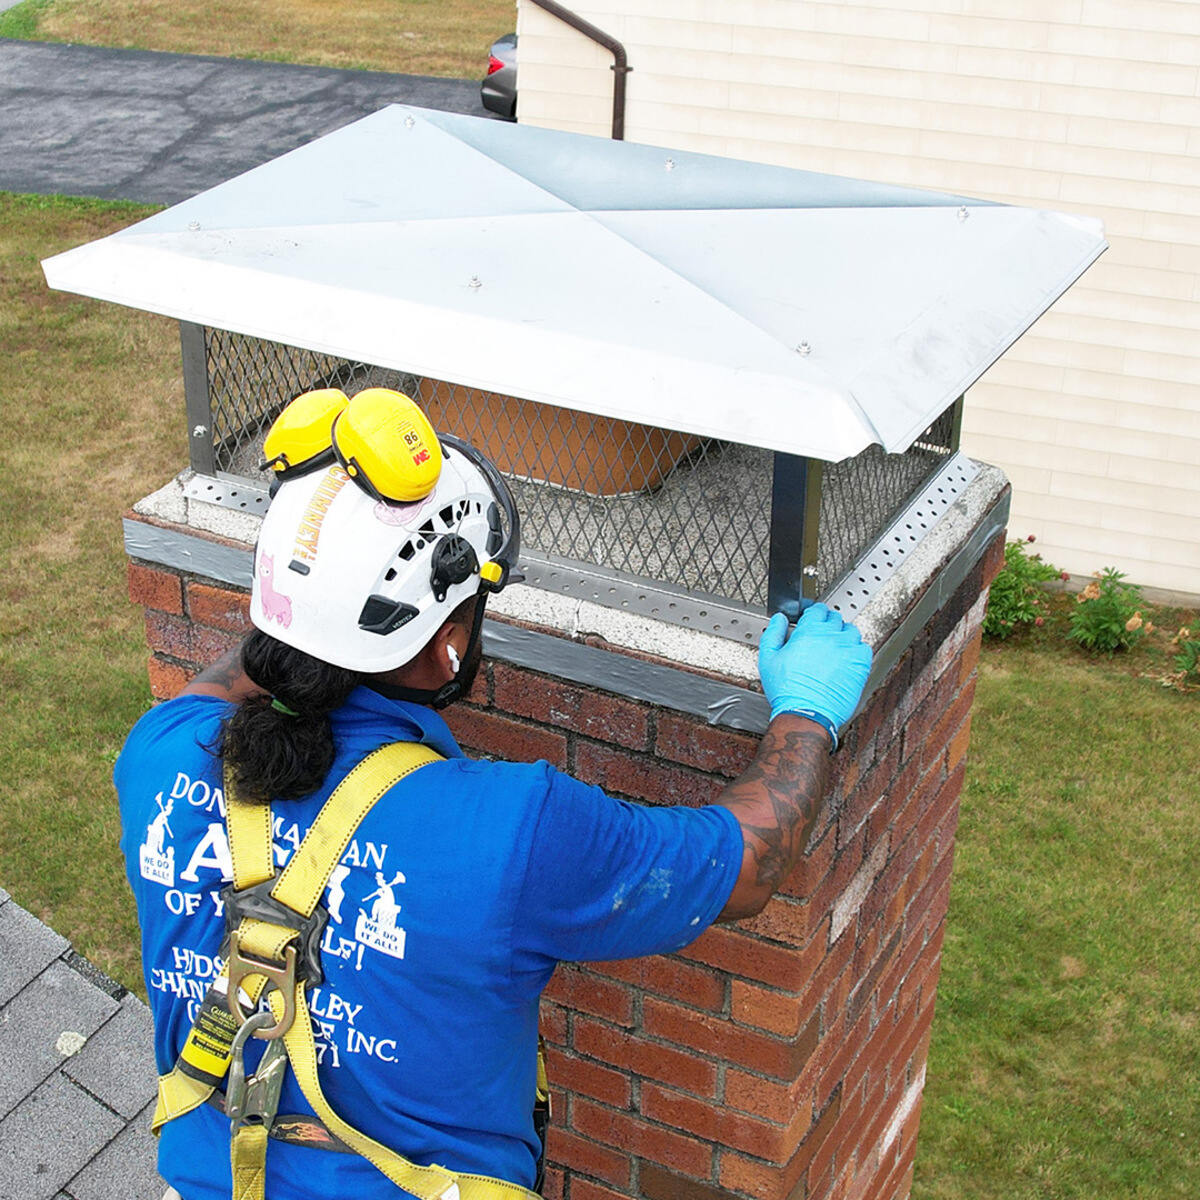
- Chimney cap
- Chimney support brackets
- Insulated chimney liner
- Fireproof cement or mortar
- High-temperature sealant
- Wall thimble
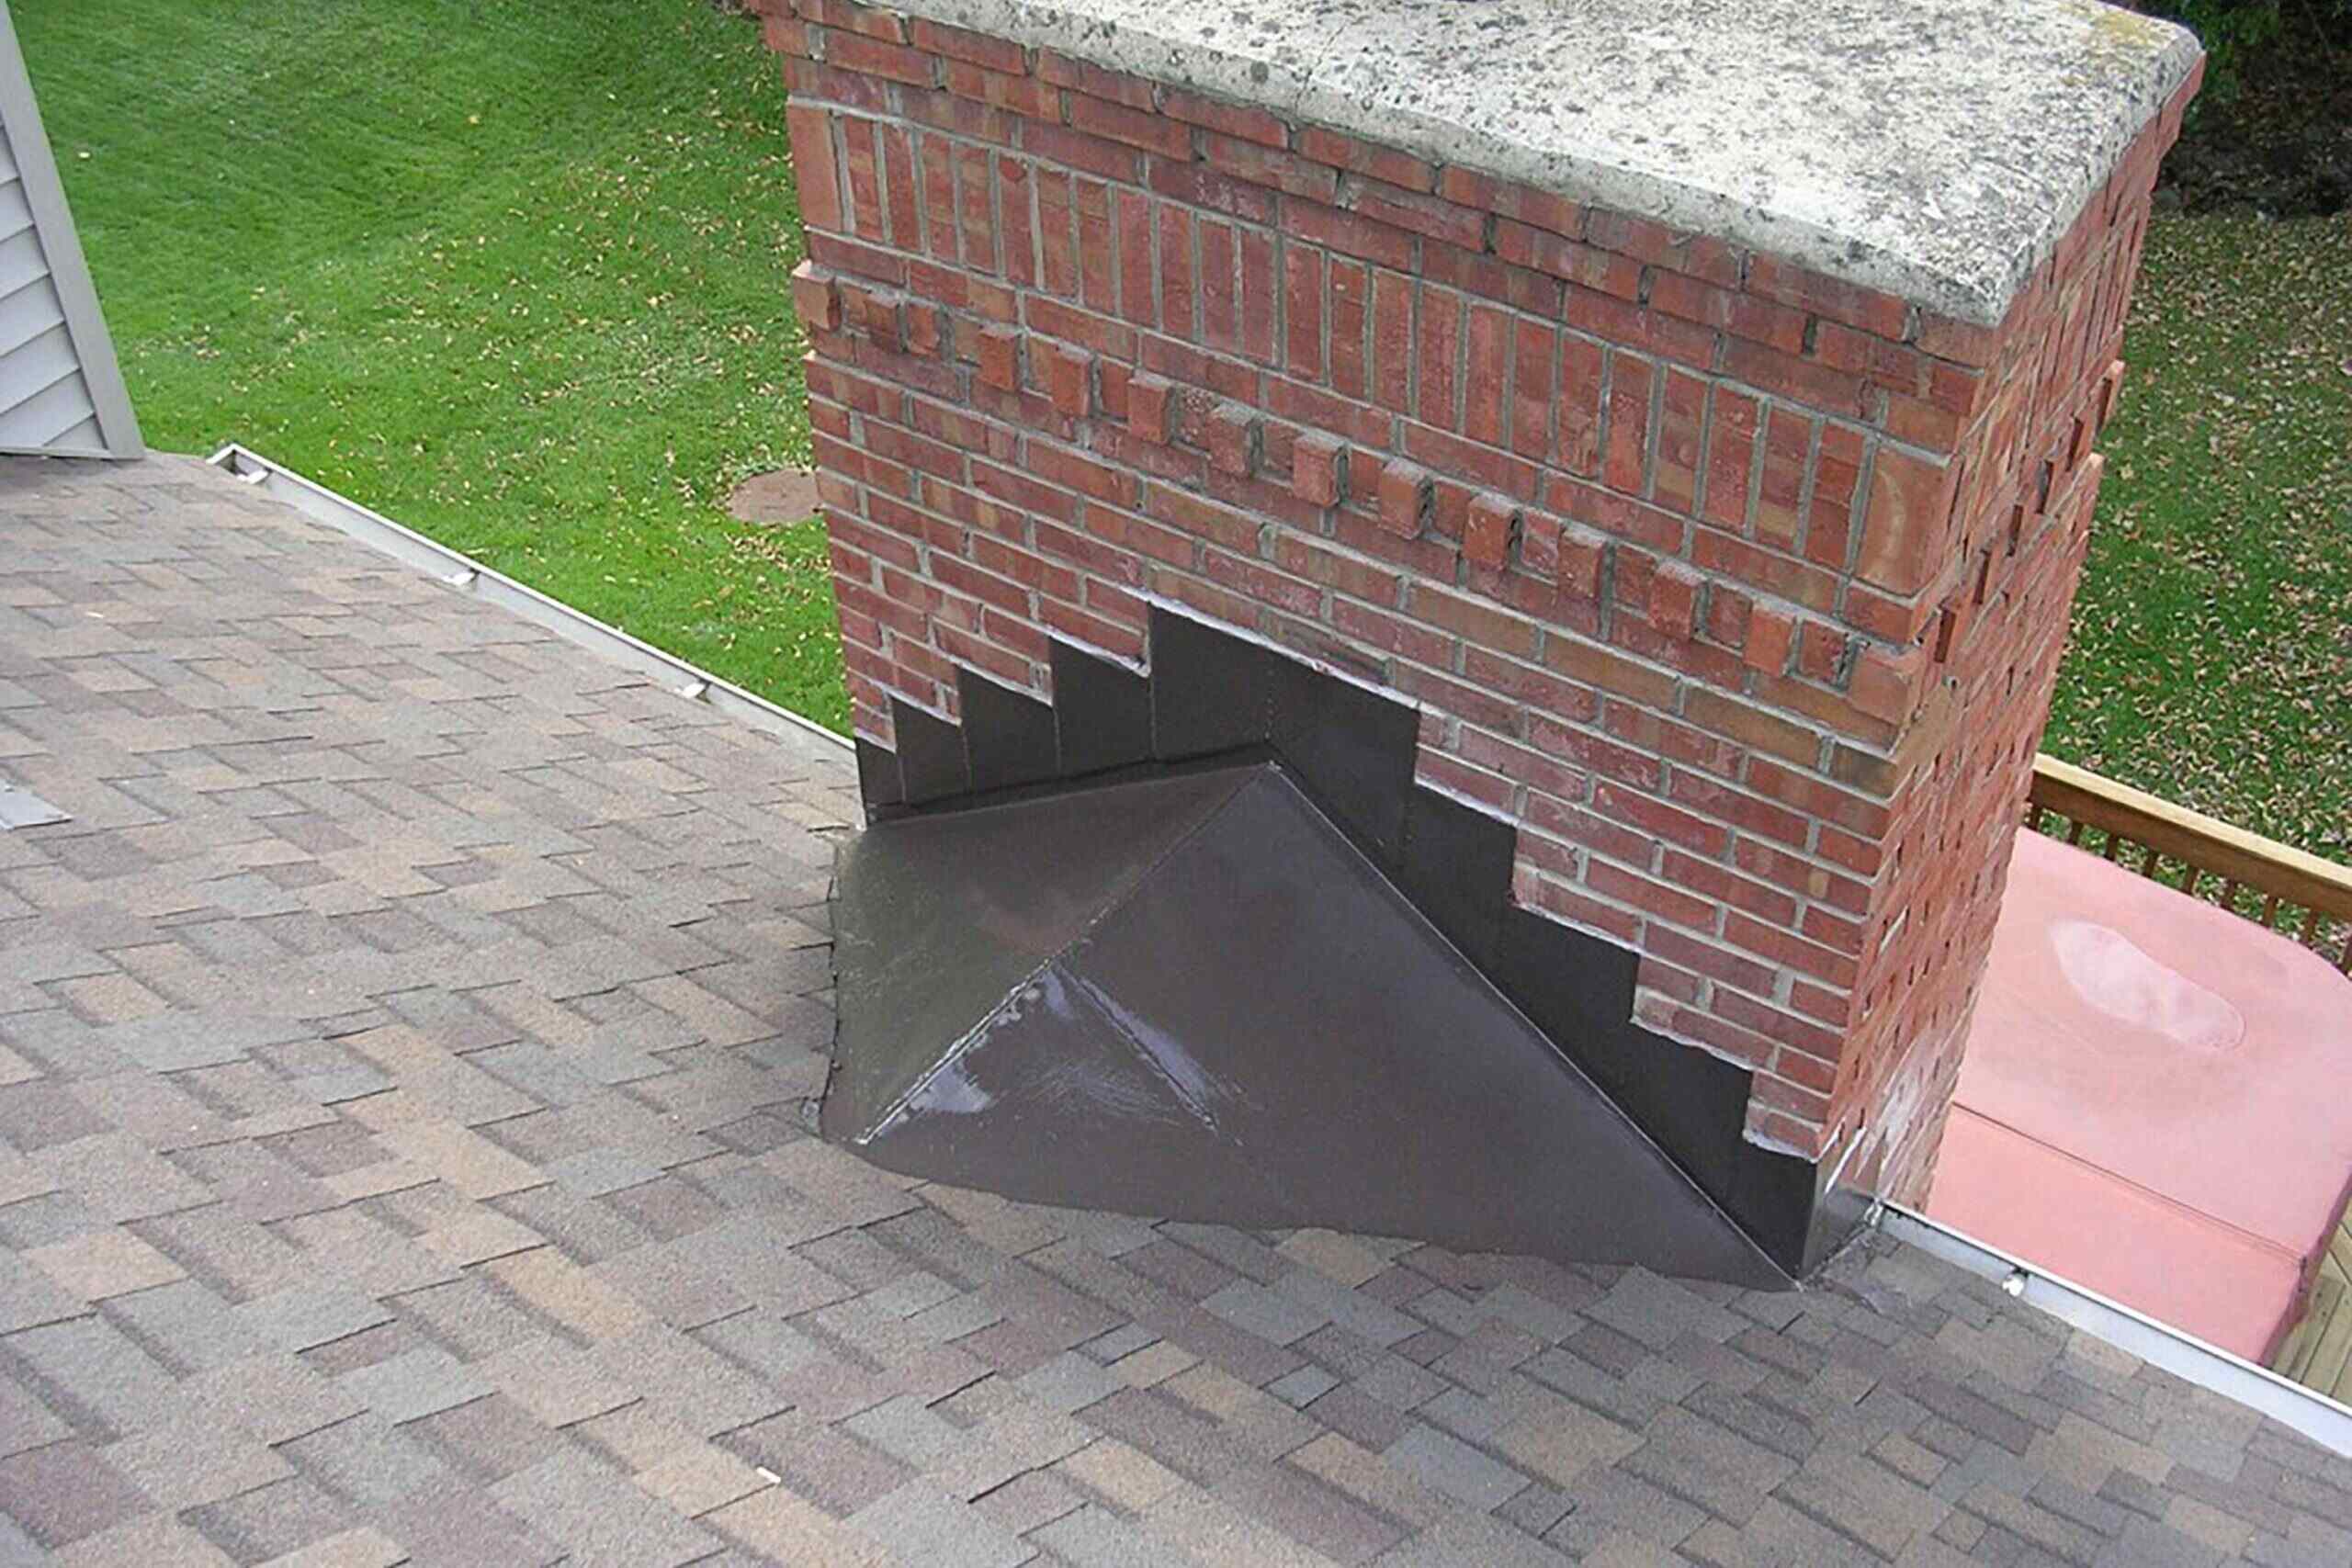
- Roof flashing
- Storm collar
- Roof braces
Having the right tools and materials ready before beginning the installation process will save you time and prevent unnecessary delays. Make sure to check the installation instructions provided by the manufacturer of the wood burner and chimney components to ensure you have all the specific tools and materials required for your particular model.
By gathering the necessary tools and materials, you will be well-prepared for the installation process and can proceed with confidence.
Step 3: Preparing the Chimney
Once you have gathered all the necessary tools and materials, the next step in the wood burner installation process is preparing the chimney. This involves sizing and cutting the chimney pipe and attaching any necessary connectors or adapters.
First, you need to determine the appropriate size of the chimney pipe for your wood burner. This is typically specified by the manufacturer and depends on the size and output of your wood burner. Measure the diameter of the stove collar to ensure a proper fit. Use a tape measure or calipers to get an accurate measurement.
Next, using a saw or pipe cutter, cut the chimney pipe to the required length. It’s important to measure carefully and cut the pipe to the appropriate size, considering the height and clearance requirements specified by the manufacturer or local building codes.
After cutting the chimney pipe, check if any connectors or adapters are required to connect the chimney pipe to the wood burner or other components. These connectors and adapters ensure a secure and leak-proof connection. Consult the instructions provided by the manufacturer to determine the specific connectors or adapters needed for your particular wood burner model.
Once you have the appropriate connectors or adapters, attach them to the chimney pipe according to the manufacturer’s instructions. This may involve using screws, clamps, or other securing mechanisms to ensure a tight fit.
During this step, it’s important to pay attention to the alignment and positioning of the chimney pipe. Make sure it is straight and properly aligned with the stove collar and other components to ensure efficient and effective smoke ventilation.
By properly sizing and cutting the chimney pipe, as well as attaching any necessary connectors or adapters, you will lay the groundwork for a successful wood burner installation.
Step 4: Installing the Wood Burner
With the chimney prepared and ready, it’s time to move on to installing the wood burner itself. This step involves positioning the stove in the chosen location and securing it to the floor or wall as needed.
Begin by carefully positioning the wood burner in the designated area. Ensure that there is enough clearance on all sides, as specified by the manufacturer or local building codes. This clearance is crucial to prevent heat damage and ensure proper air circulation around the stove. It’s also important to position the wood burner in a way that allows easy access for adding wood, cleaning, and maintenance.
Once you have determined the ideal position for the wood burner, you need to secure it to the floor or wall. This step is essential to prevent the stove from tipping over or moving during use, which can be dangerous. The method of securing the stove depends on the specific model and the installation requirements.
If you are installing a freestanding wood burner, it may have a built-in mounting bracket or feet designed to be bolted down to the floor. Follow the manufacturer’s instructions to securely fasten the stove using the provided hardware. Ensure that the bolts are tightened properly to prevent any movement or instability.
If you are installing a wood burner against a wall, you may need to use a wall-mounting bracket or attach it to a secure wall. Consult the manufacturer’s instructions to determine the appropriate method for securing the stove to the wall. Use sturdy brackets or support brackets designed for the specific model and ensure they are properly installed for stability and safety.
During the installation process, ensure that the wood burner is level using a spirit level. A level stove not only enhances its aesthetic appeal but also ensures proper burning and efficient heat distribution.
By carefully positioning the wood burner and securing it to the floor or wall as needed, you will create a safe and stable installation for your wood burner.
Make sure to check local building codes and regulations before installing a wood burner and chimney. It’s important to ensure that the installation meets all safety requirements and standards.
Step 5: Connecting the Chimney Pipe
After installing the wood burner, the next step is to connect the chimney pipe. This process involves inserting the chimney pipe into the stove collar and attaching additional pipe sections if needed.
Start by ensuring that the stove collar is clean and free from any debris or obstructions. This will ensure a proper and secure connection between the stove and the chimney pipe. Use a wire brush or chimney brush to clean the collar if necessary.
Insert the chimney pipe into the stove collar, making sure it fits snugly. The pipe should slide into the collar smoothly but also have a secure and tight fit. Take care to align the pipe correctly with the stove collar to ensure proper ventilation and exhaust flow.
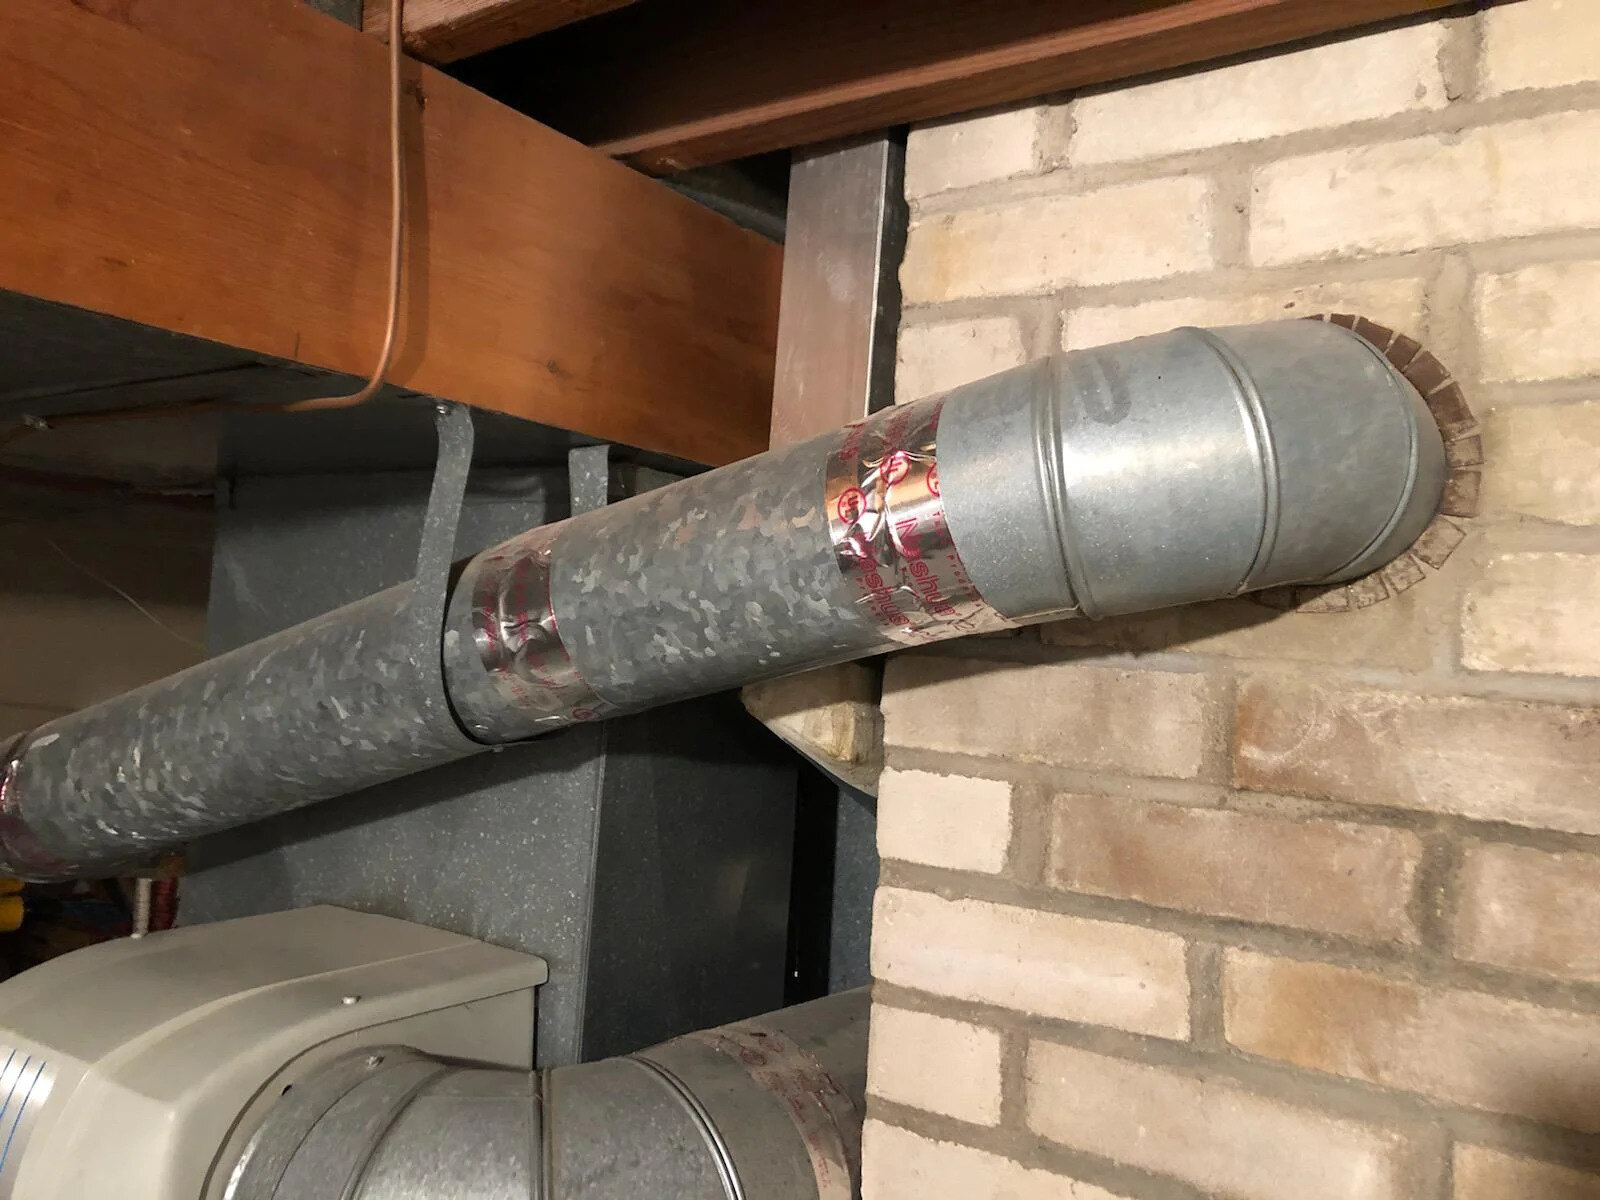
If the chimney pipe is not long enough to reach the desired height, you may need to attach additional pipe sections. These sections should be properly sized and connected according to the manufacturer’s instructions. Use appropriate connectors or adapters to join the sections securely. It’s important to follow the specific guidelines provided by the manufacturer to ensure a leak-proof and efficient connection.
During the installation process, pay close attention to the joints between the chimney pipe sections. Ensure that they are properly sealed using high-temperature silicone sealant or tape specifically designed for chimney installations. This will prevent any leaks or drafts and promote proper air flow.
Keep in mind that the height and configuration of the chimney pipe may be subject to local building codes and regulations. It’s essential to consult with a professional or local authorities to ensure compliance with these requirements.
By carefully connecting the chimney pipe, inserting it into the stove collar, and attaching additional sections if needed, you will create a secure and efficient pathway for the smoke and gases to exit your wood burner.
Step 6: Assembling and Installing the Chimney
Once the chimney pipe is correctly connected to the wood burner, the next step is to assemble and install the remaining components of the chimney system. This includes constructing the chimney system and properly sealing and securing all the chimney components.
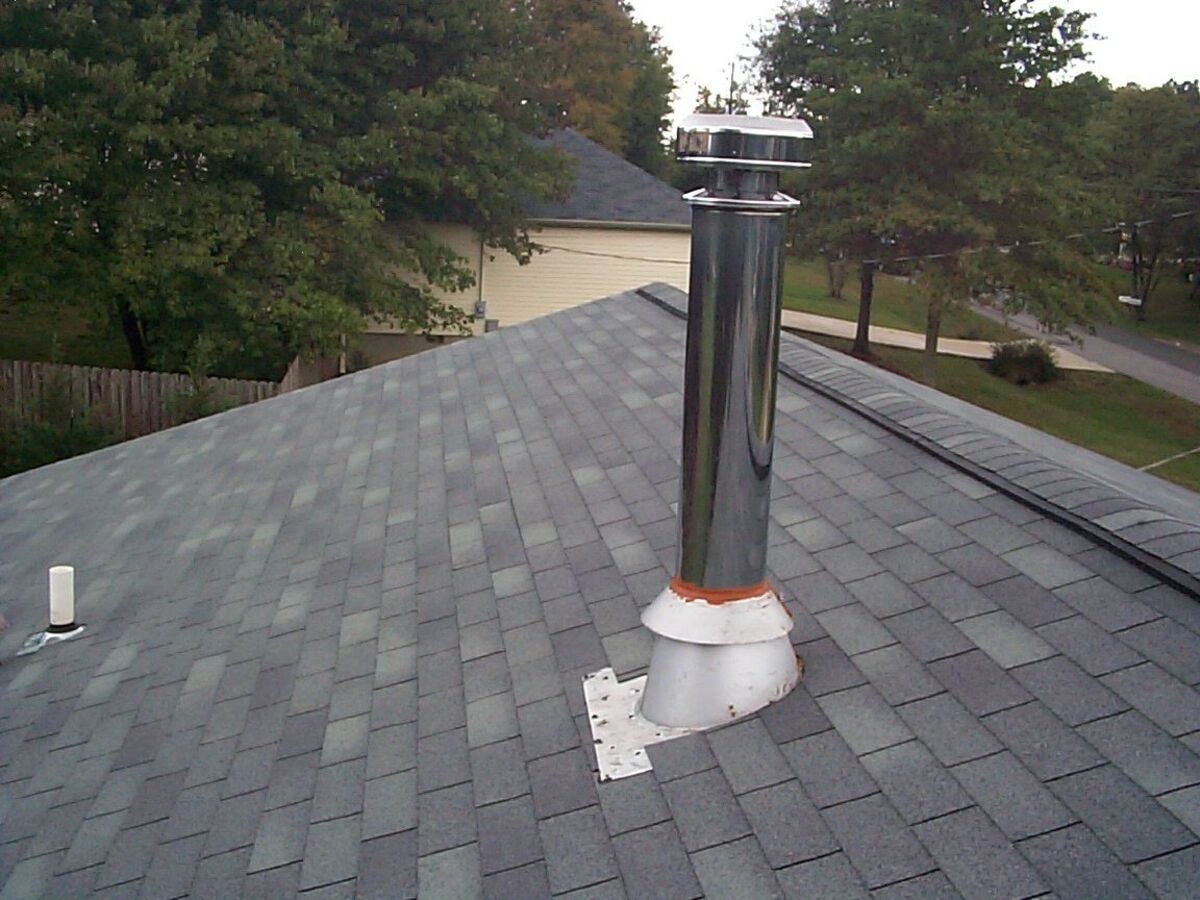
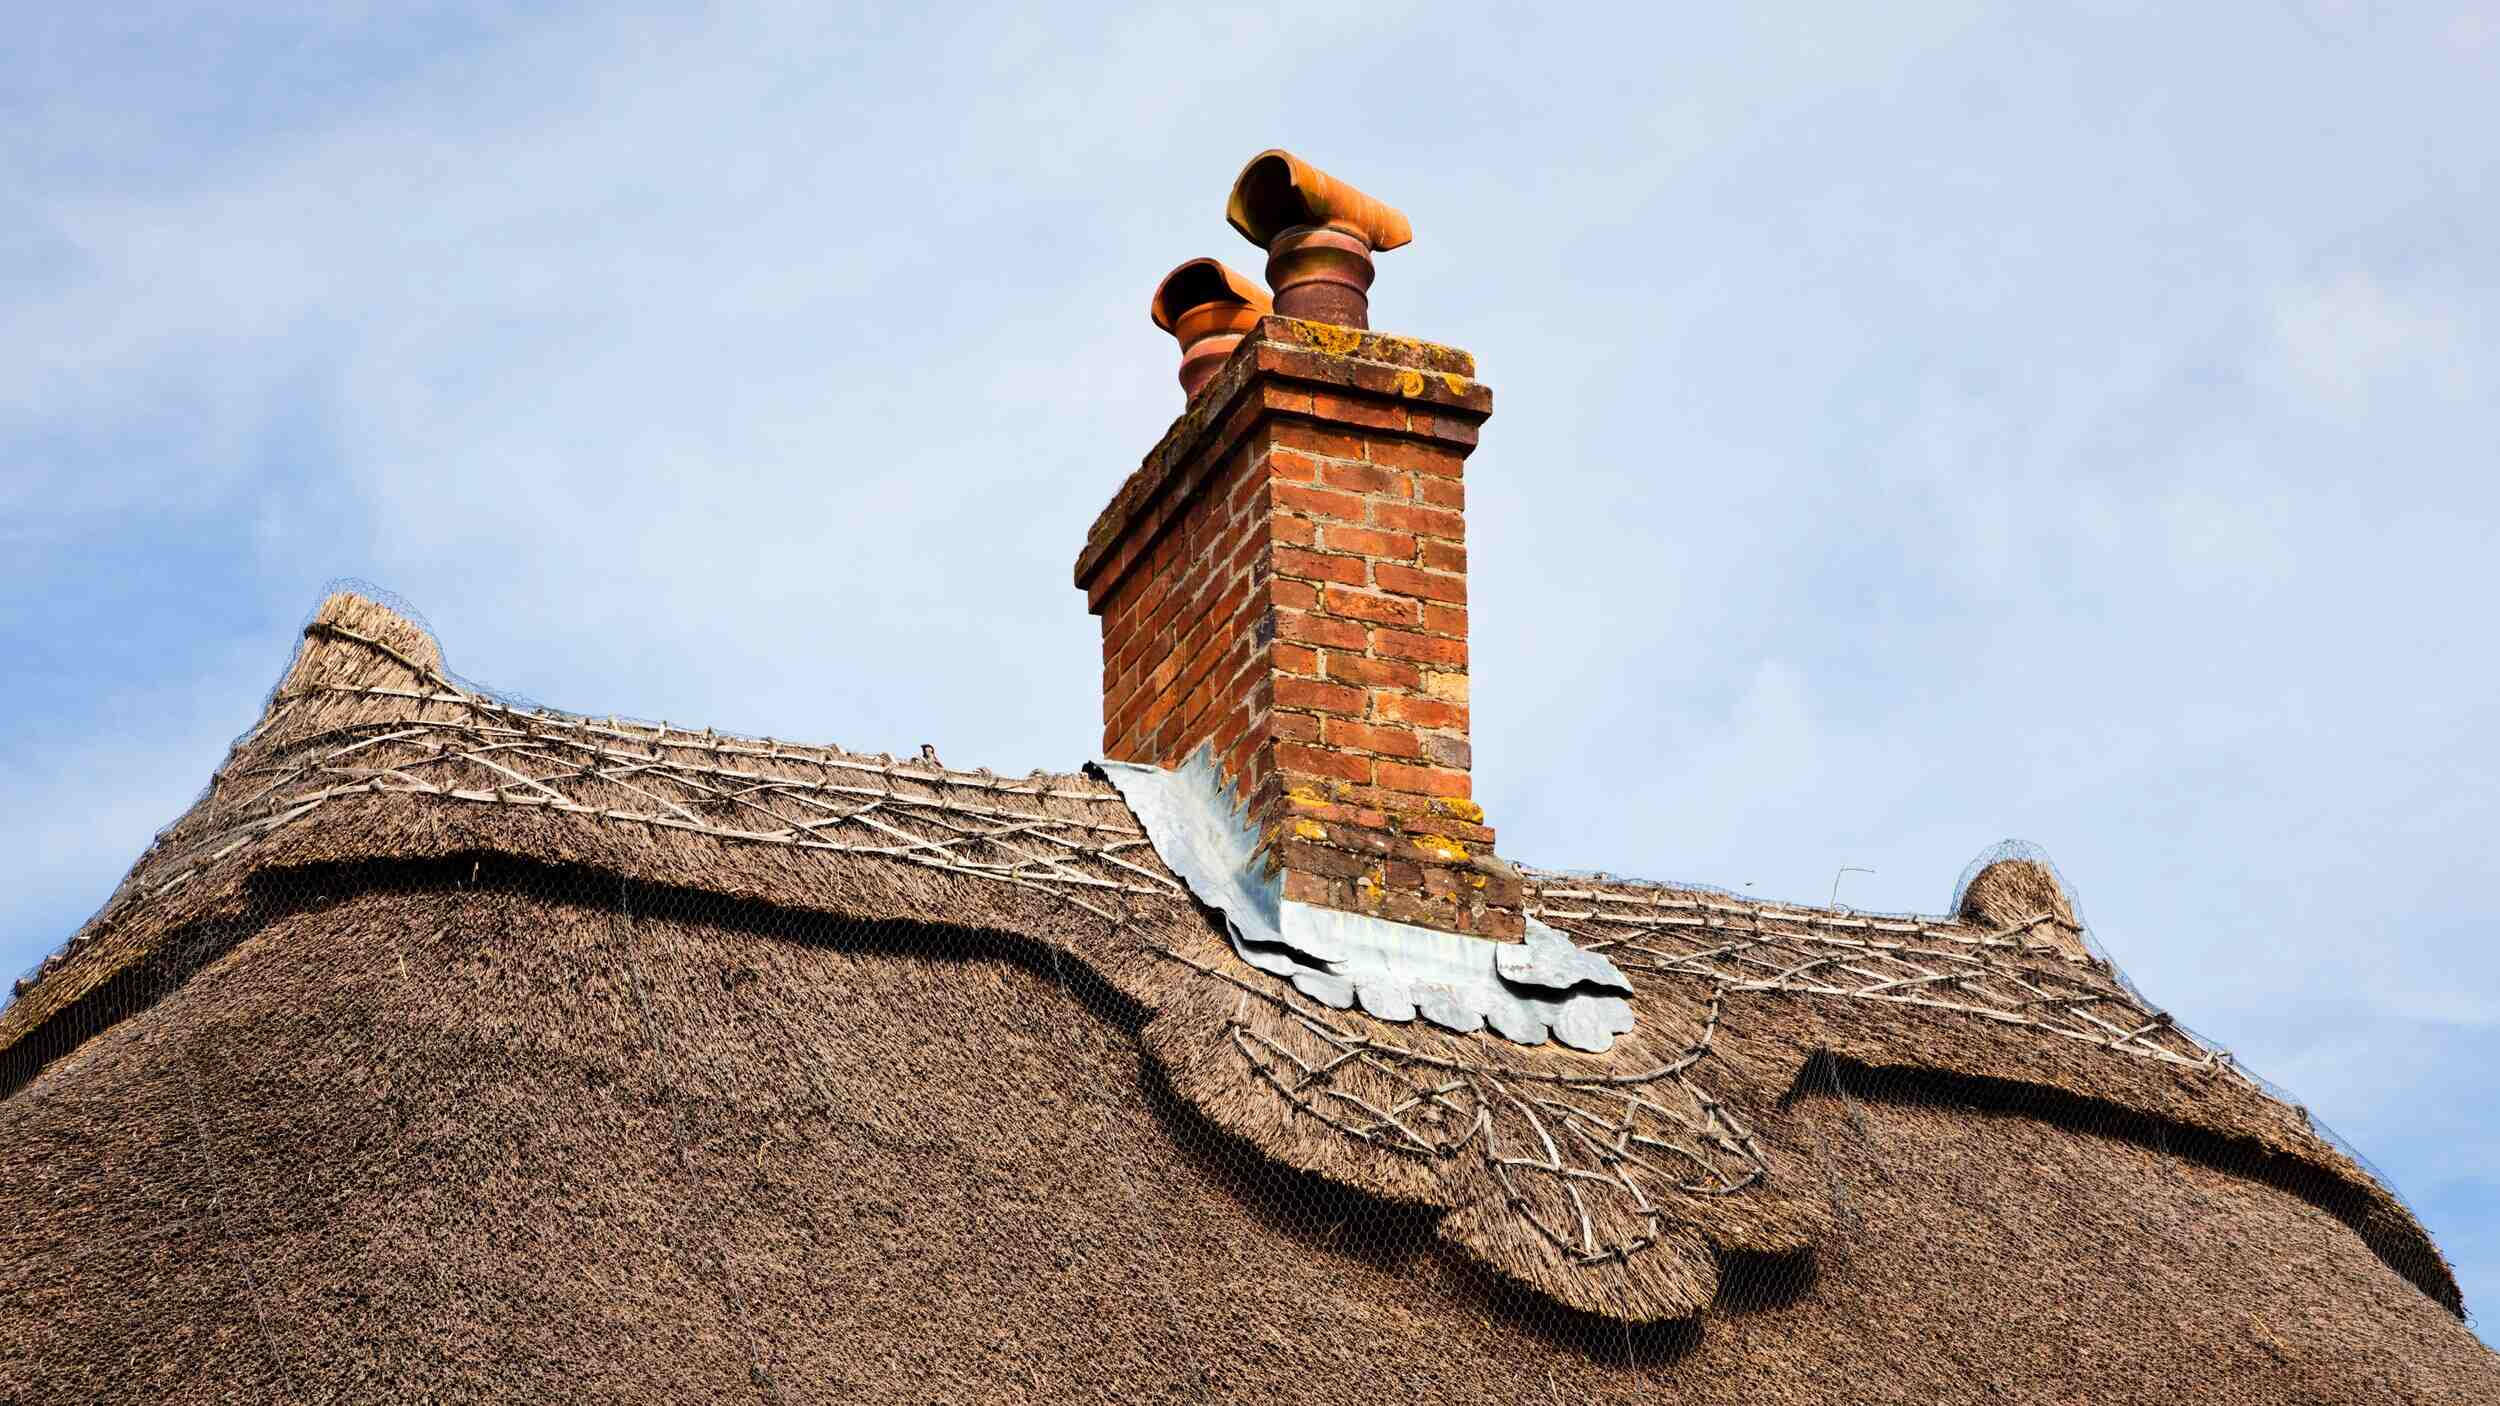
Start by evaluating the type of chimney system required for your wood burner. There are various options available, including masonry chimneys, prefabricated stainless steel chimneys, or insulated stainless steel chimney liners. Choose the system that best fits your needs and follows any local building codes or regulations.
If installing a masonry chimney, follow the proper construction techniques and guidelines specific to your area. This may involve building a brick or stone chimney from the ground up, including the base, flue, and chimney cap. Consult a professional if you are unsure about the construction process or require assistance.
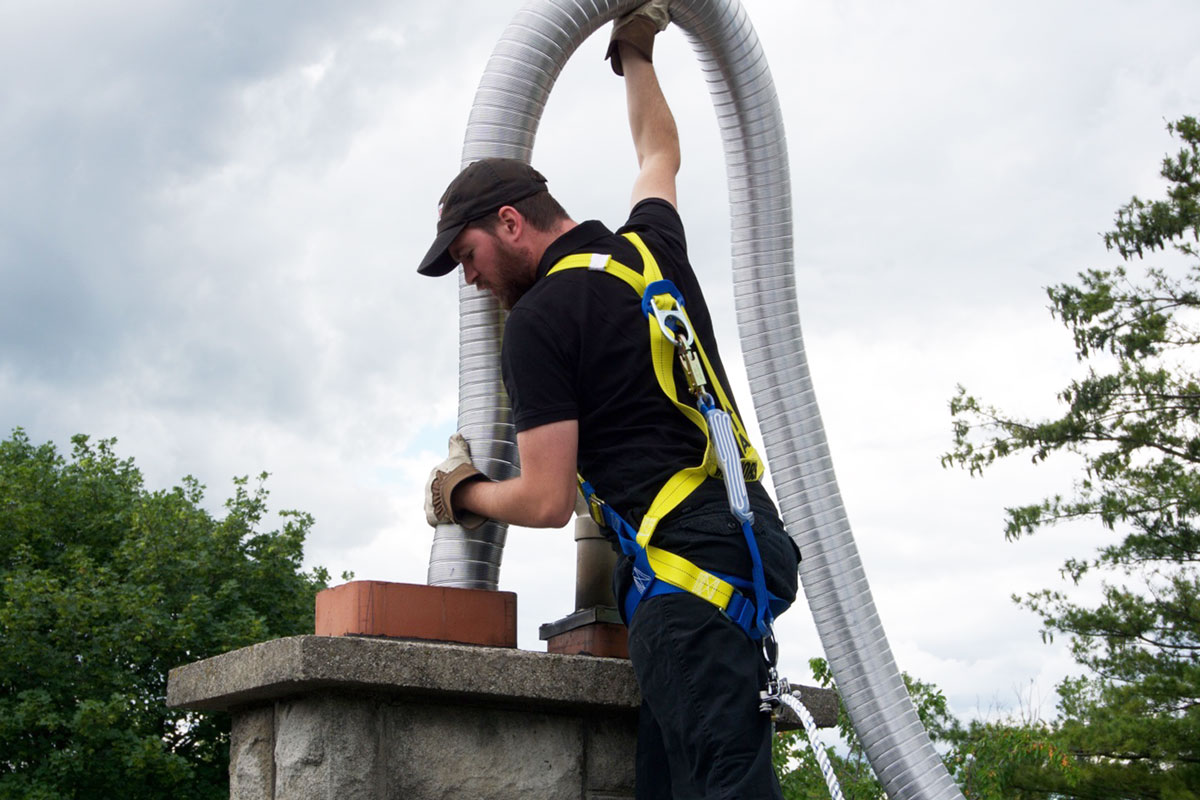
If using a prefabricated stainless steel chimney or insulated stainless steel chimney liner, carefully follow the manufacturer’s instructions for assembly. Connect the various sections of the chimney, ensuring a secure and tight fit. Use appropriate connectors, adapters, and clamps as directed by the manufacturer.
Properly sealing and securing the chimney components is crucial to prevent any leaks or drafts. Use fireproof cement or mortar to seal the joints, ensuring a tight and durable connection. Apply the cement or mortar generously and smooth it out for a professional finish. Check for any gaps or openings in the chimney system and fill them accordingly.
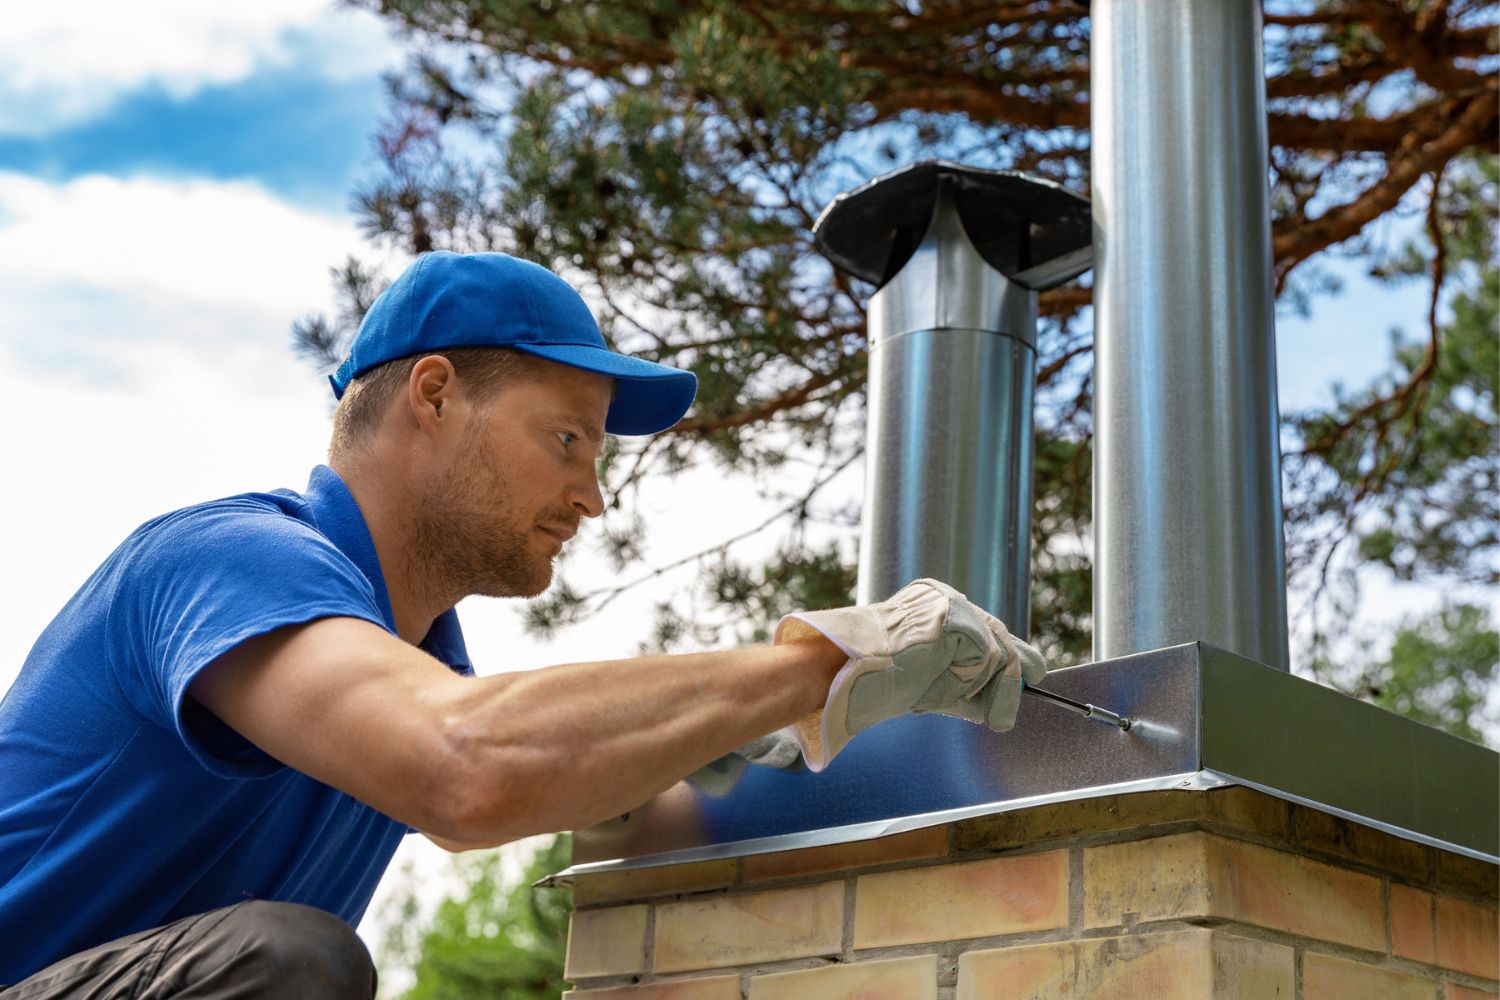
Secure the chimney components in place using brackets, support straps, or other methods as specified by the manufacturer. Ensure that the chimney is stable and securely attached to the structure, allowing for expansion and contraction during use.
It’s important to remember that the installation of the chimney system may require working at heights, handling heavy materials, and following safety precautions. If you are not comfortable or experienced with these tasks, it’s advisable to hire a professional chimney installer to ensure a safe and proper installation.
By carefully assembling and installing the chimney system, and properly sealing and securing the chimney components, you will establish a reliable and efficient pathway for the smoke and gases to exit your wood burner.
Step 7: Inspecting and Testing the Installation
Once the wood burner and chimney system are in place, it’s essential to conduct a thorough inspection and test the installation to ensure its safety and proper functionality. This final step will give you peace of mind and ensure that everything is in working order.
Start by carefully inspecting the entire installation, including the wood burner, chimney pipe, and chimney system. Look for any signs of damage, loose connections, or potential issues. Check for gaps, cracks, or leaks in the chimney components. Ensure that all seals and joints are properly secured and in good condition.
If you notice any issues during the inspection, address them promptly. This may involve tightening connections, applying additional sealant, or consulting with a professional if necessary. It’s crucial to resolve any problems before using the wood burner to ensure safety and prevent potential hazards.
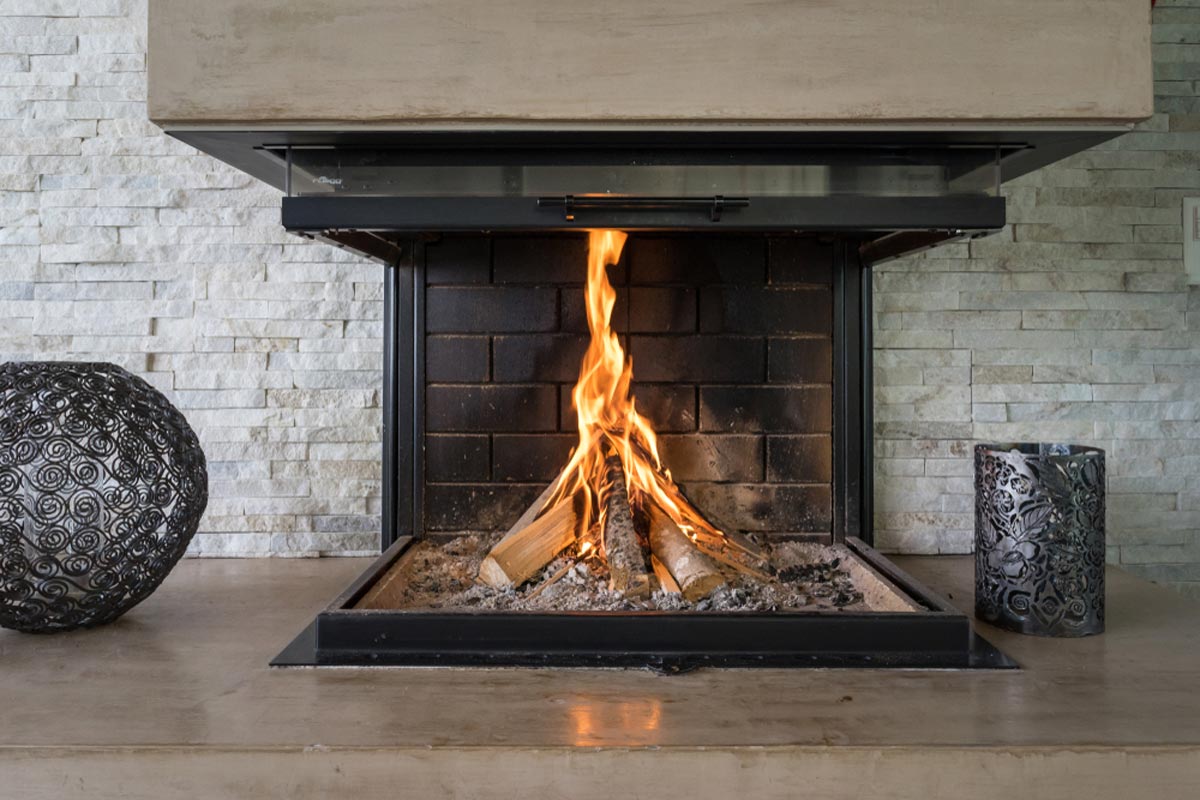
Once you are satisfied with the visual inspection, it’s time to test the wood burner for functionality. Light a small fire using the recommended fuel, following the manufacturer’s guidelines. Observe the flames and smoke as the fire burns.
Pay attention to factors such as the quality of the burn, the amount of smoke produced, and the direction of the smoke exiting the chimney. The flames should be steady and even, while the smoke should be drawn up and out of the chimney efficiently. If there are any irregularities or issues, such as excessive smoke or improper ventilation, it’s important to address them before regular use.
During the testing phase, also check for any unusual odors or carbon monoxide emissions. Carbon monoxide is a colorless and odorless gas that can be harmful and even fatal. Consider installing carbon monoxide detectors near the wood burner to ensure everyone’s safety.
It’s important to note that the initial testing should be conducted in a controlled manner and for a shorter duration. Gradually increase the length and intensity of the fires over time, monitoring the performance and ensuring that the wood burner operates properly under varying conditions.
By conducting a thorough inspection and testing the wood burner, you can ensure that the installation is safe, functional, and ready for regular use. Regular maintenance and inspections are also recommended to keep the wood burner and chimney system in optimal condition.
Conclusion
Congratulations! You have successfully completed the installation of your wood burner with a chimney. By following the step-by-step guide and taking the necessary precautions, you have created a cozy and efficient heating solution for your home.
Throughout the installation process, you assessed the installation area, ensuring the right location and proper clearance. You gathered the necessary tools and materials, enabling a smooth workflow. You prepared the chimney, sizing and cutting the chimney pipe, and attaching connectors or adapters. You installed the wood burner, positioning it in the chosen location and securing it to the floor or wall. You connected the chimney pipe, inserting it into the stove collar and adding additional sections if needed. You assembled and installed the chimney system, sealing and securing all the components. Finally, you inspected and tested the installation, ensuring its safety and functionality.
However, it’s important to remember that wood burner installations can vary depending on local building codes, regulations, and the specific requirements of your wood burner model. It’s always recommended to consult with a professional or local authorities to ensure compliance and safety.
Regular maintenance and inspections are key to keeping your wood burner and chimney system in optimal condition. Check for any signs of damage, clean the chimney regularly, and perform routine maintenance as recommended by the manufacturer. This will not only ensure the efficient operation of your wood burner but also prolong its lifespan.
Enjoy the warmth and ambiance that your wood burner brings to your home. Embrace the comfort of a crackling fire and the cost-effective heating it provides. Remember to practice responsible wood burning by using dry, seasoned wood and following environmentally-friendly practices.
Thank you for following this comprehensive guide on how to install a wood burner with a chimney. We hope that this information has been valuable and has empowered you to successfully complete your wood burner installation. Stay warm and cozy!
Frequently Asked Questions about How To Install A Wood Burner With A Chimney
Was this page helpful?
At Storables.com, we guarantee accurate and reliable information. Our content, validated by Expert Board Contributors, is crafted following stringent Editorial Policies. We're committed to providing you with well-researched, expert-backed insights for all your informational needs.


0 thoughts on “How To Install A Wood Burner With A Chimney”