Home>Home Maintenance>How To Install A Dryer Vent Through Brick
Home Maintenance
How To Install A Dryer Vent Through Brick
Modified: October 22, 2024
Learn how to properly install a dryer vent in your home's brick wall with this step-by-step guide. Ensure the safety and efficiency of your laundry room with this essential home maintenance project.
(Many of the links in this article redirect to a specific reviewed product. Your purchase of these products through affiliate links helps to generate commission for Storables.com, at no extra cost. Learn more)
Introduction
Welcome to the world of home maintenance! Today, we are going to delve into the important topic of installing a dryer vent through brick. Proper ventilation for your dryer is crucial for the overall health and functionality of your appliance, as well as the safety of your home. By correctly installing a dryer vent through brick, you can ensure that your dryer operates efficiently and that potentially harmful gases are safely expelled from your living space.
Before we jump into the step-by-step guide, let’s take a moment to understand why a dryer vent is essential. When you use your dryer, it produces hot, moist air that needs to be expelled from your home. Without proper ventilation, this humid air can lead to excessive moisture build-up, which can cause mold growth, damage to your walls and ceilings, and even impact the air quality inside your house.
Now that we understand the importance of a properly installed dryer vent, let’s dive into the steps required to install one through a brick wall. But first, gather all the necessary tools and materials to streamline the process.
Key Takeaways:
- Proper dryer vent installation through brick is crucial for home safety and dryer efficiency. It prevents moisture build-up and mold growth, ensuring optimal airflow and protecting your walls and ceilings.
- Prioritize safety and precision when installing a dryer vent. Choose the right location, gather necessary materials, and follow each step carefully. Regular maintenance is key to preventing lint buildup and maintaining optimal airflow.
Read more: How To Install A Dryer Vent Through The Roof
Step 1: Gather Materials
Before you start the installation process, it’s important to gather all the necessary materials. Here’s a list of items you’ll need:
- Measuring tape: You’ll need to accurately measure the location for the vent.
- Marker or pencil: To mark the drill hole on the brick.
- Masonry drill bit: A special drill bit designed for drilling into brick or concrete.
- Drill: Use a drill with enough power to handle the masonry bit.
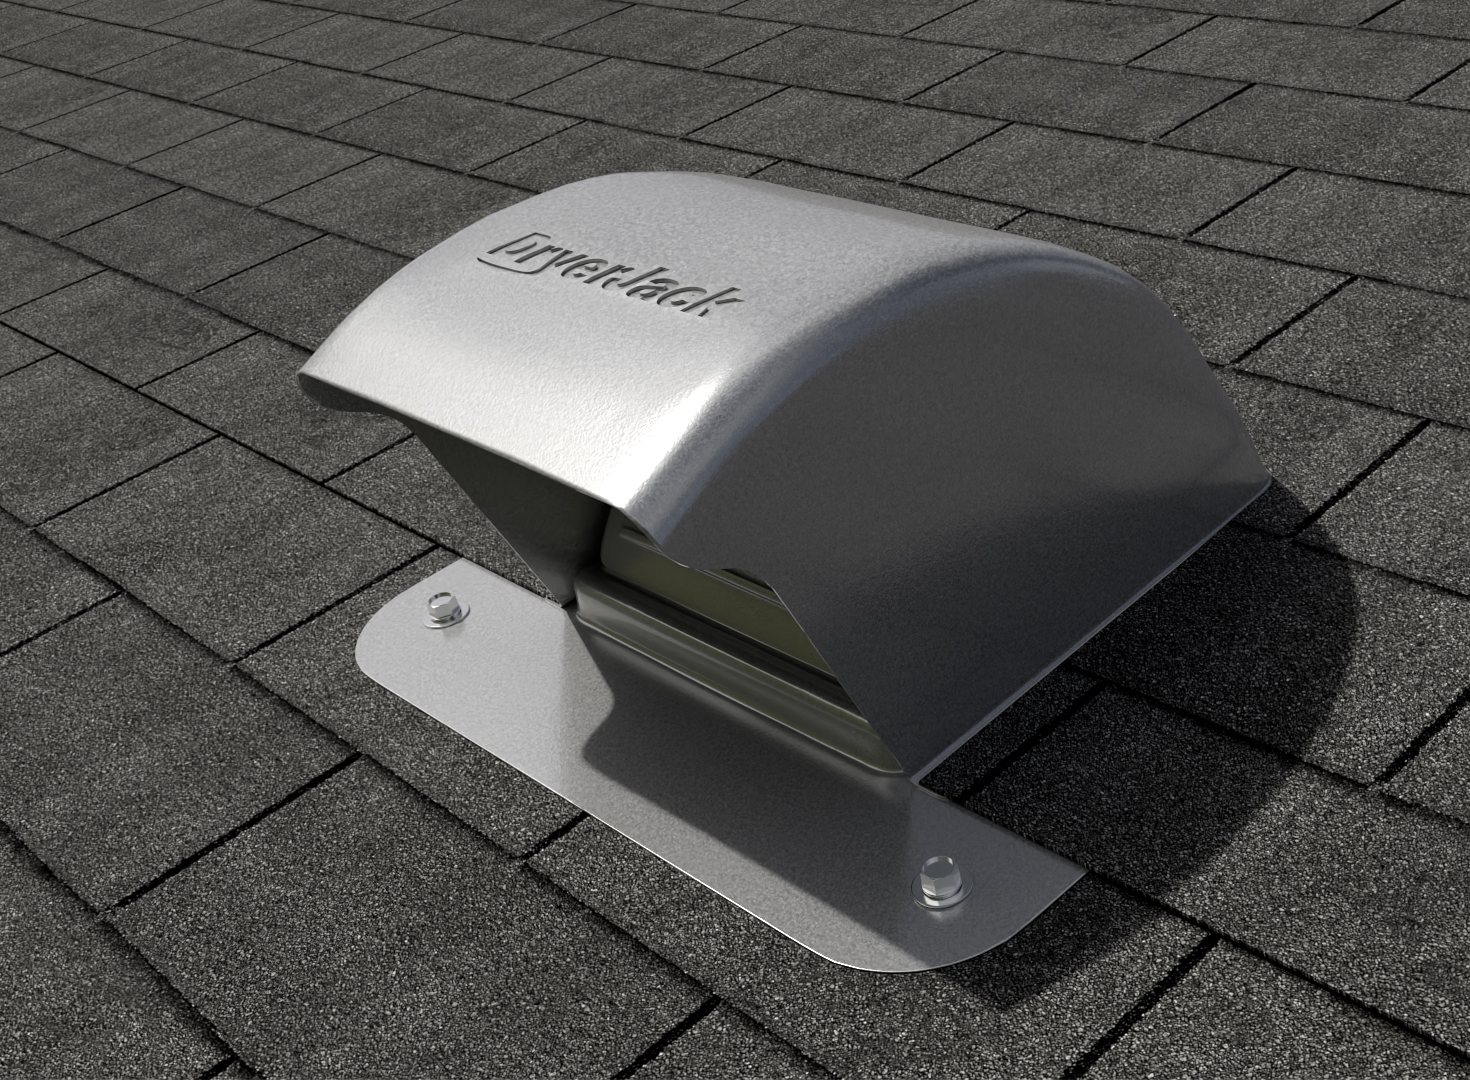
- Dryer vent hood: The hood is the external cover that protects the vent and ensures proper airflow.
- Duct tape: To securely connect the dryer vent to the vent hood.
- Screwdriver or drill with screwdriver bit: To attach the vent hood to the exterior wall.
- Caulk gun and waterproof caulk: To seal any gaps around the vent hood.
- Safety goggles and gloves: Protection for your eyes and hands during the installation process.
Make sure you have all these materials before you start. It’s always better to be prepared to avoid any delays during the installation.
Step 2: Decide on the Vent Location
Choosing the right location for your dryer vent is crucial for efficient and effective ventilation. Consider the following factors when deciding on the vent location:
- Proximity to the dryer: The vent should be easily accessible and as close to the dryer as possible for maximum efficiency.
- Exterior wall: Look for a suitable spot on an exterior wall where the vent can be installed.
- Clearance: Ensure that there are no obstructions, such as windows, doors, or electrical outlets, that could hinder the installation process.
- Safety: Keep in mind the safety aspects, such as avoiding vents near gas lines or flammable materials.
Take your time to evaluate these factors and choose the most suitable location for your vent. Once you have decided on the placement, move on to the next step of marking the drill hole.
Step 3: Mark the Drill Hole
Now that you have determined the location for your dryer vent, it’s time to mark the spot where you will drill the hole. Follow the steps below to ensure accurate marking:
- Measure the diameter of the dryer vent pipe. This will determine the size of the hole you need to drill.
- Using a measuring tape, mark the center point of the intended hole on the exterior wall. Make sure the mark is level and aligned with your chosen vent location.
- Place a level horizontally against the wall, ensuring that the mark is perfectly straight.
- With a marker or pencil, outline the shape of the vent hood on the wall. This will give you a visual guide for drilling the hole.
Take your time during this step to ensure accurate measurements and markings. Precision is key to a successful installation.
Now that you have marked the drill hole, it’s time to move on to the next step: drilling the hole in the brick wall.
Step 4: Drill the Hole
With the drill hole marked on the exterior wall, it’s time to grab your masonry drill bit and drill the hole for the dryer vent. Follow these steps:
- Put on your safety goggles and gloves to protect yourself during the drilling process.
- Insert the masonry drill bit into your drill, making sure it’s securely in place.
- Position the tip of the drill bit on the marked center point of the vent hole.
- Apply even and firm pressure as you start drilling into the brick. Make sure to keep the drill perpendicular to the wall to maintain a straight hole.
- Drill slowly and steadily, allowing the drill bit to cut through the brick. Take breaks if needed to prevent the drill bit from overheating.
- Continue drilling until you reach the desired depth based on the size of your dryer vent pipe. Refer to the manufacturer’s instructions for the recommended depth.
- Once you’ve reached the desired depth, slowly withdraw the drill bit while it’s still spinning to help remove any dust or debris from the hole.
Keep in mind that drilling into brick can be a time-consuming process, so it’s important to remain patient and focused. Remember to take breaks as needed and be cautious while handling the drill.
Now that you have successfully drilled the hole, it’s time to move on to the next step: clearing the debris from the hole.
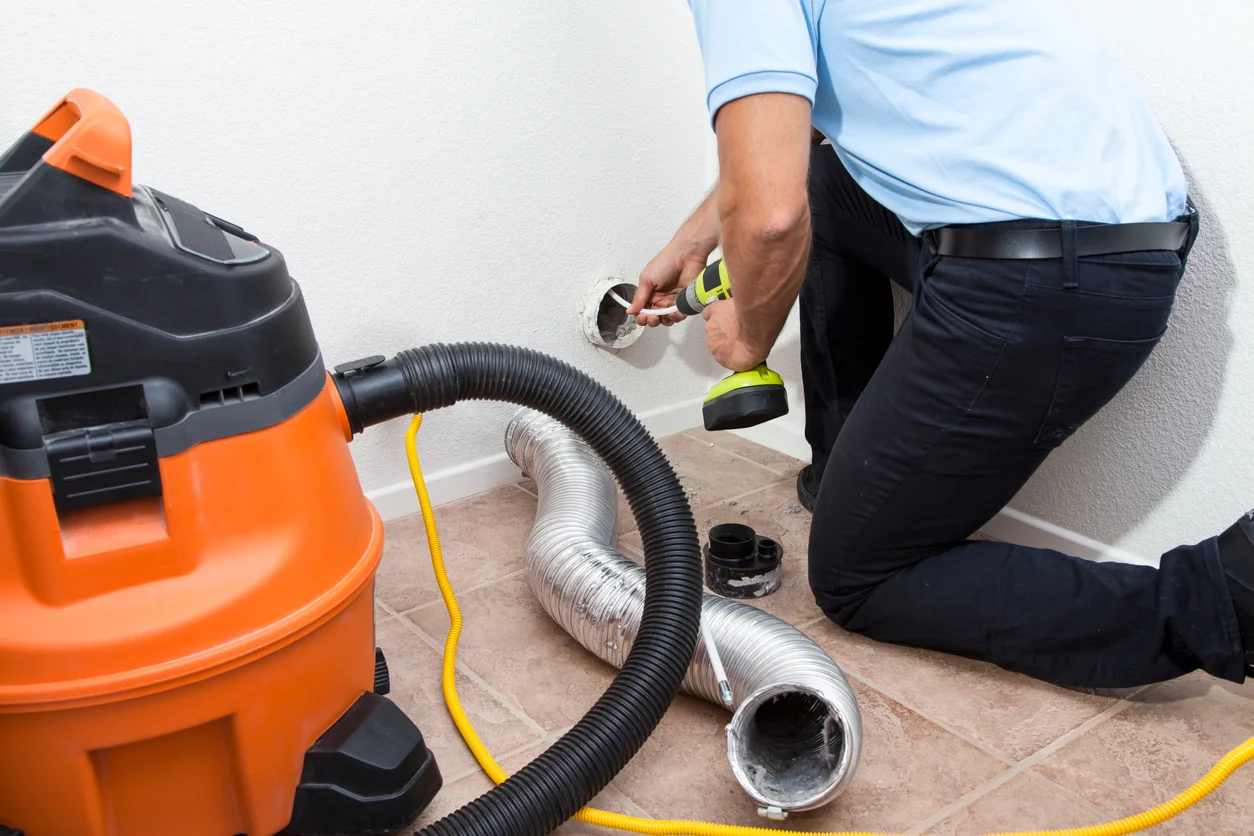
Step 5: Clear the Debris
After drilling the hole for your dryer vent, it’s important to clear any debris or dust that may have accumulated. This step ensures a clean and smooth passage for the vent pipe. Follow these steps to clear the debris:
- Use a vacuum cleaner with a brush attachment to suck out any loose debris from the hole. This will help remove any particles that could potentially block the vent and hinder airflow.
- Inspect the hole and use a small brush or a cloth to remove any remaining dust or debris.
- Ensure that the hole is completely clear, allowing for proper ventilation through the wall.
Clearing the debris is a vital step in the installation process. By taking the time to clean the hole thoroughly, you can prevent any potential blockages and ensure optimal airflow for your dryer.
With the debris cleared, it’s time to move on to the next step: attaching the vent hood to the exterior wall.
When installing a dryer vent through brick, use a masonry drill bit to create a pilot hole, then carefully chisel out the opening to fit the vent. Use a silicone sealant to secure the vent in place and prevent air leaks.
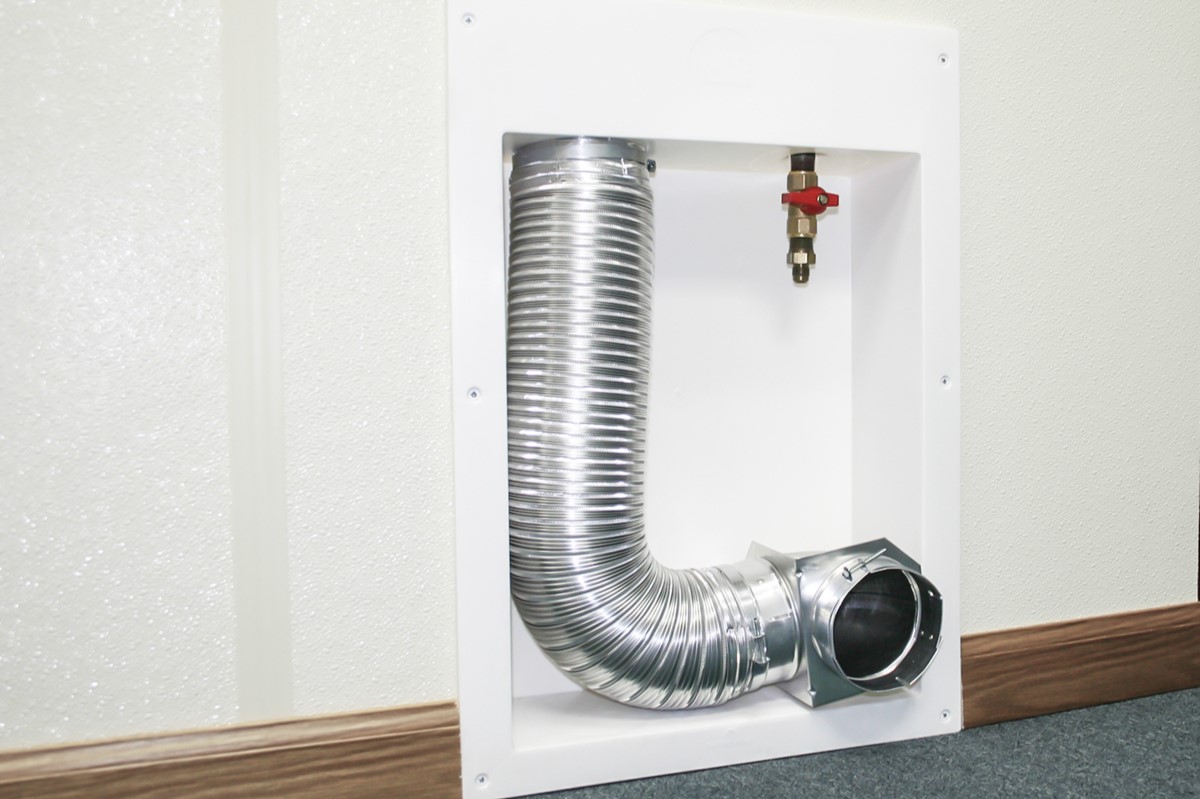
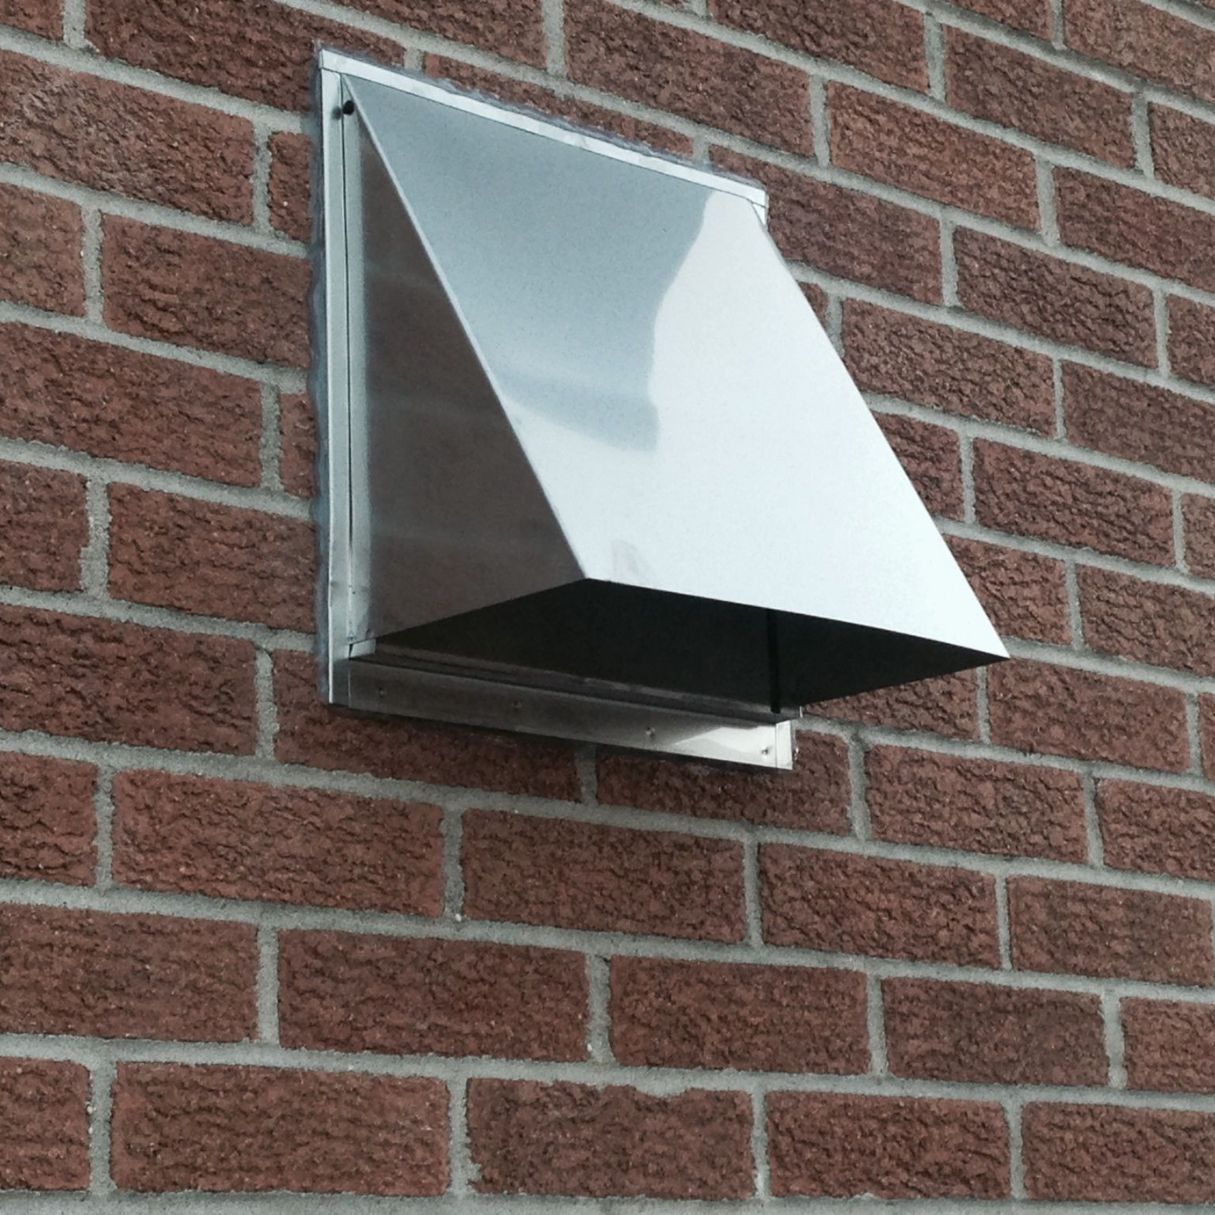
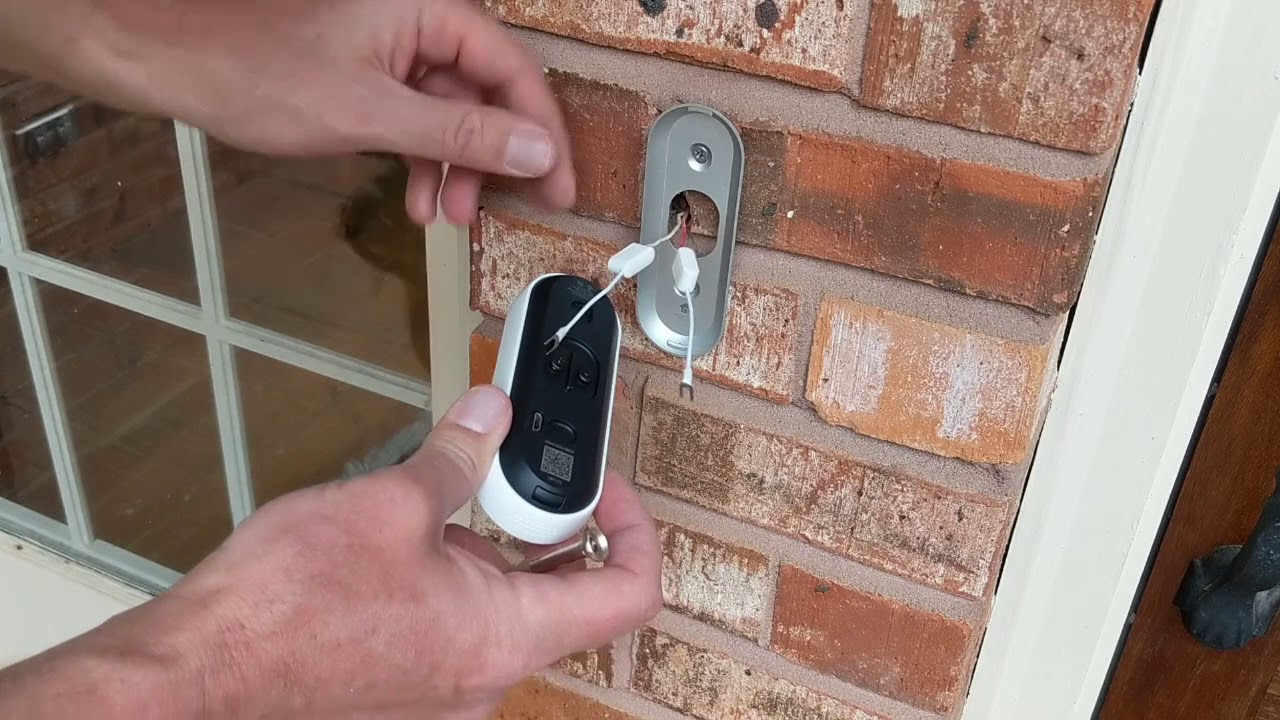
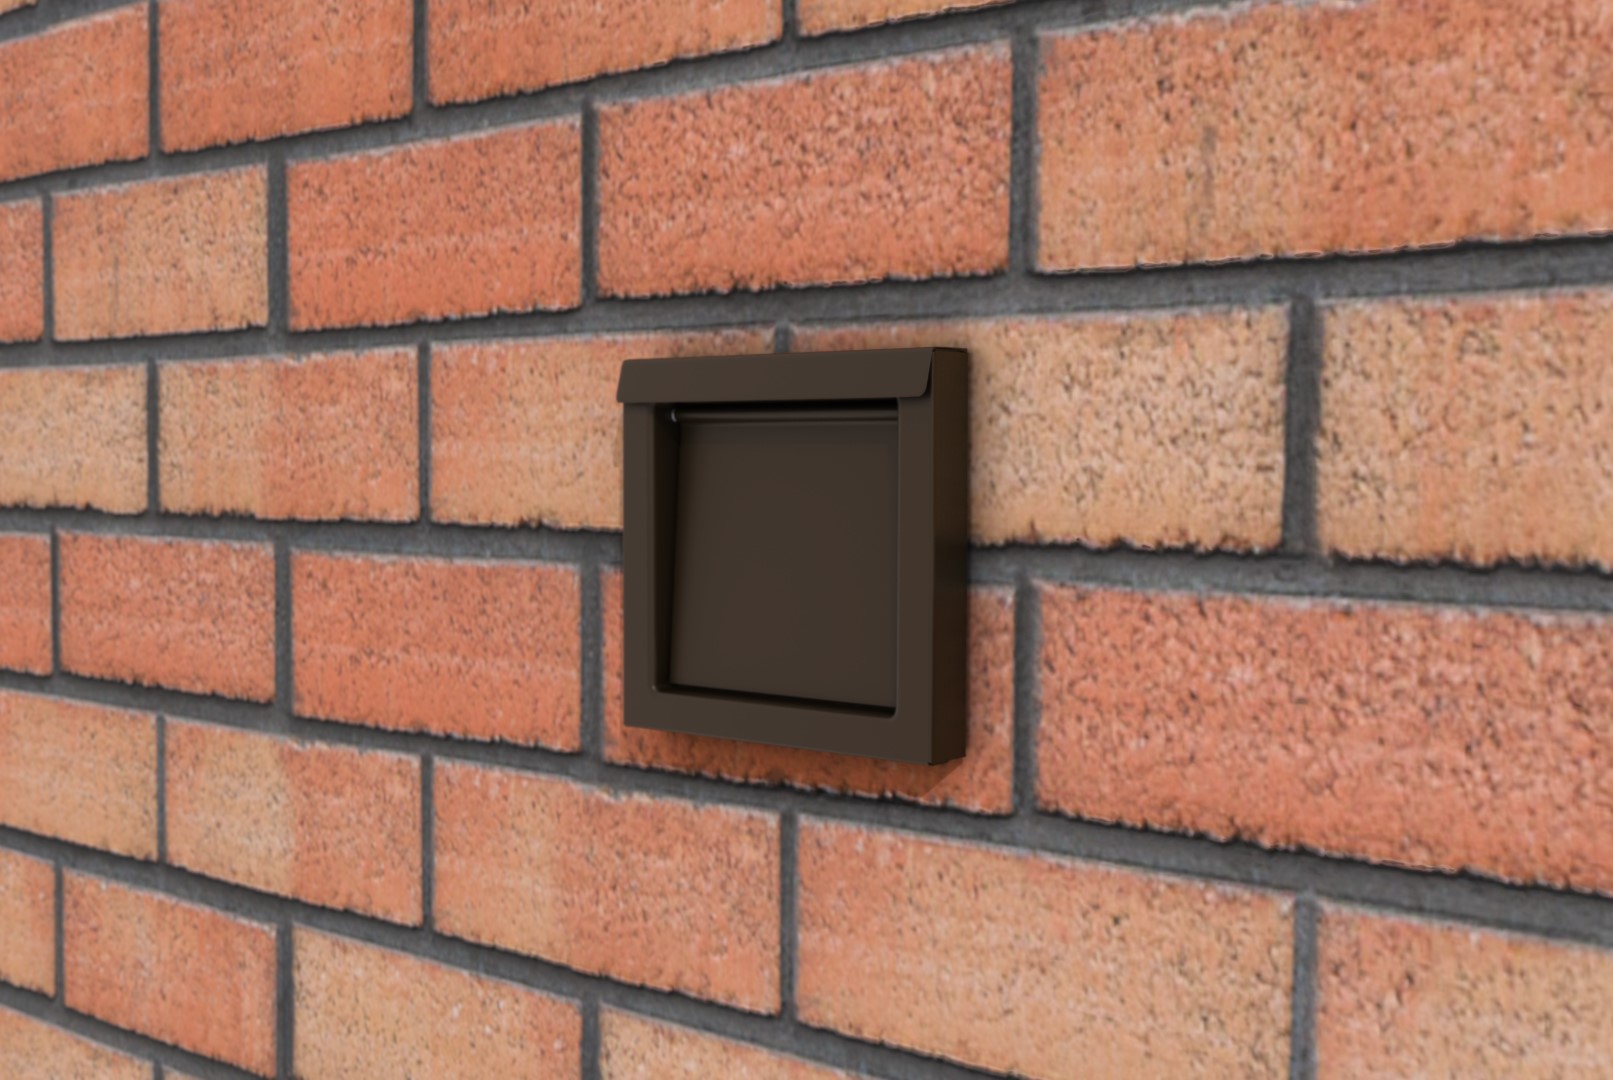
Step 6: Attach the Vent Hood
Now that you have cleared the debris from the hole, it’s time to attach the vent hood to the exterior wall. The vent hood serves as the external cover that protects the vent and ensures proper airflow. Follow these steps to attach the vent hood:
- Place the vent hood over the hole, aligning it with the outline you previously marked on the wall.
- Using a screwdriver or a drill with a screwdriver bit, secure the vent hood to the wall using screws. Make sure to use screws that are suitable for outdoor use to withstand the elements.
- Tighten the screws firmly, but be careful not to over-tighten and damage the vent hood or the wall.
Once you have securely attached the vent hood to the wall, give it a gentle tug to ensure it is firmly in place. The vent hood should be flush against the wall, with no gaps or wobbling.
With the vent hood successfully attached, it’s time to move on to the next step: connecting the dryer vent.
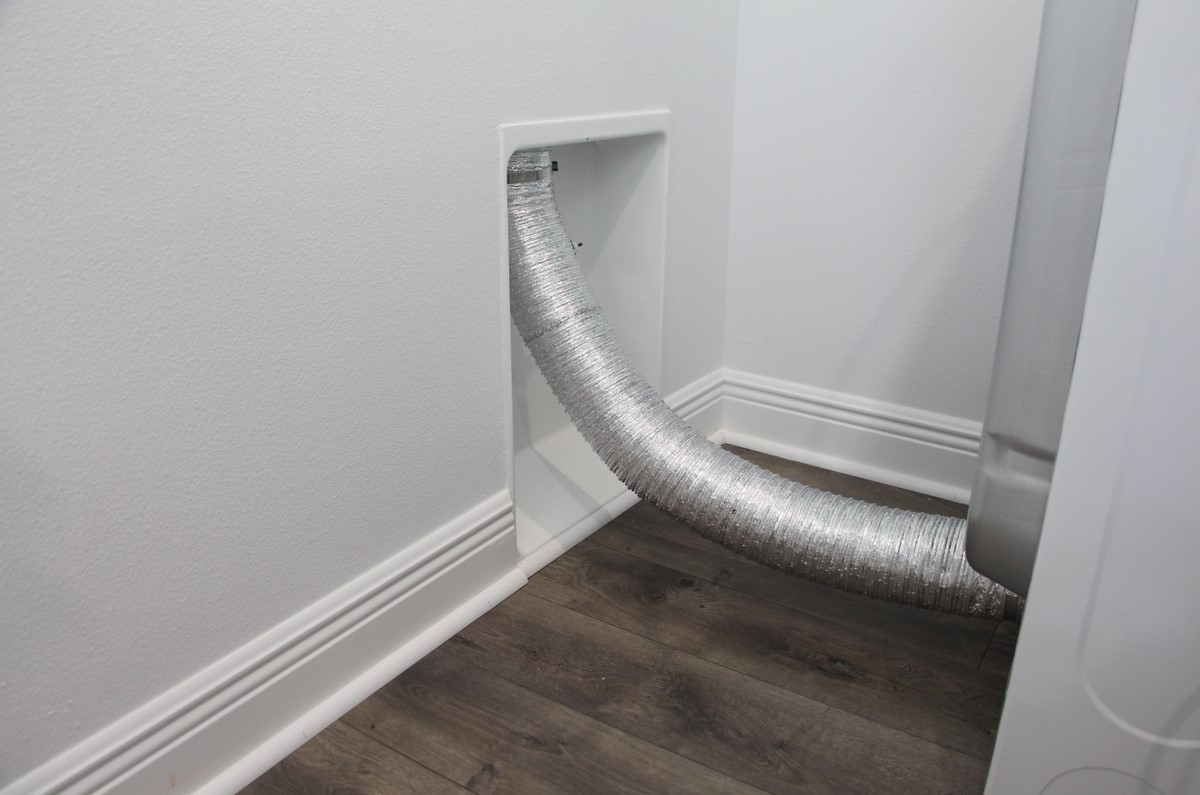
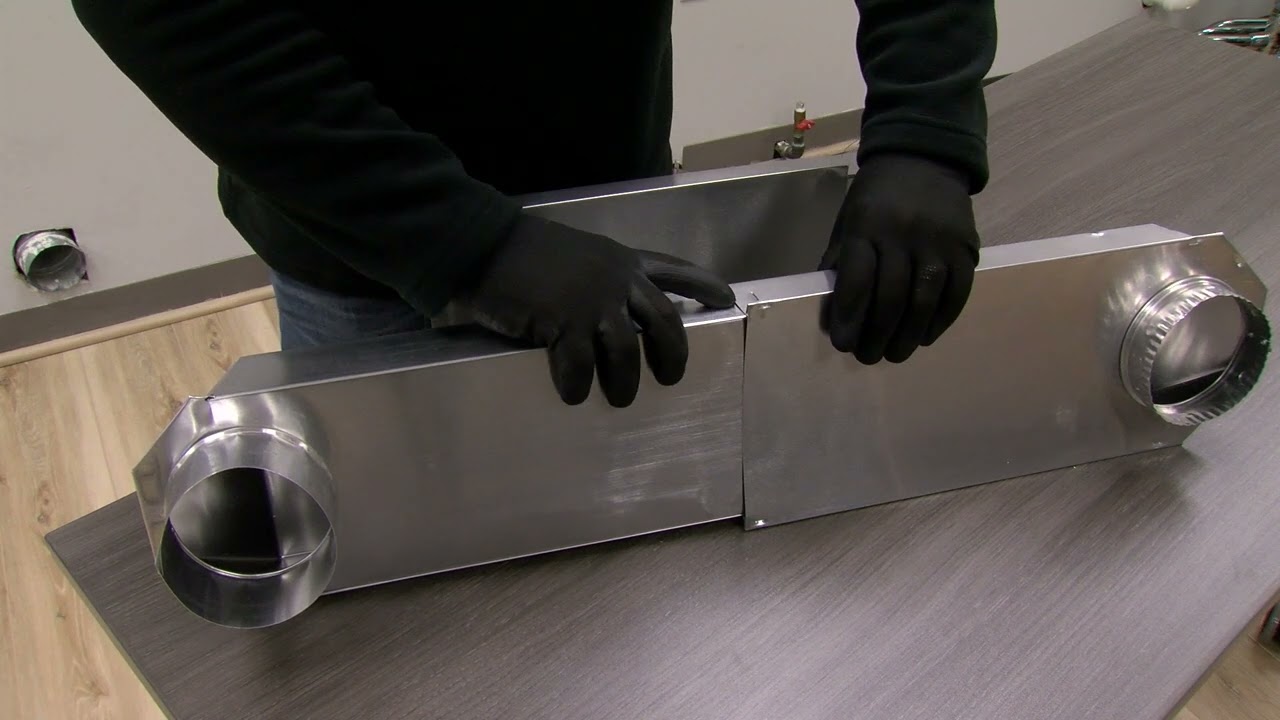
Step 7: Connect the Dryer Vent
With the vent hood securely in place, it’s time to connect the dryer vent from the interior of your home to the vent hood on the exterior wall. Follow these steps to connect the dryer vent:
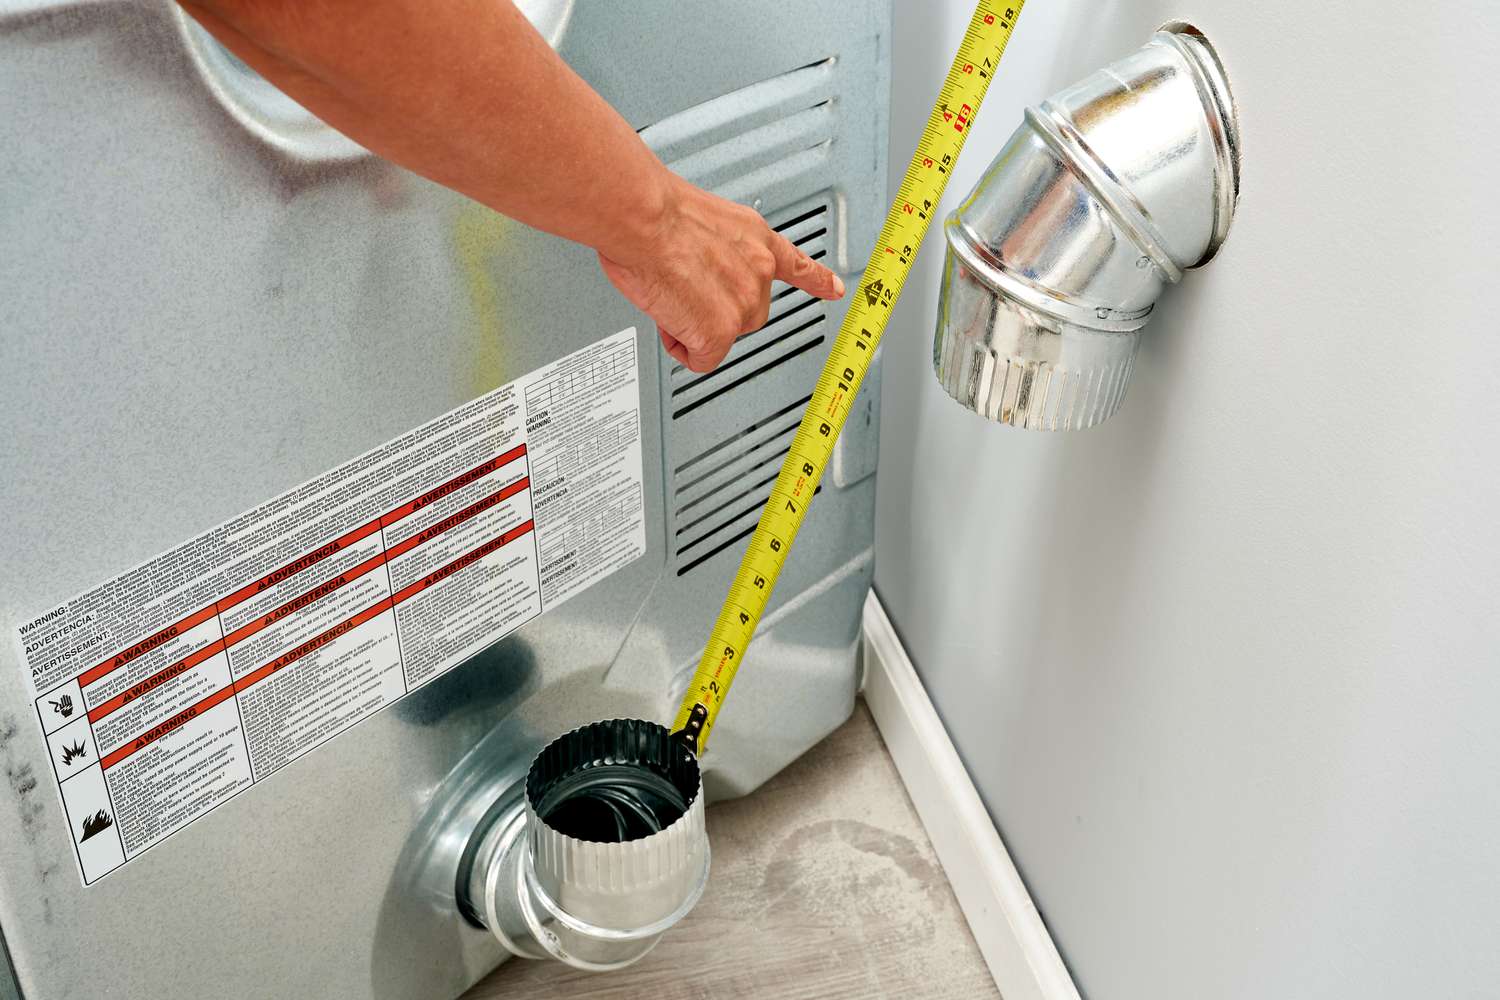
- Measure the distance between the back of your dryer and the vent hood on the exterior wall. This will determine the length of the dryer vent pipe you need.
- Cut the dryer vent pipe to the required length using a pair of tin snips or a hacksaw. Ensure that the cut is clean and even.
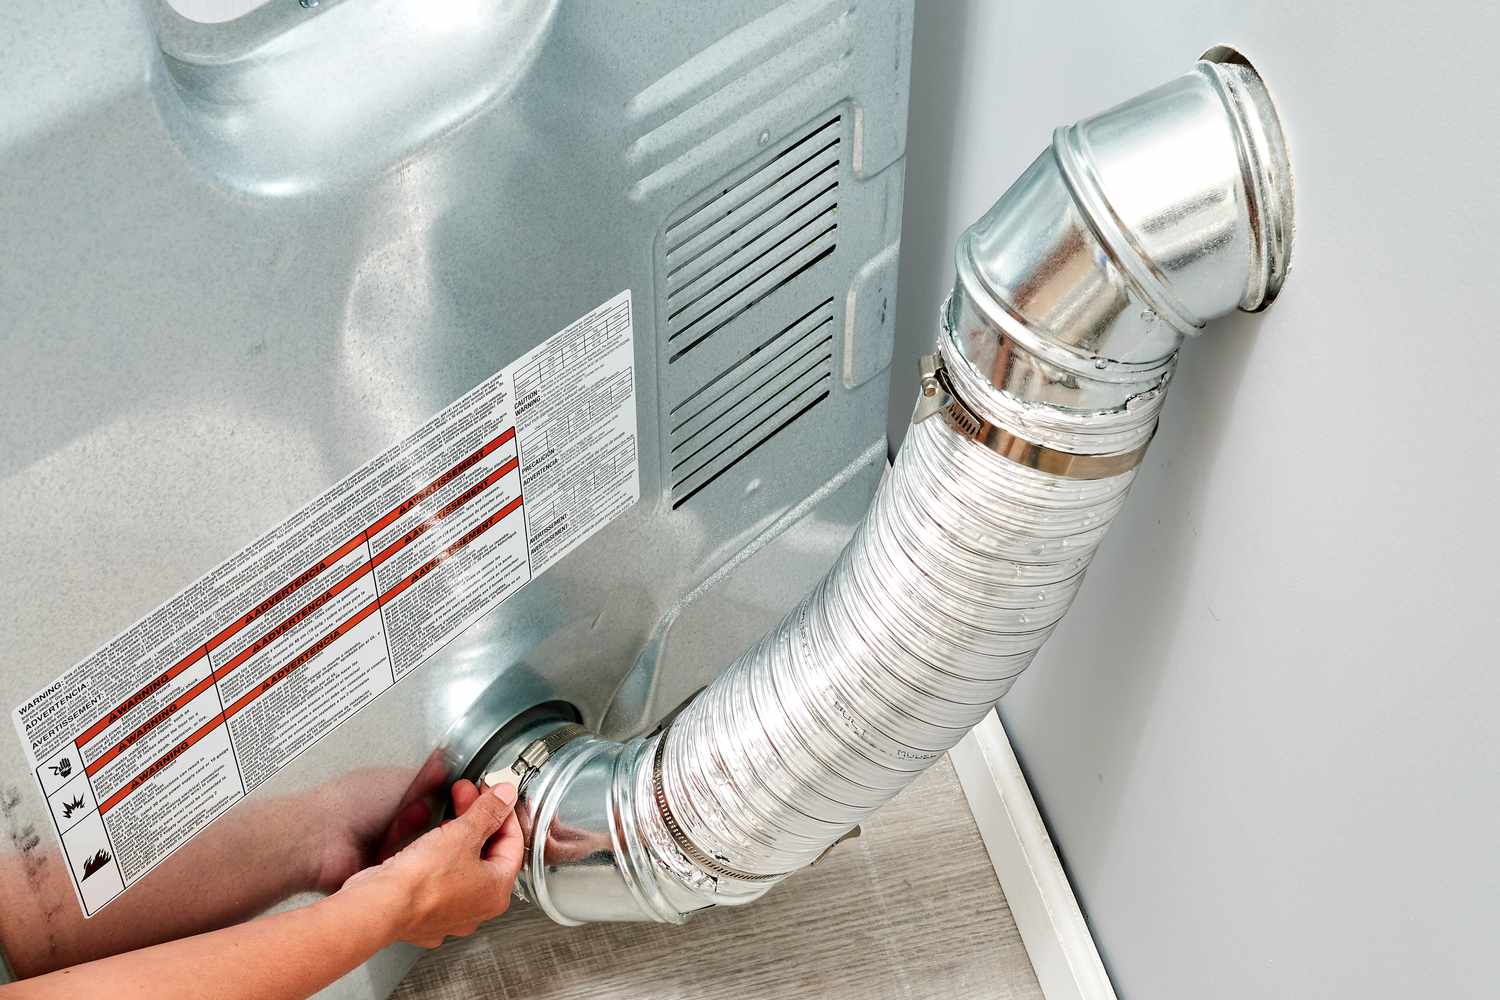
- Attach one end of the dryer vent pipe to the back of your dryer. Use a hose clamp to secure it tightly in place.
- Insert the other end of the dryer vent pipe into the vent opening on the vent hood. Again, use a hose clamp to ensure a secure connection.
- Once the dryer vent is securely connected, use duct tape to seal any gaps or joints between the vent pipe and the vent hood. This will prevent any air leaks.
Ensure that the dryer vent pipe is straight and free of any kinks or bends. A smooth and unobstructed path will allow for efficient airflow.
With the dryer vent successfully connected, it’s time to move on to the next step: securing the vent in place.
Step 8: Secure the Vent in Place
Now that the dryer vent is connected, it’s important to secure it in place to ensure its stability and prevent any movement. By properly securing the vent, you can avoid any potential damage or disruption to its functionality. Follow these steps to secure the vent in place:
- Inspect the area around the vent hood and ensure that there are no gaps or spaces between the vent and the exterior wall.
- Apply a generous amount of waterproof caulk around the base of the vent hood. This will create a watertight seal and prevent any moisture from entering the wall.
- Smooth out the caulk with a caulking tool or your finger, ensuring a neat and even finish.
- Allow the caulk to dry completely according to the manufacturer’s instructions.
Securing the vent in place is essential for maintaining its integrity and preventing any potential damage. By taking the time to properly seal the vent hood, you can ensure that it remains firmly in place, even during harsh weather conditions.
With the vent securely fixed, it’s time to move on to the final step: testing the ventilation.
Read more: How To Vent Through A Brick Wall
Step 9: Test the Ventilation
Now that you have completed the installation process, it’s important to test the ventilation to ensure that everything is functioning properly. Testing the ventilation will help you identify any potential issues and make any necessary adjustments. Follow these steps to test the ventilation:
- Turn on your dryer and let it run for a few minutes.
- Go outside and check if you can feel the warm air coming out of the vent hood. This indicates that the ventilation is working correctly.
- Observe the airflow. It should be strong and steady, without any noticeable blockages or restrictions.
- Check that there are no unusual noises or vibrations coming from the vent.
If you notice any issues during the testing process, such as weak airflow or strange noises, it’s important to address them as soon as possible. Ensure that the vent is properly connected and there are no obstructions or blockages in the vent pipe.
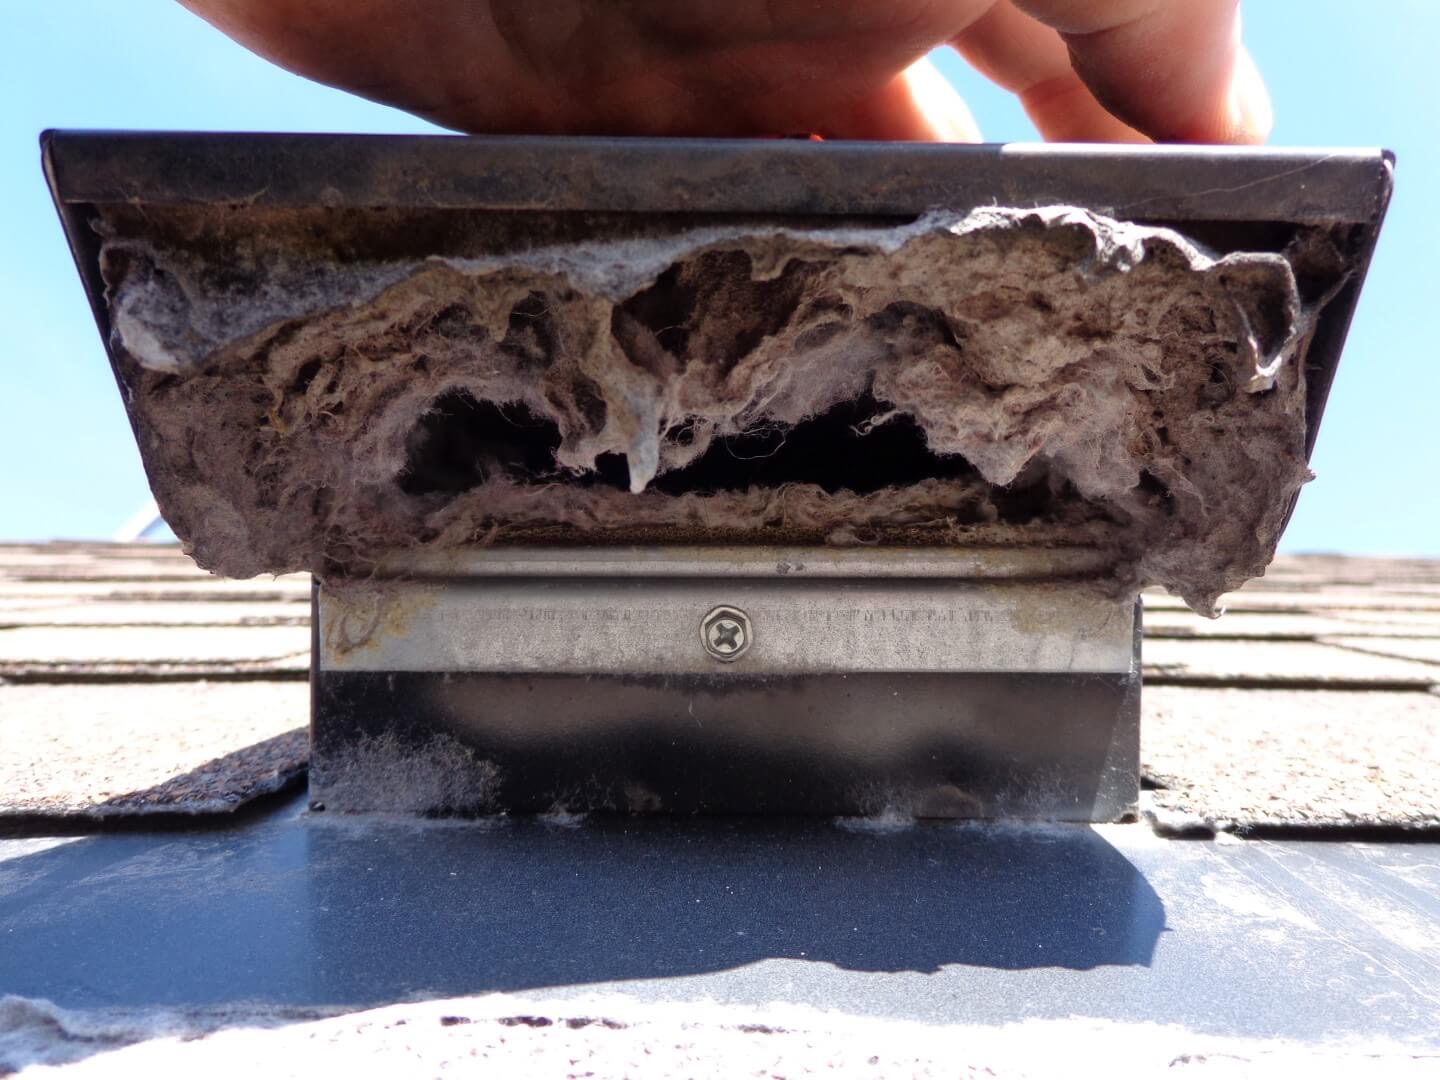
Regularly check and clean the dryer vent to prevent lint buildup, which can reduce airflow and increase the risk of a dryer fire. Consult the manufacturer’s guidelines or seek professional assistance for a more thorough inspection and maintenance.
Congratulations! You have successfully installed a dryer vent through a brick wall. By following these steps and ensuring proper ventilation, you can enhance the efficiency and safety of your dryer.
Remember to exercise caution and follow necessary safety procedures throughout the installation process. If you are unsure or uncomfortable working with power tools, it’s always best to seek professional help.
Now, go ahead and enjoy the benefits of a properly installed and functioning dryer vent!
Conclusion
Installing a dryer vent through a brick wall is a crucial step in maintaining the efficiency and safety of your dryer. Proper ventilation is essential for expelling hot, moist air from your home, preventing moisture build-up and potential damage to your walls and ceilings. By following the step-by-step guide outlined in this article, you can successfully install a dryer vent through brick and ensure optimal airflow.
Throughout the installation process, we discussed the importance of gathering the necessary materials, choosing the right vent location, marking and drilling the hole, clearing debris, attaching the vent hood, connecting the dryer vent, securing the vent in place, and finally, testing the ventilation. Each step plays a vital role in ensuring a properly functioning dryer vent.
Remember to prioritize safety by wearing appropriate protective gear and using tools correctly. If you are uncertain or uncomfortable with any step, it’s always advisable to consult a professional who can assist you in completing the installation process.
Regular maintenance of your dryer vent is also important to prevent lint buildup and maintain optimal airflow. Make it a habit to clean the vent regularly and inspect for any potential blockages or damage.
By properly installing and maintaining your dryer vent, you can enjoy the benefits of energy-efficient, quick drying cycles, while also ensuring the safety of your home and prolonging the lifespan of your dryer.
Thank you for joining us in this comprehensive guide on how to install a dryer vent through a brick wall. We hope that this article has provided you with valuable insights and information to tackle this home maintenance task successfully.
Frequently Asked Questions about How To Install A Dryer Vent Through Brick
Was this page helpful?
At Storables.com, we guarantee accurate and reliable information. Our content, validated by Expert Board Contributors, is crafted following stringent Editorial Policies. We're committed to providing you with well-researched, expert-backed insights for all your informational needs.