Home>Home Maintenance>How To Install A Dryer Vent Through The Roof
Home Maintenance
How To Install A Dryer Vent Through The Roof
Modified: October 28, 2024
Learn how to properly install a dryer vent through your roof with our step-by-step guide. Improve your home maintenance skills with this essential DIY project.
(Many of the links in this article redirect to a specific reviewed product. Your purchase of these products through affiliate links helps to generate commission for Storables.com, at no extra cost. Learn more)
Introduction
Installing a dryer vent through the roof is a crucial task for every homeowner. A properly installed vent ensures efficient and safe operation of your dryer by allowing hot air and moisture to escape from your home. Without a vent, excess heat and moisture can lead to mold growth, damage to your walls, and even a potential fire hazard.
In this step-by-step guide, we will walk you through the process of installing a dryer vent through the roof. From determining the vent location to ensuring a secure and sealed connection, we will cover everything you need to know to complete this home maintenance project successfully.
Before we begin, it’s important to note that installing a dryer vent through the roof requires intermediate DIY skills, and it’s always recommended to consult a professional if you are unsure or uncomfortable with any part of the process. Safety should be your top priority, so make sure to adhere to all local building codes and guidelines.
Now, let’s dive into the steps involved in installing a dryer vent through the roof. Be prepared to gather the necessary tools and materials, prepare the roof for installation, install the vent cap, connect the vent pipe, secure and seal the vent pipe, and test the ventilation system.
By following this guide, you’ll be able to ensure that your dryer operates efficiently, reduce the risk of fire hazards, and maintain a safe and healthy living environment in your home. So let’s get started on this essential home maintenance project.
Key Takeaways:
- Properly installing a dryer vent through the roof is crucial for a safe and efficient laundry area. It involves determining the vent location, gathering tools, preparing the roof, and testing the ventilation system.
- Regular maintenance of the vent is essential for preventing fire hazards and maintaining optimal dryer performance. By following the steps and consulting professionals when needed, homeowners can ensure a safe and well-ventilated home.
Read more: How To Vent A Dryer Through The Roof
Step 1: Determine the Vent Location
Before you start installing your dryer vent through the roof, it’s crucial to determine the optimal vent location. The ideal location will facilitate the smooth passage of air and moisture from your dryer while minimizing any potential obstructions or damage to your roof.
To determine the vent location, consider the following factors:
1. Roof Structure: Survey the roof to identify the roof structure and choose a location that aligns with the nearest rafters or trusses. It’s important to avoid cutting through any load-bearing structures to maintain the structural integrity of your roof.
2. Clearance: Ensure there is enough clearance between the vent and any obstructions such as trees, power lines, or other roof features. Aim for at least 12 inches of clearance to prevent any potential fire hazards or blockage.
3. Accessibility: Choose a location that will be easily accessible for future maintenance and cleaning. This will make it simpler to remove any lint buildup or debris that may accumulate over time.
4. Distance from Windows and Doors: Place the vent away from windows and doors to prevent the hot air and moisture from being blown back into your home. This will help maintain a comfortable indoor environment and prevent the re-entry of lint particles.
Once you have assessed these factors, mark the chosen vent location on your roof using a chalk line or tape measure. Keep in mind that the vent should be positioned at least three feet above the ground to prevent any potential water intrusion during heavy rains or snowfall.
By carefully selecting the vent location, you can ensure the efficiency and effectiveness of your dryer’s ventilation system. This step is crucial to ensure proper airflow and minimize the risk of mold, structural damage, and fire hazards.
Once you have determined the vent location, proceed to the next step: gathering the necessary tools and materials.
Step 2: Gather the Necessary Tools and Materials
Before you begin installing a dryer vent through the roof, it’s essential to gather all the necessary tools and materials. Having everything ready will streamline the installation process and ensure that you have everything you need within reach. Here is a list of the tools and materials you will require:
Tools:
1. Tape measure
2. Chalk line or tape
3. Ladder or scaffolding
4. Roofing nails
5. Roofing cement
6. Hammer
7. Screwdriver
8. Power drill
9. Hole saw or reciprocating saw
10. Vent cap with bird guard
11. Vent pipe elbow
12. Duct tape
13. Vent pipe sections
14. Pipe clamps
15. Silicone caulk
16. Roofing sealant
Materials:
1. Roofing shingles and nails
2. Roofing underlayment
3. Roofing cement or adhesive
4. Aluminum foil tape
5. Vent plug or cap (for temporary sealing during installation)
By ensuring you have all the necessary tools and materials before you begin, you can save time and minimize any interruptions during the installation process. It’s always wise to double-check your inventory to ensure that nothing is missing or overlooked.
Additionally, safety should be a priority when working at heights. Make sure you have a sturdy ladder or scaffolding, harness, and any other necessary safety equipment to protect yourself during the installation process. If you are unsure about working at heights or handling certain tools, it’s always advisable to seek professional assistance.
With all the tools and materials gathered, you are now ready to move on to the next step: preparing the roof for installation.
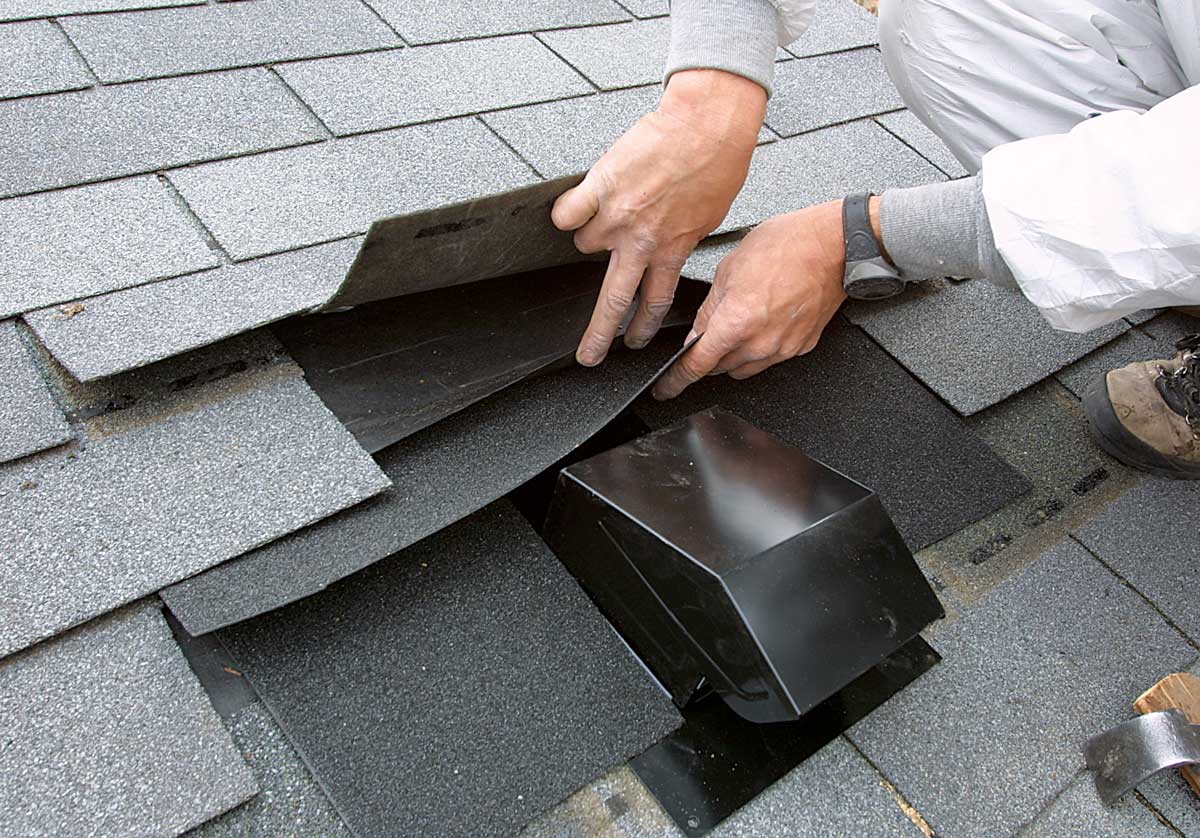
Step 3: Prepare the Roof for Installation
Preparing the roof for the installation of a dryer vent is a crucial step to ensure a secure and leak-free connection. It involves creating an opening in the roof, installing a flashing, and applying roofing cement to ensure a watertight seal. Follow these steps to prepare the roof for the installation:
1. Locate the Vent Opening: Using the marked vent location from Step 1 as a guide, measure the diameter of the vent pipe and mark the corresponding size on the roof. Ensure that the opening is centered on the marked location.
2. Cut the Opening: Carefully cut a hole in the roof using a hole saw or reciprocating saw. Follow the manufacturer’s instructions and take into account the thickness of the roof materials. Make sure to wear safety goggles and gloves during this step.
3. Install the Roof Flashing: Apply roofing underlayment over the hole to provide an additional layer of protection against water intrusion. Then, slide the roof flashing under the shingles surrounding the opening. Ensure that the flashing is positioned correctly to divert water away from the vent.
4. Secure the Flashing: Use roofing nails and a hammer to secure the flashing in place. Make sure to align the nails with the predetermined nail lines on the flashing to ensure a secure attachment. Double-check that the flashing is level and flush with the roof surface.
5. Apply Roofing Cement: Apply a generous amount of roofing cement around the edges of the flashing to create a watertight seal. Smooth out the cement with a putty knife or trowel to ensure proper coverage. The roofing cement will help prevent any water infiltration and protect against leaks.
6. Install the Vent Plug/Cap: To temporarily seal the vent opening during the installation process, insert a vent plug or cap into the vent pipe. This will prevent debris, animals, or rainwater from entering your home.
Preparing the roof for the installation ensures a proper foundation and reduces the risk of water damage or leaks. Take your time during this step to ensure a secure and weather-resistant connection. Once the roof is prepared, you can move on to the next step: installing the vent cap.
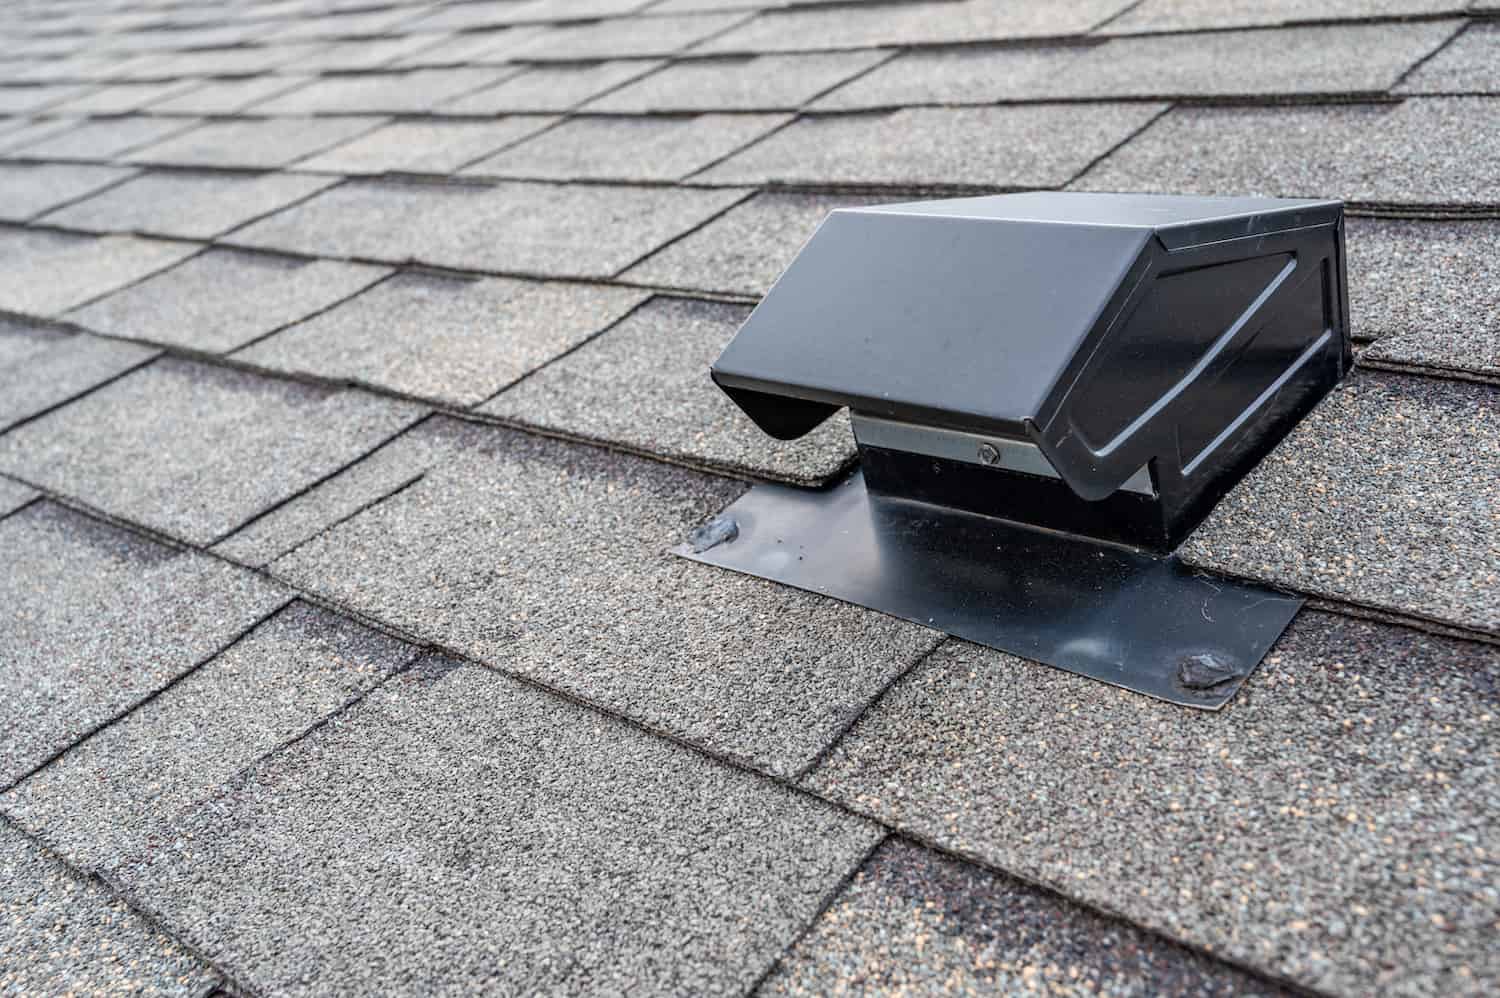
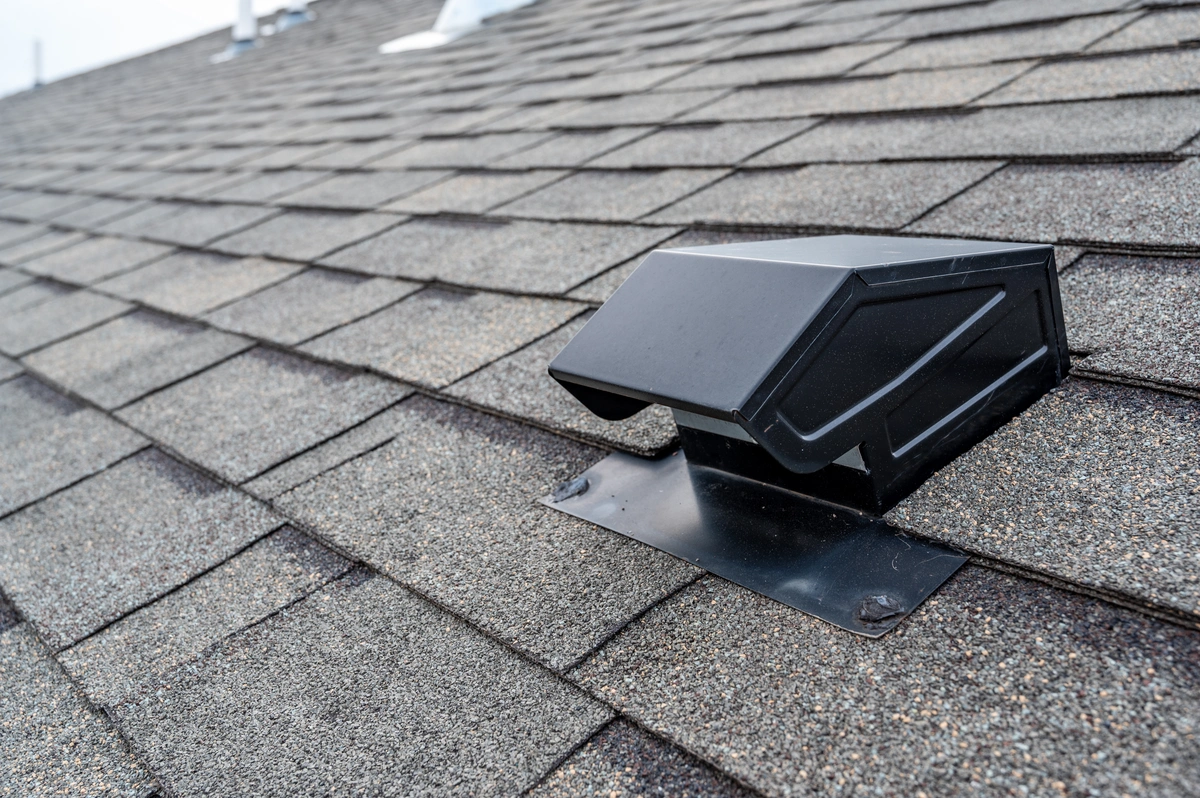
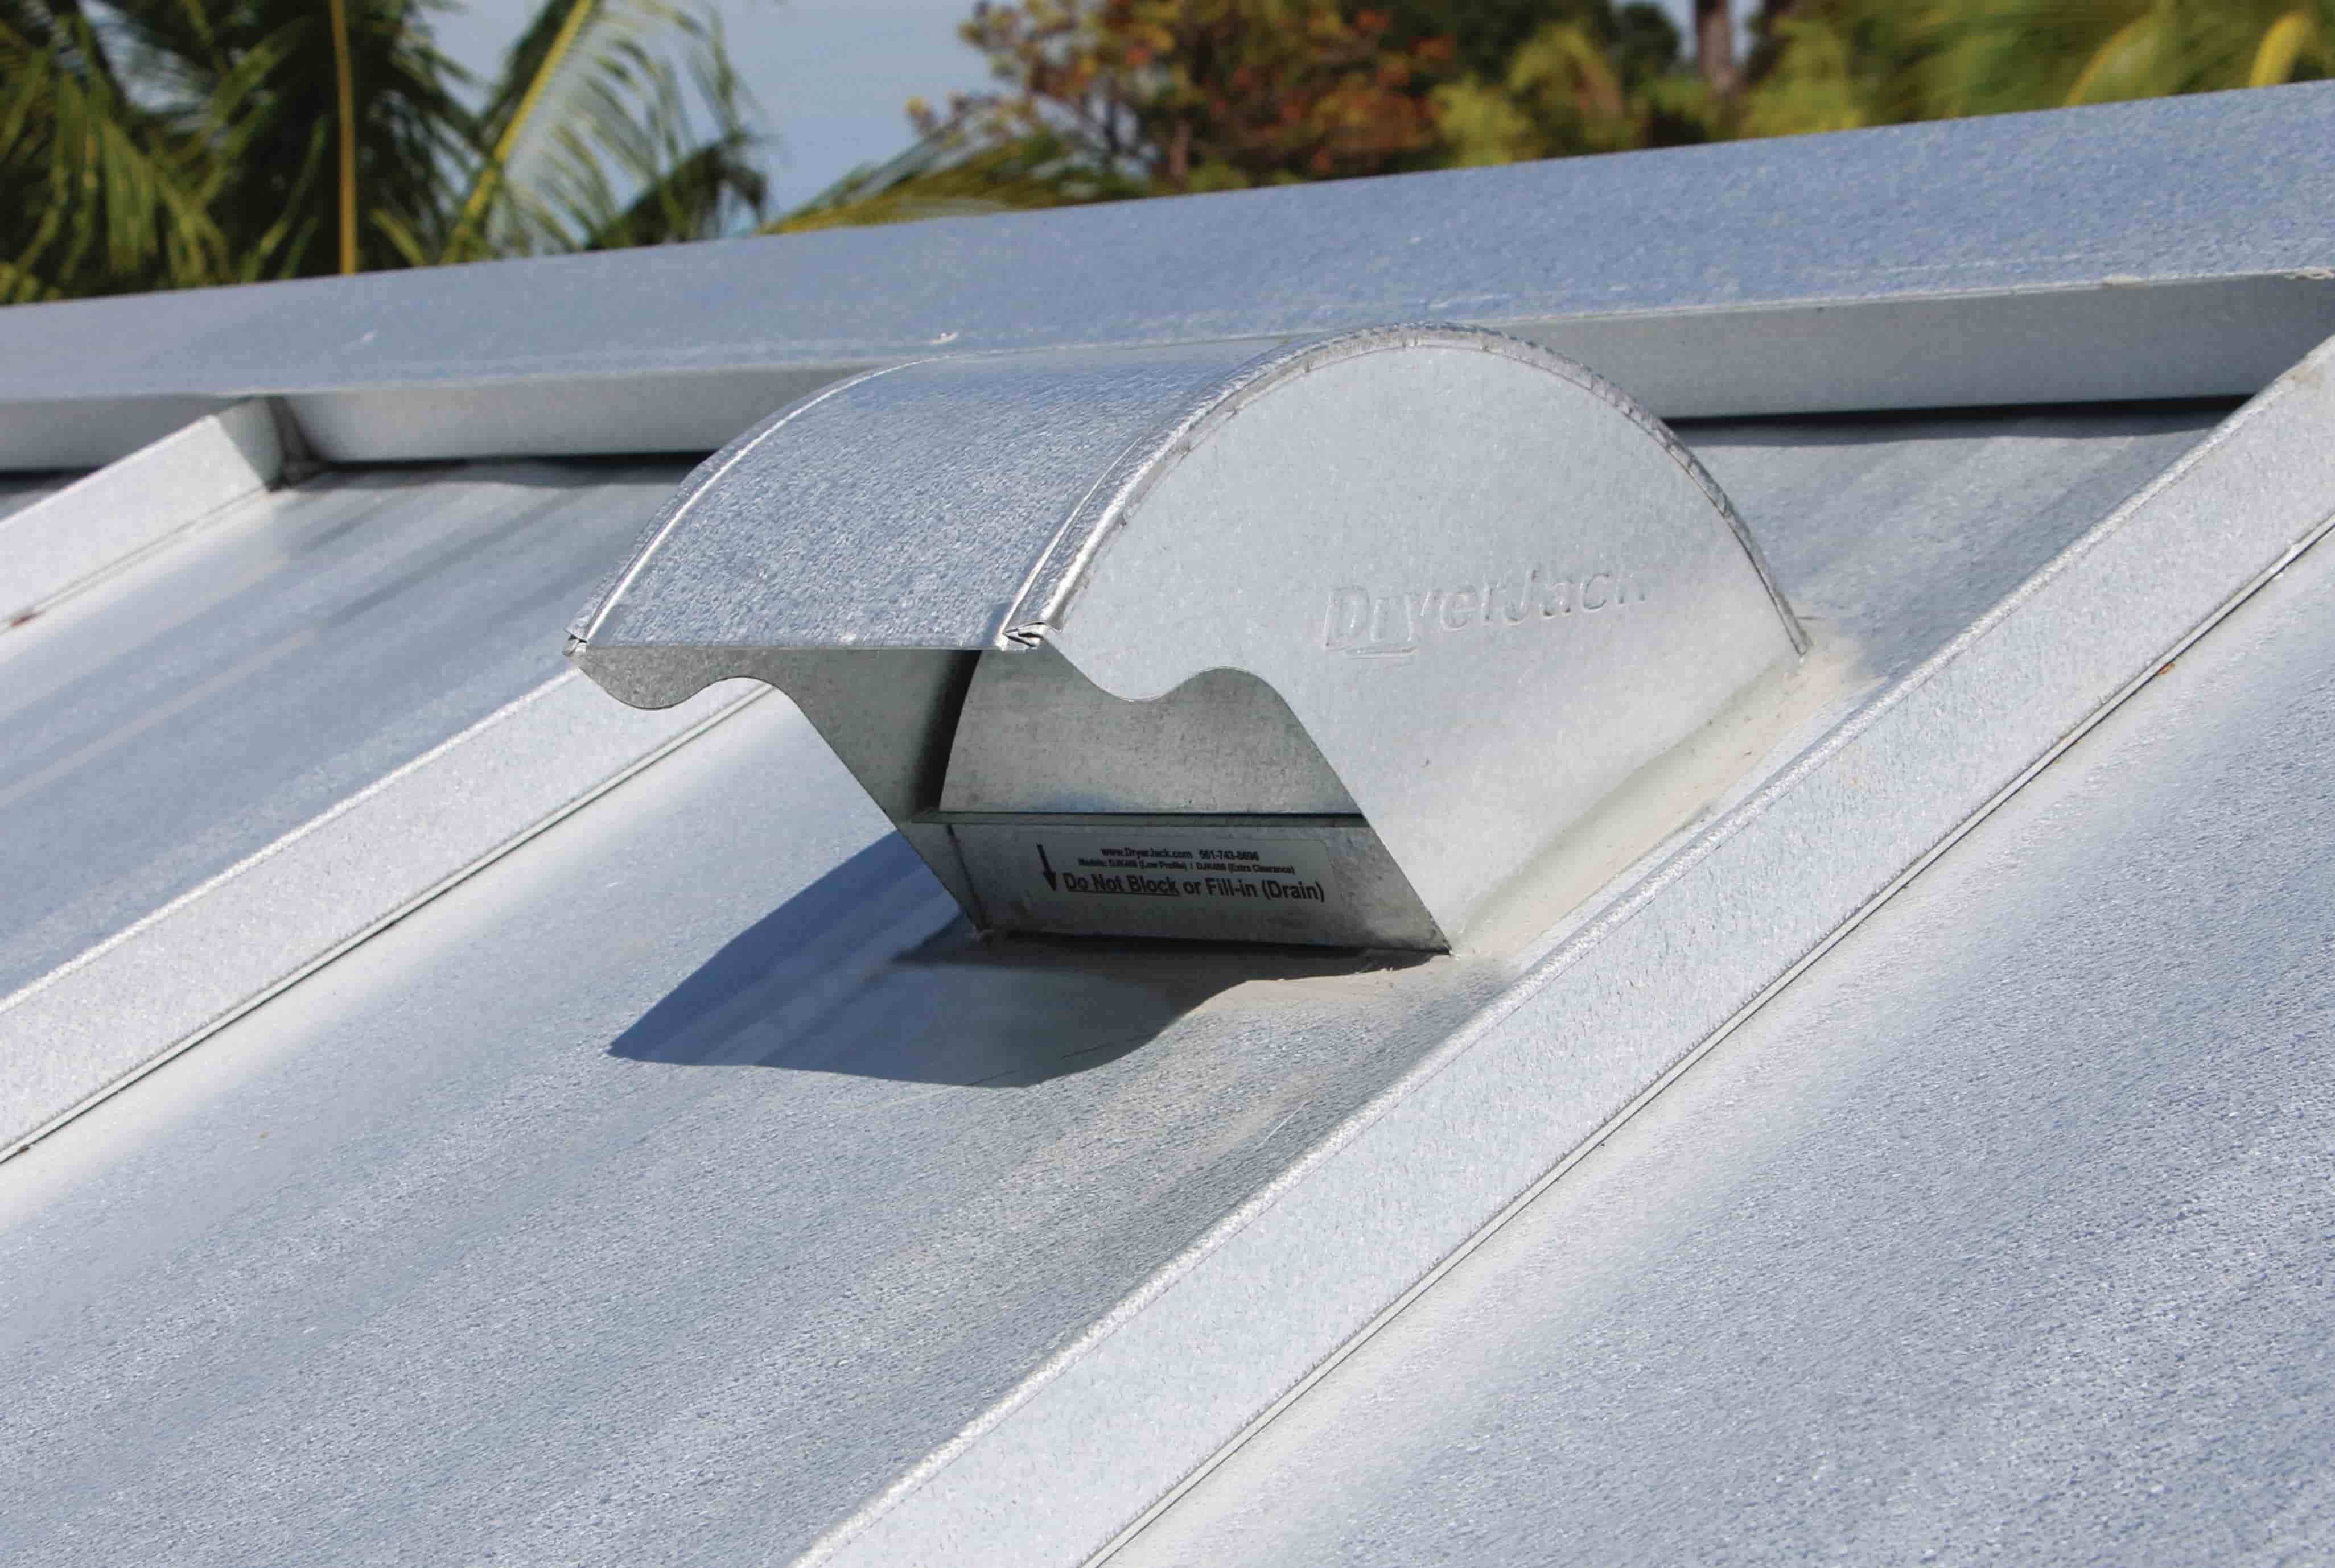
Step 4: Install the Vent Cap
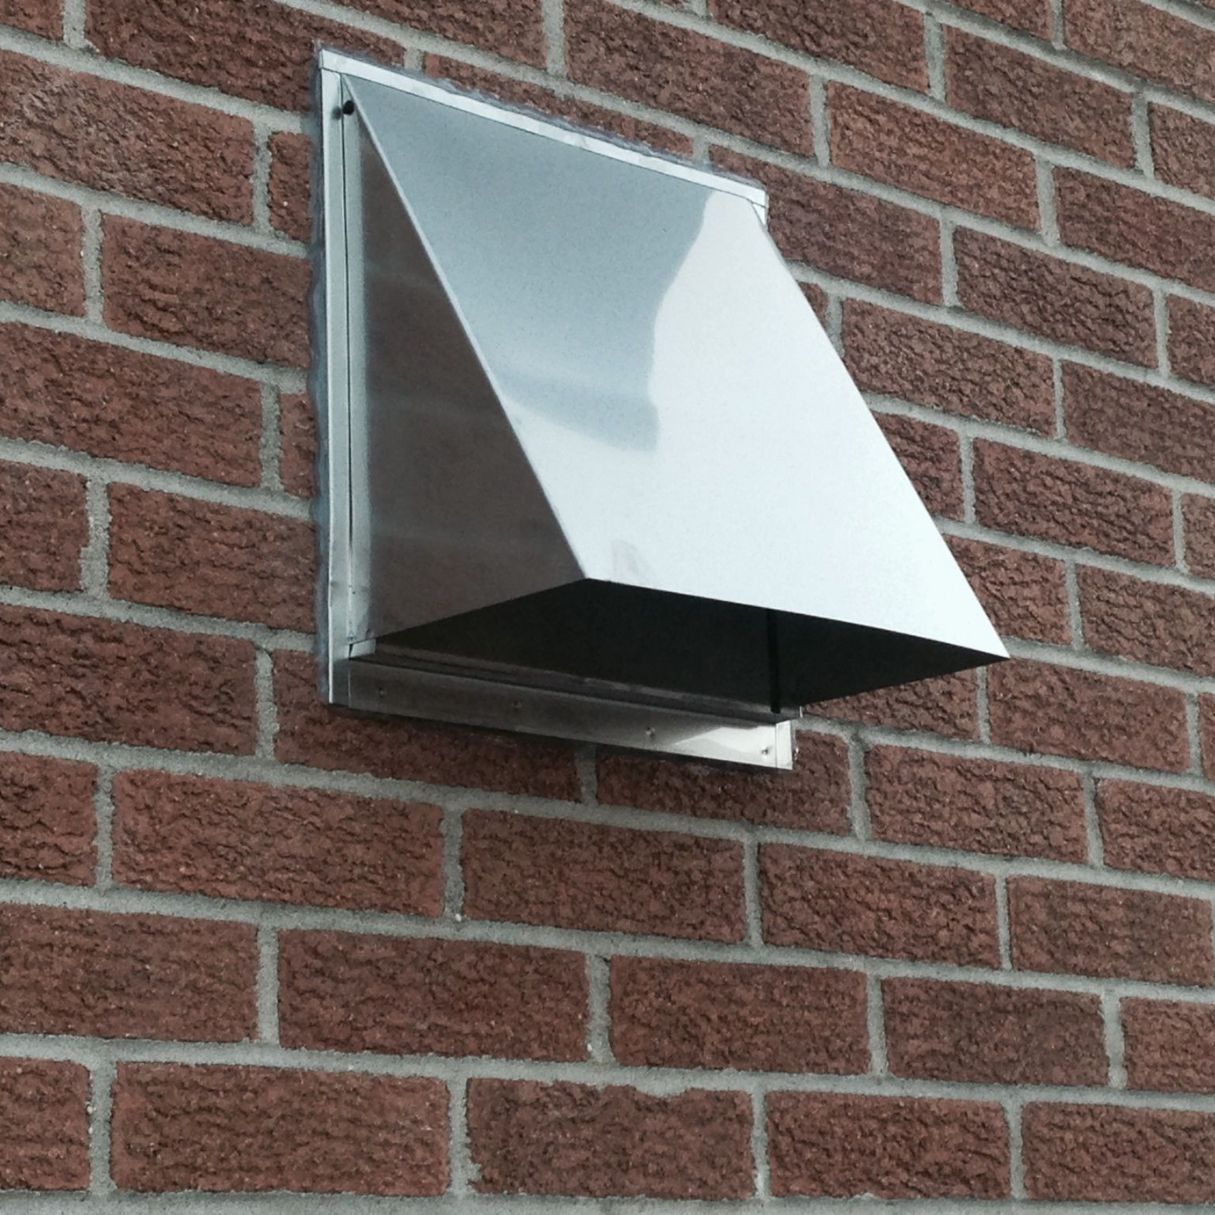
Installing a vent cap is an essential step in ensuring proper ventilation and protecting your home from outside elements. The vent cap not only prevents debris, birds, and pests from entering the vent pipe but also helps to direct the air and moisture away from your roof. Follow these steps to install the vent cap:
1. Choose the Right Vent Cap: Select a vent cap with a bird guard and a design that is compatible with your vent pipe size. The cap should also be suitable for the weather conditions in your area.
2. Position the Vent Cap: Place the vent cap over the vent opening on the roof. Ensure that it is centered and aligned with the vent pipe. Use a level to confirm that the cap is straight.
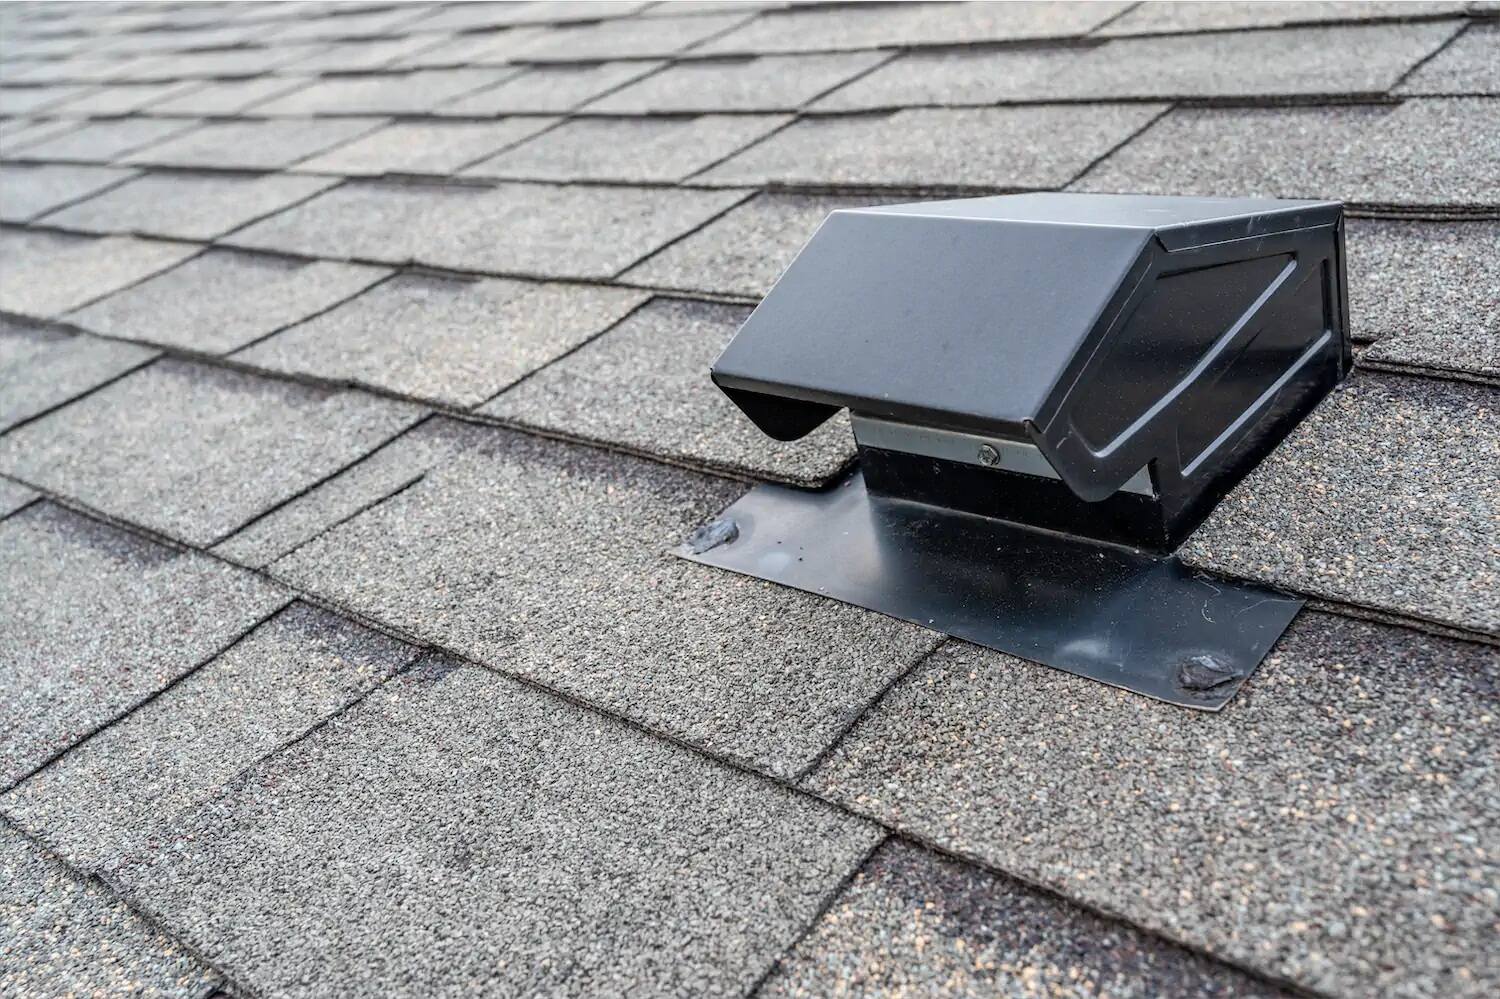
3. Secure the Vent Cap: Depending on the type of vent cap you have, follow the manufacturer’s instructions to secure it to the roof. This may involve using screws or nails. Make sure the cap is firmly attached and not loose.
4. Seal the Connection: Apply roofing cement or roof sealant around the base of the vent cap where it meets the roof. This will create a watertight seal and prevent any potential leaks. Smooth out the sealant using a putty knife or similar tool.
5. Inspect the Vent Cap: Double-check that the vent cap is properly installed and sealed. Ensure that the vent flap moves freely and opens when the dryer is in operation, allowing proper airflow.
Installing a vent cap is an important step to protect your home and ensure optimal ventilation for your dryer. It helps to prevent any unwanted elements from entering the vent pipe while allowing the hot air and moisture to escape safely. Once the vent cap is securely installed, you can move on to the next step: connecting the vent pipe.
Make sure to use a vent cap with a backdraft damper to prevent cold air and pests from entering the vent. It’s important to seal all connections with foil tape to prevent leaks.
Read more: How To Install A Dryer Vent Through Brick
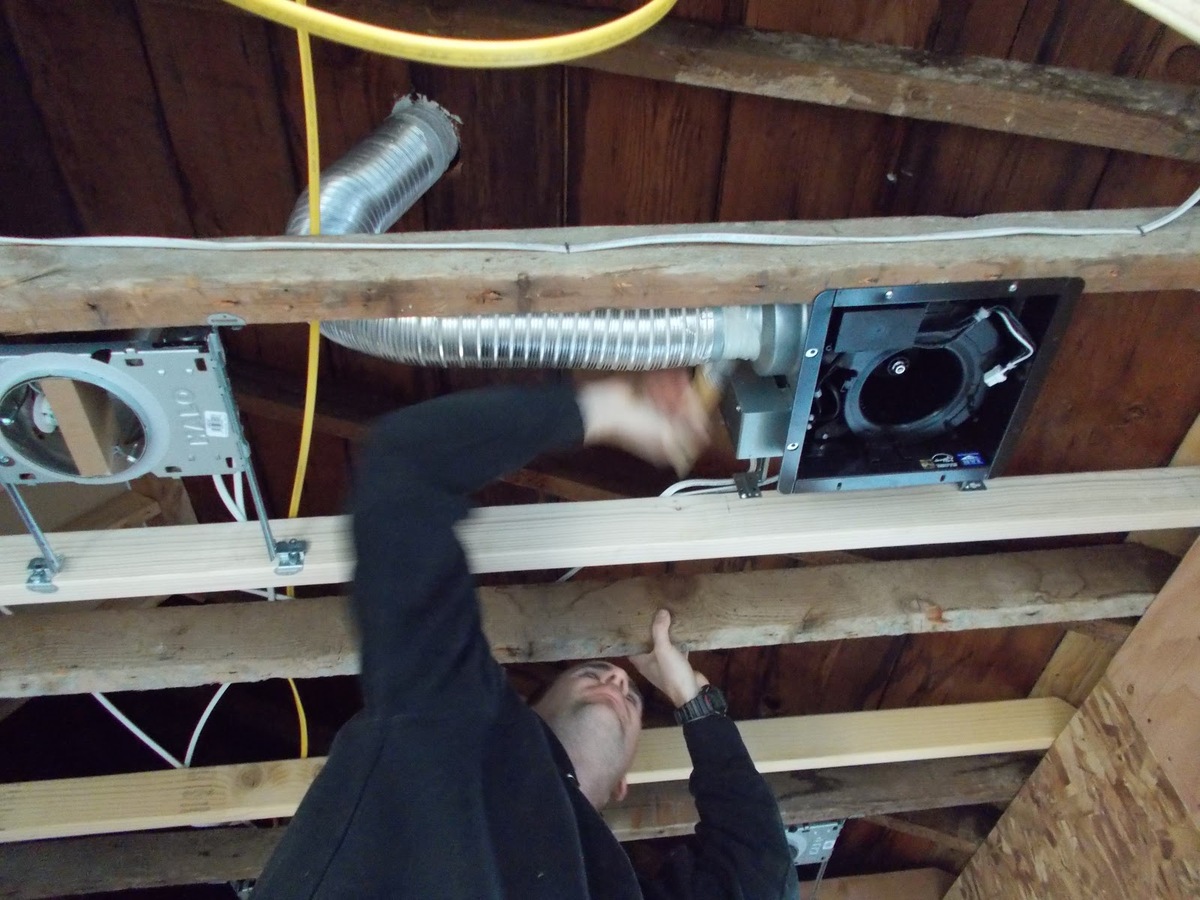
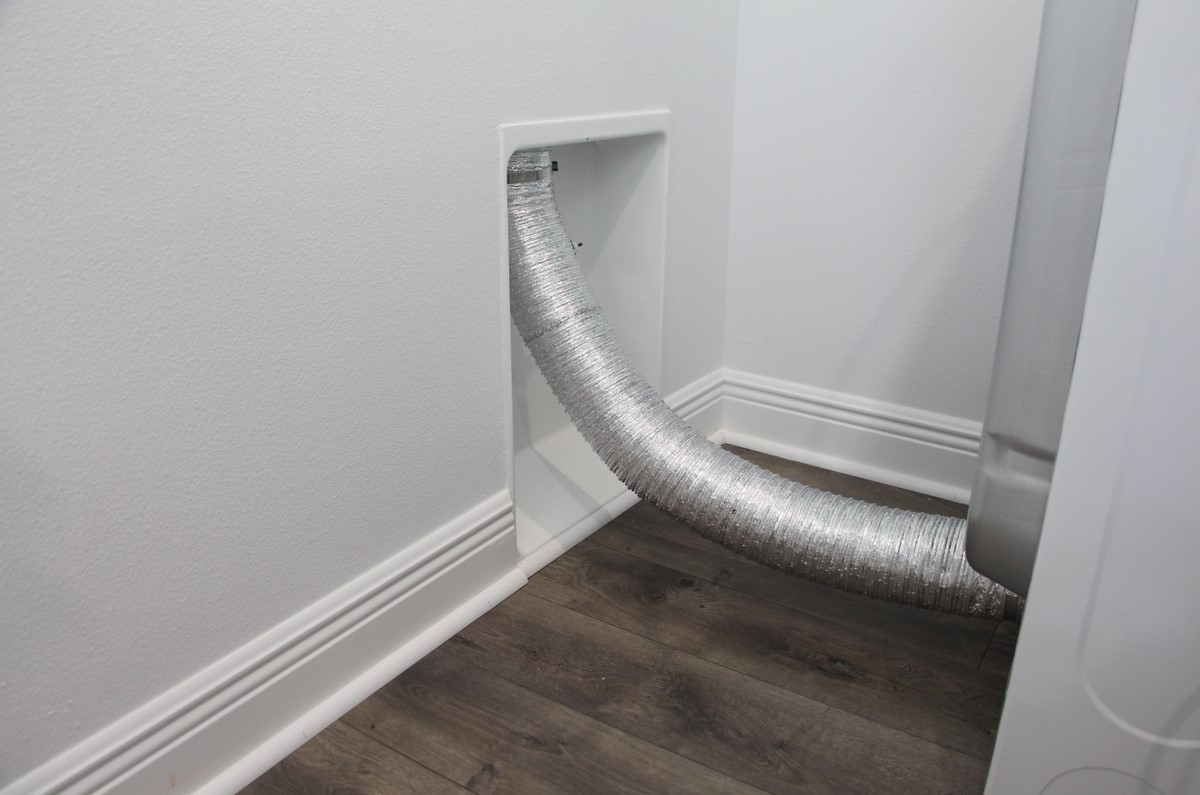
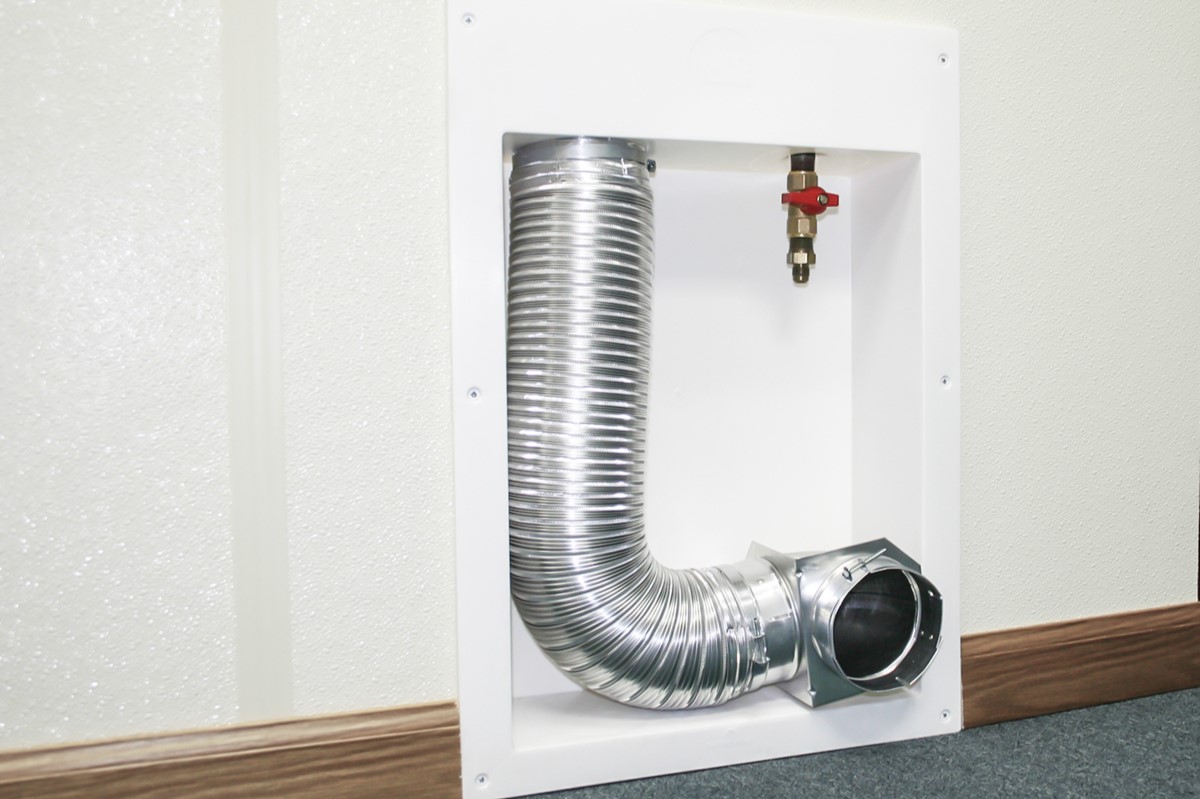
Step 5: Connect the Vent Pipe
Connecting the vent pipe is a crucial step in completing the installation of a dryer vent through the roof. The vent pipe directs the hot air and moisture from your dryer to the outside of your home. Follow these steps to connect the vent pipe:
1. Measure and Cut the Vent Pipe: Measure the distance between the vent cap and the dryer. Add some extra length to the measurement to allow for flexibility. Mark the measurement on the vent pipe and use a saw or snips to cut the pipe to the desired length.
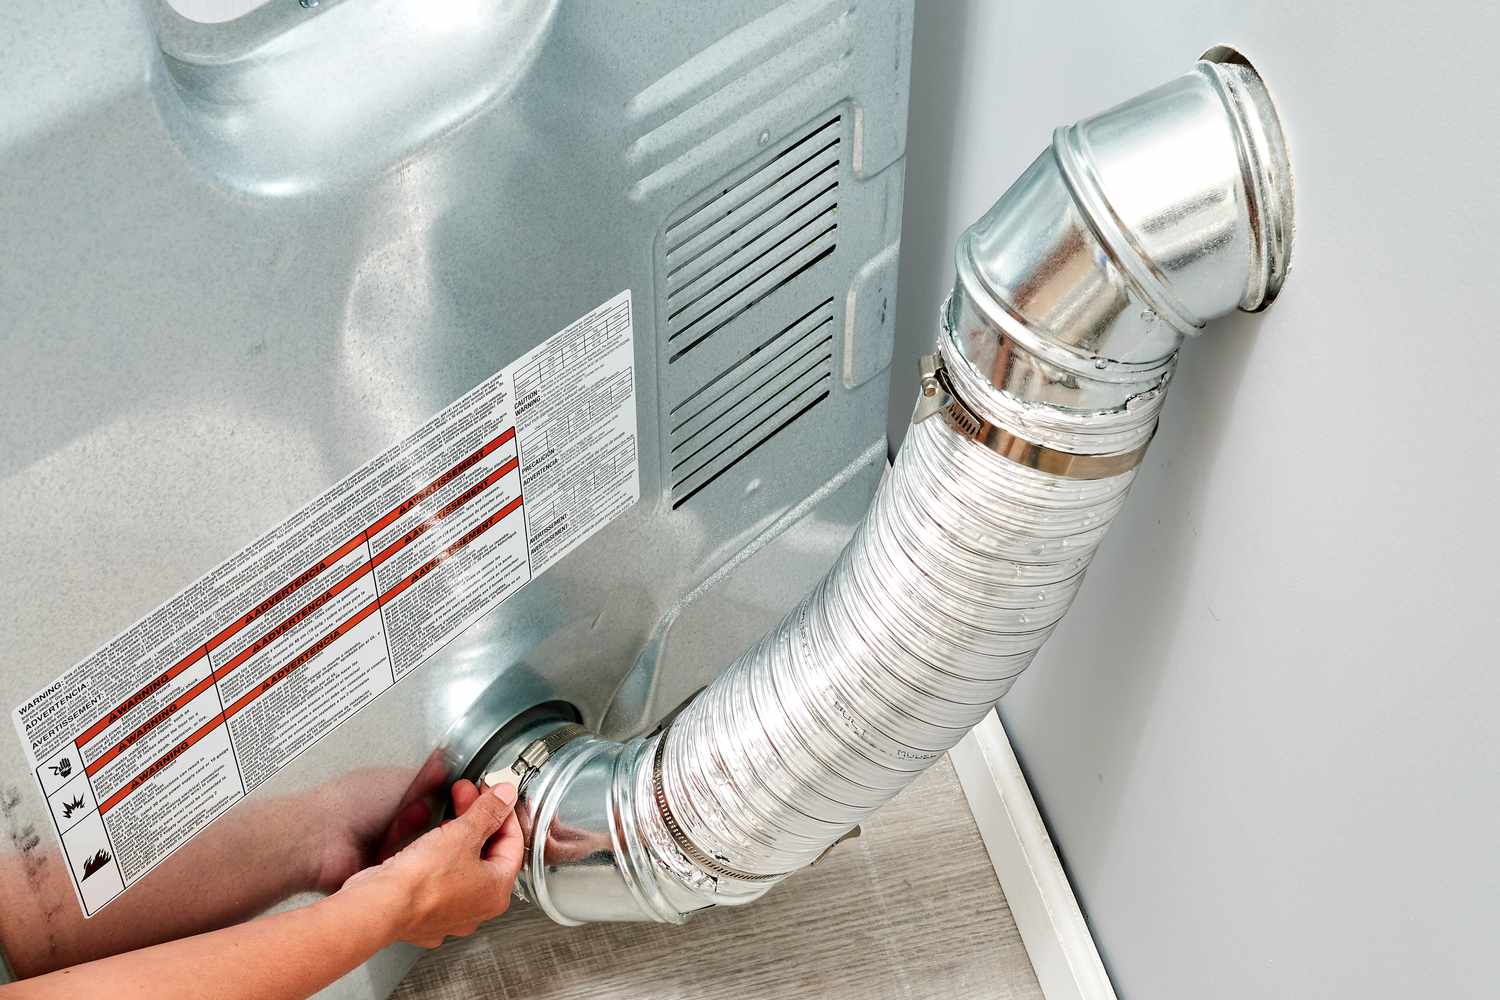
2. Attach the Vent Pipe Elbow: Insert the vent pipe elbow onto the end of the vent pipe. Ensure that the elbow is aligned properly to create a smooth transition between the pipe and the vent cap. Use hose clamps or duct tape to secure the connection.
3. Position the Vent Pipe: Position the vent pipe with the elbow attached, so it extends through the roof opening and aligns with the vent cap. Ensure that the pipe is centered and straight.
4. Secure the Vent Pipe: Use pipe clamps or metal straps to secure the vent pipe to the roof and provide additional support. Attach the clamps or straps at regular intervals along the length of the pipe to prevent sagging or movement.
5. Seal the Connection Points: Apply silicone caulk or aluminum foil tape to all the connection points between the vent pipe sections and the vent cap. Ensure that these connections are airtight to prevent any air leakage or potential entry of pests.
6. Inspect the Connection: Double-check that all the connections are secure and properly sealed. Make sure that the vent pipe is securely attached and aligned with the vent cap.
By connecting the vent pipe properly, you ensure that the hot air and moisture are directed outside of your home, preventing any potential damage or hazards. Take your time during this step to ensure a secure and efficient connection. Once the vent pipe is connected, you can move on to the next step: securing and sealing the vent pipe.
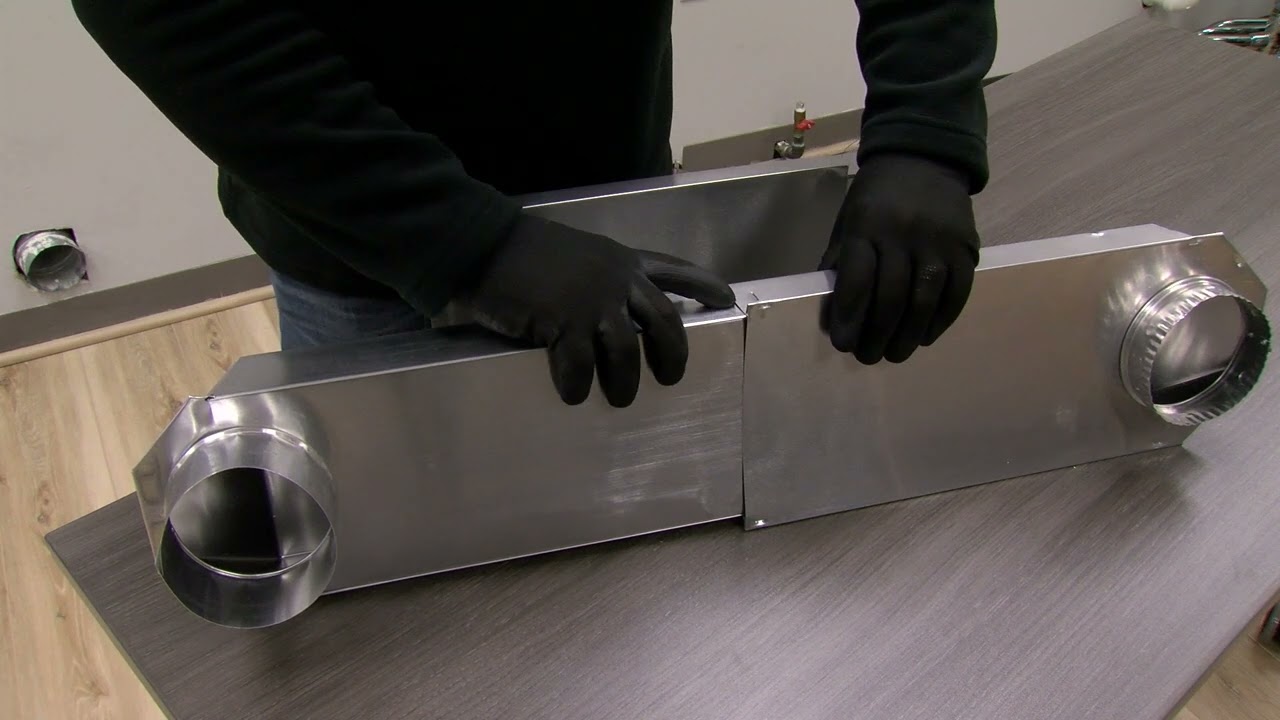
Step 6: Secure and Seal the Vent Pipe
Securing and sealing the vent pipe is a critical step in completing the installation of a dryer vent through the roof. This ensures that the vent pipe remains in place and prevents any air leaks, minimizing the risk of moisture accumulation or damage to your home. Follow these steps to secure and seal the vent pipe:
1. Secure the Vent Pipe: Use pipe clamps or metal straps to secure the vent pipe to any nearby structural supports, such as rafters or trusses. Attach the clamps or straps at regular intervals along the length of the pipe to provide stability and prevent movement.
2. Check for Proper Alignment: Double-check that the vent pipe is properly aligned with the vent cap and the dryer. Ensure that there are no kinks or bends in the pipe that could restrict airflow. Straighten the pipe if necessary.
3. Seal the Connection: Apply silicone caulk or aluminum foil tape to the connection points between the vent pipe sections. This helps create an airtight seal and prevents any air leakage. Ensure that the sealant or tape covers the entire circumference of the connection.
4. Insulate the Vent Pipe: If you live in a cold climate, it is recommended to insulate the vent pipe to prevent condensation from forming inside the pipe. Wrap the vent pipe with insulation material specifically designed for this purpose. Ensure that the insulation is securely fastened with tape or clips.
5. Secure the Roof Flashing: Check that the flashing around the vent opening is securely attached to the roof. If necessary, use roofing nails or adhesive to reinforce the flashing and ensure there are no gaps or openings that could allow water to seep in.
6. Double-Check for Leaks: Once all the connections are secured and sealed, perform a visual inspection to ensure there are no visible gaps or leaks. Check that the vent flap on the vent cap opens and closes freely.
By properly securing and sealing the vent pipe, you ensure that the airflow from your dryer is directed outside efficiently and prevent any potential issues, such as air leaks or moisture buildup. This step is crucial for the proper functioning and safety of your dryer. Once you have secured and sealed the vent pipe, you can proceed to the final step: testing the ventilation system.
Step 7: Test the Ventilation System
Testing the ventilation system is the final step in installing a dryer vent through the roof. It is essential to ensure that the vent is functioning properly and that there are no obstructions or issues that could hinder airflow. Follow these steps to test the ventilation system:
1. Turn on the Dryer: Plug in your dryer and turn it on to the highest heat setting. Allow it to run for a few minutes to generate hot air and moisture.
2. Check for Airflow: Go outside and stand near the vent cap. Feel for a steady flow of warm air being expelled from the vent. This indicates that the ventilation system is working correctly. There should be no noticeable backdraft or restriction of airflow.
3. Inspect the Vent Cap: Observe the vent cap to ensure that the flaps or louvers are opening fully and closing properly when the dryer is in operation. This indicates that the vent cap is functioning correctly and preventing any pests from entering the vent.
4. Verify Exhaust Odors: While standing near the vent, check for any unusual odors. A properly functioning vent should expel any lingering odors from the dryer, such as the smell of fabric softeners or laundry detergent. If there are any strong or unpleasant odors, it may indicate a blockage or other issues that need to be addressed.
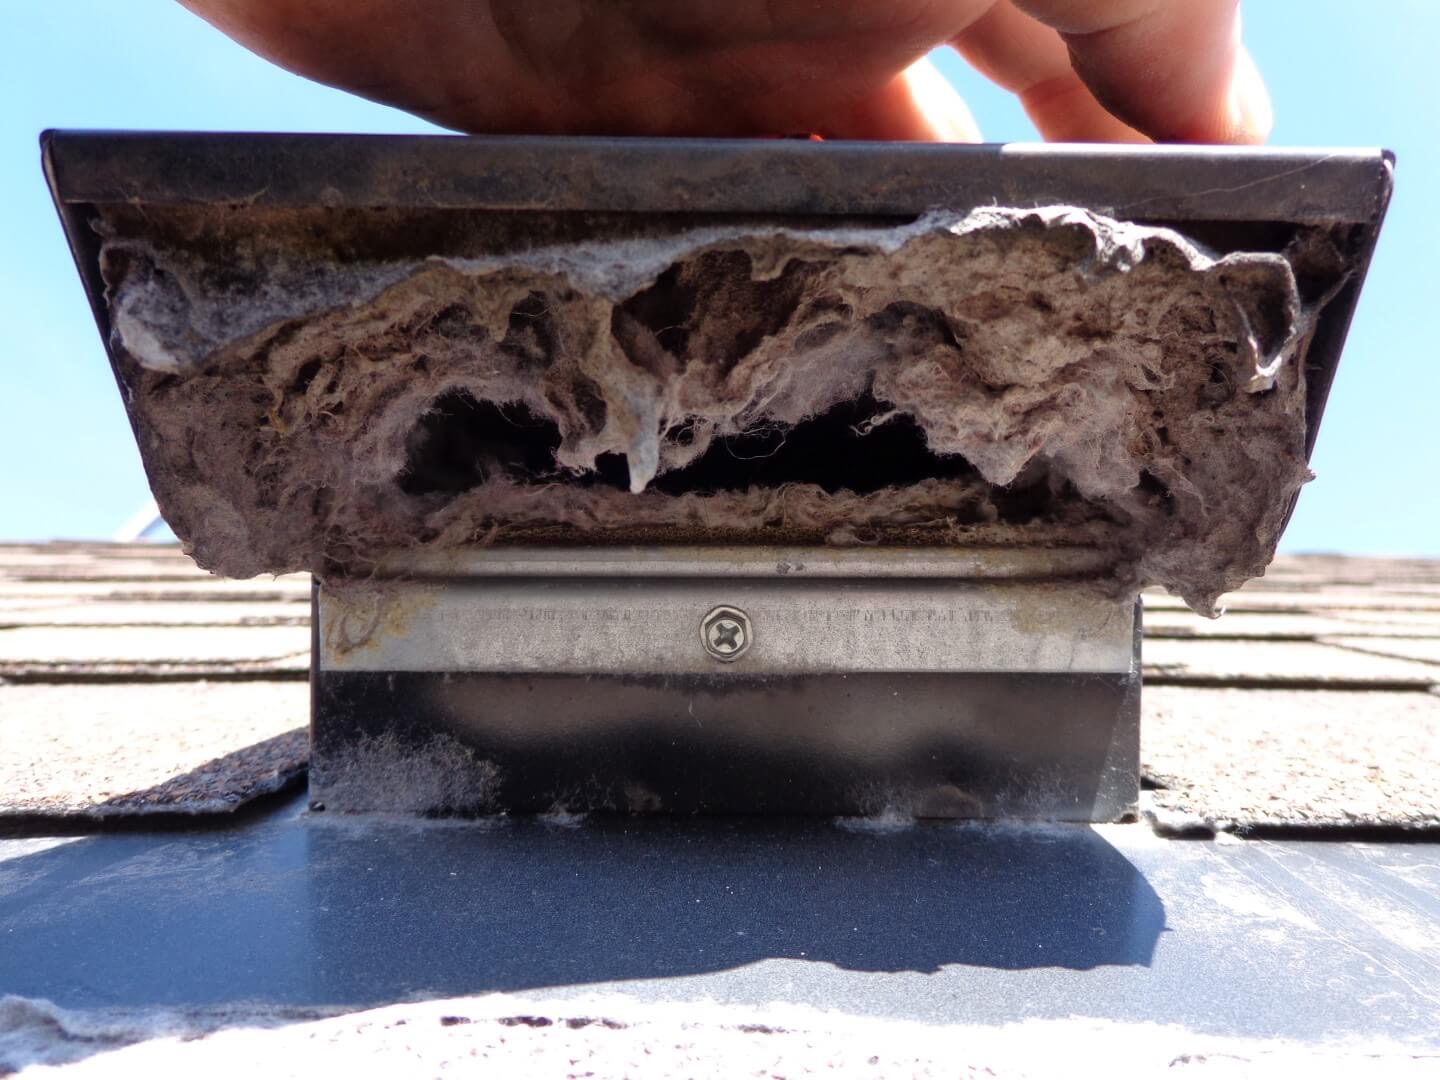
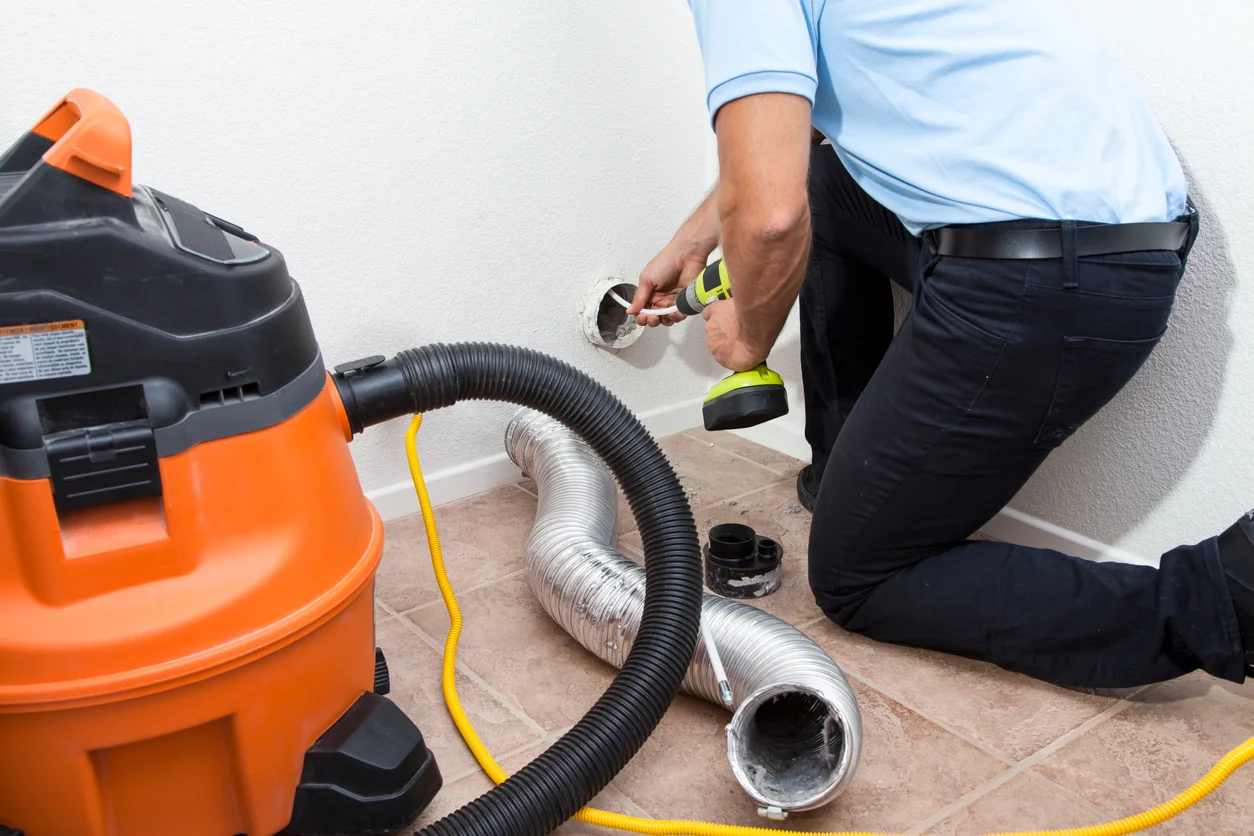
5. Check for Lint Buildup: After testing the ventilation system, inspect the area around the vent cap for any lint buildup or debris. Regularly clean and remove any lint to prevent blockages and maintain optimal airflow.
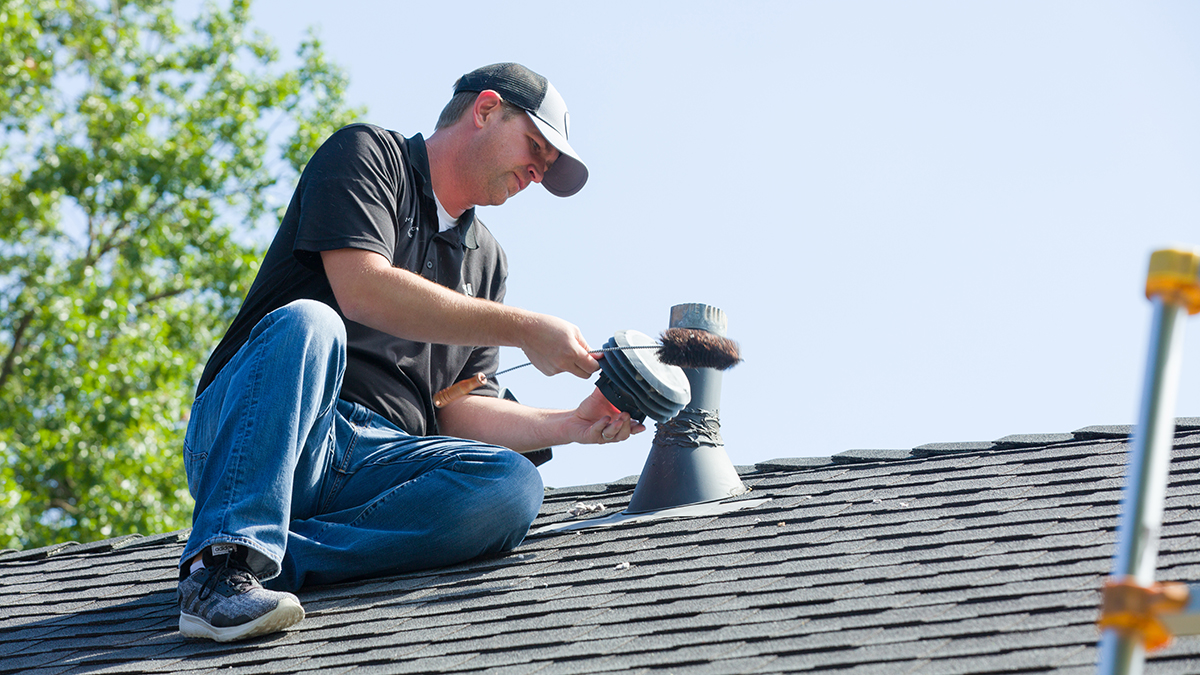
If you notice any issues during the test, such as poor airflow, unusual odors, or excessive lint buildup, it may indicate a problem that needs to be addressed. Consider contacting a professional to inspect and troubleshoot the ventilation system.
By conducting a thorough test of the ventilation system, you can ensure the safe and efficient operation of your dryer. Regularly checking and maintaining the vent will help prevent potential fire hazards, maintain optimal performance, and prolong the lifespan of your dryer.
Congratulations! You have successfully installed a dryer vent through the roof. By following these steps and performing regular maintenance, you can enjoy the convenience of a properly ventilated dryer while maintaining a safe and healthy home environment.
Conclusion
Installing a dryer vent through the roof is an important home maintenance task that ensures the safe and efficient operation of your dryer. By following the step-by-step guide provided, you can successfully complete this project and enjoy the benefits of a properly ventilated laundry area.
Throughout the installation process, we outlined the key steps involved, including determining the vent location, gathering the necessary tools and materials, preparing the roof, installing the vent cap, connecting the vent pipe, securing and sealing the vent pipe, and finally, testing the ventilation system. Each step is crucial to creating a safe and effective dryer vent through the roof.
By properly locating the vent, gathering the right tools, and following safety precautions, you can ensure a smooth installation process. Preparing the roof, installing the vent cap, and connecting the vent pipe are critical steps that require attention to detail and precision. Securing and sealing the vent pipe and testing the ventilation system are vital for preventing air leaks, obstructions, and potential hazards.
Remember to consult local building codes and guidelines throughout the installation process to ensure compliance and safety. If you’re unsure or uncomfortable with any step, it’s always a good idea to consult a professional for assistance.
Once your dryer vent installation is complete, make it a habit to regularly inspect and maintain the vent to ensure optimal performance. Clean out any lint buildup and check for any signs of damage or obstructions. By keeping the vent clean and properly maintained, you can reduce the risk of fire hazards, improve drying efficiency, and prolong the life of your dryer.
Taking the time to install a dryer vent through the roof correctly will protect your home’s structure and occupants. It will also enhance energy efficiency, as a well-ventilated dryer can dry clothes faster and more efficiently.
Now that you’re equipped with the knowledge and steps required for installing a dryer vent through the roof, you can confidently tackle this project and enjoy the benefits of a properly functioning dryer. So, take the necessary steps, prioritize safety, and ensure a well-ventilated laundry area in your home.
Frequently Asked Questions about How To Install A Dryer Vent Through The Roof
Was this page helpful?
At Storables.com, we guarantee accurate and reliable information. Our content, validated by Expert Board Contributors, is crafted following stringent Editorial Policies. We're committed to providing you with well-researched, expert-backed insights for all your informational needs.