Home>Home Maintenance>How To Hook Up A Dryer Vent In A Tight Space
Home Maintenance
How To Hook Up A Dryer Vent In A Tight Space
Modified: November 1, 2024
Learn how to hook up a dryer vent in a tight space with our expert home maintenance tips. Ensure proper ventilation to prevent fire hazards and optimize dryer performance.
(Many of the links in this article redirect to a specific reviewed product. Your purchase of these products through affiliate links helps to generate commission for Storables.com, at no extra cost. Learn more)
Introduction
Welcome to our guide on how to hook up a dryer vent in a tight space. If you’re dealing with limited room or a compact laundry area, installing a dryer vent might seem like a challenging task. However, with the right tools and techniques, you can successfully connect your dryer to an exterior vent, ensuring proper airflow and preventing potential hazards.
A properly installed dryer vent not only helps remove moisture from your clothes but also prevents lint buildup, reducing the risk of fire. In this article, we will provide you with a step-by-step guide to help you navigate the process of hooking up a dryer vent in a tight space.
Before we dive into the installation process, let’s go over some common tools and materials you’ll need to have on hand:
- Drill
- Saw
- Tape measure
- Screwdriver
- Dryer vent brush
- Flexible duct
- Vent hood
- Screws
Now that you have an idea of the tools needed, let’s move on to the next step: determining the ideal location for your dryer vent.
Key Takeaways:
- Properly installing a dryer vent in a tight space ensures efficient airflow, reduces fire risk, and improves drying times. Follow step-by-step instructions and perform regular maintenance for optimal performance.
- Consider accessibility, clearances, and distance from windows when choosing the vent location. Test for proper airflow and monitor dryer performance after installation. Regular maintenance is key to safety and efficiency.
Read more: How To Hook Up An Electric Dryer
Step 1: Gather the necessary tools and materials
Before you begin the installation process, it’s essential to have all the required tools and materials readily available. Here’s a list of what you’ll need:
- Drill: You’ll need a drill to create holes for the vent hood and to secure the ductwork.
- Saw: A saw will be necessary to cut a hole in the wall for the dryer vent.
- Tape measure: Use a tape measure to accurately measure the space and mark the area for vent installation.
- Screwdriver: A screwdriver is needed to secure the vent hood and fasten screws.
- Dryer vent brush: This special brush helps remove lint and debris that may accumulate in the vent over time.
- Flexible duct: The flexible duct connects the dryer to the vent hood, allowing airflow to pass through.
- Vent hood: The vent hood is installed on the exterior wall and serves as the outlet for the dryer’s exhaust.
- Screws: Use screws to secure the vent hood and fasten the ductwork in place.
Make sure you have all these tools and materials before you begin the installation to prevent any delays or interruptions. It’s also a good idea to double-check the compatibility of the duct, vent hood, and screws to ensure they are suitable for your dryer and the space you’re working with.
Now that you’re equipped with the necessary tools, let’s move on to the next step: determining the ideal location for your dryer vent.
Step 2: Determine the ideal location for the dryer vent
Choosing the right location for your dryer vent is crucial for efficient and safe operation. Here are a few factors to consider when determining the ideal location:
- Accessibility: Ensure that the location you choose for the dryer vent allows easy access for maintenance and cleaning. This will make it easier to remove any accumulated lint or debris.
- Exterior Wall: The dryer vent should be installed on an exterior wall to vent the moist air outside. This helps prevent moisture buildup and potential damage to the structure.
- Clearance: Make sure there is enough clearance around the vent hood to allow for proper air circulation. Avoid obstructing the vent with vegetation or structures.
- Distance from Windows and Doors: Keep in mind that the dryer vent should be positioned away from windows and doors to prevent the exhaust from entering your living space.
Once you’ve considered these factors, assess the available space and choose a location that meets these criteria. It’s important to measure the distance from the dryer to the chosen location to ensure you have enough flexible duct to reach the vent hood.
Next, mark the ideal location on both the interior and exterior walls using a tape measure. This will serve as a reference point for the subsequent steps in the installation process.
Now that you’ve determined the optimal location for your dryer vent, it’s time to move on to the next step: measuring and marking the area for vent installation.
Step 3: Measure and mark the area for dryer vent installation
Accurate measurements are crucial to ensure the proper installation of your dryer vent. Follow these steps to measure and mark the area for vent installation:
- Measure the diameter: Take a tape measure and determine the diameter of the dryer vent. Typically, dryer vents have a standard diameter of 4 inches, but it’s always best to measure your specific vent to be sure.
- Locate the center point: Use a pencil to mark the center point of the chosen location for the vent on both the interior and exterior walls. This will serve as your reference point for measuring and cutting the hole.
- Measure and mark the hole: Measure the diameter of the vent hood and divide it by two. Starting from the center point, make marks on both walls using this distance to outline the circumference of the hole you’ll cut.
- Double-check the measurements: Before proceeding, double-check your measurements and ensure that the marked area aligns with the size of the vent hood. This will help ensure a proper fit and prevent any difficulties during installation.
Once you’ve completed these steps, you should have precise markings on both walls, indicating the area where you’ll cut the hole for your dryer vent. This brings us to the next step: cutting a hole in the wall for the dryer vent.
Step 4: Cut a hole in the wall for the dryer vent
With the measurements and markings in place, it’s time to cut a hole in the wall for the dryer vent. Follow these steps to ensure a clean and precise cut:
- Gather your safety gear: Before you begin cutting, ensure that you’re wearing appropriate safety gear such as safety goggles and gloves to protect yourself from any potential injuries or debris.
- Use a saw: Depending on the material of your wall, choose an appropriate tool such as a jigsaw or reciprocating saw. Start by making a small pilot hole at one of the marks, then carefully cut along the marked circumference.
- Check the cut: Once you’ve cut the hole, check its size and shape by comparing it to the measurements of the vent hood. Make any necessary adjustments with the saw to ensure a proper fit.
- Smooth the edges: Use sandpaper or a file to smooth any rough edges around the hole. This will prevent the duct from getting caught or damaged during installation.
Once you’ve cut the hole and smoothed the edges, you’re now ready to move on to the next step: installing the vent hood on the exterior wall.
Consider using a periscope vent to hook up your dryer in a tight space. This adjustable vent can be maneuvered to fit into small or awkward areas, allowing for proper ventilation without taking up too much space.
Read more: How To Hook Up A Gas Dryer
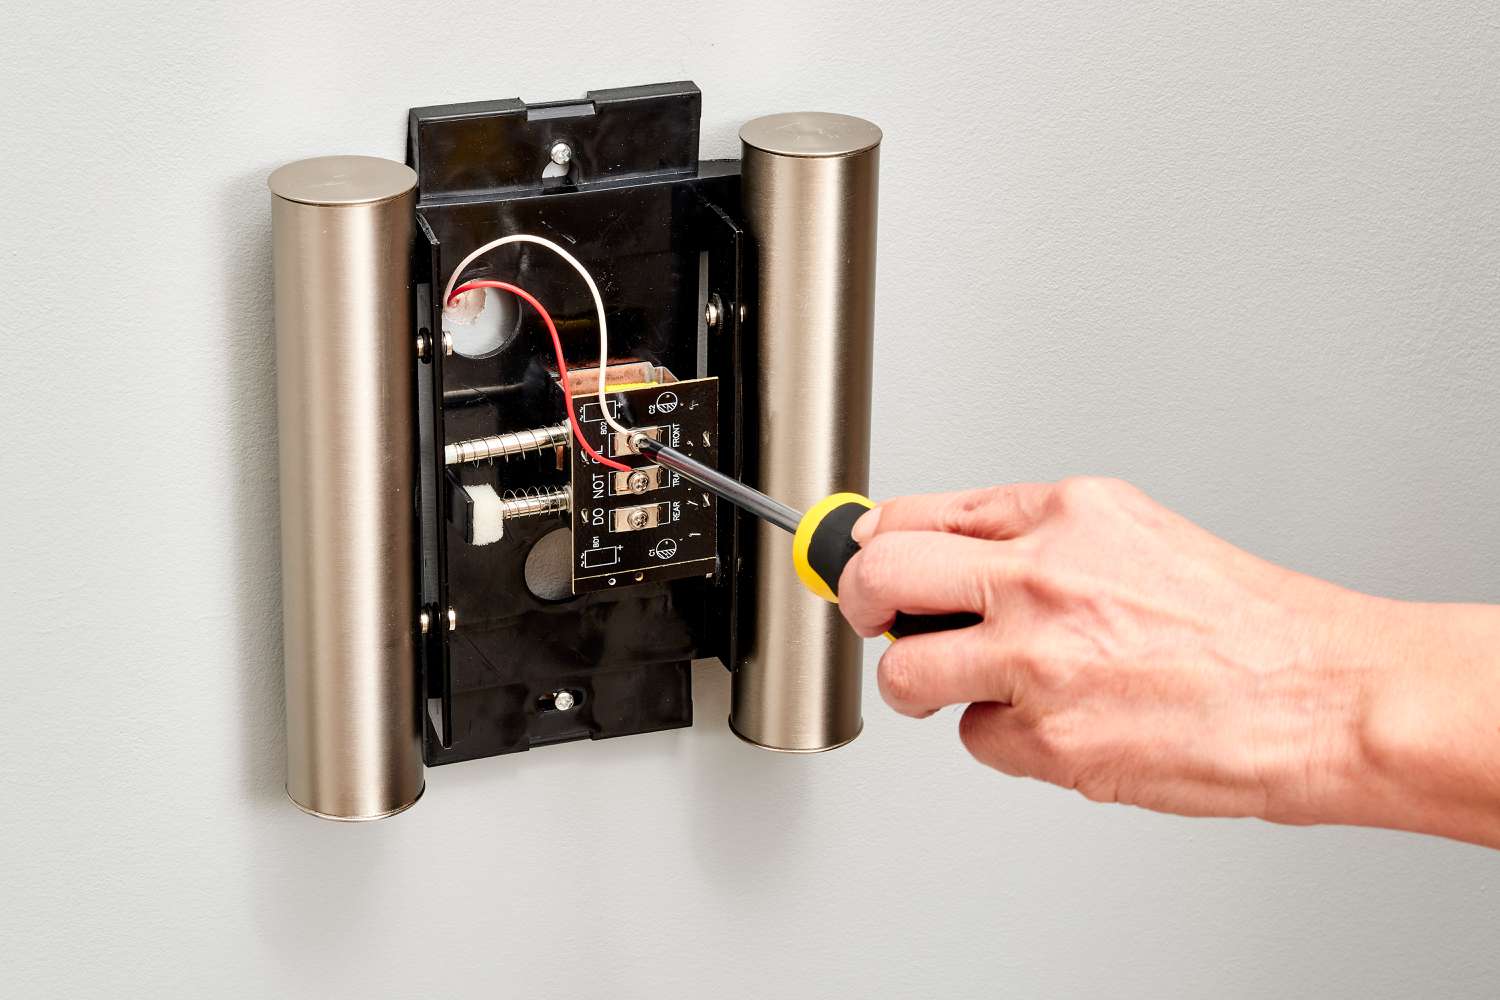
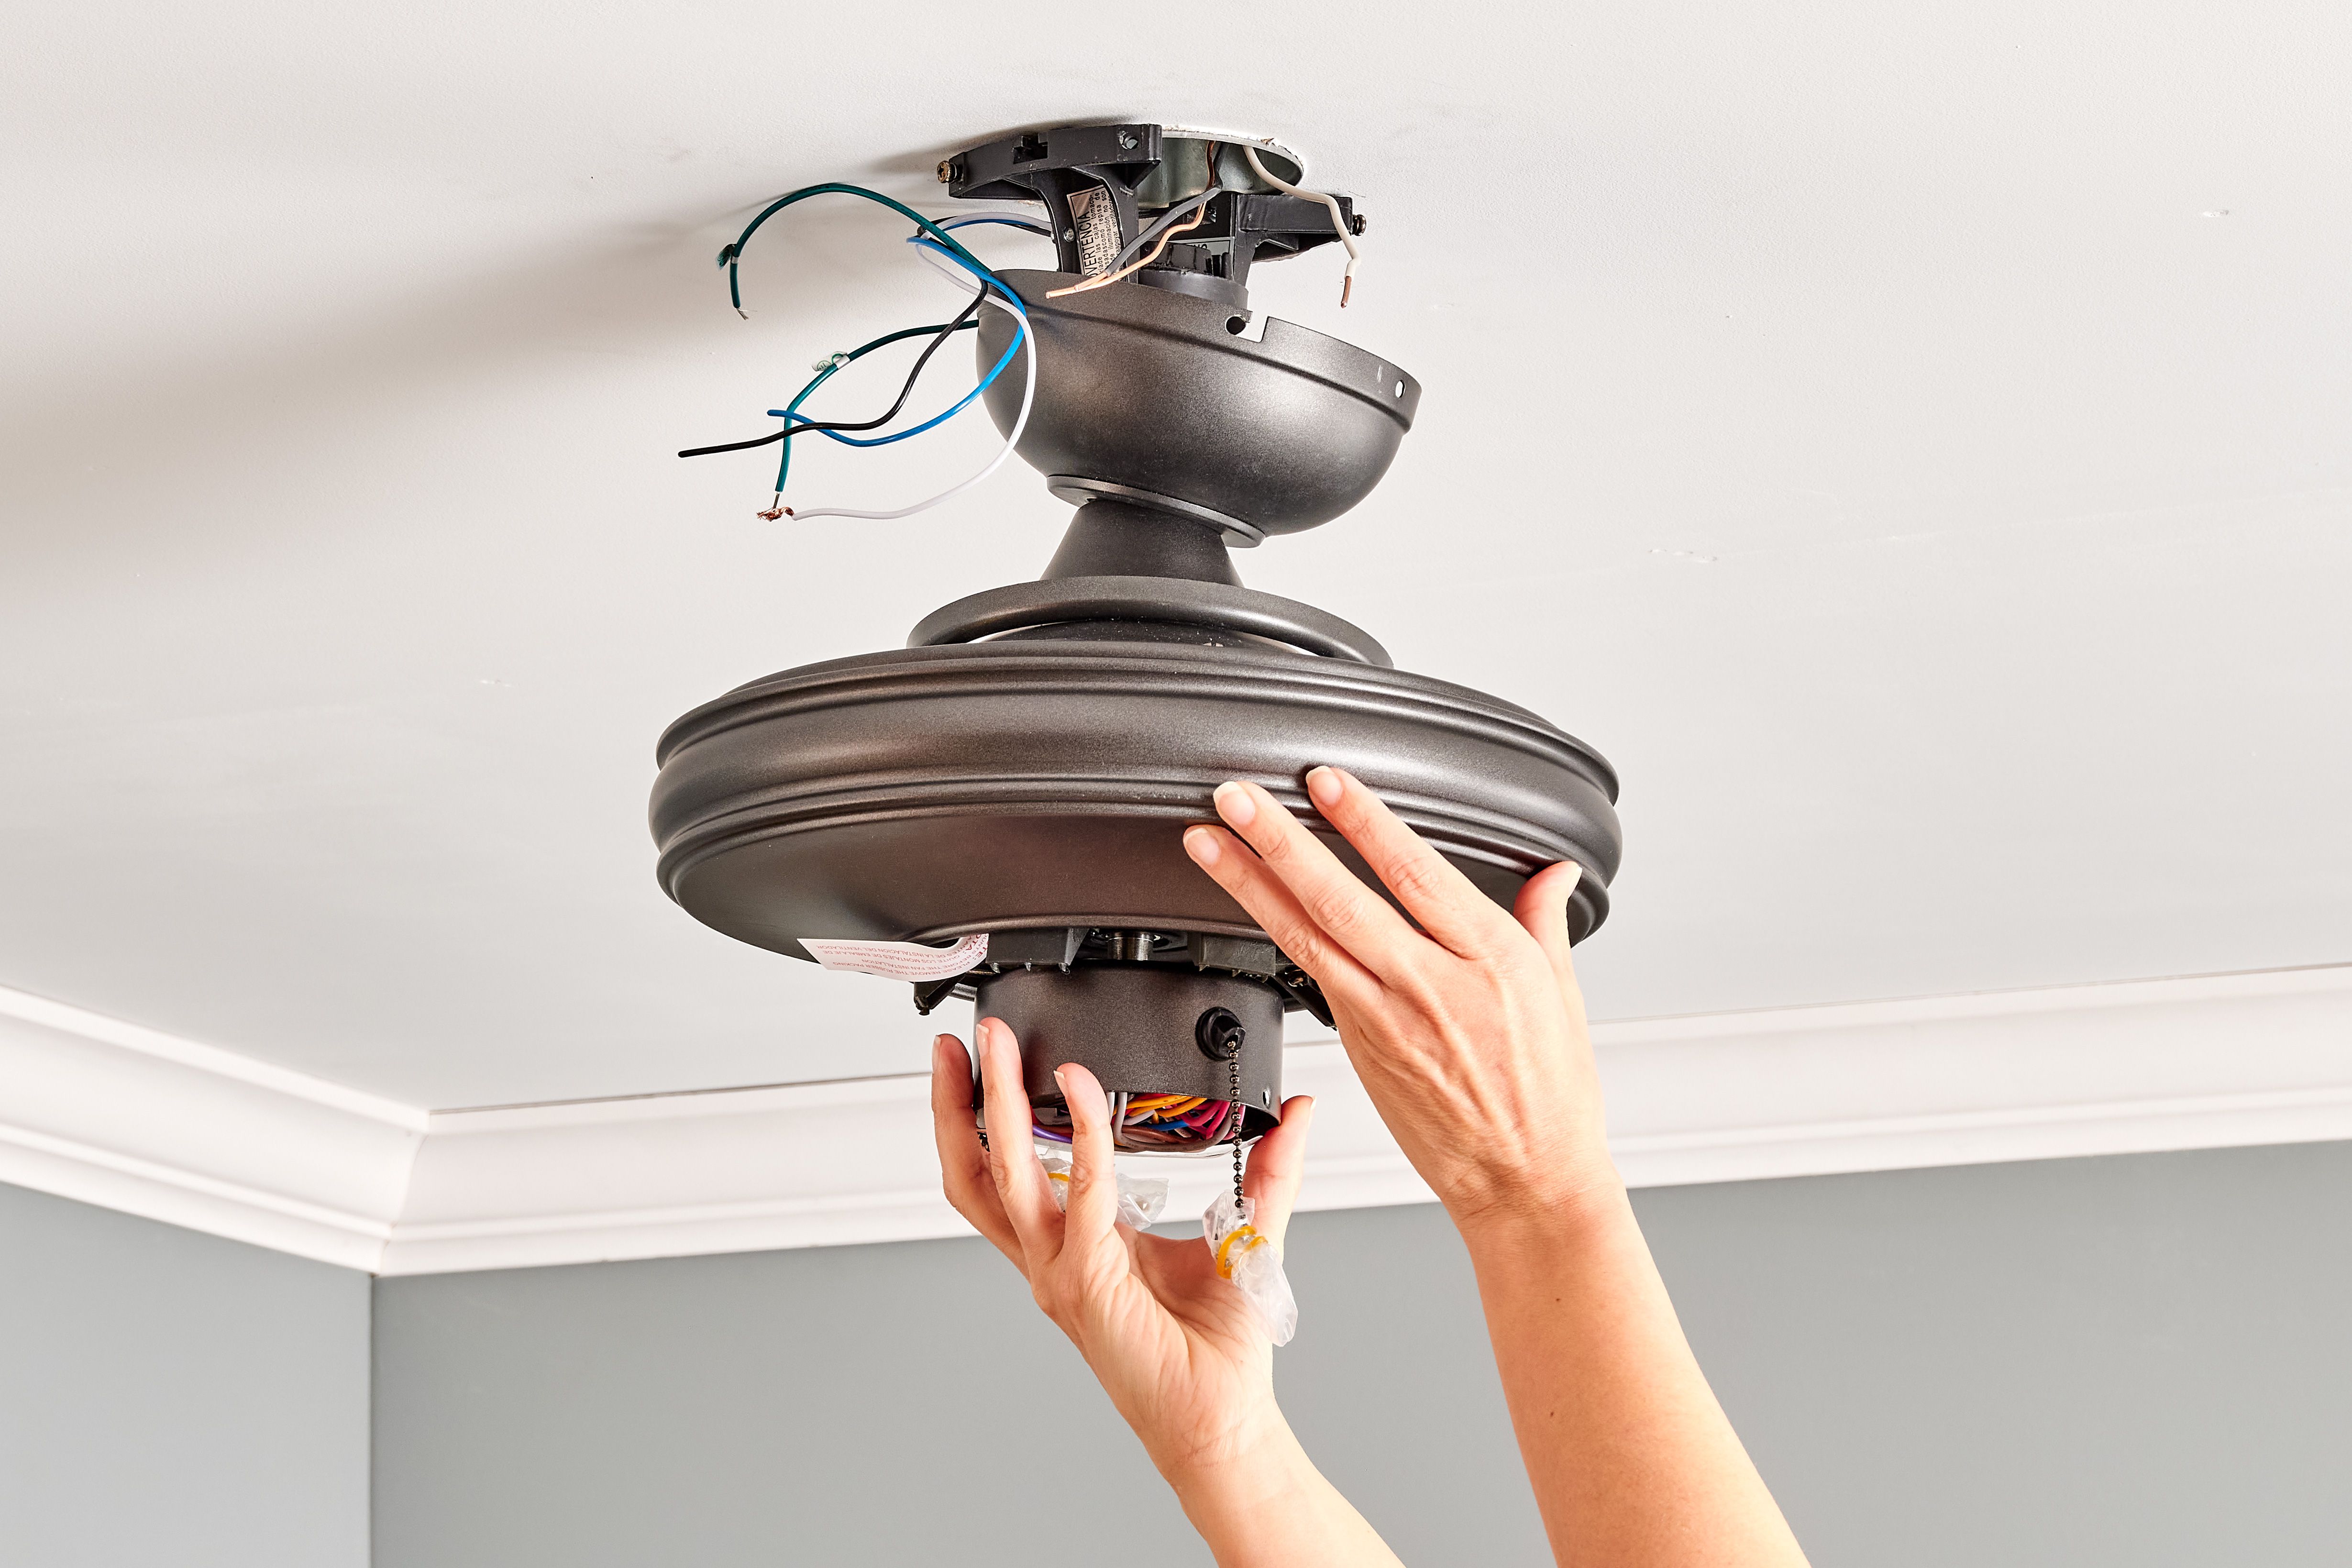
Step 5: Install the vent hood on the exterior wall
The vent hood plays a critical role in ensuring proper airflow and venting moisture from your dryer to the outside. Follow these steps to install the vent hood on the exterior wall:
- Position the vent hood: Hold the vent hood against the wall, aligning it with the hole you’ve cut. Make sure it is level and centered before proceeding.
- Mark the screw holes: Use a pencil or marker to mark the locations of the screw holes on the exterior wall. These holes will be used to secure the vent hood in place.
- Drill pilot holes: Use a drill and an appropriate drill bit to create pilot holes at the marked locations. These holes will make it easier to insert the screws and prevent the wall from cracking or splitting.
- Attach the vent hood: Place the vent hood back against the wall, aligning the screw holes with the pilot holes. Secure the vent hood in place by inserting screws through the holes and tightening them.
- Check for secure attachment: Once you’ve installed the vent hood, give it a gentle tug to ensure it is securely attached to the wall. This will help prevent any shifting or loosening over time.
With the vent hood properly installed, you’ve completed an important step in the installation process. Now it’s time to move on to connecting the flexible duct to the dryer vent.
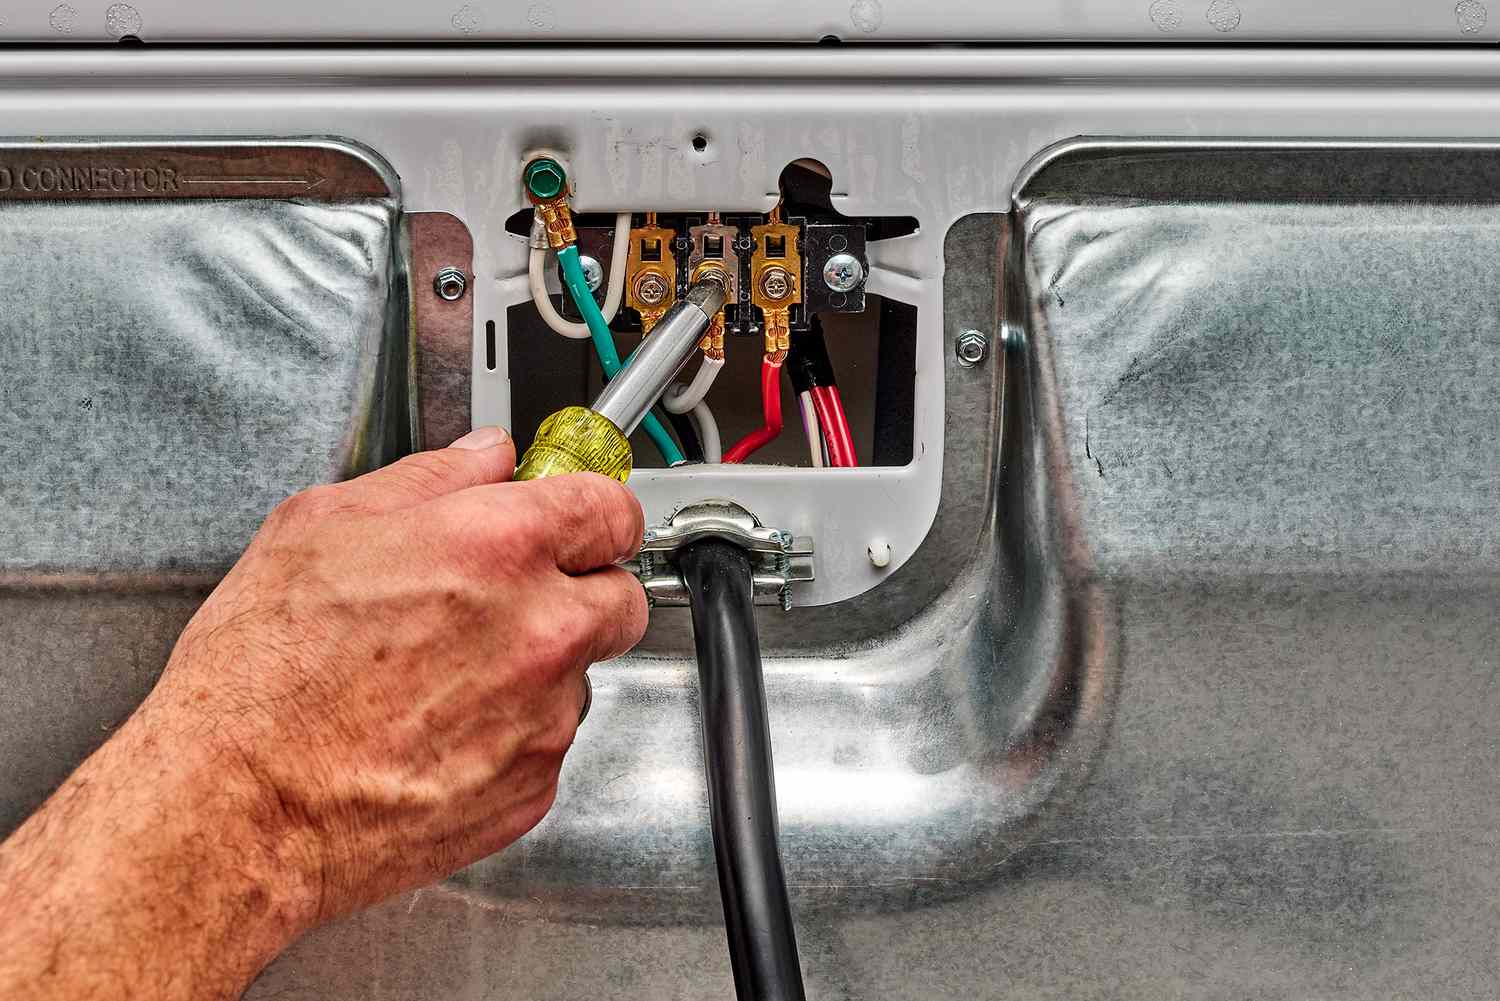
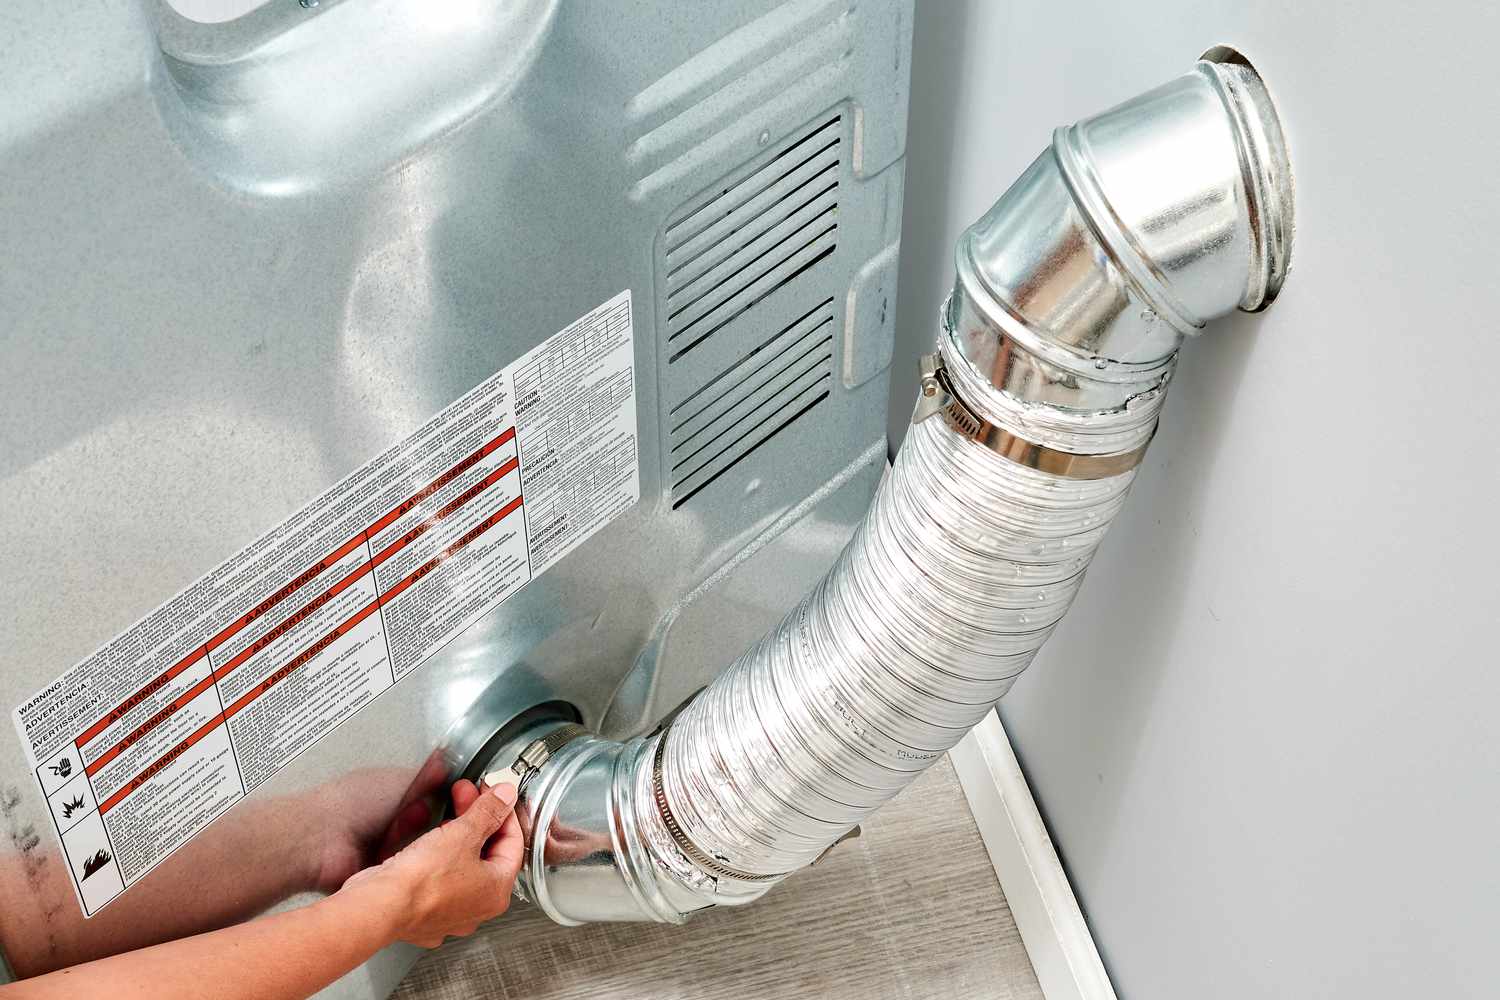
Step 6: Connect the flexible duct to the dryer vent
Now that you have the vent hood installed, it’s time to connect the flexible duct to the dryer vent. Follow these steps for a secure and efficient connection:
- Attach the duct to the vent: Start by sliding one end of the flexible duct over the dryer vent opening located at the back of the dryer. Make sure it fits snugly to create a tight connection.
- Secure with clamps: Once the duct is in place, use metal clamps or duct tape to secure it. Slide the clamp over the duct and tighten it with a screwdriver to hold the duct firmly in place. If using duct tape, wrap it tightly around the connection to ensure a secure hold.
- Extend the duct: Carefully extend the other end of the flexible duct towards the vent hood on the exterior wall. Be mindful of any obstacles or tight spaces that may require adjustments in the length or direction of the duct.
- Trim excess duct: If the duct is longer than necessary, use a pair of scissors or a utility knife to trim off any excess length. A shorter length of duct will help optimize the airflow and reduce the chances of lint accumulation.
- Recheck the connection: Once the duct is properly extended and trimmed, double-check the connection at both the dryer vent and the vent hood to ensure there are no leaks or loose fittings.
With the flexible duct securely connected to the dryer vent, you have successfully completed another important step in the installation process. The next step is all about making sure the ductwork is properly secured in place.
Step 7: Secure the ductwork in place
Securing the ductwork is crucial to ensure that it remains in place and functions effectively. Follow these steps to properly secure the ductwork:
- Use straps or hangers: Depending on your specific setup, you can use metal straps, plastic straps, or duct hangers to secure the ductwork along its route. These straps or hangers should be installed at regular intervals to support the weight of the duct and prevent sagging or disconnection.
- Attach the straps or hangers: Begin by attaching the straps or hangers to the walls or joists using screws or nails. Make sure they are positioned correctly and at the appropriate distance to support the ductwork.
- Place the duct on the straps: Once the straps or hangers are in place, carefully position the duct onto them. Adjust the position as needed to ensure the duct is well-aligned and properly supported along its entire length.
- Tighten the straps: If using metal straps, use a screwdriver or pliers to tighten them securely around the duct. If using plastic straps, follow the manufacturer’s instructions for tightening and securing them in place.
- Inspect the ductwork: After securing the ductwork, inspect it for any signs of sagging or loose connections. Ensure that the duct is properly aligned, without any kinks or bends that could restrict airflow. Make any necessary adjustments or re-tighten the straps if needed.
By properly securing the ductwork, you can prevent it from shifting or disconnecting over time. This ensures a smooth and efficient airflow from your dryer to the vent hood. With the ductwork in place, it’s time to move on to the final step: testing the dryer vent for proper airflow.
Step 8: Test the dryer vent for proper airflow
Testing the dryer vent for proper airflow is an essential step to ensure that your dryer is effectively venting the moist air to the outside. Follow these steps to test the airflow:
- Disconnect the dryer: Start by disconnecting the dryer from the power source to ensure safety during the testing process.
- Remove any obstructions: Check both ends of the duct, including the vent hood on the exterior wall, and remove any obstructions such as lint, debris, or nests that may hinder airflow.
- Turn on the dryer: Plug in the dryer and turn it on to initiate the drying cycle. Let it run for a few minutes to allow the air to circulate through the vent.
- Check the vent hood: Step outside to inspect the vent hood while the dryer is running. Look for signs of steady airflow, such as the movement of the vent flaps or the release of warm air. A lack of airflow or weak airflow may indicate a blockage or a disconnection in the ductwork.
- Monitor dryer performance: While the dryer is running, pay attention to its performance. If clothes are taking longer than usual to dry or if the dryer is overheating, it could be a sign of poor ventilation.
If you notice any issues such as weak airflow or poor dryer performance, it’s crucial to address them promptly. Double-check the duct connections, clear any obstructions, or consult a professional if necessary.
Regular maintenance, including cleaning the dryer vent and ductwork, should be performed to ensure optimal performance and prevent the risk of fire. Stay vigilant and schedule routine inspections to keep your dryer vent system in excellent working condition.
Congratulations! By following these steps, you have successfully installed and tested your dryer vent in a tight space. Enjoy the benefits of proper ventilation, faster drying times, and peace of mind knowing that your setup is safe and efficient.
Keep in mind that local building codes and regulations may vary, so it’s always a good idea to familiarize yourself with any specific requirements in your area. When in doubt, consult a professional for guidance to ensure compliance and safety.
Thank you for reading our guide, and we hope it has been helpful in your dryer vent installation journey!
Read more: How To Hook Up A Stacked Washer And Dryer
Conclusion
Installing a dryer vent in a tight space may seem challenging, but with the right tools, materials, and step-by-step guidance, it can be accomplished efficiently and safely. Proper ventilation is essential to remove moisture and lint from your dryer, reducing the risk of fire and ensuring optimal performance.
In this comprehensive guide, we’ve walked you through the entire process of hooking up a dryer vent in a tight space. From gathering the necessary tools and materials to cutting a hole in the wall, connecting the ductwork, and securing it in place, each step was carefully explained to help you achieve a successful installation.
Remember to consider factors such as accessibility, clearances, and the distance from windows and doors when determining the ideal location for your dryer vent. Accurate measurements and precise markings are vital to ensure a proper fit and efficient airflow. Installing the vent hood on the exterior wall and securely connecting the flexible duct are crucial steps that must not be overlooked.
Once the installation is complete, it’s important to test the dryer vent for proper airflow and monitor its performance. Regular maintenance, such as cleaning the vent and ductwork, will help maintain optimal functionality and reduce the risk of blockages or fire hazards.
Always be mindful of safety precautions throughout the installation process, and consult a professional if needed, particularly if you’re uncertain about any specific regulations or requirements in your area.
With your new dryer vent properly installed, enjoy the benefits of improved drying efficiency and peace of mind knowing that your home is safer from potential hazards. Regularly inspect and maintain your dryer vent system to ensure its continued effectiveness.
We’ve reached the end of our guide, and we hope that it has been helpful in guiding you through the process of hooking up a dryer vent in a tight space. Thank you for reading, and best of luck with your dryer vent installation!
Frequently Asked Questions about How To Hook Up A Dryer Vent In A Tight Space
Was this page helpful?
At Storables.com, we guarantee accurate and reliable information. Our content, validated by Expert Board Contributors, is crafted following stringent Editorial Policies. We're committed to providing you with well-researched, expert-backed insights for all your informational needs.