Home>Home Maintenance>How To Repair A Dryer Vent Hose
Home Maintenance
How To Repair A Dryer Vent Hose
Modified: March 6, 2024
Learn how to repair and maintain your home's dryer vent hose with our step-by-step guide. Ensure proper ventilation for your dryer and prevent potential hazards.
(Many of the links in this article redirect to a specific reviewed product. Your purchase of these products through affiliate links helps to generate commission for Storables.com, at no extra cost. Learn more)
Introduction
Welcome to our comprehensive guide on how to repair a dryer vent hose. A properly functioning dryer vent is essential for efficient and safe operation of your dryer. Over time, the vent hose may become damaged or develop leaks, resulting in reduced airflow and potential fire hazards. By following the steps outlined in this article, you can easily replace a damaged vent hose and ensure optimal performance of your dryer.
Before we dive into the repair process, it is essential to emphasize the importance of safety precautions. As you work on your dryer vent, always remember to prioritize safety. Make sure to unplug the dryer from the power source before starting any repairs, and wear protective gloves and eyewear to avoid any injuries. Additionally, it is crucial to clean the dryer vent regularly to prevent lint buildup and potential fire hazards. Now, let’s gather the tools and materials needed for this repair.
Key Takeaways:
- Safety first! Always unplug the dryer before repairs, wear gloves and goggles, and keep the area clear. Regular cleaning prevents lint buildup and potential fire hazards.
- Assess, replace, and secure. Check for damage, choose the right replacement hose, and secure connections. Test the system for efficient and safe drying.
Read more: How To Connect A Dryer Vent Hose
Safety Precautions
Repairing a dryer vent hose involves working with electrical appliances and potentially delicate components, so it is important to take the necessary safety precautions. By following these guidelines, you can ensure a safe repair process:
- Turn off the power: Before you begin any repairs, make sure to unplug the dryer from the power source. This will prevent any accidents or injuries caused by electrical shocks.
- Protective gear: Wear protective gloves and safety goggles to protect your hands and eyes from any sharp edges or debris that may be present during the repair process.
- Ventilation: When working in a confined space, such as a laundry room, ensure proper ventilation to avoid inhaling dust or fumes that may be present. Open windows or use a fan to increase airflow.
- Inspect electrical components: Before touching any electrical components, visually inspect them for any signs of damage or wear. If you notice any frayed wires or loose connections, consult a professional to handle the repairs.
- Work with a partner: Having a second person present during the repair process can be helpful for holding parts in place or providing assistance when needed.
- Secure the area: Ensure that the area around the dryer is clear of any obstacles or tripping hazards to prevent accidents during the repair process.
- Read the manufacturer’s instructions: Always refer to the manufacturer’s instructions for your specific dryer model. This will provide valuable information on the proper repair procedures and any additional safety precautions to be aware of.
- Fire prevention: Regularly clean the dryer vent and lint trap to minimize the risk of lint buildup, which can lead to dryer fires. Vacuum the vent and lint trap regularly to remove any debris.
By adhering to these safety precautions, you can ensure a smooth and secure repair process. Now, let’s move on to the tools and materials required for the repair.
Tools and Materials Needed
Before you start repairing your dryer vent hose, it’s essential to gather all the necessary tools and materials. Having everything on hand will make the repair process more efficient and prevent unnecessary delays. Here’s a list of the tools and materials you’ll need:
- Screwdriver: A screwdriver will be needed to remove any screws securing the old vent hose or clamps.
- Pliers: Pliers can be used to loosen and tighten hose clamps or to remove any stubborn fittings.
- Tape measure: Use a tape measure to measure the required length for the replacement vent hose.
- Utility knife: A utility knife will come in handy for cutting through the old vent hose or trimming the new one.
- Wire brush: A wire brush can be used to clean the dryer vent opening and remove any lint or debris.
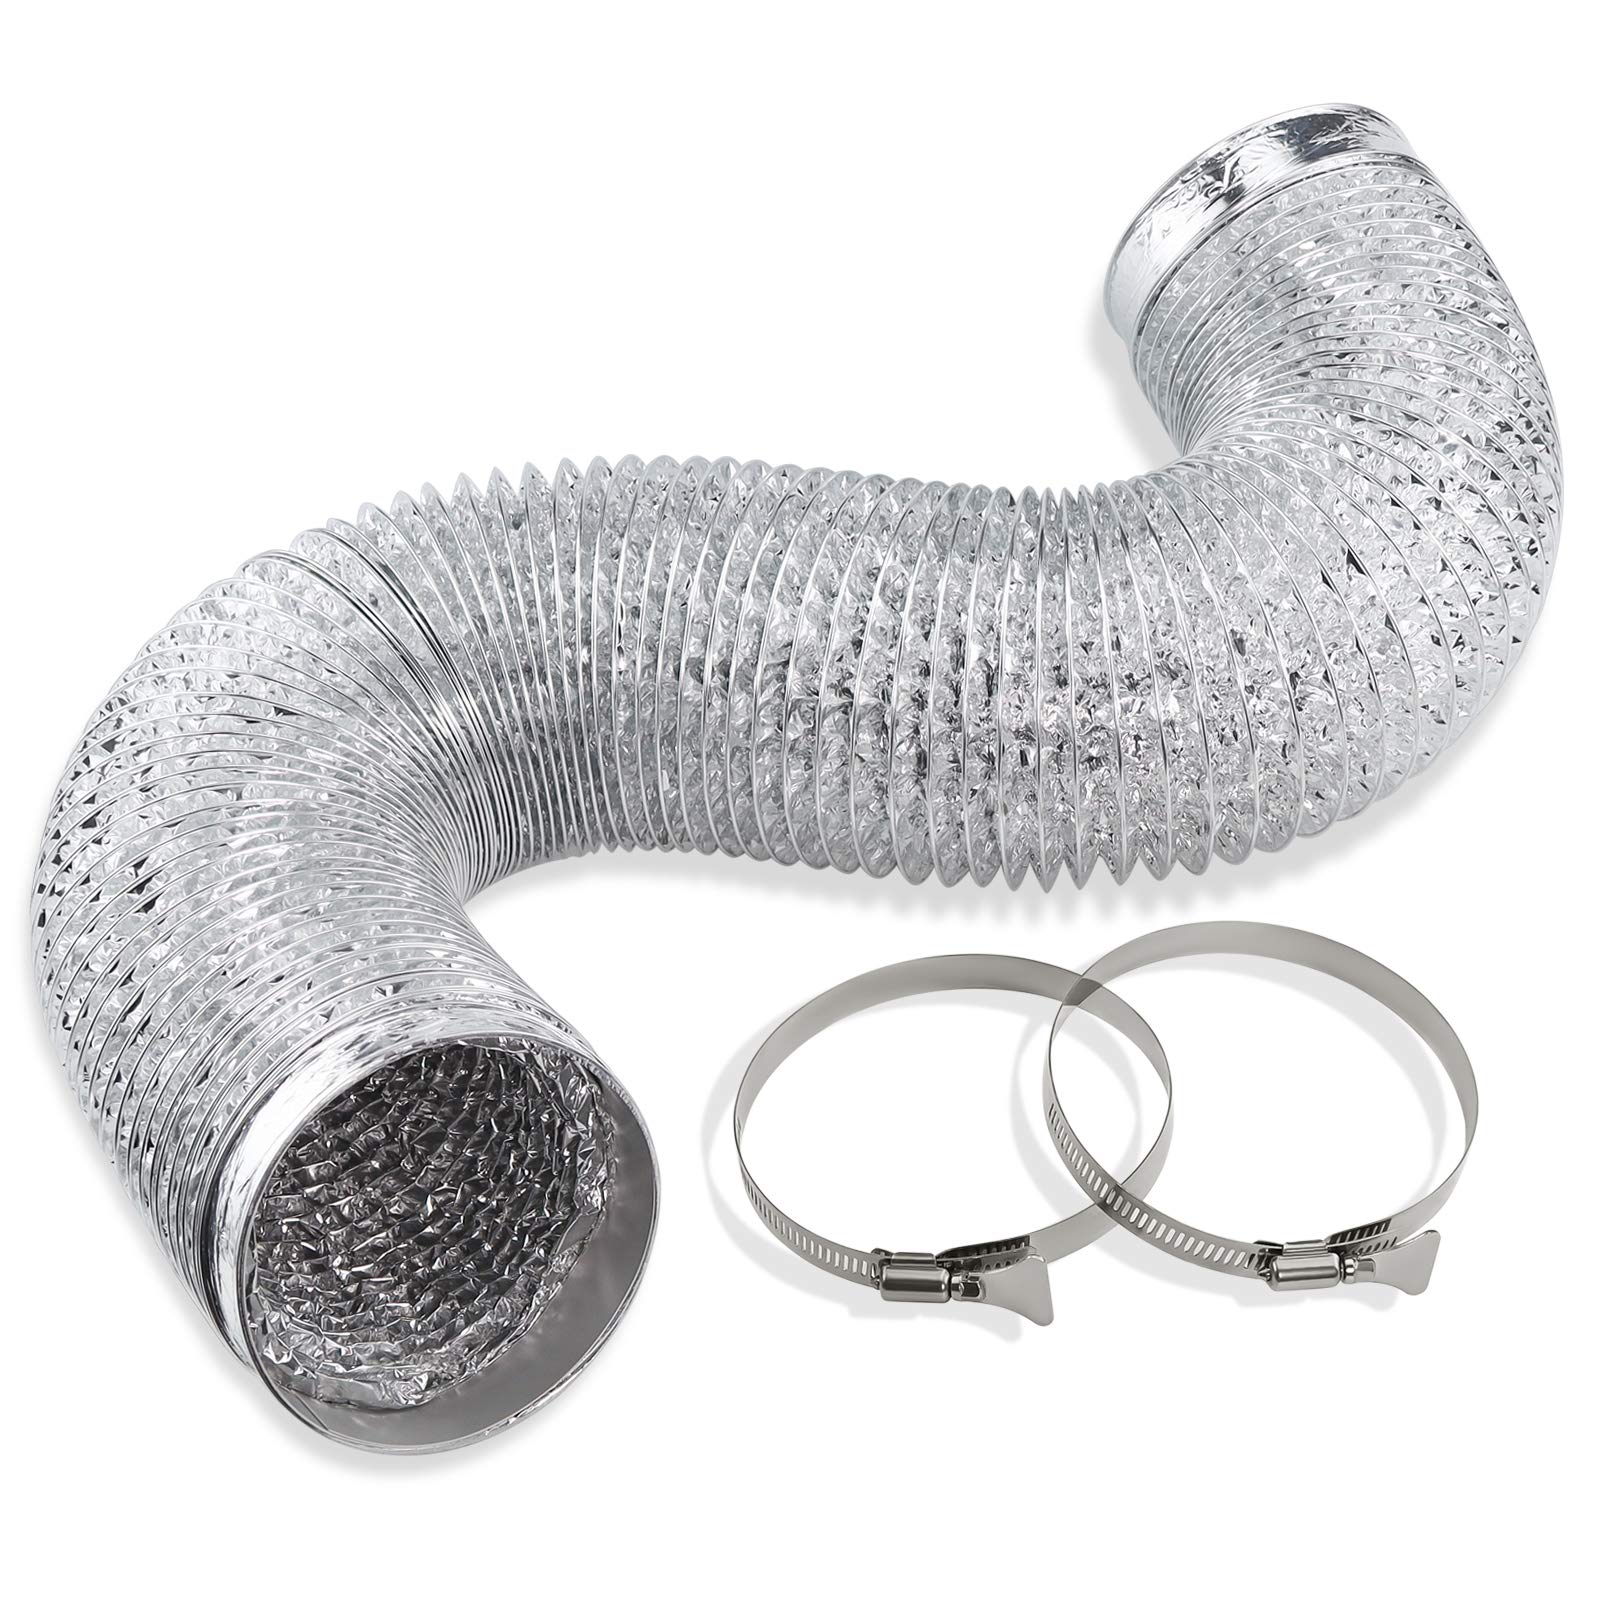
- New vent hose: Purchase a new vent hose that is compatible with your dryer model. Look for a durable and flexible hose that meets the recommended specifications.
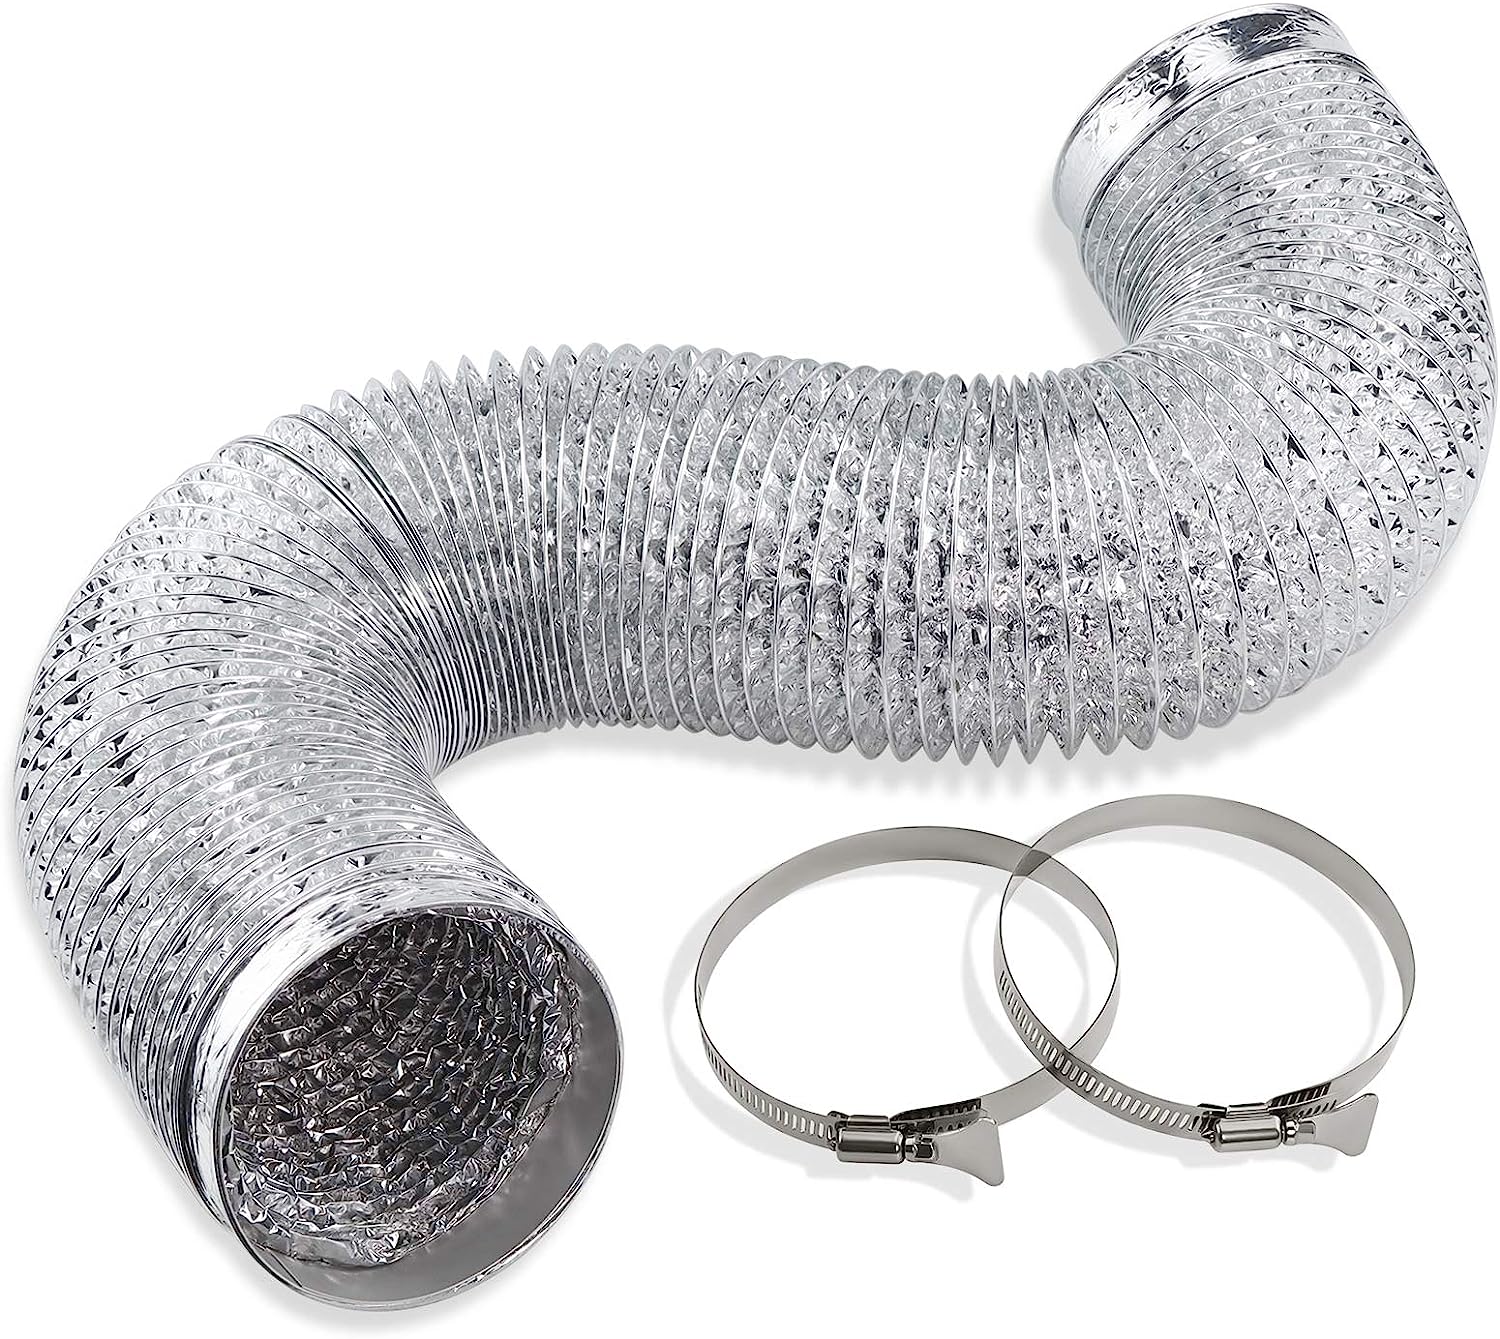
- Hose clamps: Depending on the type of vent hose you choose, you may need hose clamps to secure the connections.
- Safety gloves and goggles: Wear safety gloves and goggles to protect your hands and eyes during the repair process.
By ensuring that you have these tools and materials readily available, you’ll be well-prepared to tackle the repair of your dryer vent hose. Now, let’s move on to the step-by-step process of repairing the hose.
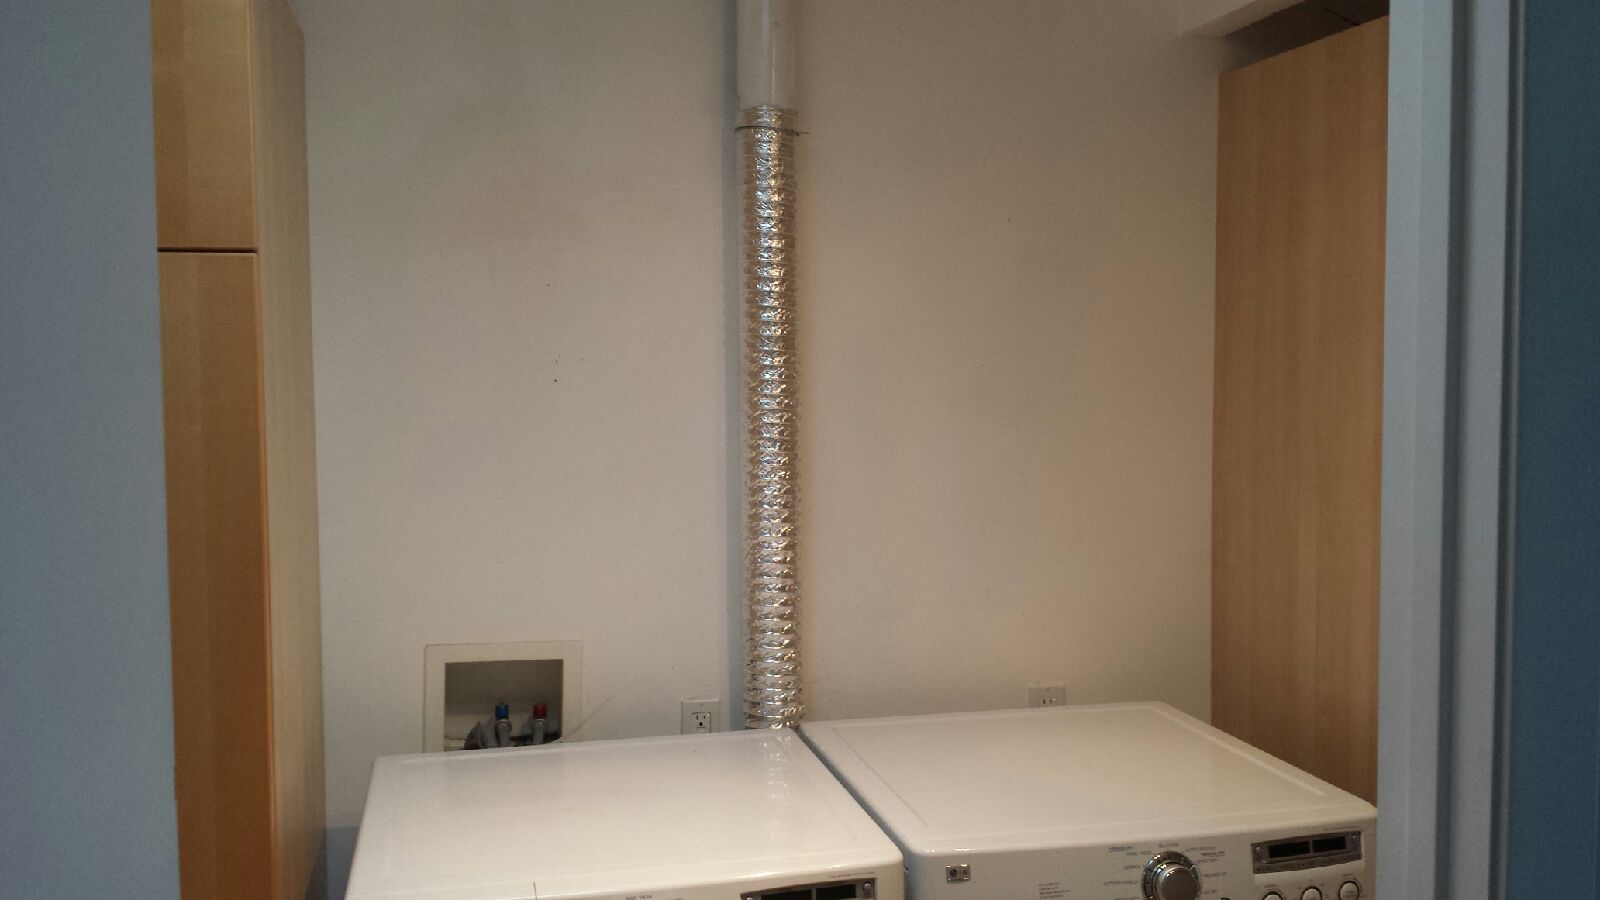
Step 1: Assessing the Damage
Before you start replacing your dryer vent hose, it’s essential to assess the extent of the damage. This will help you determine the appropriate course of action and ensure that you have the correct materials for the repair.
Inspect the existing vent hose for any visible signs of damage, such as cracks, holes, or excessive wear and tear. Feel along the hose to check for any soft spots or areas that are brittle and prone to breaking. Additionally, check the connections at both the dryer and the exterior vent to see if they are intact and secure.
If the damage is minor and limited to a small section of the hose, you may be able to patch it up temporarily. However, if the hose is severely damaged or deteriorated, it’s best to replace it entirely to ensure proper airflow and safety.
While assessing the damage, also take note of the vent hose length and the type of connections it has. This will help you find the right replacement hose that matches the specifications required by your dryer model.
Once you have assessed the damage and determined the necessary course of action, you can proceed to the next step: removing the damaged vent hose.
Step 2: Removing the Damaged Vent Hose
With the damage assessed, it’s time to remove the old and damaged vent hose. Follow these steps to safely remove the hose:
- Start by unplugging the dryer from the power source to ensure your safety.
- Locate the connection points of the vent hose. The hose is typically attached to the back of the dryer and the exterior vent opening.
- Depending on the type of connection, you may need to use a screwdriver or pliers to loosen hose clamps or remove screws holding the hose in place.
- Gently disconnect the vent hose from both ends. Take care not to damage any surrounding components during this process.
- If the hose seems stuck or difficult to remove, try using pliers to loosen any stubborn fittings or clamps.
- Once the hose is detached, carefully remove it from the area, taking note of any debris or lint that may have accumulated.
- Inspect the dryer vent opening and the exterior vent for any obstructions. Remove any lint buildup or debris using a wire brush or vacuum cleaner.
By following these steps, you can safely remove the damaged vent hose from your dryer. With the old hose out of the way, you’re now ready to move on to the next step: cleaning the dryer vent opening.
Read more: How To Install Dryer Vent Hose
Step 3: Cleaning the Dryer Vent Opening
After removing the damaged vent hose, it’s important to clean the dryer vent opening to ensure proper airflow and prevent any blockages. Follow these steps to effectively clean the vent opening:
- Before starting, make sure the dryer is still unplugged from the power source for safety.
- Using a wire brush or vacuum cleaner attachment, carefully clean the interior of the dryer vent opening. Remove any lint, dust, or debris that may have accumulated over time.
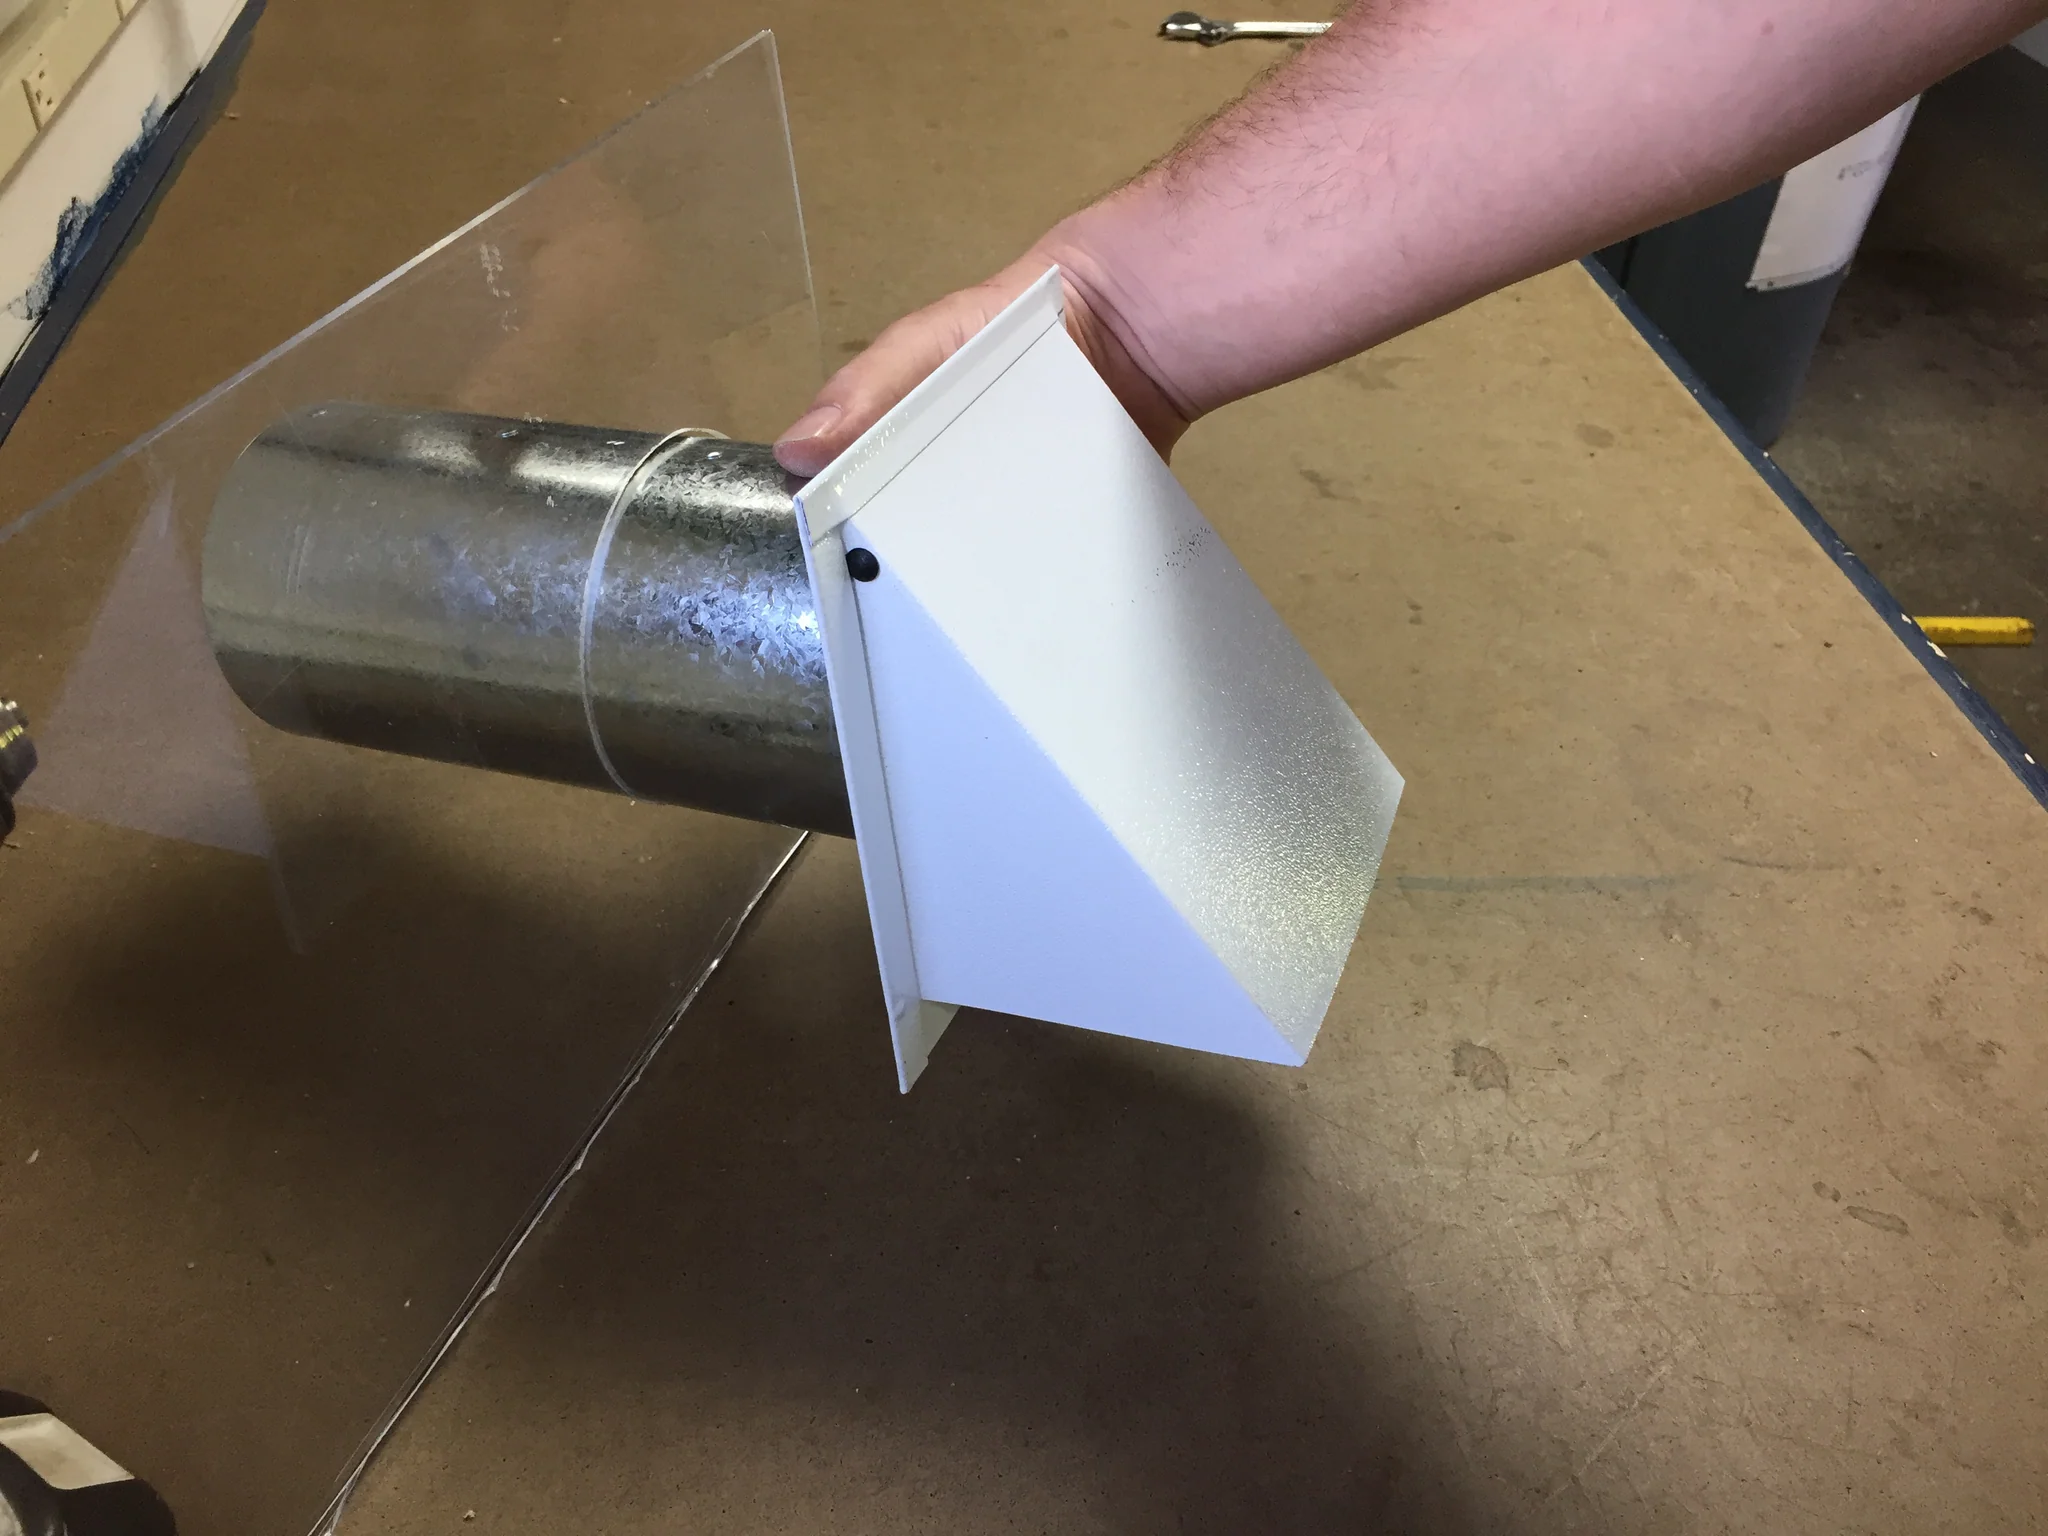
- Pay close attention to the vent flaps or louvers on the exterior of the vent opening. Ensure they are working properly and not obstructed by any debris.
- Inspect the vent opening for any signs of damage or deterioration. If you notice any issues, such as loose vent flaps or excessive rust, consider contacting a professional for further inspection and repairs.
- If necessary, use a damp cloth or mild cleaning solution to wipe down the exterior of the vent opening to remove any dirt or grime.
- Allow the vent opening to fully dry before proceeding to the next step.
By cleaning the dryer vent opening, you can remove any blockages and ensure that air can flow freely through the vent system. This step is crucial for maintaining the efficiency and safety of your dryer. Now, let’s move on to choosing the right replacement vent hose.
Regularly check and clean your dryer vent hose to prevent lint buildup and potential fire hazards. Use a vacuum or dryer vent brush to remove any debris and ensure proper airflow.
Step 4: Choosing the Right Replacement Vent Hose
Choosing the right replacement vent hose is crucial for ensuring proper airflow and compatibility with your dryer. Here are some key factors to consider when selecting your replacement vent hose:
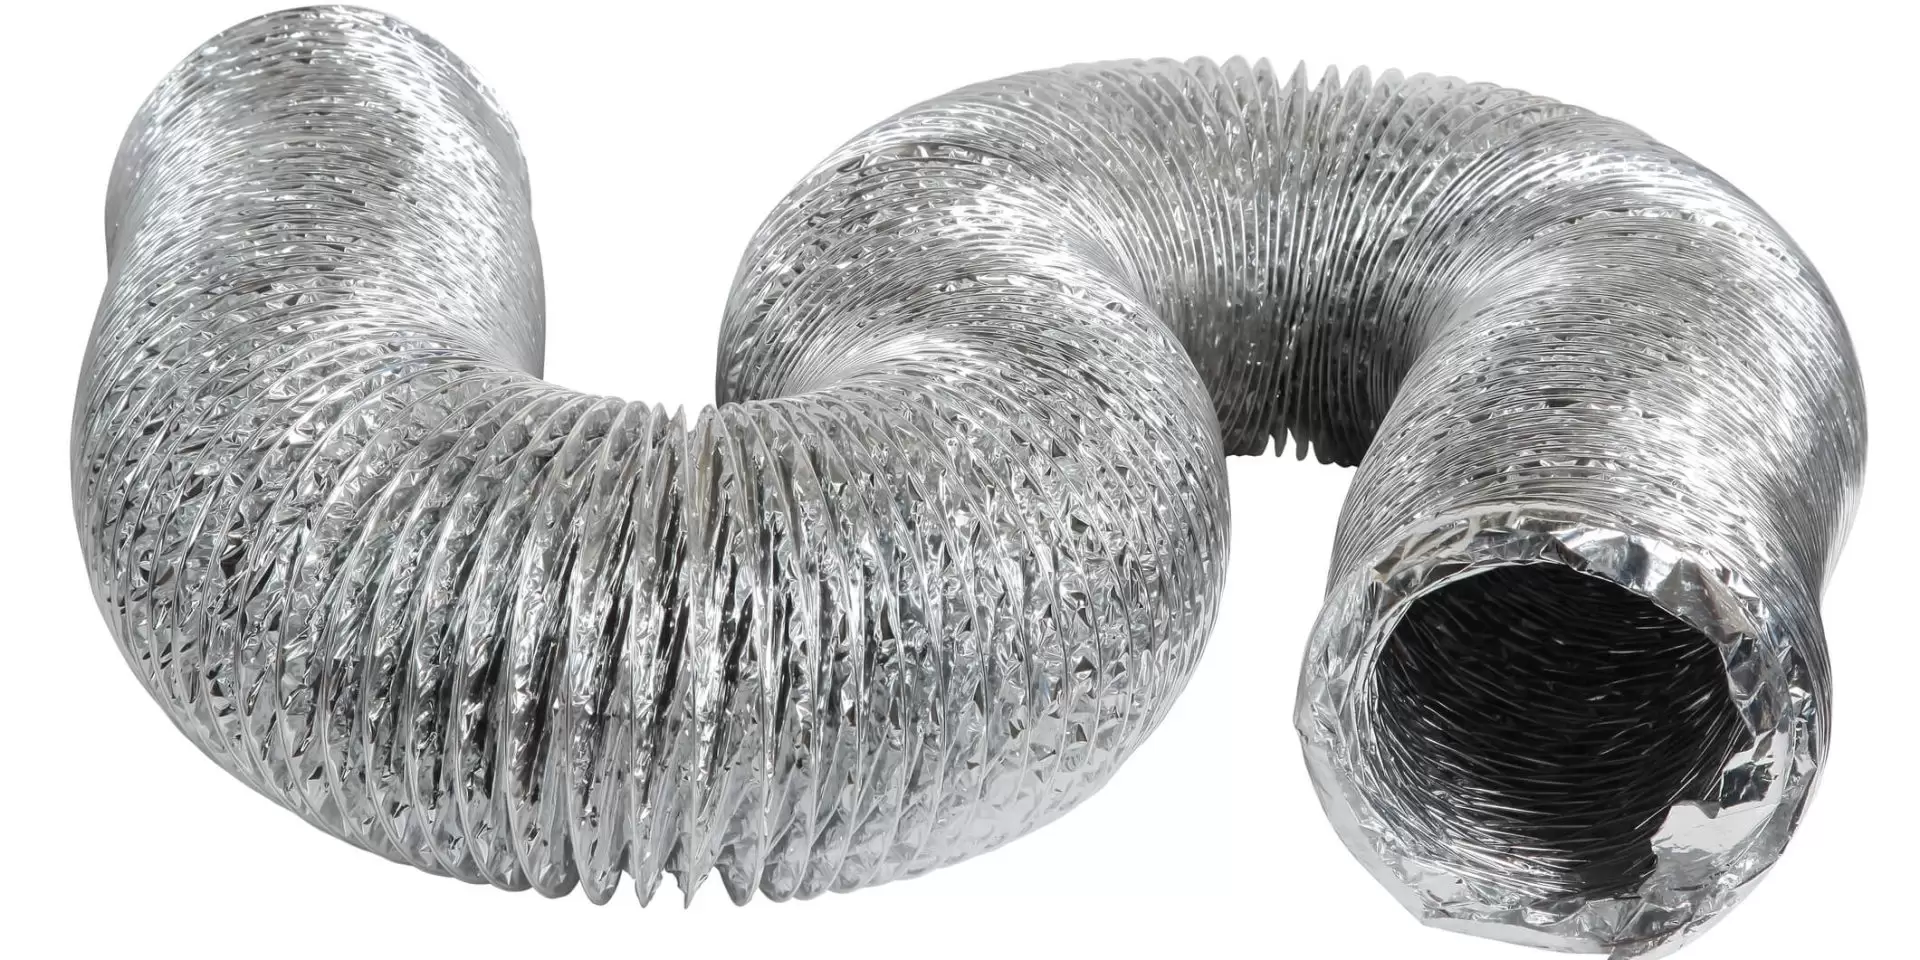
- Measurements: Measure the length of the old vent hose to determine the required length for the replacement. It’s important to choose a hose that is long enough to reach from the dryer to the exterior vent without any excess or bending.
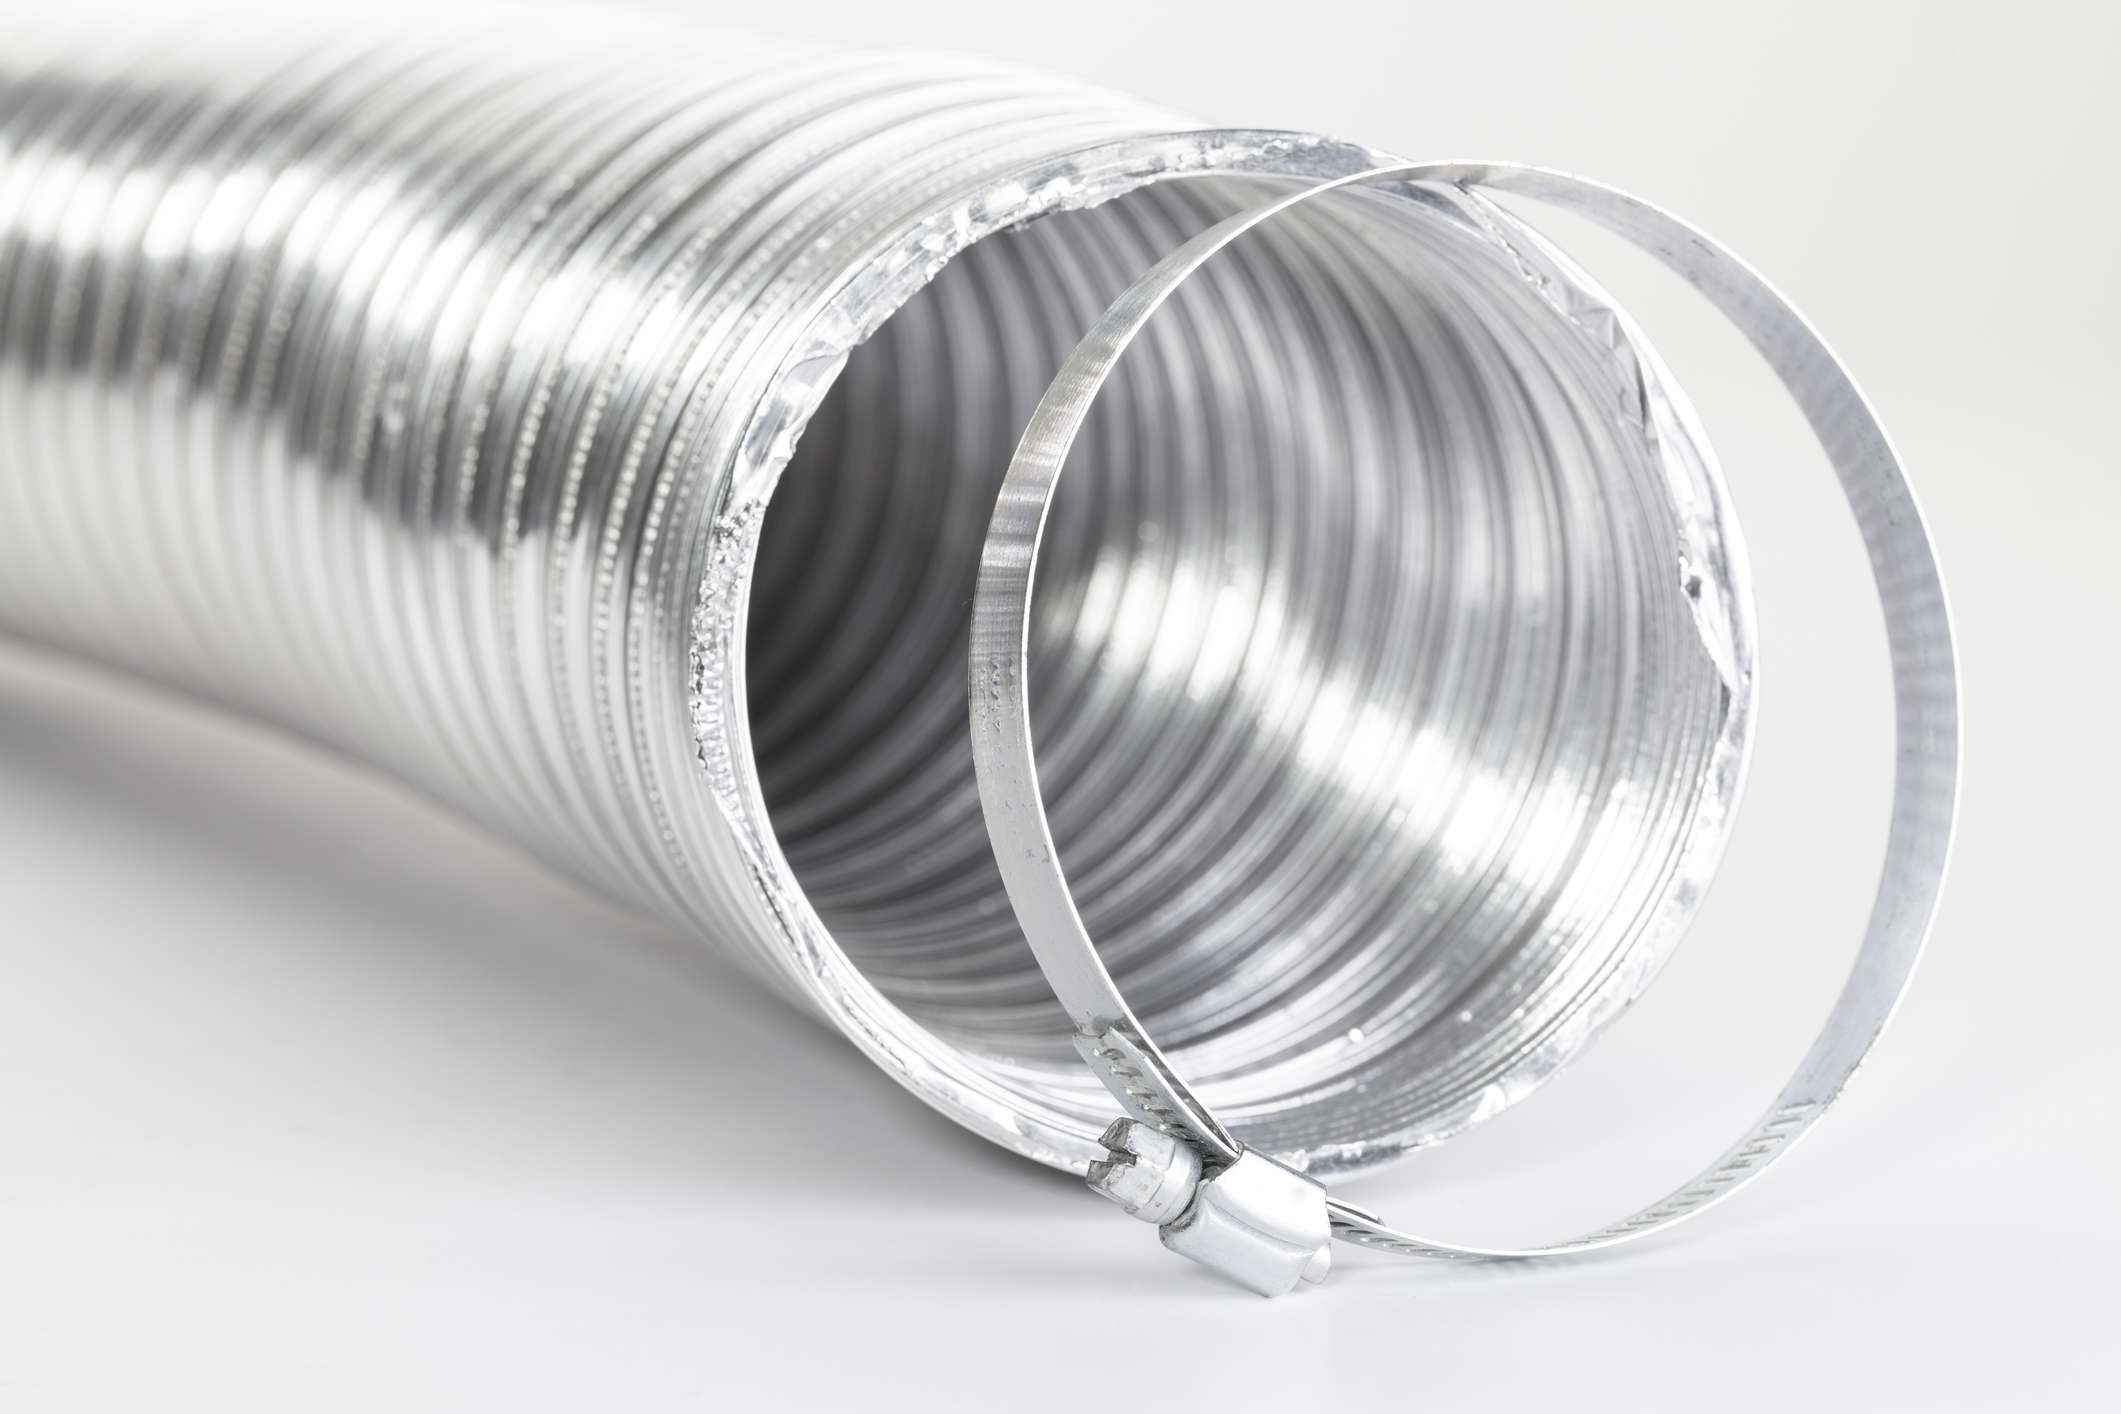
- Material: Look for a vent hose made of durable and flexible materials, such as aluminum or flexible metal. These materials are resistant to heat and offer better airflow compared to plastic or vinyl hoses.
- Diameter: Check the diameter of the old vent hose to ensure compatibility with the replacement hose. Most dryer vent hoses have a standard diameter of 4 inches, but it’s always best to double-check.
- Quality: Opt for a high-quality vent hose that is designed for dryer use. This will ensure longevity and minimize the chances of future damage or leaks.
- Considerations for tight spaces: If you have limited space behind your dryer, consider using a slim or low-profile vent hose that can fit in tight spaces without compromising airflow.
- Consult the manufacturer: Refer to the dryer manufacturer’s instructions or consult their website to check for any specific recommendations or requirements regarding vent hose replacements.
By considering these factors, you can choose a replacement vent hose that is compatible with your dryer and meets the necessary specifications. Once you have selected the right hose, you’re ready to move on to the next step: installing the new vent hose.
Step 5: Installing the New Vent Hose
Now that you have chosen the right replacement vent hose, it’s time to install it in your dryer. Follow these steps to effectively install the new vent hose:
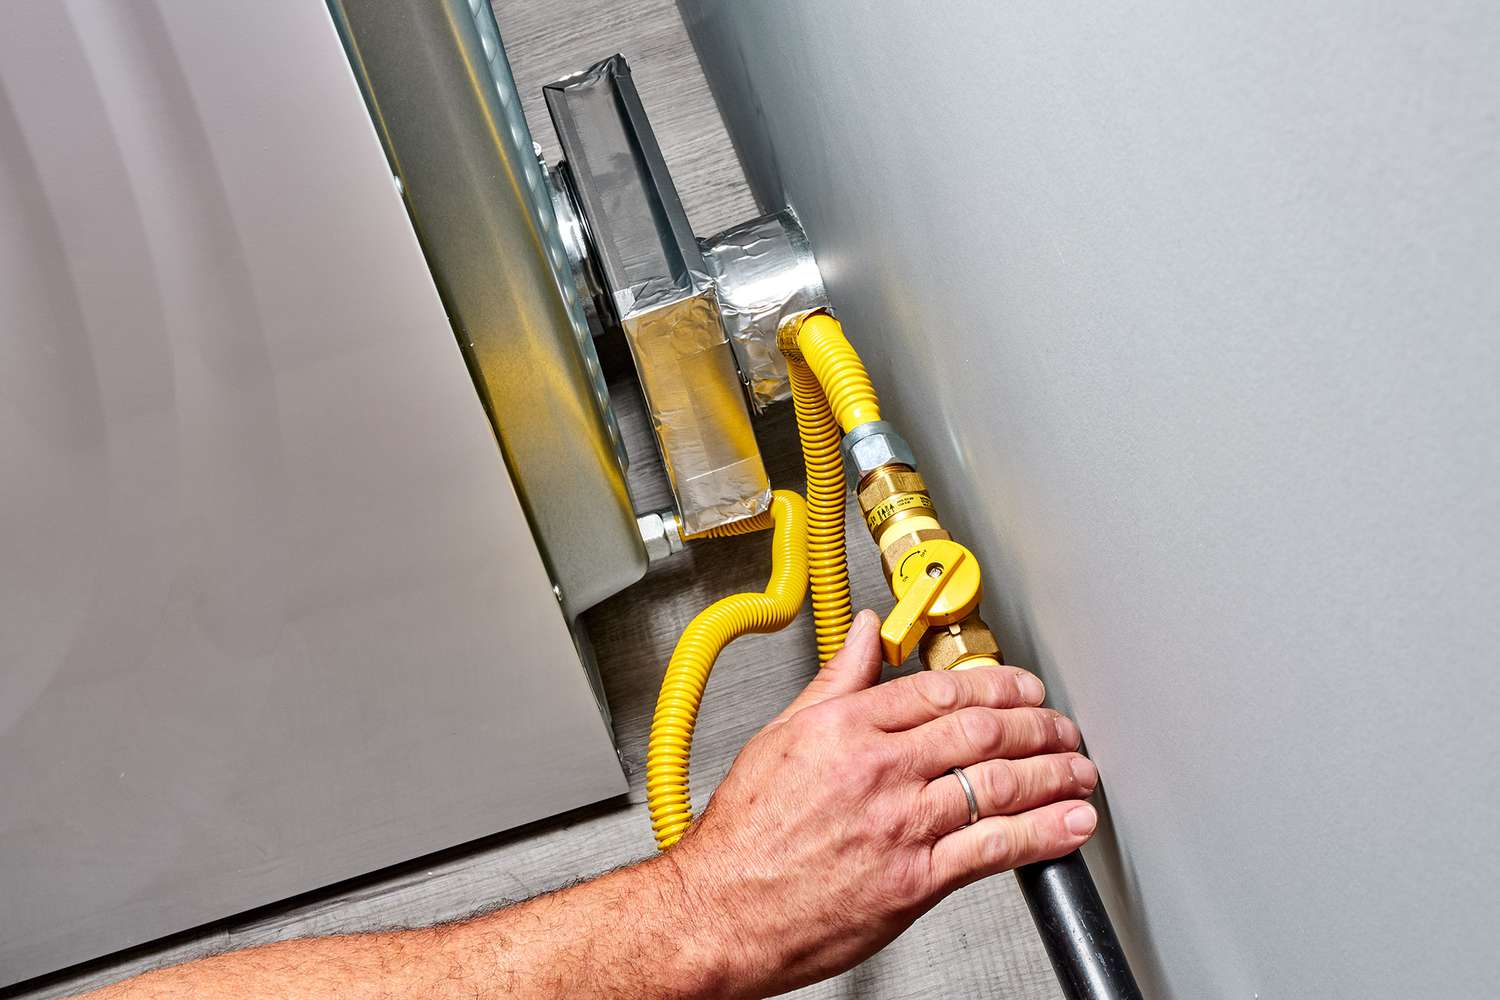
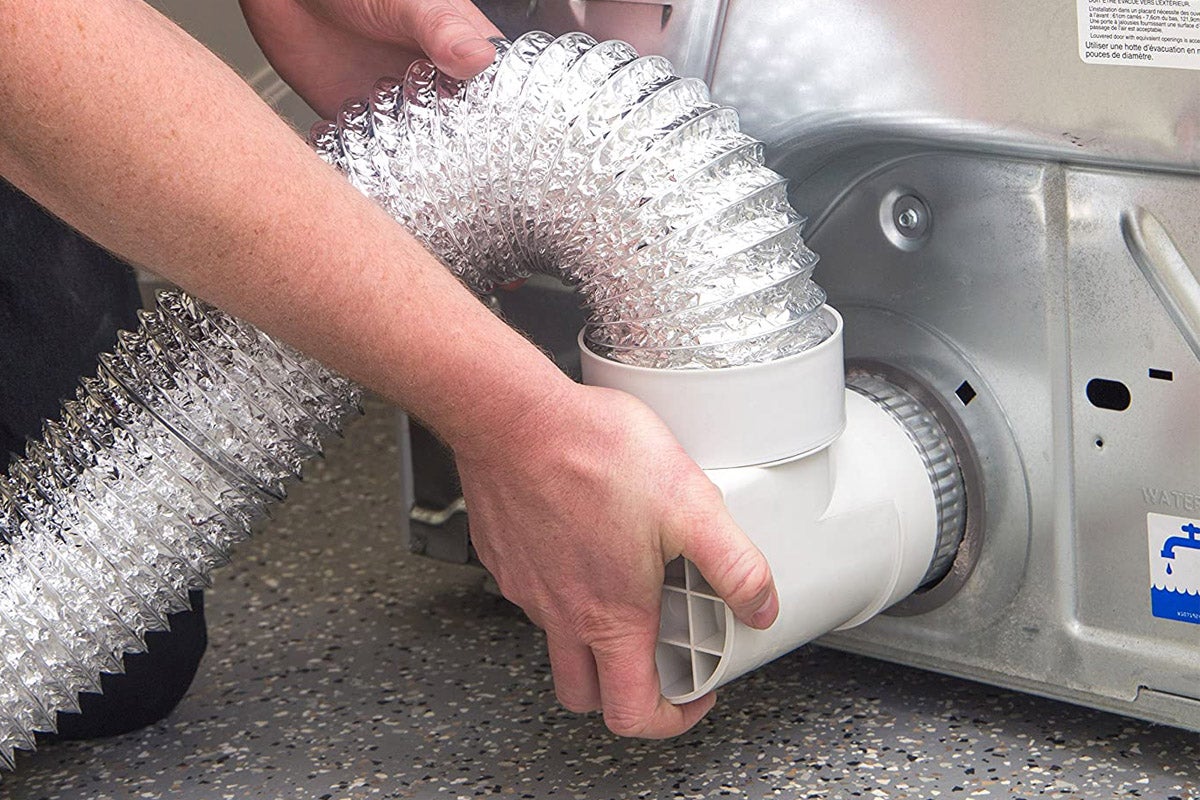
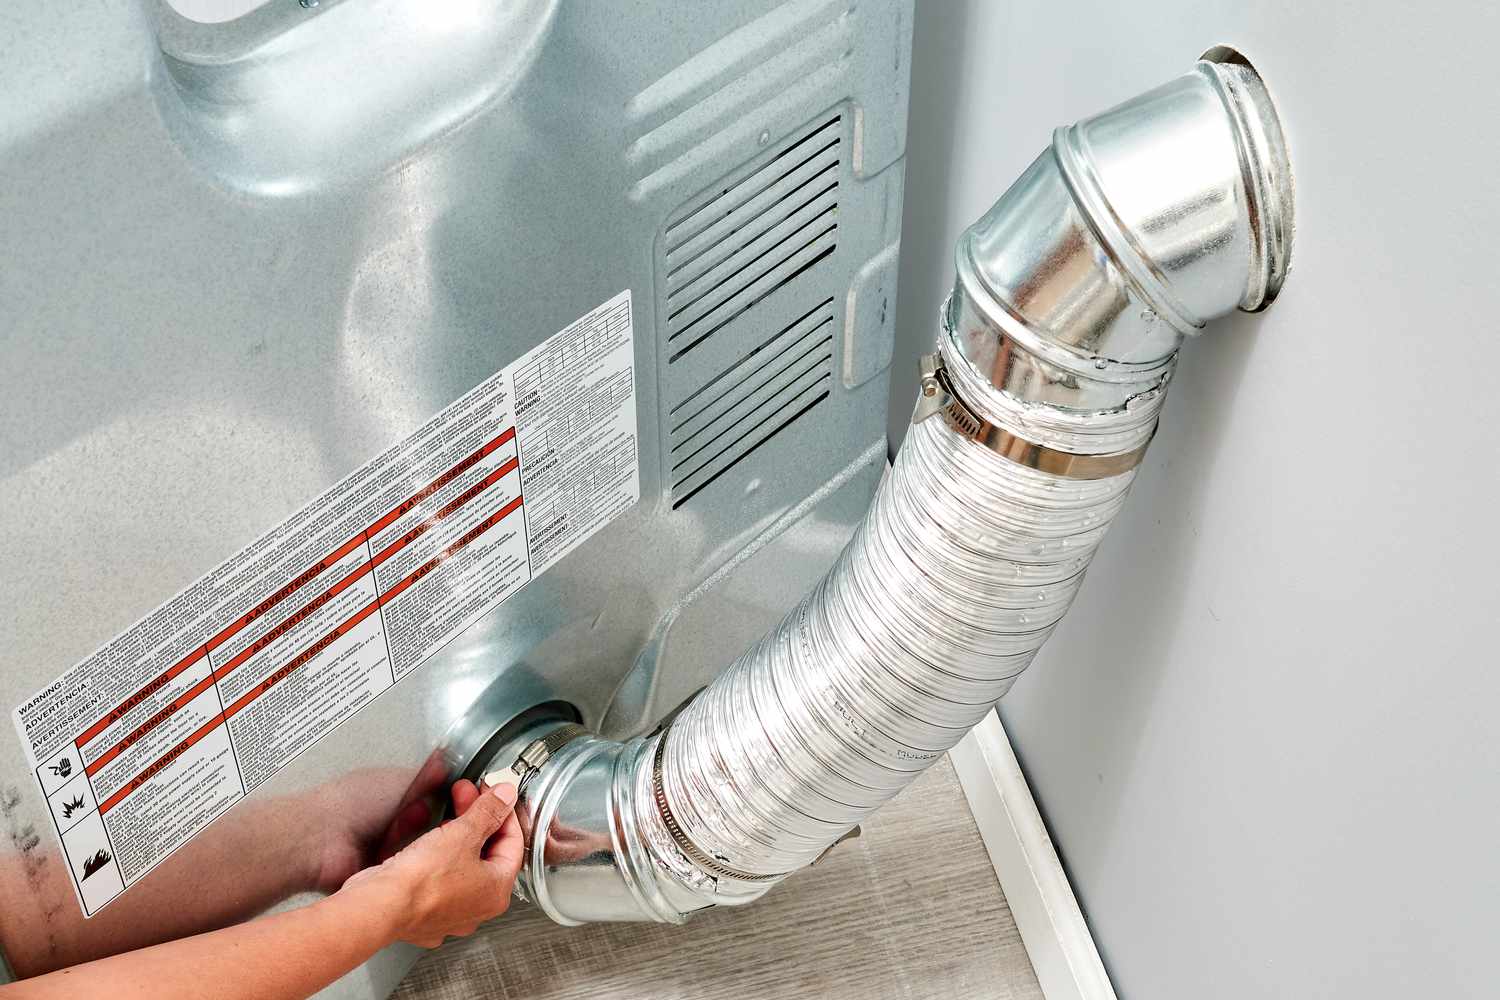
- Start by positioning one end of the replacement vent hose over the dryer vent opening on the back of the appliance. Ensure a secure and snug fit.
- If necessary, use a hose clamp to secure the connection between the vent hose and the dryer vent opening. Tighten the clamp using pliers to ensure a secure and airtight seal.
- With the other end of the vent hose, locate the exterior vent opening and position the hose over it. Ensure a proper fit, allowing for proper airflow.
- Again, use a hose clamp to secure the connection between the vent hose and the exterior vent. Tighten the clamp using pliers to ensure a secure and airtight seal.
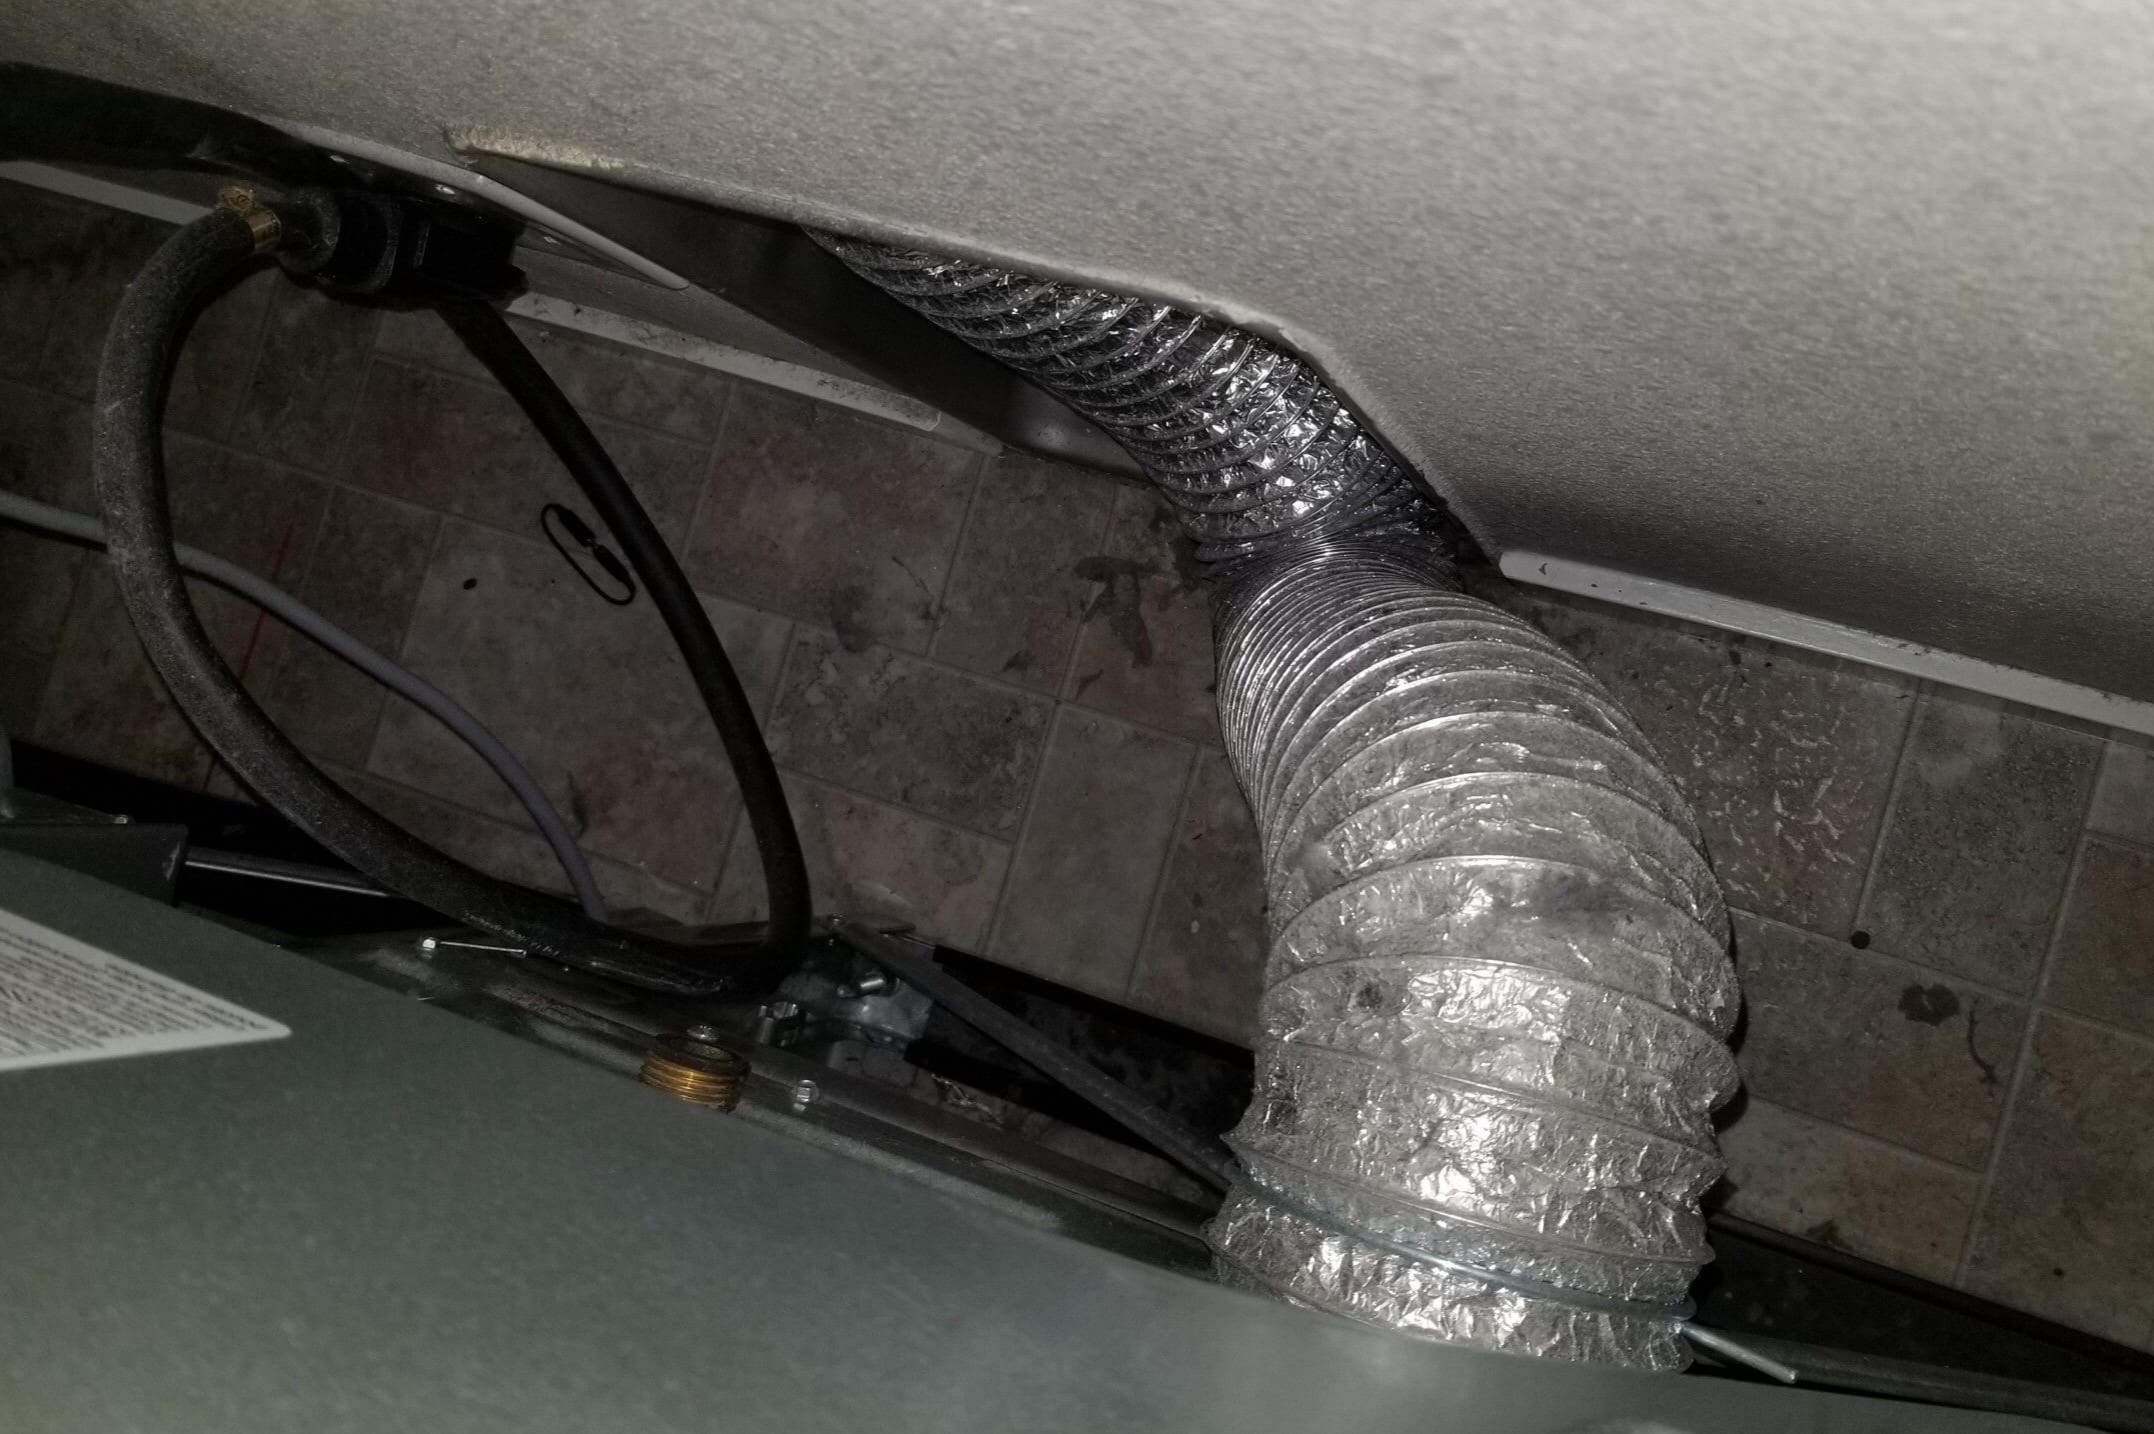
- Ensure that the vent hose is not kinked, bent, or obstructed in any way. A smooth and straight path will allow for optimal airflow.
- Double-check all connections to ensure they are secure and properly aligned. This will prevent any leaks or disconnections during dryer operation.
By following these steps, you can successfully install the new vent hose in your dryer. It’s important to note that proper installation is crucial for promoting efficient airflow and preventing potential fire hazards. With the vent hose securely in place, let’s move on to the next step: securing the vent hose connections.
Step 6: Securing the Vent Hose Connections
Now that the new vent hose is installed, it’s important to properly secure the connections to ensure airtight seals and prevent any leaks. Follow these steps to effectively secure the vent hose connections:
- Inspect both ends of the vent hose to ensure they are securely attached to the dryer vent opening and the exterior vent.
- If you used hose clamps during the installation process, check to make sure they are tightened securely. Use pliers to tighten the clamps further if necessary.
- Gently tug on the vent hose to check that it is firmly in place. It should not move or disconnect easily.
- Inspect the surrounding area around the vent hose connections for any gaps or openings. If you notice any, use a high-temperature silicone sealant to seal the gaps and ensure airtightness.
- Allow the silicone sealant to dry according to the manufacturer’s instructions before using the dryer.
By properly securing the vent hose connections, you can prevent any air leaks and ensure efficient airflow through the vent system. This step is crucial for maintaining the proper operation of your dryer. With the connections secure, let’s move on to the final step: testing the dryer vent system.
Read more: How To Shorten A Dryer Vent Hose
Step 7: Testing the Dryer Vent System
After completing the installation and securing the vent hose connections, it’s important to test the dryer vent system to ensure proper functionality. Follow these steps to effectively test the dryer vent system:
- Plug the dryer back into the power source.
- Run a test cycle on your dryer with a small load of laundry. Pay attention to how the dryer operates and any signs of restricted airflow or unusual noises.
- Observe the exterior vent opening during the dryer cycle. You should see a steady stream of warm air flowing out without any obstructions.
- Check the lint trap to ensure it is clean and clear of any debris. Buildup in the lint trap can hinder airflow and efficiency.
- If you notice any issues, such as limited airflow or unusual noise, double-check the vent hose connections and inspect for any leaks or obstructions.
- If the issues persist, consider consulting a professional to inspect and further troubleshoot your dryer vent system.
Testing the dryer vent system is an essential step to confirm that the vent hose replacement and installation were successful. Proper airflow is vital for efficient drying and to minimize the risk of lint buildup and potential fire hazards.
Remember, it’s essential to clean the dryer vent regularly to prevent lint accumulation and maintain optimal performance. By following these steps and conducting regular maintenance, you can help extend the lifespan of your dryer and ensure the safety of your home.
Congratulations! You have successfully repaired and tested your dryer vent system. Now you can enjoy efficient and safe operation of your dryer. If you have any other questions or concerns, feel free to consult the manufacturer’s instructions or contact a professional for further assistance.
Thank you for using our comprehensive guide on how to repair a dryer vent hose. Happy drying!
Conclusion
Repairing a dryer vent hose is an important task that ensures proper airflow and safeguards against potential fire hazards. By following the steps outlined in this comprehensive guide, you have learned how to assess the damage, remove the old vent hose, clean the dryer vent opening, choose the right replacement hose, install it properly, secure the connections, and test the dryer vent system.
Throughout the repair process, it is crucial to prioritize safety precautions, such as turning off the power, wearing protective gear, and inspecting the electrical components. Additionally, regular cleaning of the dryer vent and lint trap is essential to maintain optimal performance and prevent lint buildup.
By taking the time to repair and maintain your dryer vent hose, you ensure efficient drying, extend the lifespan of your dryer, and reduce the risk of fire hazards. Regularly monitoring and inspecting the vent system will help you identify any potential issues and address them promptly.
Remember to consult the manufacturer’s instructions for your specific dryer model and reach out to professionals for assistance if needed. With proper care and maintenance, your dryer will continue to serve you efficiently for years to come.
Thank you for using our guide and investing the time and effort into repairing your dryer vent hose. We hope this information has been helpful, and we wish you many safe and successful drying sessions!
Frequently Asked Questions about How To Repair A Dryer Vent Hose
Was this page helpful?
At Storables.com, we guarantee accurate and reliable information. Our content, validated by Expert Board Contributors, is crafted following stringent Editorial Policies. We're committed to providing you with well-researched, expert-backed insights for all your informational needs.