Articles
How To Install Netgear Wifi Adapter
Modified: December 7, 2023
Learn how to install a Netgear WiFi adapter with our informative articles. Get step-by-step instructions and troubleshooting tips to set up your adapter quickly and easily.
(Many of the links in this article redirect to a specific reviewed product. Your purchase of these products through affiliate links helps to generate commission for Storables.com, at no extra cost. Learn more)
Introduction
Welcome to the comprehensive guide on how to install a Netgear Wifi Adapter. If you’re looking to upgrade your computer with wireless capabilities or replace an old Wifi adapter, Netgear offers a range of reliable and high-performing options. In this article, we will walk you through the step-by-step process of installing a Netgear Wifi Adapter, from checking system requirements to troubleshooting common issues.
Having a Wifi adapter is essential for connecting your computer to wireless networks. Whether you’re at home, in the office, or on the go, a Wifi adapter enables you to access the internet and connect to other devices without the need for a wired connection.
Before we dive into the installation process, it’s important to note that the specific steps may vary slightly depending on the model of your Netgear Wifi Adapter and the operating system you are using. However, the overall process is generally the same.
Now, let’s get started on installing your Netgear Wifi Adapter and getting your computer connected to the internet!
Key Takeaways:
- Ensure your computer meets the system requirements, unbox the Netgear Wifi Adapter carefully, and connect it securely to your computer. Installing the necessary drivers and configuring the adapter are crucial for seamless wireless connectivity.
- Connecting to a Wifi network with the Netgear Wifi Adapter is a breeze, but if you encounter issues, try troubleshooting tips such as updating drivers, adjusting antenna position, and reaching out to Netgear’s customer support for specialized assistance.
Read more: How To Install A Wifi Adapter In Pc
Step 1: Check System Requirements
Before you begin the installation process, it’s crucial to ensure that your computer meets the system requirements for the Netgear Wifi Adapter. This will ensure compatibility and smooth operation of the adapter. Here are the general system requirements you should keep in mind:
- Compatible Operating System: Check if the Netgear Wifi Adapter is compatible with your operating system. Most adapters support Windows, Mac, and Linux, but it’s always best to double-check the specifications.
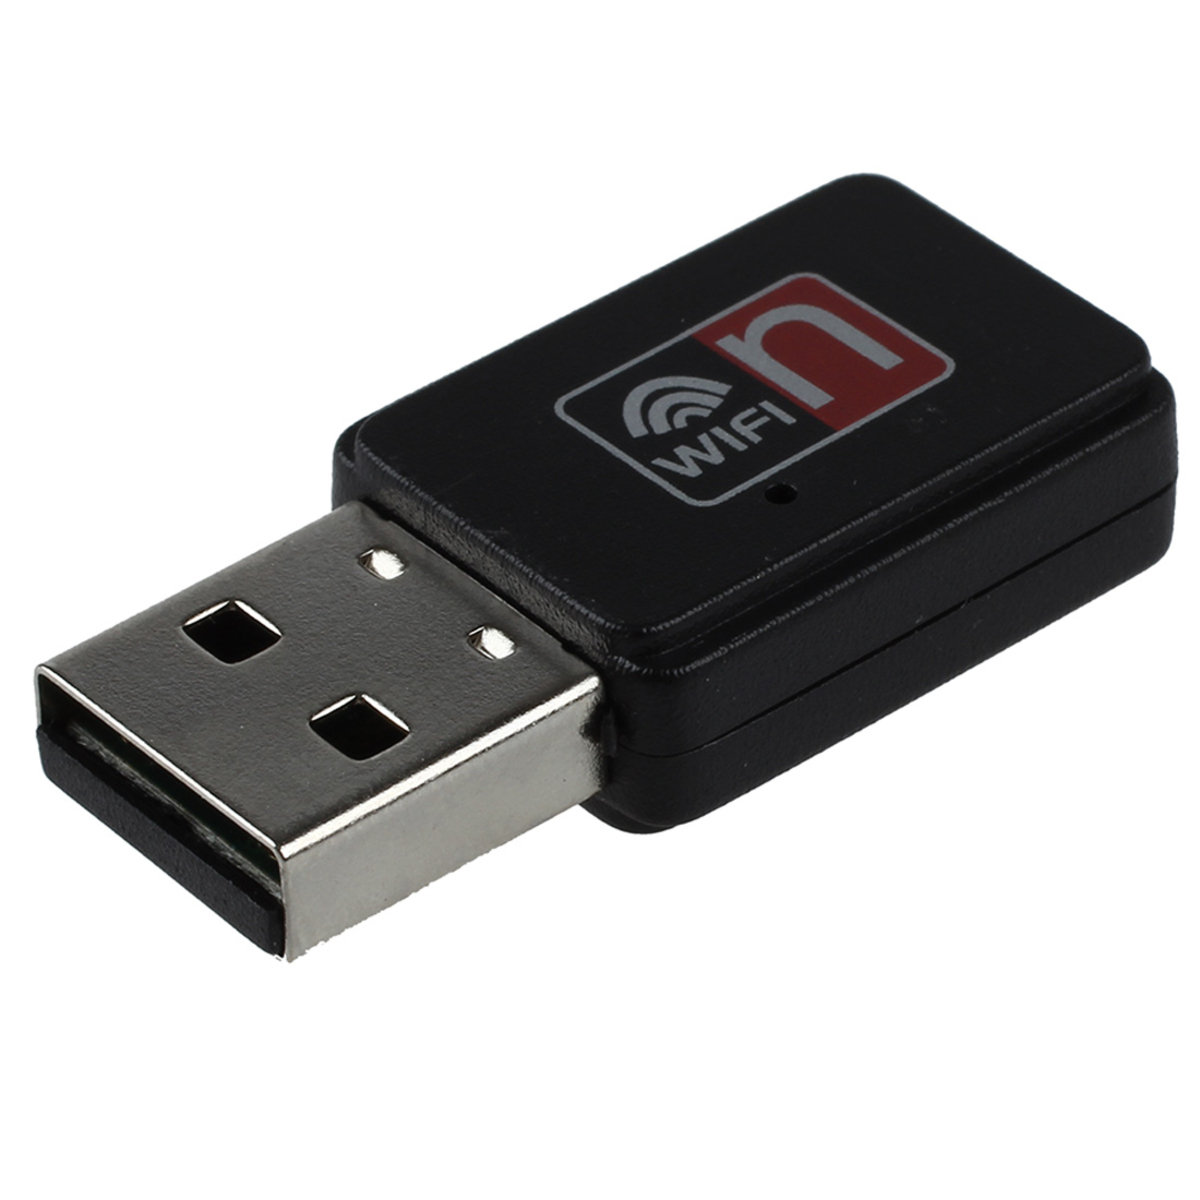
- Available USB Port: The Netgear Wifi Adapter is typically a USB device, so make sure you have an available USB port on your computer to connect the adapter.
- Recommended Minimum System Specifications: While the specific requirements may differ depending on the adapter model, it’s recommended to have a computer with at least 1GHz processor, 1GB RAM, and a free disk space for driver installation.
- Internet Connection: You will need an existing internet connection to download the necessary drivers and software for the Netgear Wifi Adapter.
- Administrator Access: In order to install the drivers and configure the adapter, you may need administrator access to your computer. Make sure you have the necessary permissions.
It’s important to note that these are general guidelines, and it’s always best to refer to the specific system requirements mentioned in the instruction manual or on the Netgear website for your particular Wifi Adapter model.
Once you have confirmed that your computer meets the necessary system requirements, you are ready to proceed with the installation process. In the next step, we will unbox the Netgear Wifi Adapter and prepare it for installation.
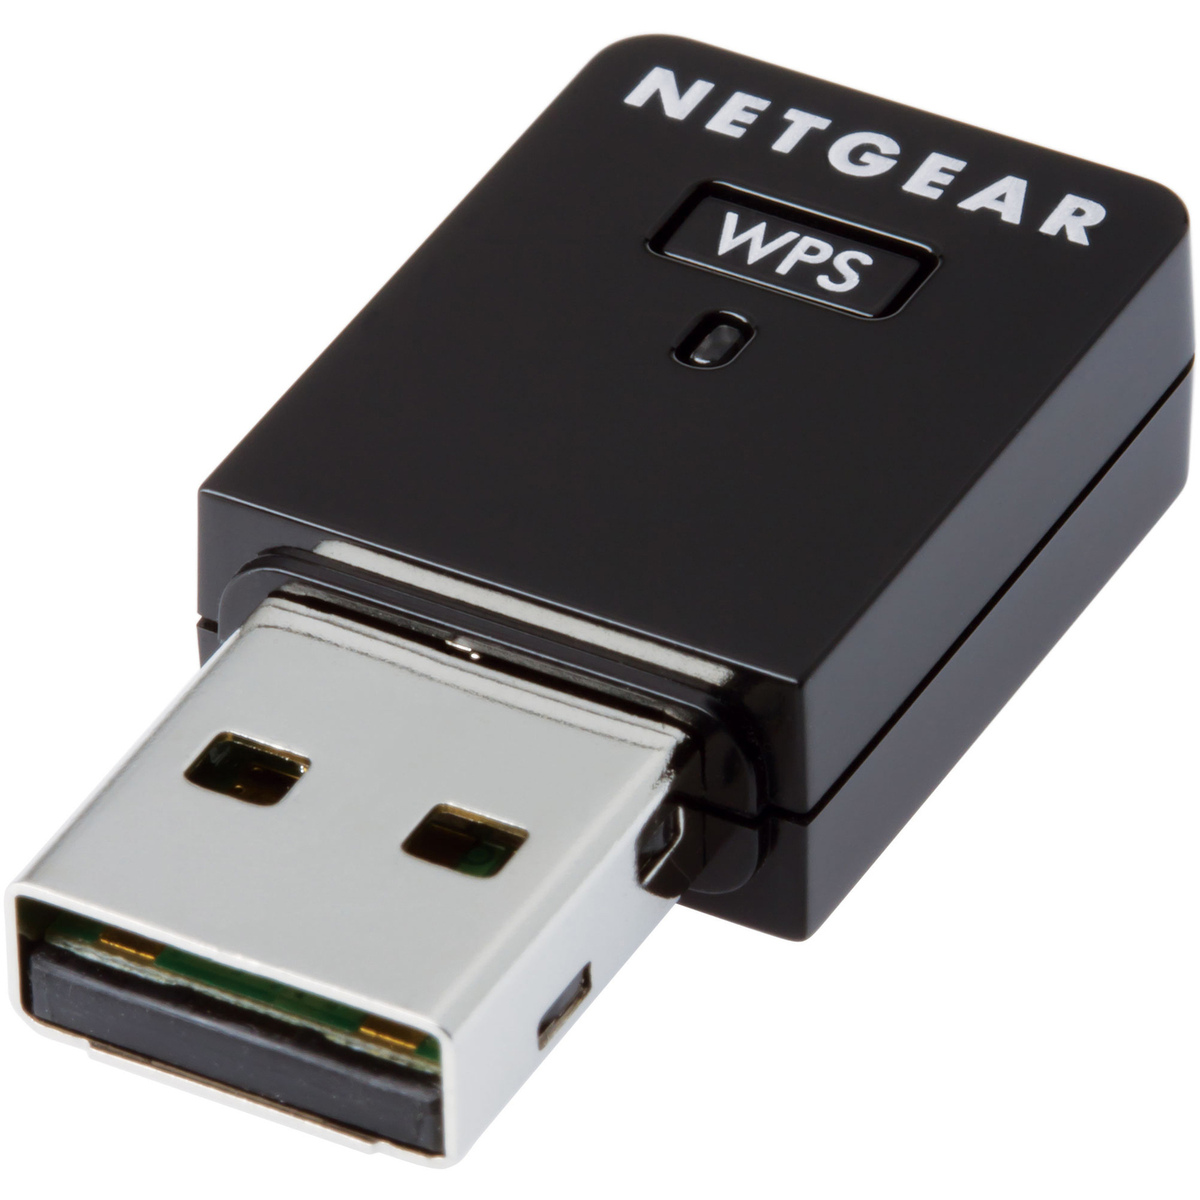
Step 2: Unboxing the Netgear Wifi Adapter
Now that you have confirmed that your computer meets the system requirements, it’s time to unbox your Netgear Wifi Adapter and get it ready for installation. Follow these steps:
- Locate the package: Find the box in which the Netgear Wifi Adapter was shipped. Carefully remove any packaging materials and set them aside.
- Inspect the contents: Take a moment to inspect the contents of the box. Typically, you will find the Netgear Wifi Adapter itself, a USB cable, and any additional installation accessories or documentation. Ensure that all the necessary components are present.
- Read the documentation: Before proceeding with the installation, it’s recommended to read the user manual or any included documentation. This will provide important information and specific instructions for your Wifi Adapter model.
- Connect the USB cable: If the Wifi Adapter requires a USB connection, locate the USB cable included in the package. Connect one end of the cable to the designated port on the adapter and the other end to an available USB port on your computer.
- Ensure a stable connection: Make sure that the USB connection is secure and stable. A loose connection can disrupt the functioning of the Wifi Adapter.
By following these steps, you will have successfully unboxed and prepared your Netgear Wifi Adapter for installation. In the next step, we will move on to installing the necessary drivers for the adapter.
Step 3: Connecting the Wifi Adapter to Your Computer
Now that you have unboxed the Netgear Wifi Adapter, the next step is to connect it to your computer. Follow these steps to ensure a proper connection:
- Locate an available USB port on your computer. The USB port is generally located on the front, back, or sides of the computer tower. If you’re using a laptop, the USB ports are usually located on the sides.
- Gently insert the USB connector of the Wifi Adapter into the USB port. Make sure it is inserted all the way and fits snugly.
- Give a slight push if needed to ensure a secure connection. Be careful not to use excessive force, as this could damage the USB port or the adapter itself.
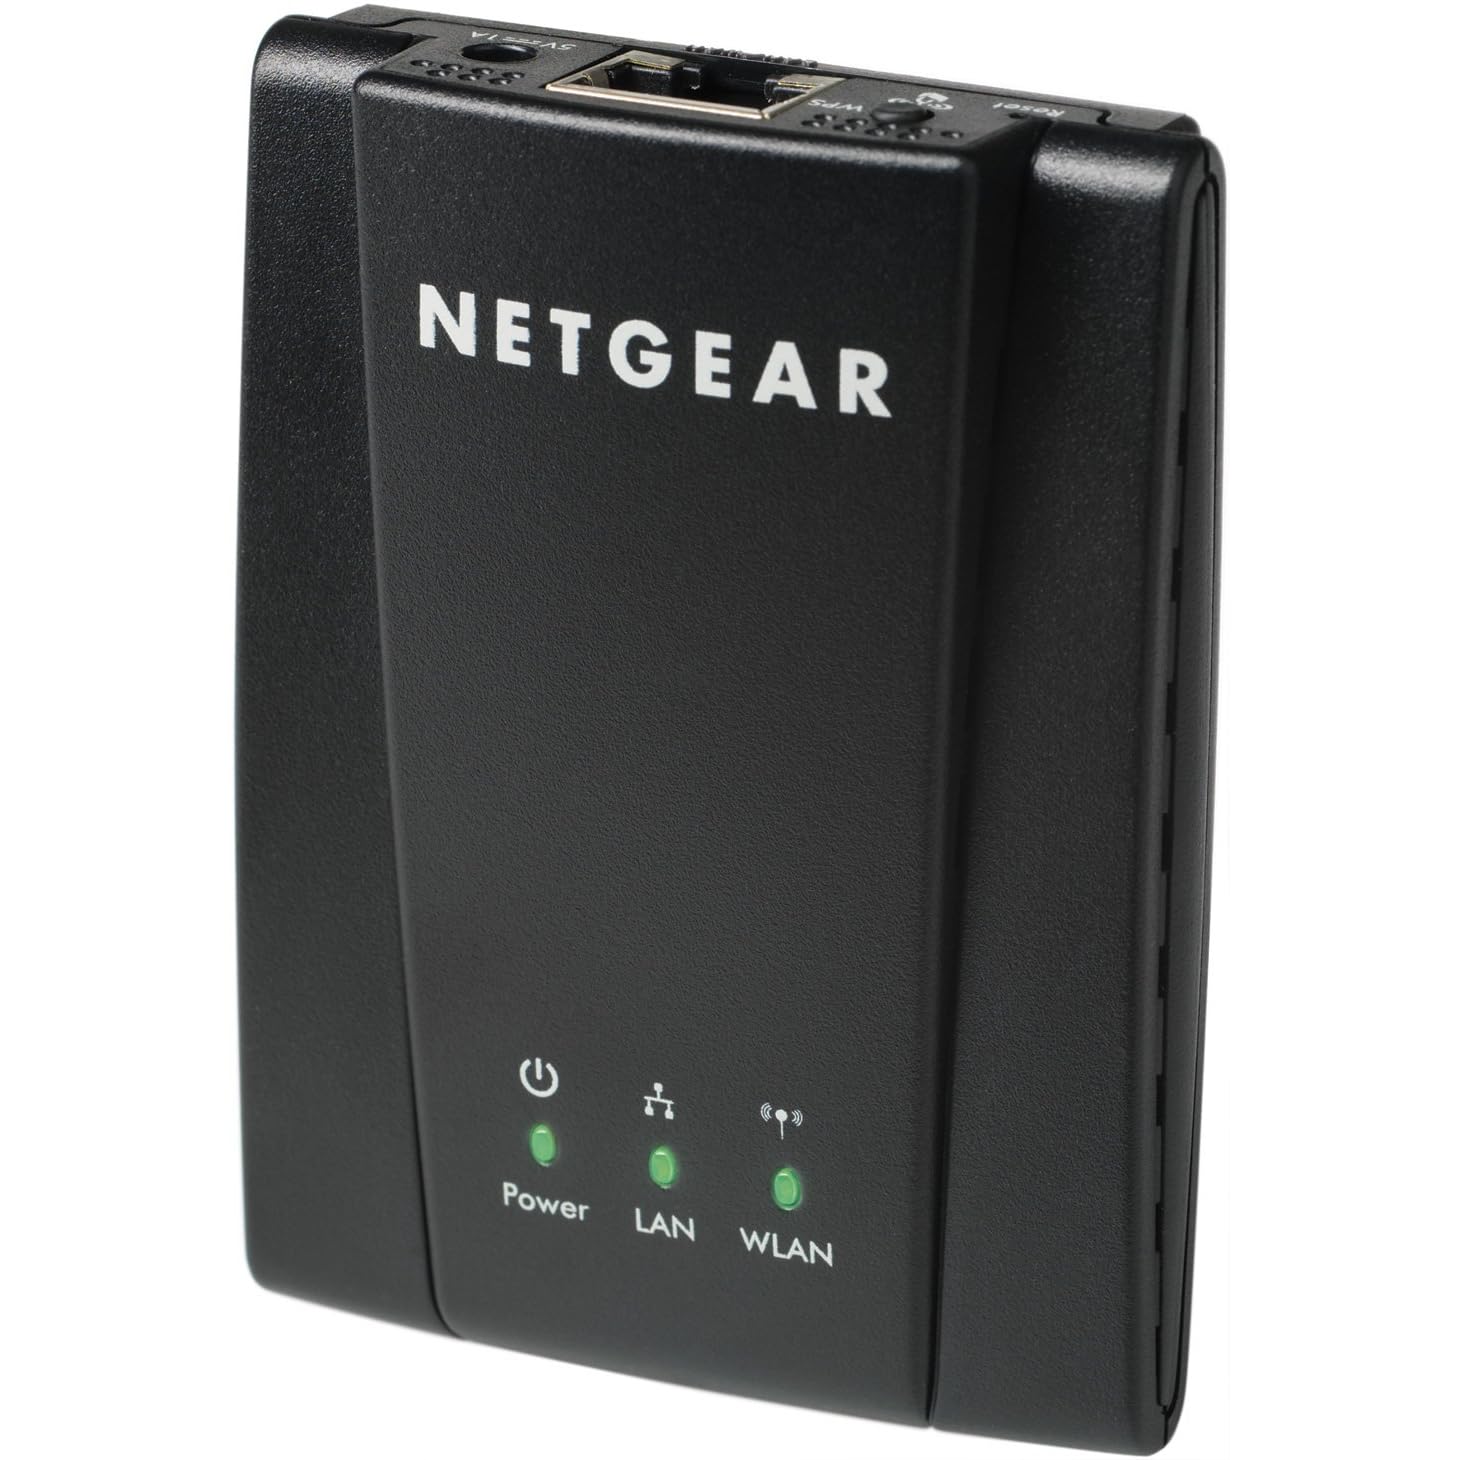
- Once connected, the Wifi Adapter may light up or indicate a successful connection through LED lights. However, this may vary depending on the model. Refer to the user manual or documentation for any specific indications.
Now that the Wifi Adapter is securely connected to your computer, you are ready to move on to the next step: installing the necessary drivers for the adapter. Without the proper drivers, your computer will not recognize the Wifi Adapter. Continue reading to learn how to install the drivers in Step 4.
Step 4: Installing the Necessary Drivers
Once you have connected the Netgear Wifi Adapter to your computer, the next step is to install the necessary drivers. Drivers are software programs that allow your operating system to communicate with the Wifi Adapter, enabling it to function properly. Follow these steps to install the drivers:
- Visit the Netgear website: Open your preferred web browser and visit the official Netgear website. Navigate to the support or downloads section.
- Select your Wifi Adapter model: Look for the specific model of your Netgear Wifi Adapter and select it. This will lead you to the dedicated page for that adapter.
- Download the drivers: On the adapter’s page, locate the drivers section. Download the latest version of the drivers compatible with your operating system.
- Run the driver installation file: Once the driver download is complete, locate the downloaded file and double-click on it to run the installation process.
- Follow the on-screen instructions: The driver installation wizard will guide you through the process. Follow the on-screen instructions, read the prompts carefully, and click “Next” or “Install” as necessary.
- Wait for the installation to complete: The driver installation process may take a few moments. Allow the installation to complete without interruption.
- Restart your computer: After the drivers have been installed, it is generally recommended to restart your computer. This ensures that the changes take effect and your computer recognizes the Wifi Adapter.
After restarting your computer, the necessary drivers for the Netgear Wifi Adapter should be installed and ready for use. In the next step, we will configure the Wifi Adapter to connect to a Wifi network.
When installing a Netgear WiFi adapter, make sure to download the latest drivers from the Netgear website before connecting the adapter to your computer. This will ensure that you have the most up-to-date software for optimal performance.
Read more: What Is Wifi Adapter
Step 5: Configuring the Netgear Wifi Adapter
With the drivers successfully installed, it’s time to configure the Netgear Wifi Adapter to connect to a Wifi network. Follow these steps to get your adapter configured:
- Locate the Wifi adapter software: Depending on the model, the Netgear Wifi Adapter may come with its own software or utilize the default wireless utility of your operating system. If there is specific software included, locate the installation files or check your computer’s taskbar or system tray for the corresponding icon.
- Run the software: Double-click on the software icon or launch it from the Start Menu to open the Wifi adapter configuration interface.
- Scan for available networks: Within the software, click on the option to scan for available Wifi networks. The software will search for nearby networks and display them in a list.
- Select your desired network: From the list of available networks, choose the one you want to connect to by clicking on it. Ensure that you select your own network or one that you are authorized to access.
- Enter the network password: If the selected network is secured, you will be prompted to enter the network password. Type in the password accurately to establish a secure connection.
- Save the settings: Once you have entered the network password, save the settings within the Wifi adapter software. This will ensure that your Wifi adapter remembers the network and connects automatically when in range.
By following these steps, you have successfully configured your Netgear Wifi Adapter to connect to a Wifi network. In the next step, we will cover how to connect to a Wifi network using the adapter.
Step 6: Connecting to a Wifi Network
Now that you have configured your Netgear Wifi Adapter, it’s time to connect to a Wifi network of your choice. Follow these steps to establish a connection:
- Ensure that your Wifi adapter is plugged in and the drivers are installed correctly.
- Access the Wifi settings: Open the Wifi settings on your computer, which can usually be found in the taskbar or system tray. It may be represented by a Wifi icon.
- Scan for available networks: Within the Wifi settings, click on the option to scan for available networks. Your computer will search for nearby networks and display them in a list.
- Select the network: From the list of available networks, choose the one you want to connect to. Click on the name of the network to initiate the connection process.
- Enter the network password: If the selected network is password-protected, you will be prompted to enter the network password. Type in the password accurately to establish a secure connection.
- Connect to the network: Once you have entered the password, click on the “Connect” button or press Enter to connect to the Wifi network. Your computer will establish a connection with the network using the Netgear Wifi Adapter.
- Wait for the connection: Depending on the network and signal strength, it may take a few moments for the connection to be established. Be patient while your computer connects to the network.
- Verify the connection: After the connection is established, ensure that you have internet access by opening a web browser or performing a network test.
Congratulations! You have successfully connected to a Wifi network using your Netgear Wifi Adapter. Now you can enjoy the benefits of wireless internet connectivity on your computer.
In case you encounter any issues or face difficulties in connecting to a network, you can refer to the troubleshooting tips in the next step.
Step 7: Troubleshooting Tips
While setting up and using a Netgear Wifi Adapter is generally a smooth process, you may encounter some issues along the way. Here are some troubleshooting tips to help you resolve common problems:
- Restart your computer: If you’re experiencing connectivity issues, try restarting your computer. This can help refresh the system and resolve any temporary glitches.
- Check the USB connection: Ensure that the USB connection between the Wifi Adapter and your computer is secure. A loose connection can lead to intermittent connectivity or no connection at all.
- Update drivers: Visit the Netgear website and check for any driver updates for your Wifi Adapter. Download and install the latest drivers to ensure compatibility and optimal performance.
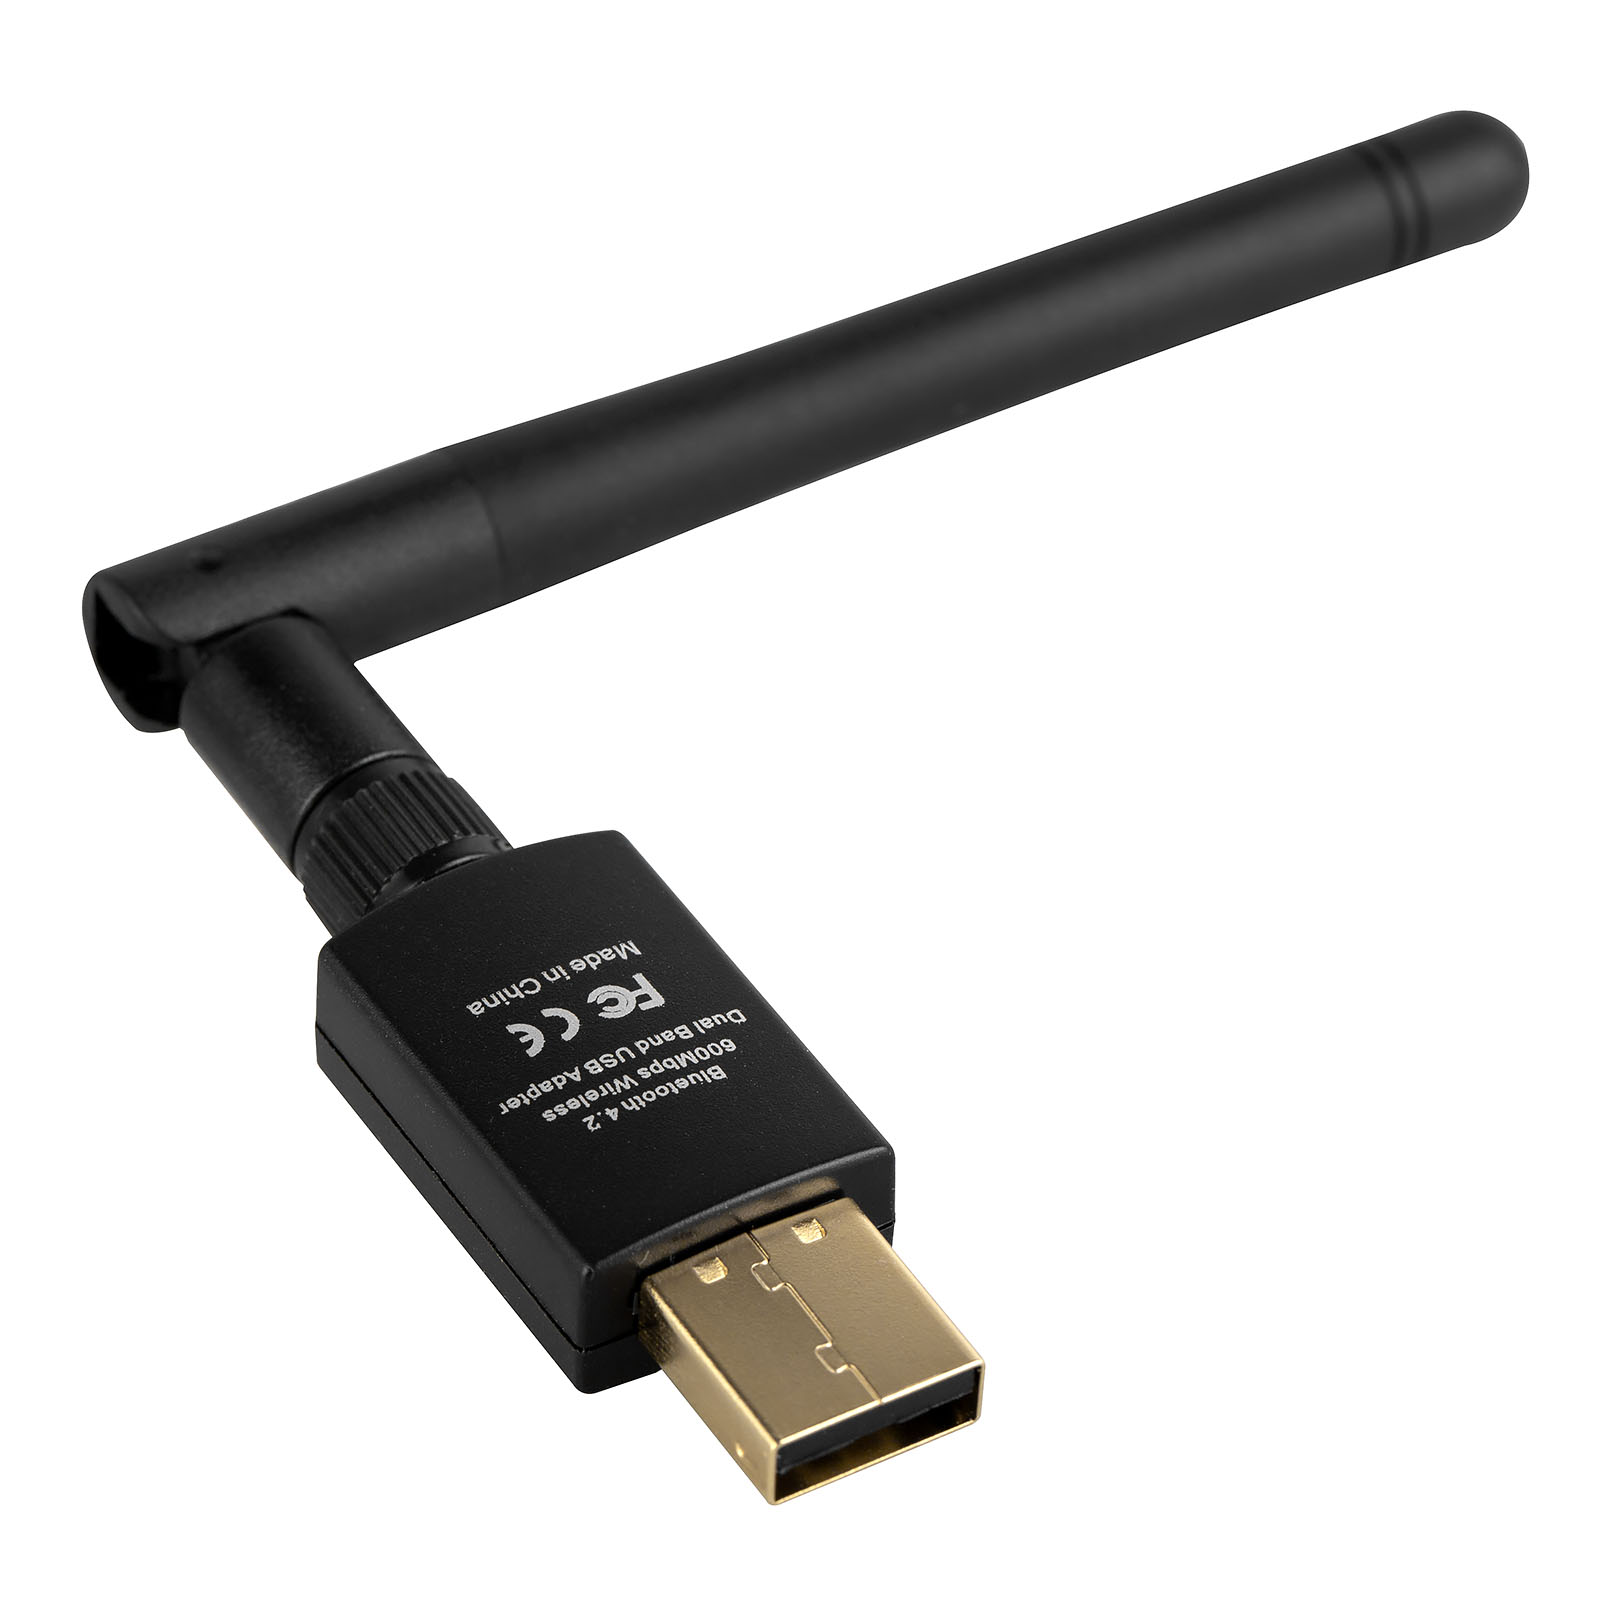
- Adjust antenna position: If your Wifi Adapter has an adjustable antenna, try repositioning it to improve signal strength. Experiment with different angles and orientations to maximize the connection quality.
- Check network settings: Verify that the network settings on your computer are correct. Make sure you are connecting to the right network and have entered the correct password.
- Reset network settings: If you’re still unable to connect, consider resetting your network settings. This can be done by disabling and re-enabling the Wifi adapter or using the network reset option in your operating system.
- Update operating system: Ensure that your computer’s operating system is up to date. Install any available updates, as they often include bug fixes and improvements for network connectivity.
- Check router settings: If multiple devices are unable to connect to the Wifi network, there may be an issue with your router settings. Verify that the router is functioning correctly and check for any firmware updates.
- Contact customer support: If you have tried the above troubleshooting steps and still can’t resolve the issue, it’s best to reach out to Netgear’s customer support for further assistance. They can provide specialized guidance and help troubleshoot specific problems.
Remember, troubleshooting steps may vary depending on the specific issue and the model of your Netgear Wifi Adapter. Refer to the user manual or visit the Netgear support website for detailed troubleshooting instructions.
With these troubleshooting tips, you should be able to tackle common issues and ensure a smooth experience with your Netgear Wifi Adapter. Happy wireless browsing!
Conclusion
Installing a Netgear Wifi Adapter is a straightforward process that allows you to upgrade your computer with wireless capabilities and enjoy the convenience of wireless internet connectivity. By following the steps outlined in this guide, you can easily install and configure your Netgear Wifi Adapter, connect to a Wifi network, and troubleshoot any potential issues that may arise.
Remember to check the system requirements of your Wifi Adapter before starting the installation process and ensure that your computer meets the necessary criteria. Unboxing the adapter and connecting it to your computer is a simple task that requires a secure USB connection.
Installing the necessary drivers for your Netgear Wifi Adapter is crucial for its proper functioning. Visit the Netgear website, download the drivers specific to your model, and follow the step-by-step instructions to complete the installation process.
Once the installation is complete, configuring the Wifi Adapter is the next step. Access the Wifi adapter software, scan for available networks, select your desired network, and enter the network password to establish a secure connection. Saving the settings will allow your adapter to automatically connect to the network when in range.
Finally, connecting to a Wifi network involves accessing your computer’s Wifi settings, selecting the network, and entering the password. With a successful connection, you can enjoy wireless internet access on your computer.
If you encounter any issues during the installation or configuration process, remember to refer to the troubleshooting tips provided in this guide. Restarting your computer, checking USB connections, updating drivers, and resetting network settings are some of the common troubleshooting techniques that can resolve most problems.
By following this comprehensive guide, you can confidently install and configure your Netgear Wifi Adapter, connect to Wifi networks, and enjoy seamless wireless internet connectivity on your computer. Now, go ahead and experience the freedom of wireless browsing!
Frequently Asked Questions about How To Install Netgear Wifi Adapter
Was this page helpful?
At Storables.com, we guarantee accurate and reliable information. Our content, validated by Expert Board Contributors, is crafted following stringent Editorial Policies. We're committed to providing you with well-researched, expert-backed insights for all your informational needs.


0 thoughts on “How To Install Netgear Wifi Adapter”