
Articles
How To Install Refrigerator
Modified: February 20, 2024
Learn how to install a refrigerator with helpful articles and step-by-step guides. Ensure proper setup and maximize efficiency for your fridge.
(Many of the links in this article redirect to a specific reviewed product. Your purchase of these products through affiliate links helps to generate commission for Storables.com, at no extra cost. Learn more)
Introduction
Installing a refrigerator may seem like a daunting task, but with the right steps and precautions, it can actually be a straightforward process. Whether you’re replacing an old refrigerator or installing a new one, this article will guide you through the installation process and ensure that you can start enjoying your chilled food and beverages in no time.
Before diving into the installation, it’s important to understand the safety precautions involved. Working with electricity and heavy appliances can be hazardous, so taking the necessary precautions will help prevent accidents and ensure a smooth installation process.
In this article, we will discuss the tools and materials you’ll need for the installation, as well as the step-by-step process of installing a refrigerator. From measuring and preparing the space to connecting to power and testing the refrigerator, we’ll cover all the essential details to ensure a successful installation.
So, without further ado, let’s get started with the safety precautions to keep in mind during the installation process.
Key Takeaways:
- Safety First
When installing a refrigerator, prioritize safety by turning off power, using proper lifting techniques, and ensuring proper ventilation. Following manufacturer’s instructions and testing for leaks are crucial for a successful and safe installation process. - Step-by-Step Success
From measuring and preparing the space to testing the refrigerator, following a detailed step-by-step guide ensures a smooth and successful installation. Properly positioning, leveling, and connecting the refrigerator are key to enjoying its benefits.
Read more: How To Install Water Line For Refrigerator
Safety Precautions
When it comes to installing a refrigerator, safety should always be the top priority. Follow these important precautions to ensure a safe and smooth installation process:
- Turn off the power: Before beginning any installation work, make sure to turn off the power supply to the area where the refrigerator will be installed. This will help protect you from electrical shock or accidental short circuits.
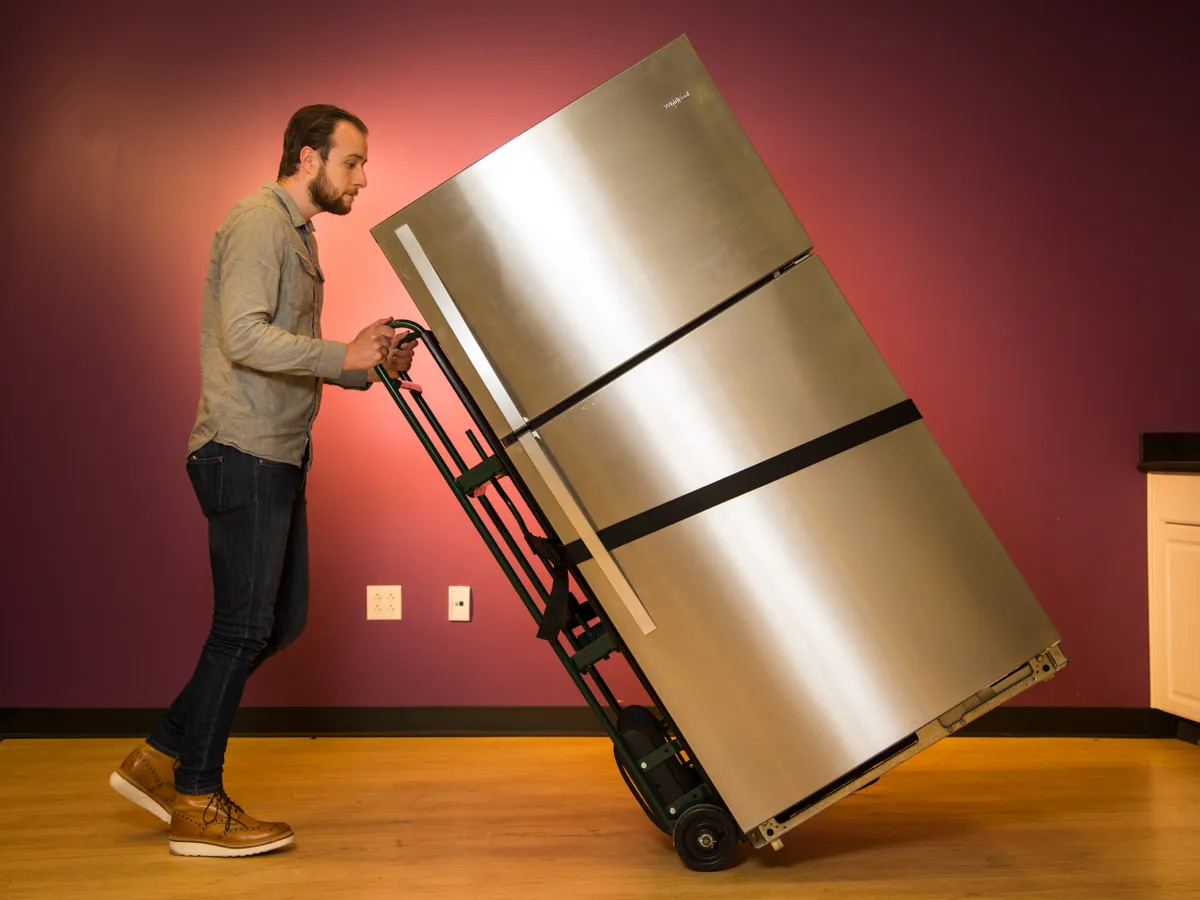
- Use proper lifting techniques: Refrigerators can be heavy, so always use proper lifting techniques to avoid strain or injury. Lift with your legs, not your back, and ask for assistance if needed.
- Protect the flooring: Place a protective covering, such as cardboard or a drop cloth, on the floor where the refrigerator will be installed. This will prevent any damage to the flooring during the installation process.
- Follow manufacturer’s instructions: Read and follow the manufacturer’s instructions carefully throughout the installation process. This will ensure that you install the refrigerator correctly and avoid any issues or damages.
- Avoid damaging the refrigerant lines: The refrigerant lines are delicate and should be handled with care. Avoid bending or damaging them during the installation process, as this can lead to leaks and potential safety hazards.
- Secure the refrigerator properly: Make sure the refrigerator is securely placed and leveled. This will prevent it from tipping over and causing accidents.
- Allow for proper ventilation: Ensure that the refrigerator has proper ventilation space around it. This will help maintain its performance and prevent overheating.
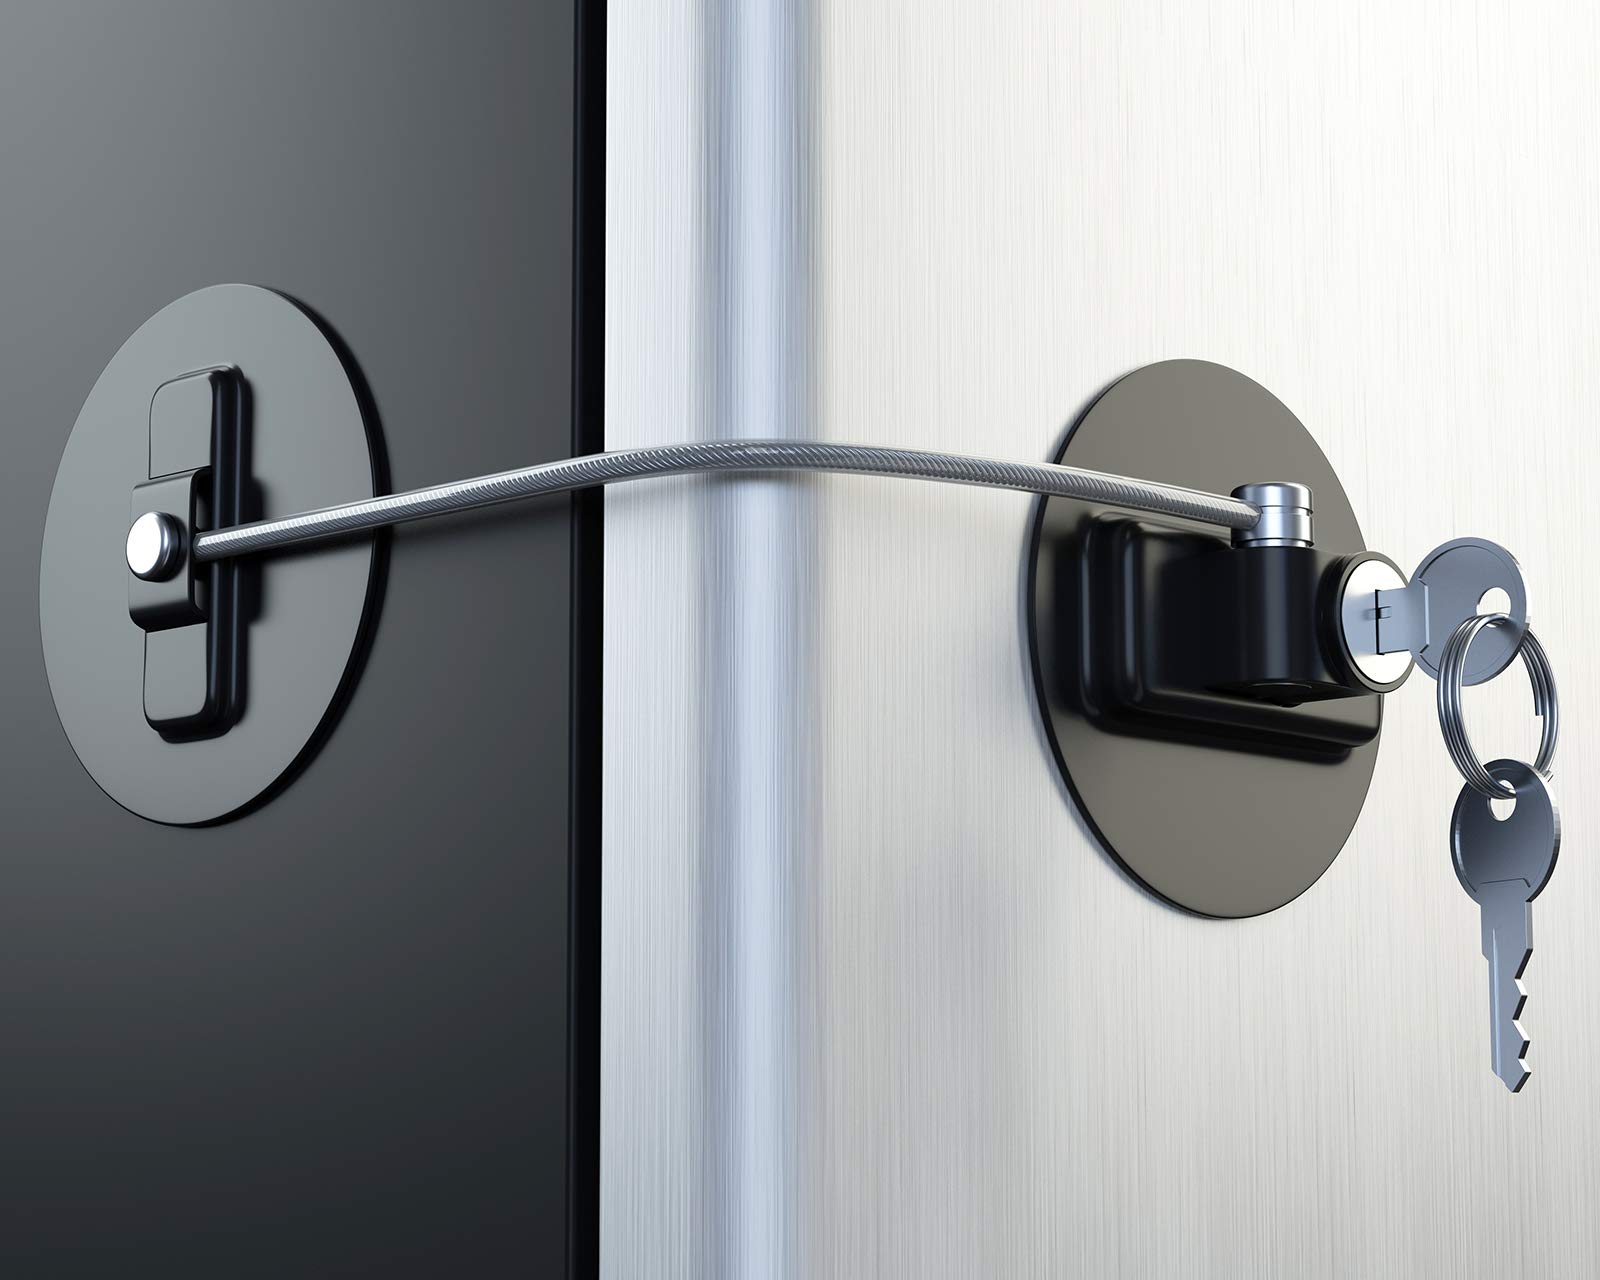
- Keep children and pets away: During the installation process, it’s important to keep curious children and pets away from the work area. This will prevent accidents and injuries.
- Test for leaks and proper operation: After the installation is complete, check for any leaks or proper operation of the refrigerator. This will ensure that everything is functioning correctly and minimize any potential issues.
By following these safety precautions, you can have peace of mind knowing that the installation process will be carried out safely and successfully. Now, let’s move on to the tools and materials you’ll need for installing the refrigerator.
Tools and Materials Needed
Before starting the installation process, gather the necessary tools and materials to ensure a smooth and efficient installation. Here are the tools and materials you’ll need:
- Tape measure: This will help you accurately measure the space where the refrigerator will be installed.
- Screwdriver: You may need a screwdriver to remove or adjust any screws during the installation process.
- Adjustable wrench: This will come in handy for tightening or loosening any nuts or bolts.
- Level: A level will help you ensure that the refrigerator is properly leveled during installation.
- Protective gloves: Protect your hands during the installation process by wearing protective gloves.
- Drop cloth or cardboard: Place a drop cloth or cardboard on the floor to protect it from damage during the installation.
- Power outlet: Make sure there is a nearby power outlet to connect the refrigerator.
- Water supply line (if applicable): If your refrigerator requires a water supply for features such as ice maker or water dispenser, make sure you have the appropriate water supply line.
- Owner’s manual: Keep the owner’s manual of the refrigerator handy to refer to during the installation process.
By having these tools and materials ready, you’ll be well-prepared to tackle the installation process with ease. Now, let’s move on to the step-by-step guide for installing the refrigerator.
Step 1: Measure and Prepare the Space
Before installing the refrigerator, it’s important to measure the space where it will be placed to ensure a proper fit. Follow these steps to measure and prepare the space:
- Measure the height, width, and depth: Use a tape measure to measure the height, width, and depth of the space where the refrigerator will be installed. Make sure to account for any cabinets or obstructions that might affect the fit.
- Clear the area: Remove any items or obstacles that could hinder the installation process. This includes furniture, decorations, or any objects that might be in the way.
- Ensure proper ventilation: Check if there is sufficient clearance around the space for proper ventilation. The refrigerator needs space to dissipate heat and cool efficiently. Refer to the manufacturer’s guidelines for the recommended clearance.
- Check the doorway and hallway: Measure the width and height of the doorway and hallway leading to the installation space. Ensure that the refrigerator can pass through without any issues. Consider removing doors, if necessary, to create a wider access point.
- Check the flooring: Ensure that the flooring is level and in good condition. If the floor is uneven, you may need to use shims to level the refrigerator during the installation process.
By accurately measuring and preparing the space, you will avoid any last-minute surprises or difficulties when it comes to installing the refrigerator. Once you have completed this step, you’re ready to move on to the next phase of the installation process.
Step 2: Unpack and Inspect the Refrigerator
Now that you have prepared the space, it’s time to unpack and inspect the refrigerator before installation. Follow these steps to ensure that the refrigerator is in good condition:
- Remove packaging materials: Carefully remove any packaging materials such as tape, plastic covers, or foam padding from the refrigerator. Be cautious not to scratch the surface or damage any parts during the process.
- Inspect for any visible damage: Take a close look at the refrigerator for any visible damage. Check the exterior, doors, and corners for dents, scratches, or any other issues. If you notice any damage, contact the retailer or manufacturer for further instructions.
- Check the interior and accessories: Open the refrigerator doors and inspect the interior. Ensure that the shelves, drawers, and other accessories are in place and undamaged. Also, verify if any user manuals or installation instructions are included.
- Inspect the power cord and plug: Examine the power cord for any fraying, cuts, or damage. Make sure the plug is intact and free of any defects. Do not plug the refrigerator in just yet; this step is solely for visual inspection.
- Keep all packaging materials handy: Although you have removed the packaging materials, it’s advisable to keep them in a safe place during the installation process. You may need them for future transportation, returns, or warranty purposes.
By carefully unpacking and inspecting the refrigerator, you can ensure that it is in good working condition before proceeding with the installation. If you notice any significant issues or concerns, it’s best to address them with the retailer or manufacturer before continuing.
Now that you have inspected the refrigerator, it’s time to move on to the next step: positioning the refrigerator in the installation space.
Read more: How To Install Ice Maker On GE Refrigerator
Step 3: Position the Refrigerator
Now that you have inspected the refrigerator, it’s time to position it in the designated installation space. Follow these steps to properly position the refrigerator:
- Clear the area: Make sure there is enough space around the installation area to maneuver and position the refrigerator. Remove any obstacles, furniture, or nearby items.
- Align with the designated area: Carefully slide the refrigerator into the designated installation space, aligning it with the measurements you took earlier. Take note of the clearance needed for the doors to open comfortably.
- Ensure accessibility: Make sure you have easy access to the back of the refrigerator for future maintenance, cleaning, and repairs. Leave enough space for the power cord to reach the power outlet.
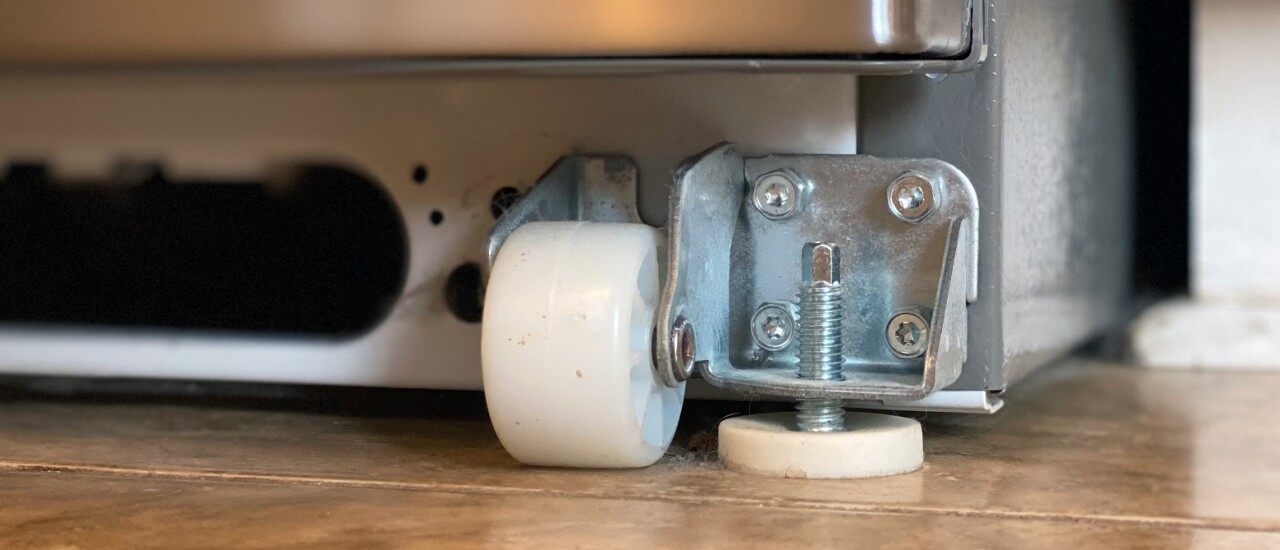
- Level the refrigerator: Use a level to ensure that the refrigerator is level from side to side and front to back. Adjust the leveling feet or use shims to achieve a balanced position. A level refrigerator ensures proper functioning and prevents unnecessary strain on the compressor.
- Allow for proper ventilation: Check the manufacturer’s guidelines for the recommended clearance around the refrigerator for proper ventilation. This will help with optimal performance and energy efficiency.
- Secure against movement: If recommended by the manufacturer, secure the refrigerator to the wall or floor to prevent any accidental movement or tipping. Follow the instructions provided for your specific refrigerator model.
By carefully positioning the refrigerator, you ensure that it fits properly in the designated space while allowing for efficient operation and easy access for maintenance. Once the refrigerator is properly positioned, you can move on to the next step: leveling the refrigerator.
When installing a refrigerator, make sure to leave enough space around the unit for proper ventilation. This will help the refrigerator run more efficiently and prevent overheating.
Step 4: Level the Refrigerator
After positioning the refrigerator in the designated installation space, the next step is to level it. A properly leveled refrigerator ensures optimal performance and prevents issues such as doors not closing properly or excessive noise. Follow these steps to level the refrigerator:
- Check the level: Place a level on top of the refrigerator from side to side. Adjust the leveling feet or shims accordingly to achieve a level position. Repeat the process from front to back.
- Adjust the leveling feet: Most refrigerators have adjustable leveling feet located at the bottom front corners. Rotate the feet clockwise to raise the corner or counterclockwise to lower it. Use a wrench or pliers, if necessary, to make the adjustments.
- Check the level again: After adjusting the leveling feet, recheck the level to ensure the refrigerator is perfectly level both from side to side and front to back. Make any additional adjustments if needed.
- Verify the doors: Open and close the refrigerator doors to ensure they swing freely and close properly. If the doors are misaligned, refer to the manufacturer’s instructions on how to adjust them.
- Test for stability: Gently rock the refrigerator from side to side and front to back. It should be stable and not wobble excessively. If it feels unstable, recheck the leveling and make necessary adjustments.
By leveling the refrigerator, you ensure that it is properly balanced and stable. This not only allows the appliance to function optimally but also prevents any potential issues caused by an unlevel surface. Once the refrigerator is leveled, you’re ready to move on to the next step: connecting it to power.
Step 5: Connect to Power
Now that you have positioned and leveled the refrigerator, it’s time to connect it to power. Follow these steps to safely connect the refrigerator to a power source:
- Locate the power outlet: Identify a nearby power outlet that matches the refrigerator’s power requirements. Make sure it is easily accessible and in good working condition.
- Plug in the refrigerator: Insert the power plug into the power outlet. Ensure a secure connection and push it in until it is fully inserted.
- Ensure proper grounding: If the refrigerator has a grounding plug, make sure to connect it to a properly grounded power outlet. This helps prevent electrical issues and ensures safety.
- Turn on the power: Locate the refrigerator’s power switch or control panel and turn on the power. Refer to the owner’s manual for specific instructions if needed.
- Check for power: Once the power is turned on, verify that the refrigerator is receiving power by checking for lights on the control panel or any other indications.
- Wait for the refrigerator to cool: Allow the refrigerator some time to cool down and reach the desired temperature before loading it with food or perishable items. This typically takes a few hours.
By properly connecting the refrigerator to a power source, you ensure that it receives the necessary electricity to operate effectively. Always exercise caution when dealing with electrical connections and ensure that the power source is suitable for the appliance’s requirements.
Once the refrigerator is connected to power, you can proceed to the next step: adjusting the temperature and settings.
Step 6: Adjust Temperature and Settings
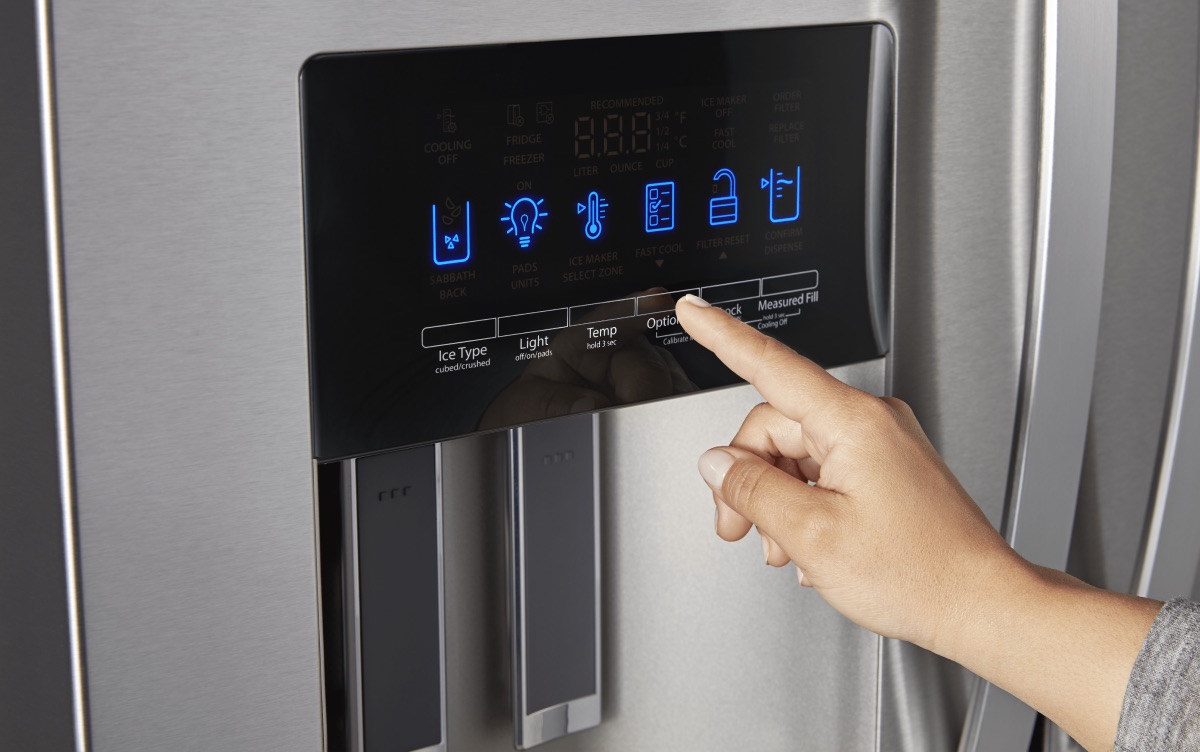
After connecting the refrigerator to power, the next step is to adjust the temperature and settings according to your needs. Follow these steps to properly set the temperature and adjust the settings:
- Refer to the owner’s manual: Consult the owner’s manual of your specific refrigerator model to understand the temperature range and recommended settings.
- Locate the temperature control: Find the temperature control dial or buttons on the refrigerator. It is usually located inside the refrigerator compartment.
- Set the desired temperature: Adjust the temperature control to the desired level. Typically, a lower number means a colder temperature. Follow the recommendations in the manual or set it according to your preference.
- Configure additional settings: Explore other settings your refrigerator may offer, such as humidity control, energy-saving modes, or special features like ice makers or water dispensers. Refer to the manual for instructions on configuring these settings.
- Allow time for stabilization: After making temperature and setting adjustments, allow the refrigerator some time to stabilize. It may take a few hours for the refrigerator to reach and consistently maintain the desired temperature.
- Monitor temperature and make adjustments: Keep an eye on the temperature inside the refrigerator for the first few days. If necessary, make minor adjustments to the temperature control to achieve the ideal conditions for storing your food.
By properly adjusting the temperature and settings, you ensure that the refrigerator is set to the optimum conditions for food storage and energy efficiency. Always consult the owner’s manual for specific instructions and recommendations for your refrigerator model.
Now that you have adjusted the temperature and settings, it’s time for the final step: testing the refrigerator.
Read more: How To Store A Refrigerator
Step 7: Test the Refrigerator
After completing the installation process and adjusting the temperature and settings, it’s important to test the refrigerator to ensure that it is functioning properly. Follow these steps to properly test the refrigerator:
- Wait for the refrigerator to stabilize: Give the refrigerator some time to stabilize after adjusting the temperature and settings. This typically takes a few hours.
- Check for proper cooling: Place a thermometer inside the refrigerator and freezer compartments to check if they are reaching the desired temperatures. Refer to the owner’s manual for the recommended temperature ranges.
- Ensure proper airflow: Verify that cold air is circulating properly throughout the refrigerator. Feel for cool air coming from the vents and confirm that there are no obstructions blocking the airflow.
- Test the door seals: Close the refrigerator doors and check if the seals are tight and secure. You can perform the dollar bill test by placing a dollar bill between the closed door and frame. The bill should offer resistance when pulled out, indicating a good seal.
- Test additional features: If your refrigerator has additional features like ice makers or water dispensers, test them to ensure they are functioning correctly. Follow the manufacturer’s instructions for operating these features.
- Listen for abnormal noises: Pay attention to any unusual or excessive noises coming from the refrigerator. While some noise is normal, loud or persistent noises may indicate a problem that requires further investigation or professional assistance.
- Monitor temperature stability: Keep an eye on the temperature over the next few days to ensure it remains stable within the desired range. If you notice any significant fluctuations, it may indicate an issue that needs to be addressed.
By testing the refrigerator after installation, you can ensure that it is functioning as expected and that all features are working properly. If you encounter any issues or concerns during the testing process, consult the owner’s manual or contact the manufacturer for assistance.
Congratulations! You have successfully installed and tested your refrigerator. Enjoy the benefits of having a well-functioning appliance that keeps your food fresh and chilled.
Remember to refer to the owner’s manual for any specific instructions or maintenance guidelines to keep your refrigerator in optimal condition for years to come.
Thank you for following this installation guide. If you have any other questions or need further assistance, feel free to reach out.
Happy refrigerating!
Conclusion
Installing a refrigerator may initially seem like a daunting task, but with the right steps and precautions, it can be a smooth and successful process. By following the step-by-step guide outlined in this article, you can confidently install your refrigerator and start enjoying its benefits.
We began by highlighting the importance of safety precautions, emphasizing the need to turn off the power, use proper lifting techniques, and protect the flooring during the installation process. Safety should always be the top priority when working with electricity and heavy appliances.
We then discussed the tools and materials needed for the installation, ensuring that you have everything necessary for a seamless process. From tape measures and screwdrivers to levelers and protective gloves, gathering the right equipment beforehand can save you time and effort.
The step-by-step guide covered measuring and preparing the installation space, unpacking and inspecting the refrigerator, positioning it correctly, leveling it for stability, connecting it to power, adjusting temperature and settings, and finally, testing the refrigerator to ensure proper functionality.
Throughout the installation process, it’s crucial to refer to the owner’s manual provided with your specific refrigerator model. It contains valuable instructions and guidelines tailored to your appliance, ensuring that you follow the manufacturer’s recommendations accurately.
Remember to exercise patience and allow the refrigerator some time to stabilize after adjustments. Monitoring the temperature, ensuring proper airflow, and checking the door seals are vital steps to guarantee long-term efficiency and performance.
By following these steps and taking the necessary precautions, you can have confidence in your refrigerator installation. Not only will you enjoy the convenience of a properly installed appliance, but you’ll also have peace of mind knowing that you did it safely and correctly.
Thank you for following this comprehensive installation guide. If you have any further questions or need assistance, don’t hesitate to reach out to the manufacturer or a professional technician. Here’s to enjoying freshly chilled food and beverages from your newly installed refrigerator!
Frequently Asked Questions about How To Install Refrigerator
Was this page helpful?
At Storables.com, we guarantee accurate and reliable information. Our content, validated by Expert Board Contributors, is crafted following stringent Editorial Policies. We're committed to providing you with well-researched, expert-backed insights for all your informational needs.








0 thoughts on “How To Install Refrigerator”