Articles
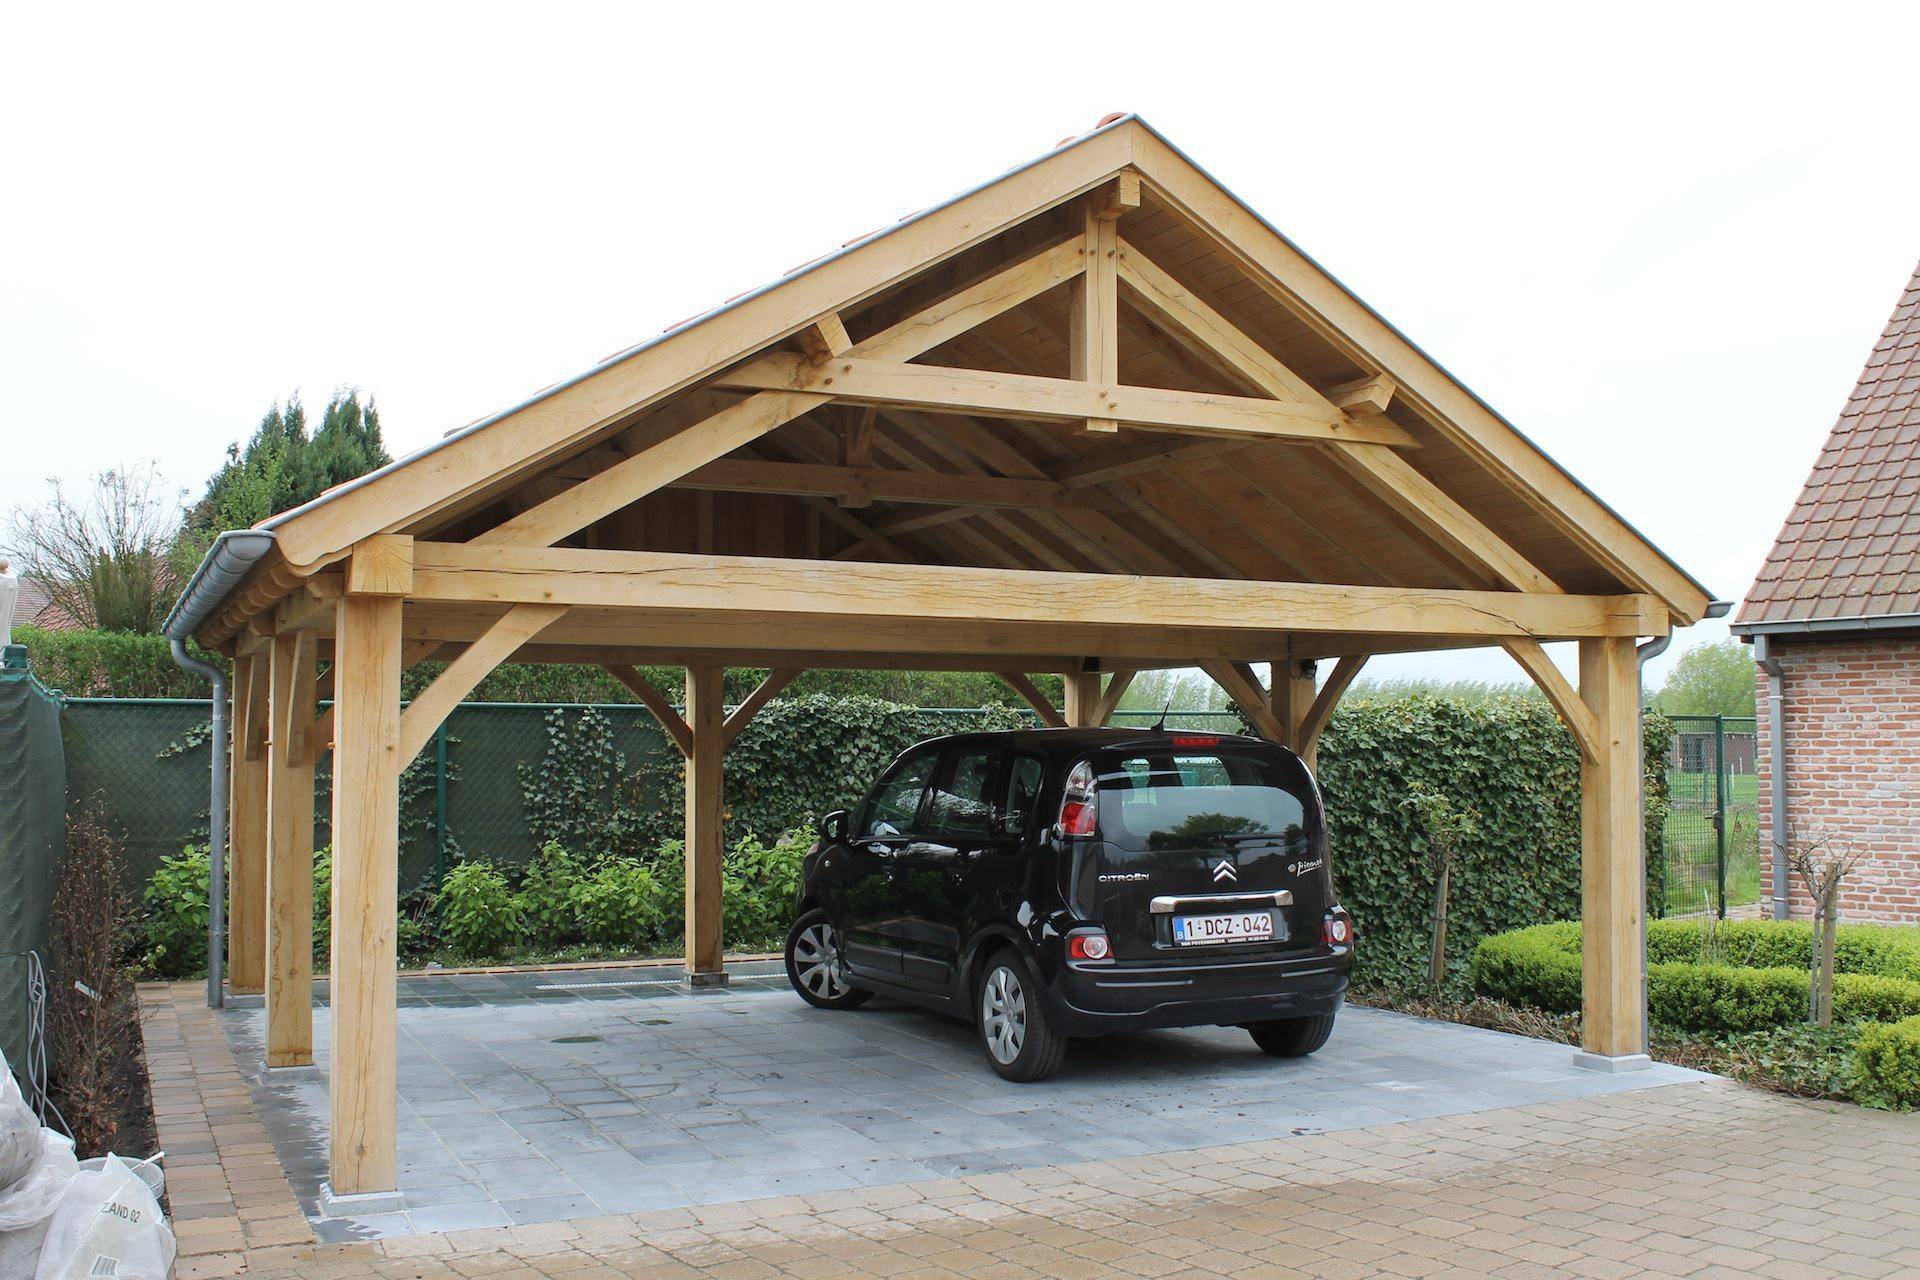
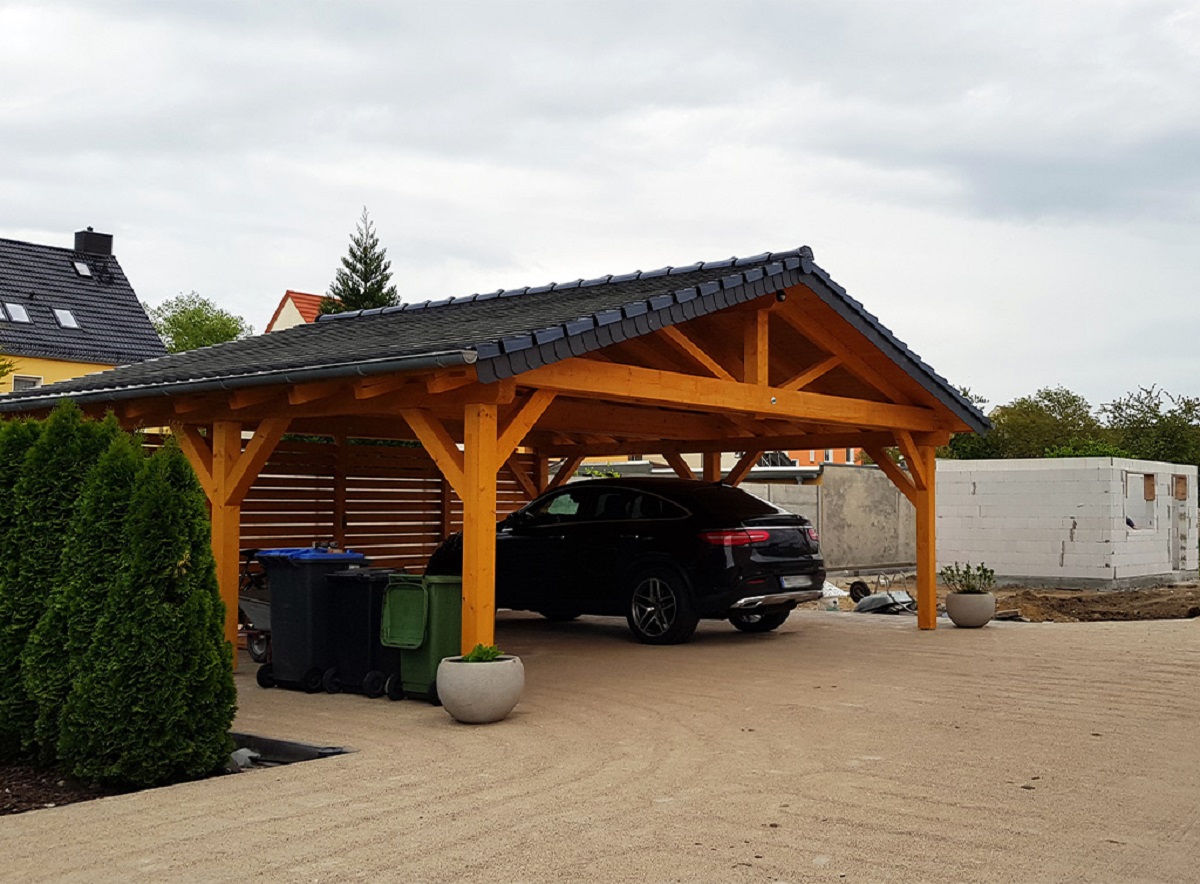
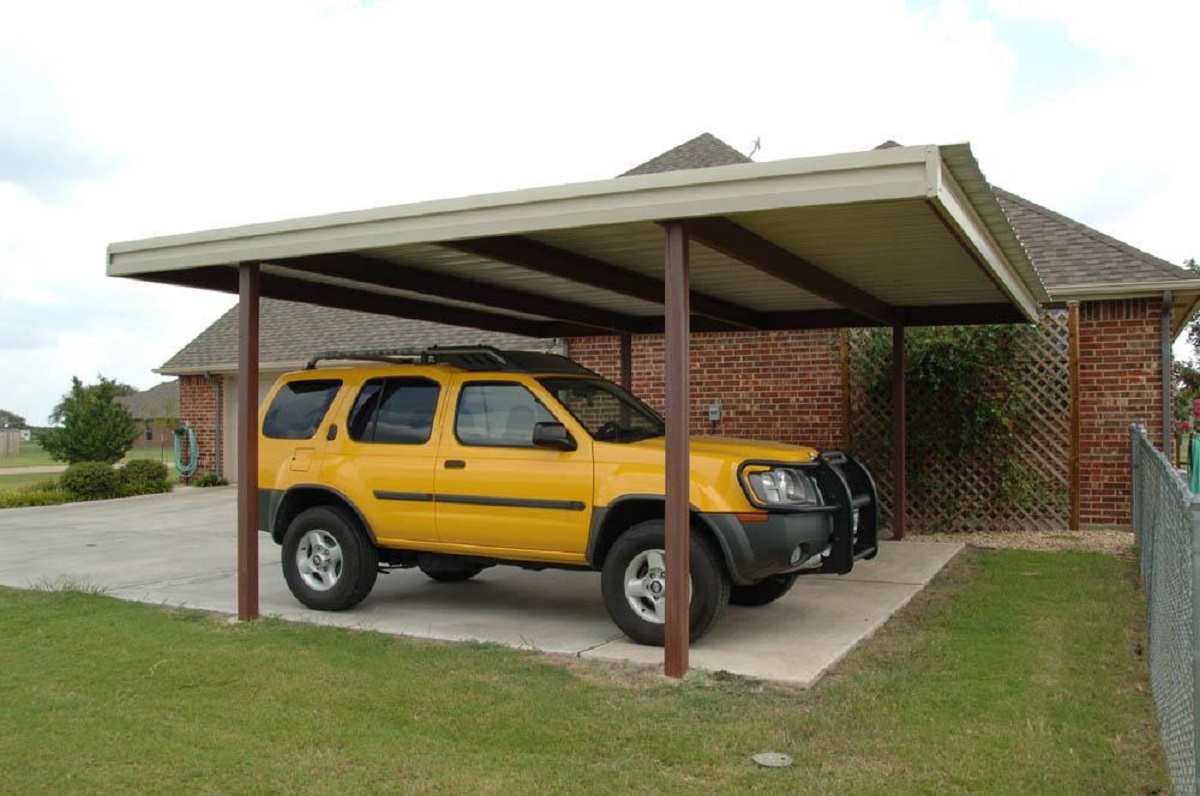
How To Install A Carport
Modified: October 18, 2024
Learn how to install a carport with step-by-step articles and expert tips. Transform your outdoor space with a durable and stylish carport.
(Many of the links in this article redirect to a specific reviewed product. Your purchase of these products through affiliate links helps to generate commission for Storables.com, at no extra cost. Learn more)
Introduction
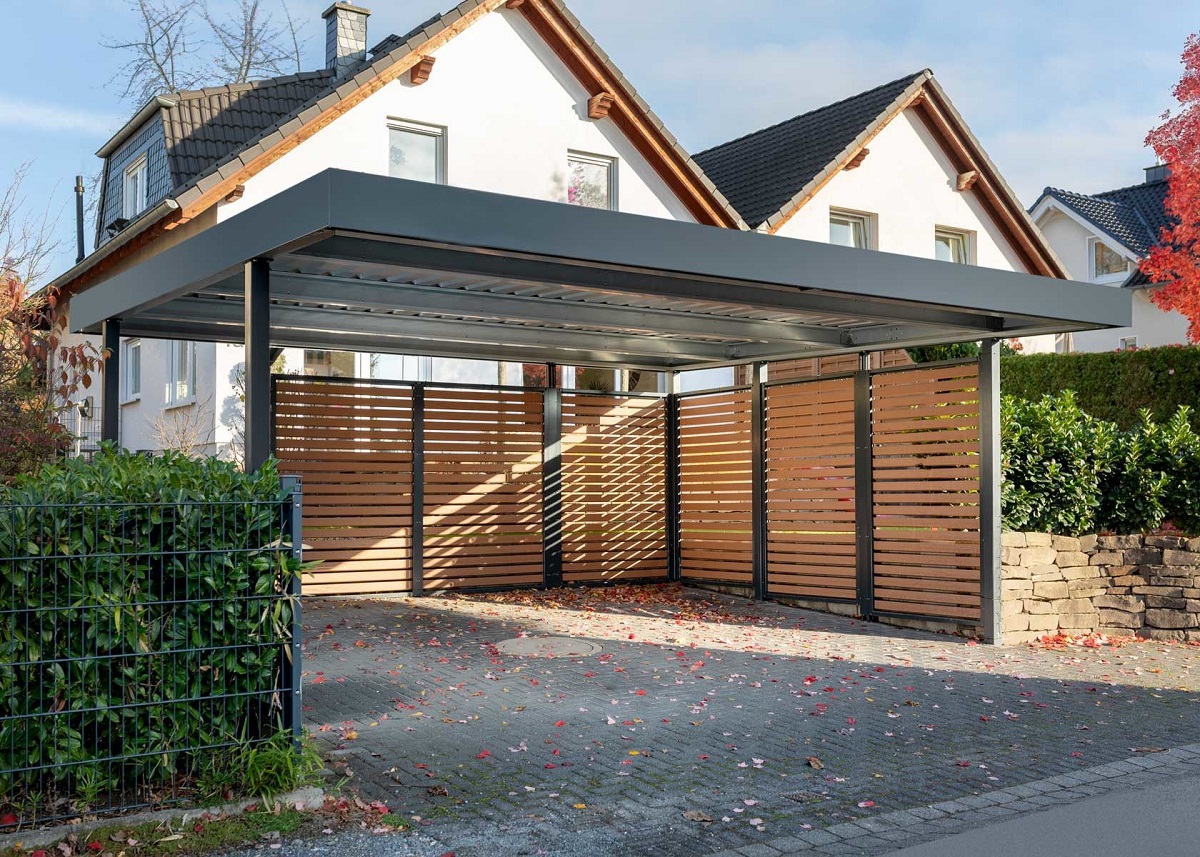
Welcome to our step-by-step guide on how to install a carport. Whether you need a shelter for your vehicles or additional covered space for outdoor activities, a carport can be a practical and cost-effective solution. In this article, we will walk you through the process of installing a carport from start to finish.
Before we begin, it’s important to note that carports come in a variety of styles and sizes. The specific instructions may vary depending on the type of carport you have, so be sure to follow the manufacturer’s guidelines and consult any included documentation.
Installing a carport requires some basic tools and materials, as well as careful planning and execution. By following these steps, you’ll be able to successfully install a carport and enjoy the benefits it provides.
Key Takeaways:
- Proper preparation is key to successful carport installation. From gathering materials to choosing the right location and securing the frame, attention to detail ensures stability and longevity for your carport.
- Customizing your carport with additional features and accessories enhances its functionality. Whether it’s adding side panels for extra protection or installing solar panels for renewable energy, personalizing your carport creates a space tailored to your specific needs.
Read more: How To Make A Carport
Step 1: Gather Materials and Tools
Before you begin the installation process, it’s essential to gather all the necessary materials and tools. Here’s a list of items you’ll typically need:
- Carport kit or components
- Ground anchors or concrete footings
- Level
- Tape measure
- Hammer or impact driver
- Screwdriver or drill
- Wrenches
- Ladder
- Roofing panels
- Fasteners
- Sealant
- Safety gear (gloves, goggles, etc.)
Make sure to read the instructions provided by the manufacturer to confirm that you have all the required materials and tools specific to your carport model. Additionally, it’s essential to wear the appropriate safety gear, including gloves and goggles, to ensure your well-being throughout the installation process.
By gathering all the necessary materials and tools before you start, you’ll save time and be better prepared to complete the installation smoothly and efficiently.
Step 2: Choose the Location for Your Carport
Choosing the right location for your carport is crucial to ensure its functionality and longevity. Here are a few factors to consider when selecting the spot:
- Accessibility: Your carport should be easily accessible from your driveway or main entrance. Consider the proximity to your vehicles and how convenient it will be to enter and exit the carport.
- Clearance: Ensure that there is enough clearance around the carport for vehicles to maneuver comfortably. Also, consider any obstructions such as trees or utility poles that may interfere with the carport’s installation or pose a hazard to your vehicles.
- Ground Stability: Choose a location with a stable and level ground surface to ensure the carport’s stability. If the ground is not level, you may need to make necessary preparations such as grading or using concrete footings.
- Orientation: Consider the orientation of the carport in relation to the sun’s path. A south-facing carport will offer better protection from the elements, such as rain and snow, especially in areas with inclement weather conditions.
- Building Codes and Regulations: Check with your local building department to ensure you adhere to any zoning regulations or permits required for installing a carport on your property.
Once you have identified the ideal location for your carport, mark the perimeter using stakes or spray paint to outline the area for installation. This will help you visually assess the positioning and ensure proper alignment during the next steps of the installation process.
By carefully selecting the location for your carport, you can maximize its functionality and enjoyment while also complying with any local regulations or restrictions.
Step 3: Prepare the Ground
Preparing the ground is an essential step in the installation process to ensure a stable and durable foundation for your carport. Follow these steps to properly prepare the ground:
- Clear the Area: Remove any debris, rocks, or vegetation from the designated installation area. Clearing the area will provide a clean and level surface for the carport.
- Level the Ground: Use a shovel or rake to level the ground surface. Remove any bumps or uneven areas to create a smooth and even surface for the carport.
- Measure and Mark: Use a tape measure to determine the exact dimensions of the carport’s base and mark the corners accordingly. This will ensure proper alignment and positioning during the installation process.
- Prepare Footings or Anchors: Depending on the design and recommendations of your carport, you may need to install concrete footings or ground anchors. Follow the manufacturer’s instructions to properly prepare and install the footings or anchors. This will provide additional stability and support for your carport.
- Secure the Ground Anchors: If your carport requires ground anchors, insert them into the designated spots and secure them tightly. This will prevent the carport from shifting or moving during strong winds or inclement weather conditions.
By properly preparing the ground, you are creating a solid foundation for your carport. This will ensure its stability and longevity, providing you with peace of mind knowing that your vehicles and belongings are protected.
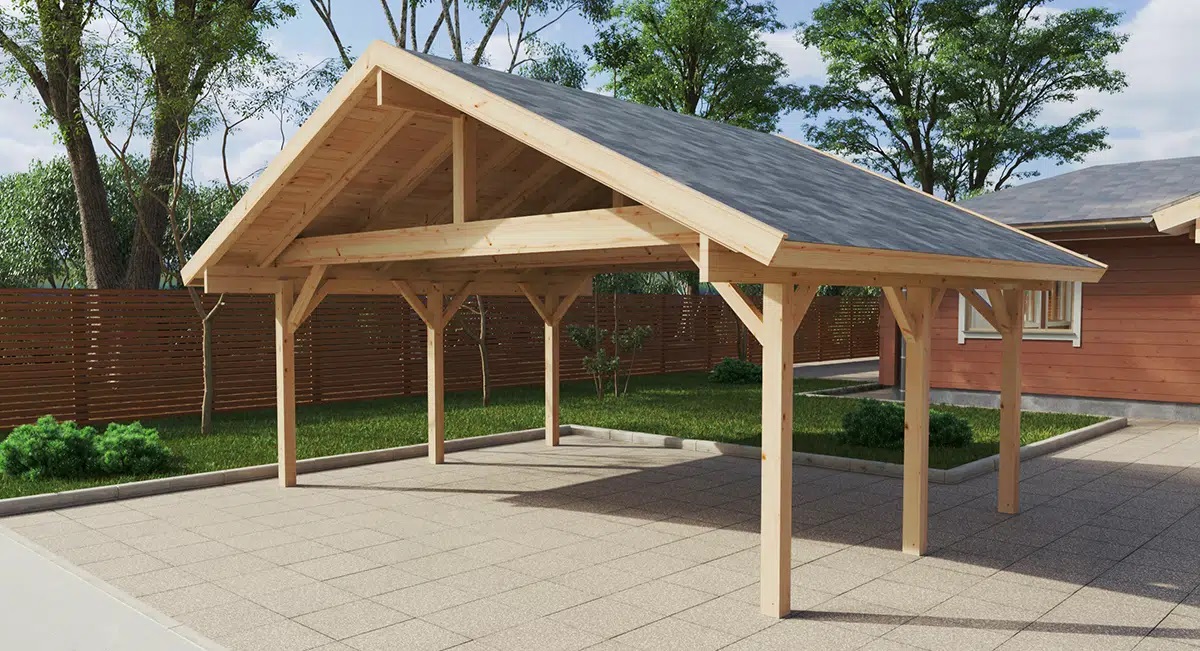
Step 4: Assemble the Carport Frame
Now that the ground is prepared, it’s time to assemble the carport frame. Follow these steps to successfully assemble the frame:
- Refer to the Instructions: Read the manufacturer’s instructions carefully to understand the assembly process. Different carport models may have varying instructions, so it’s crucial to follow the specific guidelines for your particular carport.
- Lay Out the Components: Lay out all the frame components in the order specified in the instructions. This will give you a clear visual of the components and their placement during the assembly process.
- Identify and Sort the Parts: Sort the different parts and components according to size and type. This will help you easily identify and locate the specific pieces needed for each step of the assembly.
- Start with the Base: Begin assembling the frame by connecting the base pieces as instructed. Use the provided connectors or fasteners and ensure that each connection is secure and tight.
- Build Upwards: Continue following the instructions to attach the vertical poles and cross beams, gradually building up the frame structure. Take your time to align the components properly and make sure everything is level and secure.
- Use Tools as Required: Utilize the appropriate tools, such as a screwdriver or drill, to tighten any screws, bolts, or connectors. Ensure that all connections are snug and well fastened to ensure the stability of the carport frame.
As you progress through the assembly process, periodically step back to assess the frame’s stability and alignment. Make any necessary adjustments to ensure that the frame is level and symmetrical. This will help prevent any issues during the following steps of the installation.
By carefully assembling the carport frame according to the manufacturer’s instructions, you will lay the foundation for the rest of the installation process and ensure the structural integrity of your carport.
When installing a carport, make sure to carefully follow the manufacturer’s instructions for assembly. It’s also important to properly anchor the carport to the ground to ensure stability and safety.
Read more: What Is A Carport
Step 5: Secure the Frame to the Ground
Once the carport frame is assembled, it’s time to secure it to the ground to ensure stability and structural integrity. Follow these steps to properly secure the frame:
- Confirm Anchoring Method: Refer to the manufacturer’s instructions to determine the recommended anchoring method for your carport. Common methods include ground stakes, concrete anchors, or heavy-duty screws.
- Mark Attachment Points: Mark the attachment points on the frame and corresponding spots on the ground. This will guide you during the installation process and ensure proper alignment.
- Install Ground Anchors: Based on the instructions, install the ground anchors into the marked spots. This may involve drilling holes, inserting anchors, and securing them with appropriate fasteners.
- Attach Frame to Anchors: Carefully align the frame with the installed ground anchors. Use the provided hardware and tools to securely attach the frame to the anchors. Ensure that all connections are tight and stable.
- Check for Stability: Once the frame is attached to the ground anchors, test its stability by gently shaking it. It should remain sturdy and not wobble. If there is any instability, reevaluate the connections and make necessary adjustments.
Properly securing the carport frame to the ground is crucial for its overall stability, especially during strong winds or inclement weather conditions. Take the time to carefully follow the instructions and ensure that all connections are secure.
Remember, the goal is to create a strong and secure foundation that will support the weight of the roof panels and withstand external forces effectively.
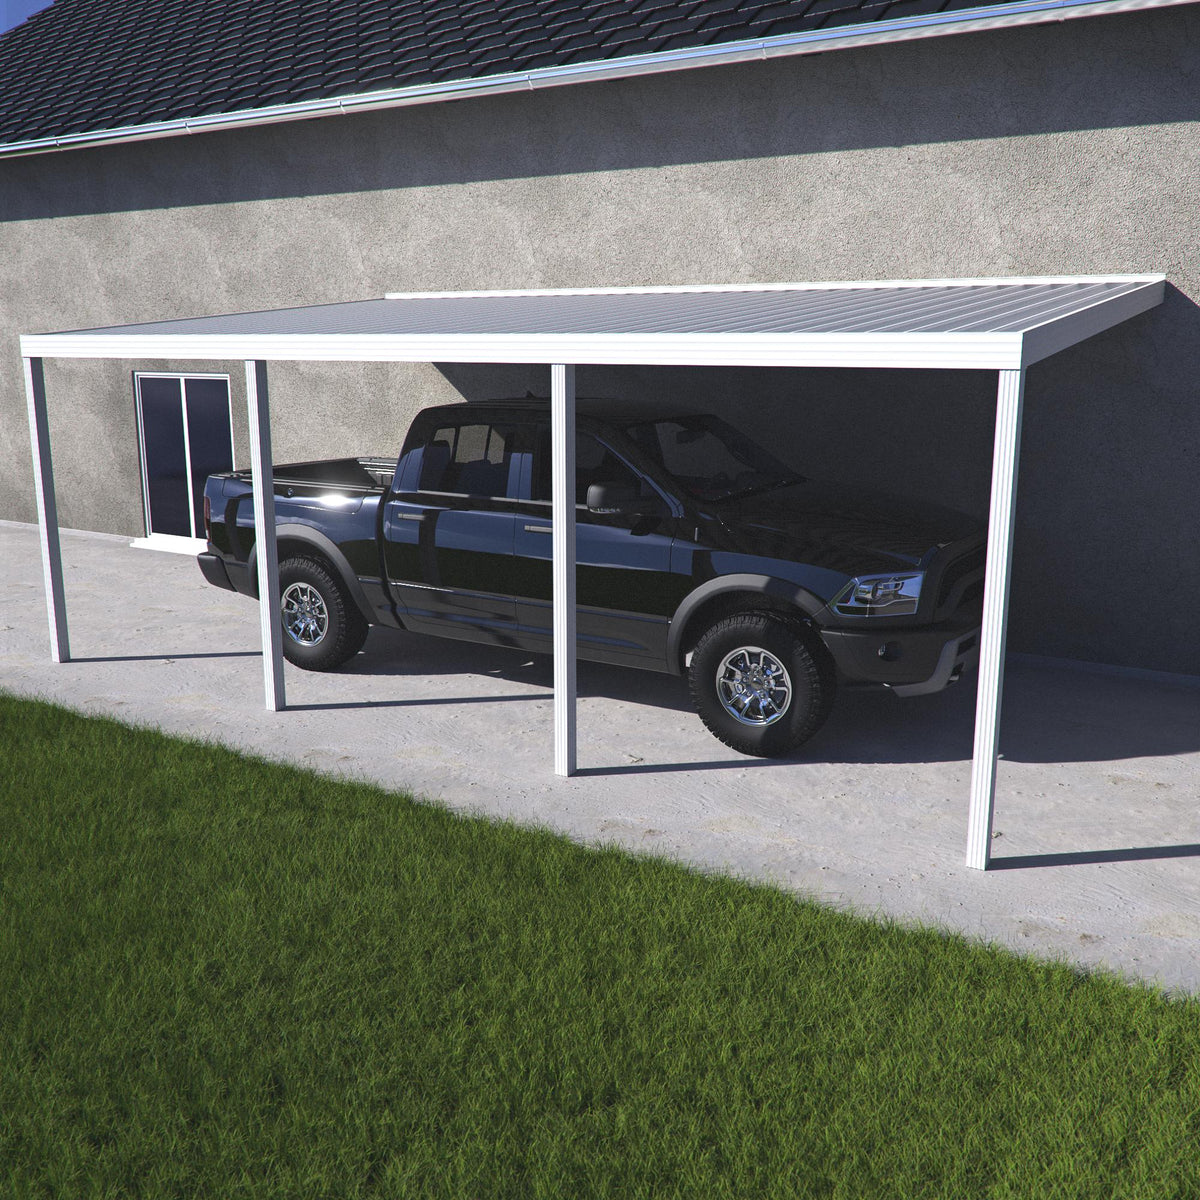
Step 6: Install the Roof Panels
With the carport frame securely in place, it’s time to install the roof panels. Follow these steps to properly install the roof panels:
- Read the Instructions: Start by reading the manufacturer’s instructions to understand the specific steps and recommendations for installing the roof panels for your carport model.
- Prepare the Roof Panels: Lay out the roof panels and ensure they are clean and free from any debris or dirt. If necessary, trim or adjust the panels to fit the dimensions of your carport frame.
- Begin at one end: Start at one end of the carport and align the first roof panel with the frame. Use the provided fasteners or clips to secure the panel to the frame.
- Continue with the rest: Move along the carport, installing one panel at a time. Ensure that each panel is properly aligned and securely fastened to the frame. Use a level to make sure the panels are horizontal and evenly spaced.
- Overlap the panels: As you install each panel, make sure to overlap them according to the manufacturer’s instructions. This overlapping ensures proper water drainage and protection from the elements.
- Check for tightness: Periodically check the tightness of the installed panels. Ensure that they are securely fastened and free from any potential gaps or loose connections.
During the installation process, it’s important to take safety precautions. Use a ladder or scaffolding, if necessary, and have a partner assist you to ensure a steady and secure installation.
By following these steps and paying attention to the manufacturer’s instructions, you will be able to install the roof panels accurately, providing reliable protection for your vehicles or belongings.
Step 7: Add Any Additional Features or Accessories
After installing the roof panels, you have the option to enhance the functionality and aesthetics of your carport by adding additional features and accessories. Consider the following options:
- Sides or Enclosures: If you want added protection from wind, rain, or privacy, consider adding side panels or enclosures to your carport. These can be made of various materials like fabric, metal, or vinyl and can be easily attached to the frame.
- Gutter System: To efficiently manage rainwater runoff, you may want to install a gutter system along the edges of the roof panels. This will direct the water away from the carport and prevent potential water damage.
- Lighting: Adding lighting fixtures to your carport can enhance visibility and safety, especially during the evening or at night. Consider installing LED lights or motion sensor lights for convenience and energy efficiency.
- Storage Options: To maximize the storage potential of your carport, you can incorporate storage cabinets, shelves, or hooks to organize tools, sports equipment, or gardening supplies.
- Solar Panels: If you’re looking to utilize renewable energy, consider installing solar panels on the roof of your carport to generate electricity for your household or to charge electric vehicles.
When adding additional features or accessories, be sure to consult the manufacturer’s instructions and guidelines. Follow the recommended methods for installation and ensure that the structural integrity of the carport is not compromised.
By customizing your carport with these additional features, you can optimize its functionality and create a space that meets your specific needs and preferences.
Step 8: Ensure Stability and Safety
Once you have completed the installation of your carport, it’s important to take the necessary steps to ensure its stability and safety. Here are some key considerations:
- Frequent Inspections: Regularly inspect your carport for any signs of wear and tear, such as loose fasteners, damaged panels, or sagging sections. Address any issues promptly to maintain the structural integrity of the carport.
- Snow and Ice Removal: During winter months, remove any accumulated snow or ice from the roof panels and structure of the carport. This will prevent excess weight and potential damage.
- Wind Resistance: If you live in an area prone to high winds, consider installing additional bracing or reinforcement to increase the carport’s wind resistance. Consult with a professional if needed.
- Proper Ventilation: Ensure adequate ventilation within the carport to minimize condensation and prevent moisture buildup. Proper airflow helps to maintain the longevity of the structure and protects the items stored inside.
- Secure Valuables: If you store valuable items or vehicles under your carport, consider using security measures such as locks, security cameras, or motion sensors to protect your property from theft or vandalism.
- Regular Maintenance: Keep your carport clean and free from debris. Regularly clean the roof panels and inspect the frame for any signs of rust or corrosion. Address any maintenance needs promptly to prolong the lifespan of your carport.
By prioritizing stability and safety, you can ensure that your carport remains a reliable and secure structure for the long term. Regular maintenance and inspections will help identify any issues before they escalate, allowing you to take proactive measures to maintain its functionality.
Read more: How To Build A Lean To Carport
Step 9: Enjoy Your New Carport!
Congratulations! You have successfully installed your carport and now you can enjoy the benefits it brings. Here are a few things you can do to fully appreciate and make the most of your new carport:
- Park Your Vehicles: Begin by parking your vehicles under the carport. This will protect them from the elements, such as sun, rain, and snow, helping to maintain their appearance and prolong their lifespan.
- Create Outdoor Workspace: If you’re in need of a designated workspace for DIY projects or outdoor hobbies, utilize the covered space provided by the carport. Set up a workbench, tool storage, or any other equipment you may need.
- Host Outdoor Gatherings: Your carport can serve as an excellent sheltered space for outdoor gatherings and parties. Set up tables, chairs, and decorations to create a comfortable and welcoming environment for your guests.
- Utilize Storage: Make use of the additional storage options within your carport. Keep gardening tools, sporting equipment, or any other items you want to keep organized and easily accessible.
- Expand Living Space: If your carport is attached to your home or positioned near a patio or outdoor seating area, consider extending your living space by integrating it with your carport. This provides sheltered outdoor spaces for relaxation and enjoyment.
Remember to maintain your carport by regularly cleaning and inspecting it for any maintenance needs. By keeping it in good condition, you’ll ensure its longevity and continue to enjoy its benefits for years to come.
Now that your carport installation is complete, take a moment to admire your hard work and enjoy the convenience and versatility it brings to your property. Whether it’s protecting your vehicles, hosting gatherings, or providing additional storage space, your new carport is sure to enhance your lifestyle.
Frequently Asked Questions about How To Install A Carport
Was this page helpful?
At Storables.com, we guarantee accurate and reliable information. Our content, validated by Expert Board Contributors, is crafted following stringent Editorial Policies. We're committed to providing you with well-researched, expert-backed insights for all your informational needs.


0 thoughts on “How To Install A Carport”