Articles
How To Install Shutters
Modified: December 7, 2023
Learn how to install shutters with these helpful articles. Get step-by-step instructions and tips to easily install shutters in your home.
(Many of the links in this article redirect to a specific reviewed product. Your purchase of these products through affiliate links helps to generate commission for Storables.com, at no extra cost. Learn more)
Introduction
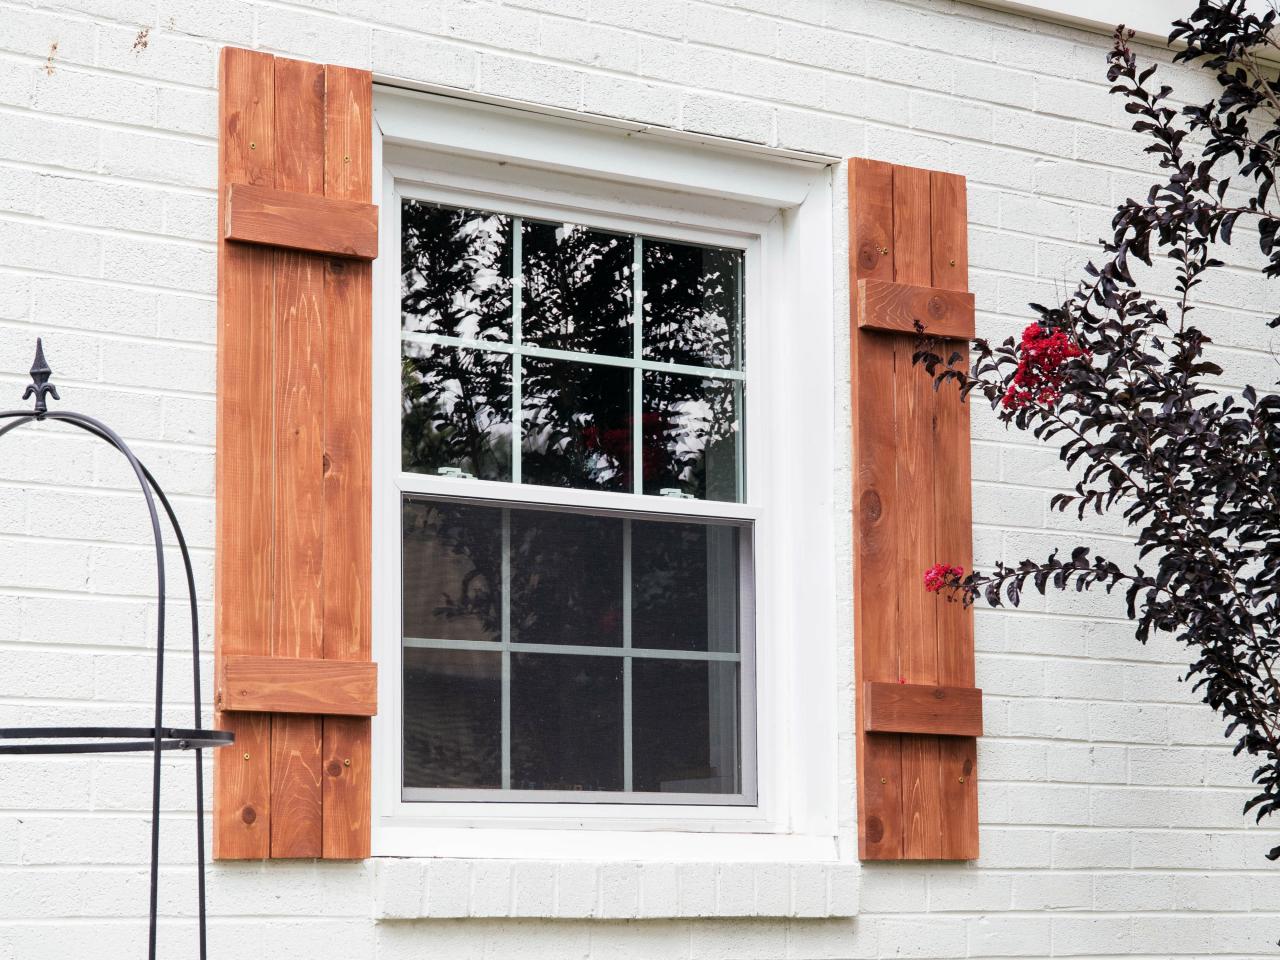
Welcome to this comprehensive guide on how to install shutters. Whether you are looking to add a touch of elegance to your home or improve its functionality, installing shutters can be a great solution. Shutters not only enhance the aesthetics of your windows, but they also provide privacy, light control, and insulation.
In this article, we will take you through the step-by-step process of installing shutters. From gathering the necessary materials and tools to adjusting and securing the shutters, we will cover everything you need to know to complete this project successfully.
Installing shutters may seem like a daunting task, especially if you have never done it before. However, with the right approach and guidance, it can be a rewarding and satisfying project. So, let’s dive in and learn how to install shutters like a pro!
Key Takeaways:
- Installing shutters is a rewarding project that enhances both the aesthetics and functionality of your home. With the right tools, attention to detail, and patience, you can achieve a professional-looking installation.
- Proper measurement, preparation, and installation are crucial for a successful outcome when installing shutters. Take the time to gather the right materials, follow instructions, and seek guidance if needed.
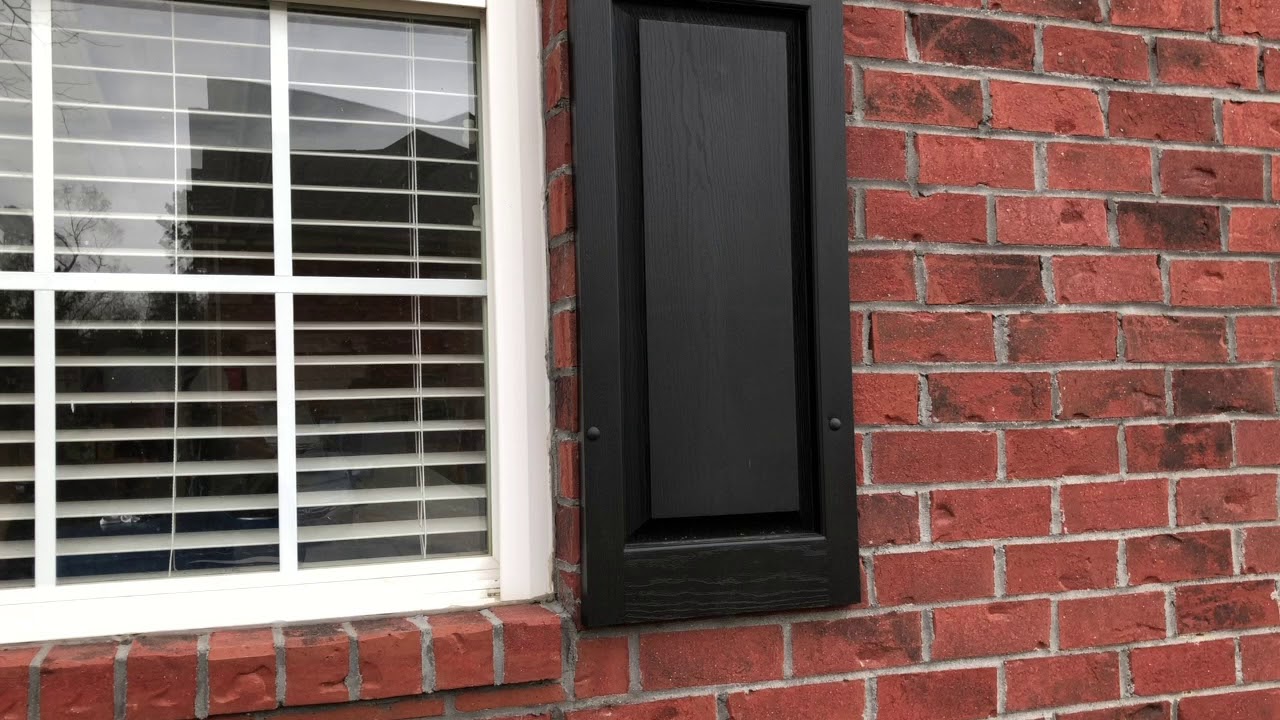
Read more: How To Install Window Shutters On Brick
Gathering Materials and Tools
Before you begin installing shutters, it’s essential to gather all the necessary materials and tools. This will ensure a smooth and efficient installation process. Here is a list of items you will need:
- Shutter panels: Measure the width and height of your window openings to determine the correct size for your shutters. Purchase high-quality, durable shutter panels that match the style and color scheme of your home.
- Frame and hinges: Choose a frame that complements your shutters and provides a sturdy base for installation. Additionally, select hinges that are strong enough to support the weight of the shutters.
- Screws and anchors: Depending on the type of wall or window frame, you may need screws and anchors to secure the frame and hinges to the wall.
- Drill and screwdriver: A reliable drill with the appropriate drill bits and a screwdriver will be needed to perform the installation.
- Measuring tape: Accurate measurements are crucial for a proper fit. Use a measuring tape to measure the dimensions of your windows and shutter panels.
- Pencil and level: Marking the placement of the frame and ensuring it is level is essential for a visually pleasing installation.
- Ladder or step stool: If your windows are out of reach, be sure to have a stable ladder or step stool to safely access the installation area.
- Protective equipment: It’s always a good idea to wear safety glasses and gloves to protect yourself during the installation process.
Take the time to gather all the necessary materials and tools before you begin the installation. This will save you from unnecessary trips to the hardware store and ensure that you have everything you need to complete the project in one go.
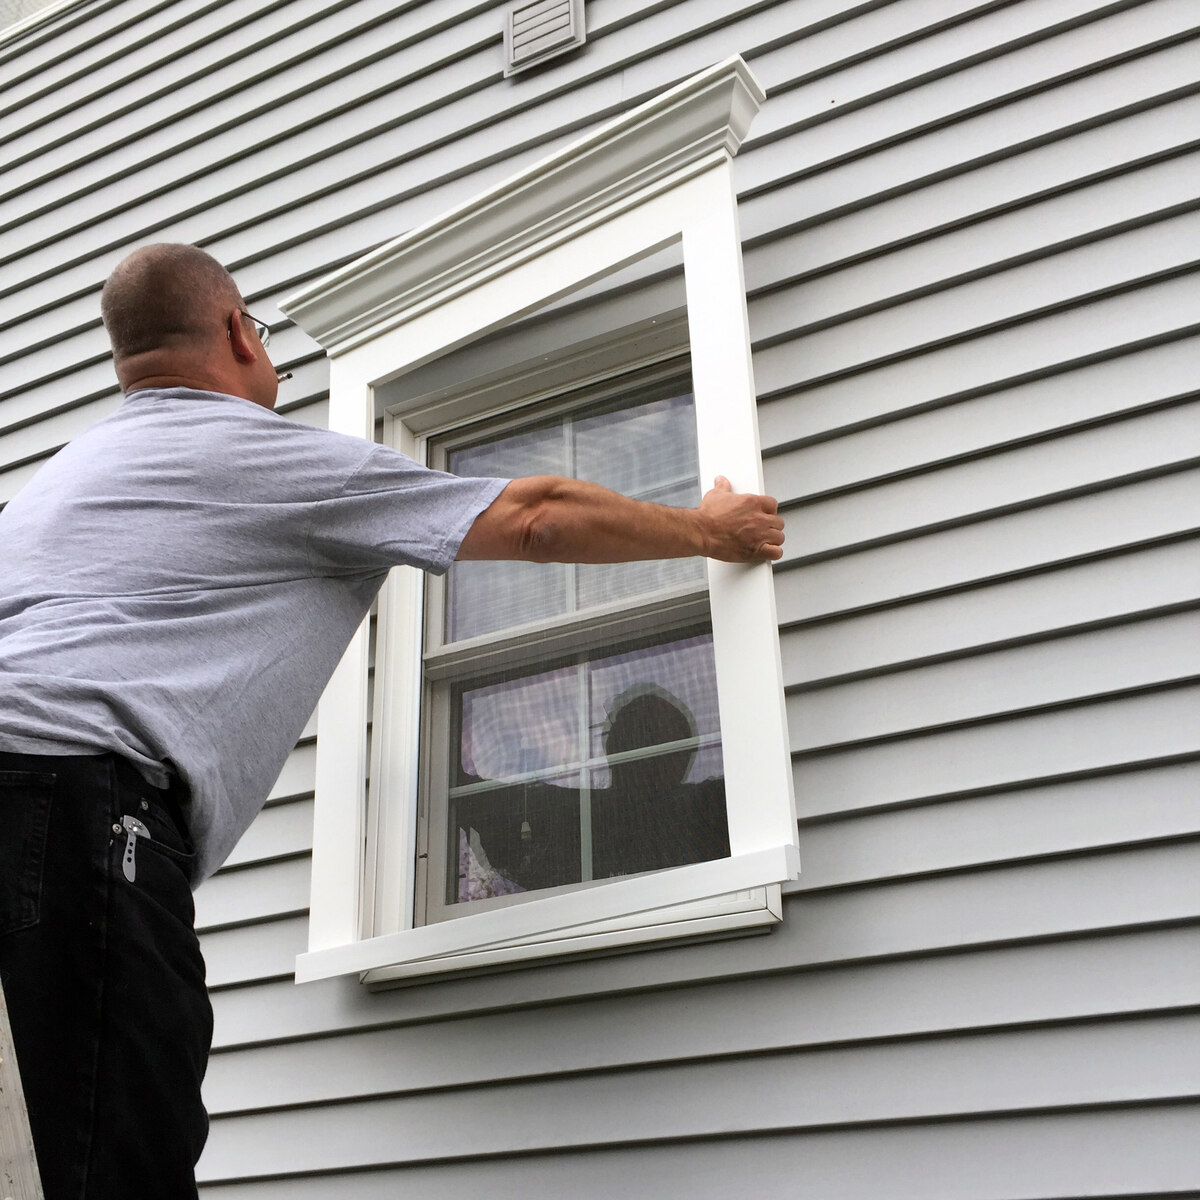
Measuring and Preparing the Window
Once you have gathered all the required materials and tools, it’s time to measure and prepare the window for the installation of shutters. Follow these steps to ensure accurate measurements and proper preparation:
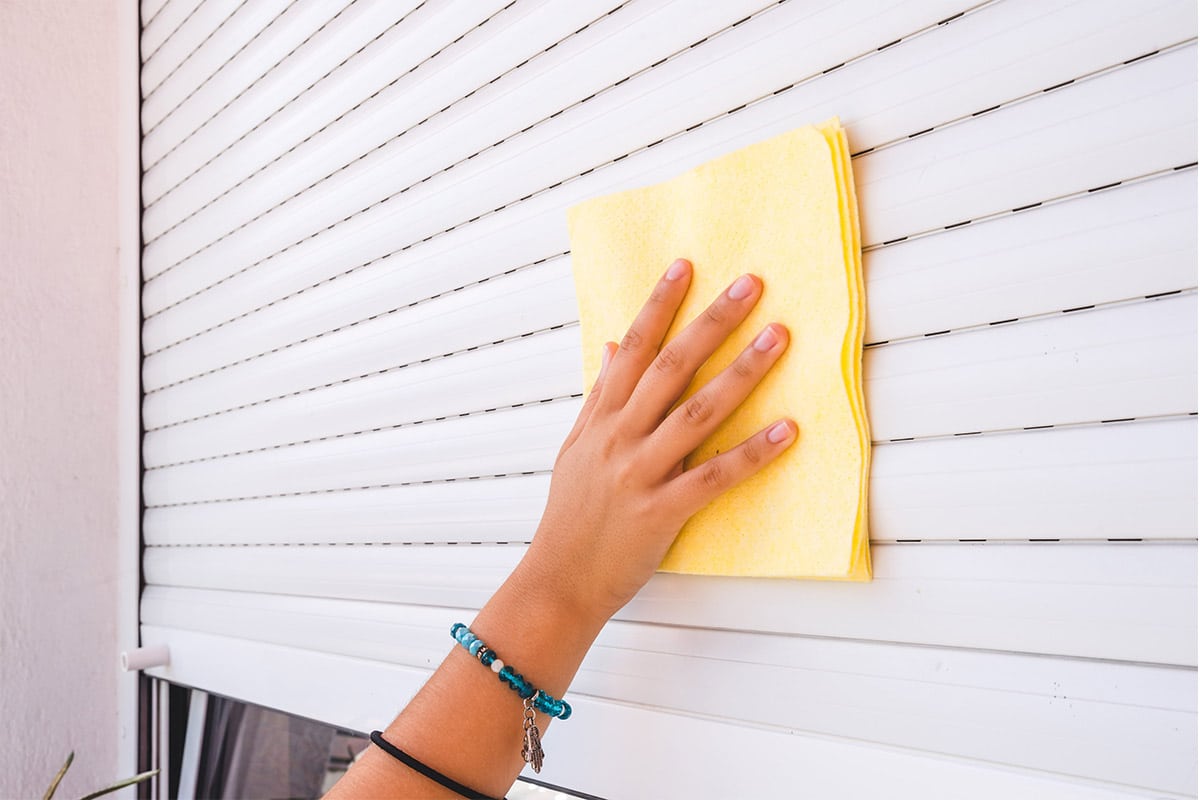
- Start by cleaning the window thoroughly. Remove any dirt, dust, or debris that may hinder the installation process.
- Measure the width and height of the window opening using a measuring tape. Take measurements at multiple points to account for any irregularities in the window frame.
- Note down the measurements accurately. Double-check your measurements to avoid any mistakes that could result in ill-fitting shutters.
- Decide the placement of the shutters. Typically, shutters are installed on the inside of the window frame for a neat and seamless look. However, you can also choose to mount them on the outside if desired.
- Mark the placement of the frame on the window frame using a pencil. Use a level to ensure that the markings are straight and aligned properly.
- If you are installing shutters on multiple windows, repeat the measuring and marking process for each window.
Before proceeding to the next step, take a moment to review your measurements and markings. This will help to ensure a precise fit and a professional-looking installation.
Once you are satisfied with the measurements and markings, you are ready to move on to the next step: assembling the shutter panels.
Assembling the Shutter Panels
With the window measured and prepared, it’s time to assemble the shutter panels. Follow these steps to ensure a smooth and successful assembly process:
- Take out the shutter panels from their packaging and lay them flat on a clean and sturdy surface.
- Inspect the panels for any defects or damage. If you notice any issues, contact the manufacturer or supplier for replacements.
- If needed, trim the panels to fit the window opening. Use a saw or appropriate cutting tool to carefully trim the panels according to the measurements you took earlier. Remember to follow the manufacturer’s instructions for trimming and take caution to avoid any mistakes.
- Apply any necessary finish or paint to the panels. This step ensures that the shutters match your desired aesthetic and protects them from potential damage or decay.
- Attach the hinges to the panels according to the manufacturer’s instructions. Ensure that they are securely fastened and properly aligned.
- Test the panels to ensure they open and close smoothly. Make any necessary adjustments to the hinges or panels for proper functionality.
- Repeat the process for each shutter panel that you have.
Assembling the shutter panels is a crucial step in the installation process. Take your time to properly align and secure the hinges to ensure that the panels operate seamlessly.
Once you have completed the assembly, you are ready to move on to the next step: mounting the frame and hinges.
When installing shutters, make sure to measure the window accurately and choose the right size. Use a level to ensure the shutters are straight and secure them properly to the window frame.
Mounting the Frame and Hinges
Now that you have assembled the shutter panels, it’s time to mount the frame and hinges onto the window. Follow these steps to ensure a secure and properly aligned installation:
- Position the frame against the window opening, aligning it with the markings you made earlier. Use a level to ensure that the frame is perfectly plumb and level.
- Mark the screw hole locations on the window frame by making small indentations with a pencil. This will serve as a guide for drilling.
- Remove the frame and pre-drill holes on the marked locations. The size of the drill bit should match the screws you will be using.
- Place the frame back onto the window and secure it in place using screws. Make sure to tighten the screws securely, but be cautious not to overtighten and damage the frame or window.
- Attach the hinges to the frame, following the manufacturer’s instructions. Ensure that they are properly aligned and securely fastened.
- Test the movement of the hinges to ensure that the shutters open and close smoothly. Make any necessary adjustments if needed.
- Double-check the alignment and stability of the frame and hinges before proceeding to the next step.
Mounting the frame and hinges is a crucial step in the installation process. Taking the time to ensure proper alignment and stability will guarantee a successful installation and the longevity of your shutters.
Now that you have completed mounting the frame and hinges, it’s time to move on to the next step: installing the shutter panels.
Read more: How To Fix Shutter Blinds
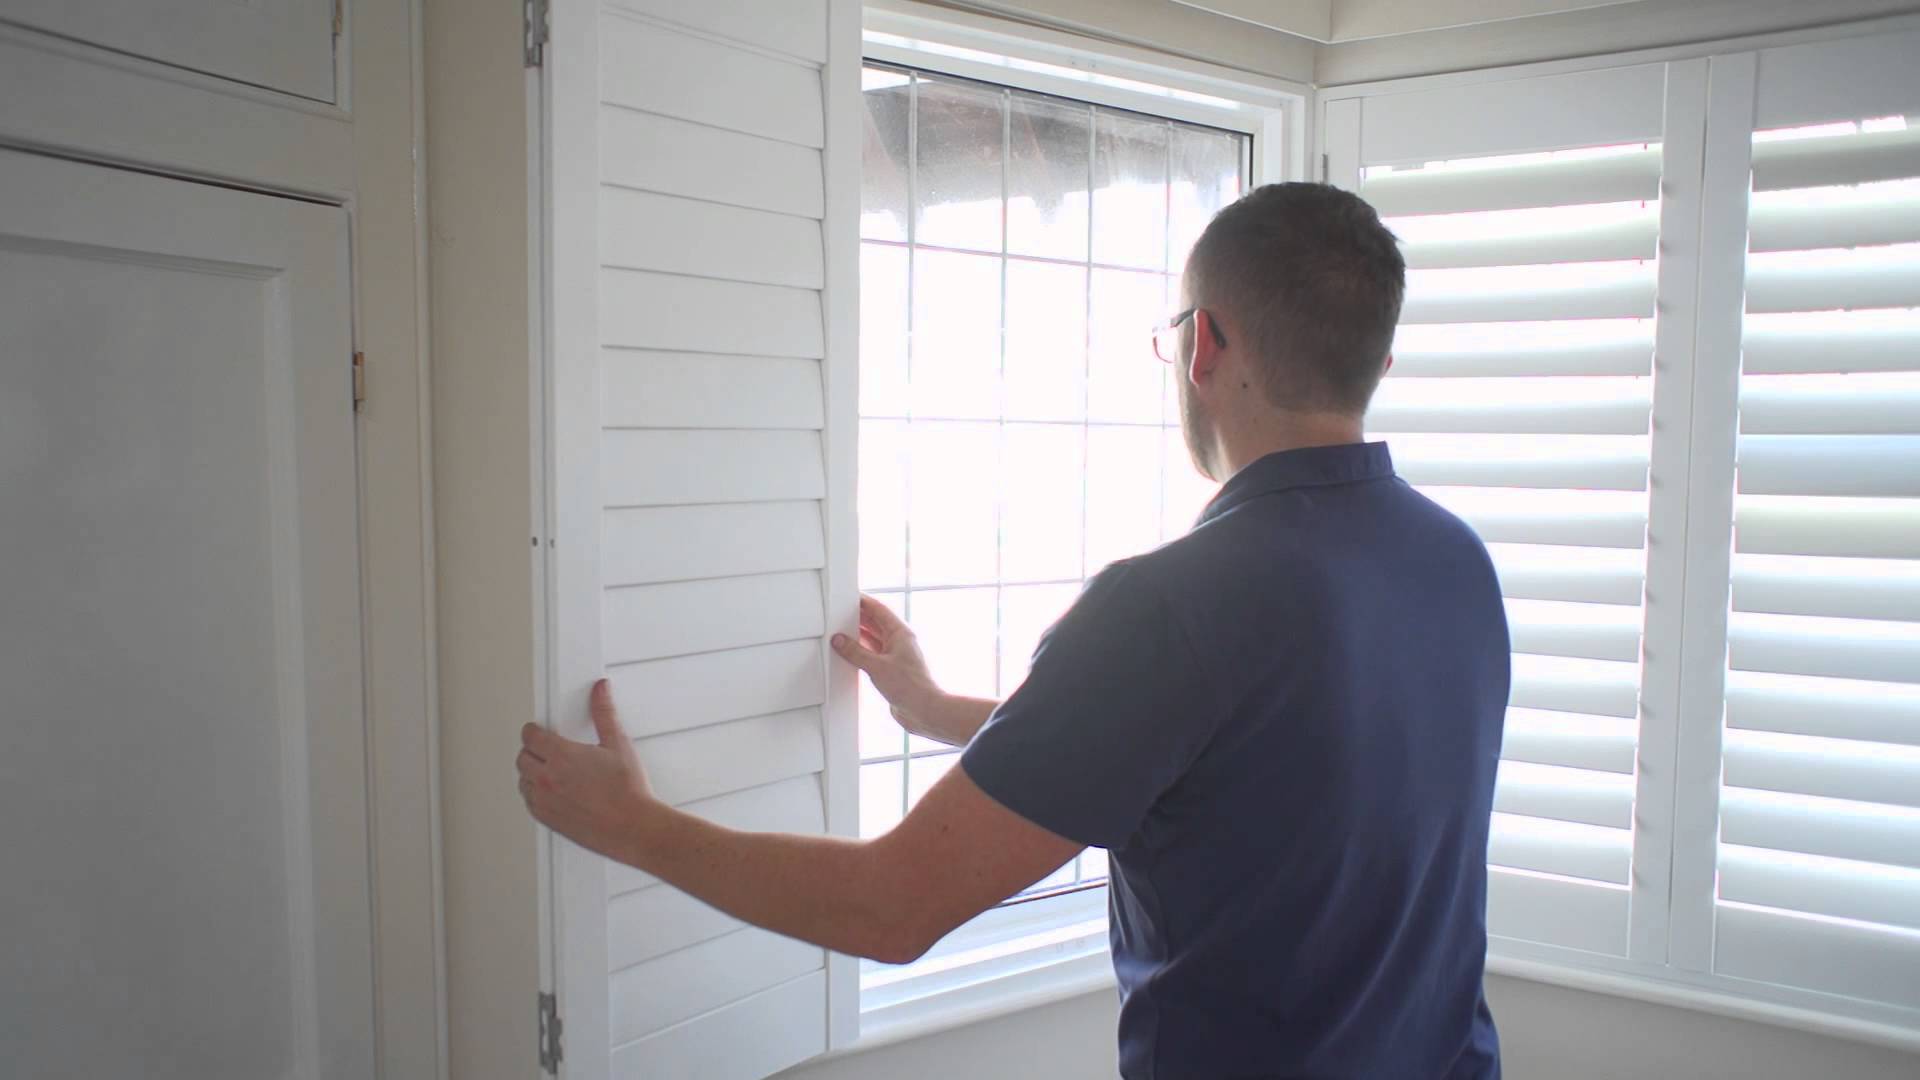
Installing the Shutter Panels
With the frame and hinges securely mounted, it’s time to install the shutter panels onto the window. Follow these steps to ensure a smooth and precise installation:
- Hold the first shutter panel against the hinges and align it carefully.
- Attach the hinges to the panel using the screws provided. Make sure to tighten them securely, but be careful not to overtighten and damage the panel or hinges.
- Test the movement of the shutter panel to ensure it opens and closes smoothly. Make any necessary adjustments to the hinges if needed.
- Repeat the process for each remaining shutter panel, ensuring proper alignment and secure attachment to the hinges.
- Check the functionality of all the installed shutter panels, ensuring that they operate smoothly and without any obstruction.
- Step back and visually inspect the installation, ensuring that the shutter panels are level and aligned properly. Make any final adjustments if necessary.
Installing the shutter panels requires precision and attention to detail. Take the time to ensure that each panel is aligned properly and securely attached to the hinges. This will guarantee a visually pleasing installation and smooth operation of the shutters.
Now that you have successfully installed the shutter panels, it’s time to move on to the final step: adjusting and securing the shutters.
Adjusting and Securing the Shutters
After the shutter panels have been installed, it’s important to adjust and secure them properly to ensure their functionality and longevity. Follow these steps to complete the installation:
- Check each shutter panel individually to ensure it is level and aligned with the frame. Make any necessary adjustments by loosening or tightening the hinges.
- Once the shutters are properly aligned, check that they open and close smoothly without any resistance. If you encounter any issues, inspect the hinges and panels to identify the root cause and make the necessary adjustments.
- Secure the shutters in the closed position by installing shutter locks or magnets. This will prevent them from swinging open unexpectedly and provide an added level of security.
- Inspect the entire installation to ensure all screws are securely tightened and there are no loose components. Tighten any loose screws or hardware as needed.
- Give the shutters a final visual inspection and ensure that they are aesthetically pleasing and properly functioning.
By adjusting and securing the shutters, you will optimize their functionality and enhance the overall appearance of your windows. Taking the time to fine-tune the installation will result in a professional finish and provide you with years of enjoyment.
Congratulations! You have successfully installed and adjusted your shutters. Take a moment to step back and admire your work. Your windows now have a touch of elegance and functionality that will enhance the ambiance of your home.
If you have any questions or encounter any issues during the installation process, it’s always a good idea to consult the manufacturer’s instructions or seek the assistance of a professional.
Enjoy your newly installed shutters and the benefits they bring to your home!
Conclusion
Congratulations on successfully completing the installation of your shutters! By following the step-by-step guide provided in this article, you have transformed your windows with a stylish and functional addition to your home.
Installing shutters may have seemed like a daunting task at first, but with the right preparation, tools, and guidance, it can be an enjoyable and rewarding project. The process of measuring, assembling, mounting, and adjusting the shutters requires attention to detail and precision, but the end result is well worth the effort.
Not only do shutters enhance the aesthetics of your windows, but they also provide privacy, light control, and insulation. They are a versatile and long-lasting solution that adds value to your home. Whether you choose to install shutters for decorative purposes or practical benefits, they are sure to make a positive impact on your living space.
Remember, proper measurement, preparation, and installation are key to a successful outcome. Take the time to gather the right materials and tools, measure your window openings accurately, and carefully follow the manufacturer’s instructions. With patience and attention to detail, you can achieve a professional-looking installation.
If you encounter any challenges along the way, don’t hesitate to consult the manufacturer’s instructions, seek the advice of professionals, or reach out to online communities for support. Installing shutters should be an enjoyable and fulfilling experience, and with a little guidance, you can achieve outstanding results.
Once again, congratulations on completing the installation of your shutters. Sit back, relax, and enjoy the enhanced beauty and functionality they bring to your home. Your windows have undergone a remarkable transformation and are now a stunning focal point of your living space.
Thank you for reading this comprehensive guide on how to install shutters. We hope it has provided you with valuable insights and empowered you to embark on your shutter installation journey. Best of luck, and may your windows radiate with elegance and charm!
Frequently Asked Questions about How To Install Shutters
Was this page helpful?
At Storables.com, we guarantee accurate and reliable information. Our content, validated by Expert Board Contributors, is crafted following stringent Editorial Policies. We're committed to providing you with well-researched, expert-backed insights for all your informational needs.


0 thoughts on “How To Install Shutters”