Articles
How To Paint A Refrigerator
Modified: February 19, 2024
Discover expert articles on how to paint a refrigerator and give it a fresh, vibrant look. Step-by-step guides and tips to achieve stunning results.
(Many of the links in this article redirect to a specific reviewed product. Your purchase of these products through affiliate links helps to generate commission for Storables.com, at no extra cost. Learn more)
Introduction
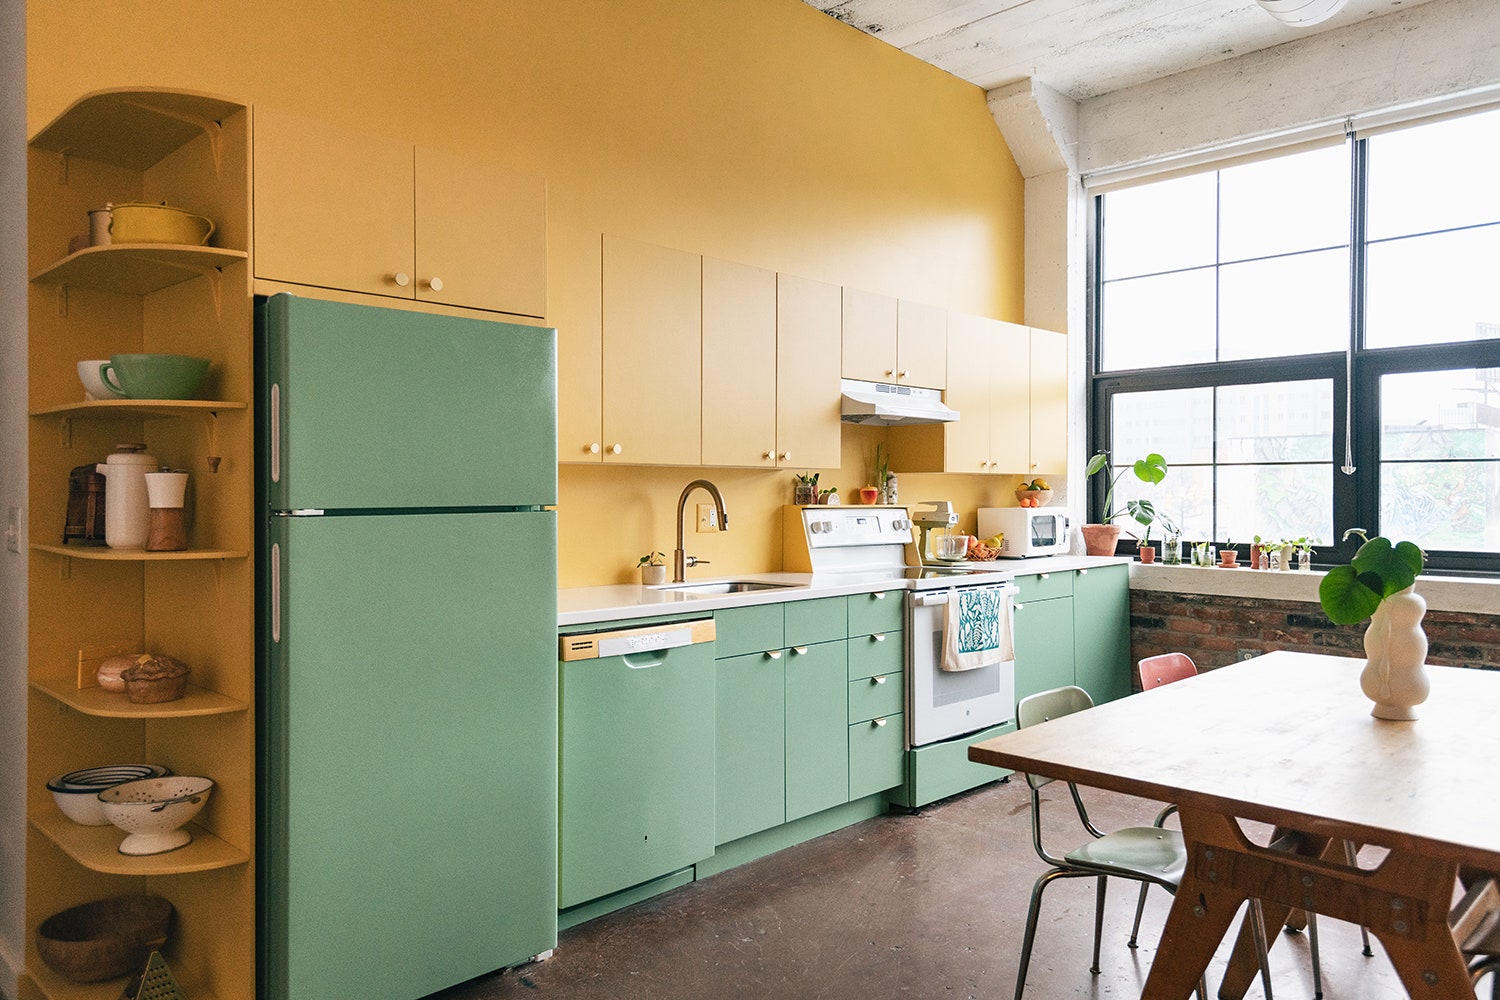
Welcome to this comprehensive guide on how to paint a refrigerator. If you’re looking for a cost-effective way to give your kitchen a fresh new look, painting your refrigerator can be a fun and rewarding project. Not only can it transform the appearance of your kitchen, but it also allows you to customize your refrigerator to match your unique style and décor.
Whether you have an old refrigerator that needs a facelift or you simply want to add a pop of color to your kitchen, this step-by-step guide will walk you through the process of painting your refrigerator to perfection. With the right supplies and techniques, you can achieve professional-looking results that will make your refrigerator a standout feature in your kitchen.
Before we dive into the steps of painting your refrigerator, it’s important to note that this project requires some preparation and patience. Taking the time to properly prepare the surface, choose the right paint, and apply the coats correctly will ensure a long-lasting and visually appealing finish.
Now that you’re ready to embark on this exciting journey, let’s gather the necessary supplies to get started!
Key Takeaways:
- Transform your kitchen with a personalized touch by painting your refrigerator. Follow the step-by-step guide to achieve a professional-looking finish and reflect your unique style and creativity.
- Proper preparation, patience, and attention to detail are key to successfully painting a refrigerator. Enjoy the rewarding process and the renewed ambiance it brings to your kitchen.
Read also: 15 Amazing Refrigerator Paint for 2024
Gather the Supplies
Before you begin painting your refrigerator, it’s essential to gather all the necessary supplies. Having everything you need on hand will make the process smoother and more efficient. Here is a list of supplies you’ll need:
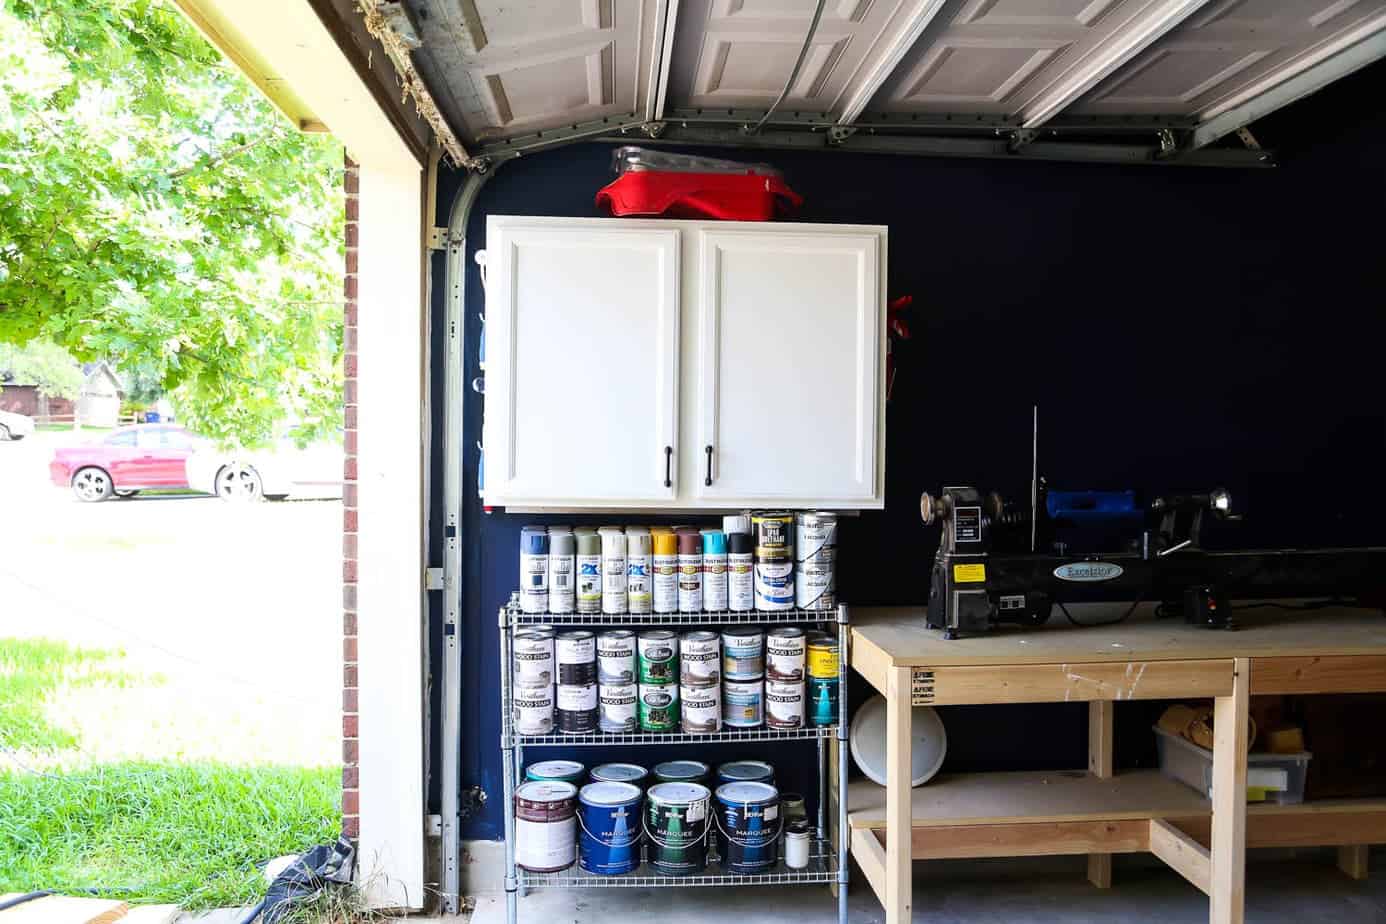
- Paint: Choose a high-quality paint that is specifically formulated for appliances or metal surfaces. Look for paints that offer durability, stain resistance, and are designed to withstand temperature fluctuations.
- Primer: A good quality primer is crucial for ensuring proper adhesion and a smooth finish. Opt for a primer that is compatible with both your paint and the surface of your refrigerator.
- Sandpaper: You’ll need sandpaper to roughen up the surface of the refrigerator and create a better bond for the primer and paint. Choose sandpaper with a medium-grit (around 120 to 220).
- Painter’s Tape: This will be used to mask off any areas of the refrigerator that you don’t want to paint, such as handles, logos, or control panels.
- Dust Mask: Sanding the refrigerator can create dust particles, so it’s important to protect yourself by wearing a dust mask.
- Drop Cloth: To protect your surrounding area from paint splatters, lay down a drop cloth or old sheets to catch any drips or spills.
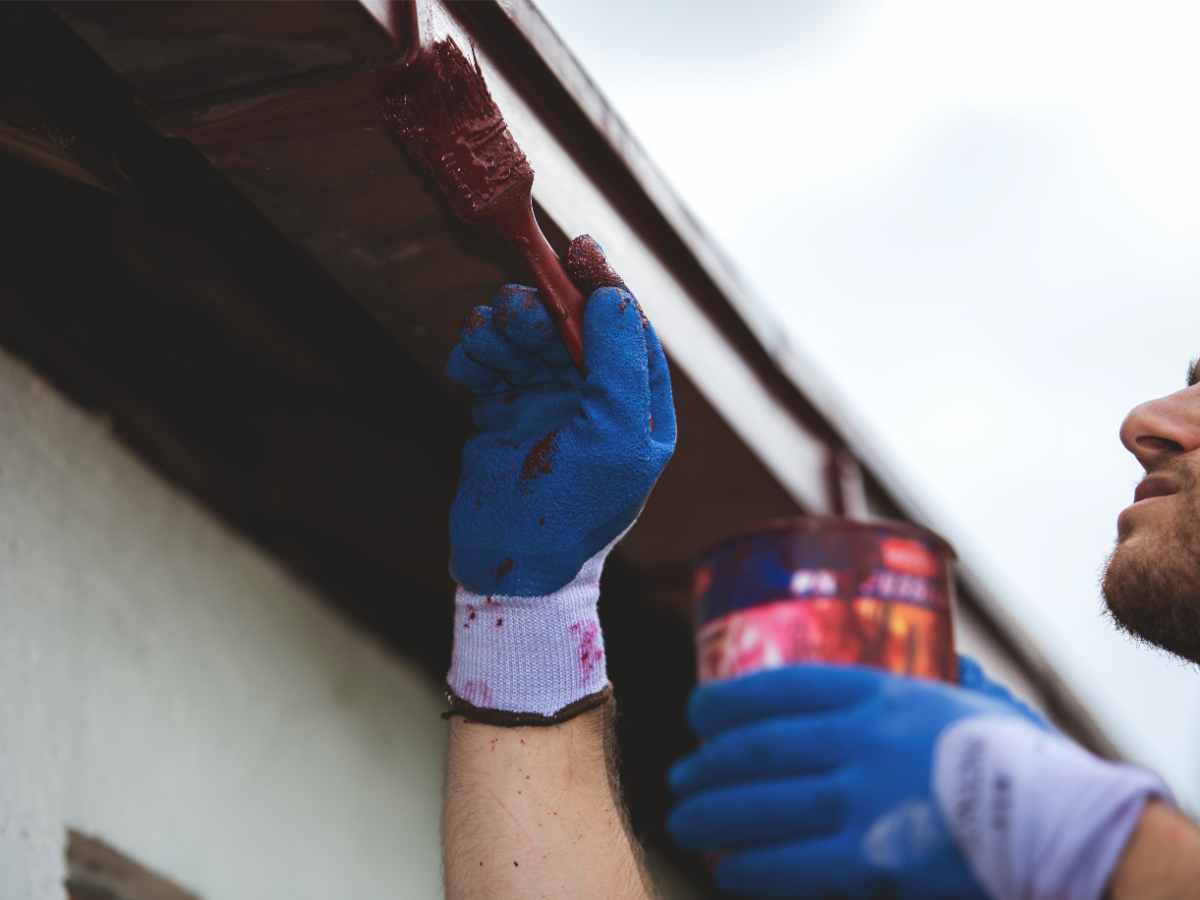
- Paintbrushes and Rollers: Depending on the size and intricacy of the refrigerator, you may need a combination of brushes and rollers. Use brushes for smaller areas and rollers for larger surfaces.
- Cleaning Supplies: Ensure you have degreasing agents, mild detergent, and a soft cloth or sponge to thoroughly clean the refrigerator before starting the painting process.
- Clear Coat: Applying a clear coat on top of the paint will provide additional protection and enhance the longevity of the finished surface.
- Optional: If you want to add any decorative elements or designs to your refrigerator, you may also need stencils, acrylic paints, or masking tape for intricate patterns.
Once you have all the necessary supplies, you can proceed to the next step: preparing your refrigerator for the paint job. So, let’s dive into the details of how to prepare the refrigerator surface.
Prepare the Refrigerator
Before you can start painting your refrigerator, it’s crucial to properly prepare the surface to ensure optimal adhesion and a smooth, professional-looking finish. Follow these steps to prepare your refrigerator:
- Empty the Refrigerator: Remove all items from the refrigerator and freezer compartments. This will make it easier to maneuver and access all areas of the appliance.
- Unplug the Refrigerator: Ensure the refrigerator is completely unplugged from the power source to avoid any accidents or mishaps during the painting process.
- Remove Shelves and Drawers: Take out all removable shelves, drawers, and any other detachable parts from the refrigerator. Set them aside in a safe place, as you’ll need them later for reassembly.
- Clean the Surface: Thoroughly clean the refrigerator using a mild detergent and warm water. Remove any dirt, grime, or grease buildup. Pay special attention to areas around handles and seams.
- Remove Existing Paint or Finish: If your refrigerator has an existing paint or finish on it, you may need to remove it before applying the new coat. Use sandpaper or a paint stripper to strip off the old paint, following the manufacturer’s instructions.
- Sand the Surface: Lightly sand the entire surface of the refrigerator using medium-grit sandpaper. This step helps to create a rough texture for better adhesion of the primer and paint. Be sure to sand corners, edges, and any intricate areas as well.
- Wipe Clean: After sanding, wipe down the entire refrigerator with a damp cloth or sponge to remove any dust or residue. Allow the surface to air dry completely.
- Mask Off Areas: Use painter’s tape and paper or plastic sheets to mask off any areas you don’t want to paint, such as handles, logos, or control panels. Ensure the tape is firmly adhered to create clean, crisp lines.
Once you have completed these preparation steps, you’re now ready to apply the primer to the refrigerator. The primer will create a smooth base for the paint and help the new color adhere properly. Let’s move on to the next step: priming the surface of the refrigerator.
Prime the Surface
Now that you have prepared the refrigerator surface, it’s time to apply the primer. Primer is crucial for achieving a smooth and even finish, as it helps the paint adhere to the surface and promotes better coverage. Follow these steps to prime the surface of your refrigerator:
- Read the instructions: Before you begin, read the instructions on the primer can thoroughly. Different primers may have specific application techniques, drying times, and recommended number of coats.
- Choose the right primer: Select a primer that is specifically formulated for use on metal or appliances. Ensure compatibility with the type of paint you plan to use.
- Stir the primer: Give the primer a good stir to ensure it is well mixed and ready for application.
- Apply the primer: Use a brush or roller to apply the primer to the refrigerator surface. Start with the larger, flat areas and work your way to the corners and edges. Apply the primer in thin, even coats, following the manufacturer’s recommended drying time between each coat.
- Smooth out any drips or bubbles: Check for any drips or bubbles as you apply the primer. Smooth them out using your brush or roller to ensure a seamless finish.
- Allow the primer to dry: Once you have applied the recommended number of primer coats, allow the primer to dry completely. This usually takes anywhere from a few hours to overnight, depending on the product’s instructions and environmental conditions.
- Sand the primed surface: After the primer has dried, gently sand the primed surface with a fine-grit sandpaper. This step helps to smooth out any imperfections and create a better foundation for the paint.
- Wipe off the dust: Clean off any dust or residue from sanding using a soft cloth or sponge. Ensure the surface is clean and smooth before moving on to the next step.
Now that you have successfully primed the surface of your refrigerator, the next step is to choose the right paint for your project. The type of paint you select will greatly impact the overall look and durability of the finished result. Let’s explore the different factors to consider when choosing the paint for your refrigerator.
Choose the Right Paint
When it comes to painting a refrigerator, selecting the right paint is essential for achieving a durable and professional-looking finish. Here are some factors to consider when choosing the paint for your project:
- Appliance Paint: Look for paints that are specifically designed for appliances or metal surfaces. These paints are formulated to withstand temperature fluctuations, resist stains, and adhere well to the surface of the refrigerator.
- Color and Finish: Consider the color and finish you desire for your refrigerator. Opt for a color that complements your kitchen decor and personal style. Popular choices include classic black, white, stainless steel, or bold and vibrant colors for a statement piece. You can also choose between glossy, matte, or metallic finishes, depending on the look you want to achieve.
- Durability and Stain Resistance: Ensure that the paint you choose offers durability and stain resistance. Refrigerators are prone to scratches, spills, and general wear and tear, so choosing a paint that can withstand daily use is crucial for a long-lasting finish.
- Spray Paint or Brush-On: Decide whether you want to use spray paint or brush-on paint for your refrigerator project. Spray paint can provide a smooth and even finish, but it requires careful application and more ventilation. Brush-on paint allows for better control over the application and is suitable for smaller areas or intricate details.
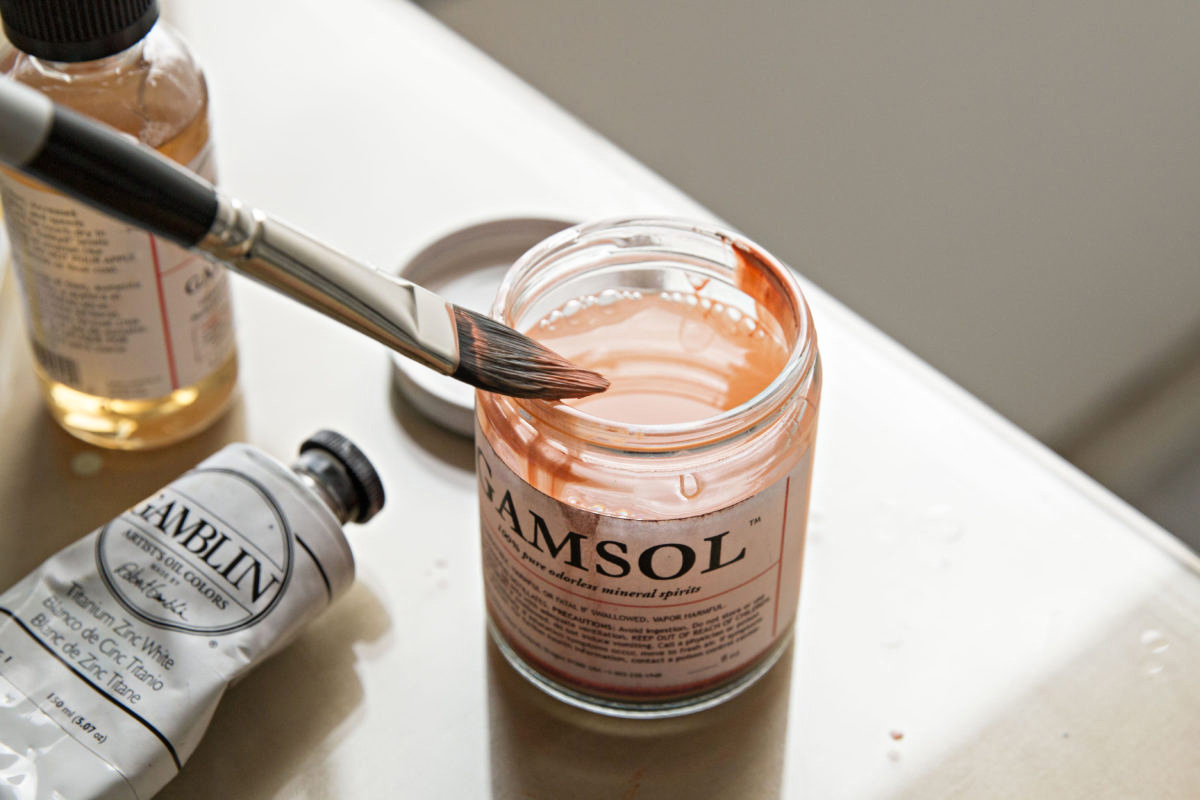
- Water-Based or Oil-Based: Consider the type of paint base you prefer. Water-based paints are easier to clean up, dry faster, and have less odor. Oil-based paints, on the other hand, offer better durability and a smoother finish.
- Read the Product Label: Before purchasing the paint, carefully read the product label for instructions, drying time, and recommended application techniques. Some paints may require a specific primer or additional coats for optimal results.
Once you have chosen the right paint for your refrigerator, follow the manufacturer’s instructions for application and drying times. Now, let’s move on to the next step: applying the base coat to your refrigerator.
Read more: How To Paint Grass With Oil Paint
Apply the Base Coat
Now that you have chosen the right paint for your refrigerator, it’s time to start applying the base coat. The base coat will provide the foundation for the color and finish of your refrigerator. Follow these steps to apply the base coat:
- Prepare the paint: Stir the paint thoroughly to ensure it is well-mixed and ready for application. If using a brush-on paint, pour a small amount into a paint tray or container.
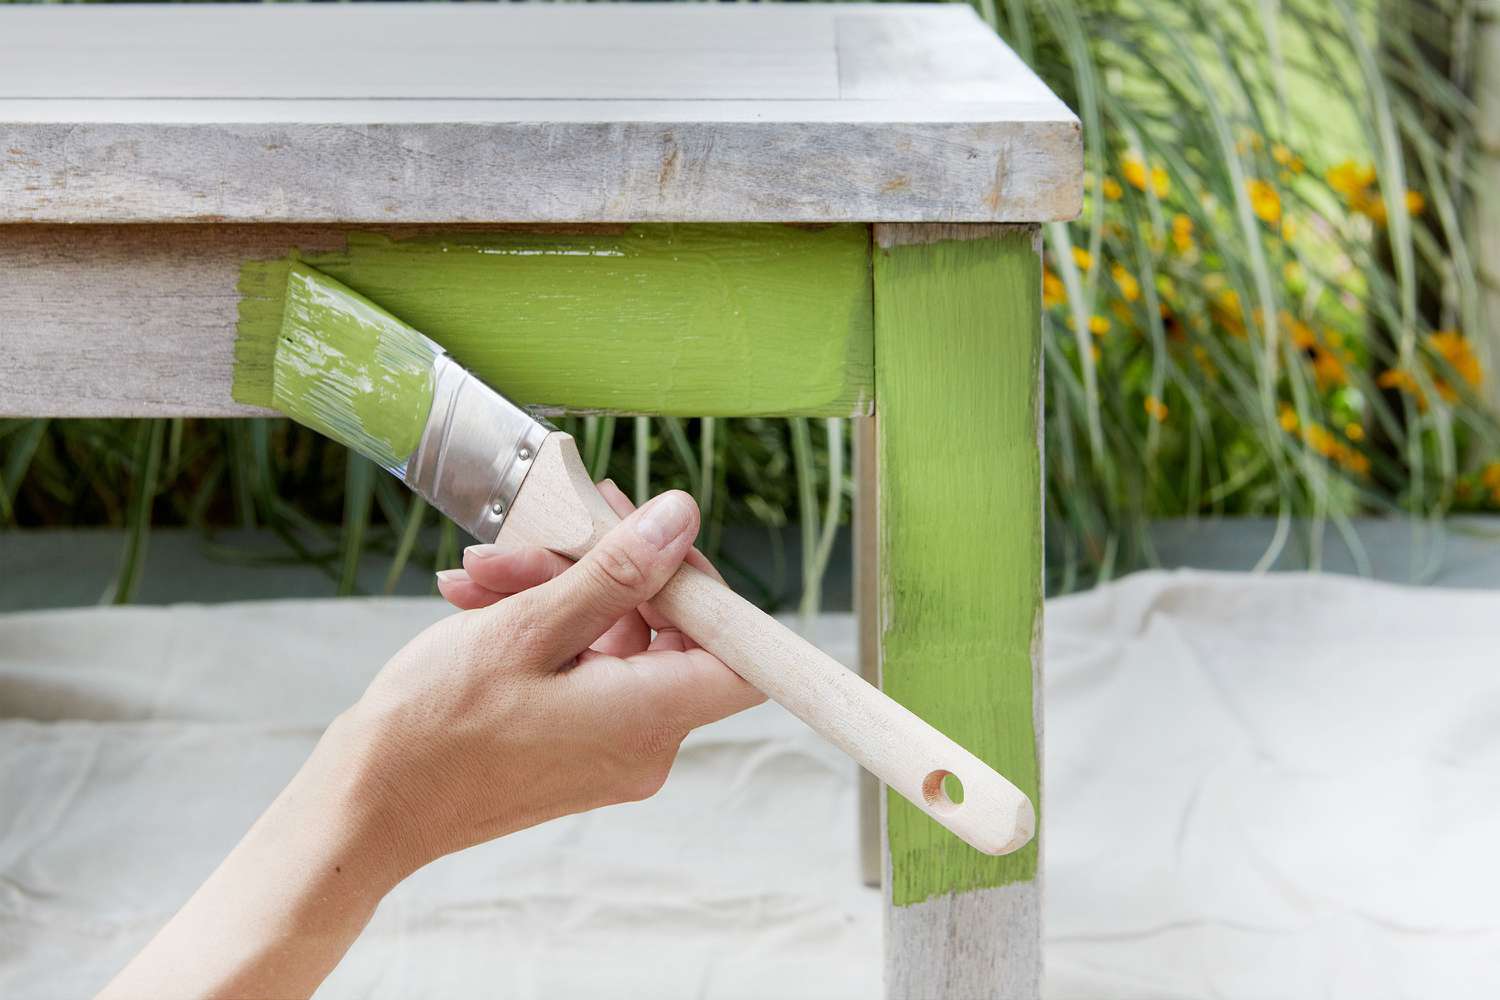
- Start with the larger areas: Begin by painting the larger, flatter areas of the refrigerator. Use a paint roller or a brush for a smooth and even application. Apply the paint in thin, even coats, working in long, overlapping strokes for uniform coverage.
- Paint the corners and edges: After painting the larger areas, use a smaller brush or a foam brush to reach the corners, edges, and any other hard-to-reach areas. Take your time to ensure that these areas are adequately covered.
- Smooth out the brush strokes: If using a brush-on paint, lightly run a foam brush over the painted surface to smooth out any visible brush strokes or lines. This step will help create a seamless and professional finish.
- Allow the paint to dry: Follow the manufacturer’s instructions for drying times between each coat. Typically, you will need to wait for the base coat to dry completely before applying additional coats.
- Apply additional coats if necessary: Depending on the color and coverage you desire, you may need to apply multiple coats of the base paint. Ensure each coat is dry before applying the next one. Apply thin, even coats for a flawless finish.
- Take breaks between coats: If you’re working with multiple coats, take short breaks between each coat to allow yourself and the paint to rest. This will help reduce fatigue and ensure better application.
As you apply the base coat, make sure to maintain a clean and dust-free environment to prevent particles from settling onto the wet paint. Once you are satisfied with the coverage and finish of the base coat, it’s time to move on to the next step: adding additional coats to enhance the color and durability of your refrigerator’s new paint job.
Before painting a refrigerator, make sure to thoroughly clean and degrease the surface to ensure the paint adheres properly. Sanding the surface lightly can also help the paint to stick better.
Add Additional Coats
Now that you have applied the base coat to your refrigerator, it’s time to add additional coats to enhance the color, coverage, and durability of the paint. Follow these steps to apply additional coats:
- Assess the coverage: Take a close look at the refrigerator surface after the base coat has dried. Check if there are any areas that require additional coverage or touch-ups. If needed, lightly sand those areas with fine-grit sandpaper to ensure a smooth surface.
- Prepare the additional coats: Stir the paint for the additional coats thoroughly to ensure it is well-mixed. If using a brush-on paint, pour a small amount into a paint tray or container.
- Apply thin, even coats: Using a brush or roller, apply thin and even coats of paint. Work in the same manner as the base coat, starting with larger areas and then moving onto corners and edges. Pay attention to any drips or heavy spots, and smooth them out immediately.
- Allow the paint to dry: Follow the manufacturer’s instructions on the drying time between each coat. It’s essential to let each coat dry completely before applying the next one. This ensures a consistent and smooth finish.
- Repeat the process: Depending on the desired color intensity and coverage, you may need to apply two or more additional coats of paint. Remember to sand lightly between coats if necessary, and always allow each coat to dry before proceeding.
- Check for imperfections: After applying all the additional coats, carefully inspect the refrigerator for any imperfections. If you notice any rough areas or uneven coverage, lightly sand those spots and touch them up with a small brush.
- Allow the final coat to dry: Once you’re satisfied with the color and coverage, allow the final coat of paint to dry completely. This may take a few hours or overnight, depending on the paint and environmental conditions.
By adding additional coats of paint, you are ensuring a more vibrant and durable finish for your refrigerator. Take your time with each coat, allowing for adequate drying time in between. Now, let’s move on to the next step: painting the details of your refrigerator.
Paint the Details
Now that you have applied the base coat and additional coats to your refrigerator, it’s time to focus on painting the details. This step allows you to add a personal touch and enhance the overall aesthetic of your refrigerator. Follow these steps to paint the details:
- Remove any masking: Carefully remove the painter’s tape and any masking materials that were used to protect certain areas of the refrigerator.
- Assess the details: Take a moment to evaluate the areas that you want to emphasize or add decorative elements to. This can include handles, logos, control panels, or any other details you wish to highlight.
- Choose the right paint and tools: Select a paint that is suitable for the specific details you are looking to paint. For small areas, using a small brush or even a toothpick can provide better control and precision.
- Apply the paint: Dip your brush into the paint and carefully apply it onto the desired details. Take your time and work slowly, ensuring clean lines and even coverage.
- Allow the paint to dry: Give the painted details enough time to dry completely before proceeding. This will prevent smudging or accidental smearing.
- Assess the results: After the paint has dried, step back and assess the overall appearance. Make any necessary touch-ups or adjustments to ensure a seamless and polished look.
When painting the details, remember to take your time and remain patient. Precision and attention to detail are key in achieving a professional and visually appealing result. Now that you have painted the details, it’s crucial to allow the paint to fully dry before moving on to the next step: allowing the paint to dry completely.
Allow the Paint to Dry
After completing the painting process, it’s important to allow the paint on your refrigerator to fully dry before proceeding with any further steps or reassembling the appliance. Proper drying ensures a durable and long-lasting finish. Follow these guidelines to allow the paint to dry effectively:
- Refer to the manufacturer’s instructions: Different paints may have varying drying times. Consult the label or instructions provided by the paint manufacturer for specific guidelines on drying time.
- Create a well-ventilated area: Proper air circulation is crucial for efficient drying. Open windows or use fans to aid in the ventilation process. This helps to remove any fumes and accelerates the drying time.
- Avoid touching or moving the refrigerator: To prevent any accidental damage to the freshly painted surface, make sure to avoid touching or moving the refrigerator while it is drying. This also reduces the risk of smudges or fingerprints on the paint.
- Allow ample drying time: While some paints may dry within a few hours, it’s generally recommended to wait at least 24-48 hours before moving on to the next step. This allows the paint to fully cure, ensuring a strong and durable finish.
- Check the paint’s appearance: Before proceeding, inspect the painted surface to ensure it is completely dry. Look for any areas that still appear wet or tacky. If any such spots are found, give them additional time to dry before continuing.
- Be patient: It’s important to be patient during the drying process. Rushing or handling the refrigerator too soon can compromise the finish and result in smudges or imperfections. Take this opportunity to plan the next steps or clean up the work area.
Once you are confident that the paint has dried completely, you can move forward with applying a clear coat to protect and enhance the finish. However, be sure to follow the recommended drying time provided by the paint manufacturer to achieve the best results. Now, let’s explore the next step: applying a clear coat to your newly painted refrigerator.
Read more: How To Paint A Dresser With Chalk Paint
Apply a Clear Coat
To provide extra protection and enhance the longevity of your freshly painted refrigerator, it’s recommended to apply a clear coat. This clear coat acts as a protective barrier, guarding the paint against daily wear and tear. Follow these steps to apply a clear coat:
- Choose the appropriate clear coat: Select a clear coat that is compatible with the type of paint you used on your refrigerator. Look for a clear coat specifically designed for metal surfaces or appliances.
- Read the manufacturer’s instructions: Carefully read the instructions provided by the clear coat manufacturer. This will give you specific guidance on application techniques, drying times, and any additional steps or precautions required.
- Prepare the clear coat: Stir the clear coat thoroughly to ensure it is well-mixed and ready for application. Some clear coats may require thinning before use, so follow the manufacturer’s guidance if needed.
- Apply the clear coat: Using a clean brush or roller, apply a thin and even layer of clear coat to the entire painted surface of the refrigerator. Work in long, smooth strokes, making sure to cover all areas evenly.
- Smooth out any imperfections: As you apply the clear coat, be on the lookout for any drips, bubbles, or streaks. If you notice any imperfections, use a brush or roller to smooth them out immediately to achieve a flawless finish.
- Allow the clear coat to dry: Follow the manufacturer’s instructions for the drying time of the clear coat. Typically, this may take several hours or even overnight. Ensure that the refrigerator is kept in a well-ventilated area during this time.
- Inspect the results: Once the clear coat is fully dry, carefully inspect the refrigerator for any unnoticed imperfections or areas that may require additional touch-ups. If necessary, make any necessary corrections using a small brush.
The clear coat serves as a protective layer for your painted refrigerator, guarding against scratches, stains, and general wear and tear. By applying a clear coat, you are ensuring the longevity of your refrigerator’s newly painted surface. Now that the clear coat has dried, we can move on to the final step: reassembling the refrigerator.
Reassemble the Refrigerator
Now that you have completed the painting process and allowed the clear coat to dry fully, it’s time to reassemble your refrigerator. Follow these steps to ensure a smooth and successful reassembly:
- Retrieve the shelves and drawers: Gather all the shelves, drawers, and any other removable parts that were taken out during the painting process.
- Clean the shelves and drawers: Before placing them back in the refrigerator, give the shelves and drawers a thorough cleaning. Use a mild detergent and warm water to remove any dust or residue that may have accumulated.
- Ensure the refrigerator is clean and dry: Double-check that the interior of the refrigerator is clean and dry. Wipe down any surfaces if necessary.
- Place the shelves and drawers back in their respective positions: Carefully place each shelf and drawer back in its original location within the refrigerator. Make sure they fit securely and are properly aligned.
- Reattach any handles or accessories: If you removed any handles, logos, or accessories during the painting process, reattach them to the refrigerator. Ensure they are firmly secured.
- Plug in the refrigerator: Once everything is reassembled, plug the refrigerator back into the power source and ensure it is functioning properly.
- Final inspection: Take a final look at the refrigerator to ensure that everything is in its place and the paint job is intact. Check for any touch-ups or adjustments that may be needed.
Congratulations, you have successfully painted and reassembled your refrigerator! Take a step back and appreciate the transformation you have achieved. Your kitchen now has a refreshed and customized focal point that reflects your personal style. Enjoy your newly painted refrigerator and the renewed ambiance it brings to your kitchen!
Remember, proper maintenance and regular cleaning will help keep your painted refrigerator looking its best. Refer to the manufacturer’s instructions for cleaning and care guidelines specific to your painted surface. With proper care, your painted refrigerator will continue to enhance your kitchen for years to come.
Thank you for following this comprehensive guide on how to paint a refrigerator. We hope you found it helpful and that you enjoy the results of your project. Happy painting!
Conclusion
Congratulations on successfully completing the journey of painting your refrigerator! By following this comprehensive guide, you have transformed your appliance into a personalized and eye-catching element in your kitchen. Not only does your painted refrigerator add a fresh and unique touch to your space, but it also reflects your own personal style and creativity.
Throughout the process, you learned the importance of gathering the necessary supplies, properly preparing the refrigerator surface, selecting the right paint, applying the base coat and additional coats, painting the details, allowing the paint to dry, applying a clear coat, and reassembling the refrigerator. These steps were crucial in achieving a professional-looking and long-lasting result.
Remember, painting a refrigerator requires patience, attention to detail, and careful execution. Taking the time to properly clean, prep, and apply the paint will ensure a finish that not only looks great but also withstands the daily demands of a kitchen appliance.
As you admire your freshly painted refrigerator, take a moment to appreciate the effort and creativity you put into this project. Enjoy the renewed ambiance that your painted appliance brings to your kitchen and the satisfaction of a job well done.
Lastly, don’t forget to maintain your painted refrigerator by following the manufacturer’s recommended cleaning and care instructions. This will help preserve the finish and ensure its longevity.
Thank you for embarking on this painting adventure with us. We hope this guide has been informative and helpful, providing you with the knowledge and confidence to tackle more DIY projects in the future. Happy decorating!
Frequently Asked Questions about How To Paint A Refrigerator
Was this page helpful?
At Storables.com, we guarantee accurate and reliable information. Our content, validated by Expert Board Contributors, is crafted following stringent Editorial Policies. We're committed to providing you with well-researched, expert-backed insights for all your informational needs.


0 thoughts on “How To Paint A Refrigerator”