Articles
How To Install Filon Siding On RV
Modified: August 28, 2024
Learn how to install Filon siding on your RV with this step-by-step guide. Find helpful articles and tips to make the process easier and achieve a professional finish.
(Many of the links in this article redirect to a specific reviewed product. Your purchase of these products through affiliate links helps to generate commission for Storables.com, at no extra cost. Learn more)
Introduction
Welcome to the world of RV renovation! If you’re looking to give your RV a fresh new look, installing Filon siding can be a great option. Filon siding is a durable and lightweight material that not only adds style to your RV but also provides an added layer of protection. Whether you’re a seasoned DIY-er or a beginner, this article will guide you step-by-step on how to install Filon siding on your RV.
Before we dive into the installation process, let’s first go over the materials and tools you’ll need to complete this project.
Key Takeaways:
- Transform your RV with Filon siding, a durable and lightweight material that adds style and protection. Follow the step-by-step guide for a seamless installation and enjoy a fresh new look for your vehicle.
- Attention to detail is key! From preparation to sealing, each step contributes to a professional finish. Embrace the DIY project and hit the road with confidence in your personalized and enhanced RV.
Read more: How To Install An Awning On An RV
Materials and Tools Needed
Before you begin the installation process, it’s important to gather all the necessary materials and tools. This will ensure a smooth and efficient installation. Here’s a list of what you’ll need:
Materials:
- Filon siding panels
- Siding adhesive
- Measuring tape
- Utility knife
- Jigsaw
- Drill
- Screws
- Silicone caulk
- Painter’s tape
- Safety glasses
- Gloves
Tools:
- Step ladder
- Hammer
- Screwdriver
- Pry bar
- Chalk line
- Paintbrush
Make sure you have all these materials and tools on hand before you begin the installation process. This will save you time and prevent any unnecessary interruptions during the project.
Now that you have everything you need, let’s move on to preparing your RV for the Filon siding installation.
Preparing the RV
Before you can start installing the Filon siding on your RV, it’s important to properly prepare the surface. This will ensure that the siding adheres correctly and stays securely in place. Here are the steps to follow:
Read more: How To Install Brick Siding
Step 1: Clean the Surface
Begin by thoroughly cleaning the exterior of your RV. Remove any dirt, grime, or old paint using a mild detergent and water. You may need to use a brush or sponge to scrub away stubborn stains or debris. Rinse the surface and allow it to dry completely before moving on to the next step.
Step 2: Remove Old Siding
If your RV has old siding that needs to be replaced, now is the time to remove it. Carefully use a pry bar or screwdriver to remove any screws or fasteners holding the old siding in place. Take caution not to damage the underlying structure or any wiring that may be present. Dispose of the old siding properly.
Step 3: Repair Any Damaged Areas
Inspect the exterior of your RV for any damaged or rotten areas. If you encounter any, use wood filler or epoxy to repair and reinforce those spots. Make sure the repaired areas are smooth and level before proceeding.
Step 4: Check for Leaks
Before proceeding with the installation, it’s important to check for any leaks in your RV. Inspect the seams, corners, and windows for any signs of water intrusion. If you find any leaks, seal them using silicone caulk or an appropriate RV sealant. Allow the sealant to dry completely before moving forward.
Read more: How To Install Siding On House
Step 5: Protect Windows, Trim, and Other Areas
Use painter’s tape to cover windows, trim, and any other areas that you want to protect from adhesive or potential damage during the installation process. This will ensure a clean and professional-looking finish.
By following these steps, you’ll have a well-prepared surface ready for the installation of Filon siding on your RV. Now, grab your measuring tape and let’s move on to the next step: measuring and cutting the siding panels.
Measuring and Cutting Filon Siding Panels
Accurate measurements are crucial when it comes to installing Filon siding on your RV. Taking the time to measure and cut the siding panels properly will ensure a seamless and professional-looking installation. Here’s a step-by-step guide on how to do it:
Step 1: Measure the Walls
Start by measuring the walls of your RV where you’ll be installing the Filon siding. Use a measuring tape to determine the length and height of each section. Take precise measurements, making sure to account for any corners, windows, or doors that may require special cuts or adjustments.
Step 2: Transfer Measurements to the Siding
Once you have the measurements, transfer them onto the Filon siding panels. Use a pencil or marker to mark the dimensions directly on the panels. Make sure to double-check your measurements to avoid any unnecessary waste or errors.
Read more: How To Install Siding Panels
Step 3: Cut the Siding
With your measurements marked on the panels, it’s time to cut the siding. Start by securing the panel to a stable surface, such as a workbench or sawhorses. Use a jigsaw or utility knife to carefully cut along the marked lines. Apply steady and even pressure to achieve clean and precise cuts. Take your time and use proper safety precautions while cutting the panels.
Step 4: Repeat for Additional Panels
If your RV requires multiple siding panels, repeat the measuring and cutting process for each section. Remember to label each panel accordingly to ensure they’re installed in the correct order.
By following these steps, you’ll have accurately measured and cut Filon siding panels that are ready to be installed on your RV. In the next section, we’ll cover the process of applying adhesive to the siding.
Applying Adhesive to the Siding
Before installing the Filon siding on your RV, it’s important to apply adhesive to ensure a strong and secure bond. The adhesive acts as a bonding agent, keeping the siding firmly in place. Here’s a step-by-step guide on how to apply adhesive to the siding:
Step 1: Prepare the Adhesive
Start by preparing the siding adhesive according to the manufacturer’s instructions. Some adhesives may require mixing or dilution, while others come ready-to-use. Make sure to read and follow the instructions carefully to achieve the best results.
Read more: How To Install Composite Siding
Step 2: Apply the Adhesive
Using a paintbrush or a suitable applicator, apply a thin and even layer of adhesive to the backside of the Filon siding panel. Start from one corner and work your way across the entire surface, ensuring full coverage. Be careful not to apply too much adhesive, as it can lead to excess oozing out and create a messy appearance.
Step 3: Spread the Adhesive
Once the adhesive is applied, use a clean paintbrush or a notched trowel to spread and evenly distribute the adhesive on the backside of the siding. This will help improve adhesion and provide better coverage. Work in small sections, making sure to cover the entire area that will come in contact with the RV’s surface.
Step 4: Let the Adhesive Set
After applying the adhesive, allow it to set for the recommended time as stated in the manufacturer’s instructions. This will vary depending on the specific adhesive you’re using. It’s essential to allow the adhesive to fully set to ensure a strong bond.
By following these steps, you’ll have successfully applied adhesive to the Filon siding panels, preparing them for installation. In the next section, we’ll cover the process of installing the Filon siding on your RV.
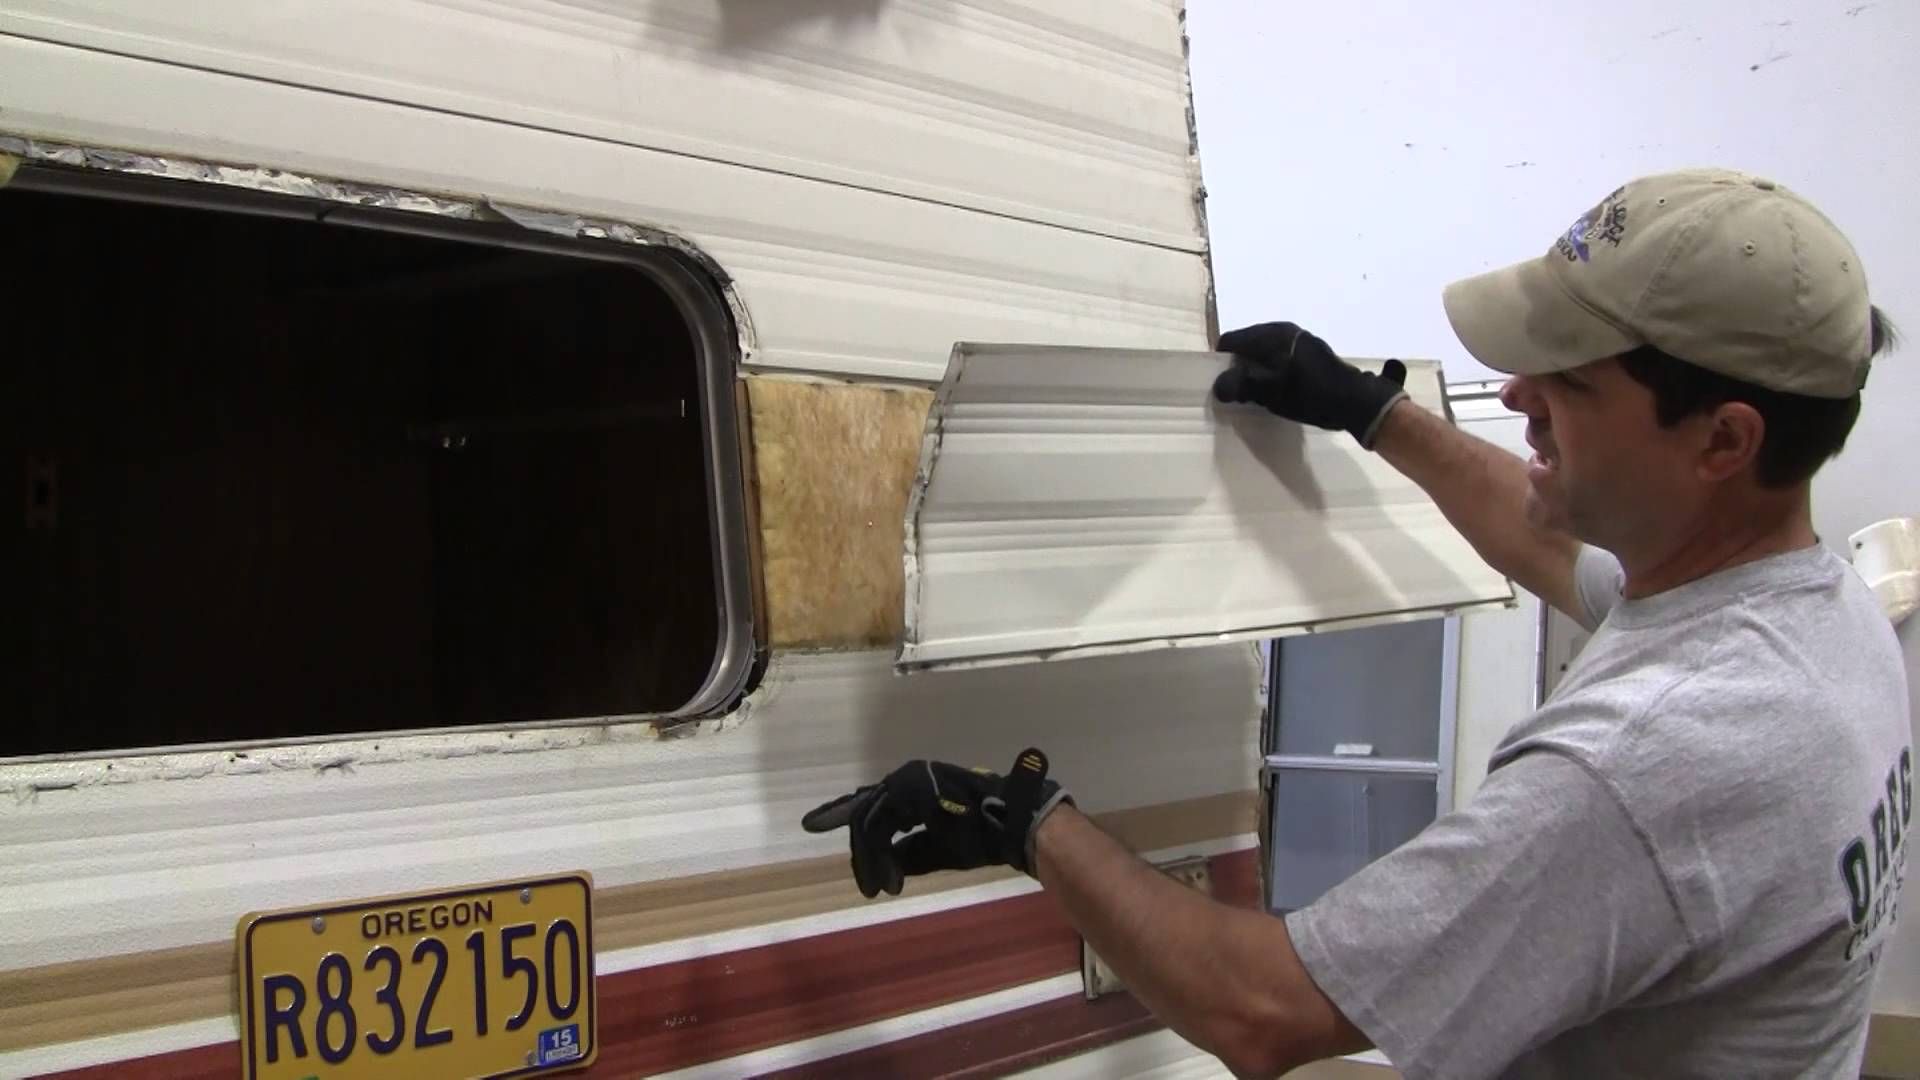
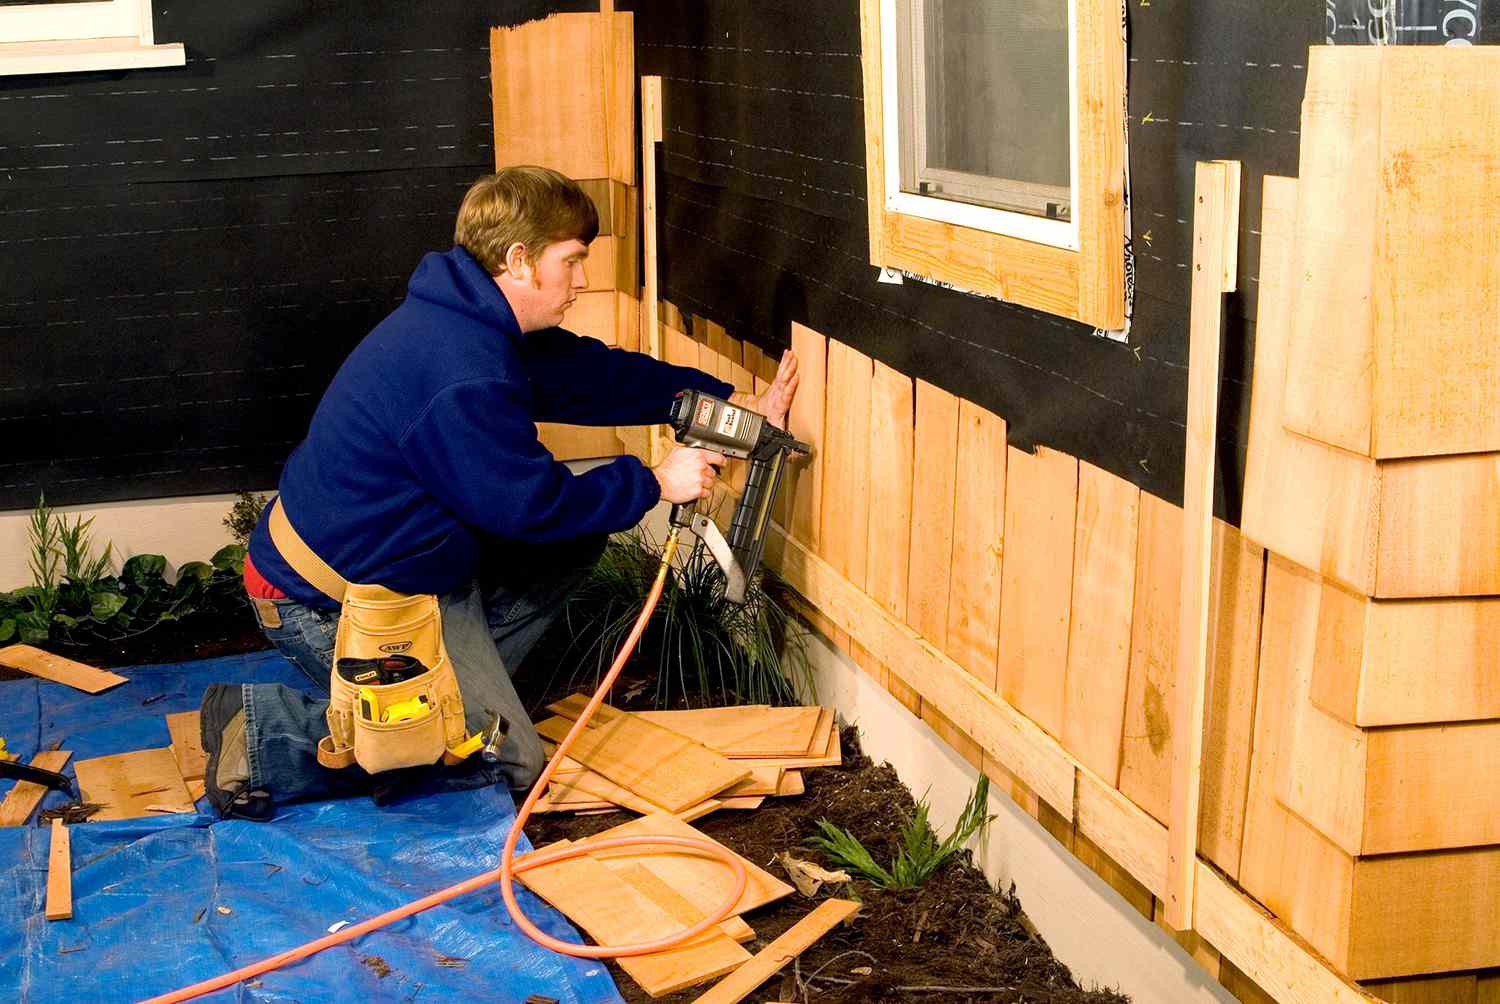
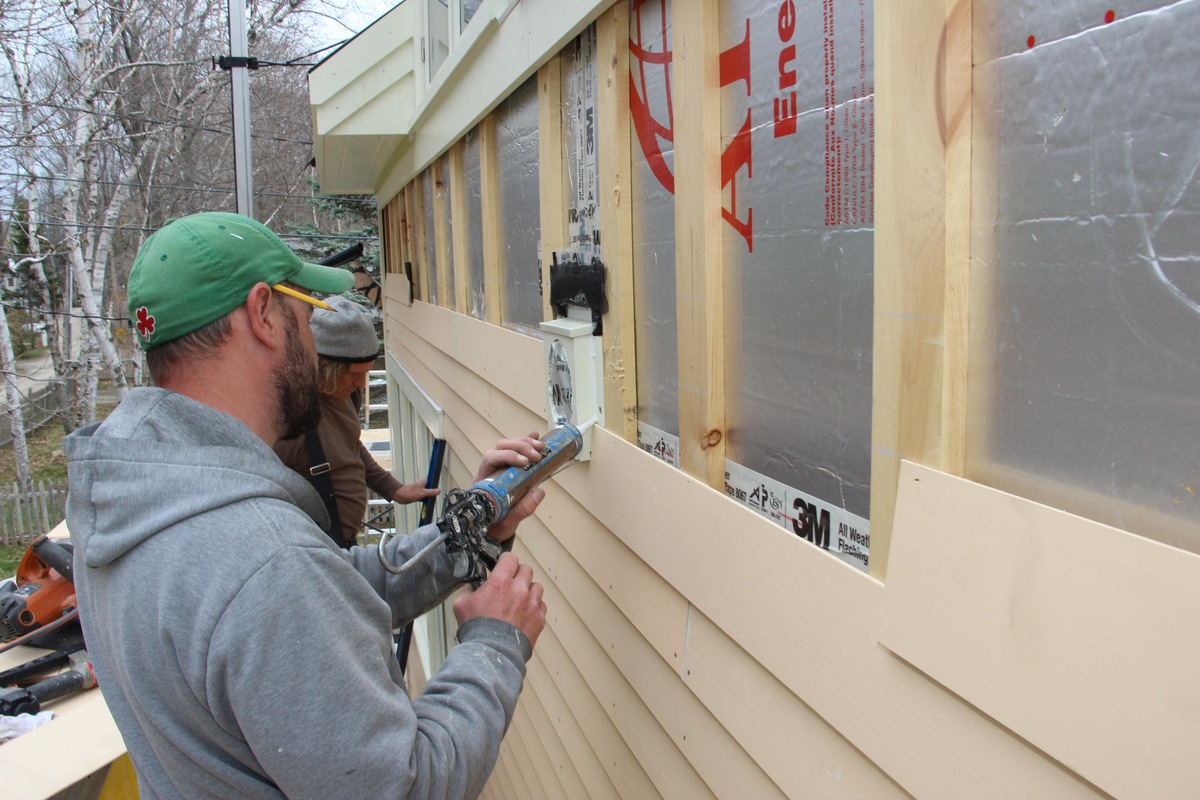
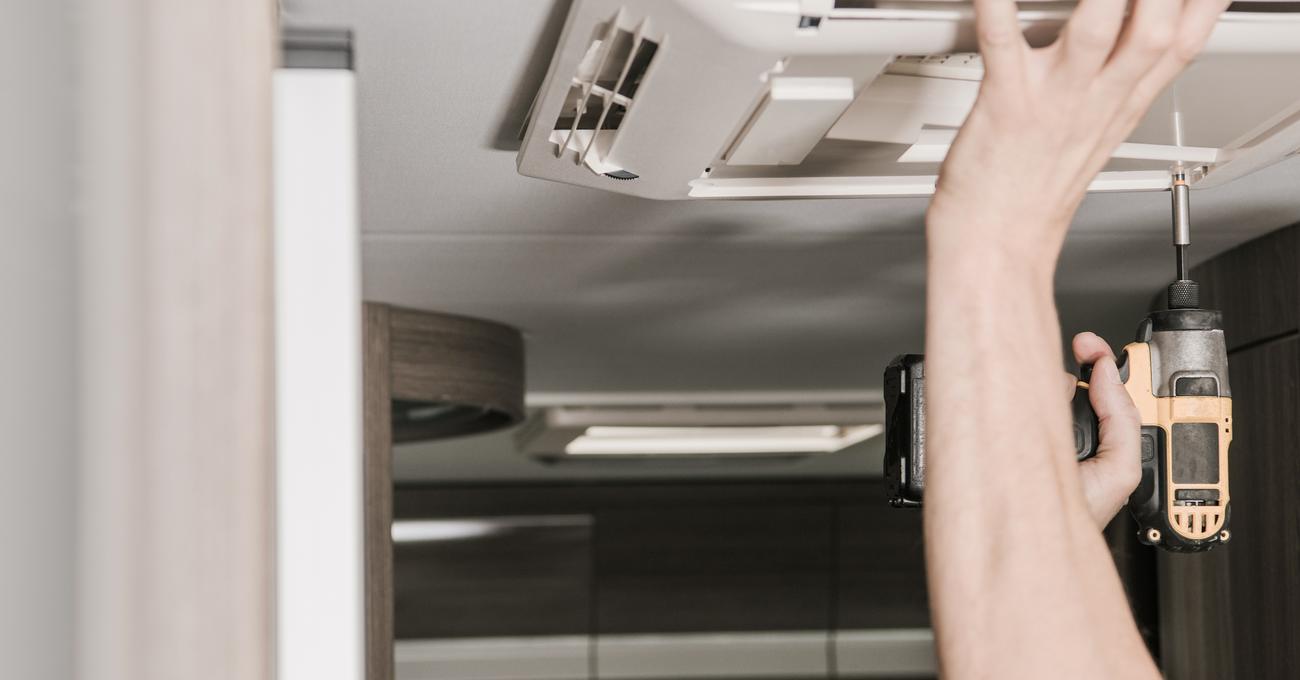
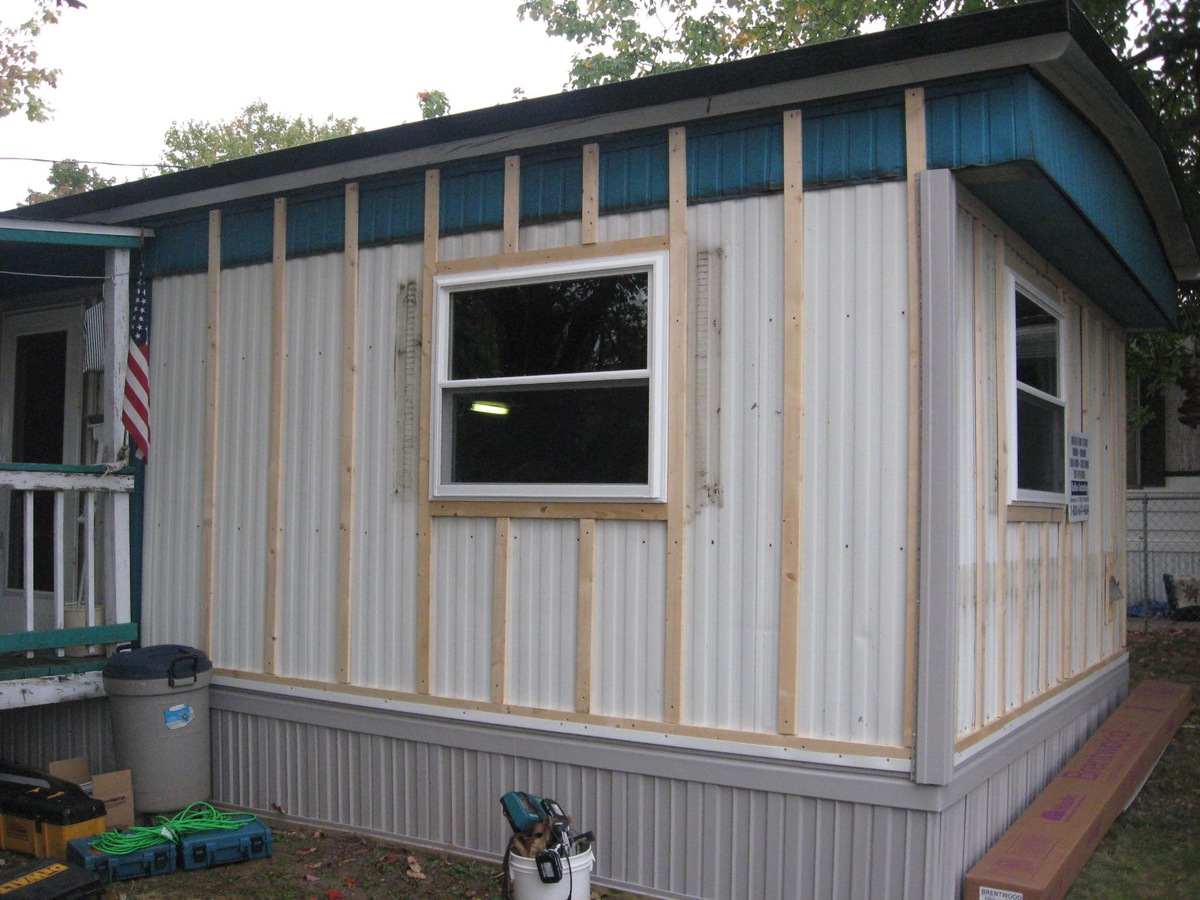
Installing Filon Siding on the RV
Now that your Filon siding panels are prepped with adhesive, it’s time to start installing them on your RV. This is an exciting step where you’ll see your RV transform with each panel that goes up. Here’s a step-by-step guide on how to install Filon siding on your RV:
Read more: How To Install Cement Siding
Step 1: Begin at the Bottom
Start the installation process at the bottom of the RV, working your way up. This helps ensure a proper overlap and prevents water from seeping behind the panels. Using a step ladder, position the first panel at the bottom, aligning it with the edge of the RV.
Step 2: Secure the Panel
Secure the panel in place by using screws, specifically designed for exterior use, along the edges and at regular intervals. Make sure to drive the screws through the siding and into the RV’s structure, ensuring a secure attachment. Be mindful not to overtighten the screws, as it can cause damage to the siding panels.
Step 3: Continue Installing the Panels
Once the first panel is securely attached, continue installing the remaining panels following the same process. Make sure to align each panel with the previous one, ensuring a seamless transition. Use a level to check for accuracy and adjust as needed.
Step 4: Overlap the Panels
As you install each panel, ensure they overlap properly. This helps create a barrier against water and provides a more secure finish. The recommended overlap is usually around 1 to 2 inches, but refer to the manufacturer’s instructions for the specific recommended overlap of your Filon siding.
Read more: How To Install Steel Siding
Step 5: Repeat for Each Side
Continue installing the Filon siding panels on each side of your RV, repeating the process of securing and overlapping the panels. Take your time to ensure each panel is properly aligned and attached securely.
Step 6: Check for Level and Adjust
Throughout the installation process, periodically check for level using a bubble level. Make any necessary adjustments to ensure a straight and even installation. This will help achieve a professional-looking result.
By following these steps, you’ll have successfully installed the Filon siding on your RV. In the next section, we’ll cover the trimming of excess siding to achieve a clean and finished appearance.
Trimming Excess Siding
Once you have installed the Filon siding on your RV, you will likely have some excess siding that needs to be trimmed. Trimming the excess siding will give your RV a clean and finished appearance. Here are the steps to follow:
Step 1: Mark the Cutting Line
Using a pencil or marker, carefully mark the cutting line where you want to trim the excess siding. Take your time to ensure the line is straight and aligned with the contour of your RV.
Read more: How To Install Siding On A Shed
Step 2: Use a Jigsaw or Utility Knife
If you have access to a jigsaw, it will provide the cleanest and most efficient cut. Carefully follow the marked line and use the jigsaw to trim the excess siding. Make sure to maintain a steady and controlled cutting motion to achieve a smooth finish.
If a jigsaw is not available, you can use a utility knife instead. Score the marked line multiple times, applying firm pressure, until you are able to cut through the siding. This method may require more time and effort, but it can still achieve satisfactory results.
Step 3: Check and Adjust
Once you have trimmed the excess siding, step back and assess the appearance. Check if any additional adjustments or refinements are needed. Use a file or sandpaper to smooth out any rough edges or uneven surfaces.
Step 4: Clean the Trimmed Area
After trimming the excess siding, clean the trimmed area to remove any debris or shavings. Use a clean cloth or brush to wipe away any loose particles. This will ensure a clean and tidy finish.
By following these steps, you’ll be able to trim off the excess siding and achieve a neat and professional look for your RV. In the next section, we’ll cover the final steps of sealing and adding finishing touches to complete the installation process.
Sealing and Finishing Touches
Now that the Filon siding is installed and trimmed on your RV, it’s important to seal the edges and add some finishing touches to ensure the longevity and visual appeal of your project. Here’s what you need to do:
Read more: How To Install LP Siding
Step 1: Seal the Edges
Using a silicone caulk or an appropriate RV sealant, carefully seal the edges where the Filon siding meets the RV’s structure. This will provide an extra layer of protection against water intrusion and help prevent any potential damage. Apply the sealant in a continuous and even line, ensuring it completely covers the joint. Smooth out the sealant with a caulking tool or your finger for a professional finish.
Step 2: Inspect and Touch Up
Take a close look at the entire installed siding to check for any gaps or areas that may need touch-ups. If you find any gaps in the sealant or any other imperfections, apply additional sealant or touch-up paint to ensure a seamless appearance.
Step 3: Clean and Polish
Once all the sealing and touch-ups are complete, give the RV a thorough cleaning to remove any dirt or debris that may have accumulated during the installation process. Use a mild detergent and water to scrub the siding gently. Rinse thoroughly and allow it to dry.
If desired, you can also apply a layer of wax or polish to give the Filon siding a smooth and shiny finish. Follow the manufacturer’s instructions for the specific product you are using.
Step 4: Step Back and Admire
With the sealing and finishing touches complete, take a moment to step back and admire your newly installed Filon siding. Appreciate the transformation it has brought to your RV and the improved protection it provides. Your hard work and attention to detail have paid off.
Congratulations! You have successfully installed Filon siding on your RV and completed the sealing and finishing touches. Your RV is now ready to hit the road with a fresh and modern look. Enjoy your renewed RV and the adventures that await!
Read more: How To Install Wood Siding
Conclusion
Congratulations on successfully installing Filon siding on your RV! You’ve taken an important step towards enhancing the appearance and protection of your vehicle. By following the step-by-step guide and using the necessary materials and tools, you’ve transformed your RV into a more stylish and durable space.
Installing Filon siding on your RV not only improves its aesthetic appeal but also adds an extra layer of protection against the elements. The lightweight nature of Filon siding makes it a practical choice for RV owners, providing durability without adding excessive weight.
Throughout the installation process, you measured, cut, and applied adhesive to the siding panels, ensuring each one was securely attached. You carefully installed the panels, overlapping them for improved water resistance. With precise trimming, sealing, and finishing touches, you achieved a professional-looking result.
Remember, proper preparation, measurement, adhesive application, and cutting are essential for a successful installation. Taking the time to accurately measure and mark the panels, as well as using quality materials, will contribute to the long-term effectiveness of the siding.
By maintaining and periodically inspecting your Filon siding, you can ensure it remains in excellent condition for years to come. Regular cleaning, sealing any gaps, and touch-ups as needed will help maintain its appearance and protection effectiveness.
Installing Filon siding on your RV is a rewarding DIY project that allows you to personalize and enhance your vehicle to meet your specific style and functional needs. As you travel and enjoy the many adventures ahead, your updated RV will turn heads and provide a welcoming space for you and your loved ones.
So, get out there and hit the road with confidence, knowing that you’ve completed a project that not only adds value to your RV but also reflects your creativity and attention to detail. Happy travels!
Frequently Asked Questions about How To Install Filon Siding On RV
Was this page helpful?
At Storables.com, we guarantee accurate and reliable information. Our content, validated by Expert Board Contributors, is crafted following stringent Editorial Policies. We're committed to providing you with well-researched, expert-backed insights for all your informational needs.

0 thoughts on “How To Install Filon Siding On RV”