Articles
How To Install T11 Siding
Modified: October 28, 2024
Learn how to install T11 siding with our informative articles. Find step-by-step guides and expert tips to ensure a successful siding installation.
(Many of the links in this article redirect to a specific reviewed product. Your purchase of these products through affiliate links helps to generate commission for Storables.com, at no extra cost. Learn more)
Introduction
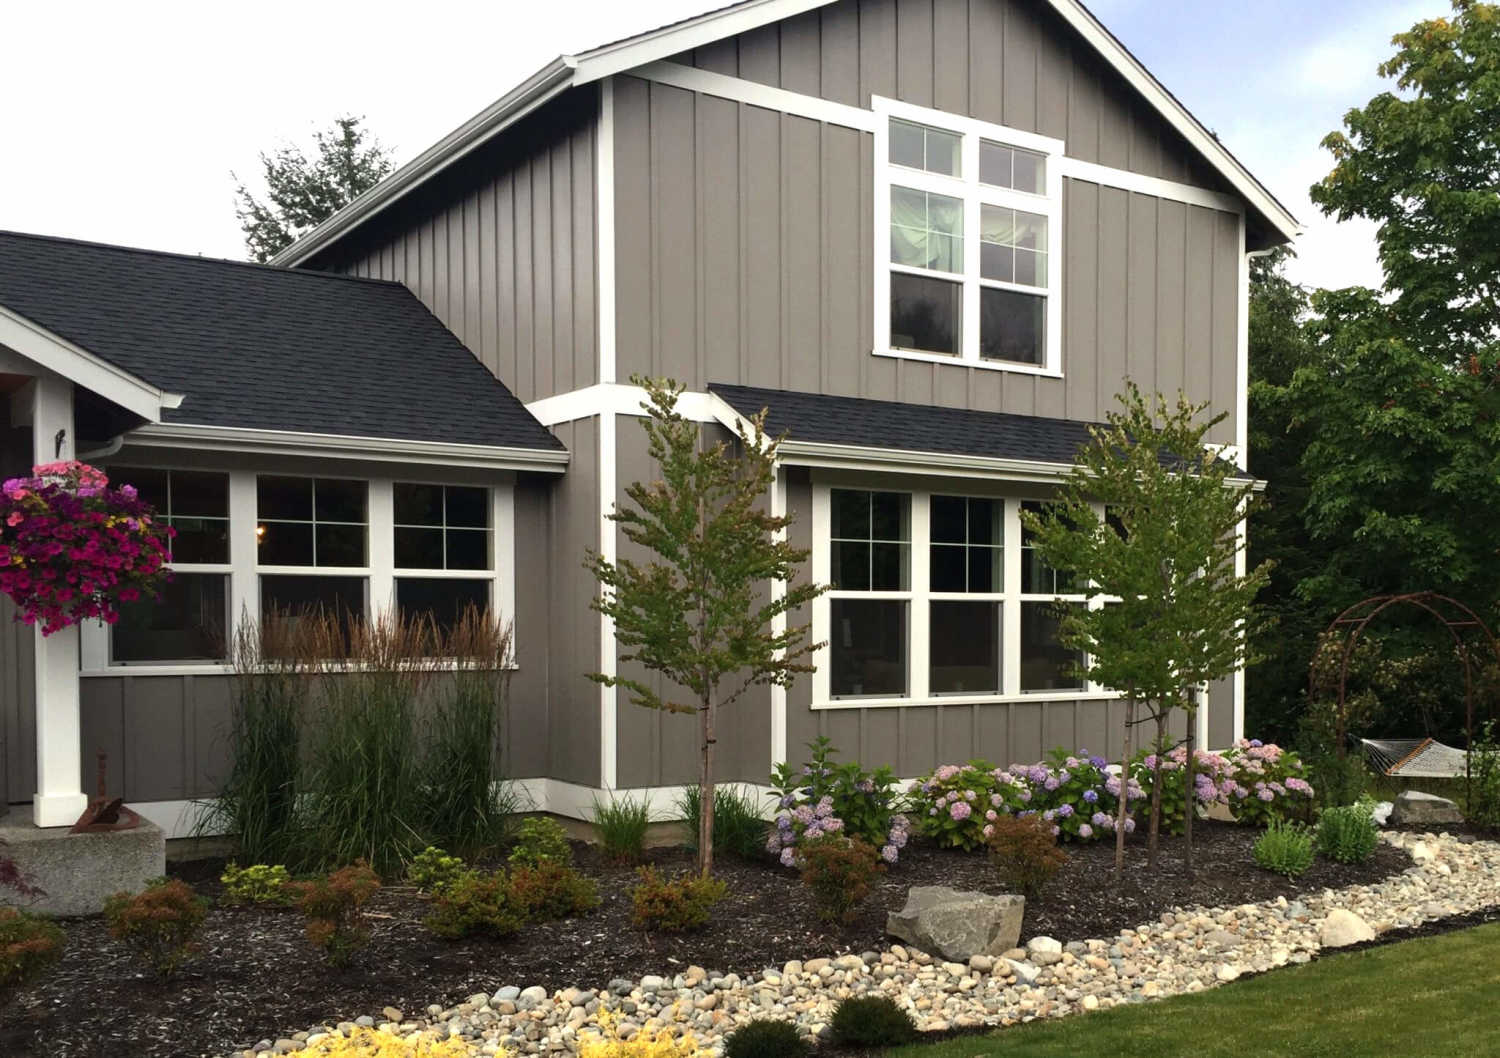
Welcome to this comprehensive guide on how to install T11 siding. T11 siding is a popular choice for exterior cladding due to its durability and aesthetic appeal. It is commonly used on sheds, barns, and other outdoor structures. Whether you’re a seasoned DIY enthusiast or a beginner looking to embark on your first siding project, this article will walk you through the step-by-step process of installing T11 siding.
Before we dive into the installation process, it’s essential to understand what T11 siding is. T11 siding, also known as T1-11 siding, is plywood siding with vertical grooves. It is typically made from pressure-treated plywood or other wood-based materials. The vertical grooves not only add texture and visual interest but also provide structural strength to the siding.
Installing T11 siding can be a rewarding and cost-effective way to give your structure a fresh and updated look. But like any home improvement project, it requires careful planning, precise measurements, and attention to detail. By following the steps outlined in this guide and using the right tools and materials, you’ll be able to achieve professional-looking results.
Before we jump into the installation process, let’s go over a list of tools and materials you’ll need for the project.
Key Takeaways:
- Proper surface preparation, precise installation of starter strips, and careful alignment of T11 siding panels are crucial for achieving a professional-looking and long-lasting installation.
- Sealing and caulking joints, as well as painting or staining the T11 siding, not only enhance its appearance but also provide essential protection against moisture and environmental factors.
Read more: How To Install Z-Flashing On T1-11 Siding
Step 1: Gather the Required Tools and Materials
Before you begin the installation process, it’s important to gather all the necessary tools and materials to ensure a smooth and efficient workflow. Here is a list of essential tools and materials you’ll need:
- T11 siding panels
- Measuring tape
- Pencil
- Circular saw or table saw
- Nail gun or hammer
- Galvanized nails or screws
- Level
- Tin snips or utility knife
- Safety goggles
- Gloves
- Starter strips
- Caulk
- Paint or stain (optional)
- Paintbrush or paint sprayer (optional)
Having these tools and materials on hand will ensure that you have everything you need to complete the installation process without any unnecessary delays.
Additionally, it’s a good idea to wear protective gear such as safety goggles and gloves to safeguard yourself during the installation process. Safety should always be a priority when working with power tools and sharp objects.
Once you’ve gathered all the necessary tools and materials, you’re ready to move on to the next step: preparing the surface.
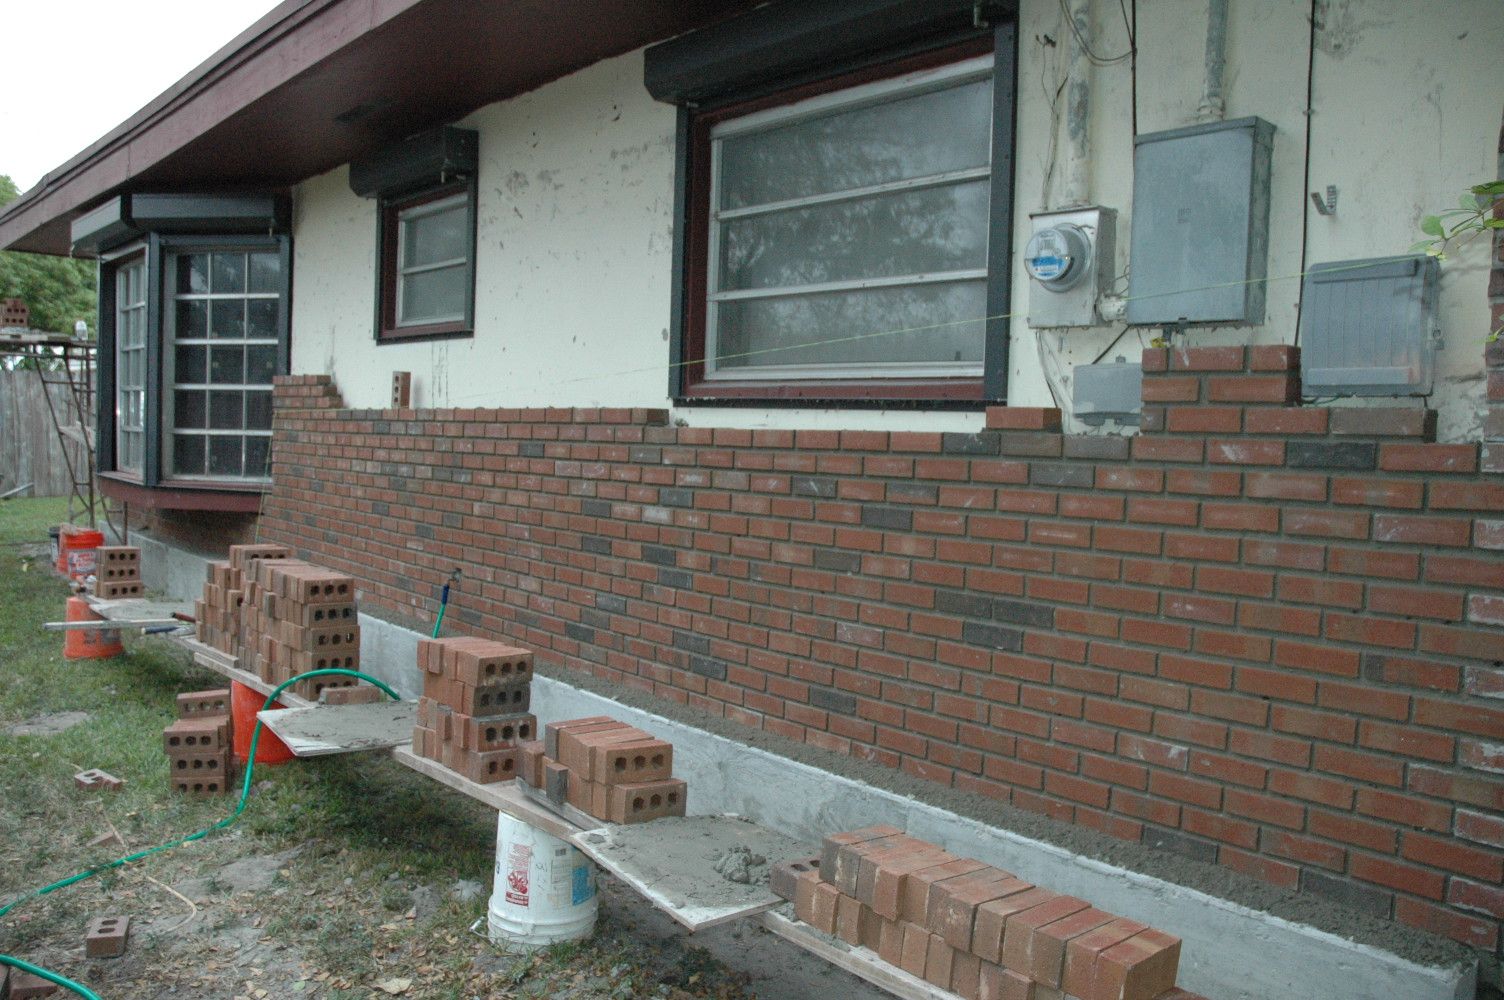
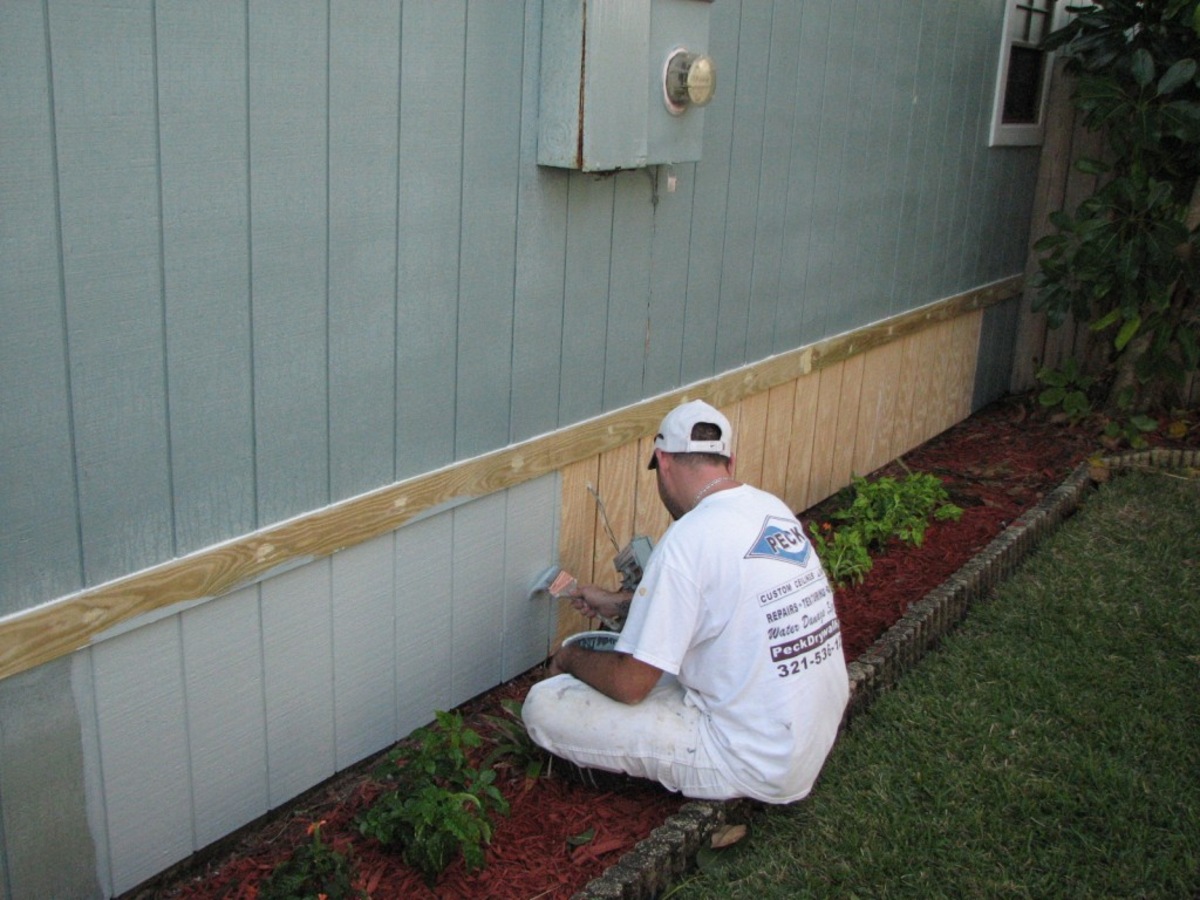
Step 2: Prepare the Surface
Preparing the surface is a crucial step in ensuring a successful installation of T11 siding. Proper surface preparation will help improve the longevity and appearance of the siding. Here’s how to prepare the surface:
- Clean the surface: Begin by thoroughly cleaning the existing surface where the T11 siding will be installed. Remove any dirt, debris, or loose paint using a pressure washer or a scrub brush with a mixture of water and mild detergent. Allow the surface to dry completely before moving on to the next step.
- Inspect for damage: Carefully inspect the surface for any signs of damage, such as rot, mold, or mildew. Repair or replace any damaged areas before proceeding with the installation. It’s essential to have a solid and stable surface to ensure the T11 siding adheres properly.
- Apply a primer: Before installing the T11 siding, it’s recommended to apply a high-quality primer to the surface. The primer will help seal the surface, improve adhesion, and protect against moisture. Follow the manufacturer’s instructions for the specific primer you are using.
By properly preparing the surface, you’ll create a clean, stable, and well-prepared canvas for installing the T11 siding. This will ensure a seamless and long-lasting installation.
Once you’ve prepared the surface, you’re ready to move on to the next step: installing the starter strips.
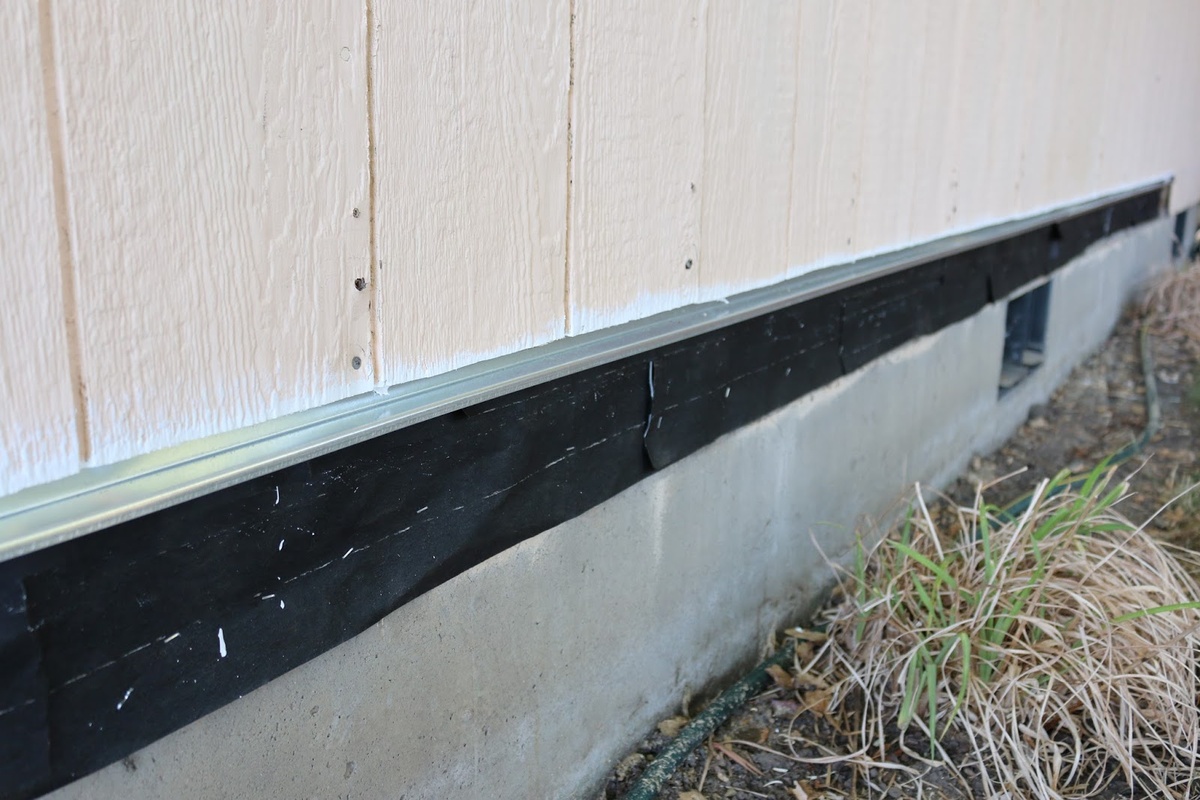
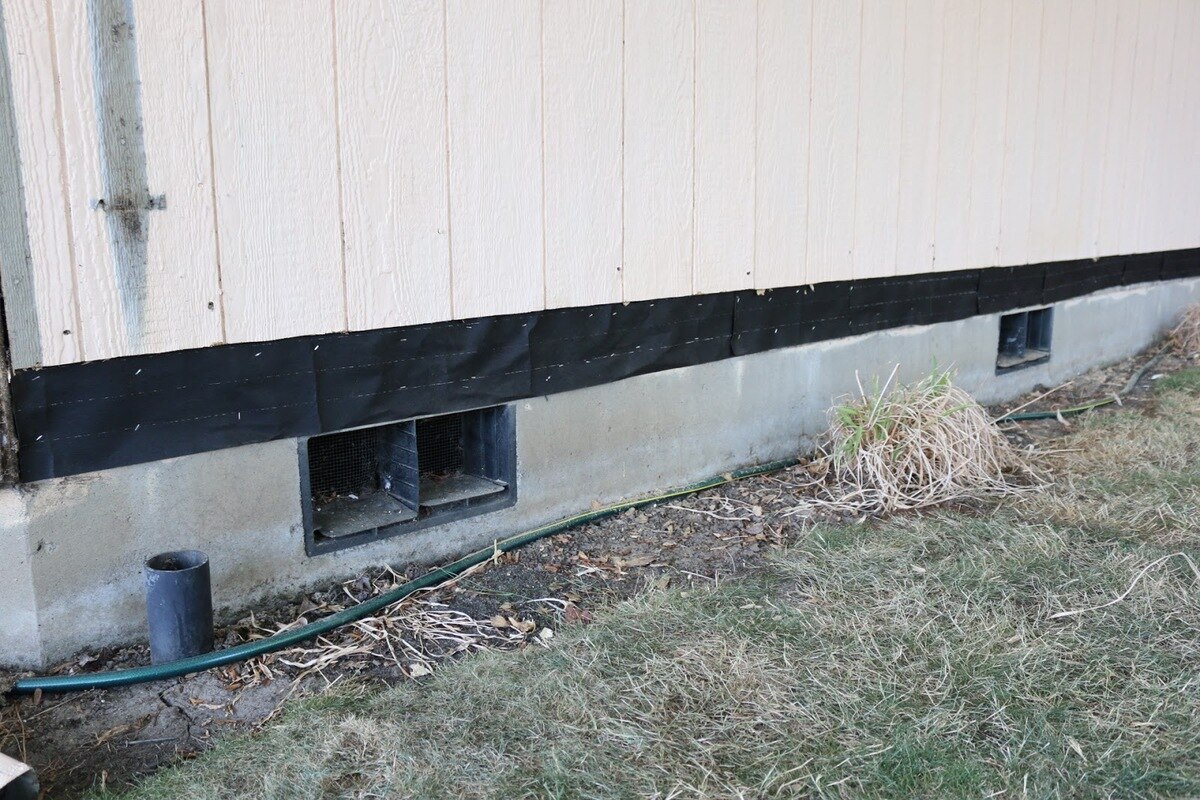
Step 3: Install Starter Strips
Installing starter strips is an essential step in the T11 siding installation process. Starter strips are horizontal boards that provide a solid foundation for the first row of siding and help ensure a level and straight installation. Here’s how to install starter strips:
- Measure and cut: Measure the length of the wall where the T11 siding will be installed. Cut the starter strips to the appropriate length using a saw.
- Position the starter strips: Start at the bottom of the wall and position the first starter strip flush with the bottom edge and aligned with the corner of the wall. Use a level to ensure it is straight. Nail or screw the starter strip into place, securing it to the wall.
- Continue installing: Repeat the process of measuring, cutting, and positioning the starter strips along the bottom edge of the wall. Leave a small gap between each strip to allow for expansion and contraction of the siding.
Installing starter strips provides a level and stable surface for attaching the T11 siding. This step is crucial for ensuring a professional-looking installation and minimizing potential issues down the line.
Once you’ve installed the starter strips, you’re ready to move on to the next step: installing the first row of T11 siding.
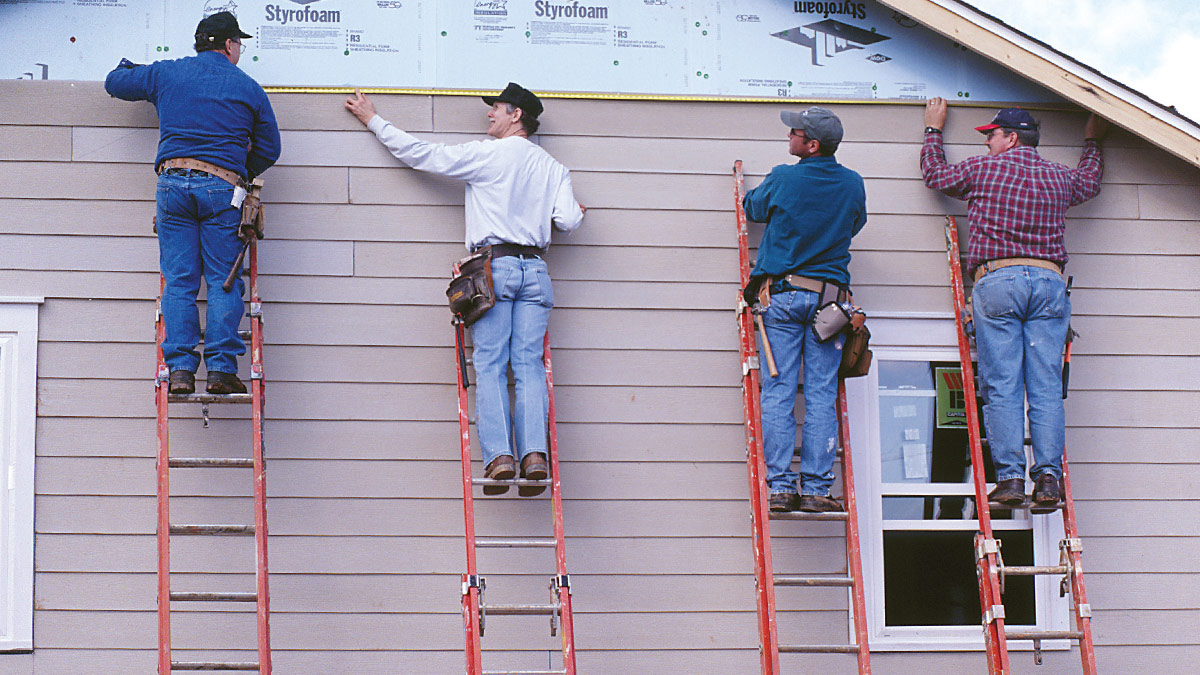
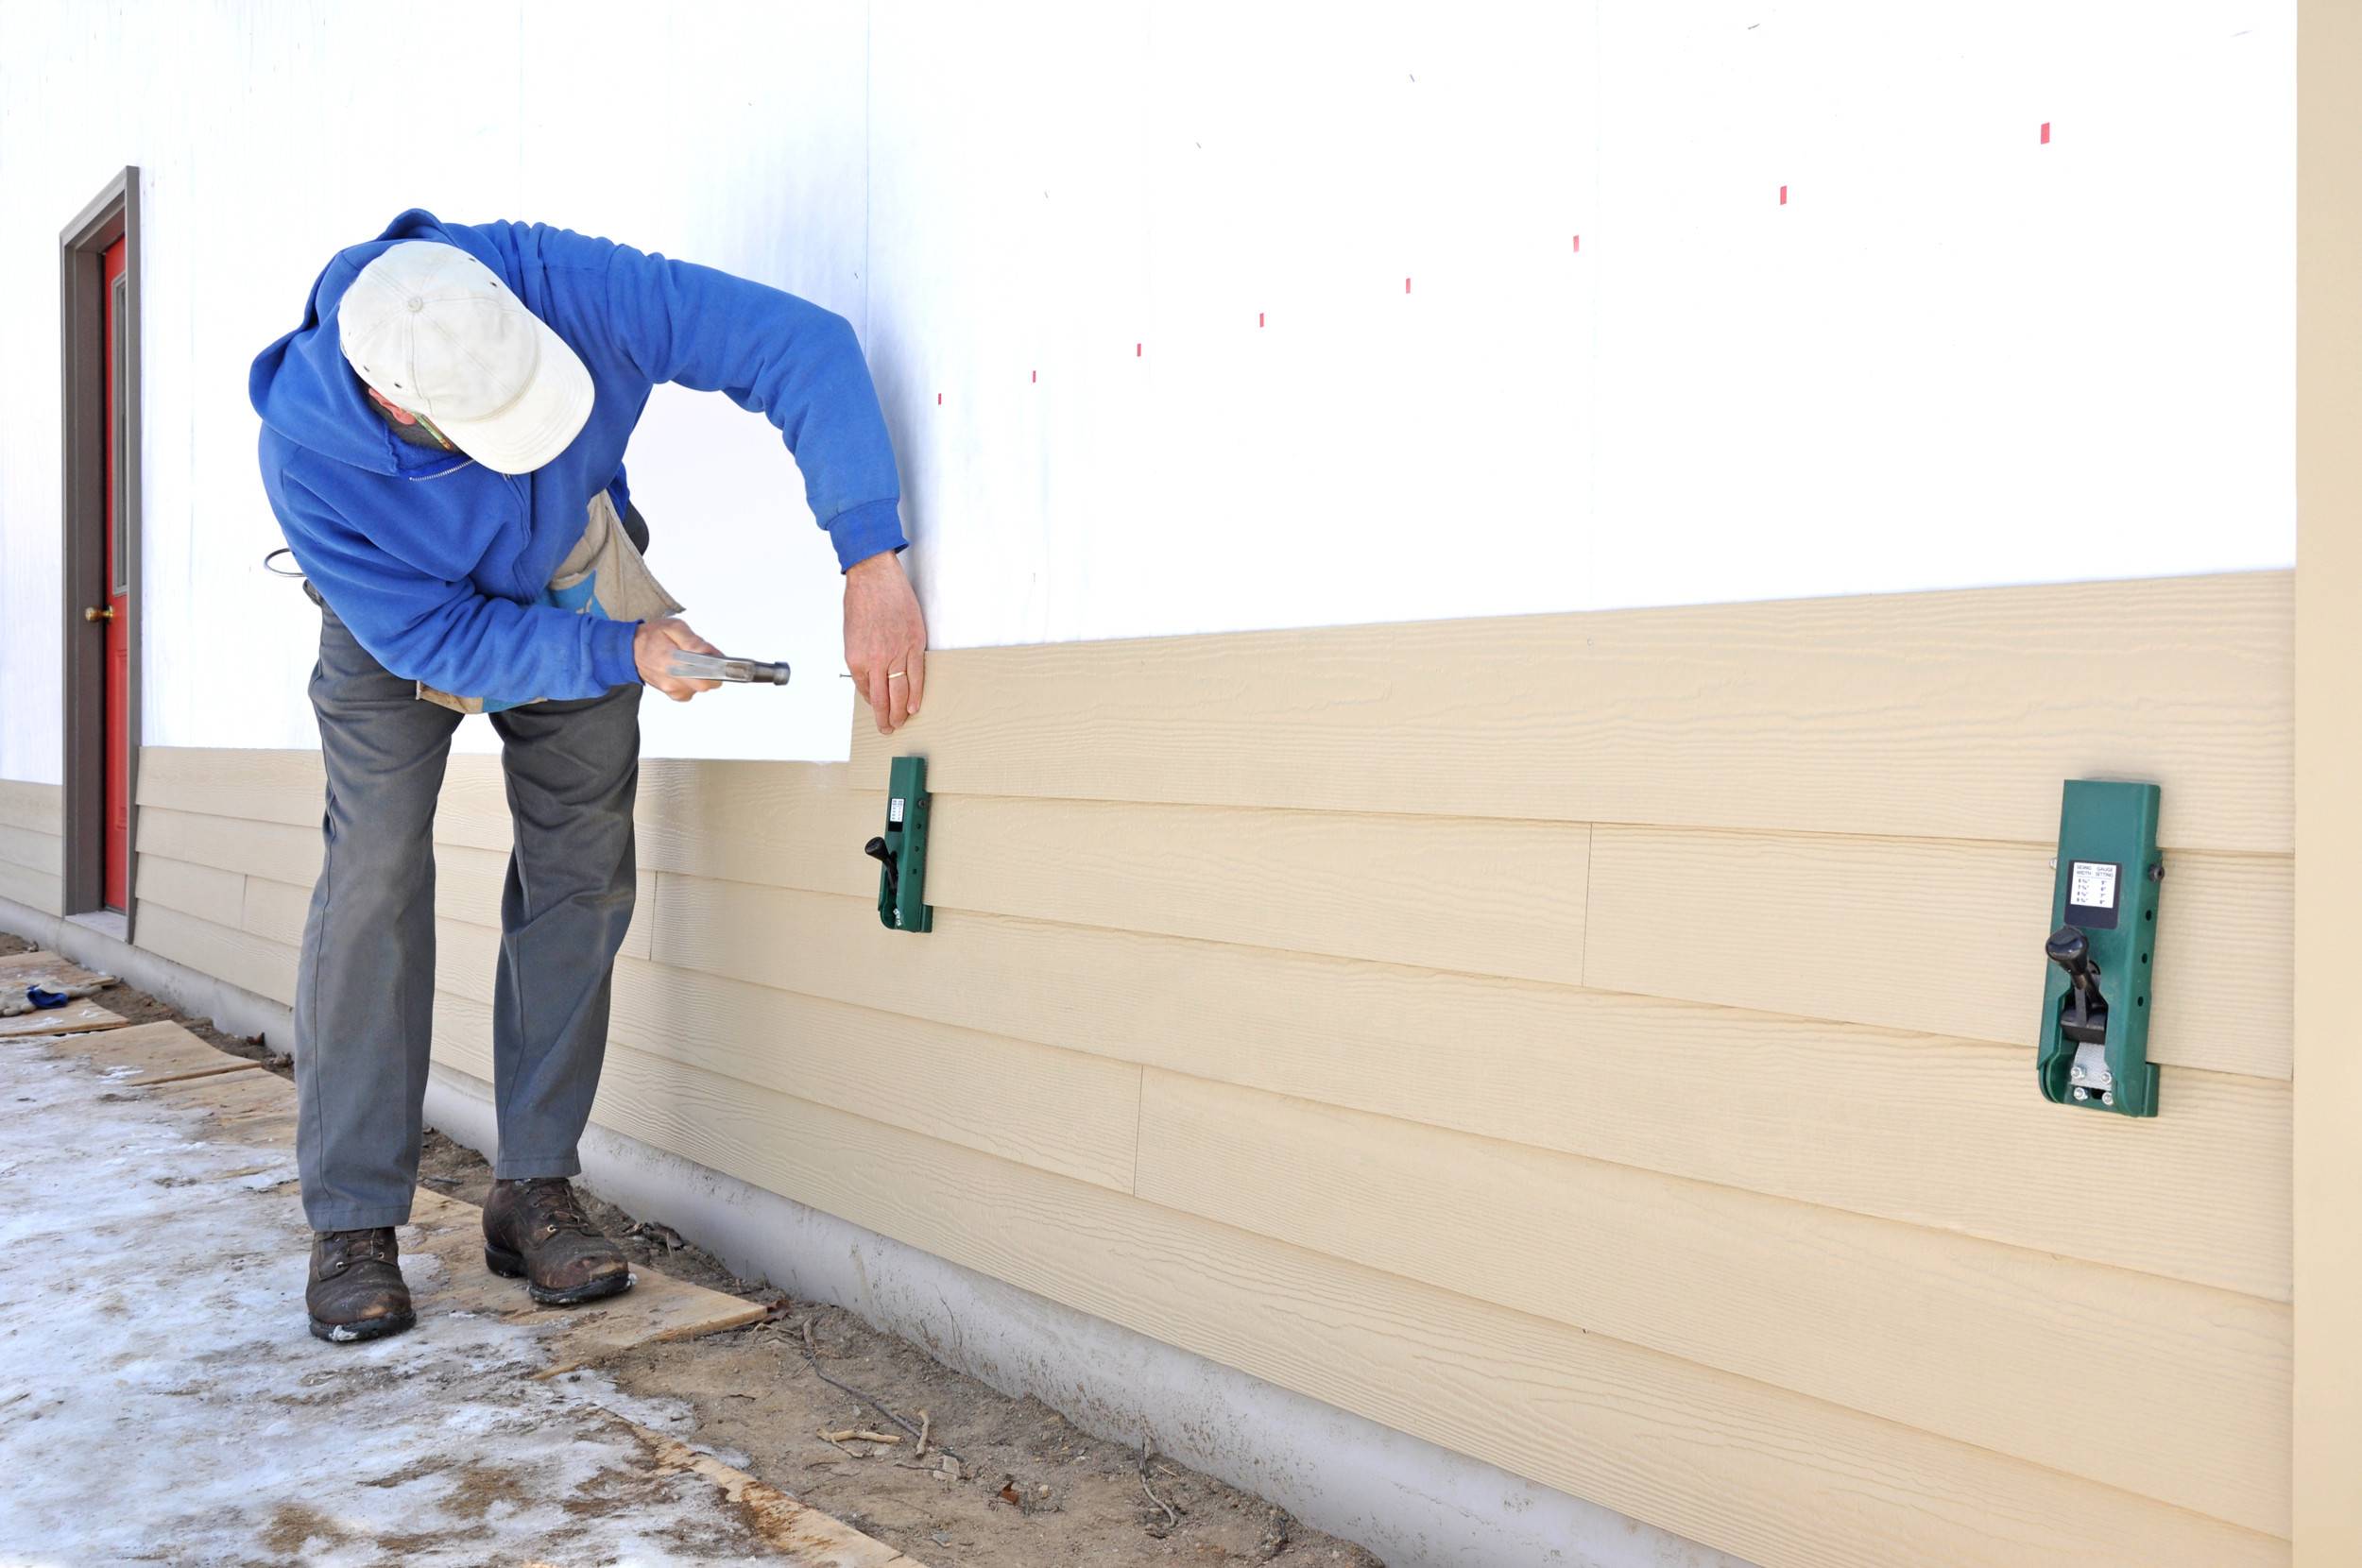
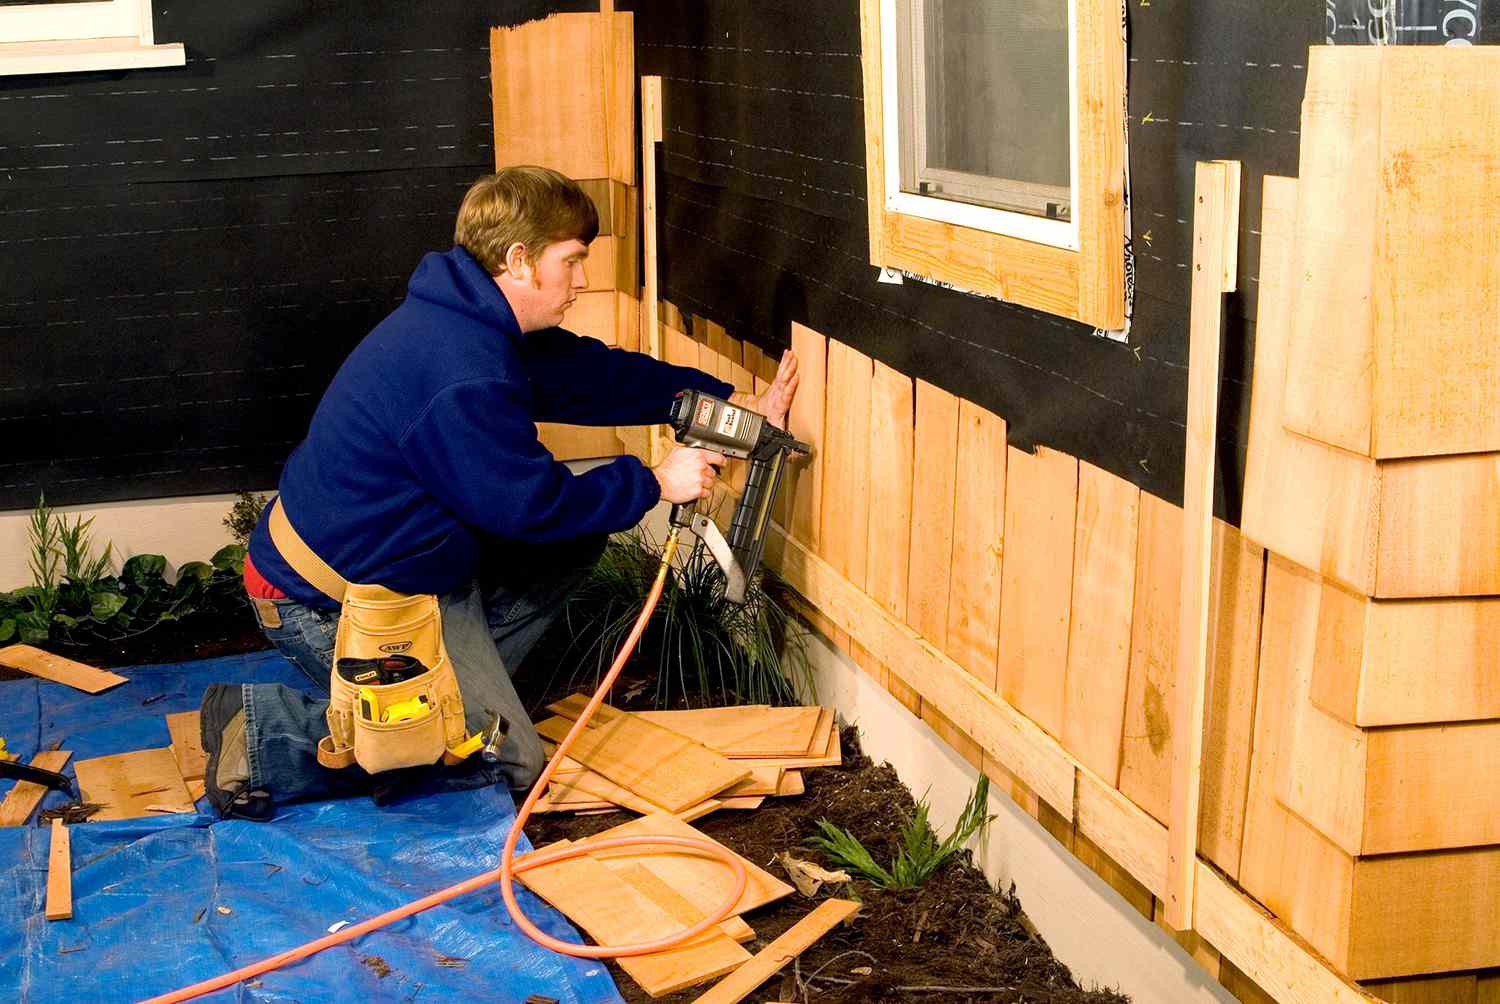
Step 4: Install the First Row of T11 Siding
Installing the first row of T11 siding sets the foundation for the rest of the installation process. This step requires careful alignment and precision to ensure a straight and level row. Here’s how to install the first row of T11 siding:
- Measure and cut: Measure the height of the wall from the top of the starter strip to the desired height of the first row. Cut the T11 siding panels to the appropriate height using a saw.
- Position the first panel: Start at one end of the wall and position the first T11 siding panel against the starter strip, ensuring it is flush with the corner. Use a level to check for plumb and adjust as needed.
- Attach the panel: Nail or screw the T11 siding panel into place, starting from the top and working your way down. Place the fasteners about 6 to 8 inches apart along the edges of the panel and around 12 inches apart along the studs. Be sure to leave a small gap of about 1/8 inch between panels for expansion and contraction.
- Continue with the remaining panels: Repeat the process of measuring, cutting, positioning, and attaching the T11 siding panels along the first row. Ensure each panel is level and aligned with the adjacent panel.
Installing the first row of T11 siding sets the stage for the rest of the installation. Take your time to ensure each panel is properly aligned and secured. This will not only create a visually appealing appearance but also contribute to the structural integrity of the siding.
Once you’ve installed the first row of T11 siding, you’re ready to move on to the next step: continuing the installation by adding more T11 siding panels.
Read more: How To Install T1-11 Siding Around Windows
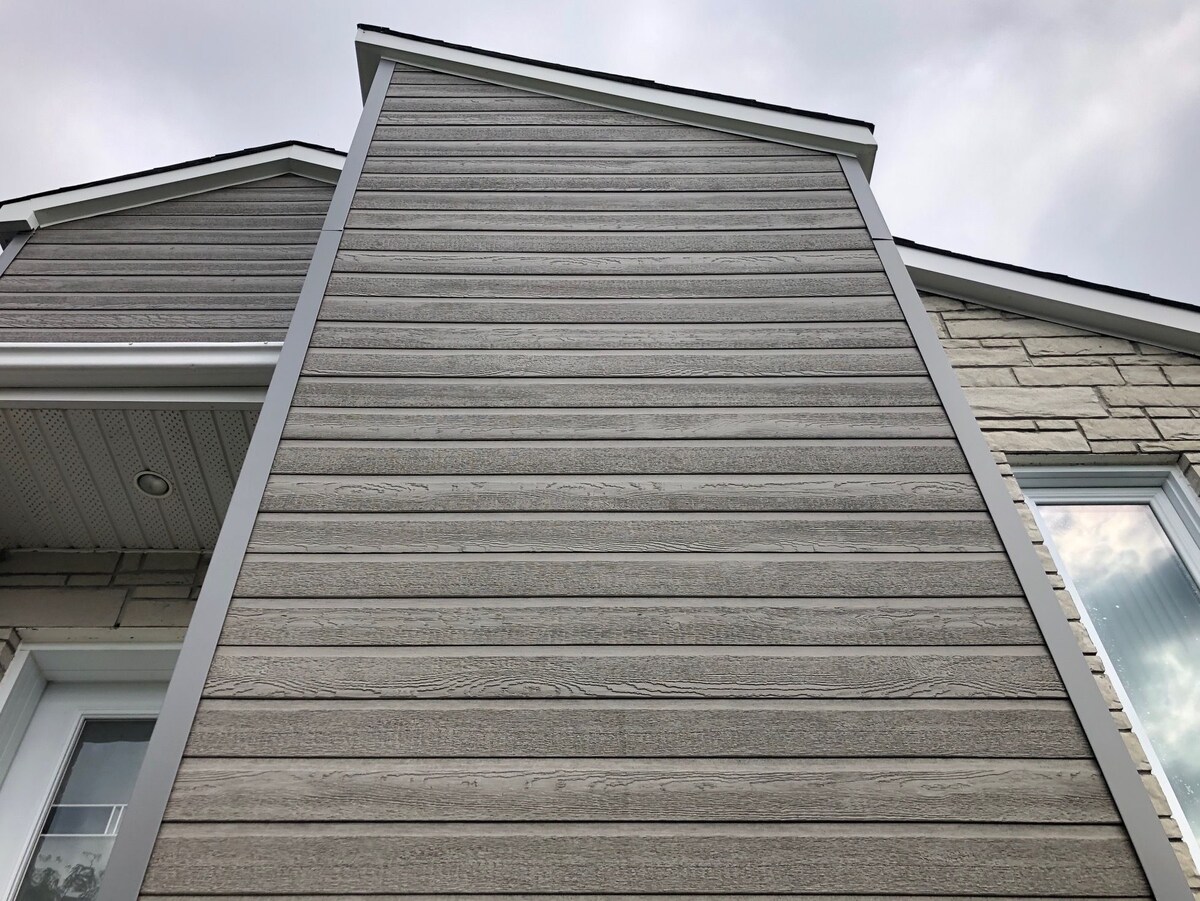
Step 5: Continue Installing the T11 Siding Panels
After successfully installing the first row of T11 siding, it’s time to continue the installation process by adding more siding panels. This step requires careful measurement, cutting, and alignment to ensure a seamless and visually pleasing installation. Here’s how to continue installing the T11 siding panels:
- Measure and cut: Measure the height of the wall from the top of the last installed row to the bottom of the next row. Cut the T11 siding panels to the appropriate height using a saw.
- Position the panels: Starting from one end of the wall, position the T11 siding panel against the previous row, ensuring it is aligned and level. Use a level to check for vertical alignment and adjust as necessary.
- Attach the panels: Nail or screw the T11 siding panels into place, following the same method as in the previous step. Place the fasteners evenly along the edges and studs, leaving a small gap between each panel for expansion and contraction.
- Continue with the remaining panels: Repeat the process of measuring, cutting, positioning, and attaching the T11 siding panels until you reach the top of the wall.
As you continue to install the T11 siding panels, ensure that each panel is properly aligned with the previous row and remains level. Take your time to measure and cut accurately to ensure a precise fit. Pay attention to detail and make any necessary adjustments to maintain a consistent and visually appealing installation.
Once you’ve installed all the T11 siding panels, you’re ready to proceed to the next step: trimming the siding to fit around corners and obstacles.
When installing T11 siding, make sure to properly prepare the surface by removing any old siding and repairing any damage. Use the correct nails and spacing according to manufacturer’s instructions for a secure and professional installation.
Step 6: Trim the Siding to Fit
Trimming the T11 siding to fit around corners, windows, doors, and other obstacles is an important step to achieve a clean and professional-looking installation. This step requires careful measurement, precise cutting, and attention to detail. Here’s how to trim the T11 siding to fit:
- Measure and mark: Measure the dimensions of the area where the siding needs to be trimmed, taking into account any angles or curves. Use a pencil or marker to mark the cut lines on the siding.
- Cut the siding: Using a circular saw or a jig saw, carefully cut along the marked lines. Take your time to ensure straight and precise cuts, especially when cutting around corners and angles.
- Test the fit: Once the siding is cut, test the fit around the corners, windows, doors, or any other obstacles. Make any necessary adjustments until the siding fits snugly and aligns properly.
- Secure the trimmed pieces: Nail or screw the trimmed pieces of siding into place, making sure to align them with the adjacent panels. Use the same fastening method as in the previous steps, placing the fasteners evenly along the edges and studs.
Trimming the T11 siding requires precision and attention to detail. Take your time and double-check your measurements and cut lines before making any cuts. It’s better to go slow and ensure an accurate fit rather than rushing the process and ending up with uneven or ill-fitting trim pieces.
Once you’ve trimmed the siding to fit around corners and obstacles, you’re ready to move on to the next step: installing window and door trim.
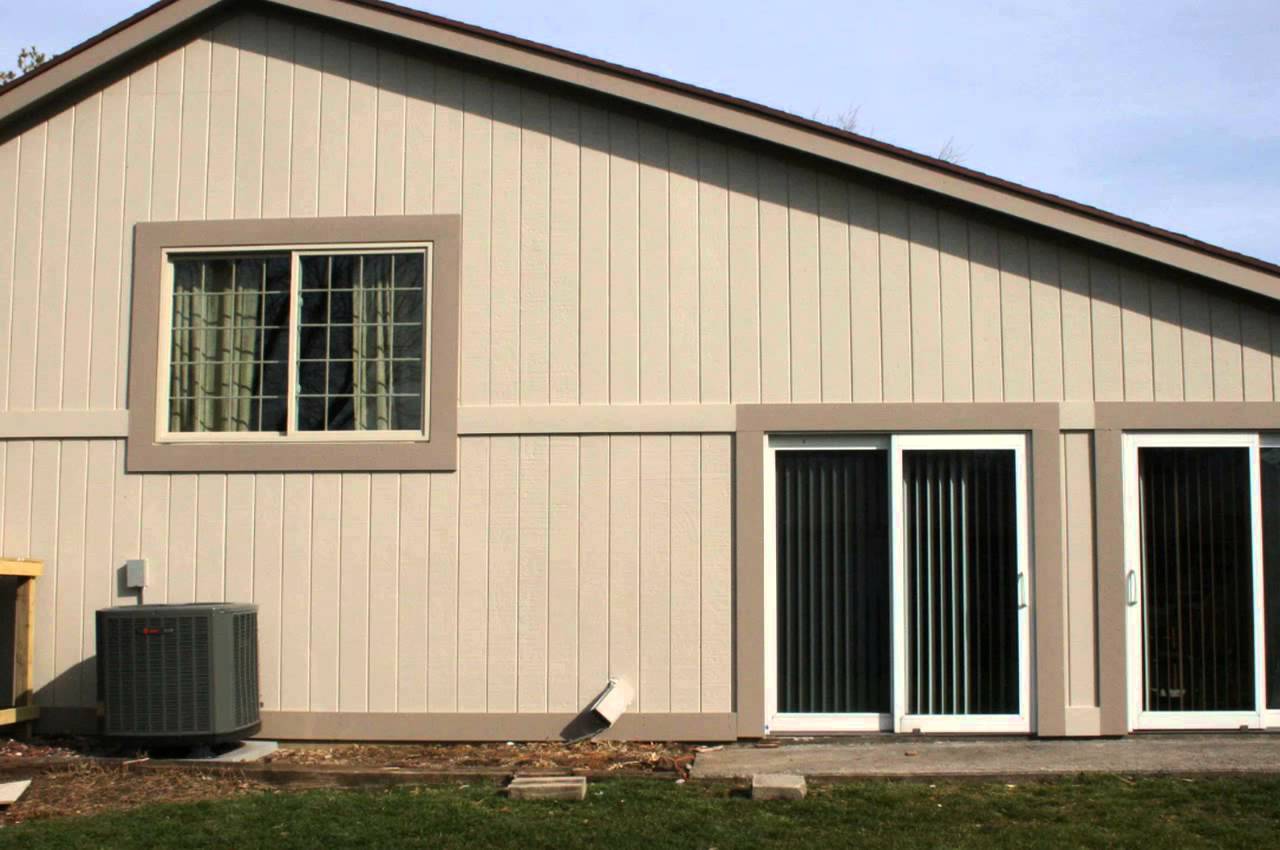
Step 7: Install Window and Door Trim
Installing window and door trim is an essential step in the T11 siding installation process. Window and door trim not only enhances the visual appeal of your structure but also provides a finished and polished look. Here’s how to install window and door trim:
- Measure and cut: Measure the dimensions of the windows and doors where the trim will be installed. Use a saw to cut the trim pieces to the appropriate length.
- Position the trim: Starting from one corner, position the window or door trim piece against the siding, ensuring it is aligned and level. Use a level to check for vertical and horizontal alignment.
- Attach the trim: Nail or screw the trim piece into place, securing it to the siding. Place the fasteners in a discreet location, such as the corners or edges, to maintain the aesthetic appeal of the trim.
- Repeat the process: Repeat the measuring, cutting, positioning, and attaching steps for each window and door trim piece.
Installing window and door trim adds a finishing touch to your T11 siding installation. It helps create a neat and polished appearance, covering any gaps between the siding and the windows or doors. Take your time to ensure each trim piece is properly aligned and securely attached.
Once you’ve installed the window and door trim, you’re ready to move on to the next step: sealing and caulking the joints.
Step 8: Seal and Caulk the Joints
Sealing and caulking the joints is a critical step in the T11 siding installation process as it helps protect against moisture, drafts, and insects. It also enhances the overall durability and energy efficiency of the structure. Here’s how to seal and caulk the joints:
- Inspect the joints: Carefully inspect the joints between the T11 siding panels, trim, and any other areas where there may be gaps or openings.
- Clean the joints: Remove any dust, debris, or loose materials from the joints using a brush or cloth.
- Select the caulk: Choose a high-quality caulking product that is suitable for outdoor use and compatible with the T11 siding material you are working with.
- Apply the caulk: Load the caulk into a caulk gun and cut the nozzle at a 45-degree angle. Apply a steady and even bead of caulk along the joints, filling any gaps or openings. Use a caulk smoothing tool or your finger to smooth and flatten the caulk for a clean finish.
- Remove excess caulk: Wipe away any excess caulk using a damp cloth or sponge before it dries. This will ensure a neat and professional appearance.
Sealing and caulking the joints is essential for preventing moisture infiltration, improving energy efficiency, and maintaining the overall integrity of the T11 siding installation. Take your time to thoroughly seal all the joints to ensure maximum protection and longevity.
Once you’ve sealed and caulked the joints, you’re ready for the final step: painting or staining the T11 siding.
Read more: How Much Is T1-11 Siding
Step 9: Paint or Stain the T11 Siding
Painting or staining the T11 siding is the final step in the installation process. This step adds the finishing touch to your project, providing both aesthetic appeal and protection against the elements. Here’s how to paint or stain the T11 siding:
- Clean the surface: Before applying paint or stain, ensure that the T11 siding is clean and free from any debris or dust. Use a pressure washer or a gentle cleaner to remove any dirt or grime. Allow the surface to dry completely.
- Choose the paint or stain: Select a high-quality exterior paint or stain that is designed for use on wood surfaces. Consider the color and finish you desire, as well as the weather-resistant properties of the product.
- Prepare the paint or stain: Follow the manufacturer’s instructions to properly prepare the paint or stain. This may involve stirring, thinning, or mixing the product.
- Apply the paint or stain: Use a brush, roller, or paint sprayer to apply the paint or stain evenly to the T11 siding. Work in small sections, overlapping the strokes for a smooth and consistent finish. Follow the recommended drying time between coats, if multiple coats are needed.
- Protect adjacent surfaces: Use tape or drop cloths to protect adjacent surfaces, such as windows, doors, and trim, from accidental paint or stain splatters.
- Allow for proper drying: After applying the paint or stain, allow sufficient time for it to dry and cure according to the manufacturer’s instructions. This will ensure a durable and long-lasting finish.
Painting or staining the T11 siding not only enhances its appearance but also provides protection against moisture, UV rays, and other environmental factors. Choose a paint or stain that complements your overall design aesthetic and follows proper application techniques for the best results.
With the completion of this step, you have successfully installed and finished your T11 siding. Take a step back and admire your hard work and the transformation of your structure.
Congratulations on completing the installation process of T11 siding! Enjoy the benefits of a beautiful and durable exterior cladding that will enhance the appearance and value of your structure for years to come.
Disclaimer: This article provides a general outline for installing T11 siding. It is essential to consult manufacturer guidelines and follow proper safety measures for your specific project.
Conclusion
Congratulations on completing the installation of T11 siding! By following this comprehensive guide, you have learned the step-by-step process of installing T11 siding, from gathering the necessary tools and materials to the final step of painting or staining the siding.
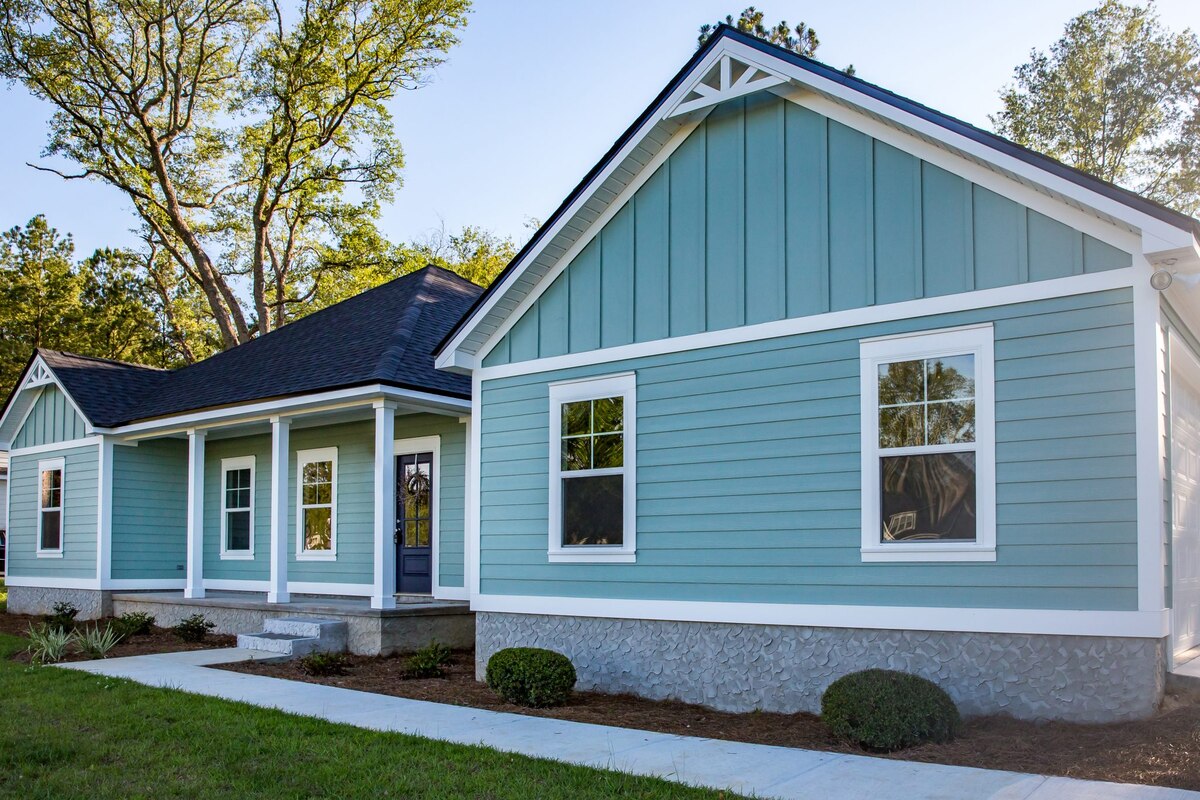
T11 siding offers both durability and visual appeal, making it a popular choice for exterior cladding on sheds, barns, and other outdoor structures. With proper installation and maintenance, T11 siding can provide long-lasting protection and enhance the overall aesthetic of your building.
Throughout the installation process, it’s important to pay attention to detail, take accurate measurements, and ensure proper alignment and leveling. This will result in a professional-looking finish and a structurally sound installation.
Remember to prepare the surface, install starter strips for a solid foundation, and continue with the rows of T11 siding panels. Trim the siding to fit around corners and obstacles, and install window and door trim for a finished look. Seal and caulk the joints to prevent water infiltration, and finally, paint or stain the siding for added protection and aesthetic appeal.
Always prioritize safety when working with tools and sharp objects. Wear protective gear such as safety goggles and gloves, and follow manufacturer guidelines for the tools and materials you’re using.
Now that you’ve completed the installation process, take a moment to admire your handiwork and enjoy the transformed appearance of your structure. Properly installed T11 siding not only enhances the curb appeal of your building but also provides protection against the elements, ensuring its longevity for years to come.
Thank you for following this guide, and we wish you success in all your future T11 siding projects!
Frequently Asked Questions about How To Install T11 Siding
Was this page helpful?
At Storables.com, we guarantee accurate and reliable information. Our content, validated by Expert Board Contributors, is crafted following stringent Editorial Policies. We're committed to providing you with well-researched, expert-backed insights for all your informational needs.

0 thoughts on “How To Install T11 Siding”